According to Alex I’m preparing our home for a 6-inch mini flood. Slightly elevating even our plants off the ground – ironically they’re maybe the one thing that would survive (and probably welcome) a slow influx of water. What’s more likely is that these planters will be moved to even higher ground once Ollen starts making his way around the house. I can’t see them lasting long with grabby hands tugging at the leaves, but for now they’re safe from being tipped by both babies and freak weather conditions.
In the past I’ve used Pretty Pegs replacement legs and found them easy to use and really well designed, so I sent them an email asking if they could send me some more legs for a project idea. I love that they were immediately on board with one of my more ‘out there’ ideas and send me these SVEA 150 legs to play with.
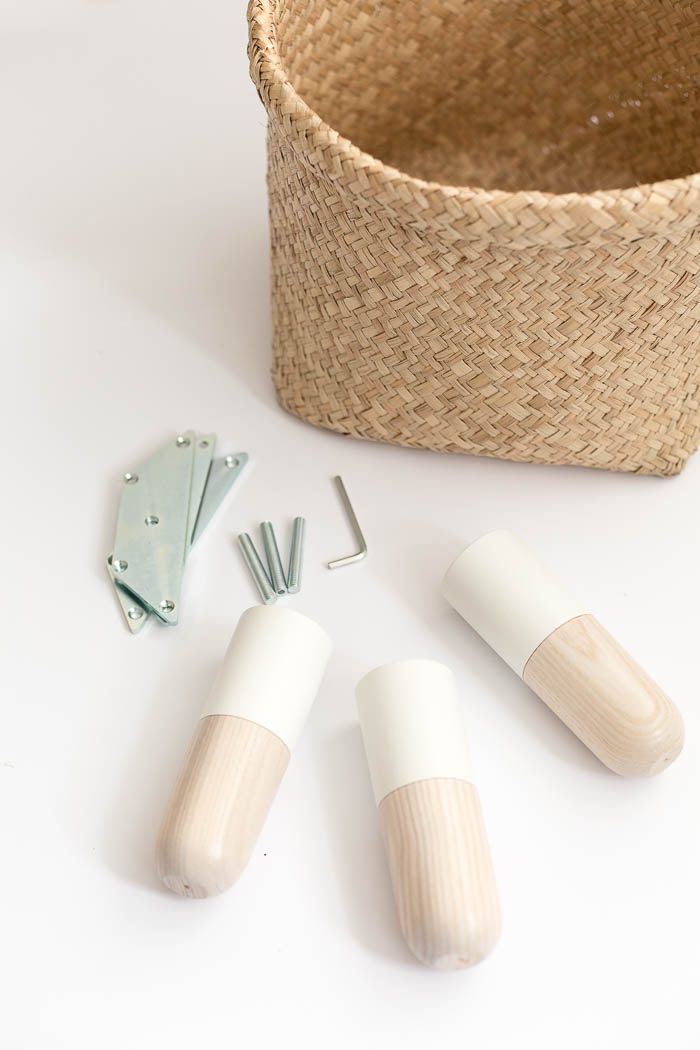
Materials
Baskets | Pretty Peg Legs | Plants
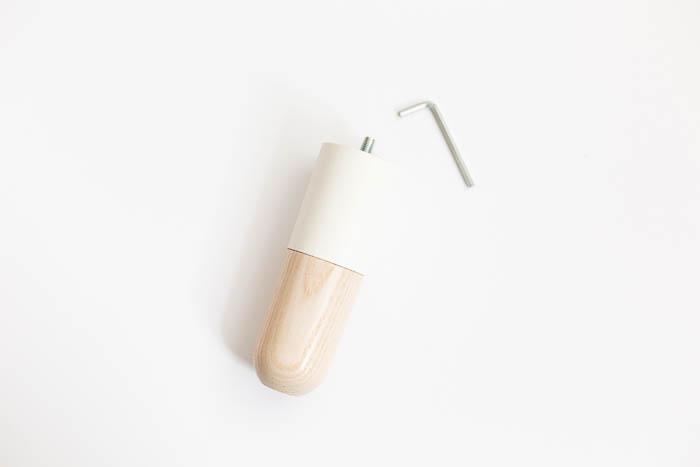
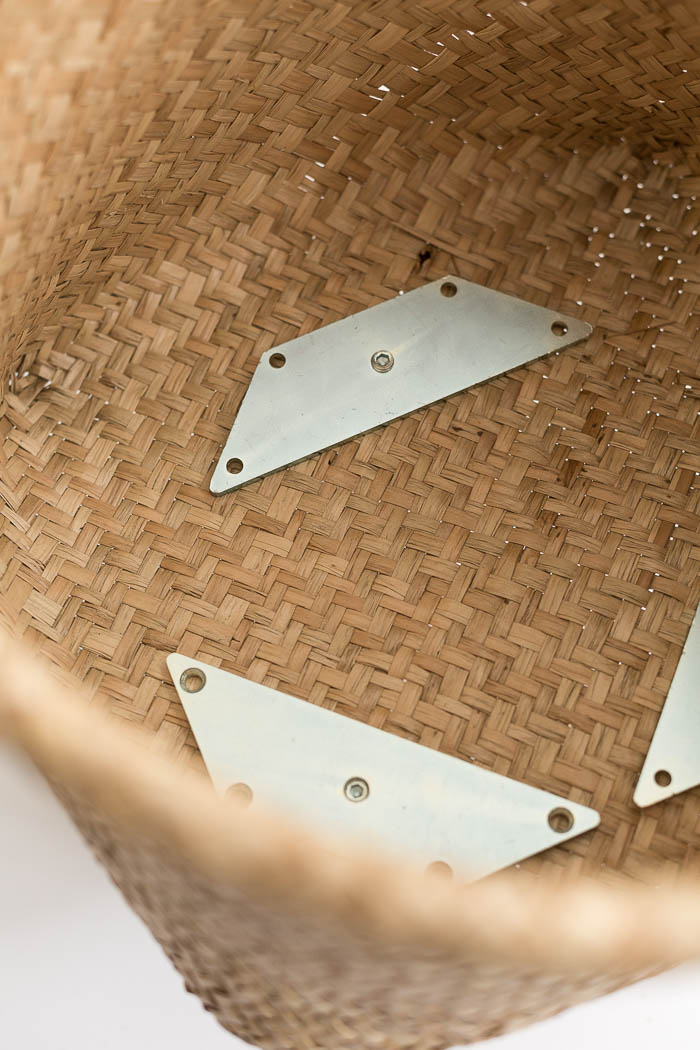
1. Using the tool provided screw the bolt into the leg making sure the part the hex/allen key sits in is facing up. Keep going until you have about half an inch left to go through the basket and into the holding piece.
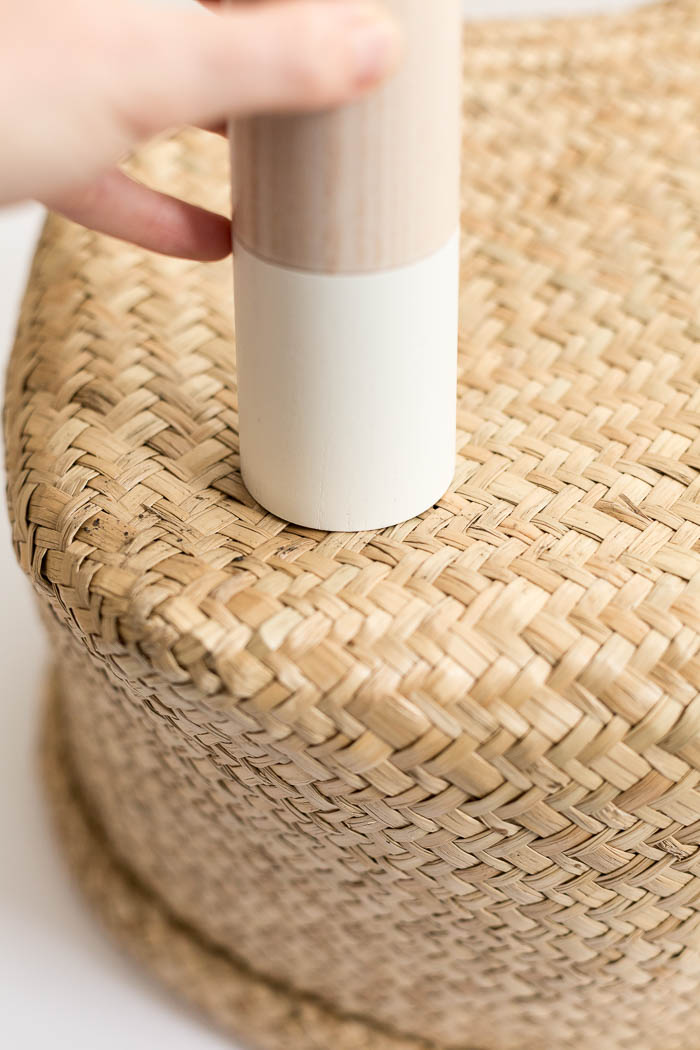
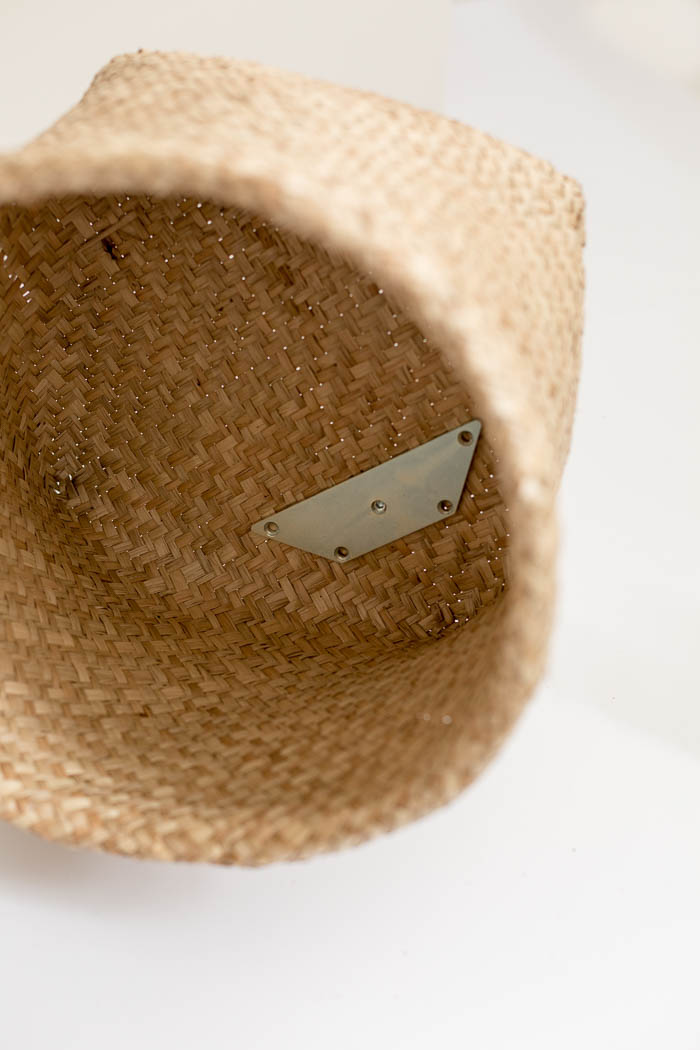
2. If you need to make a small incision into the basket with a craft knife. Push the bolt through the basket and into the metal holding piece. Twist until it sits firmly in place.
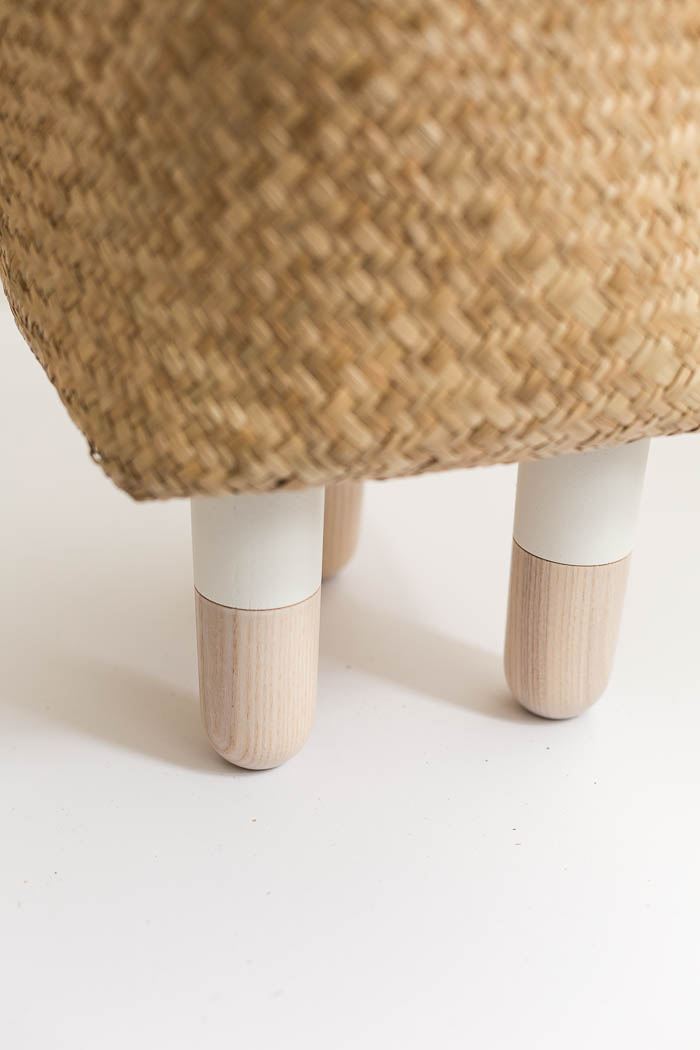
3. Repeat this process for all of the legs.
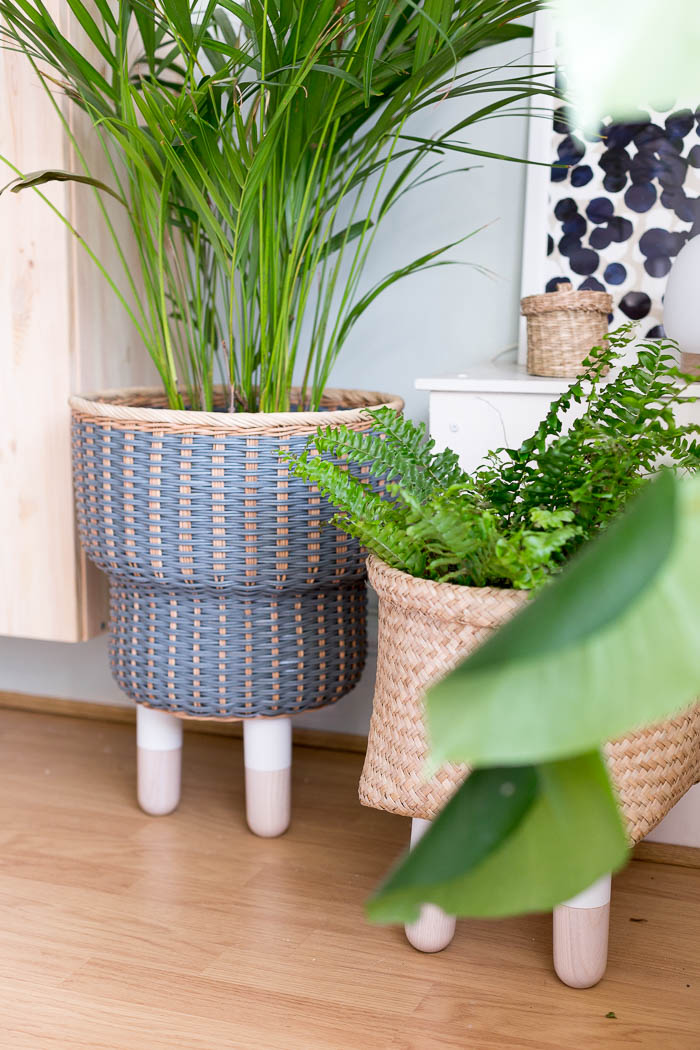
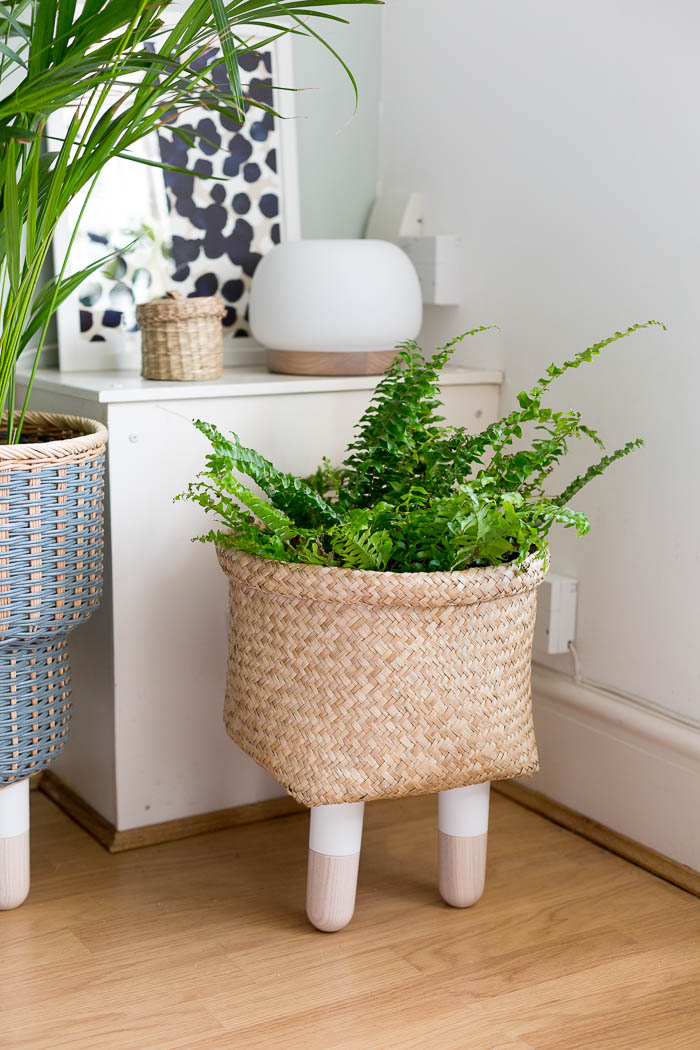
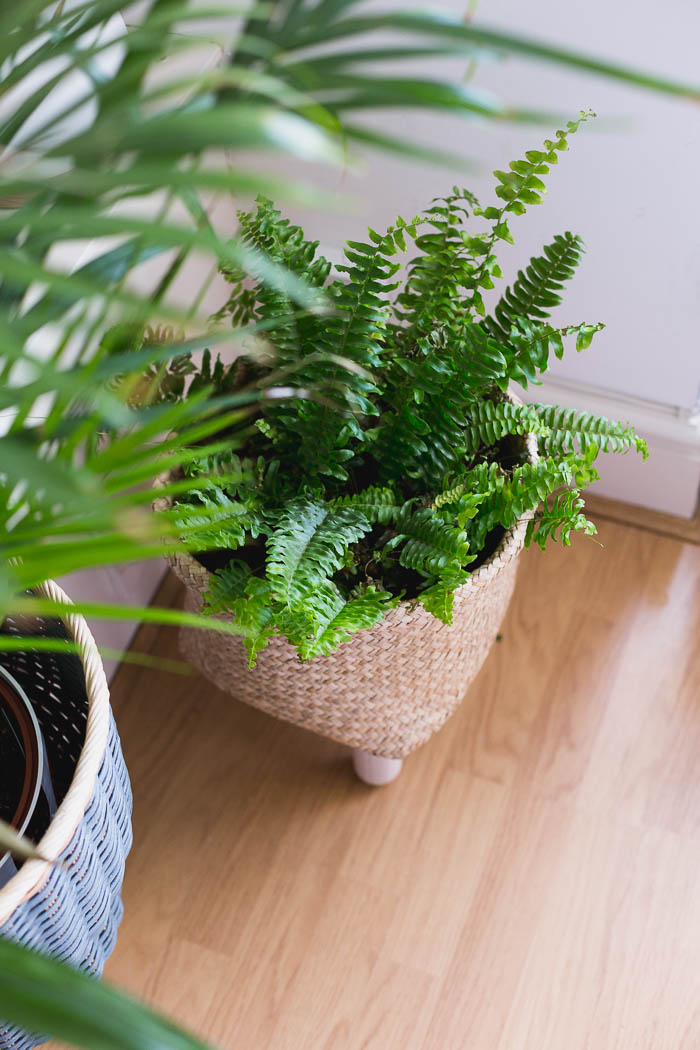
Fill your baskets with plants. Just don’t do what I did and forget to put dishes in the bottom!
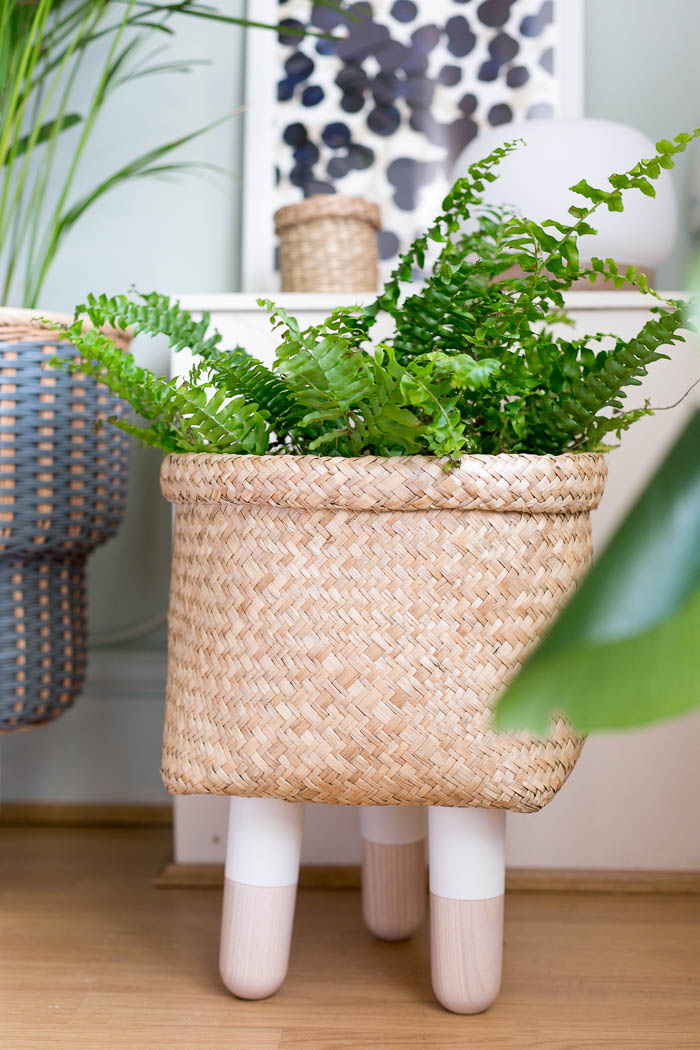
These planters work better with firm baskets, but you can add more stability with a layer of thick card on the bottom of the basket. Cut holes for the leg bolts to thread through. And again, don’t forget your dish!
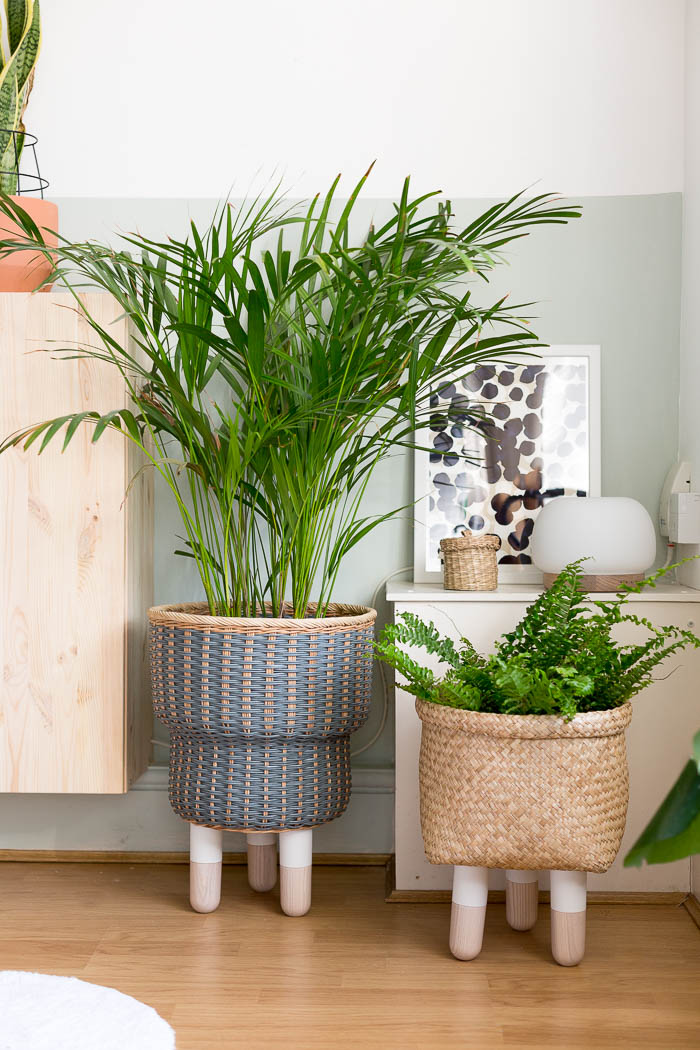
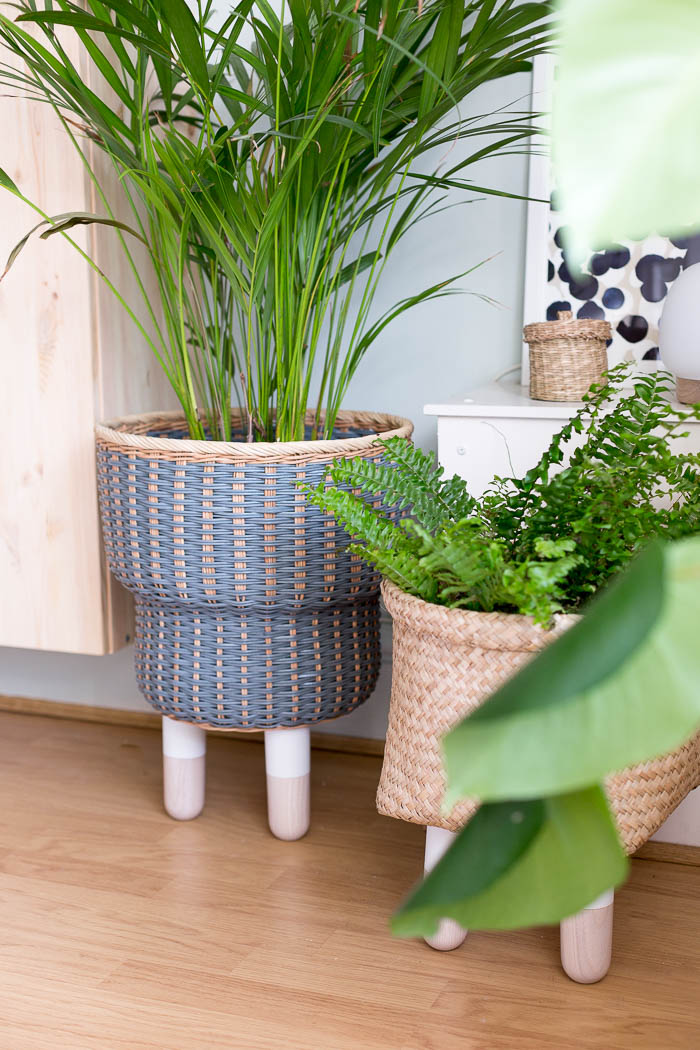
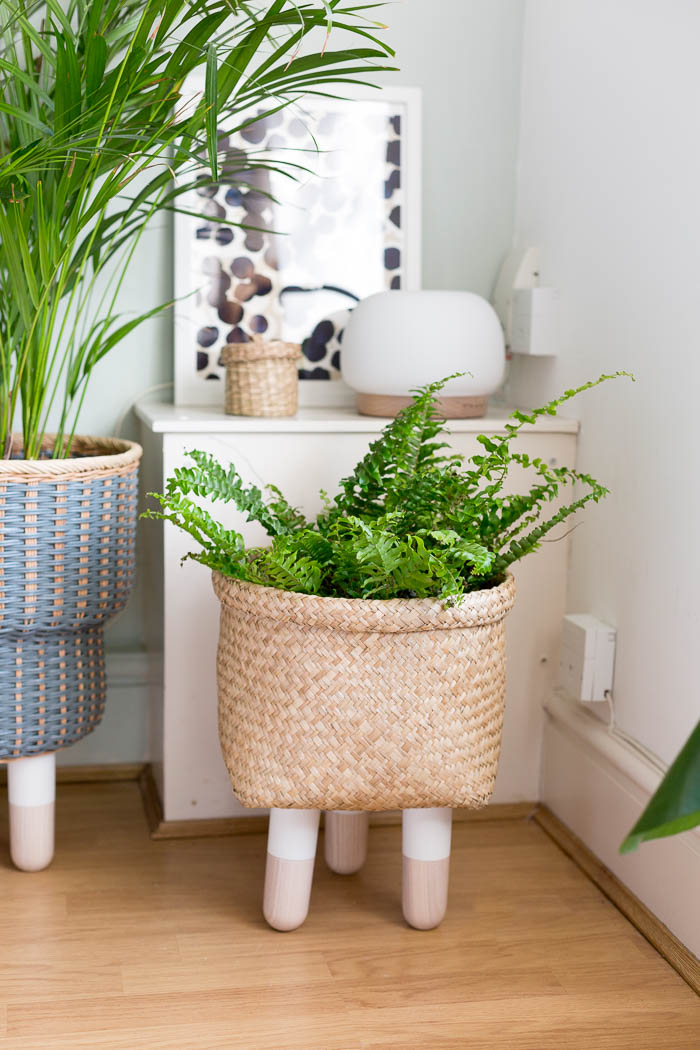


They look super stylish, I think elevating them off the ground makes them stand out much more!
https://www.makeandmess.com/
What do you mean by “Don’t forget your dishes?”
to catch the water after you have watered the plant. this will ensure your basket doesn’t get wet or possibly harbor mold.
Looks great! I’d place 4 legs so that you don’t have the risk of tipping over so easily.
Our centre has all the best equipment and highly trained staff, which makes it a complete solution to your body spa and massage needs. Visit 24 hours massage centres in Bangalore
This is so cute and such a creative idea. My family loves little pots like this and adding the little legs gives it such cute look.
I learned a lot of useful things from a fantastic podcast. Solar panels are not a new subject to me. I conducted extensive research into the potential of installing solar panels in the home when I started to become interested in the idea. As it turns out, Florida is a superb state for installing solar energy systems https://a1solarstore.com/solar-panels.html I found all the crucial details I needed to correctly install solar panels in my home on this website. Anyone who wishes to install panels will find this material helpful, in my opinion.