
Arranging pictures on a wall is tricky at the best of times. Deciding how to group and where to place your artwork and photos next each other is a tricky decision, even when you have a large space to put them in. But when you’re working with a space that is more difficult to arrange it becomes even more testing.
I always find that I can spend way too much time procrastinating about the perfect way to arrange a photo wall. I end up on Pinterest for way too long and my pictures end up stacked up on the floor. I was determined not to let this happen with my new nursery poster prints from Mixbook! One because I had an awesome idea for DIY framing and two, because we’ve less than three months left until the big arrival now.
Sometimes just getting started can make a world of difference. Here are my tips for creating a photo wall next to a sloped roof. Now, once you’ve read these you’re ready to started! No excuses guys. Get those pictures off the floor and onto your wall!
Have plenty of options
Have more poster prints and photos than you think you’ll need. You can always use the others elsewhere and it’s much easier to swap something out which just isn’t working, than force something that doesn’t quite look right. But don’t go too far with your options otherwise you might never pin down exactly what you want.
Use different sizes
Have a range of different sized pictures and frames to hand. This will help you to build a more interesting wall visually and create combinations that sit together well. You don’t want to leave any unsightly gaps and when you’re working with the sloped roof it’s much harder to put together a picture wall which is evenly spaced with similar sized pictures.
Tie together with a theme
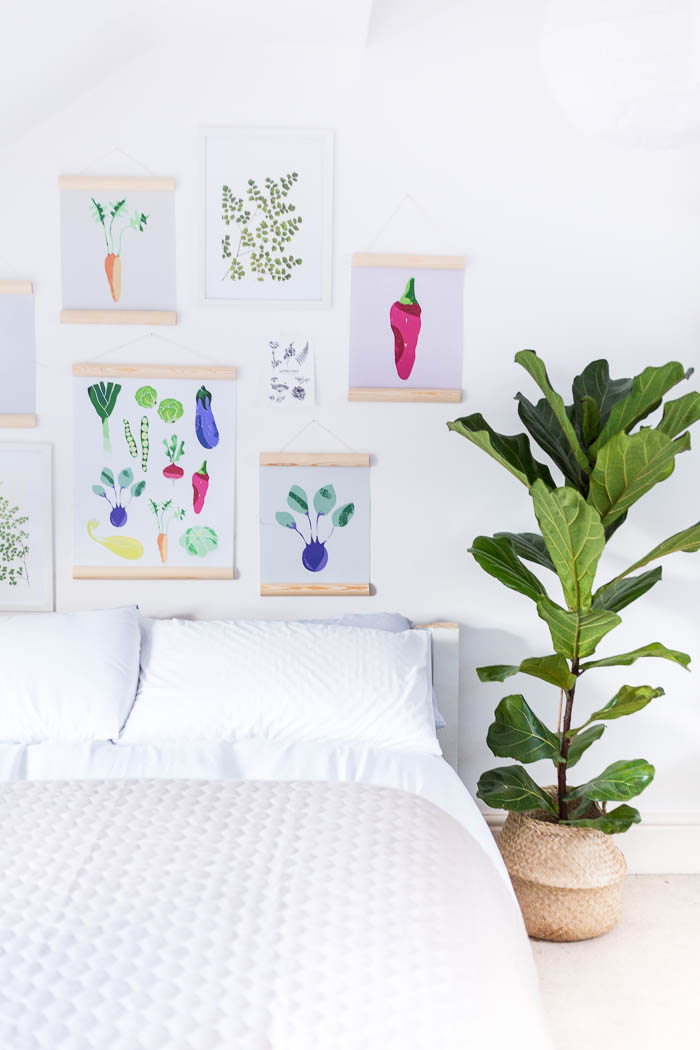
When you’re putting your images together think about using a common theme to give them a more cohesive look. I’ve used my collection of vegetable prints with some botanical images which go together nicely. The green accents complement the selection rather than standing out in the crowd.
Plan with paper first
It much easier to plan with paper pieces first. Just place your pictures onto wrapping/parcel/newspaper and cut around the frame. Use masking tape to position and move these into place. This can help you create a balanced look, but when you’re positioning the paper make sure you pay attention to the colours in the images. Keep these balanced too.
Use frames that are adjustable
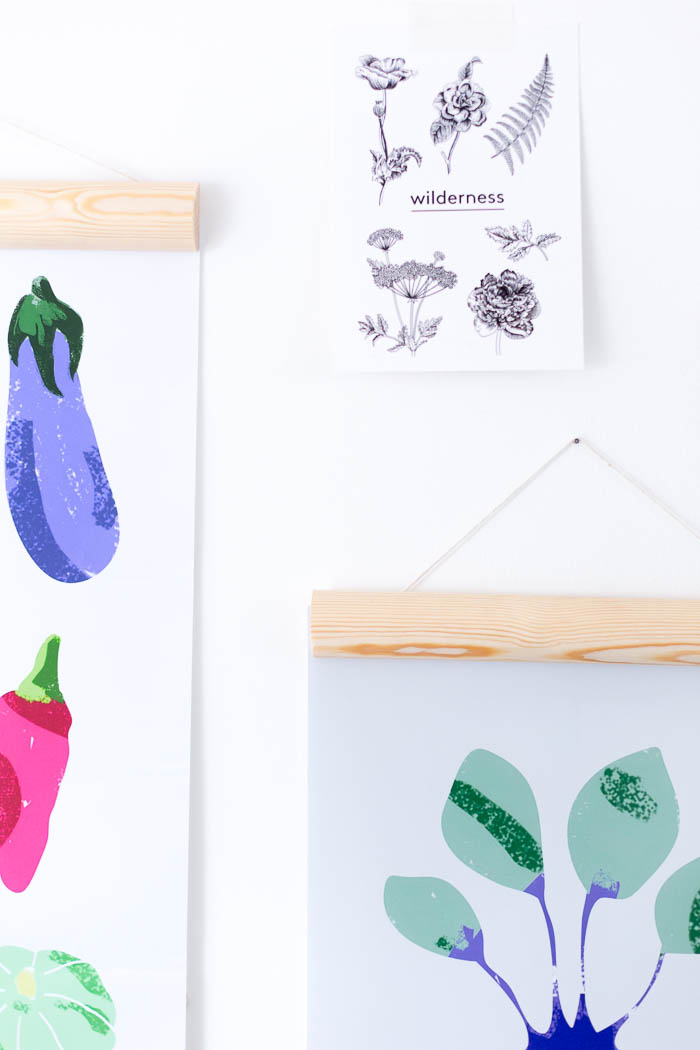
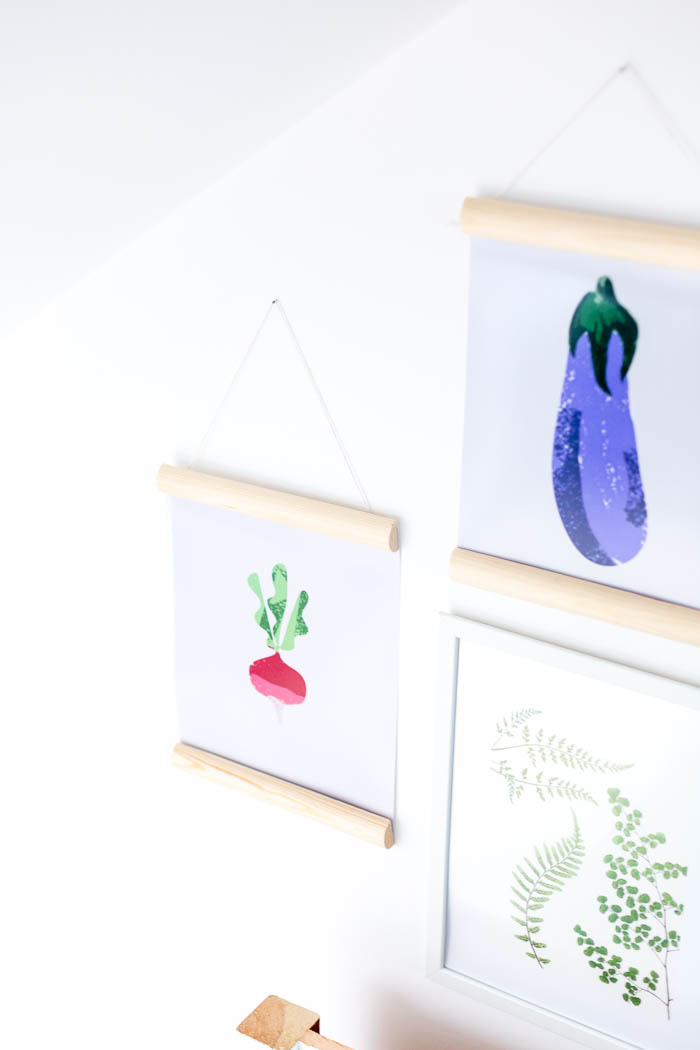
I know you. You’re a perfectionist. Give yourself a break and factor in for mistakes. No matter how well you plan, something is bound to be just a little off. These DIY Half Round Hanging Frames give you the option of adjusting the height so rather than hammering in that extra unsightly hole in the wall, just alter the frame to perfection. You can also find frames that move a little to the left or right.
Start from the slope
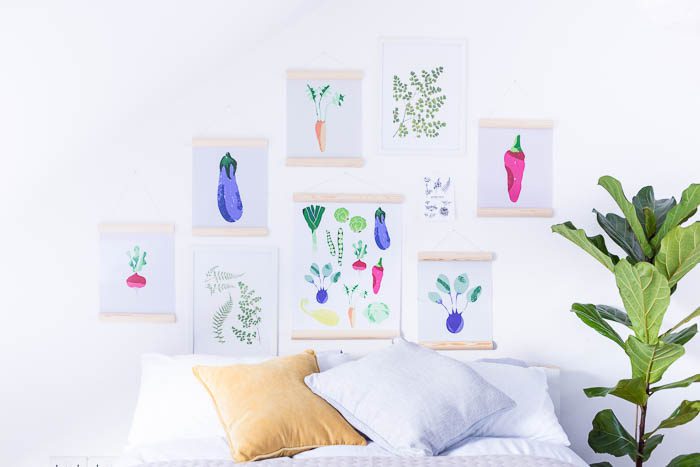
When you’re planning the arrangement start off at the sloping wall. This will give you a clean line to work out from and it means you don’t have to squeeze any pictures into smaller than desirable spaces to get the balance right.
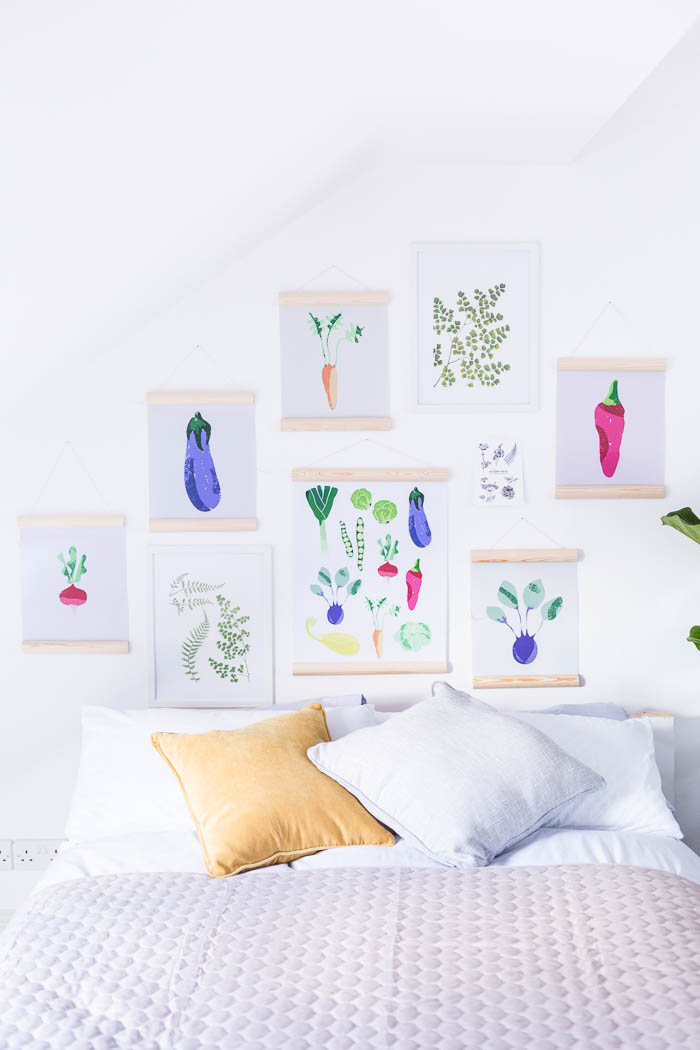
Keep it messy
When I talk about balance I don’t mean symmetry. Don’t get too consumed with making the picture wall look exactly the same either side. Just make sure if you have a larger picture one side that somewhere on the opposite side there is a similar sized print. You can see how I’ve done that with the leafy pictures on this wall. The general outline doesn’t need to line up exactly. In fact make a feature of the fact it doesn’t!
I hope these tips help you confidently create your picture walls. It really does help to get started so make time this weekend to try out a few paper arrangements. Before you know it you’ll be looking at your new, beautiful picture gallery wall!


I usually work with different sizes, so it looks varied. In my living room I just started with one picture and went on from there, I didn’t really have a plan! Looks great though!
https://www.makeandmess.com/
Looks lovely! I’ve always wanted a room with a sloped roof. So cozy.
-Jacqueline
http://www.jackieomy.com/
Thanks for such knowledgeable article that helps me to open internet explorer in windows 10 operating system then from our website http://internetexplorerwindows10.com get the tutorial to find internet explorer in windows 10 operating system.
Super cute frame wall!
Rasha | rashahamdan.com
A decent outlook will hoist your temperament, assisting you with managing viably during upsetting circumstances. A body back rub will get inspiration, causing you to have a decent outlook on yourself; it additionally hugely affects great well being.
Visit full body massage near me
You have been looking for an amazing place to get your massage service, but have you checked out our site yet? We provide the best service in city Visit body to body spa near me
massage is a great way to relieve muscle pain, soreness, and tension. Visit massage spa near me
Good solution, although I’m a big fan of the classic framing of paintings and drawings like on this site. I have already bought new paintings for my house more than once, and a good frame can help you to better integrate them into the interior of the room, and make it more successful.