When we moved into this house one of the biggest benefits was that as a 10-year-old build nothing major needed doing. Just fresh paint and some fixing and filling. Then we could be ready to start making it ours.
Of course since then I’ve now dreamed up 1000 changes I’d make to both the layout and decoration of our home, but while Alex humours my extravagant plans, we both know it’s going to be a few years, a ton of research and a magic money tree before we can feasibly start knocking down walls and extending.

So in the interest of making life a little easier for ourselves, we(/I) decided to start with a much more doable project and one that we’d get a lot out of. The living room. We spend a lot of time in here together so making a comfortable, relaxing space was a priority. After starting the One Room Challenge (click here to see the before) to complete the makeover in 6 weeks I quickly discovered I might have jumped in a little too soon after moving. While this would be the easiest room to makeover I also had boxes to unpack and deadlines to meet, and so it’s taken just a few months longer to get finished…
The room is one large open plan living space that flows through to the kitchen. I love the idea of this larger space but practically we needed to break it up into a living and dining area. The light at the back of the room can be quite dull so I didn’t want to add any partitions that would block out any more light. With this in mind I chose to use our furniture to break up the space.
To make matters even more complex this room is not only a living/dining room. The front door practically opens into the room so it kind of acts as an entry way as well. A full on multitasking space. While we don’t need space here for coats, shoes etc with the baby on the way we will need somewhere to put a pushchair (things you don’t think about until all you’re thinking about is babies). So keeping this clear and clutter free was a priority.

When we first moved in the previous occupants had curtains in place at the front of the alcove closing off the entire bay window. This window practically opens out onto the street so we threw up a pair of curtains for privacy until we had another option. The room benefits from all the natural light it can get which is why we opted for these Soho bright white wooden blinds from Blinds2go.
As soon as I installed the blinds (which was incredibly easy by the way) the room completely opened up. Having the extra space and light at the front of the room created more space physically and the illusion of a bigger room altogether.
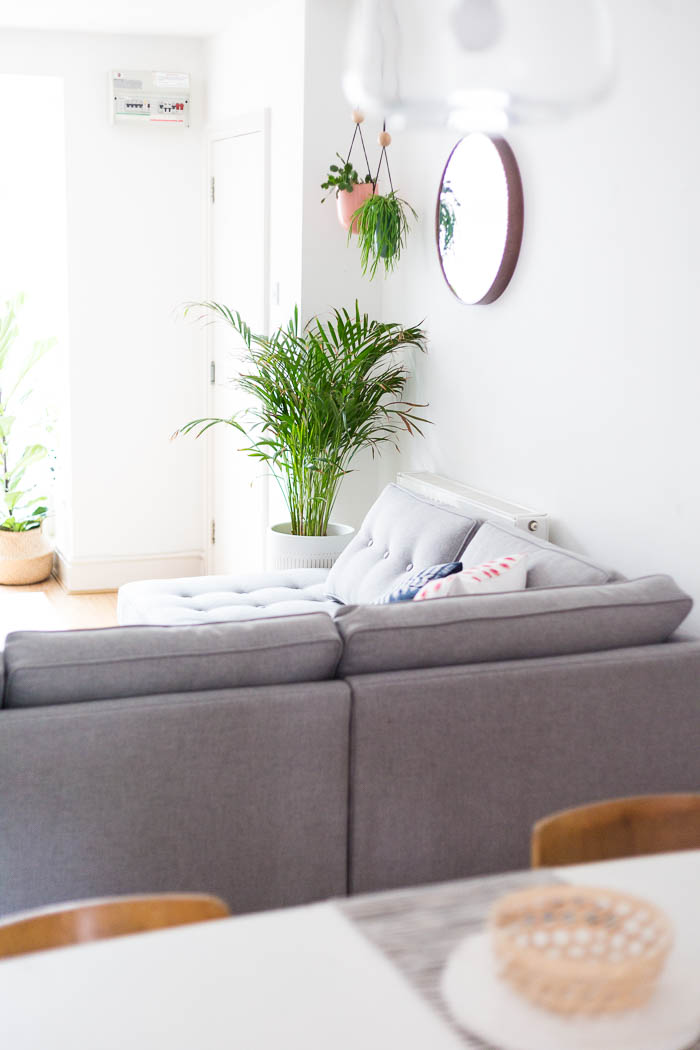
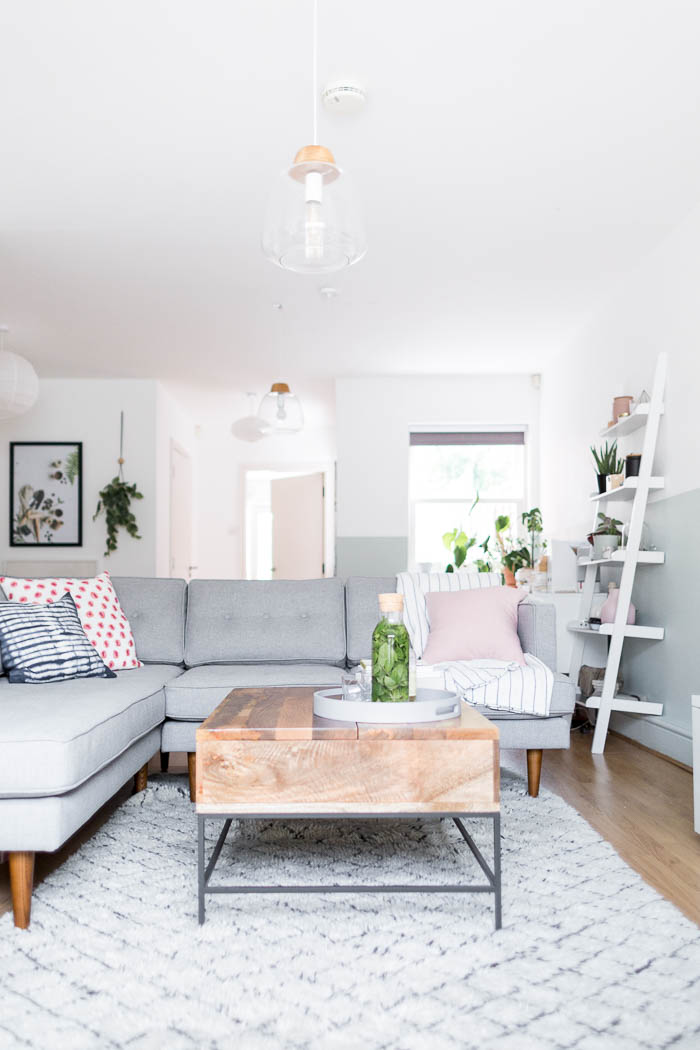
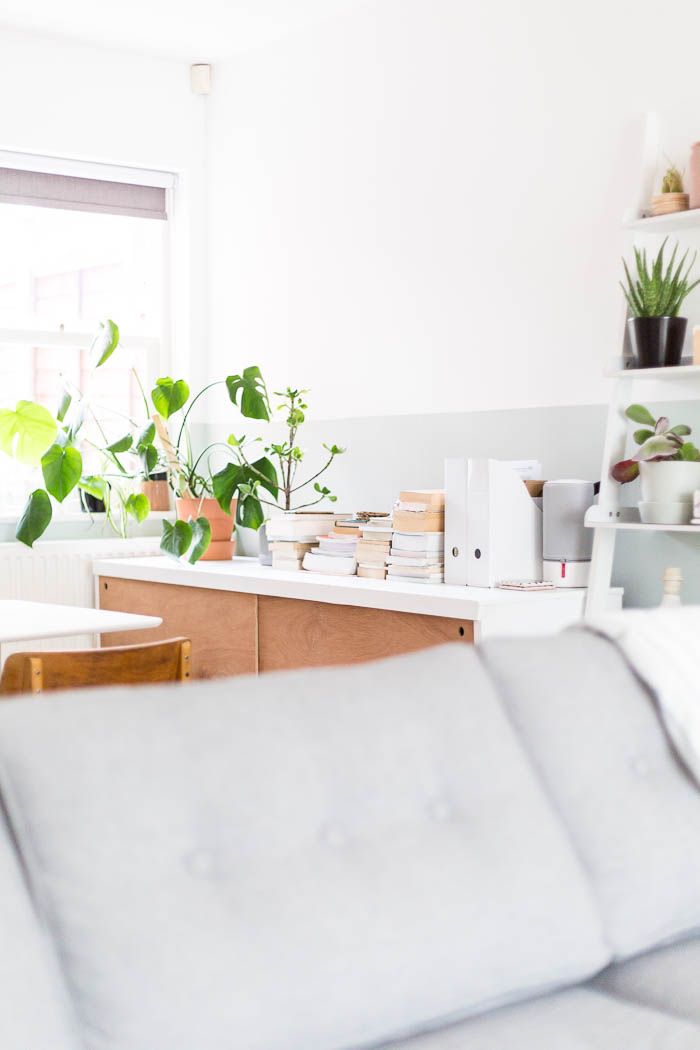
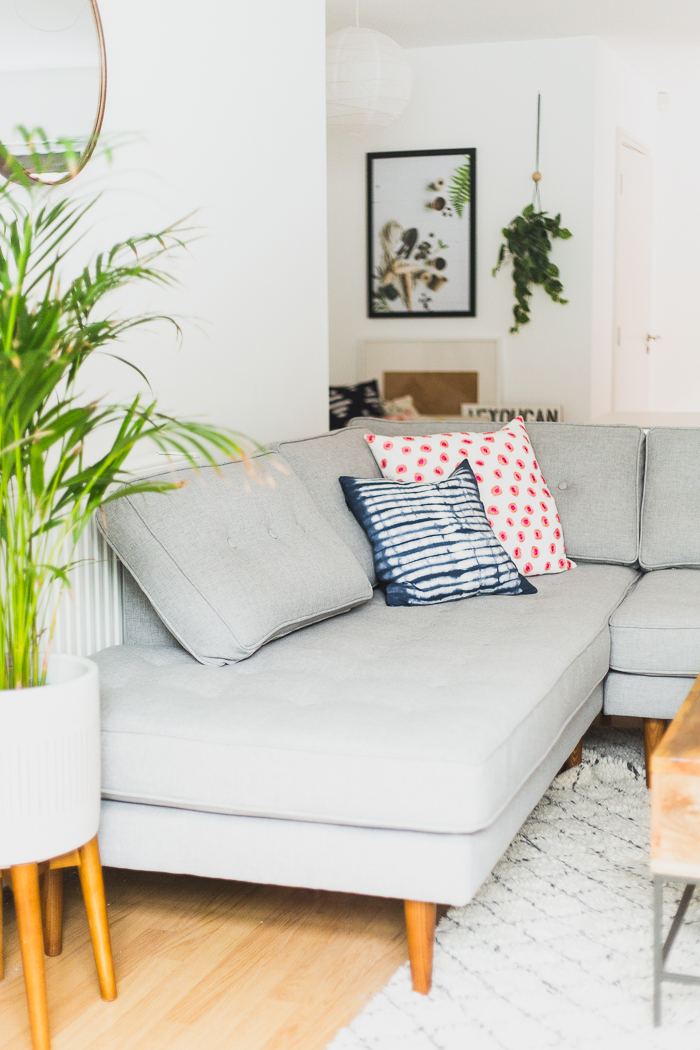
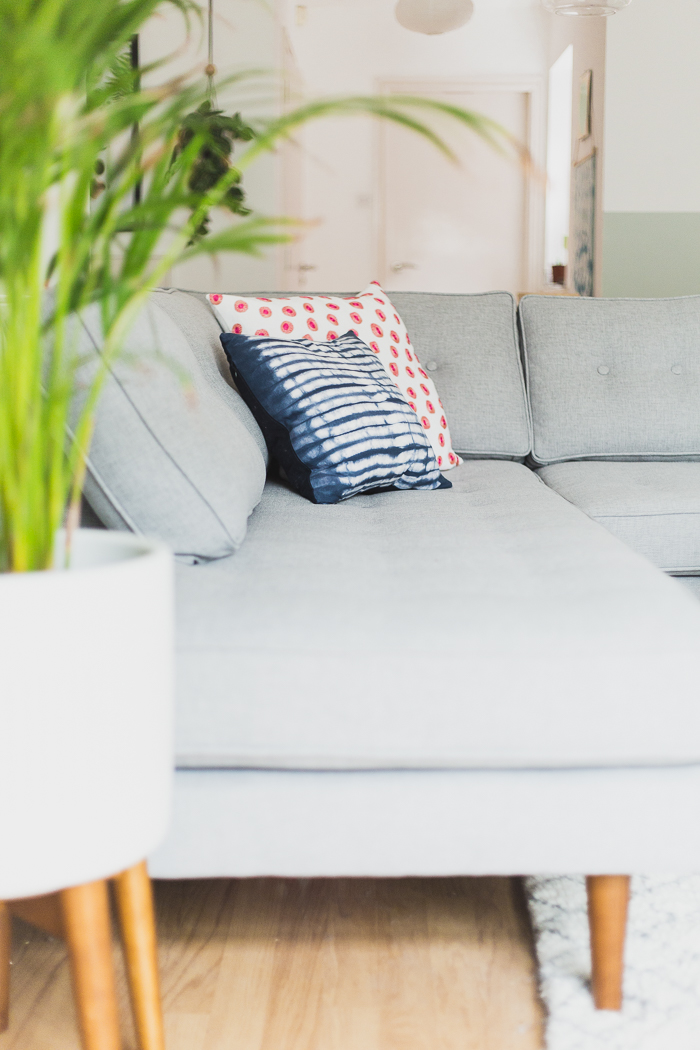
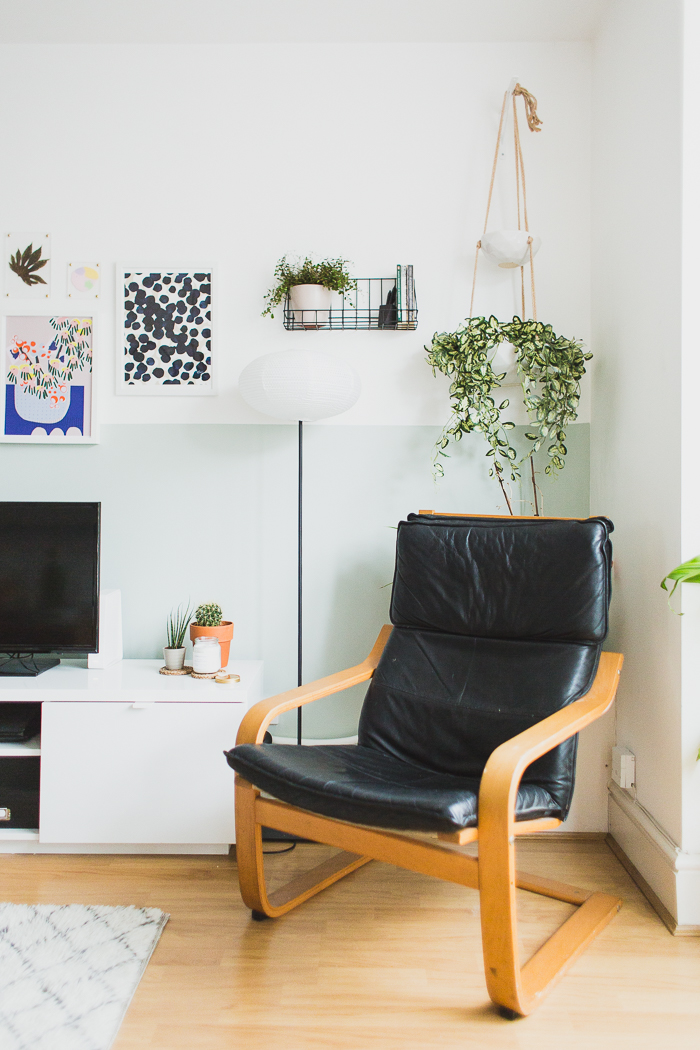
Most of my decisions for this room were based on the proportions. As a long, narrow space I was aware that one wrong move might turn it into a corridor from the front door to the kitchen. So I knew I wanted an L-shaped sofa and couldn’t resist this beauty from West Elm. I was worried it was a bit on the larger side and would take up too much space, but I’ve found the width actually makes the room appear wider than my previous 2 seater sofa and is a great way to break up this room. It is also so unbelievably comfortable. The perfect place to curl up and Netflix binge!

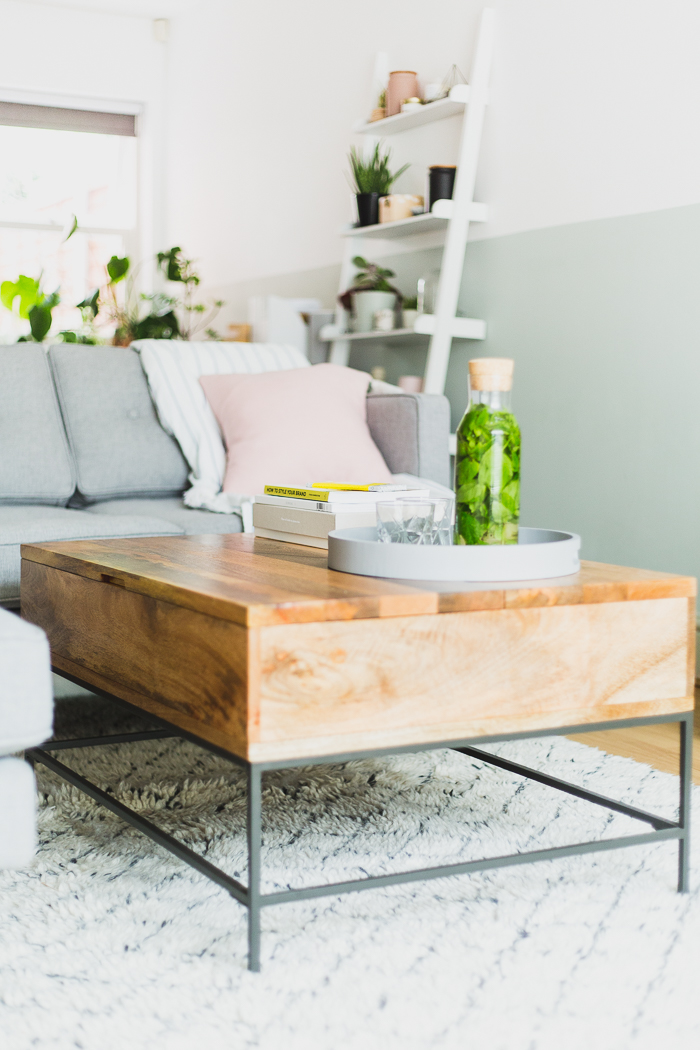
I’m not a naturally tidy and organised person but I do hate the look of mess everywhere. The easy way to overcome this problem is having storage areas that you can easily access and hide the mess away in. Storage boxes, drawers and this awesome coffee table are perfect. I’ve wanted one of these for years. I often work in the evenings, editing photos or researching blog posts. Hunching over a laptop for hours and then attempting to do anything but lie on the floor in pain afterwards is less than productive. Not only can I hide all those bills I haven’t got around to sorting yet, but I can work without injuring myself as well. I’d call that a win!
I used this soft rug as a neutral to offset and mostly cover the orangey tones in the laminate. Ideally we will change this to something cleaner but for now a big, beautiful rug does the job well.
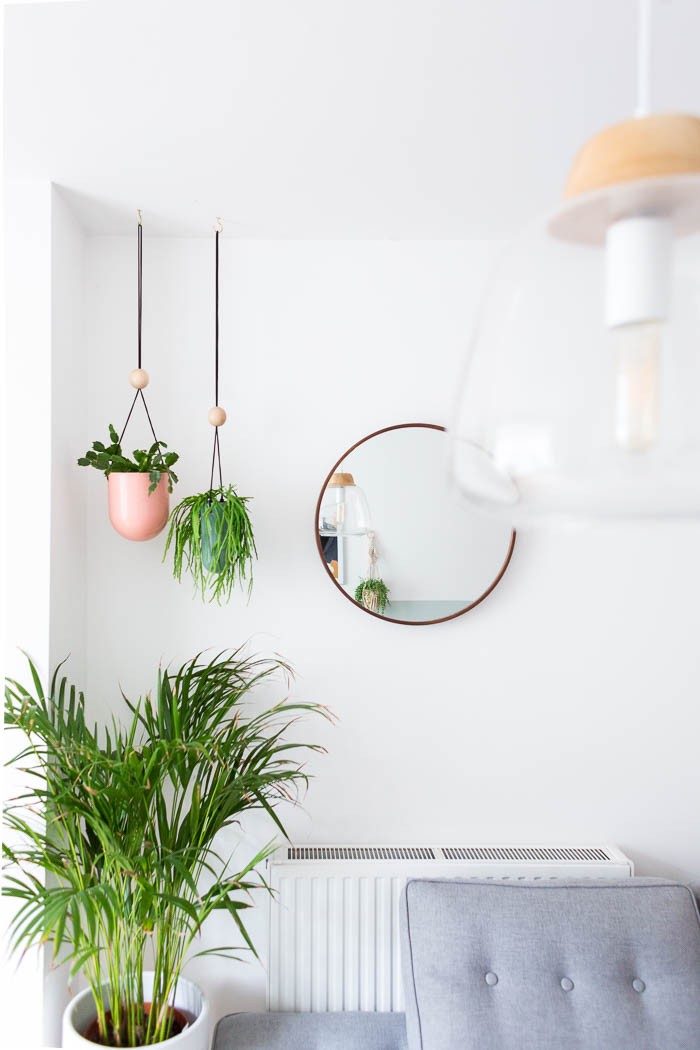
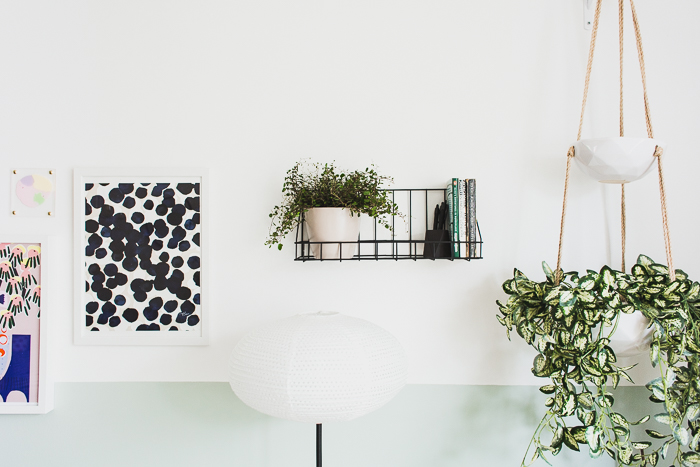
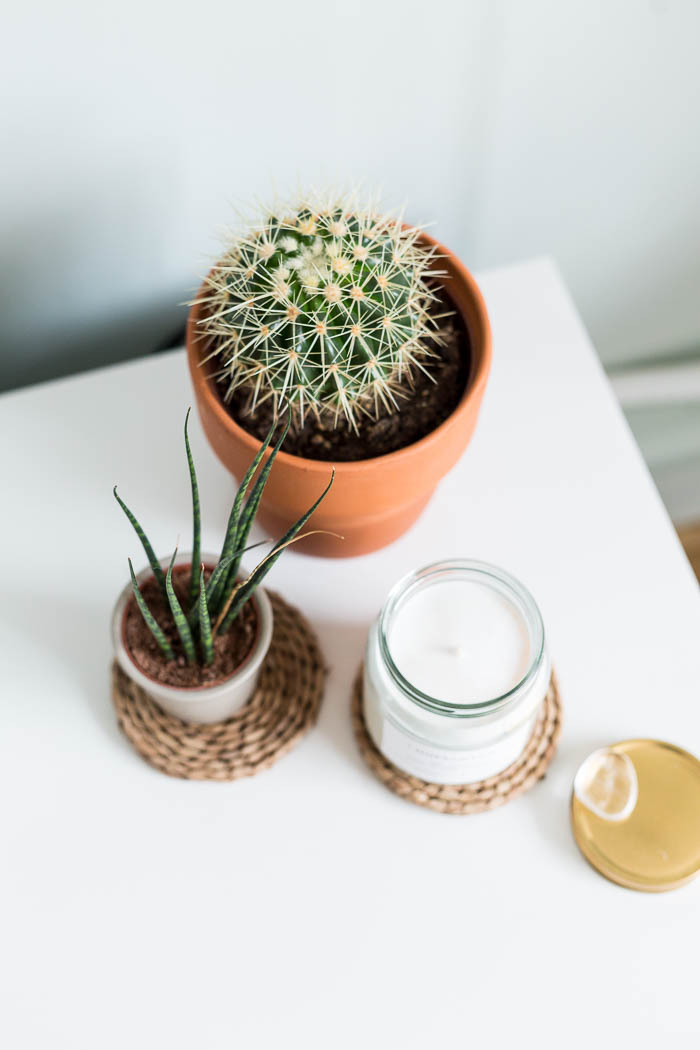
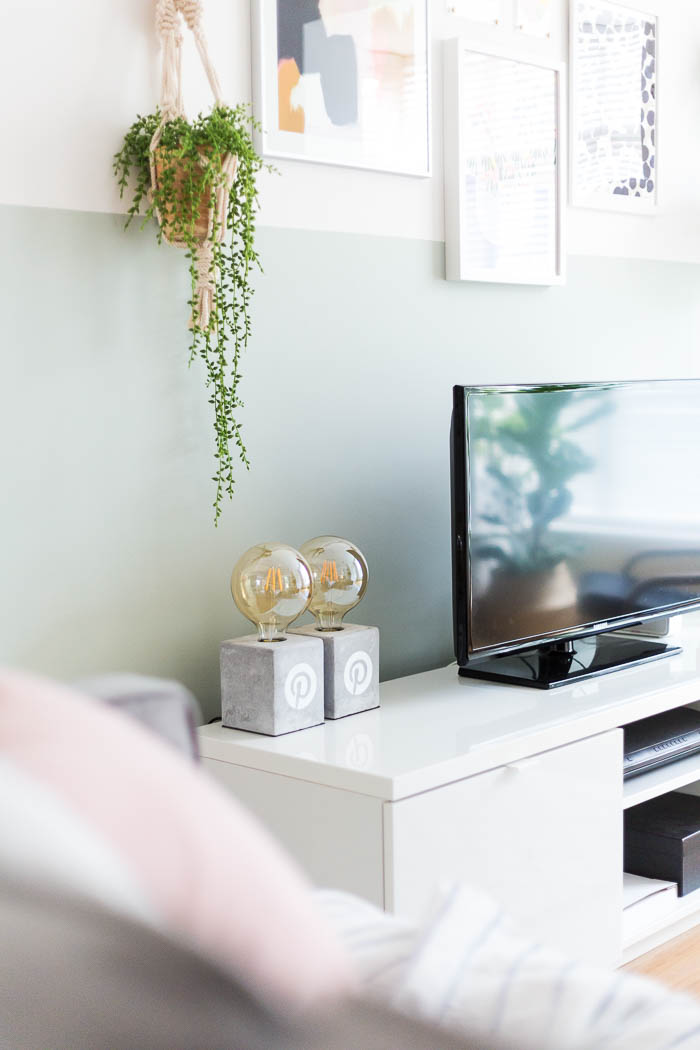
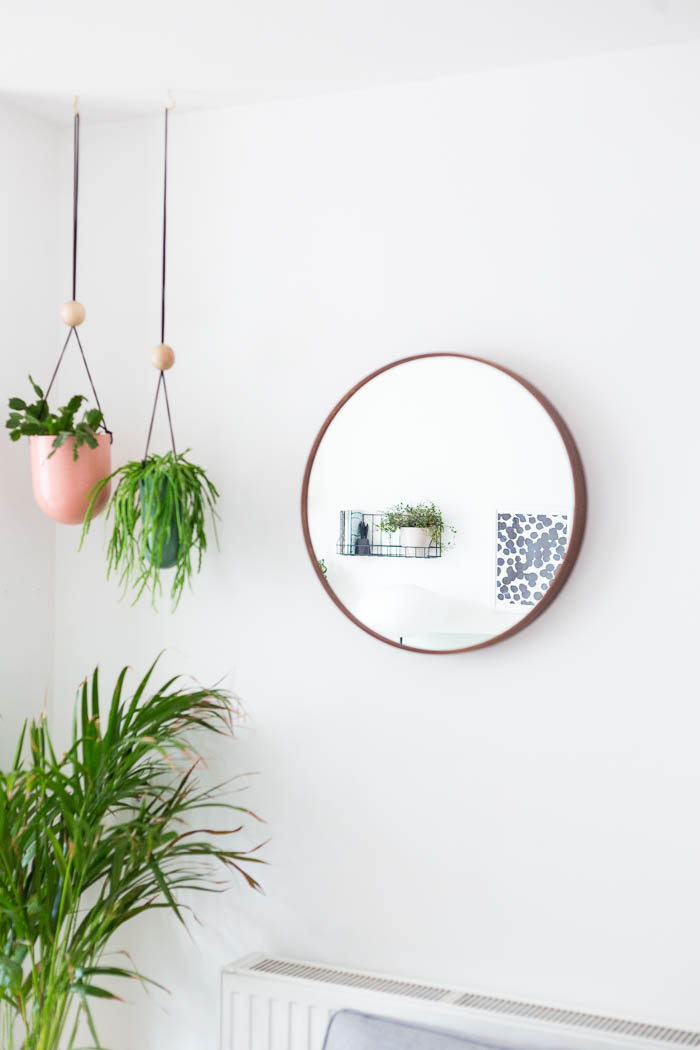
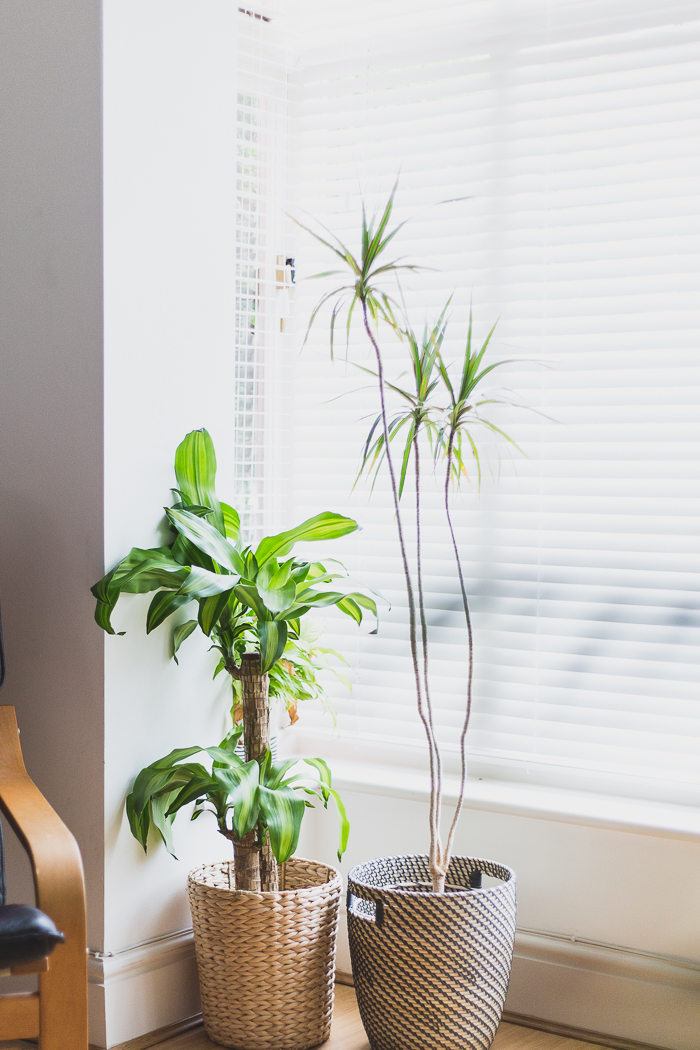
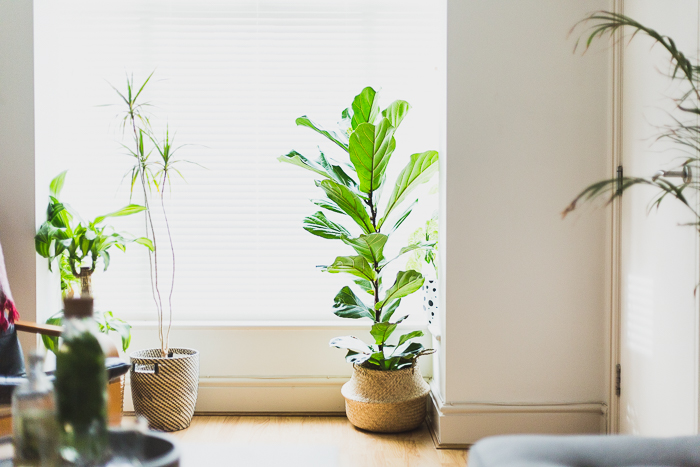
To decorate I wanted to go for lots of plants and colourful accents. My basket collection finally came in useful after hoarding it away from our pesky rabbit for so long. Now it’s on full display as long as I can keep these plant guys alive. I’m also in love with this mid-century planter which sits so perfectly in place at the end of the sofa.
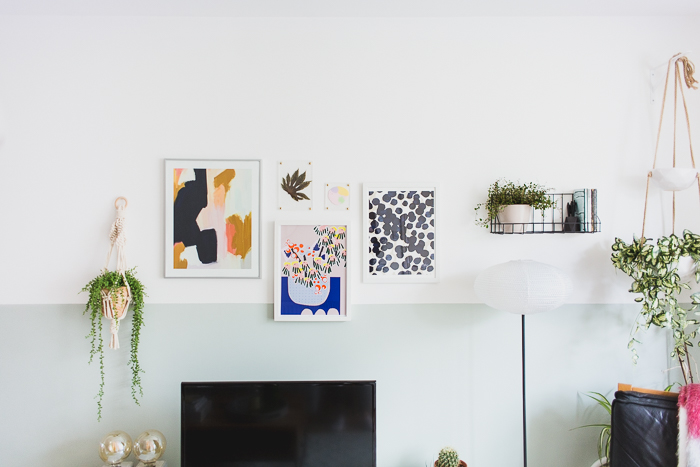
The two outer prints are from Society6. I really love the work you can get on this site, but after factoring in exchange rates and customs charges the cost is more than I would usually pay for a print. In total contrast, the middle piece is hand printed from a local artist Sarah Fennel, which I picked up at a craft fair. No postage, or customs or hidden charges. Lesson learnt. I’ll be buying local from now on.
I’m pretty sure I’ll be making some small changes over time to the room especially when those little hands start grabbing, but until then I’ll enjoy the one space in my home that feels like it’s just that.


I love your color choices! The room looks so light and airy.
Dear Fran, please I’m asking you to change your blog format back to your old blog format. Since I read your blog from my phone, it’s hard to read each blog post considering how small the text is.
Of course this is just a suggestion, so don’t feel pressured to do so.
Xoxo Tori
Hey Tori,
Thanks for the feedback. I’m currently experiencing some issues with load times so I changed the template to an old format to see if this will help at all. I’m mostly running an experiment and trying to work out what to do about it at the moment. Hopefully at some point soon I’ll be able to resolve the issues and make the site much better all around!
Thanks,
Fran
Ahhh your trasnformation is amazing!!
http://www.petiteelliee.com
Ellie x
I really love the brightness and the colours of this room!
Where did you get those beautiful hanging planters with the big wooden ball on top of them?
Thanks, Lynn
Thanks Lynn,
I got them from Tiger Stores. It was a while back now and I’m not sure if they have them but it doesn’t hurt to look right ;D
Hello Lynn. Great room. Your plant choices are spectacular. So many. Gives me plant goals. Bravo.
Thanks, Melissa
Love the way you pulled the room together with your colour scheme and accessories. Hopefully, you will find it practical and comfortable.
This room is so beautiful! Can you share what paint colors you used? I want to copy the look in my bedroom!
Good Idea. Your work is very beautiful. You are so skillful.
Wuxiaworld
This room is so beautiful! I really love the brightness and the colours of this room
Instead of being dissatisfied with something, it is better to strive to change something. Now there are so many housing options, I advise you to get acquainted with this https://www.sunnyrealty.com/Sunny-Isles-Beach/Trump-Towers/ in more detail. Life is too short to waste it on places you don’t like
Perfect solution! My husband and I are currently just reviewing kit home reviews, and planning our dream home. Over time, we also expect pleasant cares with repairs
I never thought that story of Joker was so sad, I just watched new movies and I am still under impression.
IZSPA, is the heaven in form of spa we are best body massage service provider in Bangalore.We offer our customers massages like Female to Male,Body to Body Massage, Thai Massage and many more modern and traditional types massages provided by IZSPA in best prices.
Visit full body massage near me
We provide the best service in city and offer a wide range of packages so that there is something perfect set of modern and traditional therapies bunch is waiting for you.Visit full body massage near me
great blog thank you Visit massage centre near me
Having a local moving company relocate your belongings is more cost-effective than going the DIY route. When moving by yourself, you won’t only have to deal with extra expenses, but you’ll also need to exert a lot of your effort and energy..
Moving copany helped me several times because I need to deliver my things into new office. You can check also info about professional movers https://calgarymoverspro.ca/ For instance, when moving by yourself, you need to plan, buy packing materials, allot some time to pack your things, and decide on a moving day, among many other tasks. Also, doing these doesn’t guarantee that you won’t forget anything because of stress and extra pressure.
I’m currently experiencing some issues with load times so I changed the template to an old format to see if this will help at all.alfa movers
Thanks for sharing a best living rooms pictures all pictures are beautiful and informative.
I love to see it.
If we are talking about the before and after living, We talk about bed or drawing rooms or for our home. Our selection and choosing right things from right https://www.essentialsfix.co.uk/ you people should visit this for home essentials .
Regards