
If you’re anything like me then you can never have enough plant pots, stands and general greenery accents. I’ve made many before including one of my favourites from balsa wood. I’ve got to say I love working with this amazing material. While looking every bit as gorgeous as natural wood, it’s about a thousand times easier to work with. Instead of a saw, you can use a craft knife. You can easily cut, sand and shape the wood, and layer it up to create strong and secure structures.
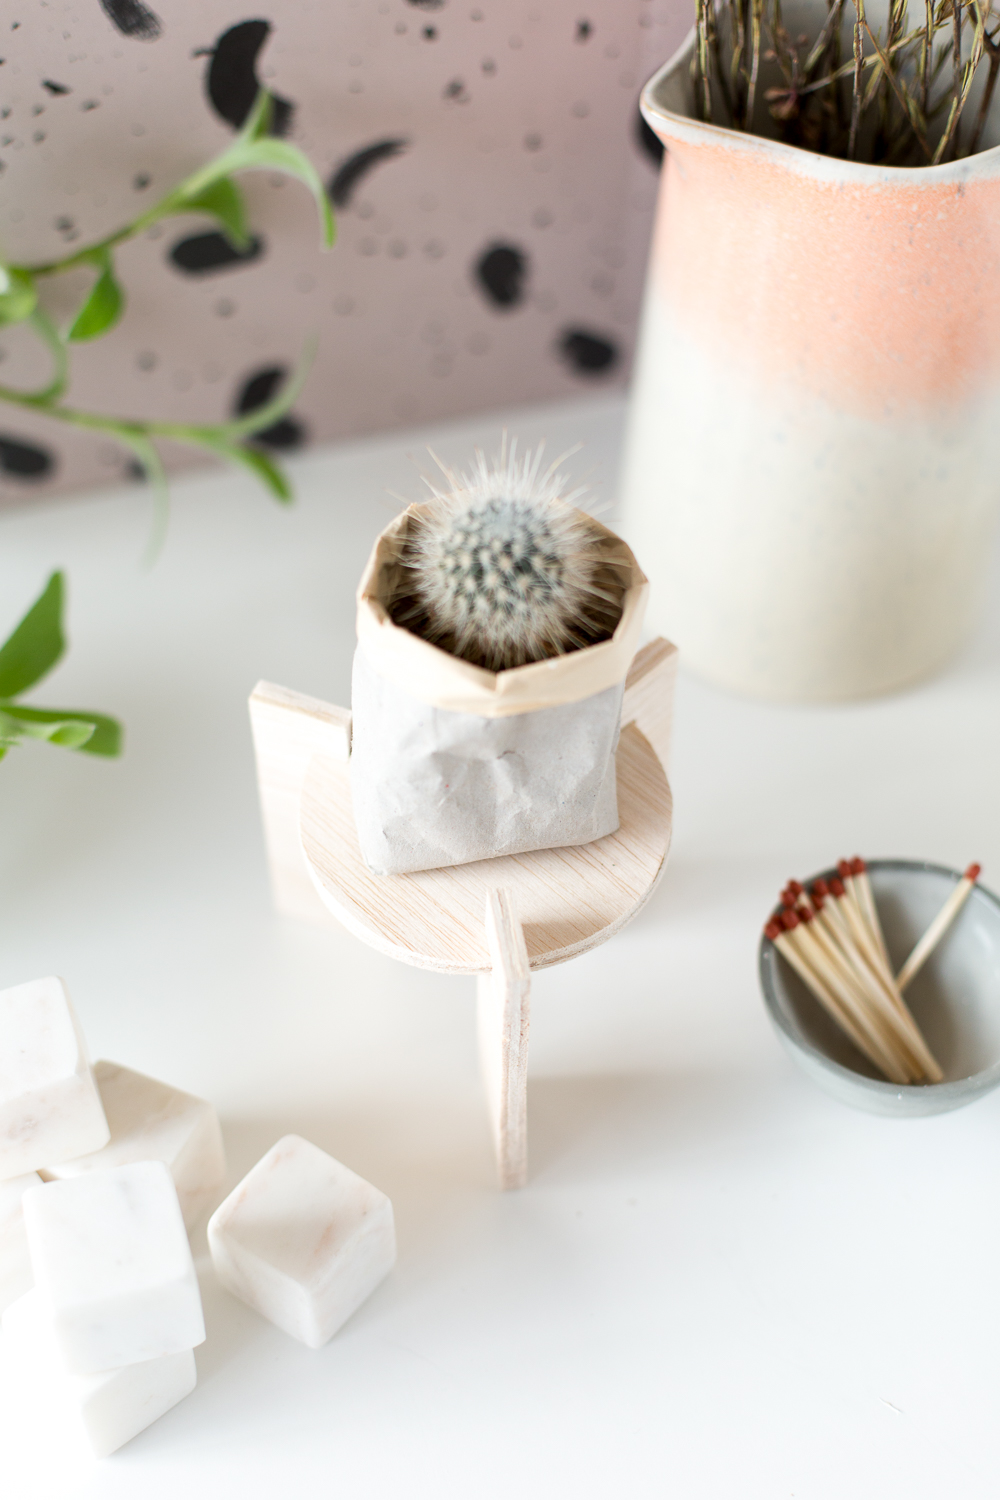
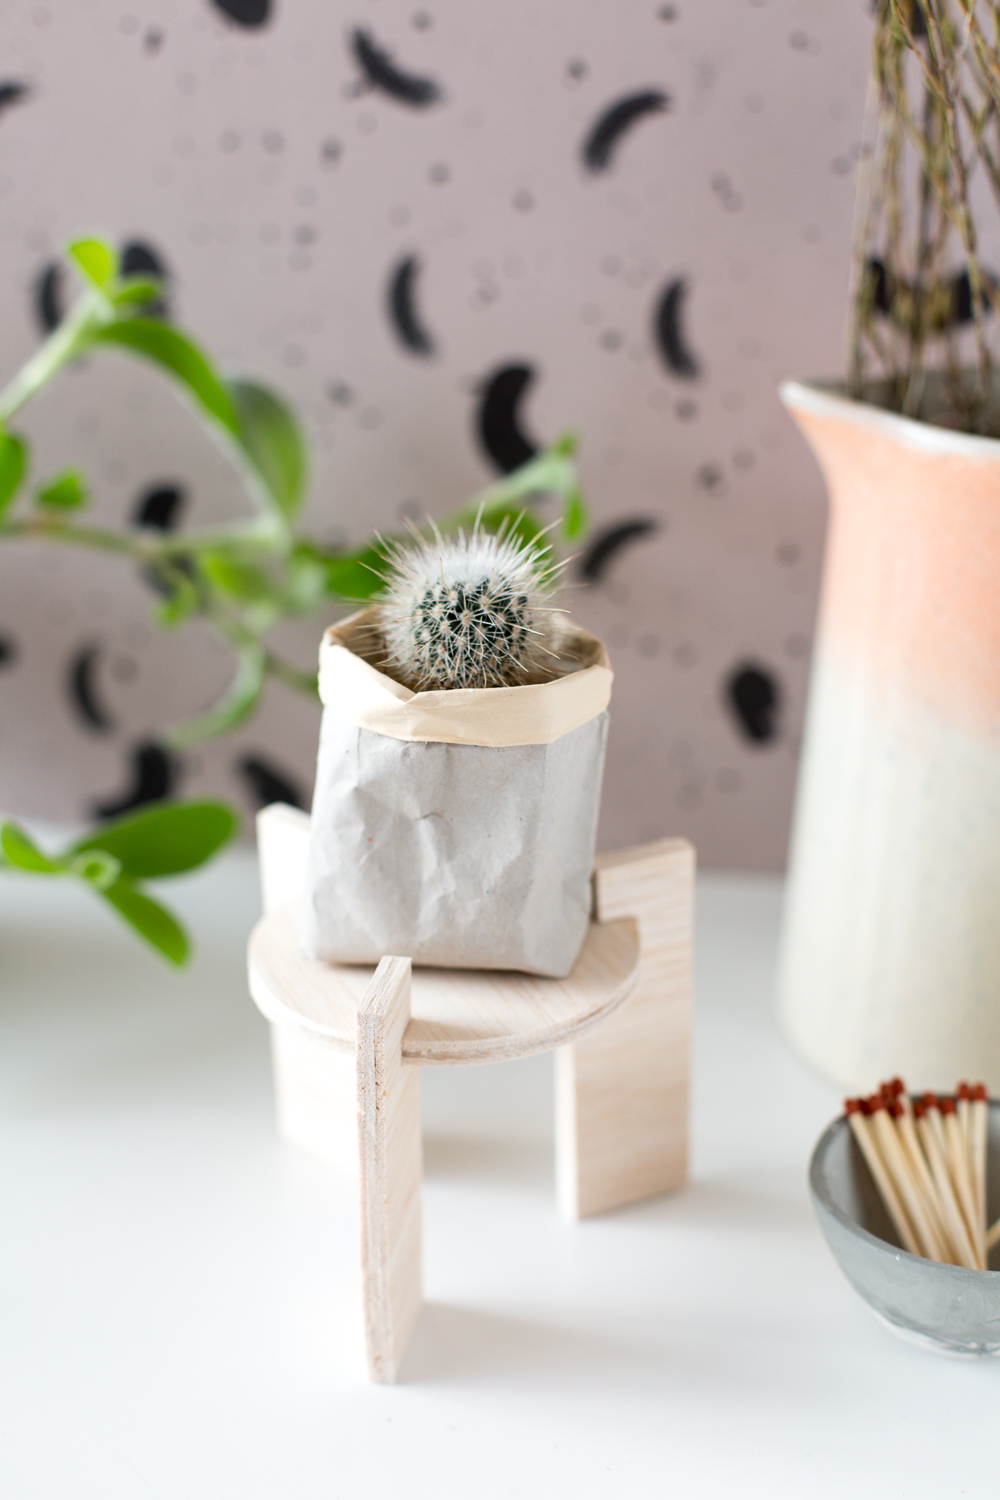
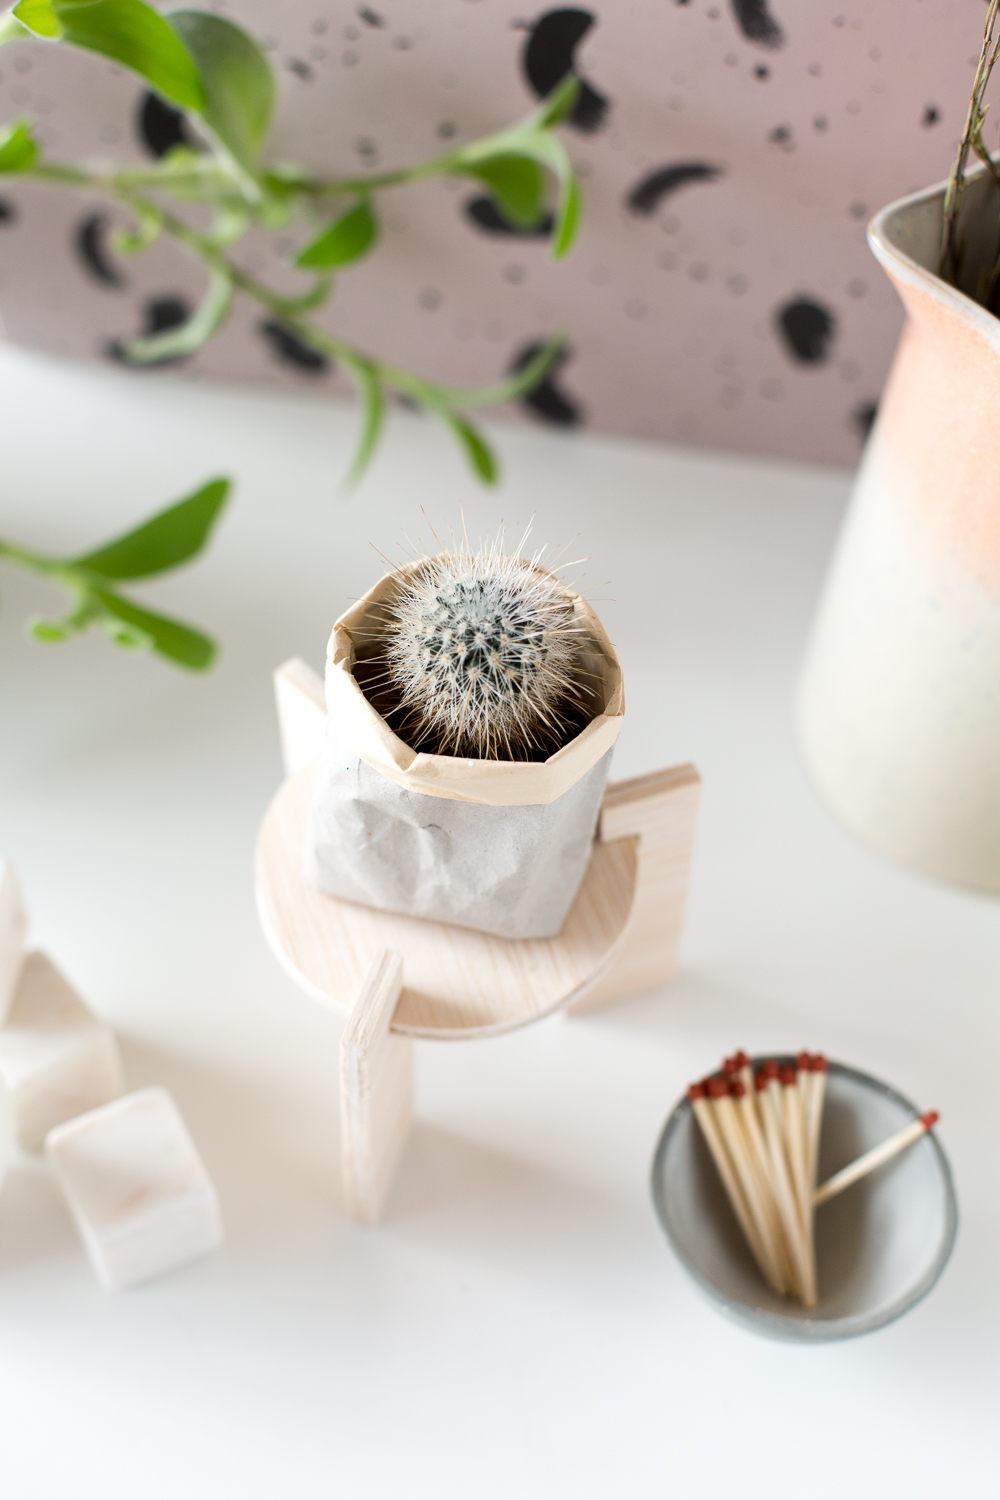
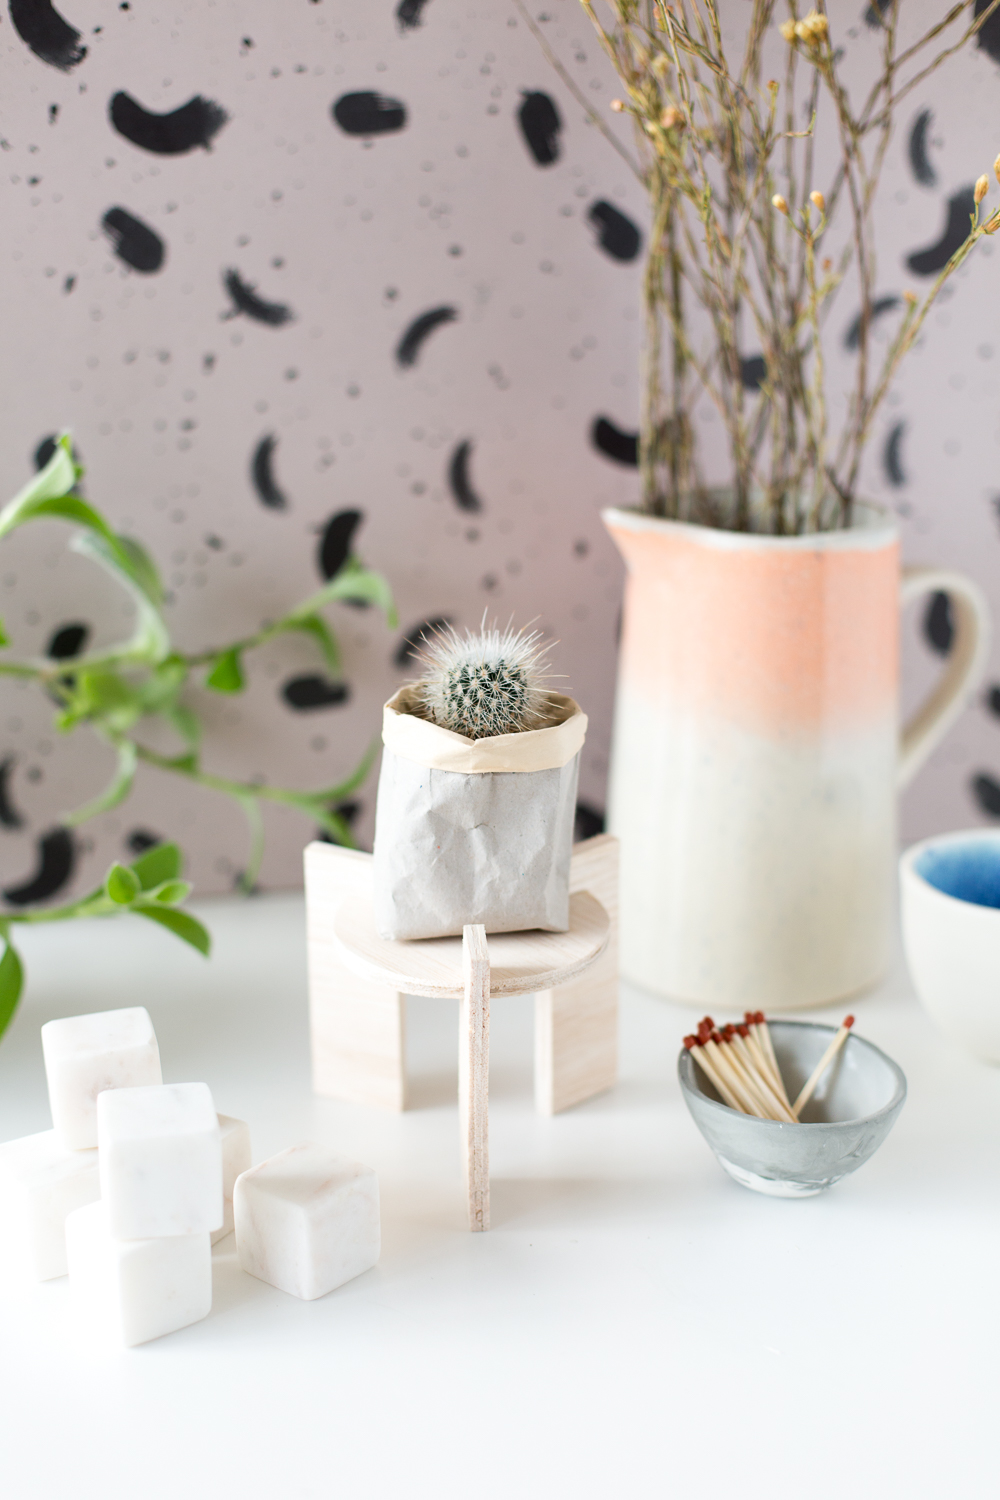
I’ve made this stand just big enough to hold my favourite little cactus. I still love these paper plant sacks I made and this combination is the perfect pairing don’t you think?

Materials
2mm balsa wood sheets | Template | Pencil | Craft knife | Sand Paper | Glue gun
Instructions
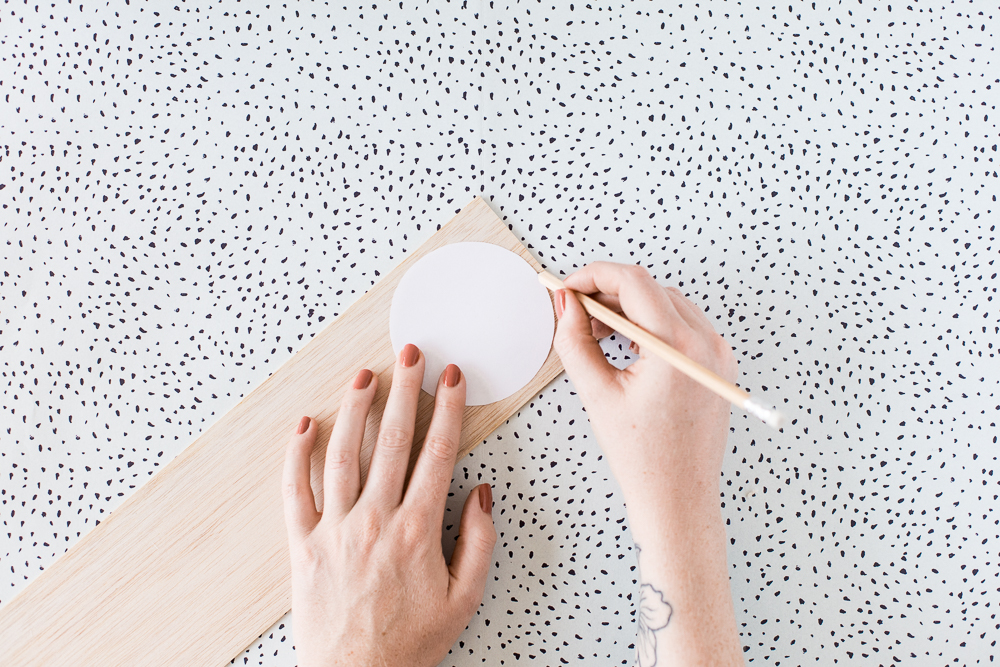
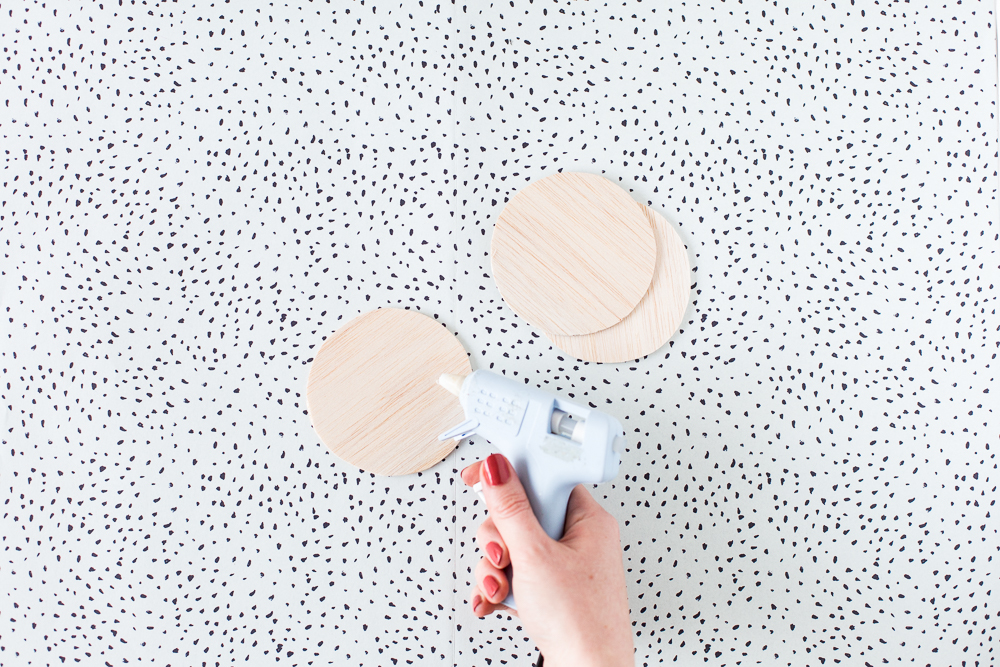
1. Print out the template and cut out both of the shapes. Place the circle over the sheet of balsa wood and draw around it. Cut out the circle with a craft knife. Do this three times.
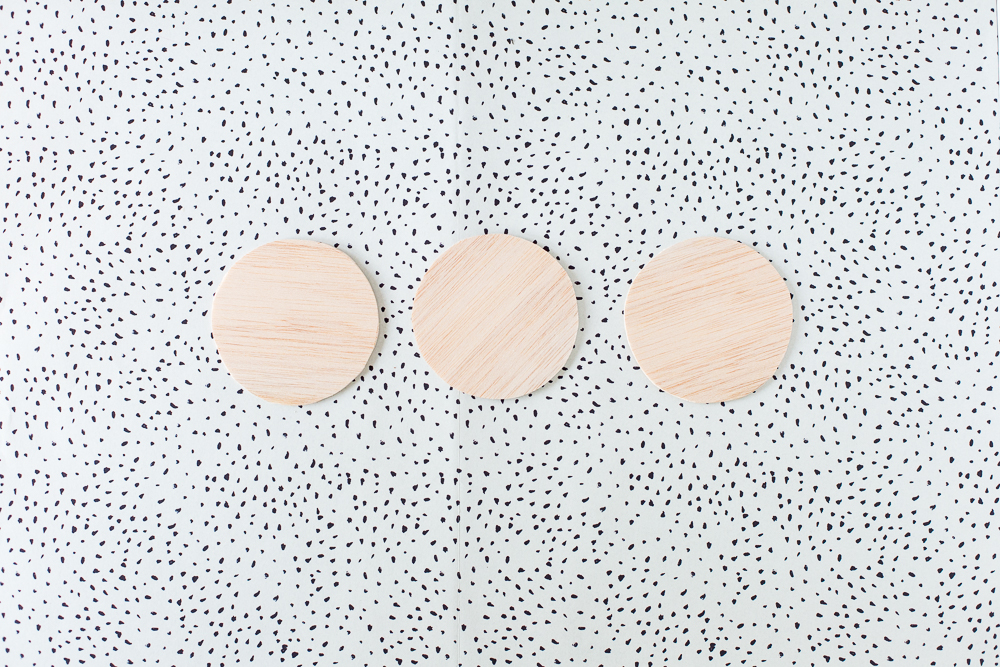
2. Glue the three circles together, pressing firmly to create a solid surface. Sand the edges to create a smooth line.
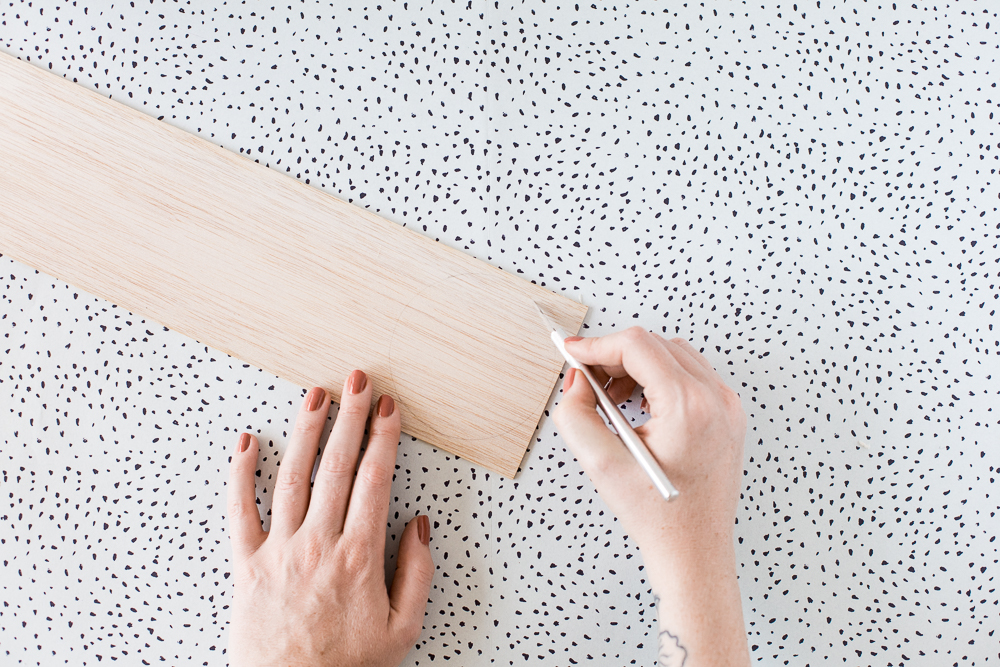
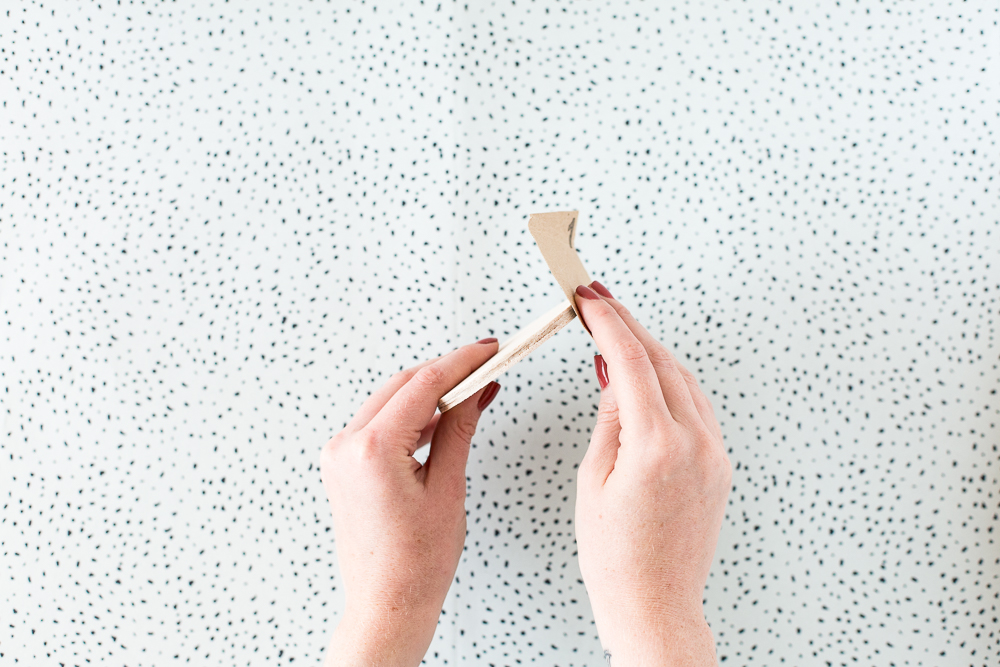
3. Draw around the rectangular shape a total of 9 times. Cut these out with the craft knife and sort into three piles of three. Glue them together so you have three thicker pieces and sand the sides to create even edges.


4. Place the circle piece into the gloves. Dot a small amount of hot glue to hold them in place. (If you need to make the gap larger by sanding).
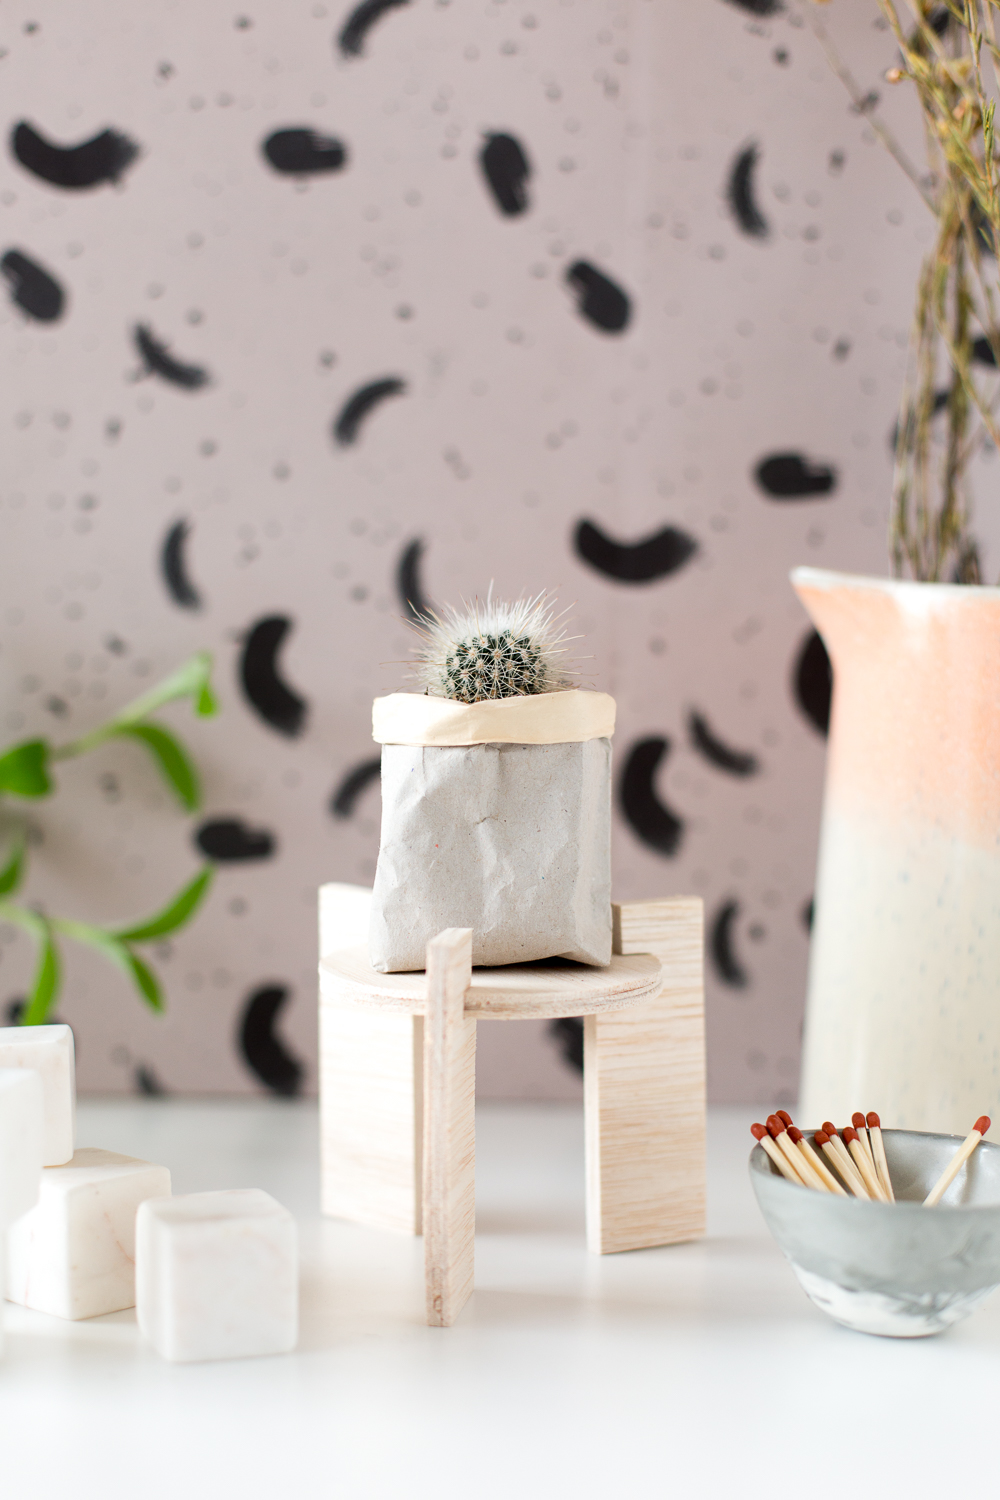
You can make these larger or smaller depending on the size of your balsa wood and plants. Just scale up the pieces. If you’re going much bigger you’ll need to cut and glue more layers to strengthen the wood.


This is so cute!
https://poshpossibilities.blogspot.com/
I love the aesthetics of the plant stand, Definitely something I would make in my spare time.
PS , when are you going to post a avocado related diy.
Thanks Claire! I’ve been promising an avocado DIY forever!! I’m going to do a little planning this afternoon and see if I can come up with something very soon xx
This is right platform windows 10 shortcuts keyboard so,look it here and follow the simple tips.
Hello, I am very impressed with your information because it will very helpful for me to make the custom dissertation services I am a business maker and always searching for information that will help me.
Thanks for the post
Best regards
uk essay writing service reviews
Hey people! If some of you nned some help with essay and homewok go on and be raedy for wins! Check this personal statement writing help and enjoy! Happy new year!
DIY Balsa Wood Plant Stands are easy to make and they look great, too! This project uses a soft, natural wood that is very easy to cut and manipulate. Instead of gluing pieces together to make a structure, you simply cut the material into different lengths and glue them together. This simple project is a great way to display your favorite plants. If you want to make it even more unique, you can use dream catcher-style thread patterns to add a decorative touch.
I’m a writer at https://writeanypapers.com/ and if you want to know more about me, email me!