It feels like I spent all of this last winter planning, organising and just getting myself ready for the spring. Back in September I decided I would put a lot of work into my studio and at the same time we were in the middle of a house hunt (I know, this is all I talk about these days! But it’s actually all I’ve done for months now!) As the days have been getting lighter I finally feel like my workload is too.
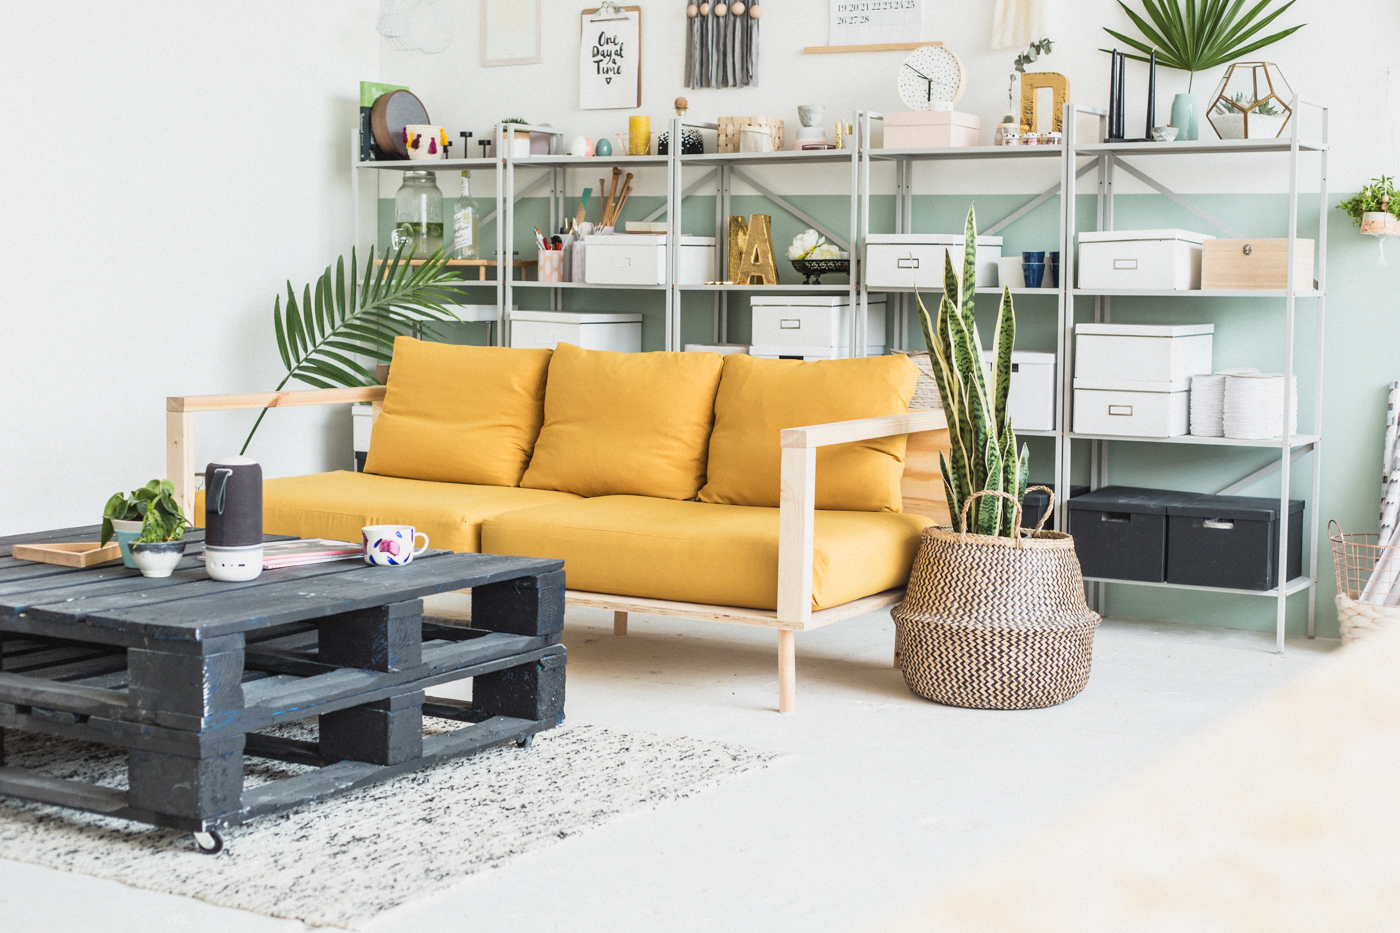
The studio is starting to look something like I imagined it all those months ago. Of course, there’s still a lot of work to do but instead of spending half my time painting or sanding or plastering I can get back to the actually blogging side of my blogging business… what a novelty!
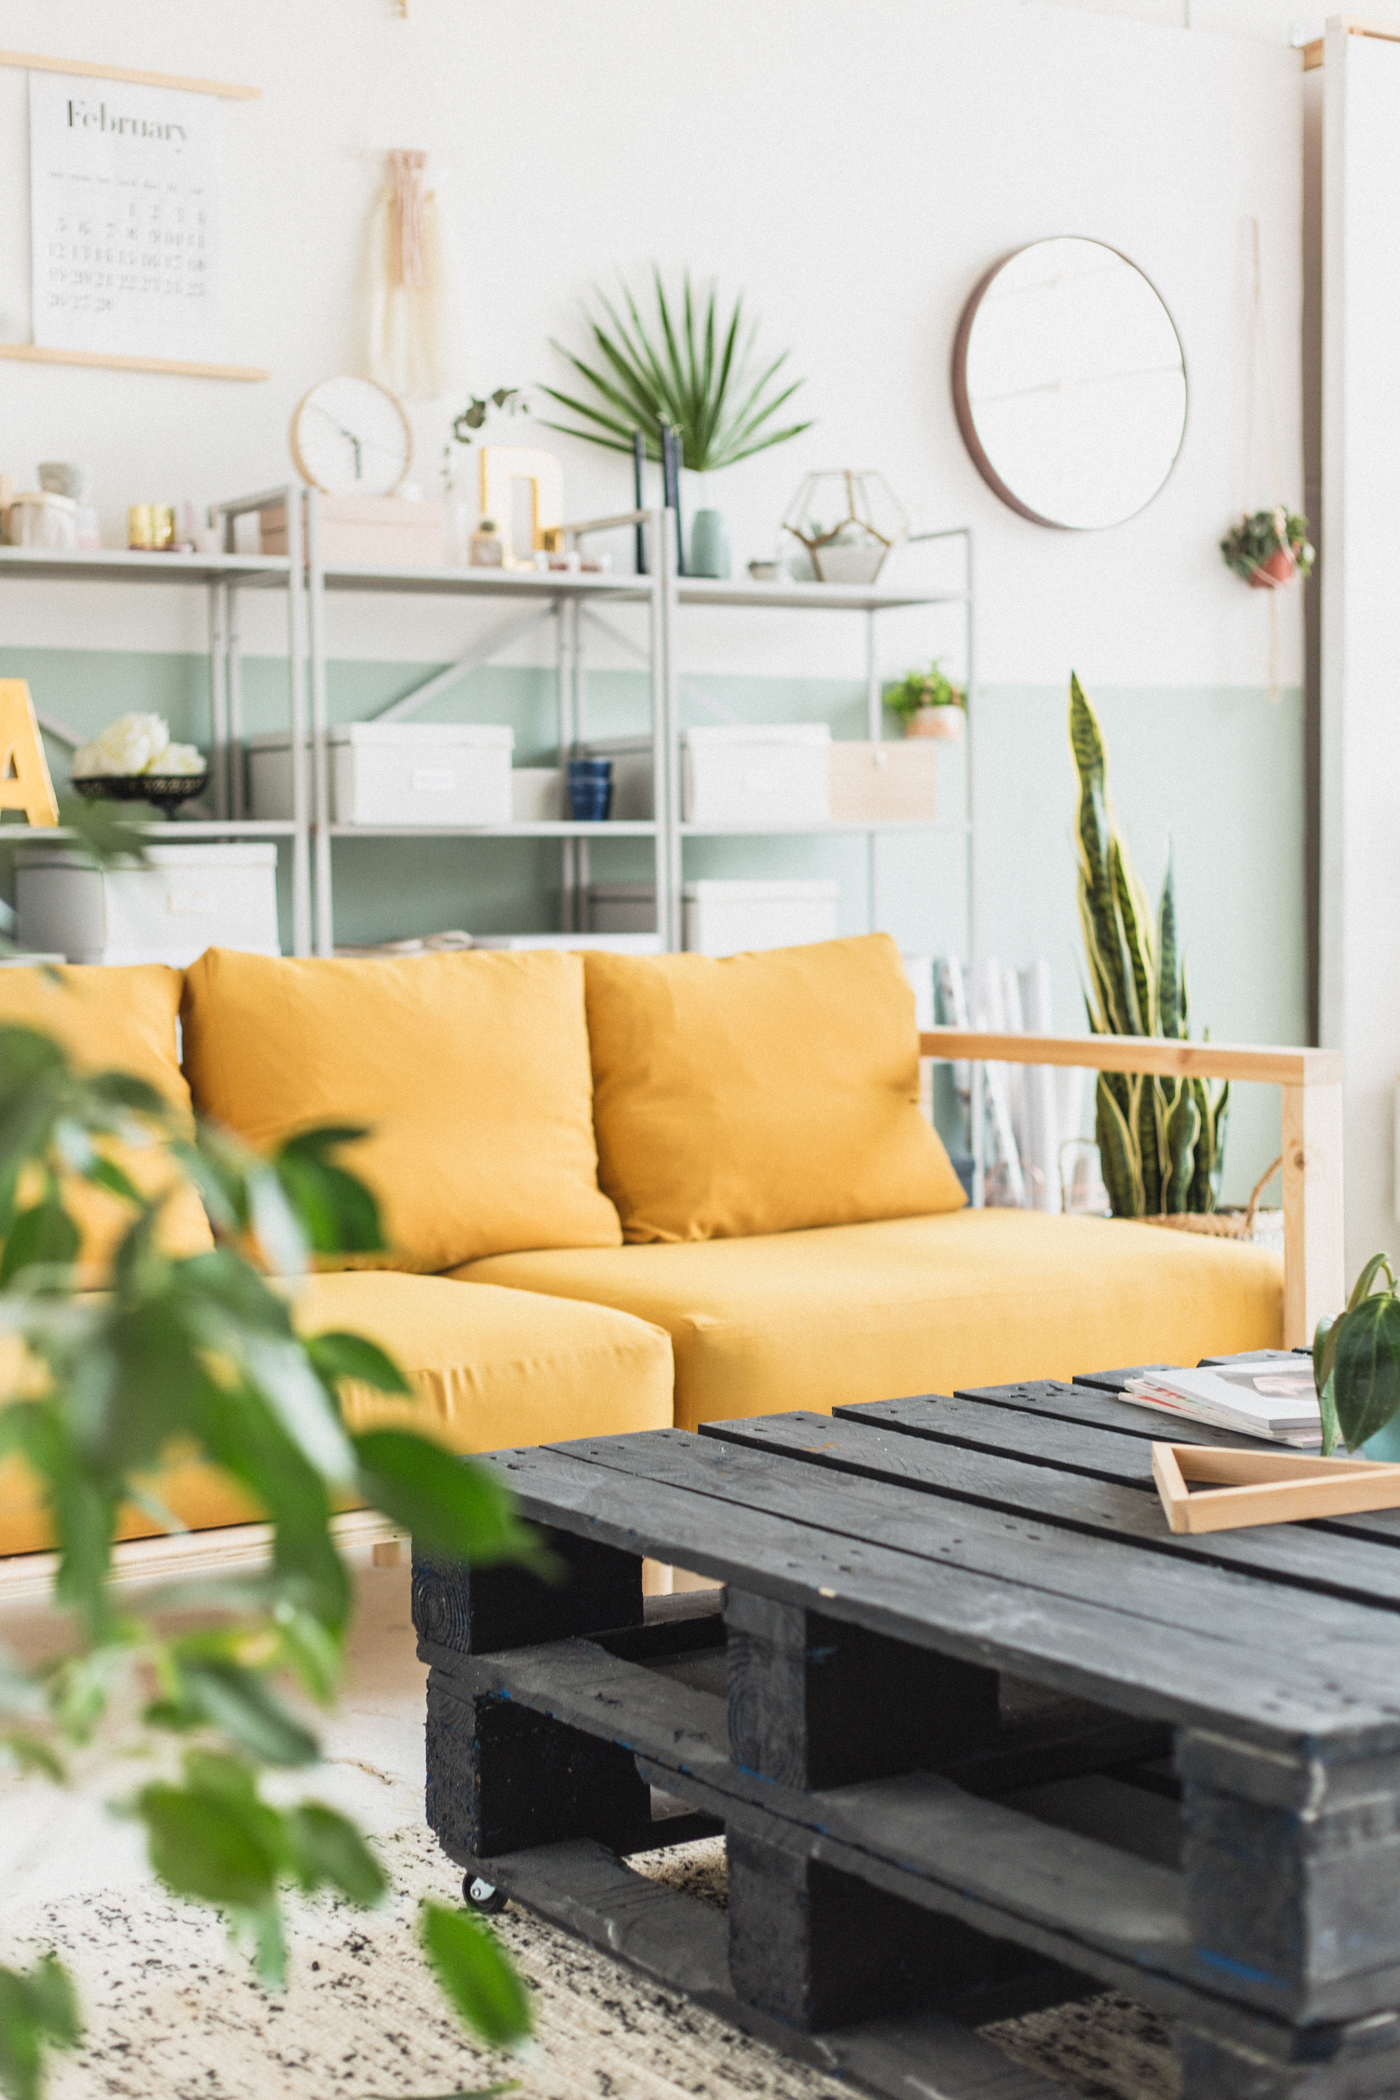
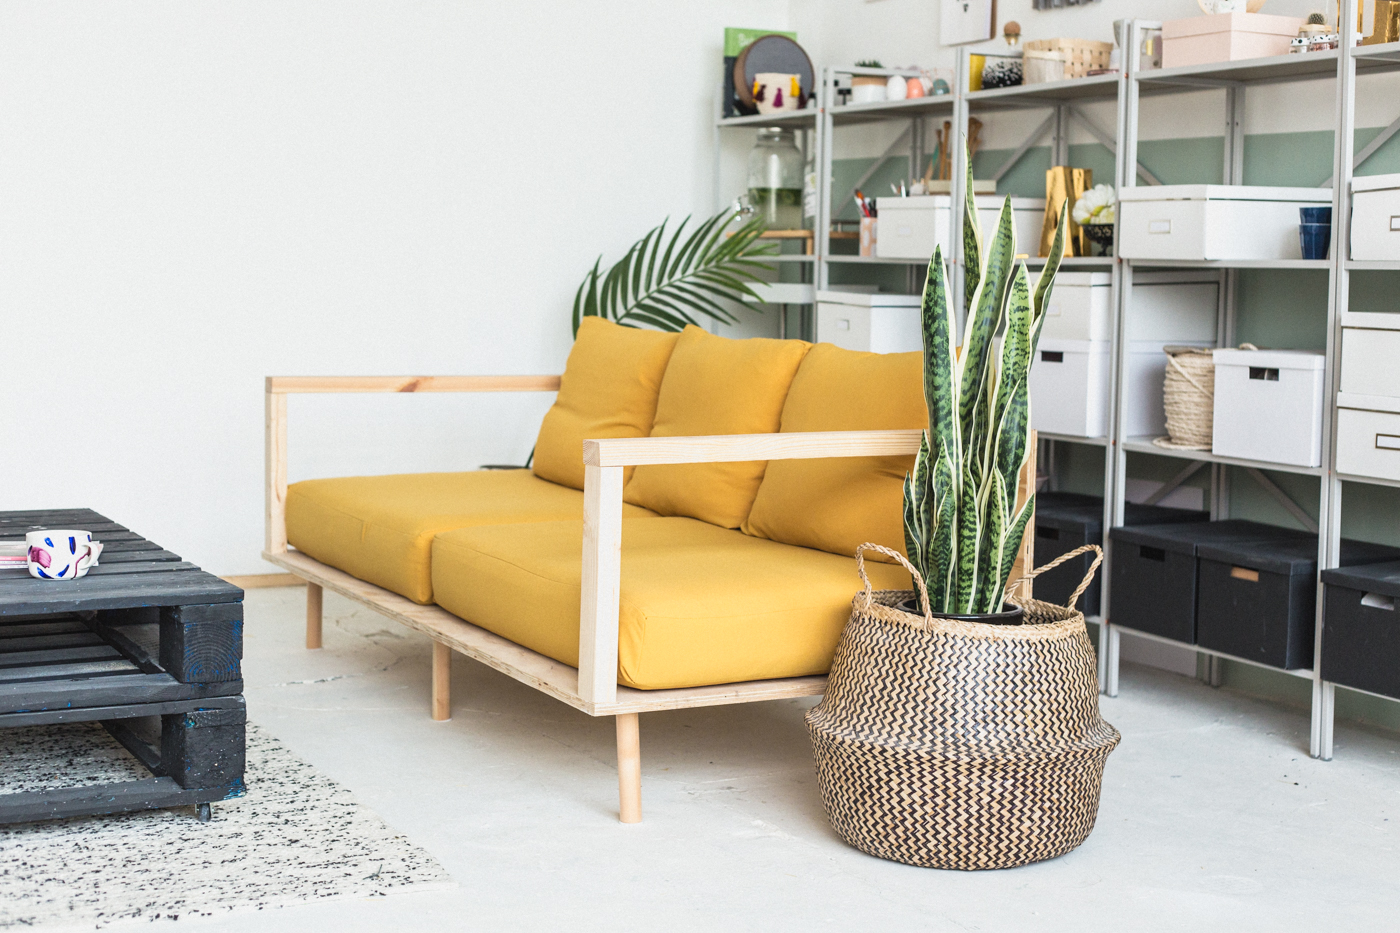
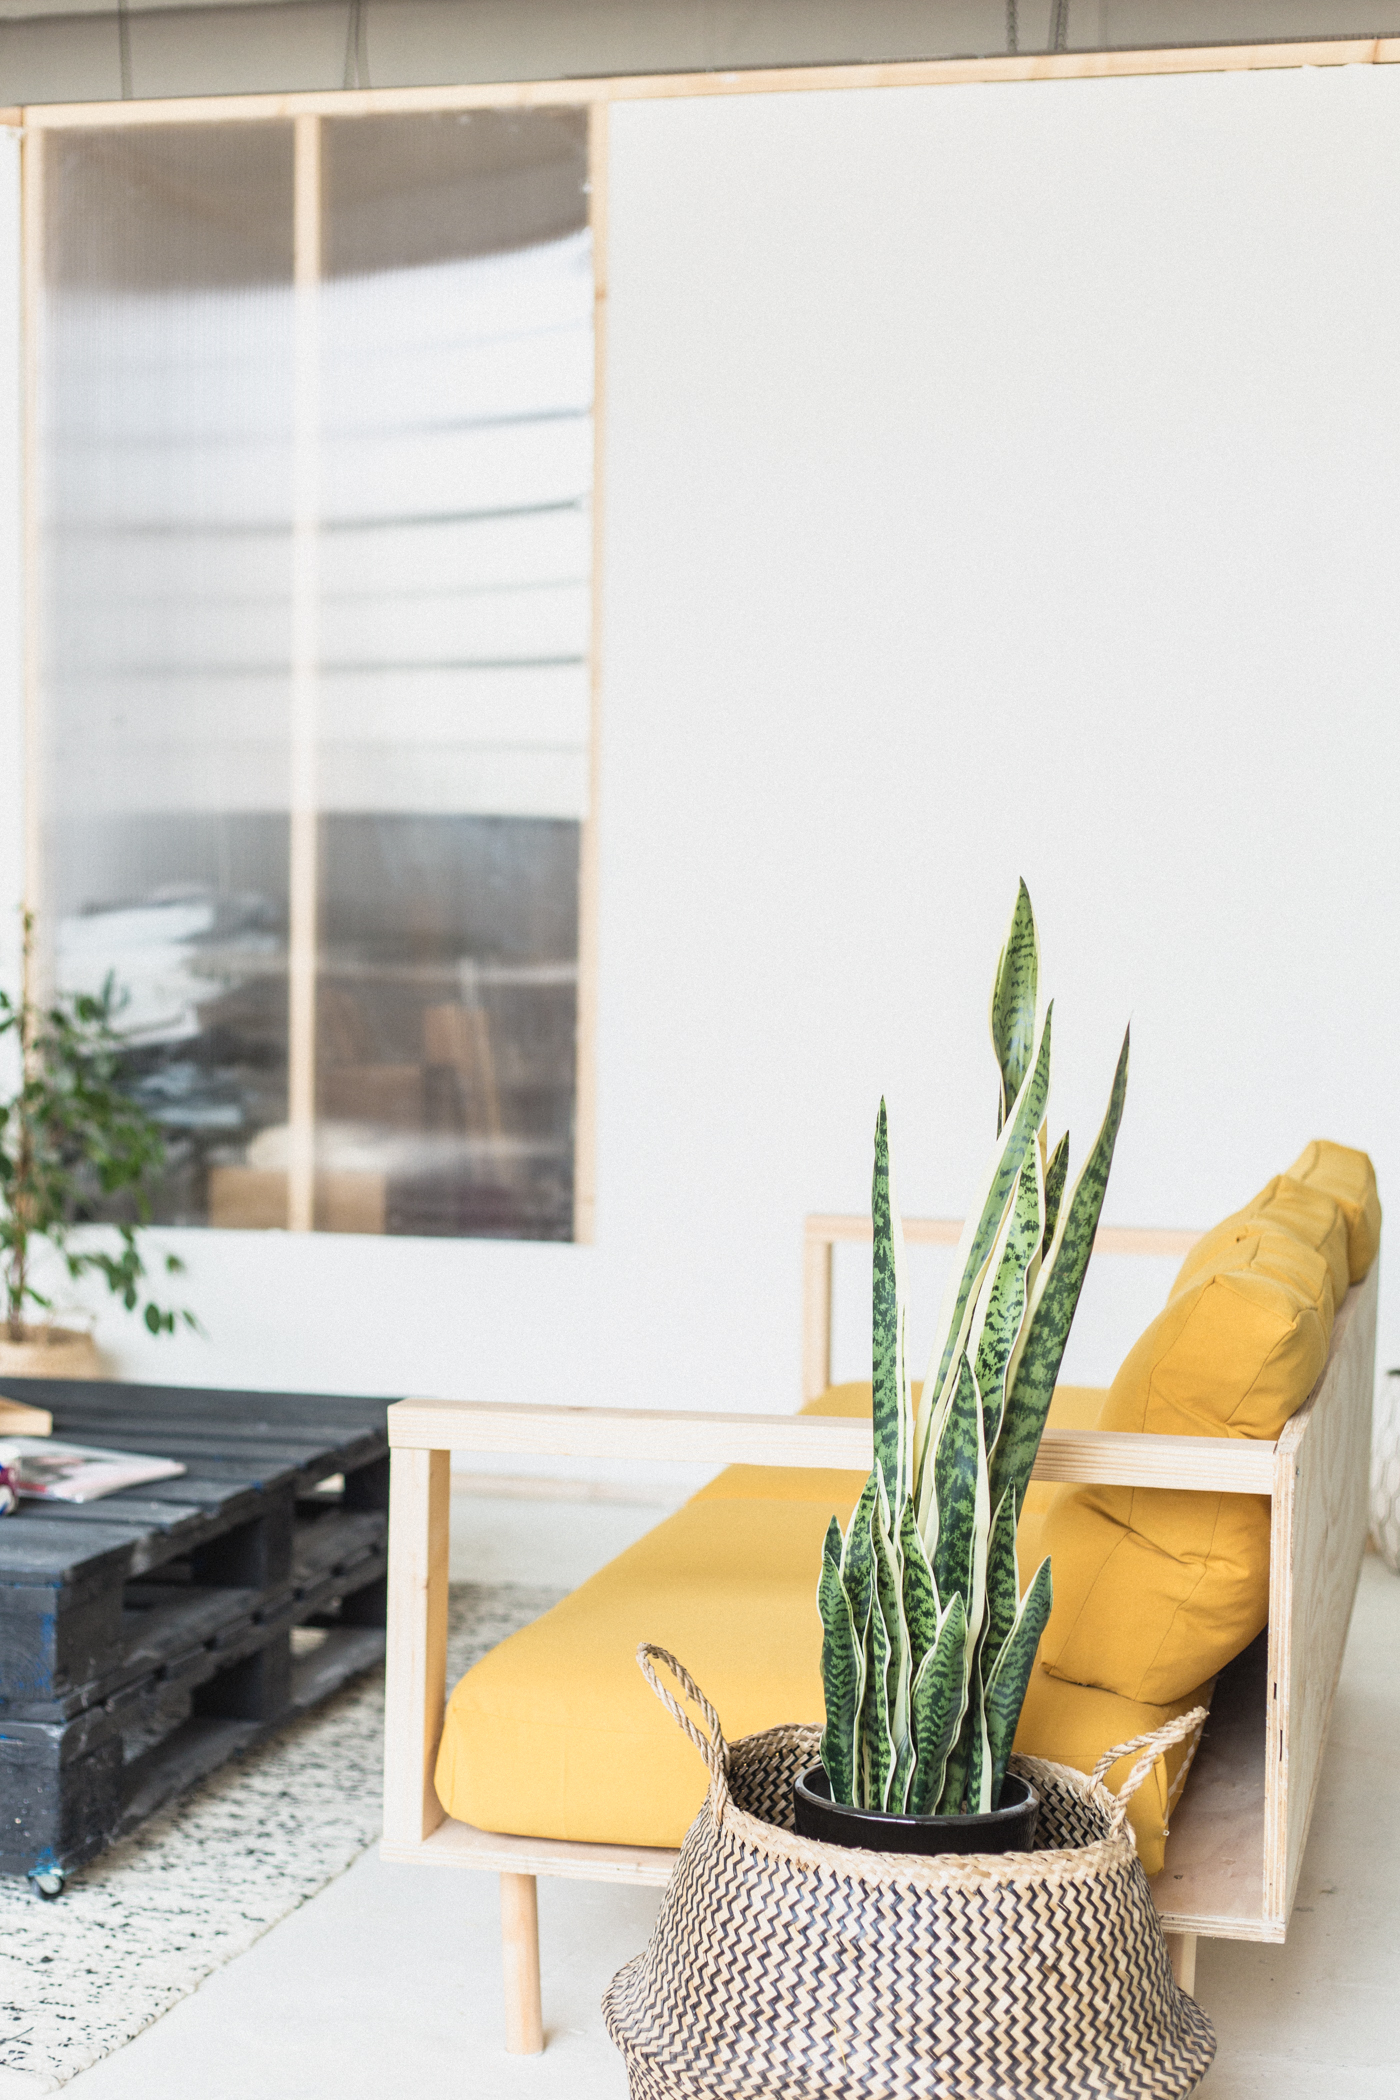
I can also spend less time cooped up in the office room of the studio (heaters blasting to stay warm) and out in the brighter, more spacious photography area. This space is so much more inspirational (and so much tidier which definitely helps) to the point I feel more productive here. So while my vision was to always have a sofa I have been eager to finish this DIY wooden studio sofa project recently (six months after I started it) to give myself a comfortable space to sit and you know, Instagram and stuff.
I say this took me six months but that is literally one/two days at both ends. While this looks like a difficult project with the right tools it is actually easy. I made this by myself but I would not have turned down a helping hand. So if there’s someone close by who can hold things in place for you a gentle bribe might be a good way to go. If not, don’t panic. You got this!
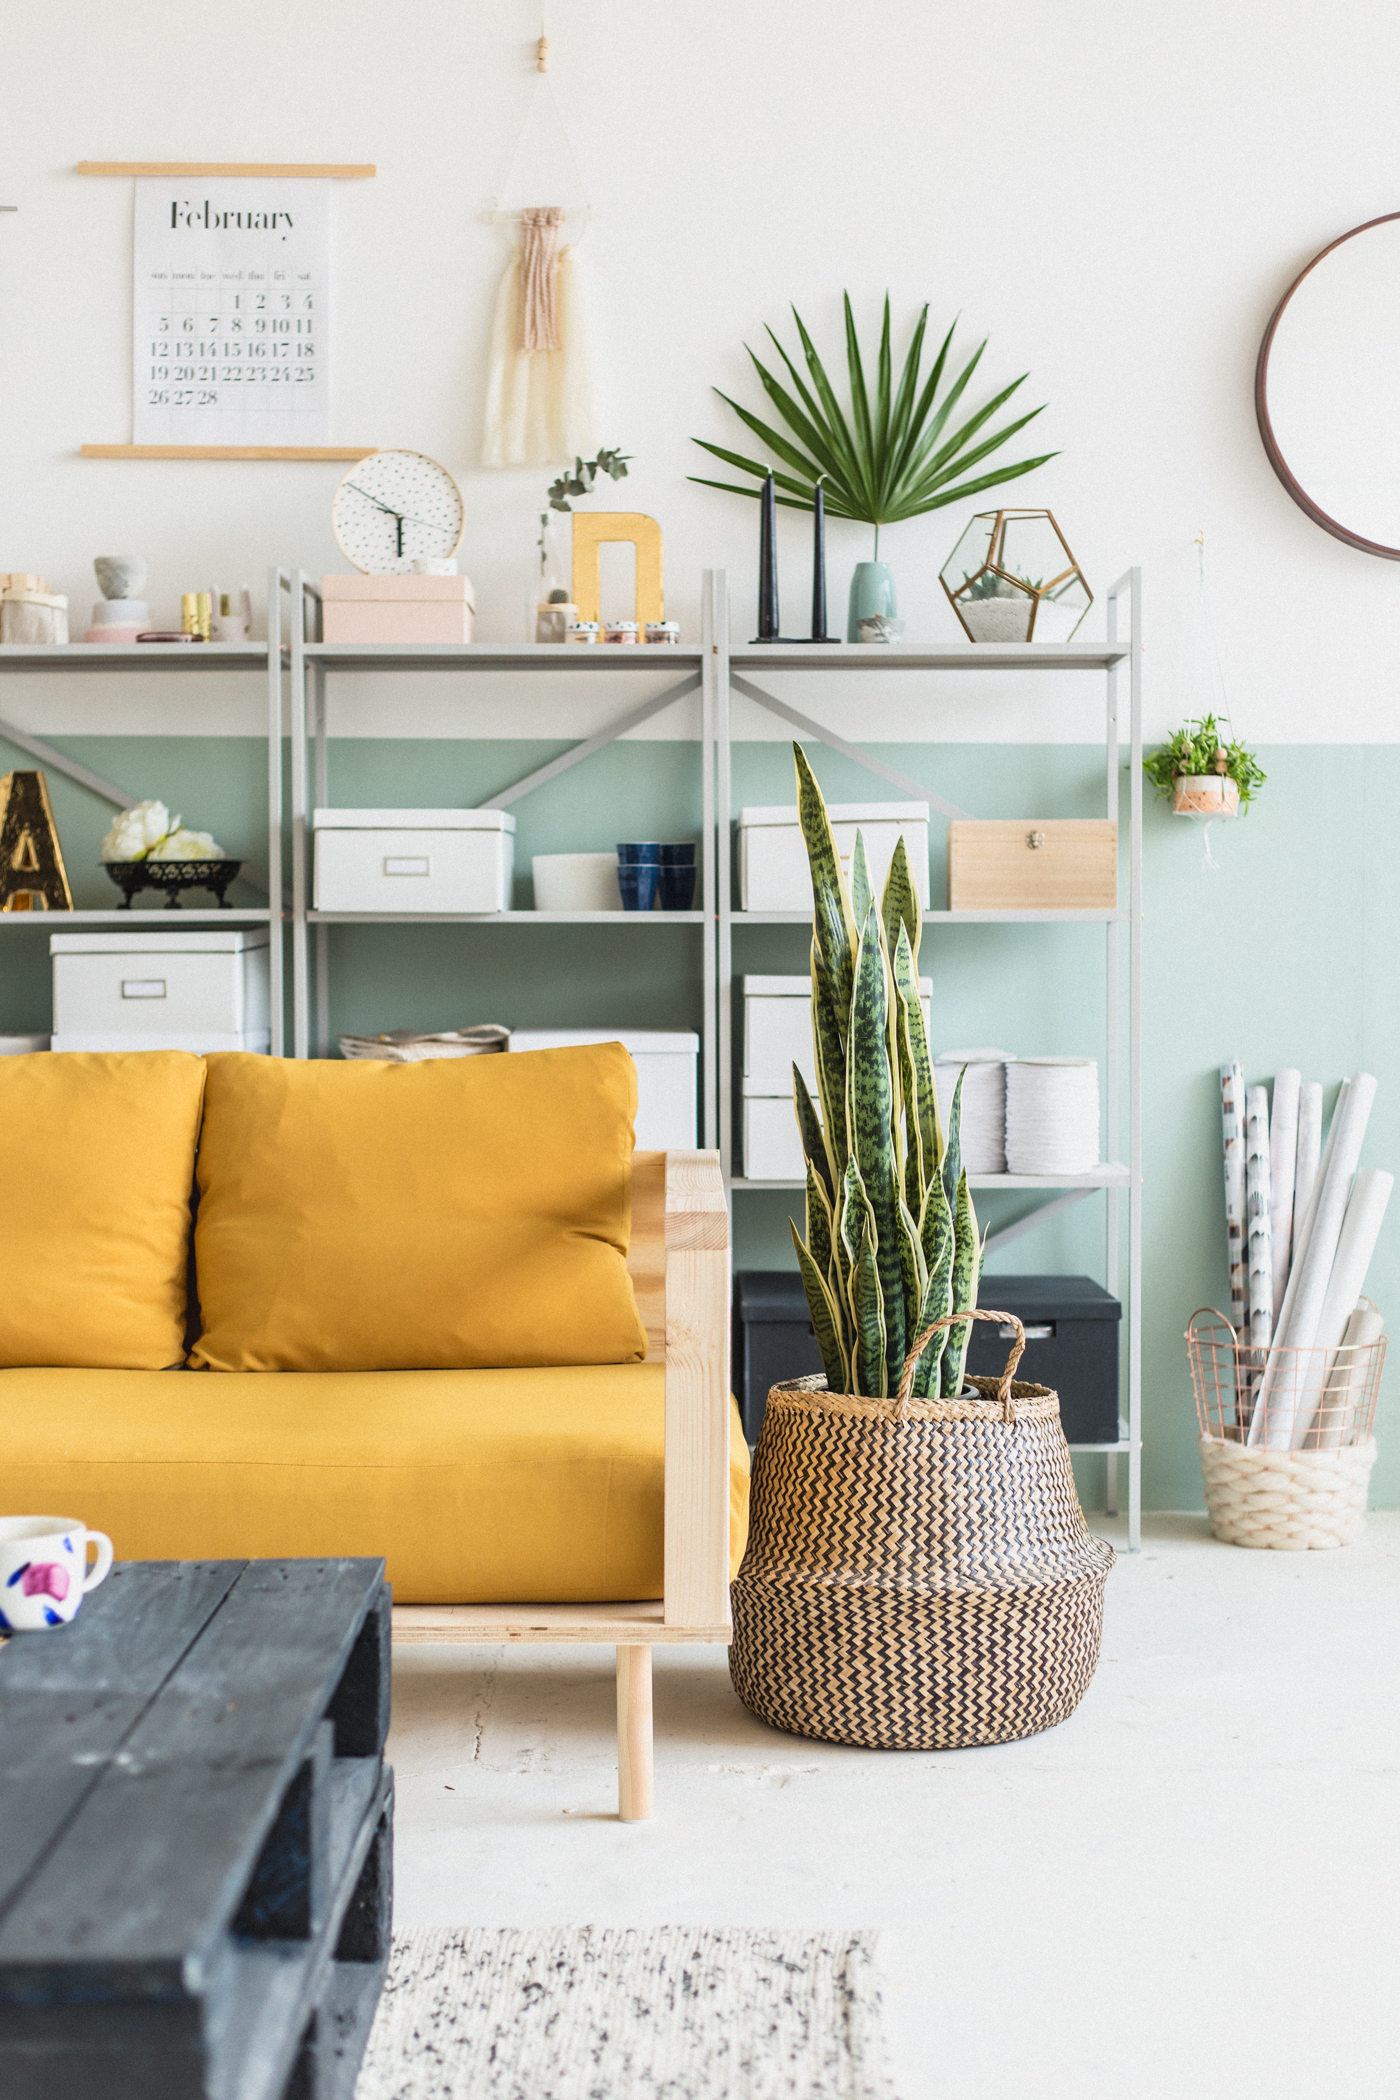
Oh and I definitely need to update my calendar… (face palm)
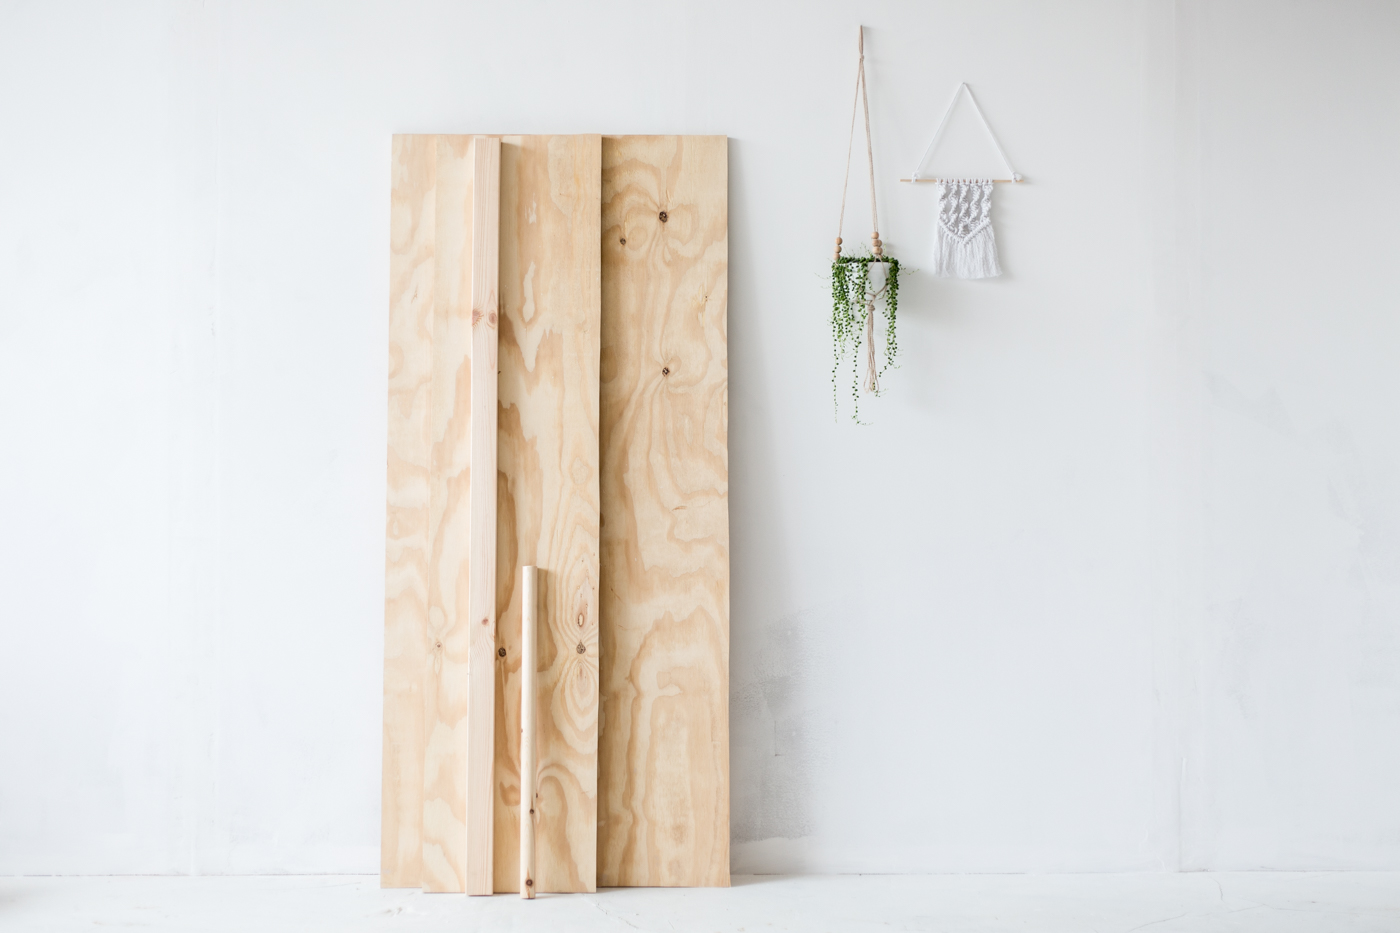
You’ll Need:
- Plywood One – 1.5m x 70cm
- Plywood Two – 1.5m x 40cm
- 2m Softwood Timber – 1.5″ x 2.5″
- 1.5m Dowel – 35mm diametre
- Miniature dowel plugs – 6mm diametre
- Wood Screws
- Electric Drill
- Saw/Jigsaw
- Sandpaper/Electric Sander
I actually cut my own plywood from one large piece using a jigsaw but you can ask your local DIY store if they can cut the wood to these measurements for you.
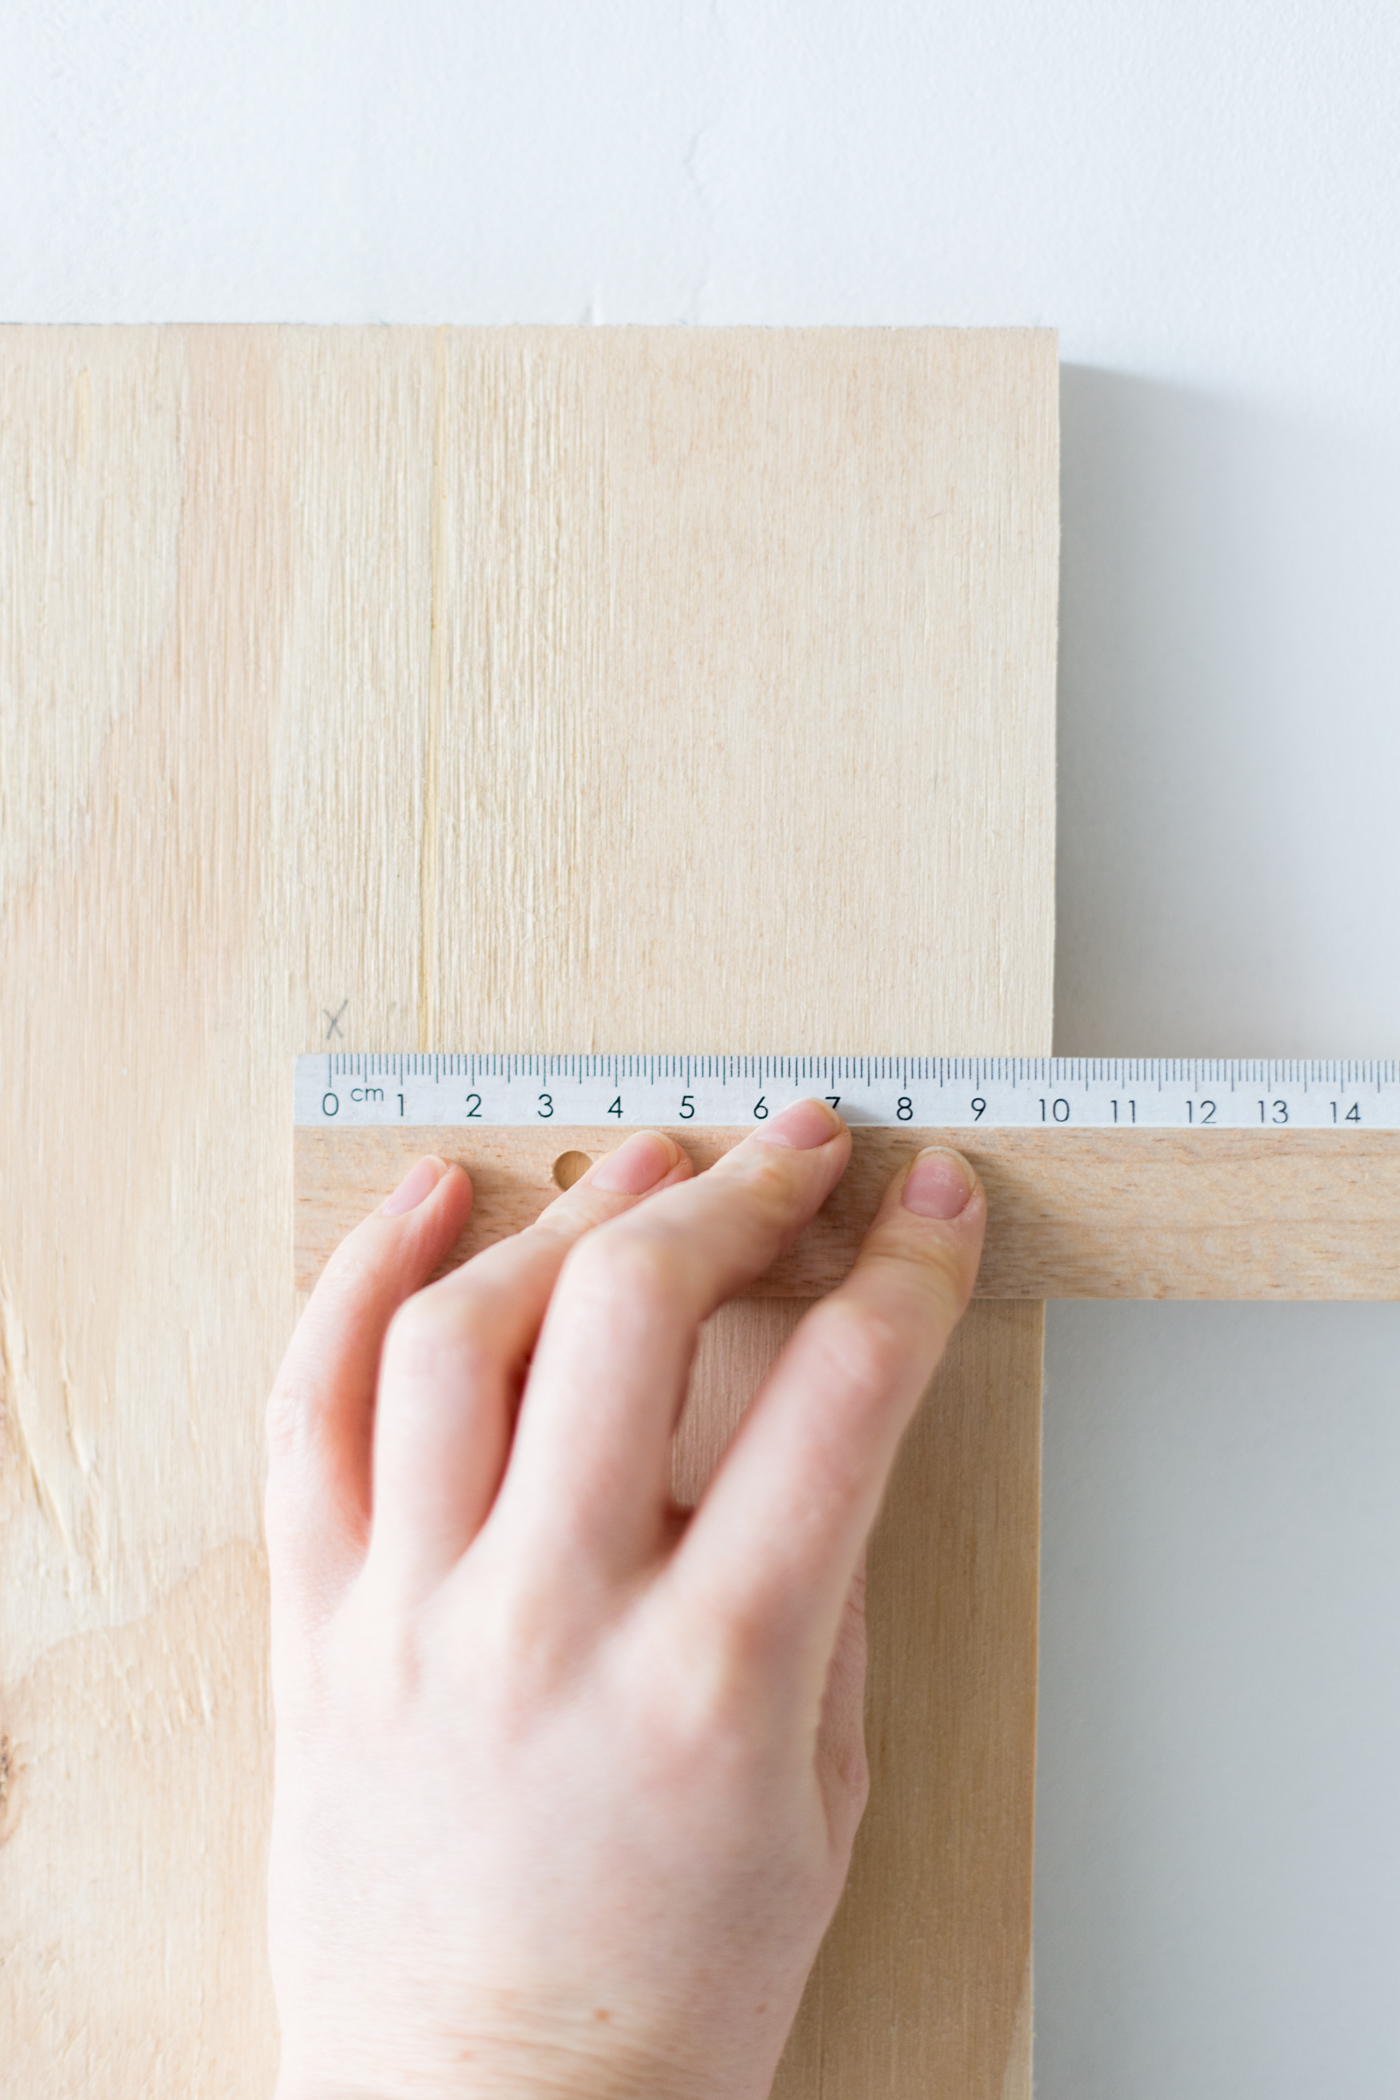
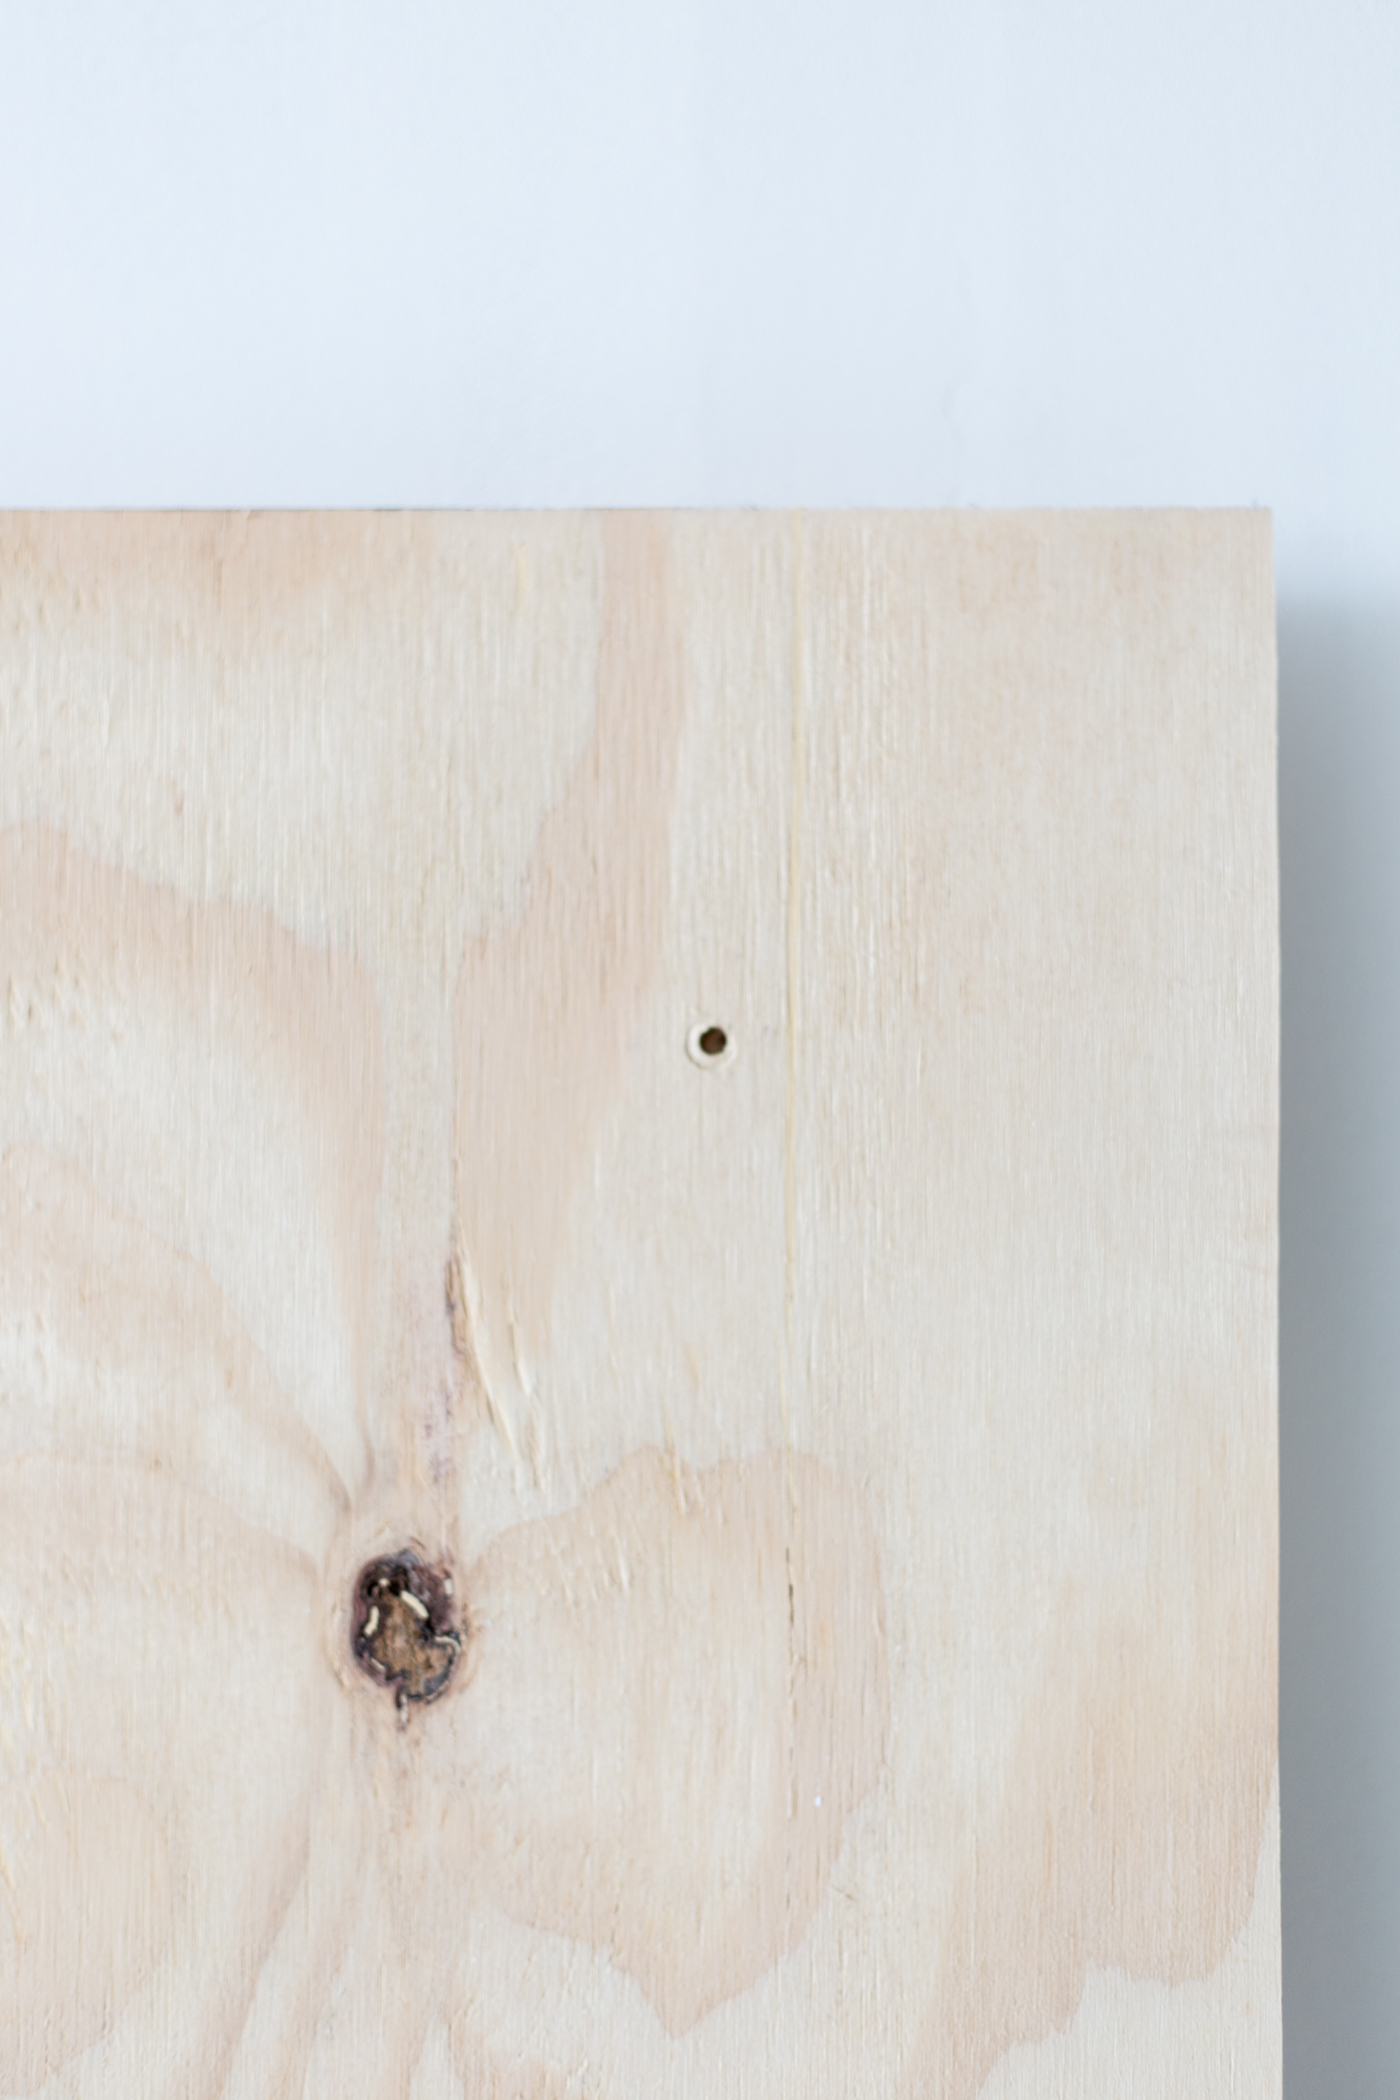
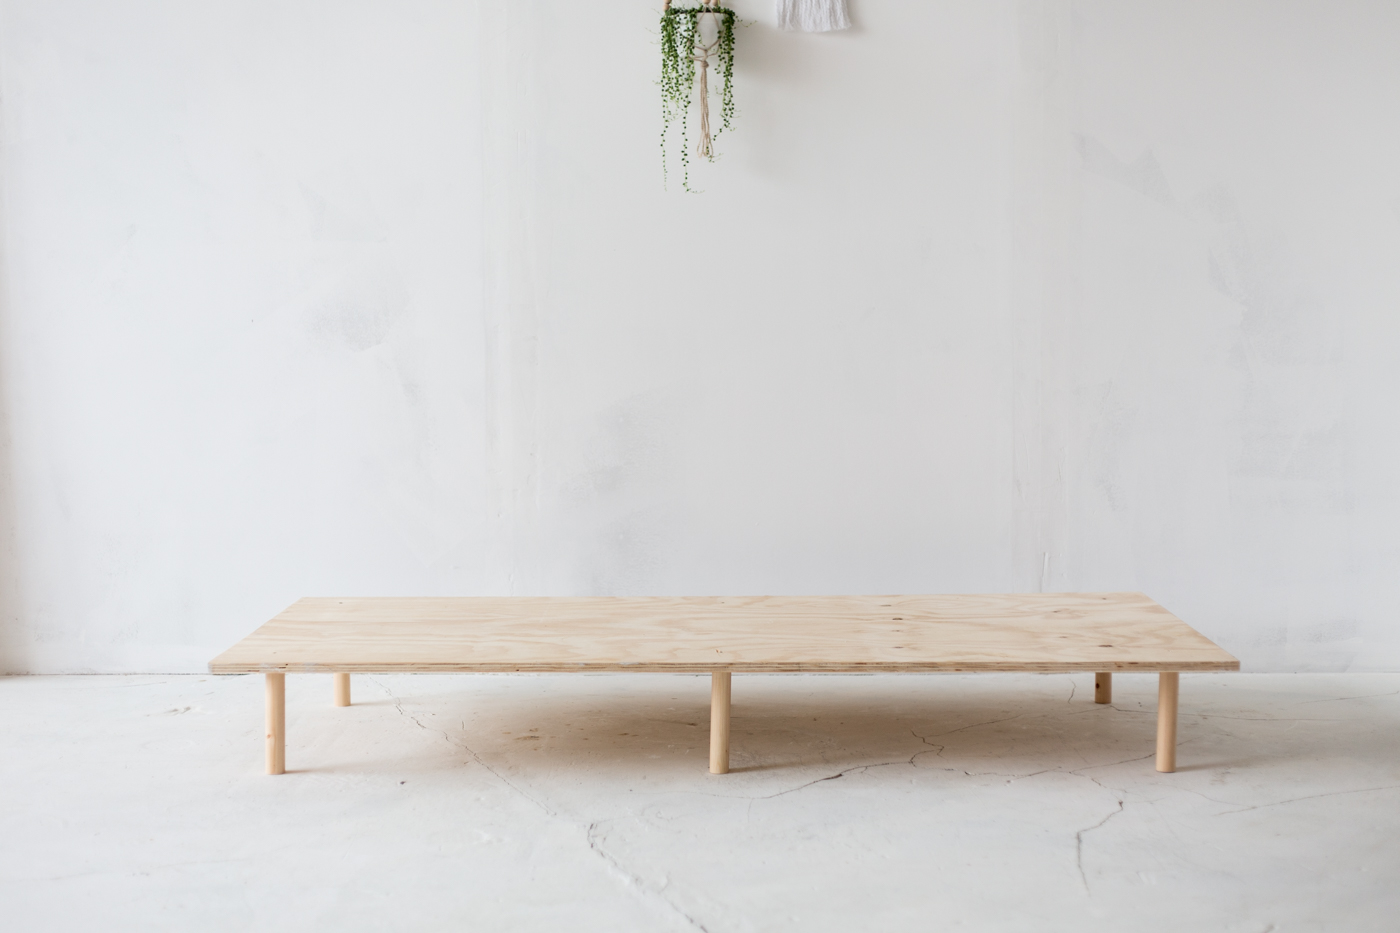
1. Measure 10cm in from both edges, at all four corners on the largest piece of wood. Where the two points meet drill a hole smaller than the head of your screw. Measure half way down the longest length and drill another hole 10cm in from both edges. This should give you six holes in the wood in total.
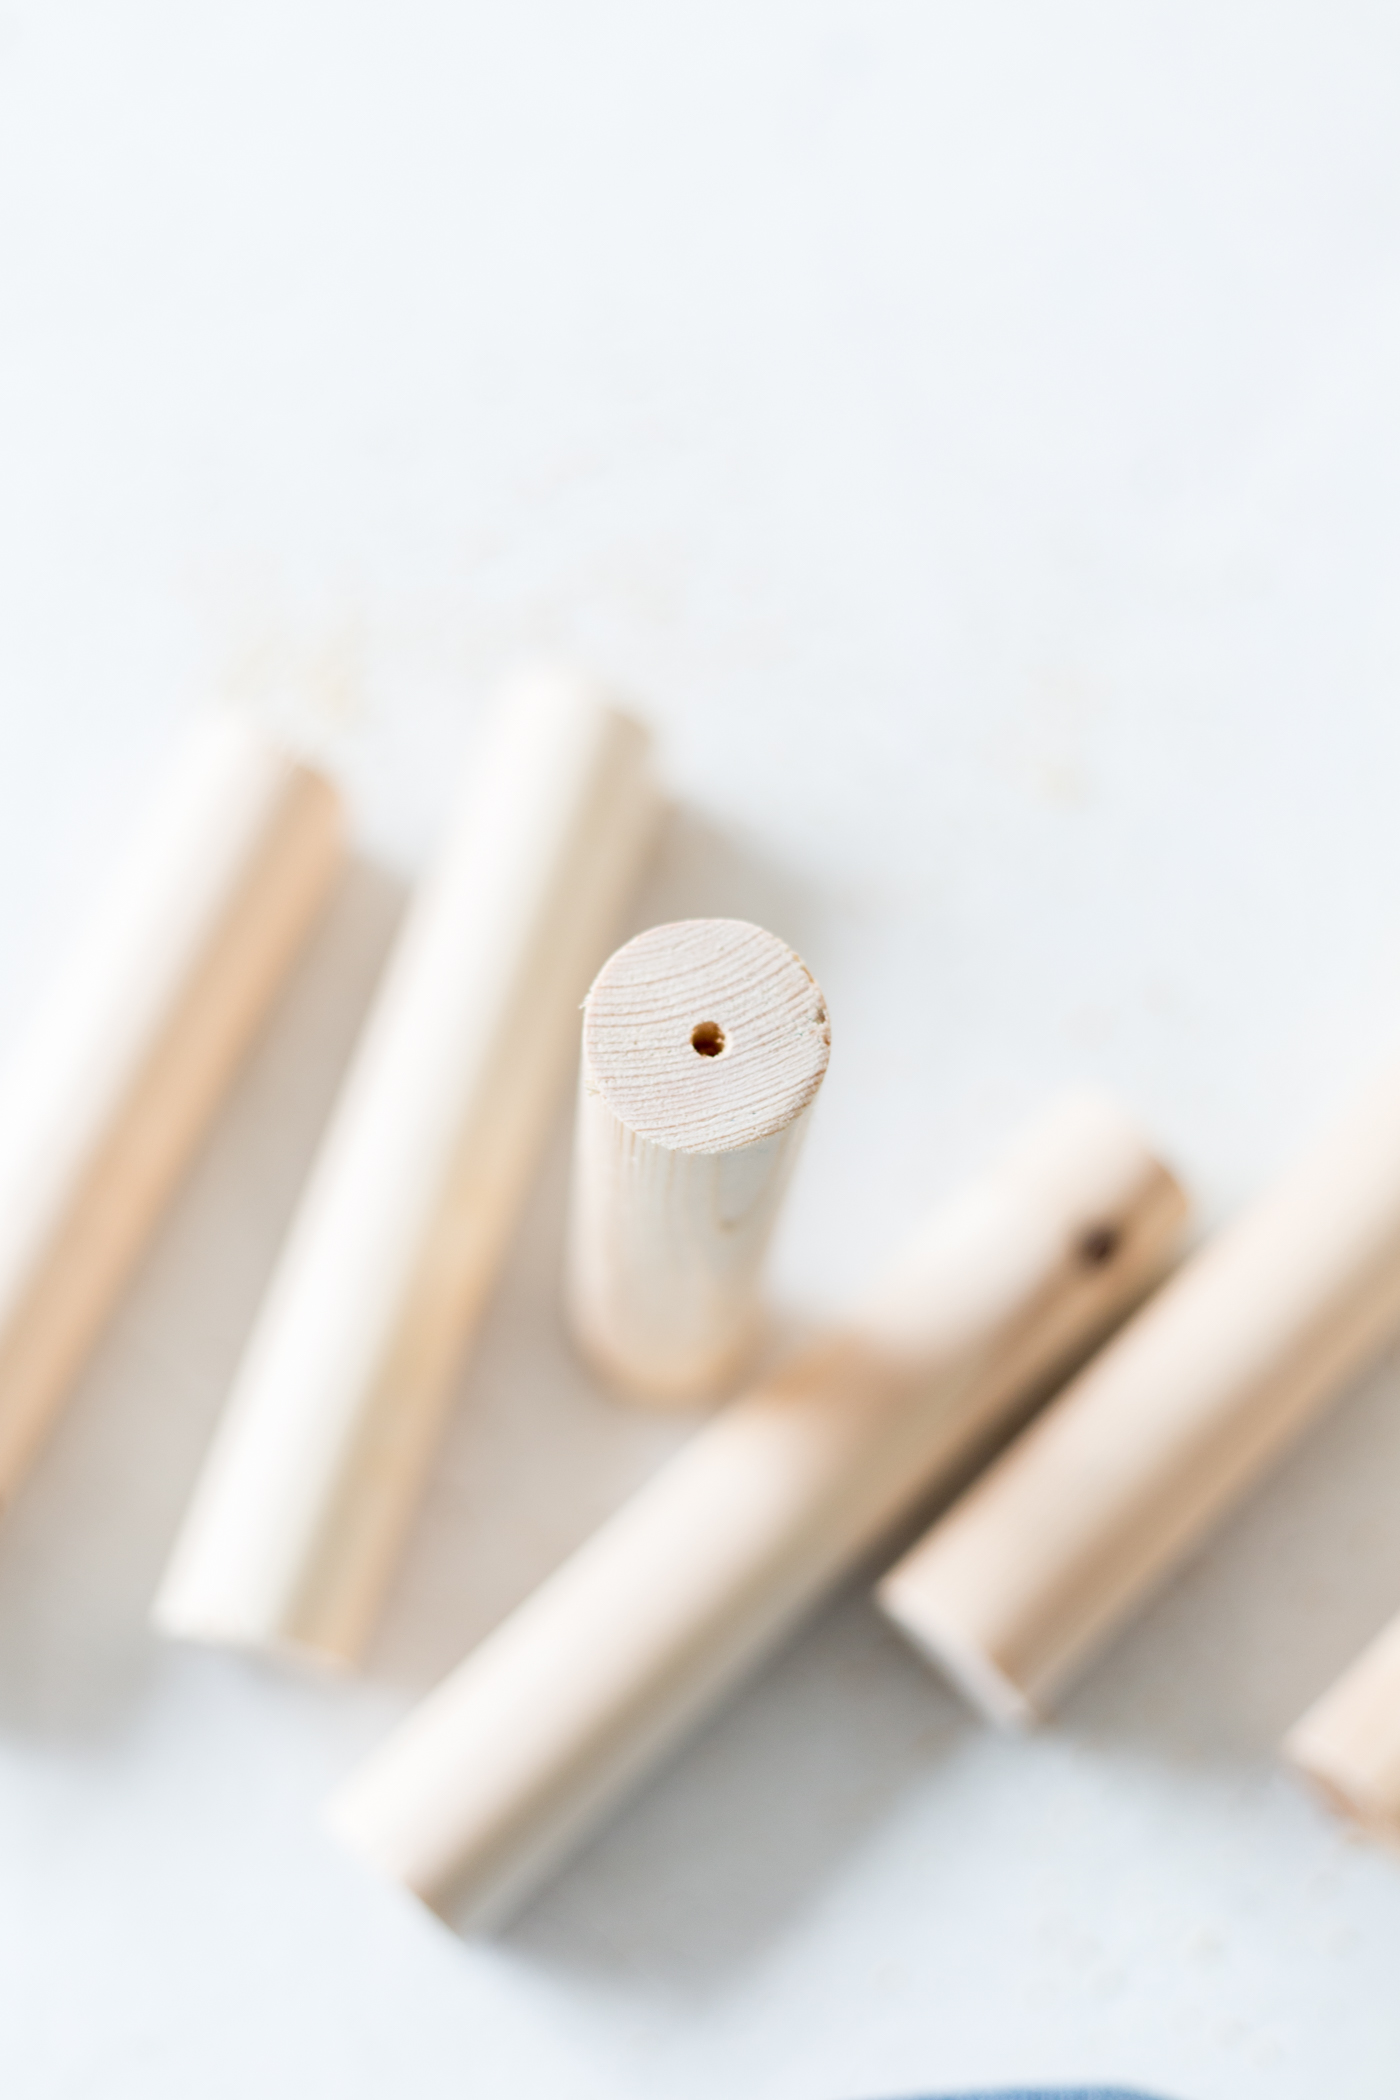
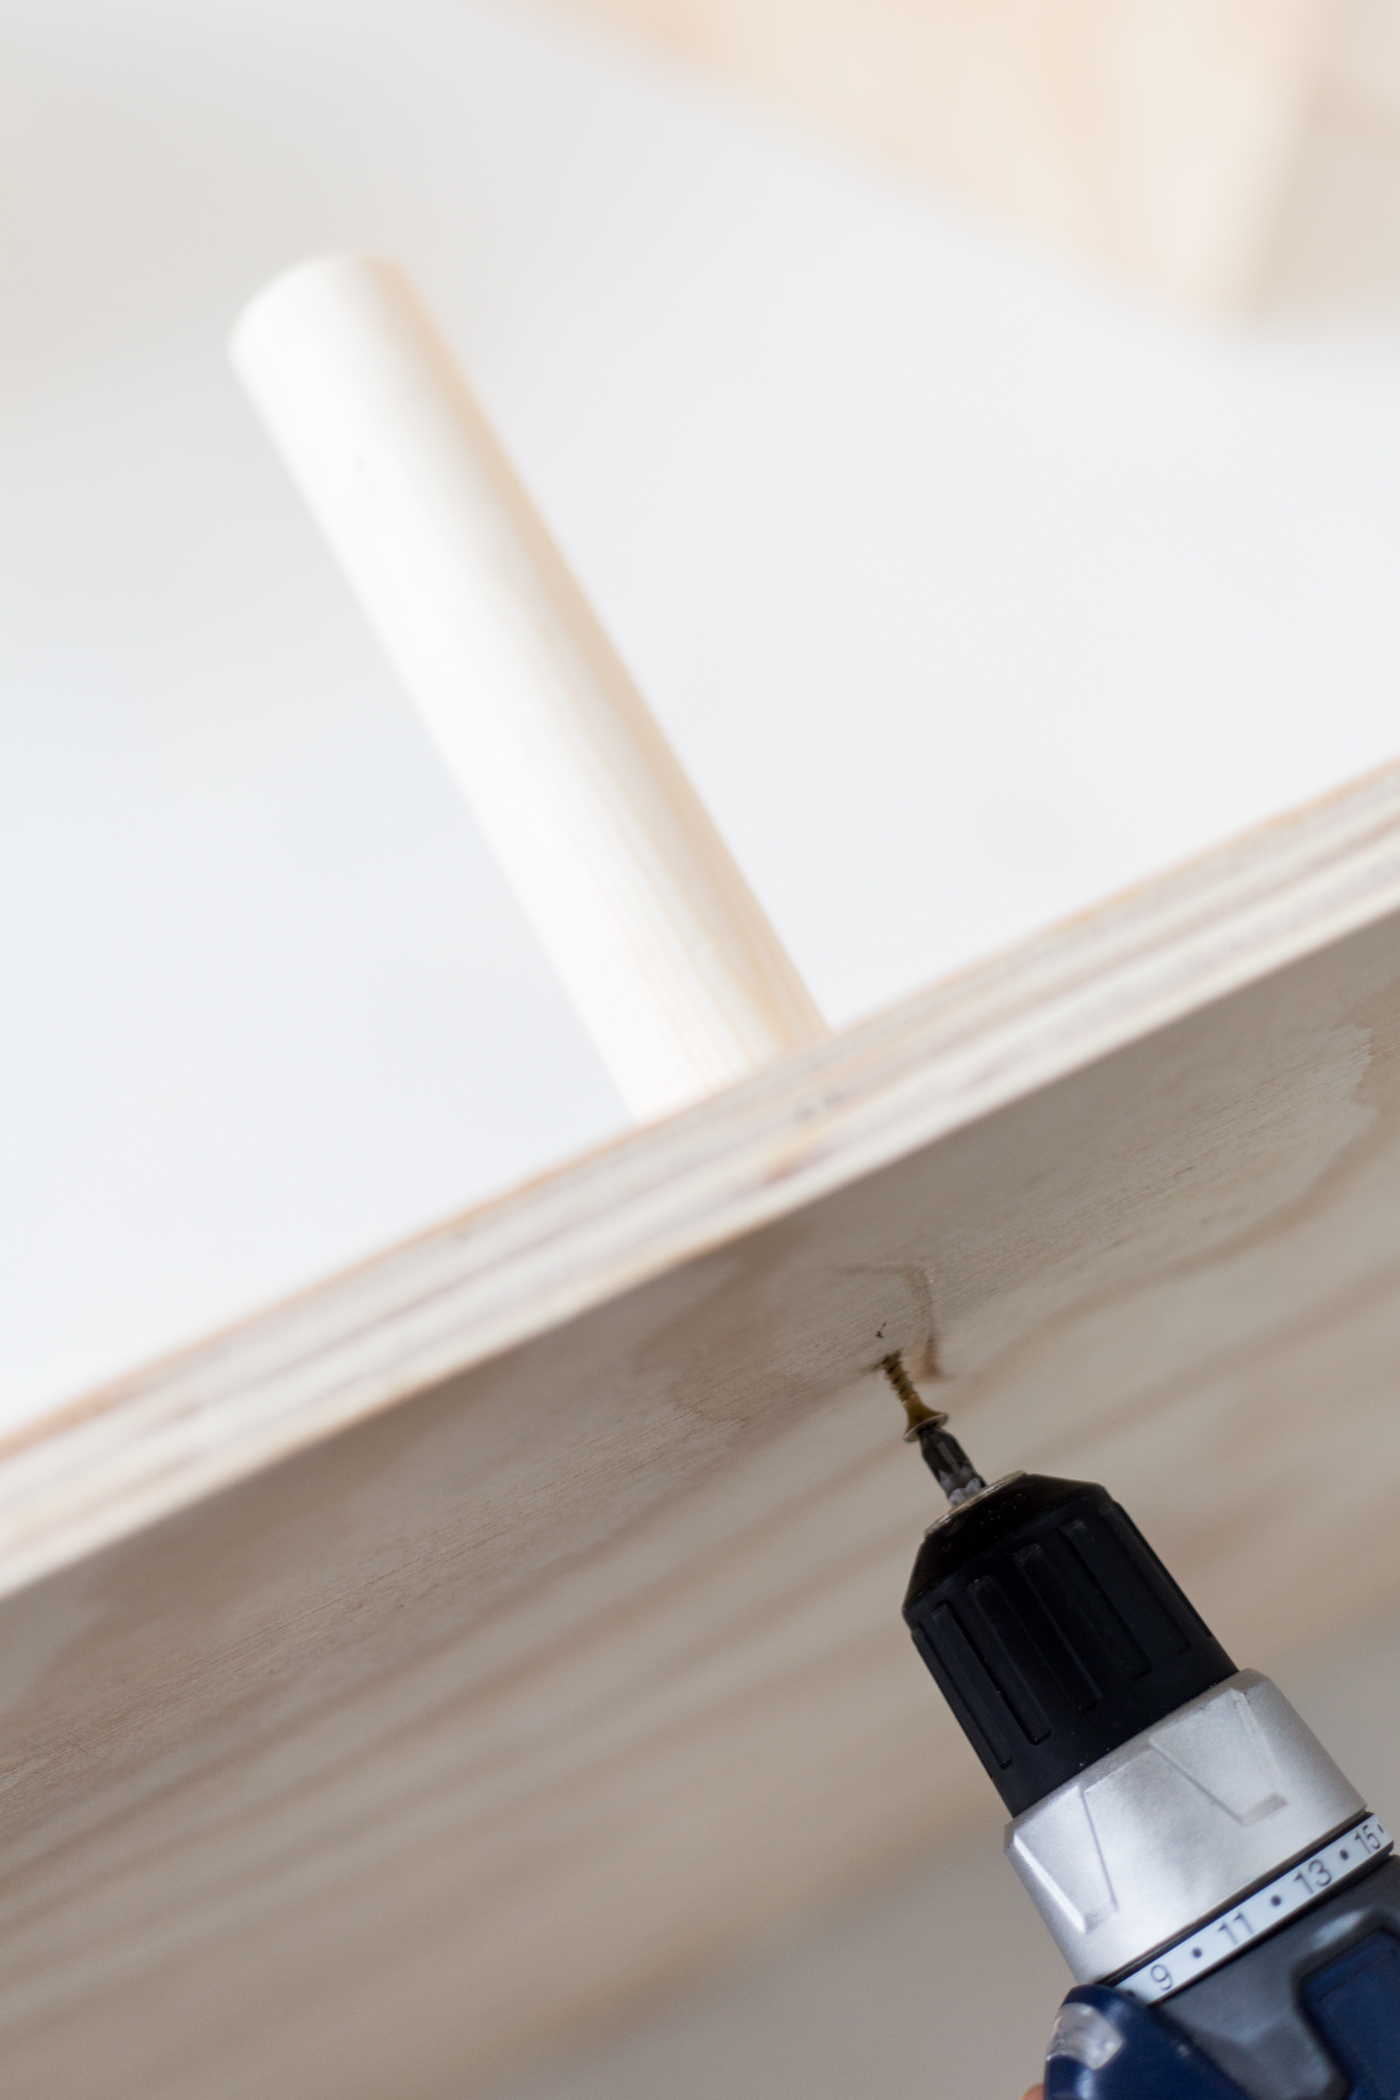
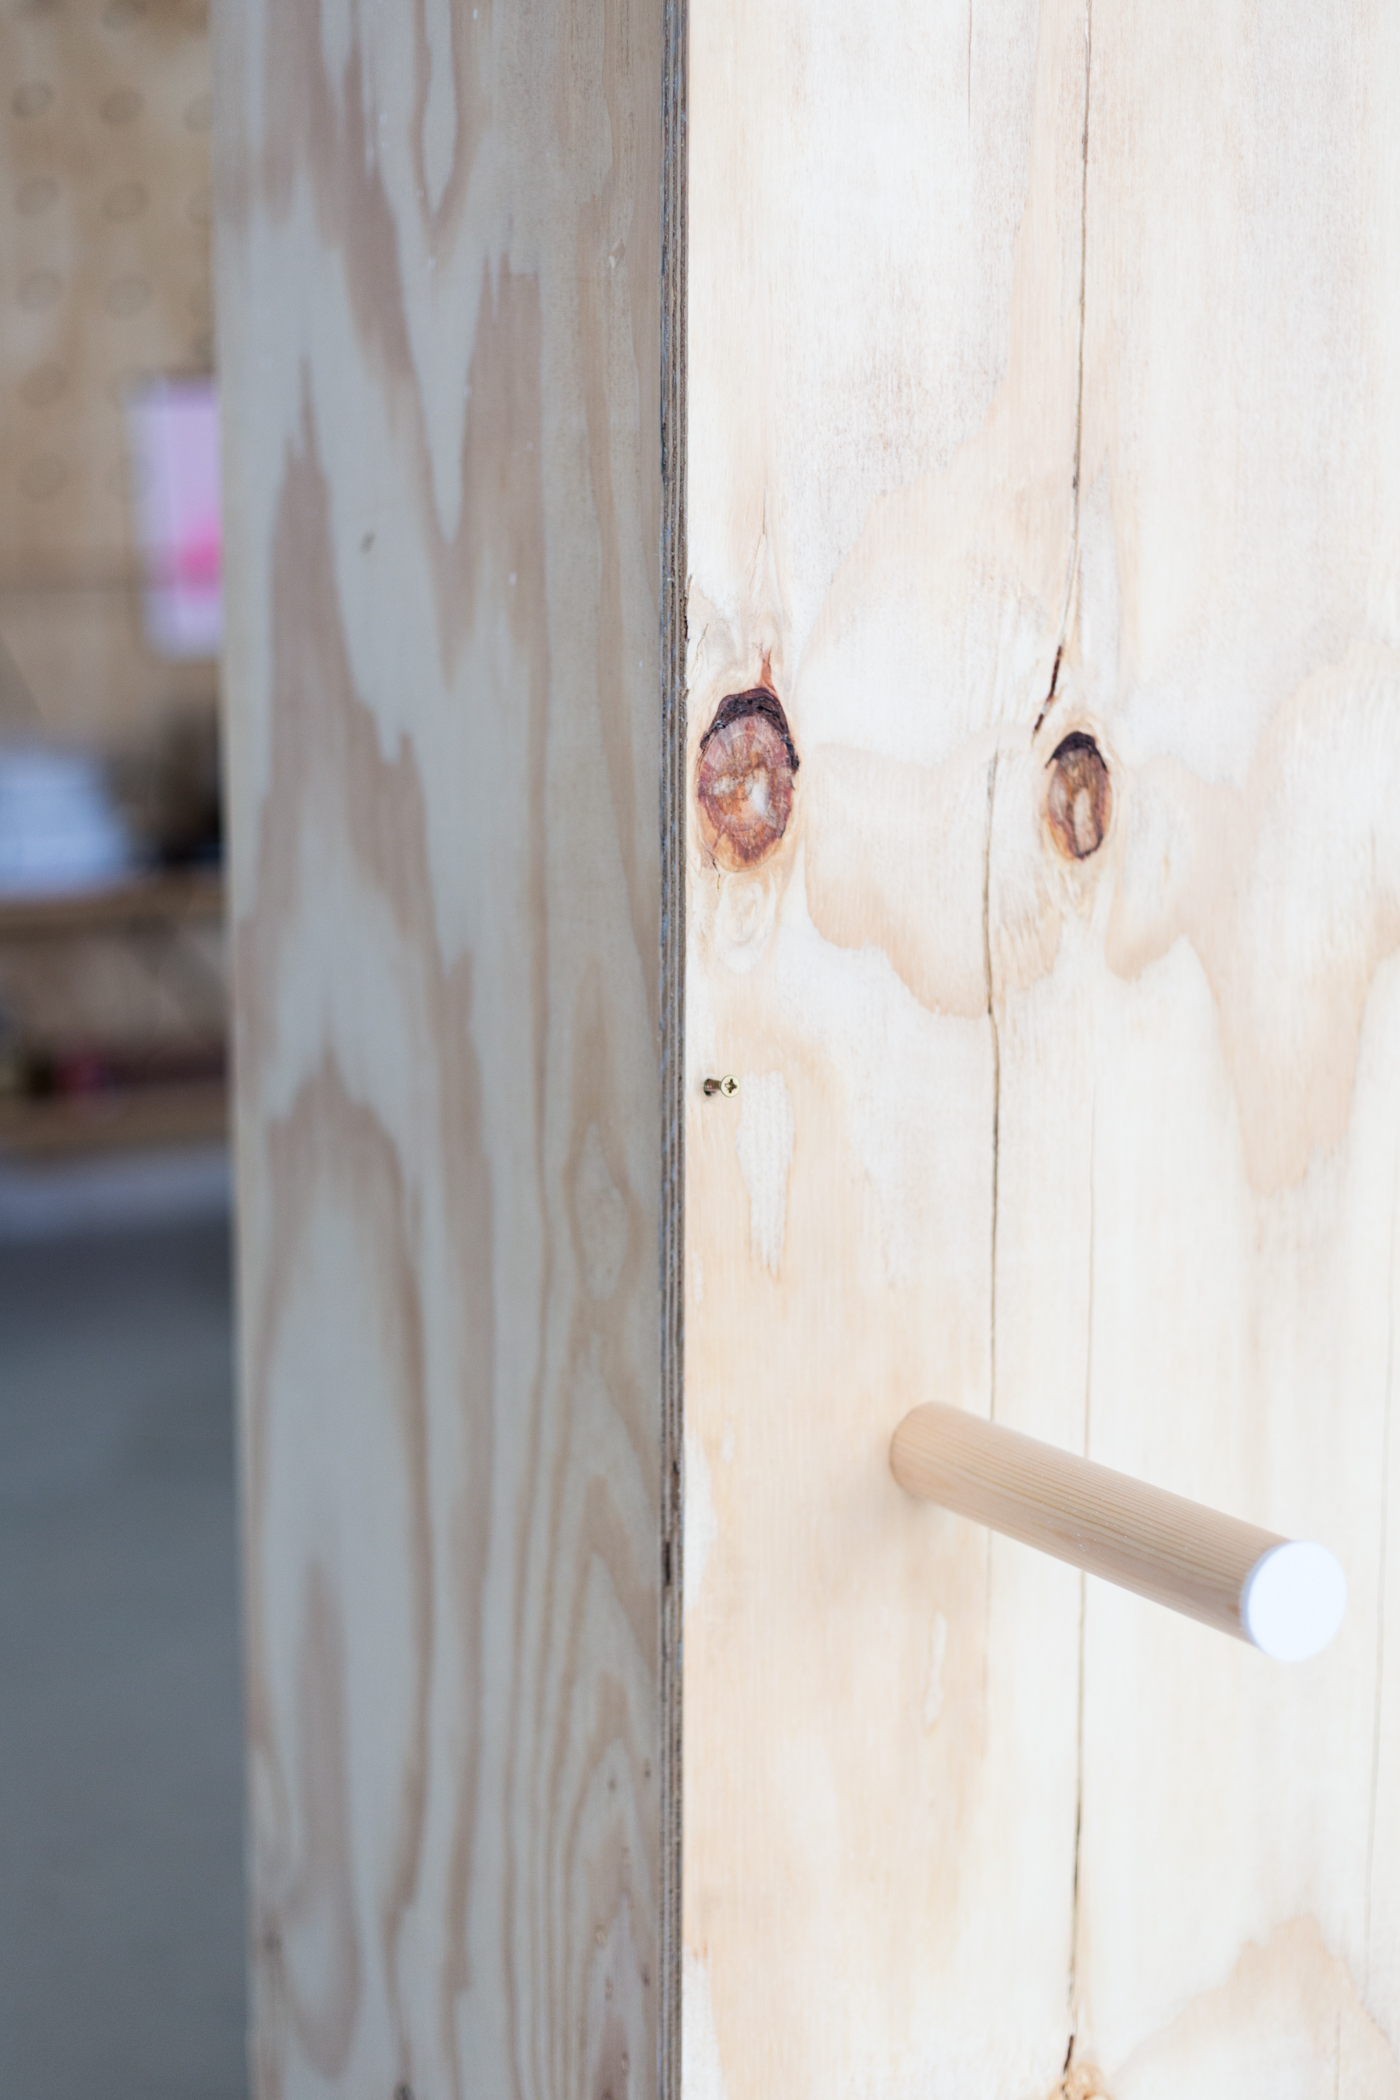
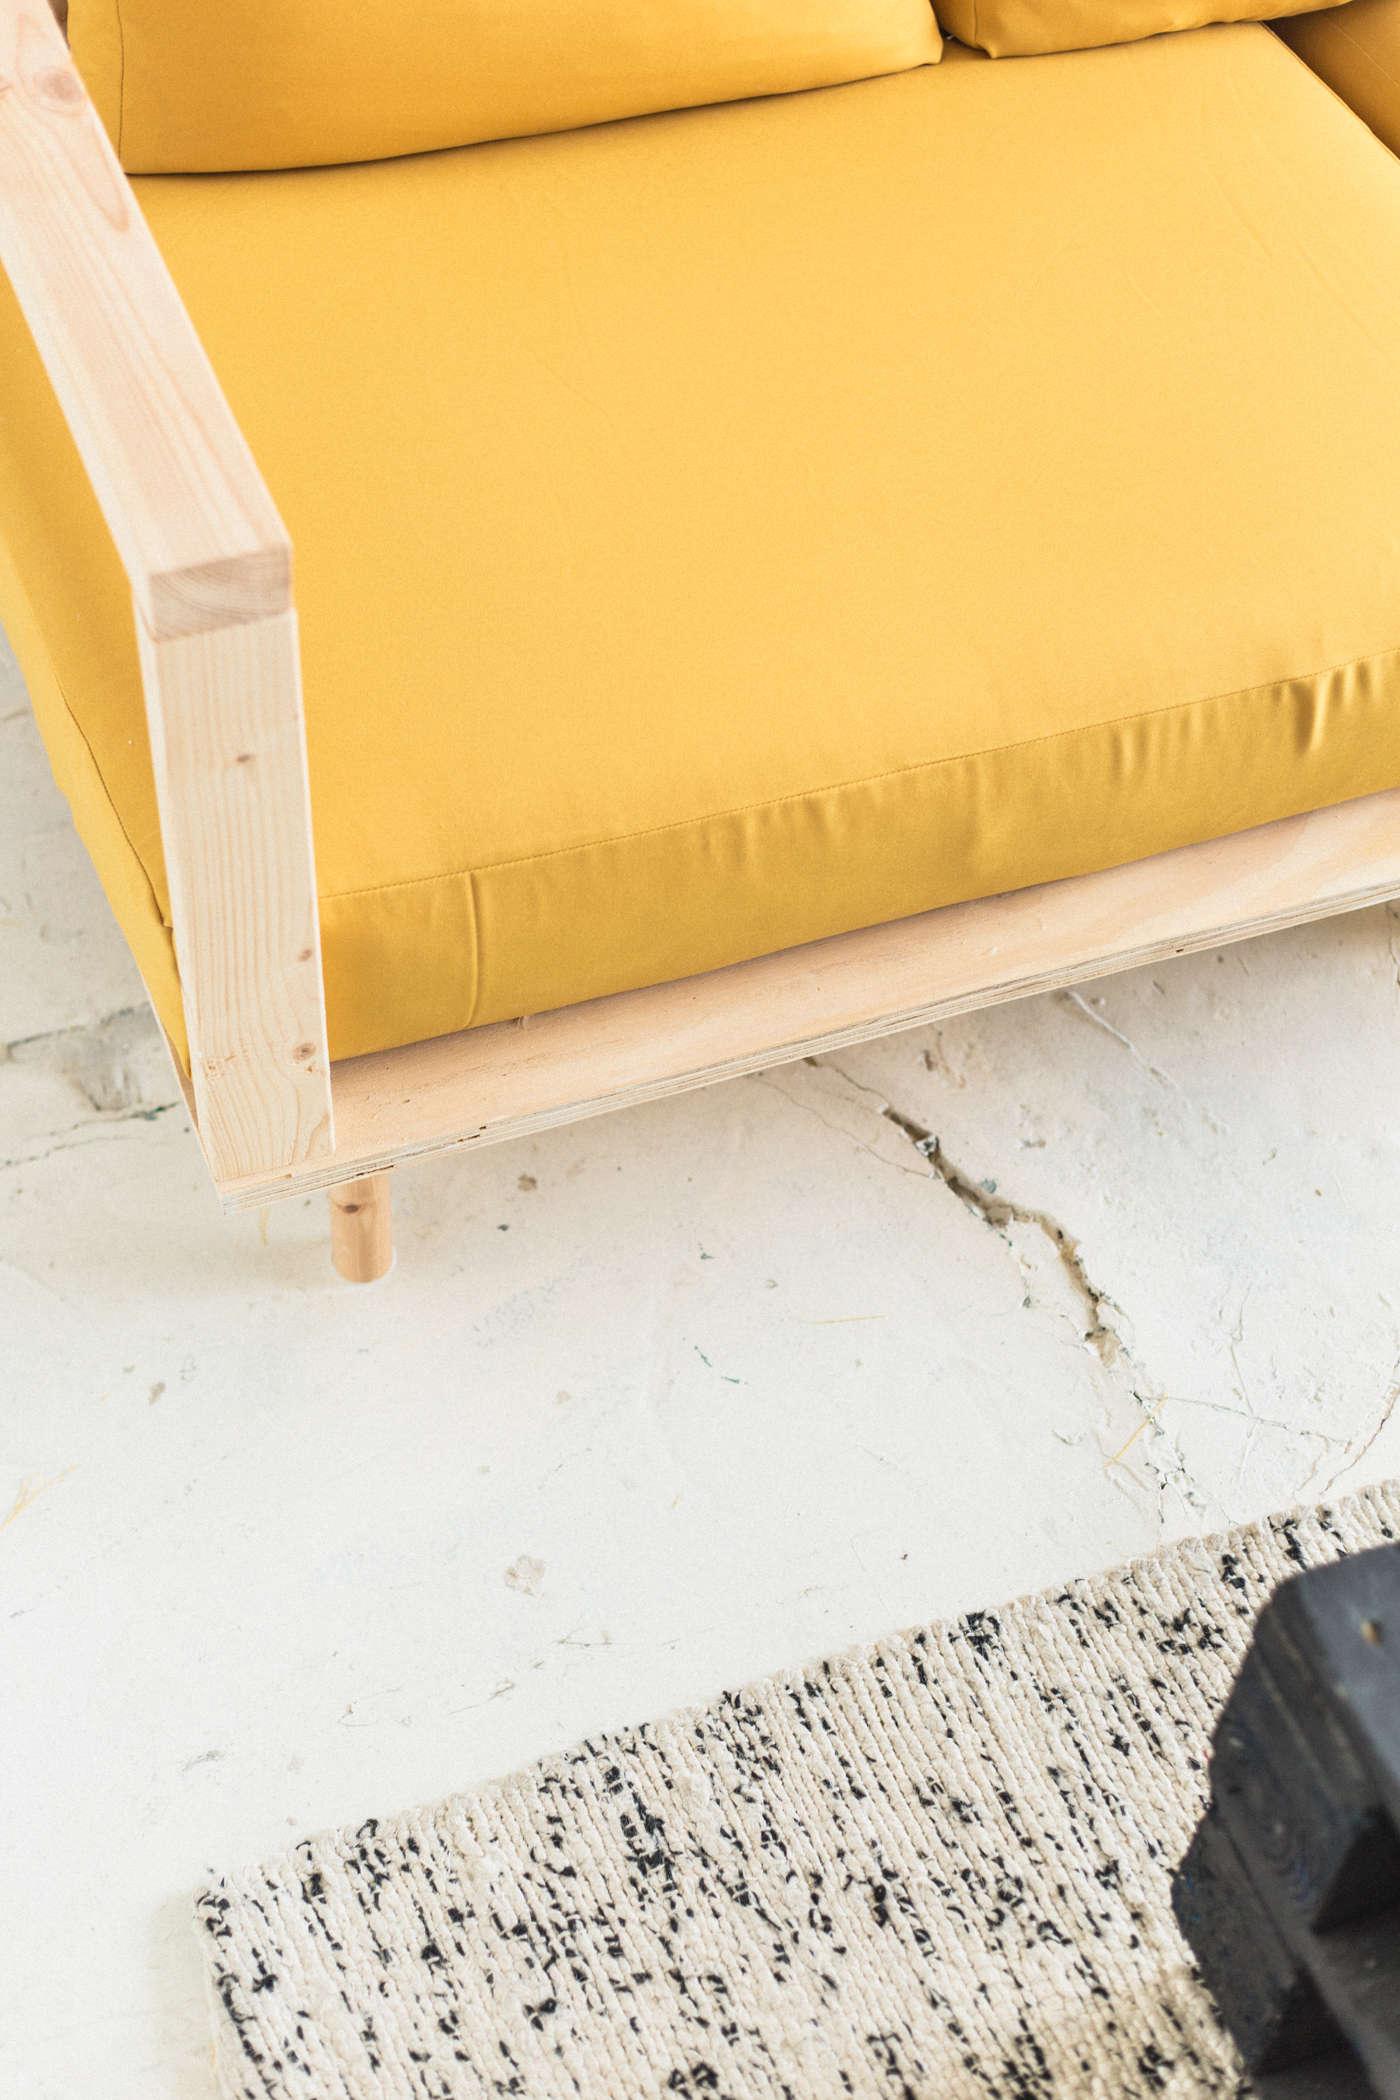
Cut 6 x 15cm lengths of your dowel and sand both ends flat (an electric sander is your friend here). Then drill a hole into one end. Use a screw to attach the dowel legs to each of the holes in the wood. After using the sofa I’ve found that the feet could benefit from Leg Mounting Plates. These are easy to attach but let me know if you need a tutorial on this in the comments.
Add the felt pads to the bottom of the feet.
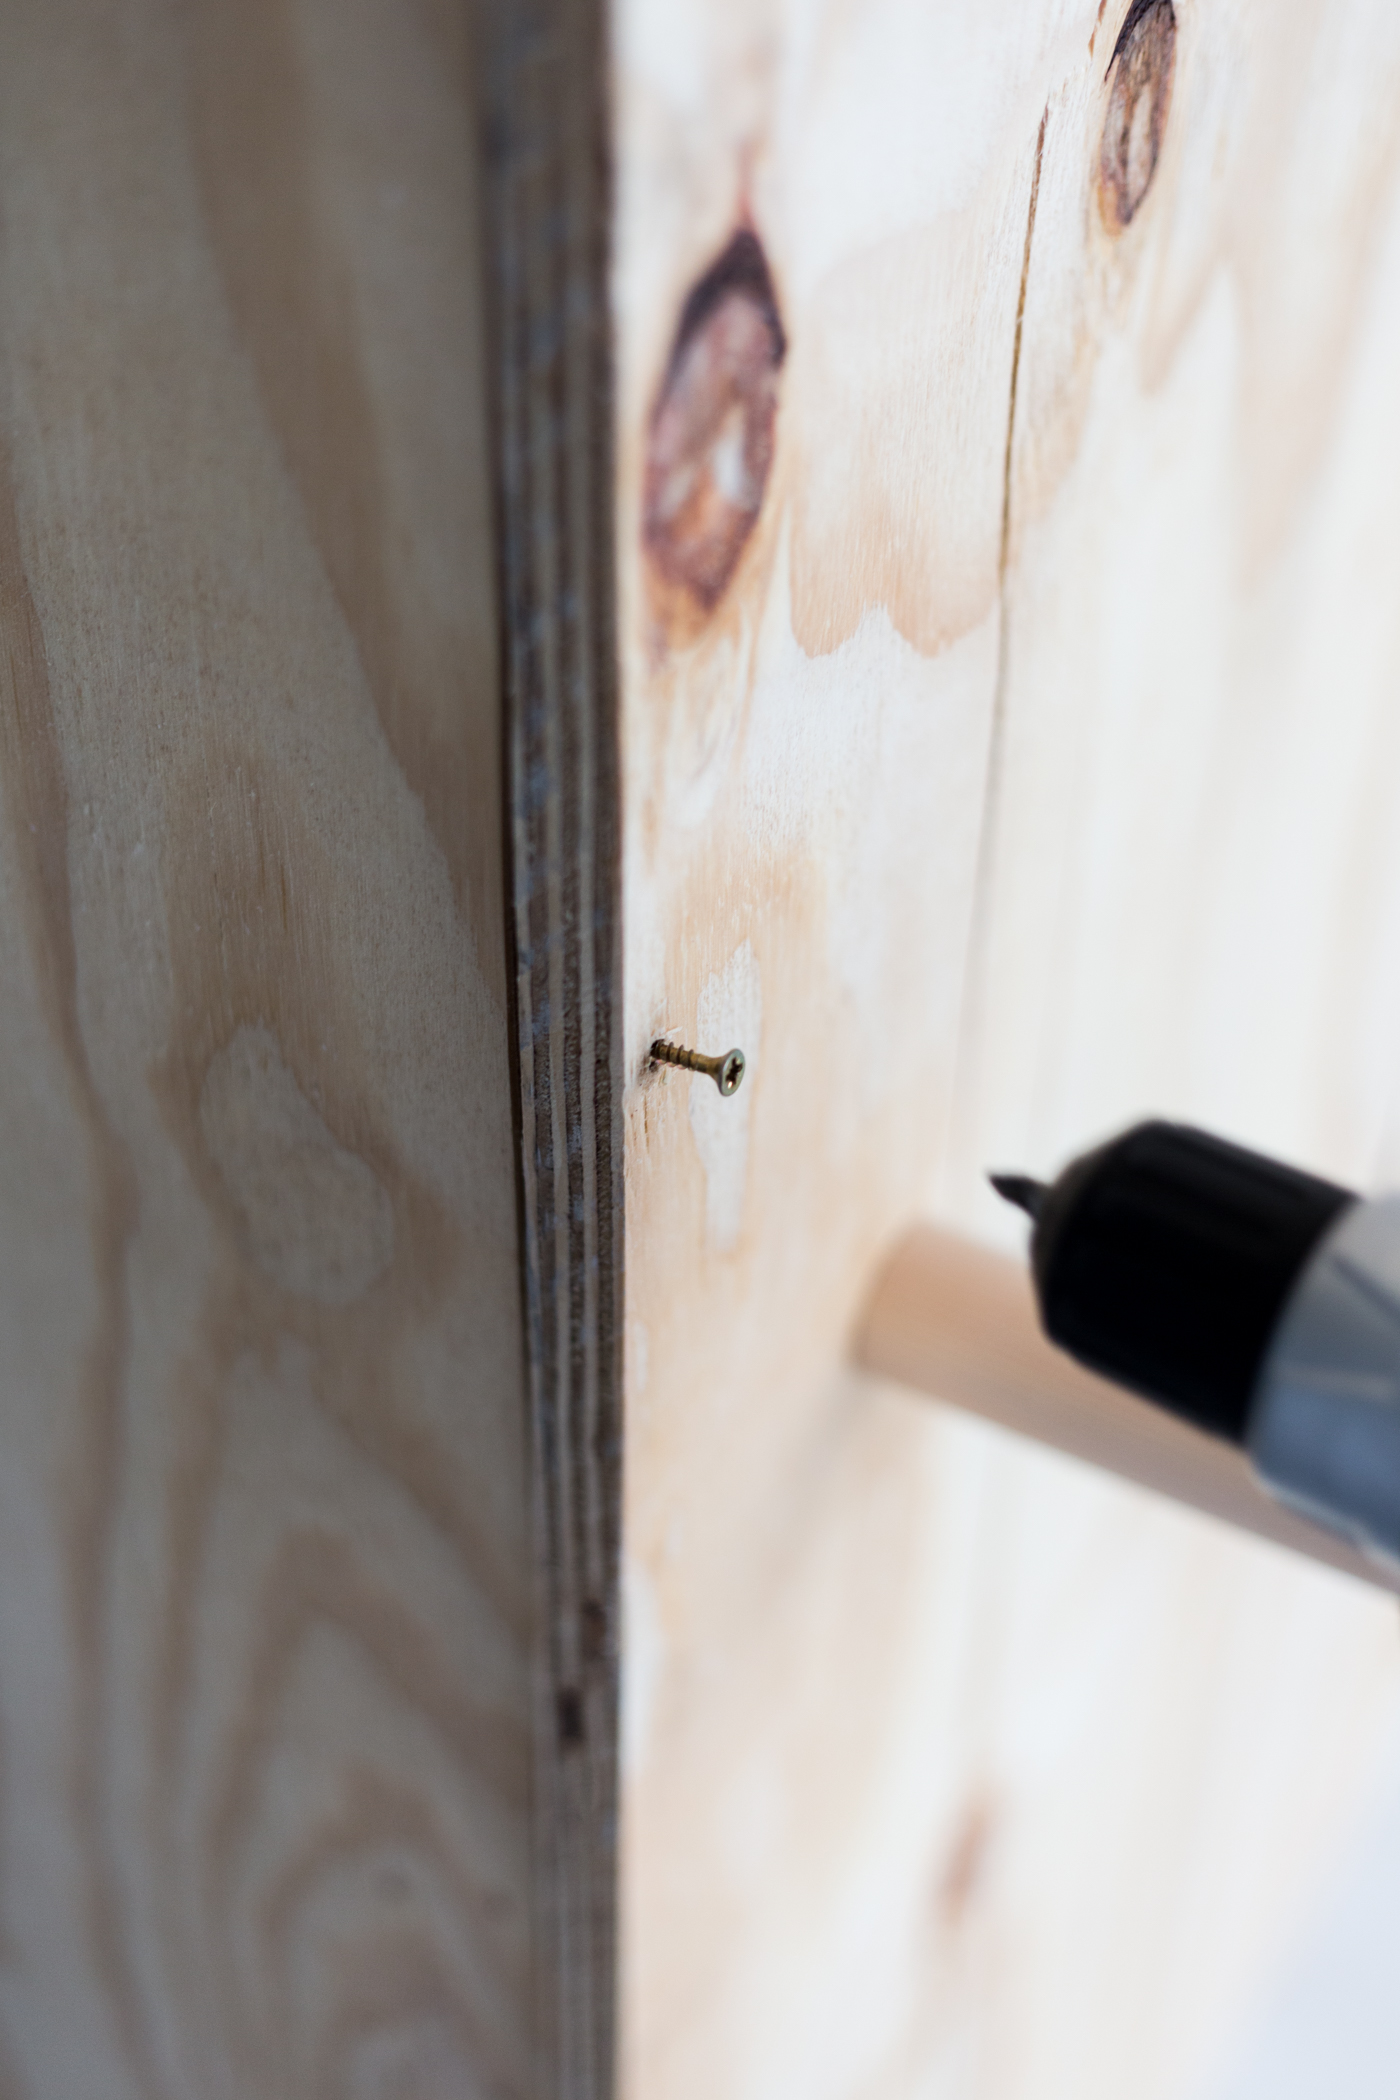
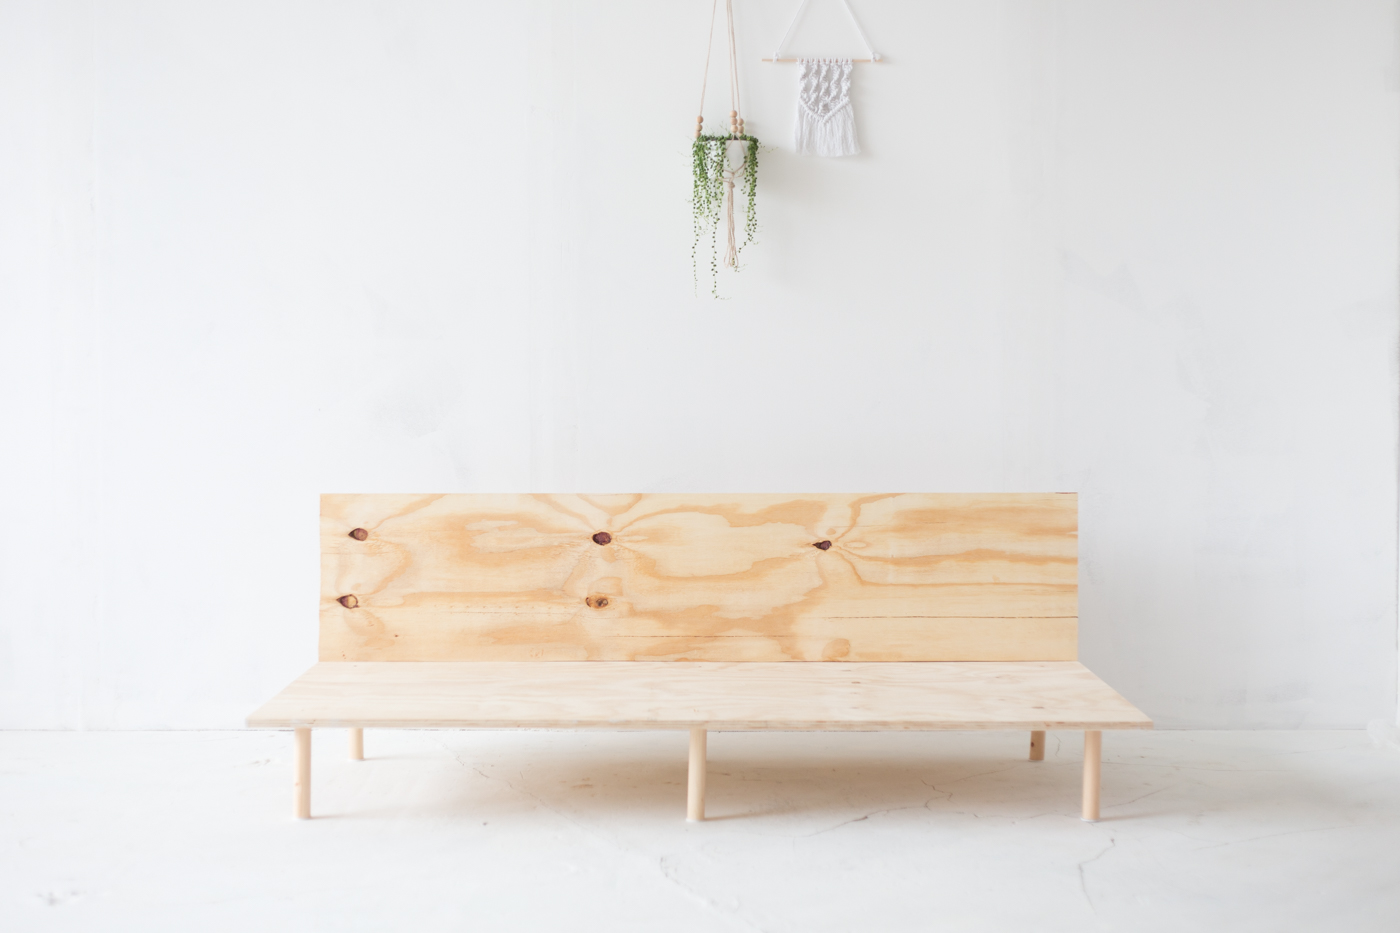
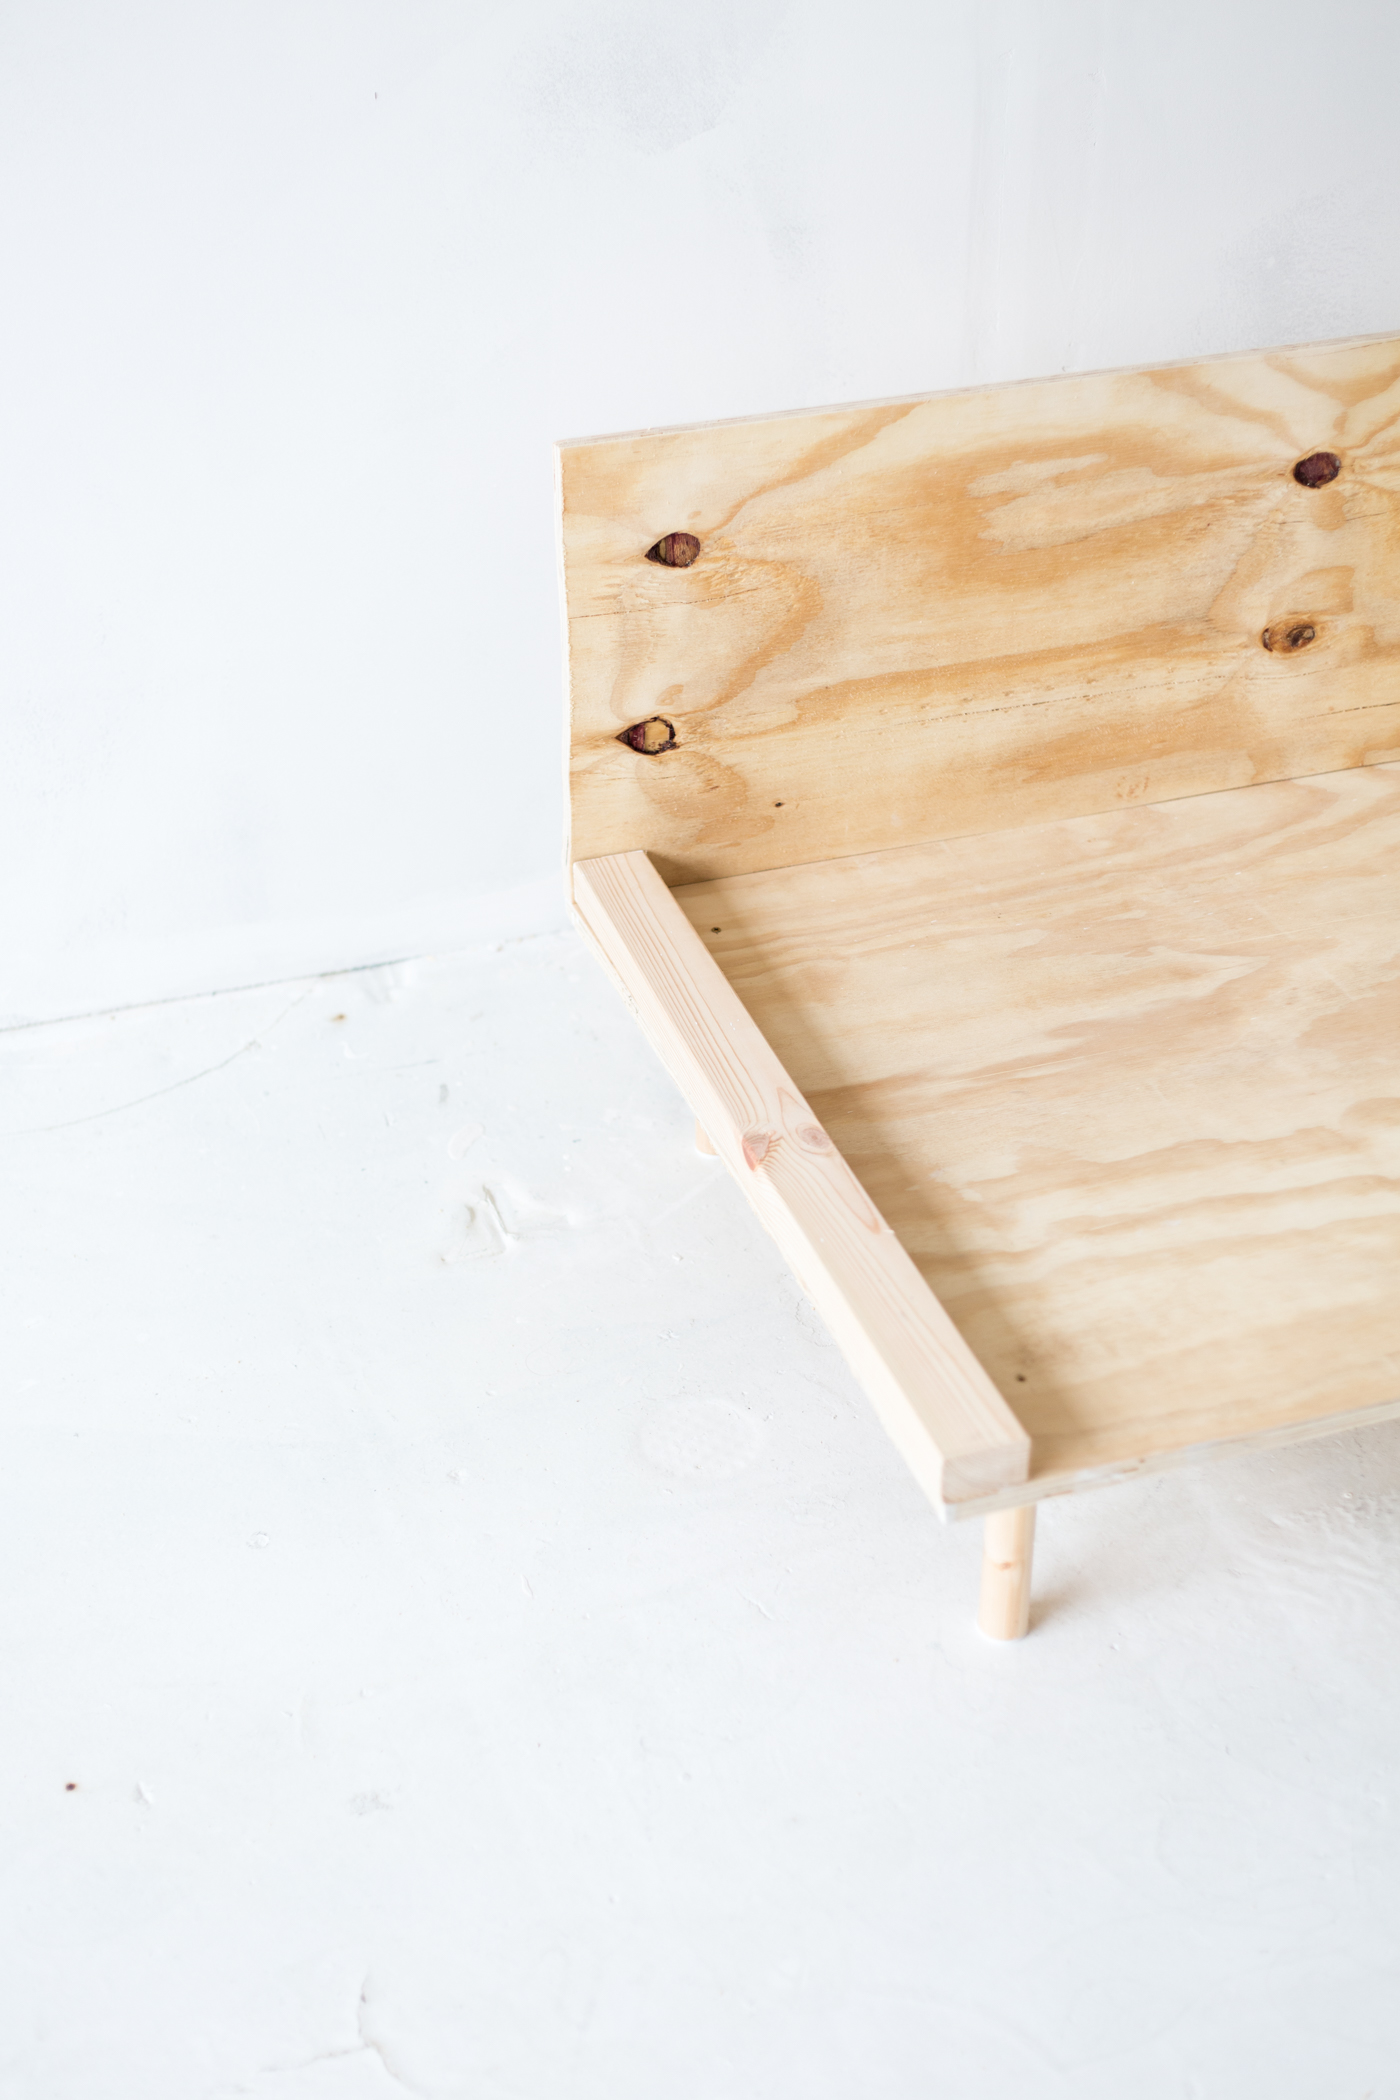
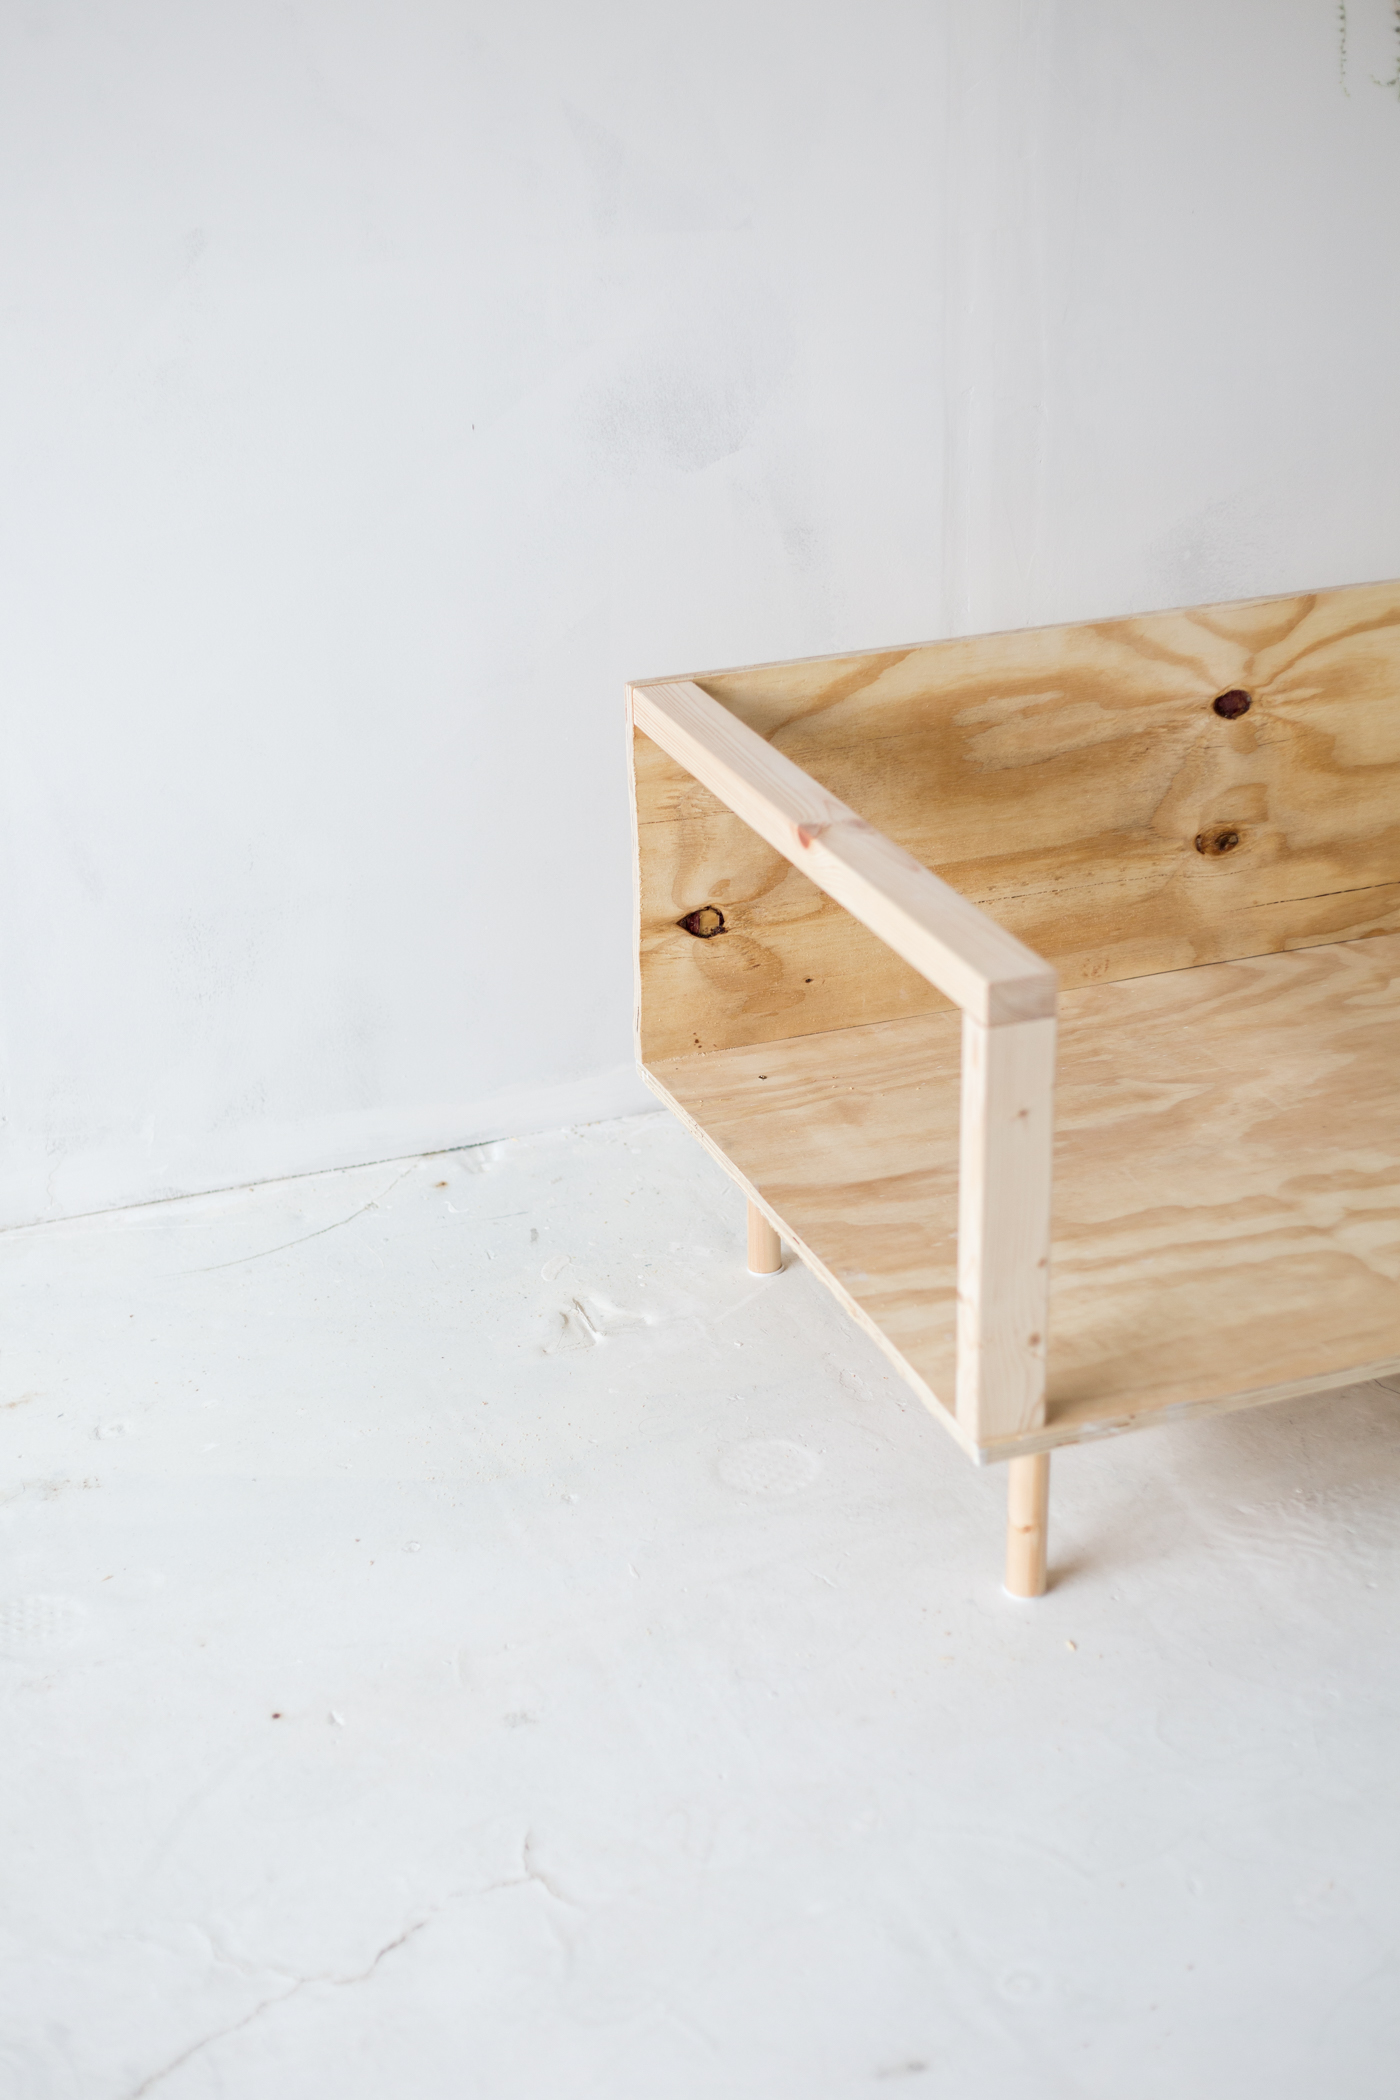
2. Pick up this piece and place it on one of the shorter sides. With the second piece of plywood create a right angle on the longer side. Your second piece of plywood should sit on top of the base. Holding firmly in place screw 8-10 wood screws through both pieces of wood from the bottom. Take your time to make these straight so they don’t stick out of the wood. If you see them leaning at an angle, take the screw out and try again in a different place.
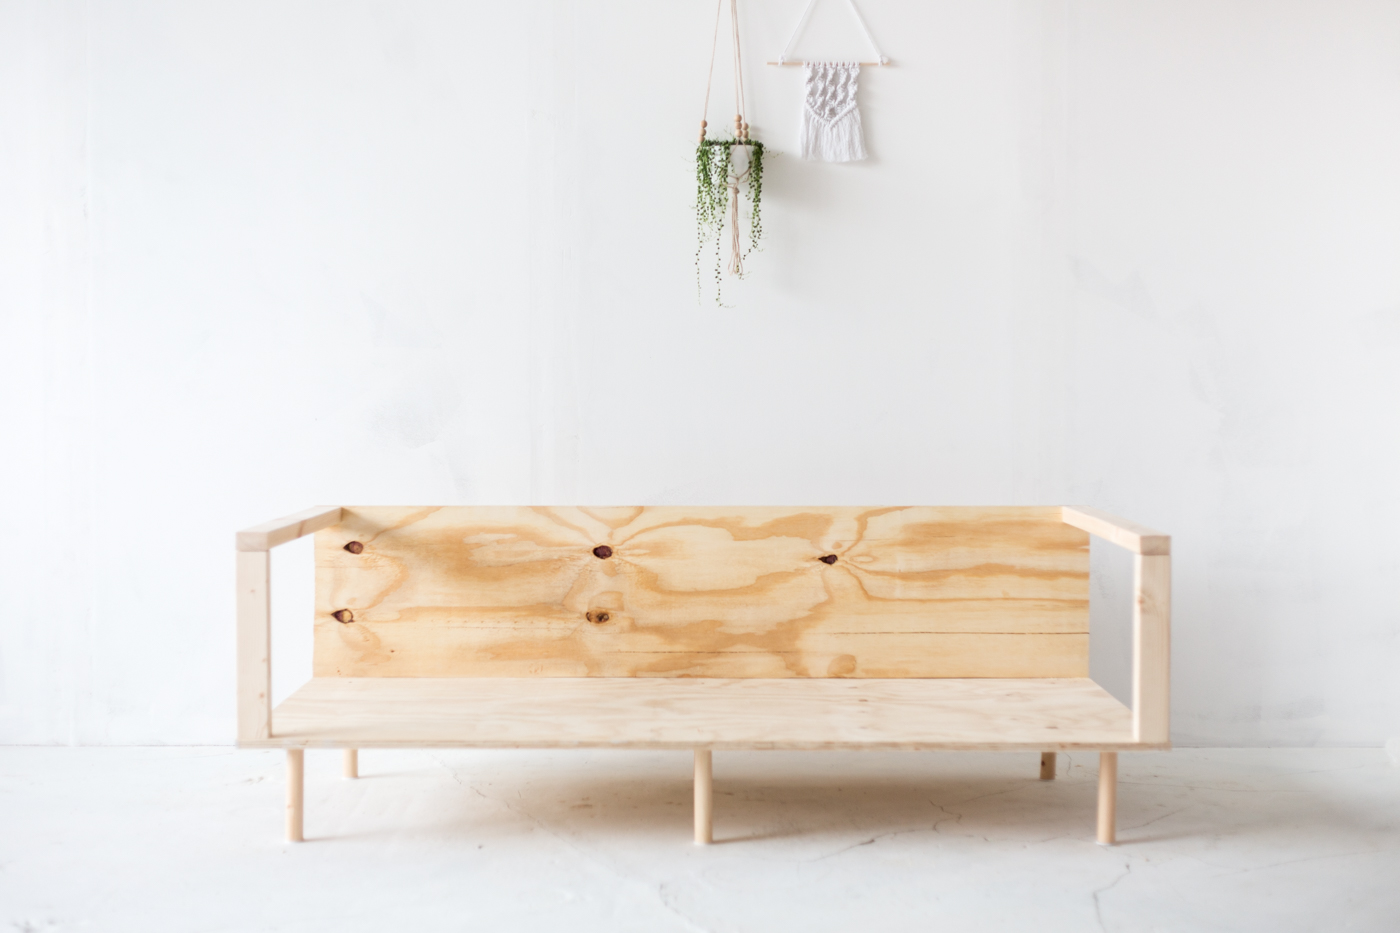
Carefully lift the sofa back into position. The back should hold steady now but won’t be able to take any pressure. We’re going to fix this with the arms.
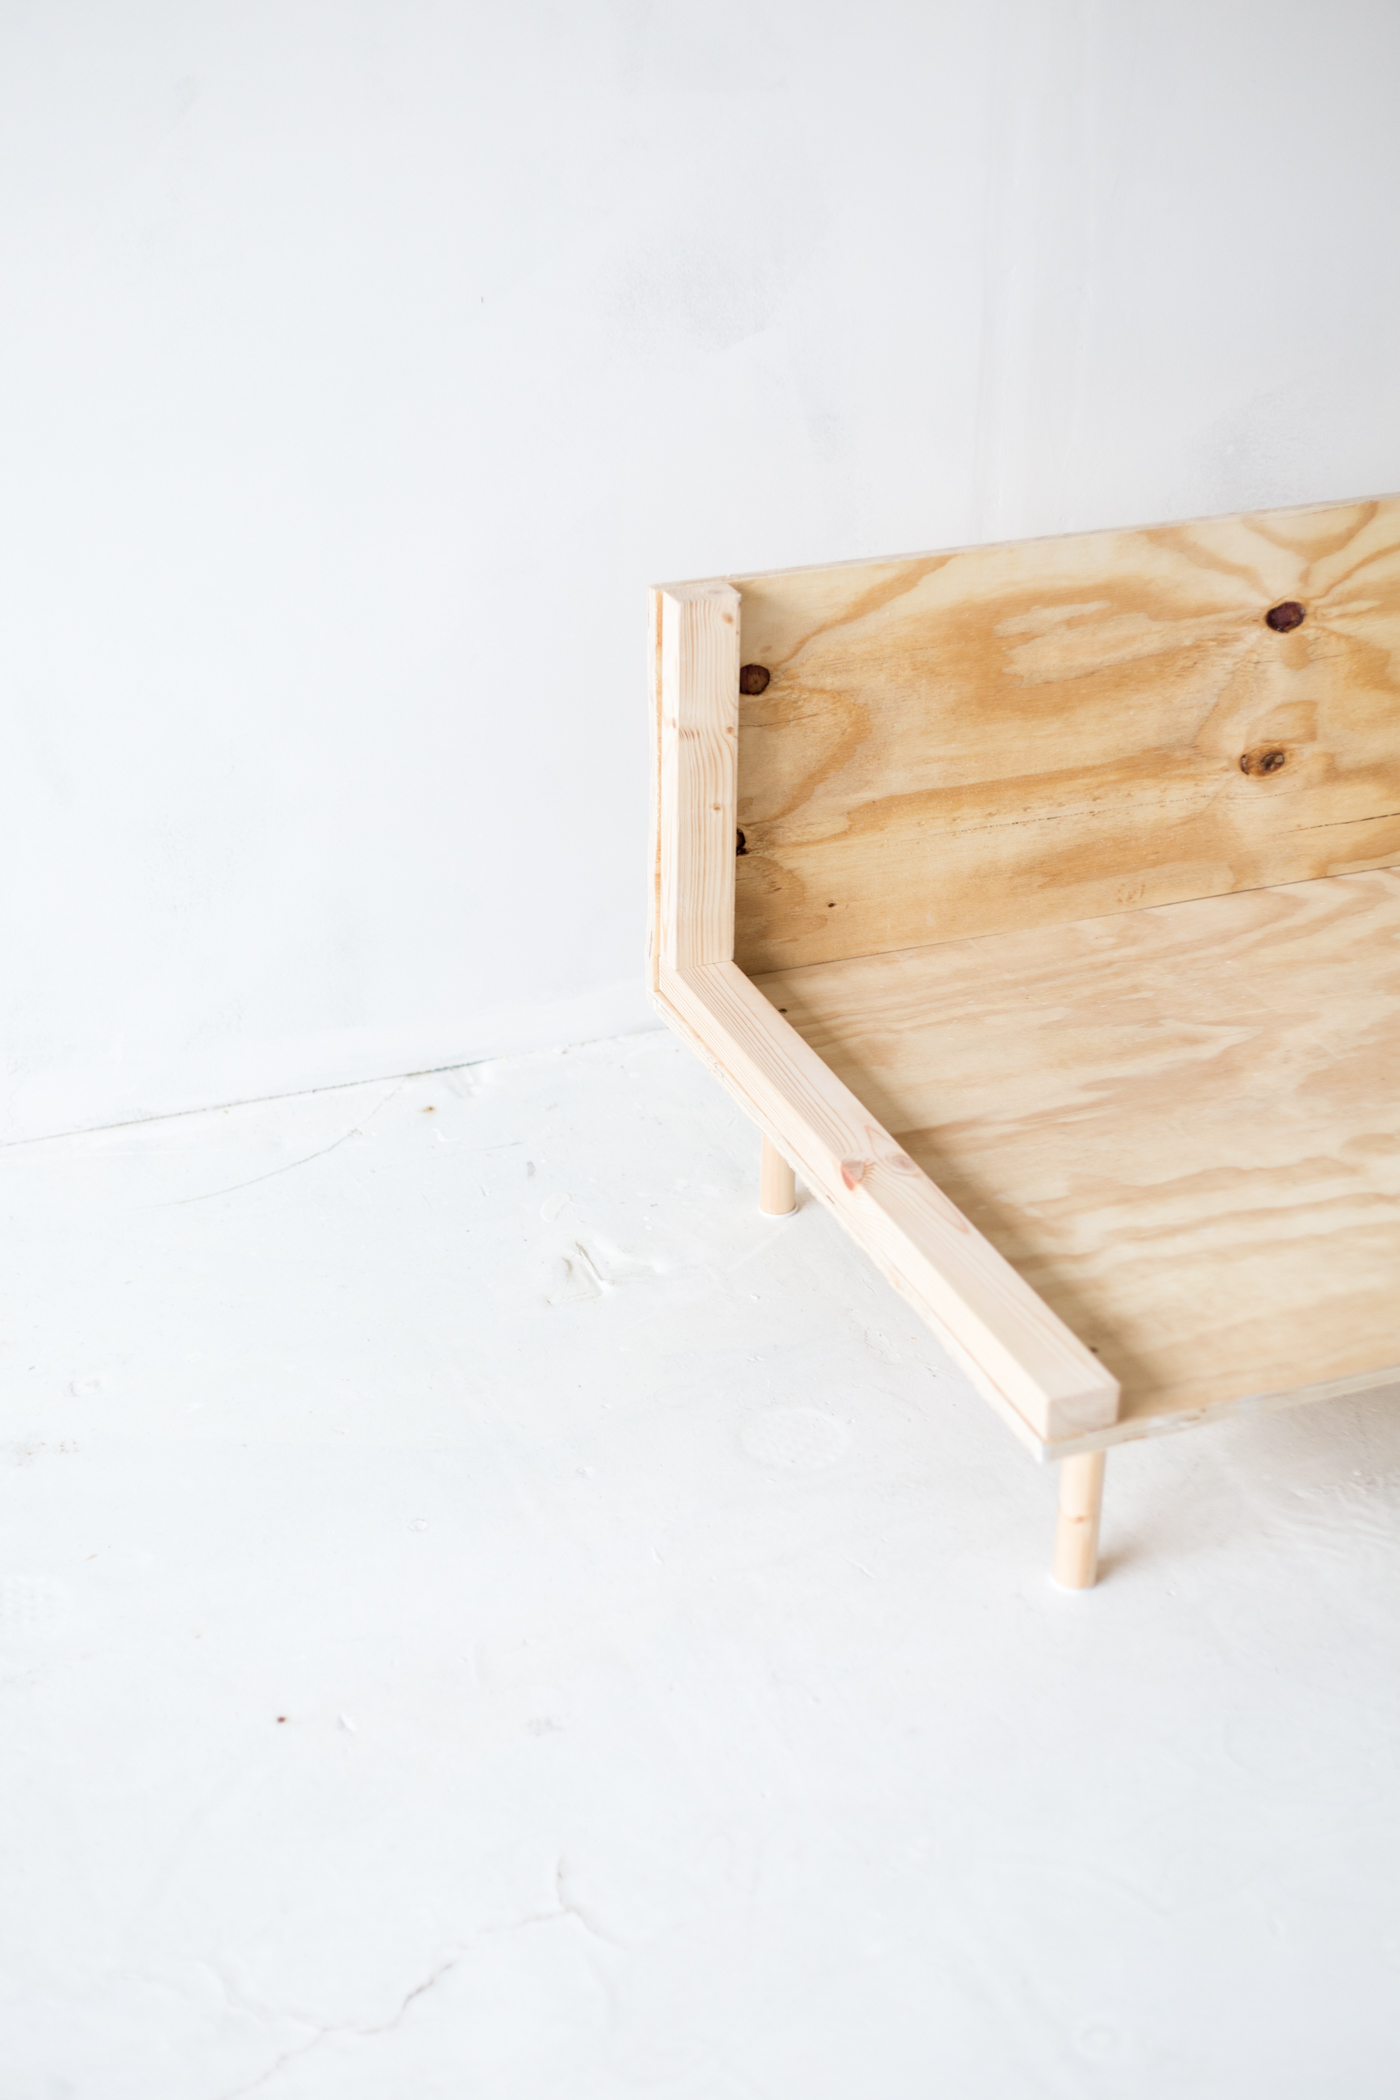
3. Measure and cut two pieces of softwood the length from the back to the front of the base (measuring from the backboard). Place this piece on the sofa base then measure and cut another two pieces the length from the top of the first piece of softwood to the top of the backboard. This will let you get a perfect fit.
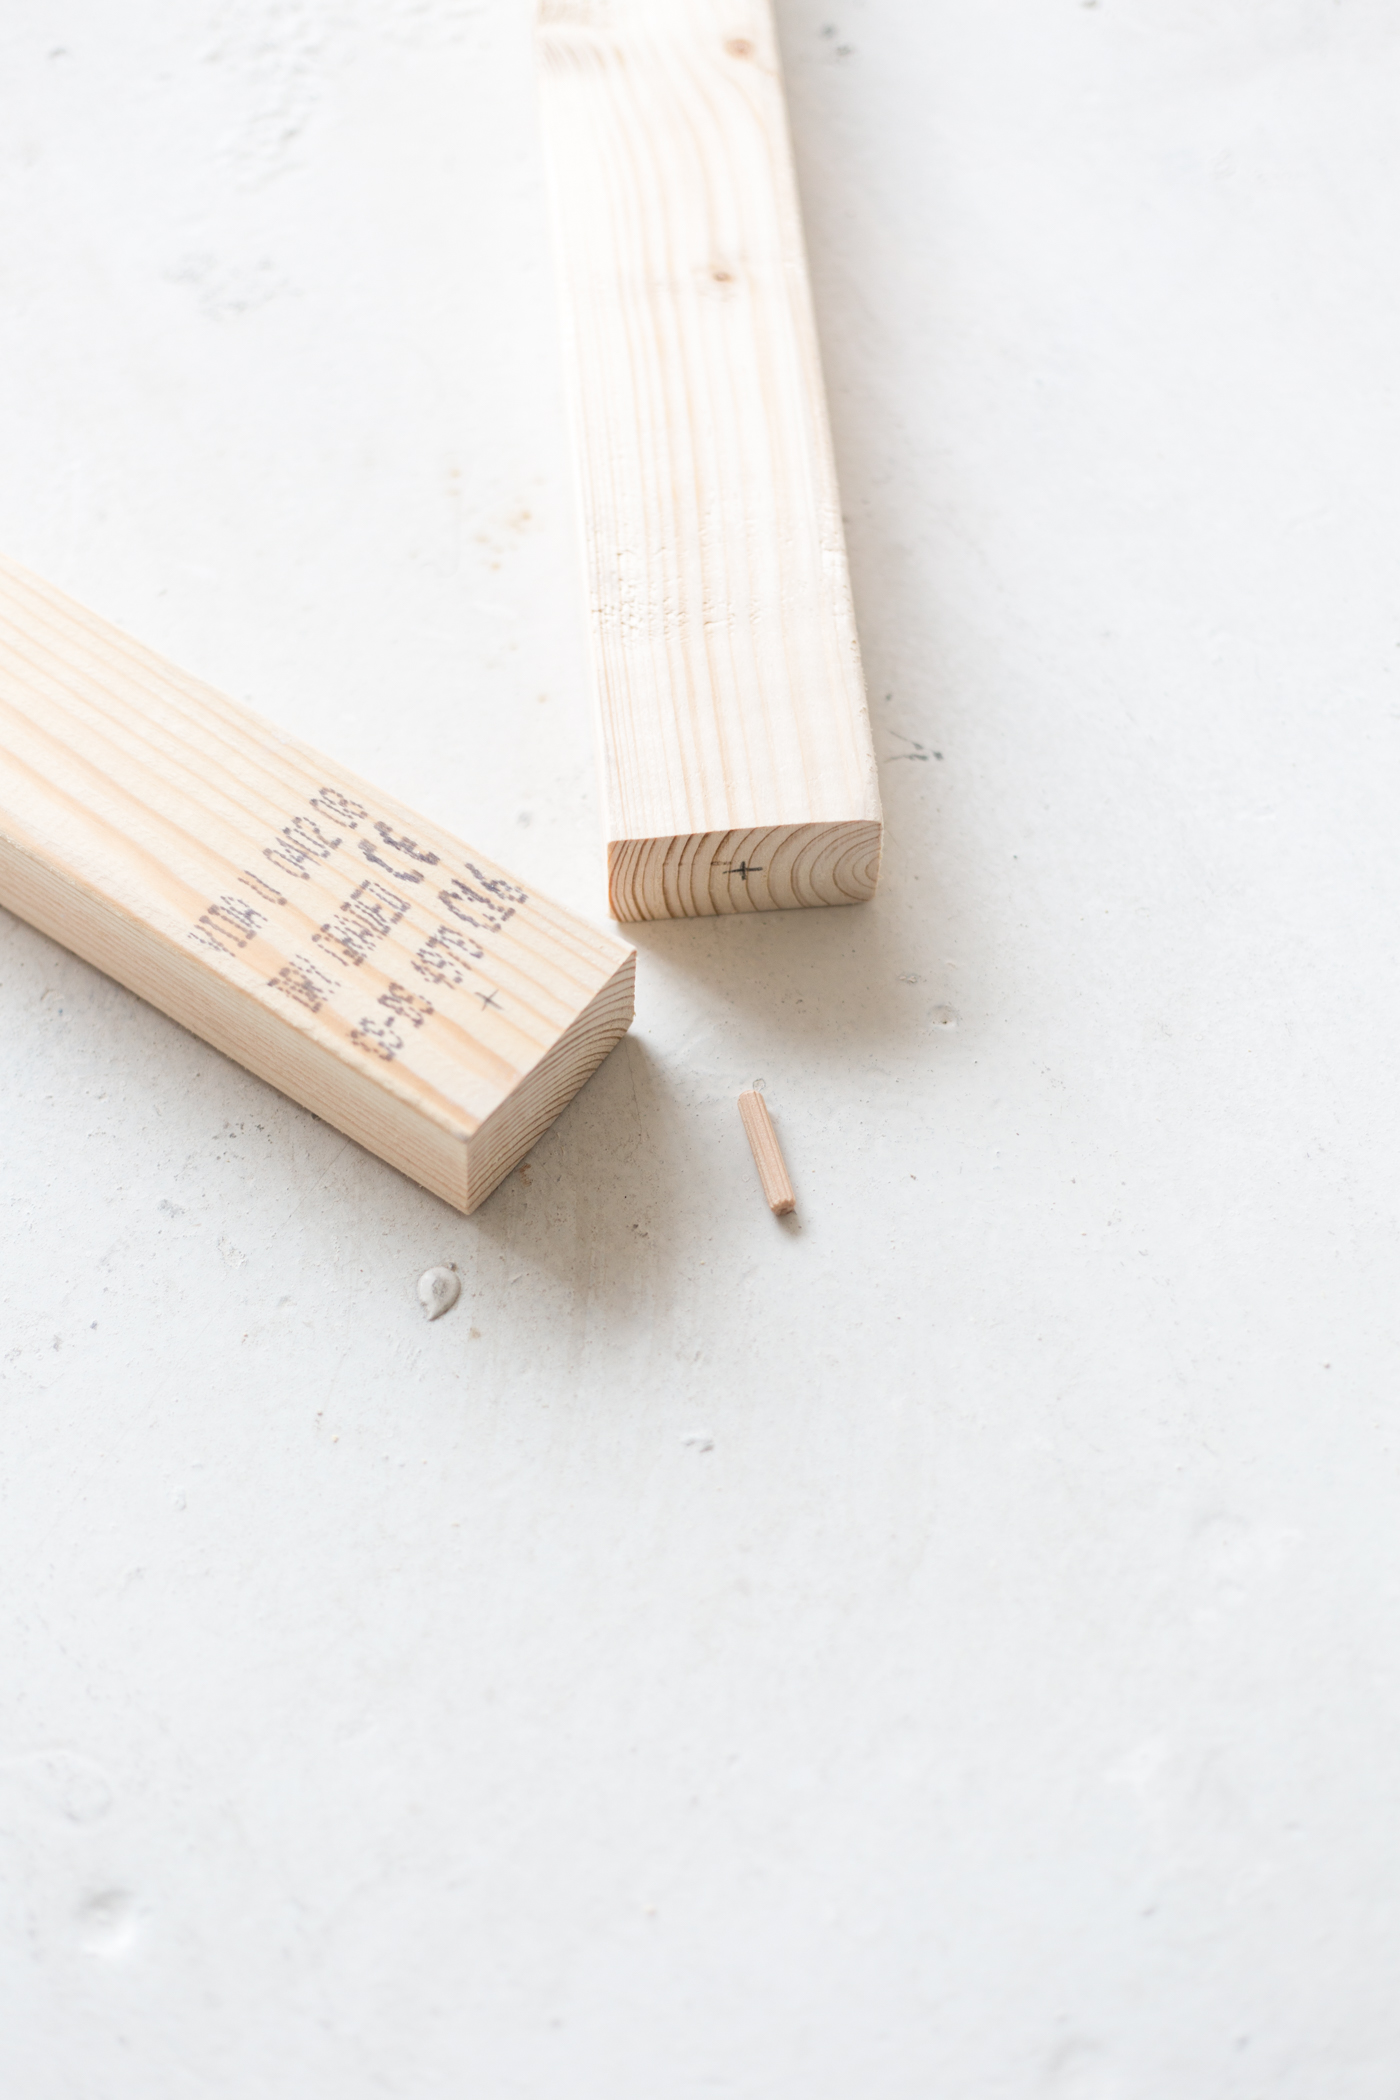
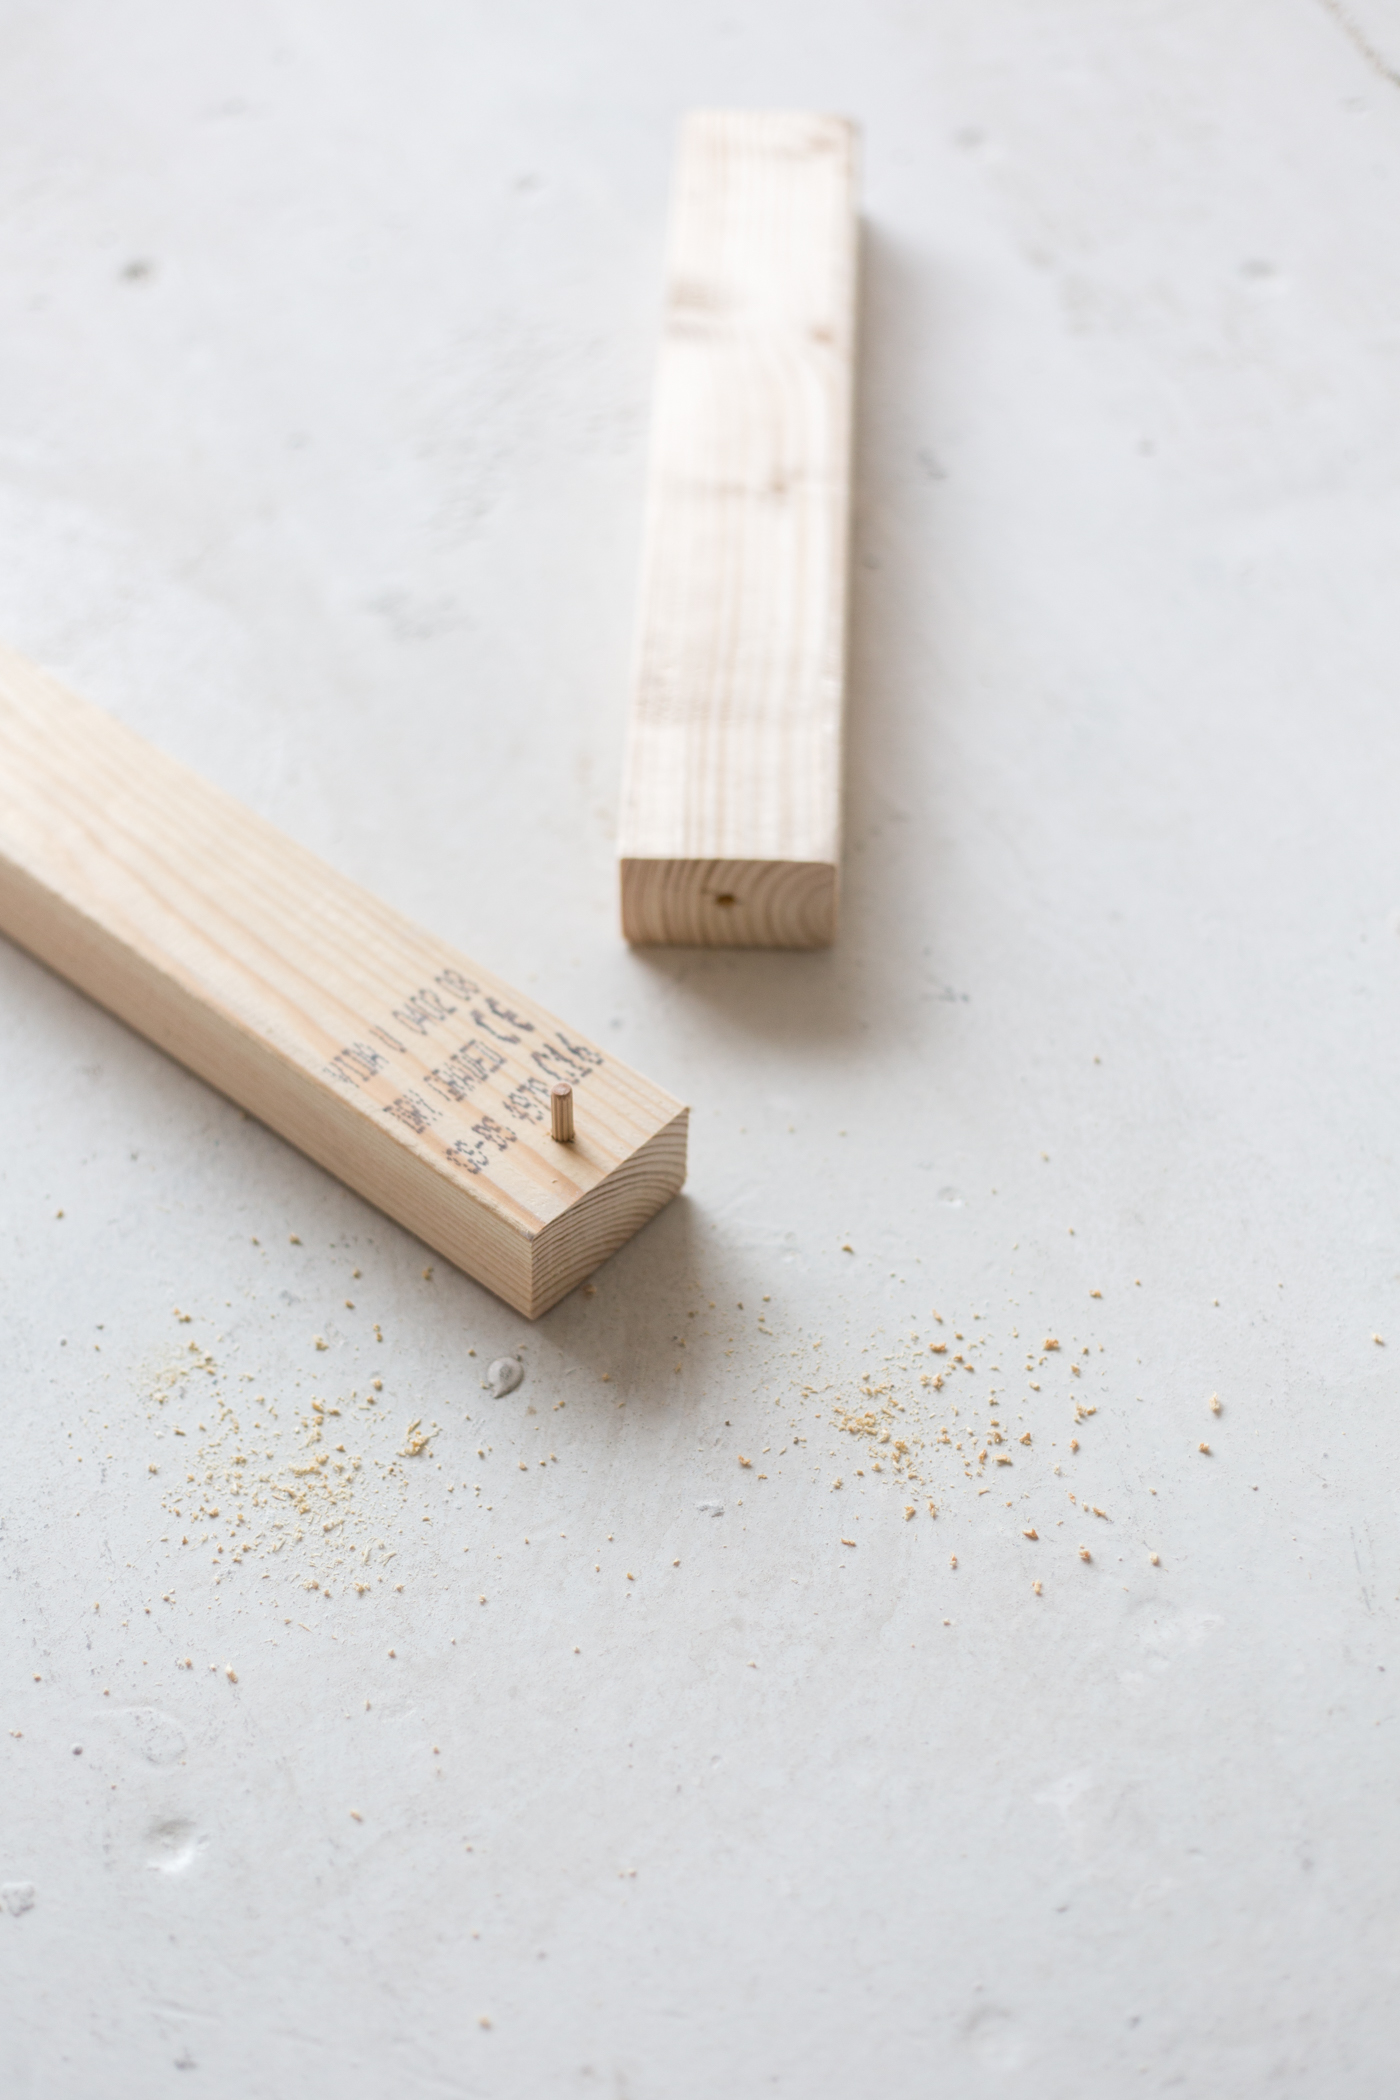
Measure the centre point of the one end of the smaller pieces of softwood. Use these measurements to mark a corresponding point on the longer edge of the longer length of softwood. These two points should match up when you place the longer and shorter lengths at a right angle.
Drill a hole the same width as your small dowel (around 6mm) and just over half the length. Press the dowel into the hole on the longer piece of softwood. Then push the hole in the shorter piece of softwood onto the remaining dowel. You can use a little wood glue here to keep this in place. Attach the other ends of the softwood to the plywood sofa using long wood screws. You might need to pre-drill holes here to make it easier.
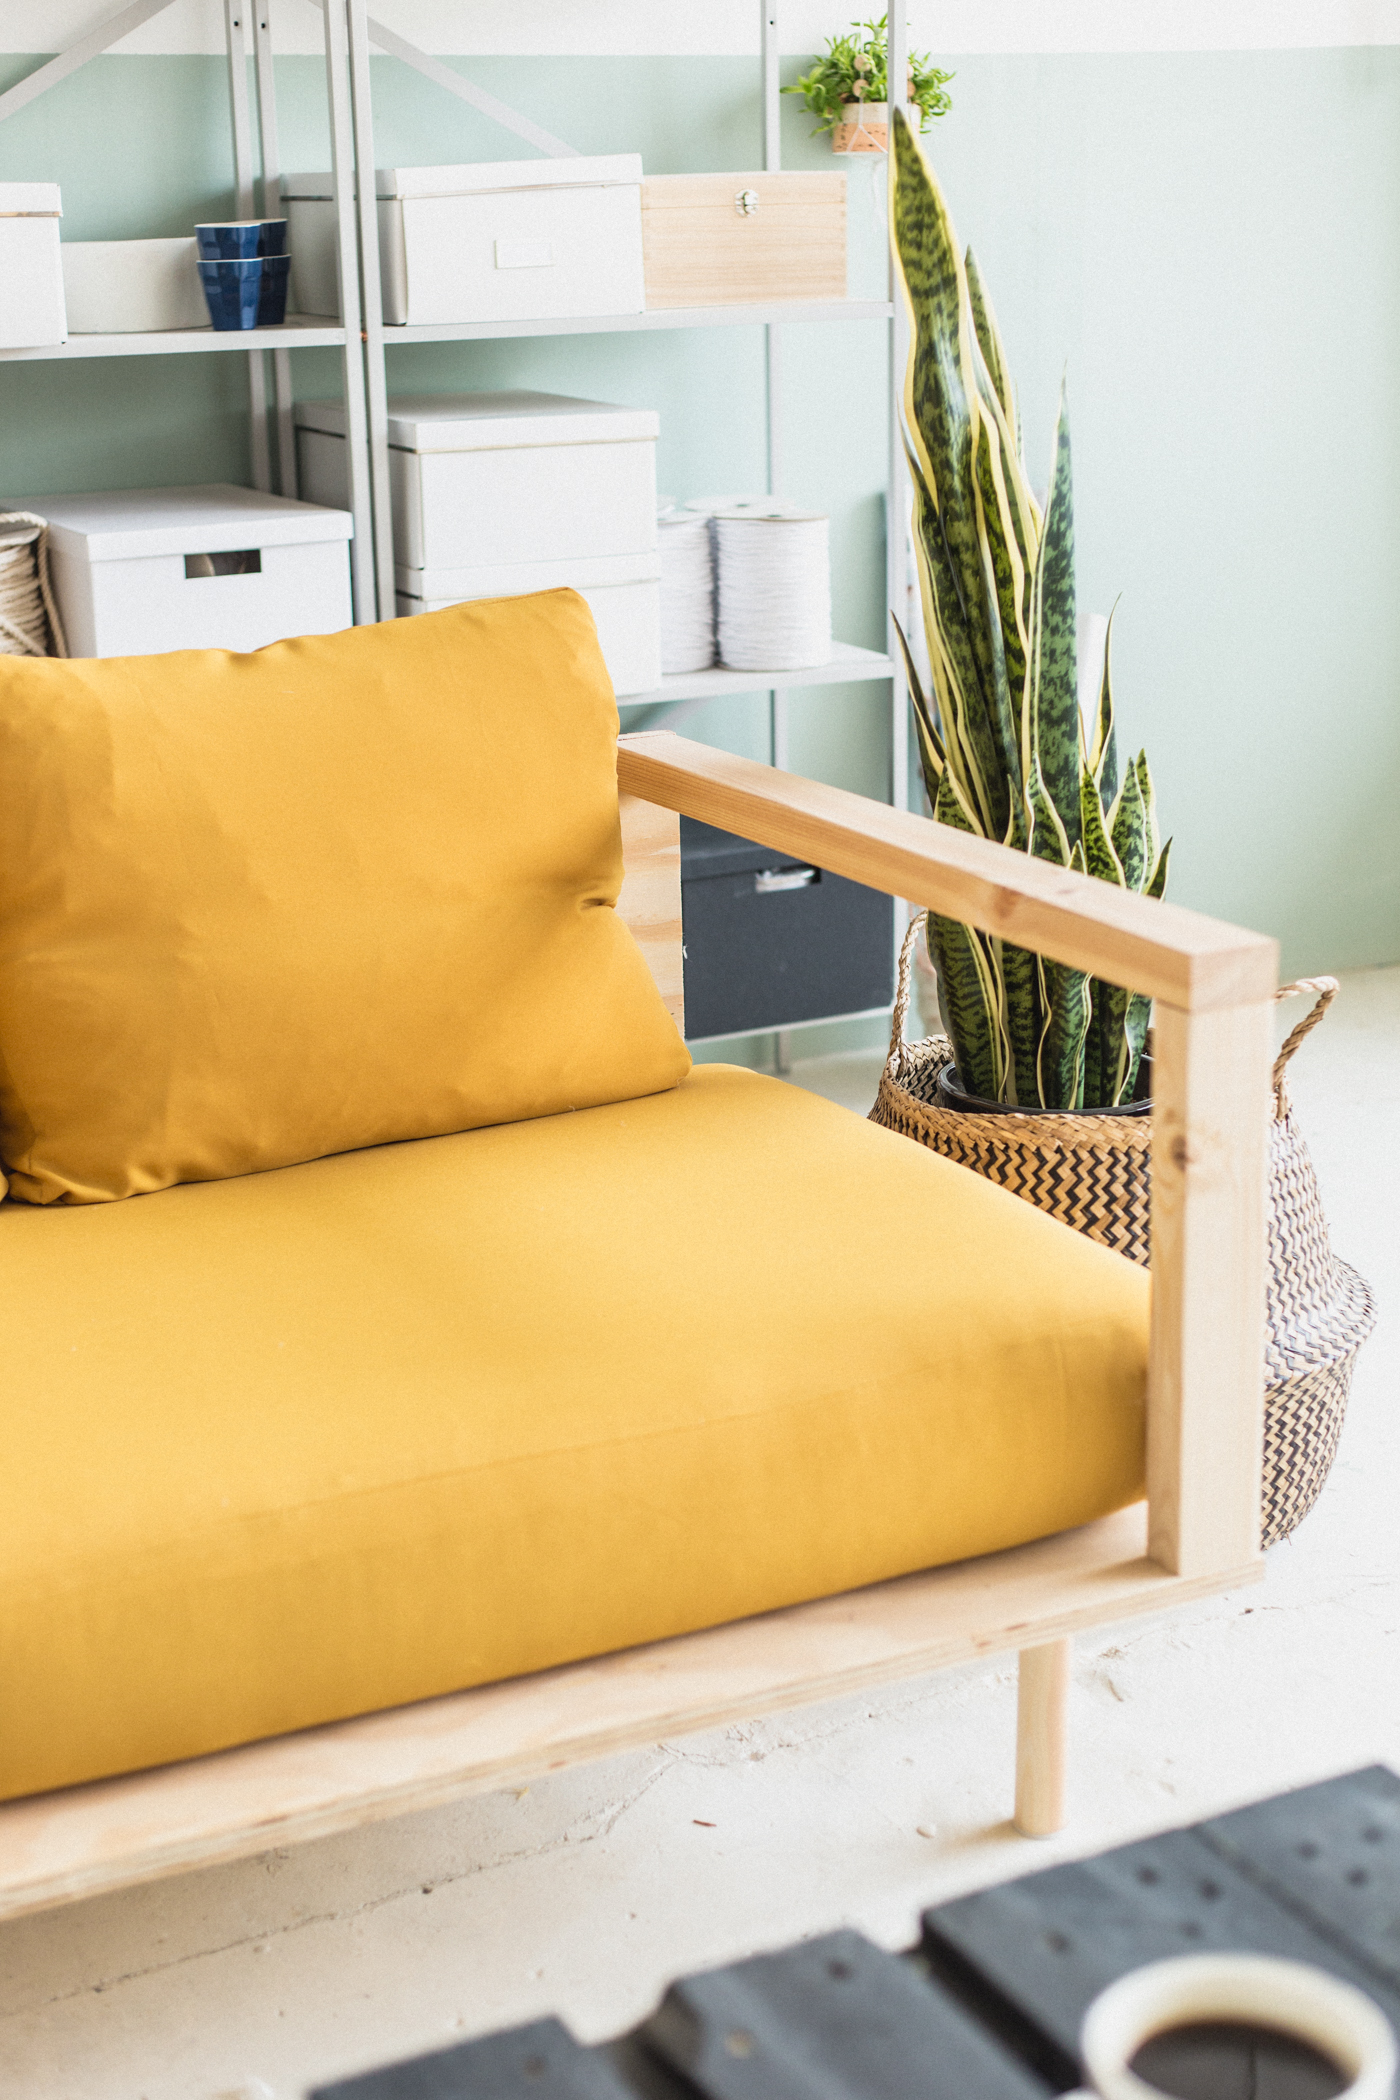
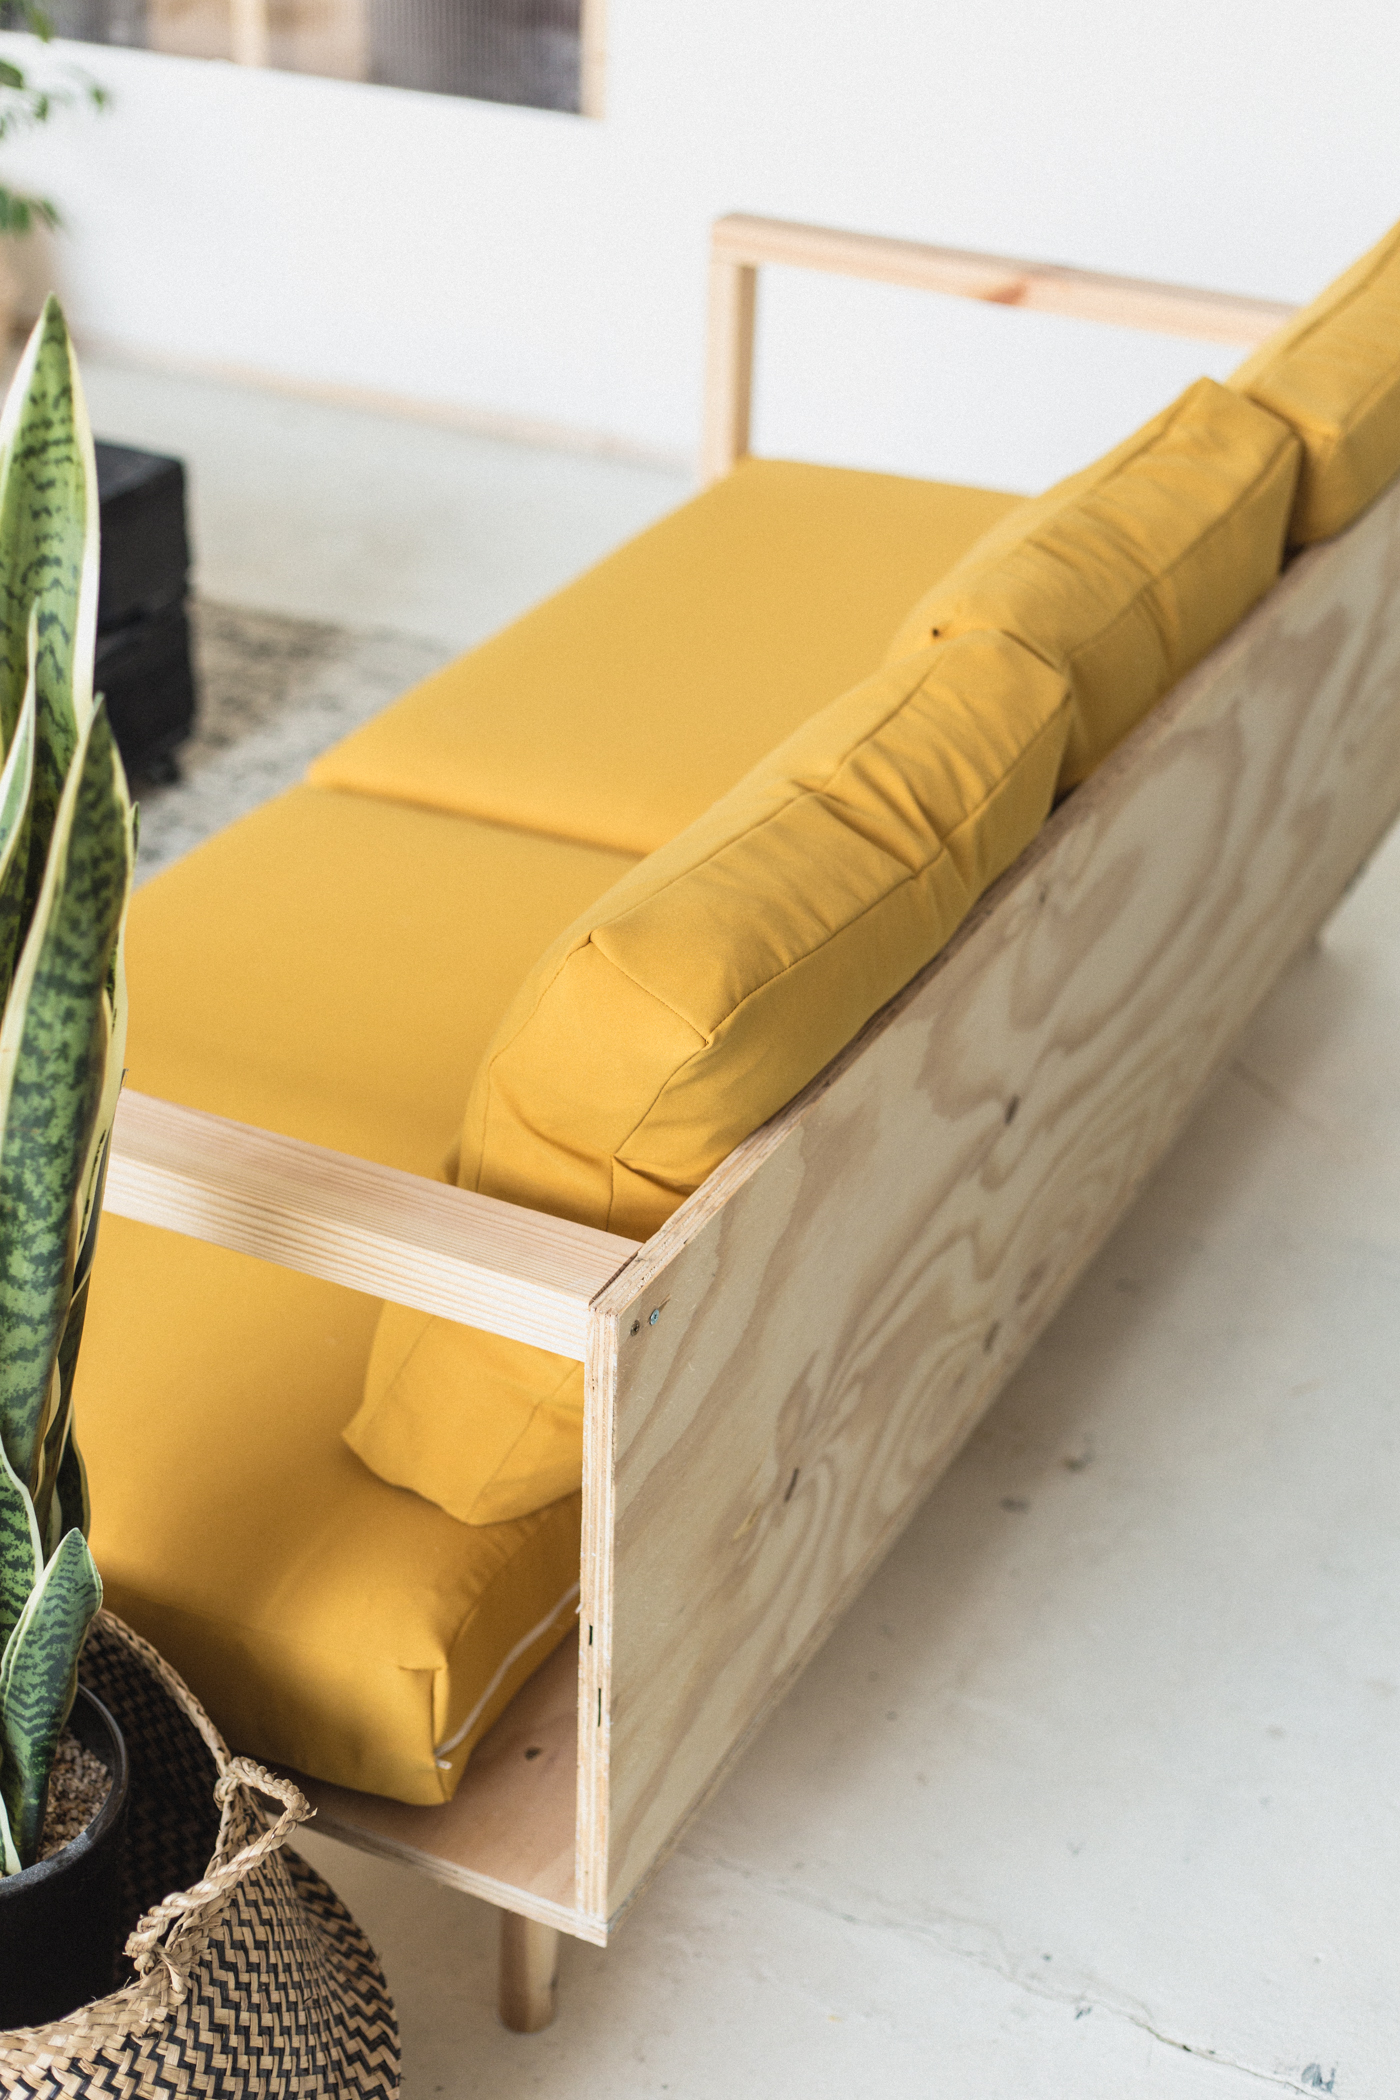
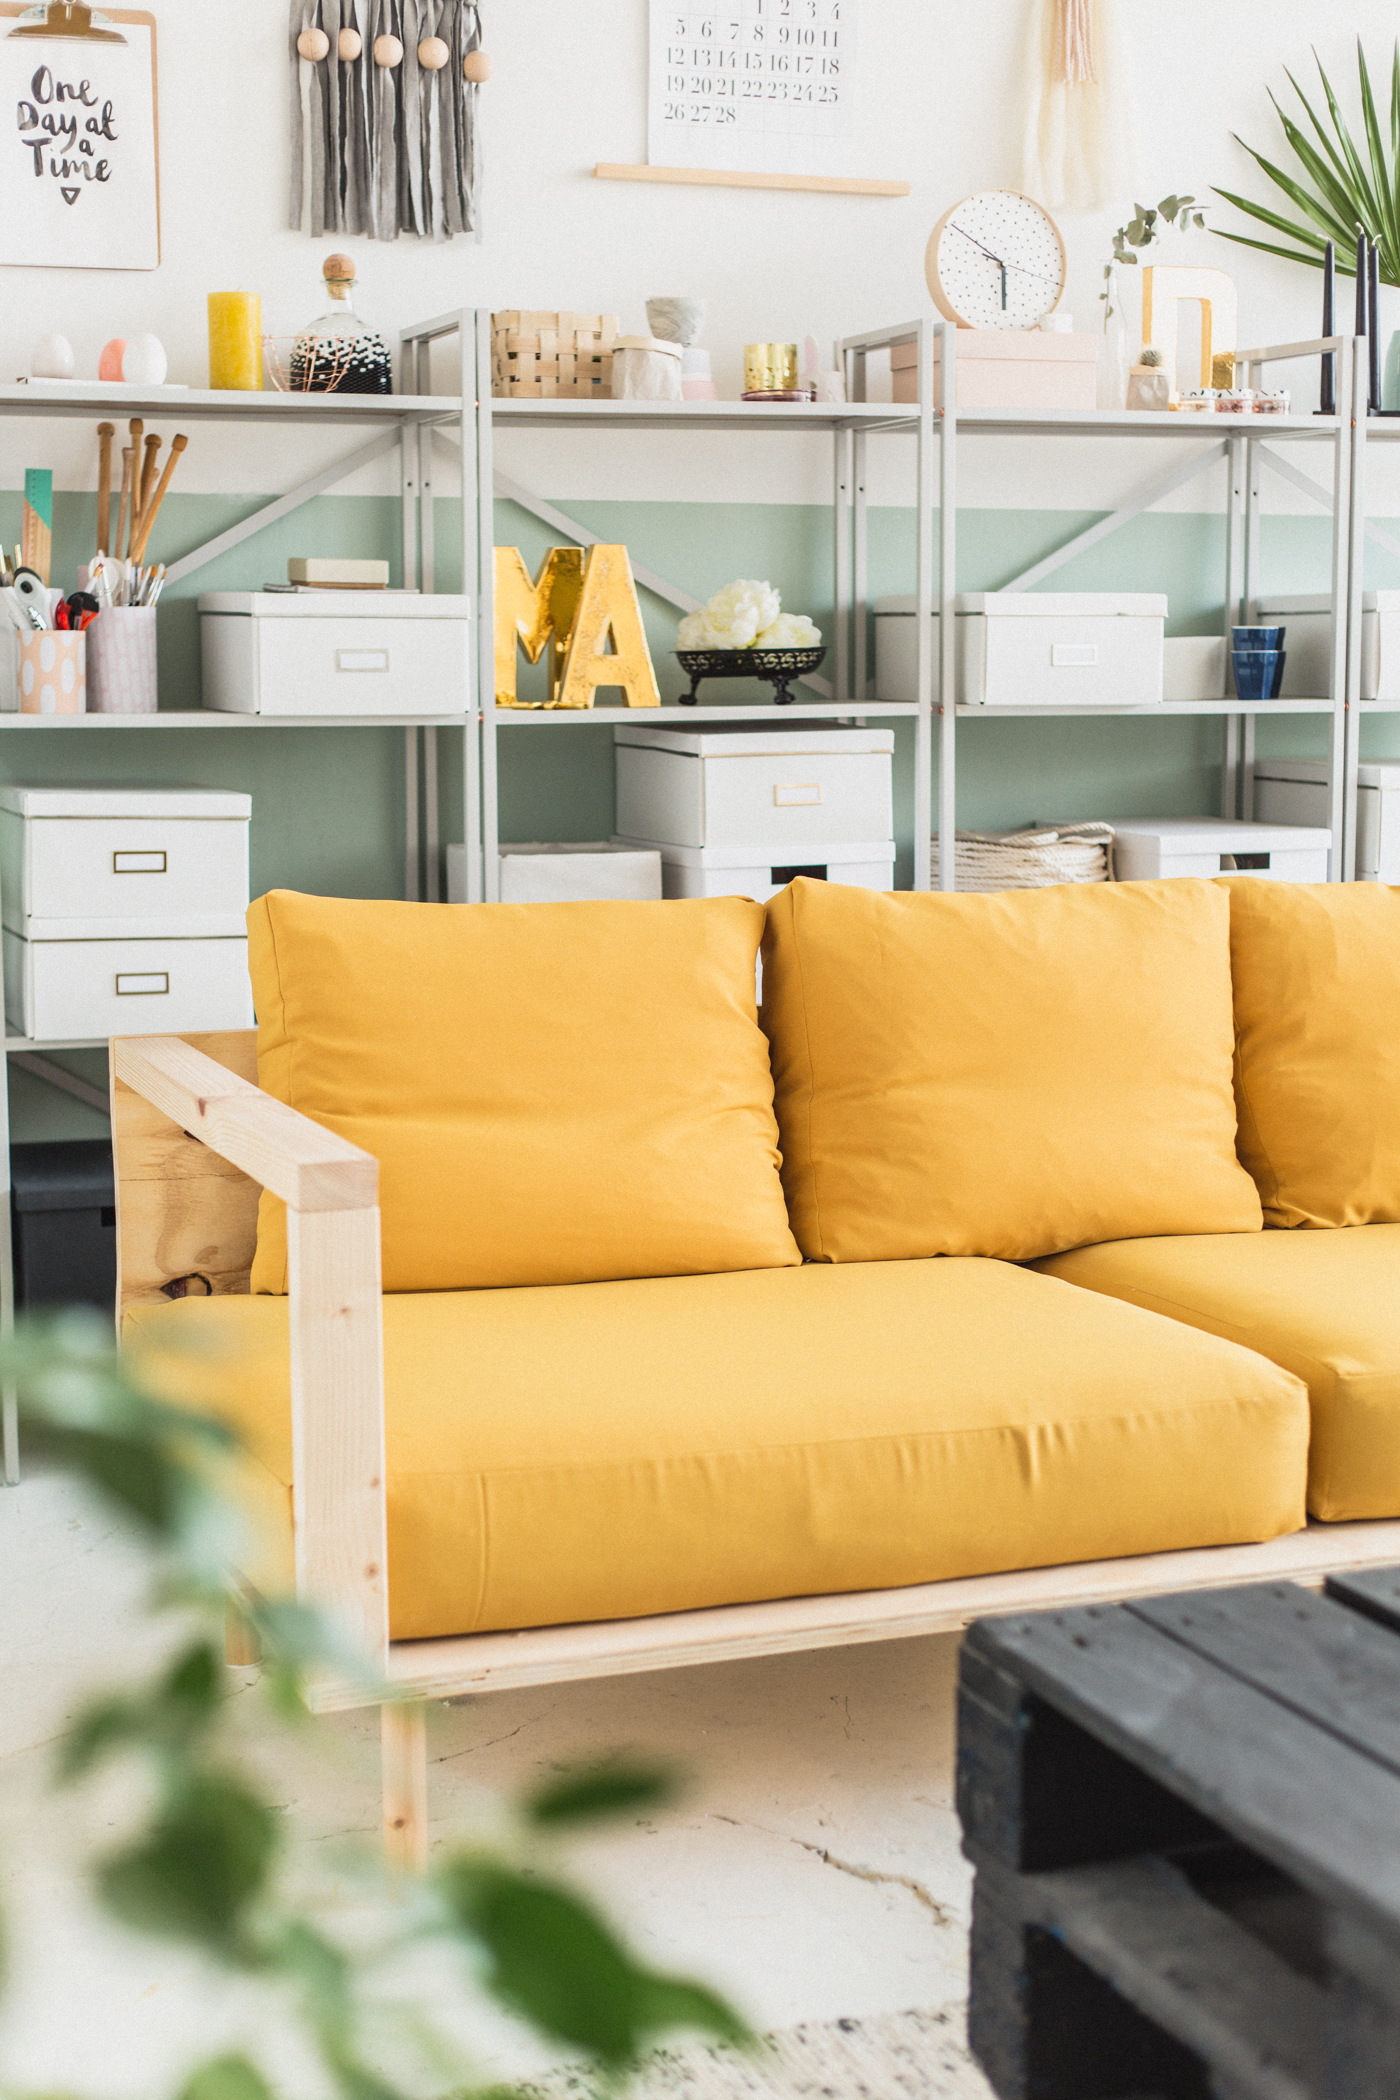
That’s the base finished. I’ve used old sofa cushions for the upholstery but you could make new ones from foam and wadding. To cover them in this gorgeous mustard fabric I used this tutorial from my sofa re-cover project. I’ve made these cushion covers a number of times now and they always work perfectly.
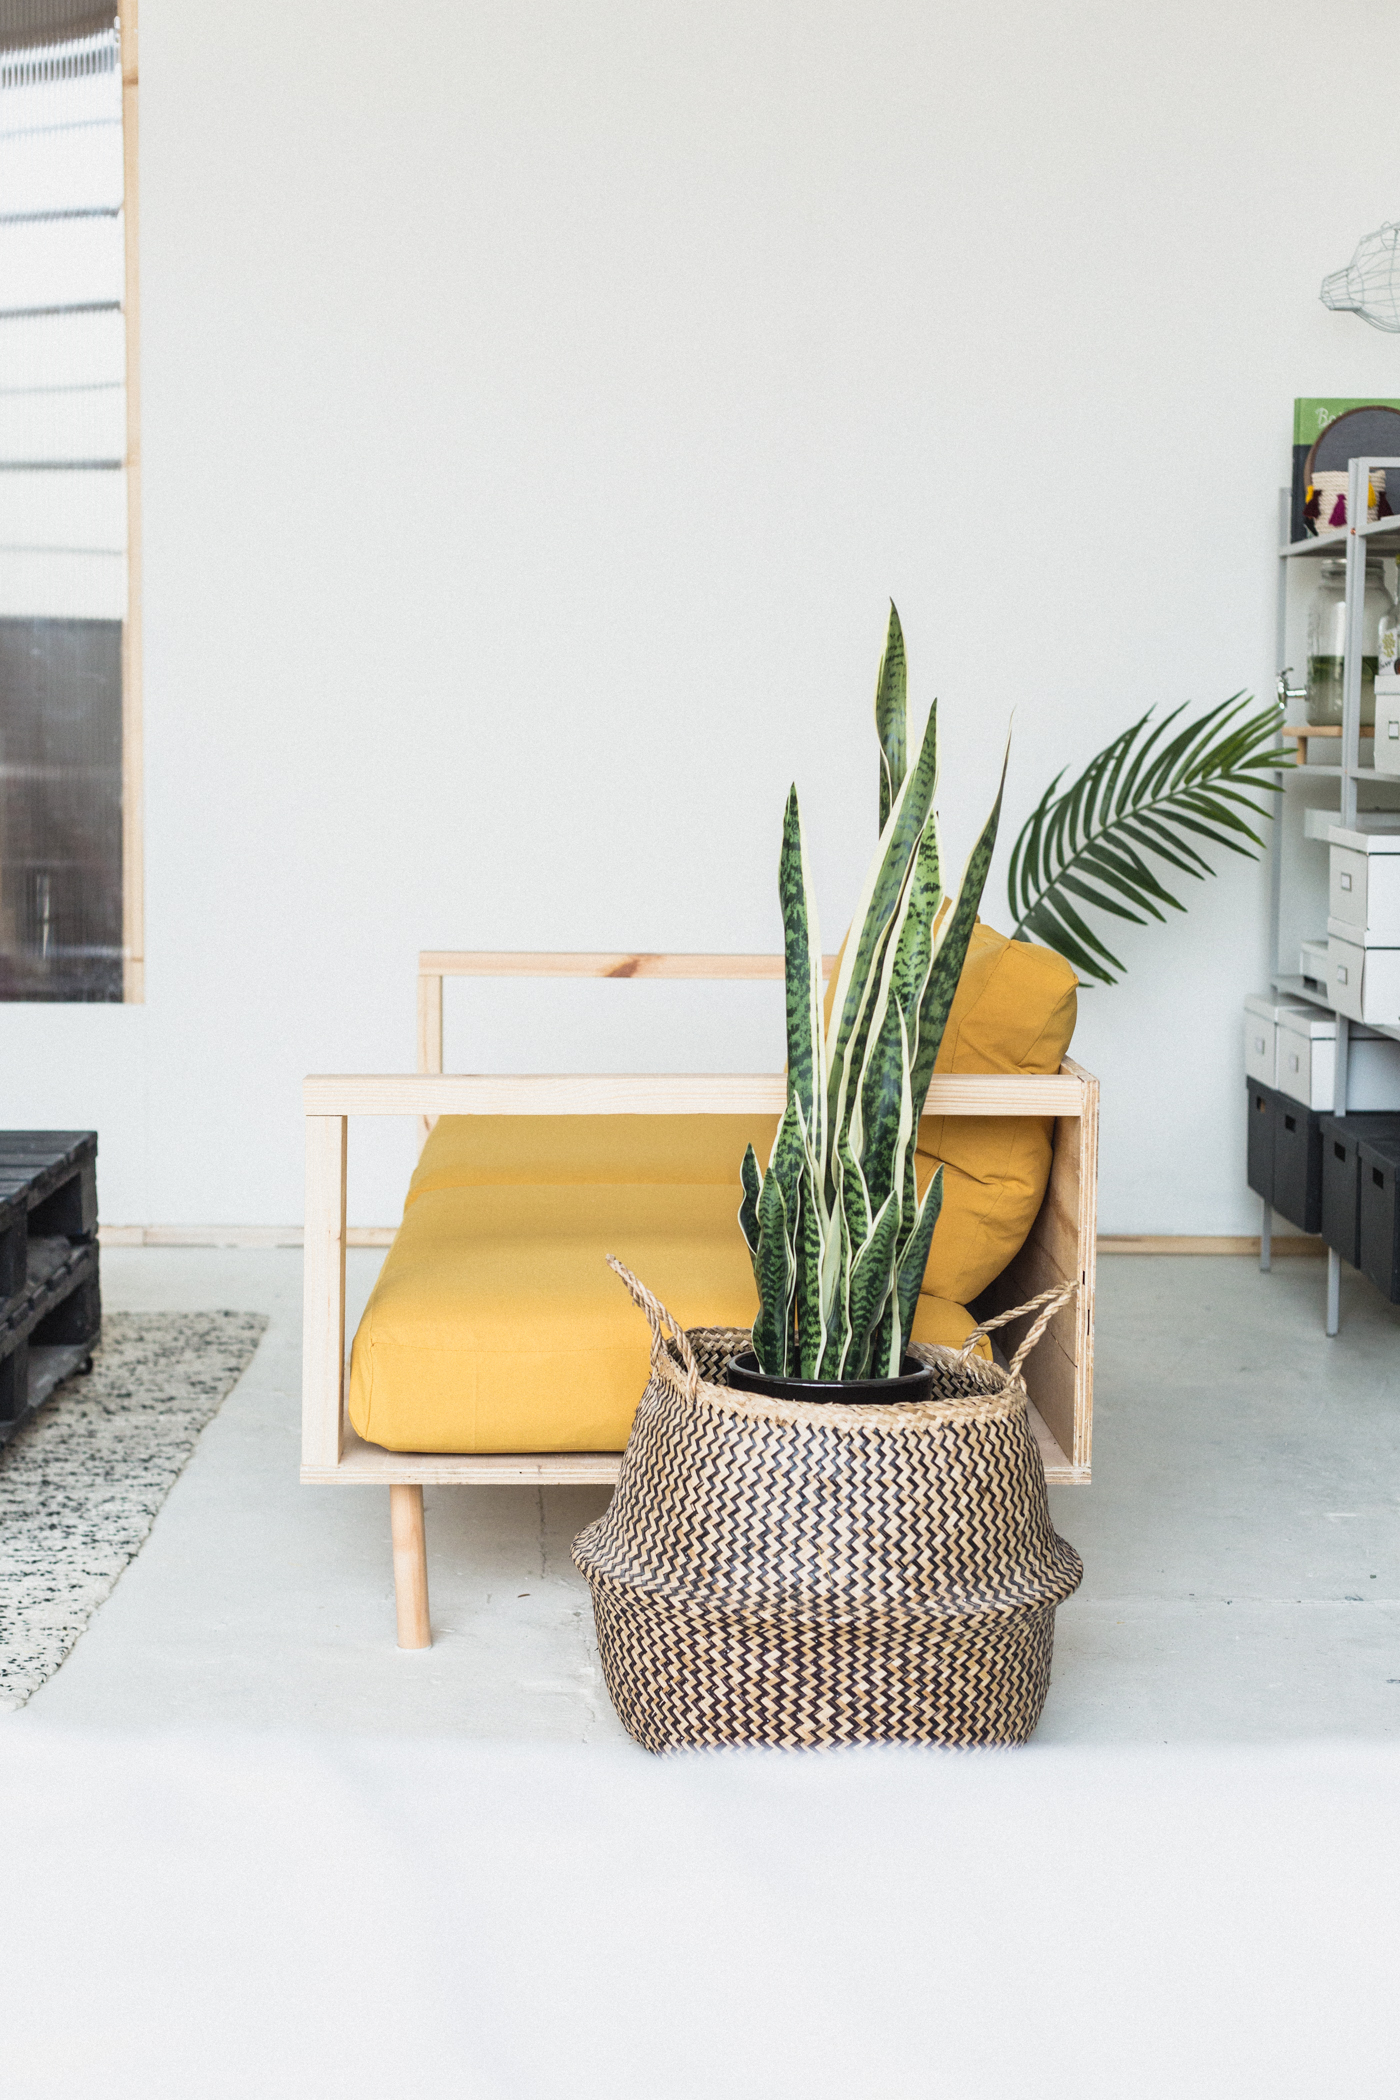
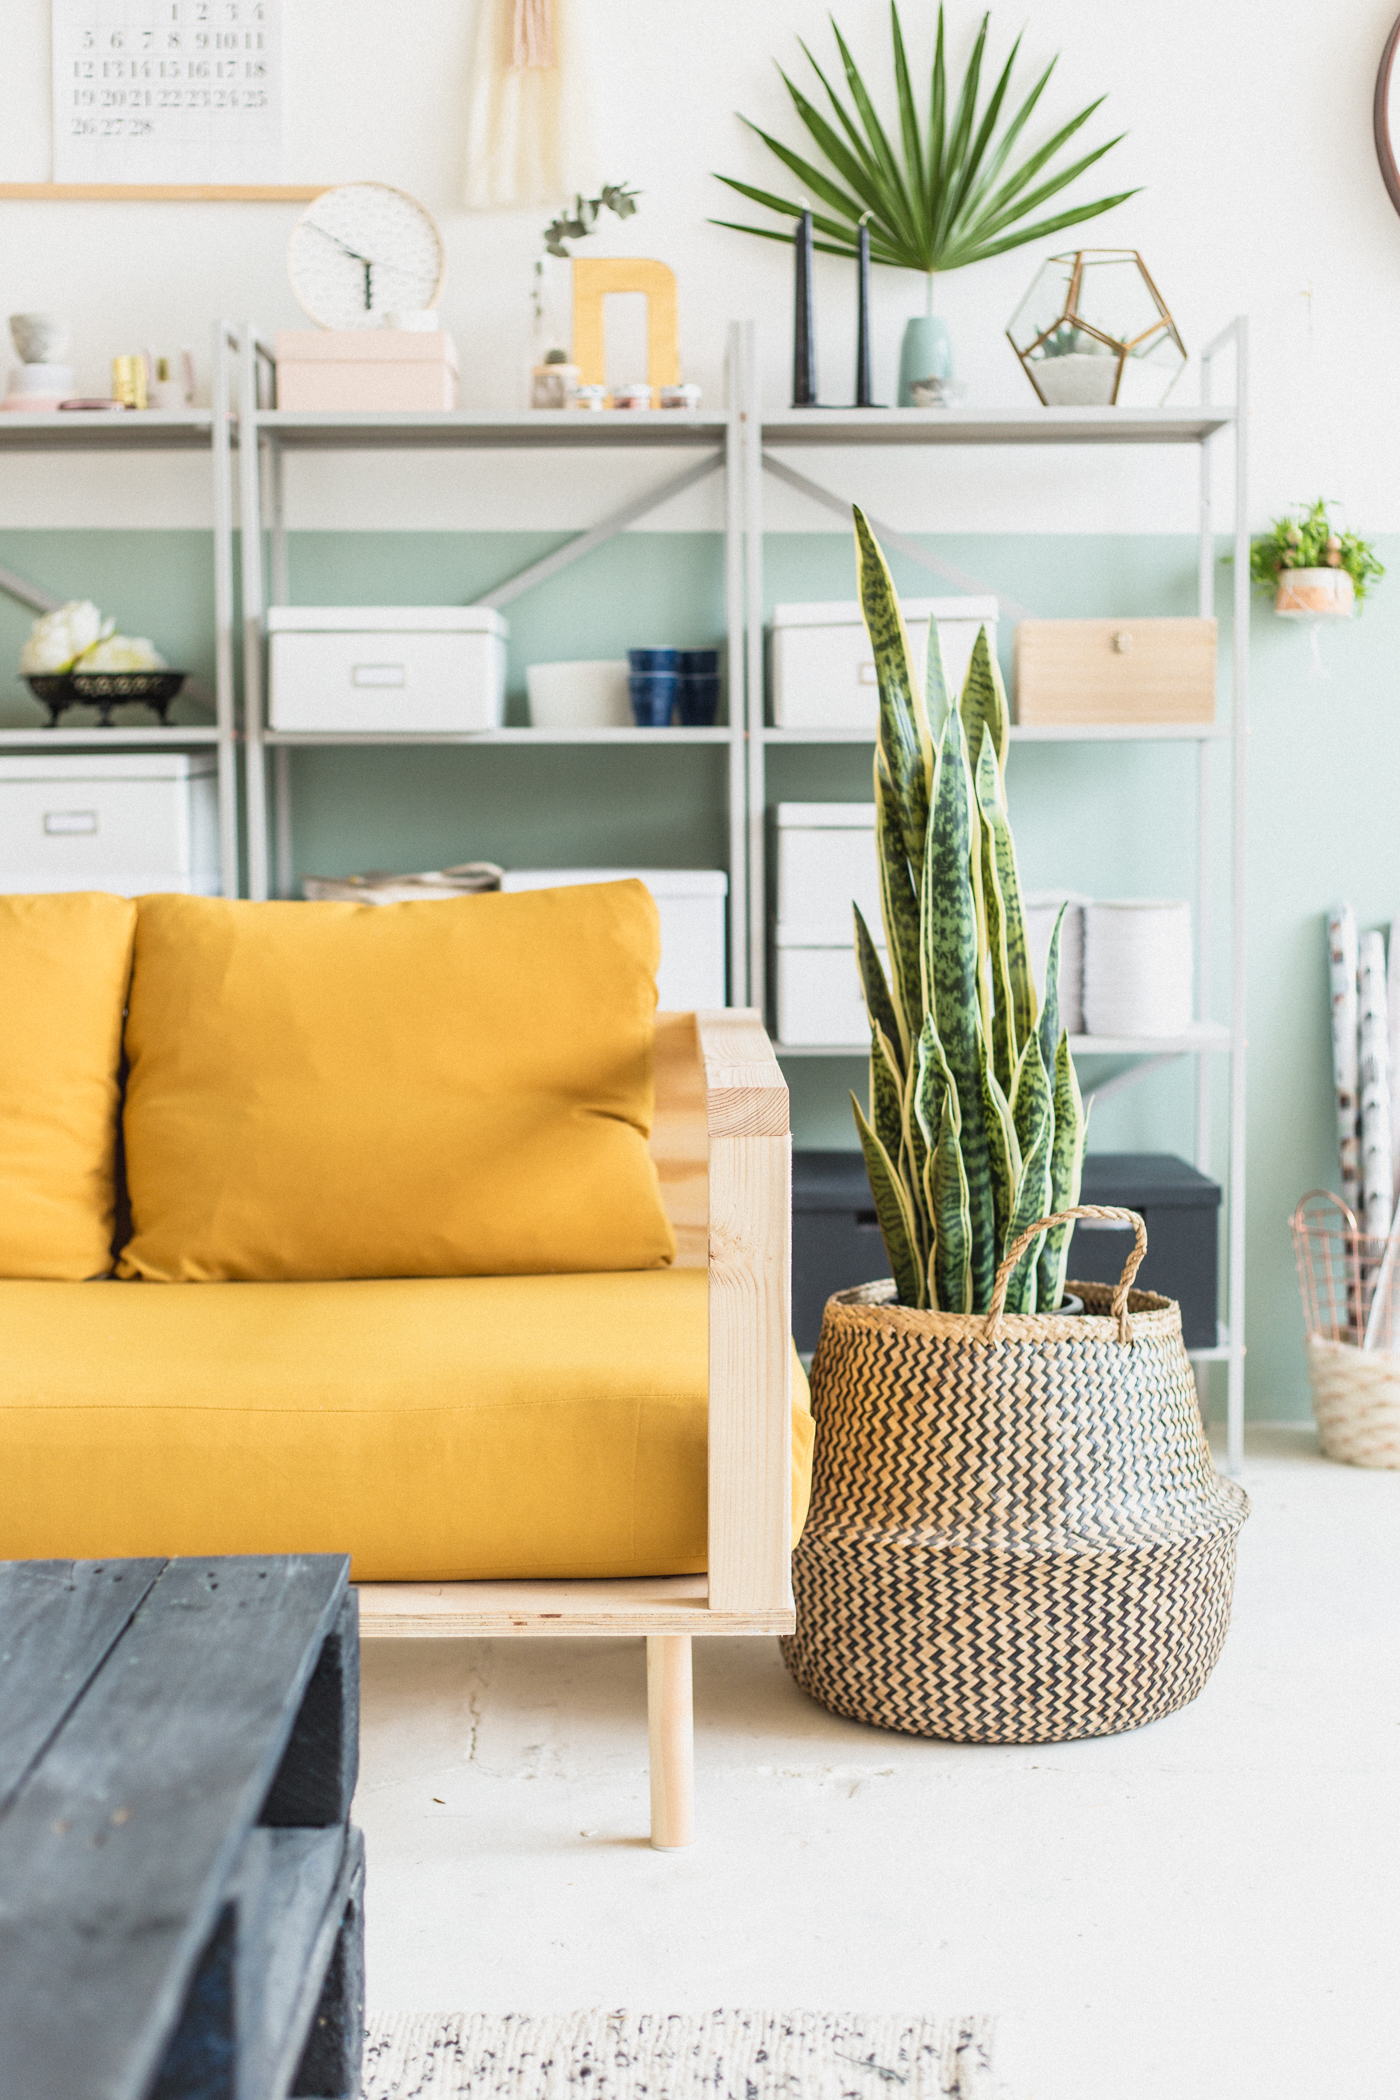
I love the pop of colour the sofa adds to the studio. And it’s as comfortable as it is beautiful! This is easily my favourite place to lounge (with a big cup of coffee) after a busy morning.
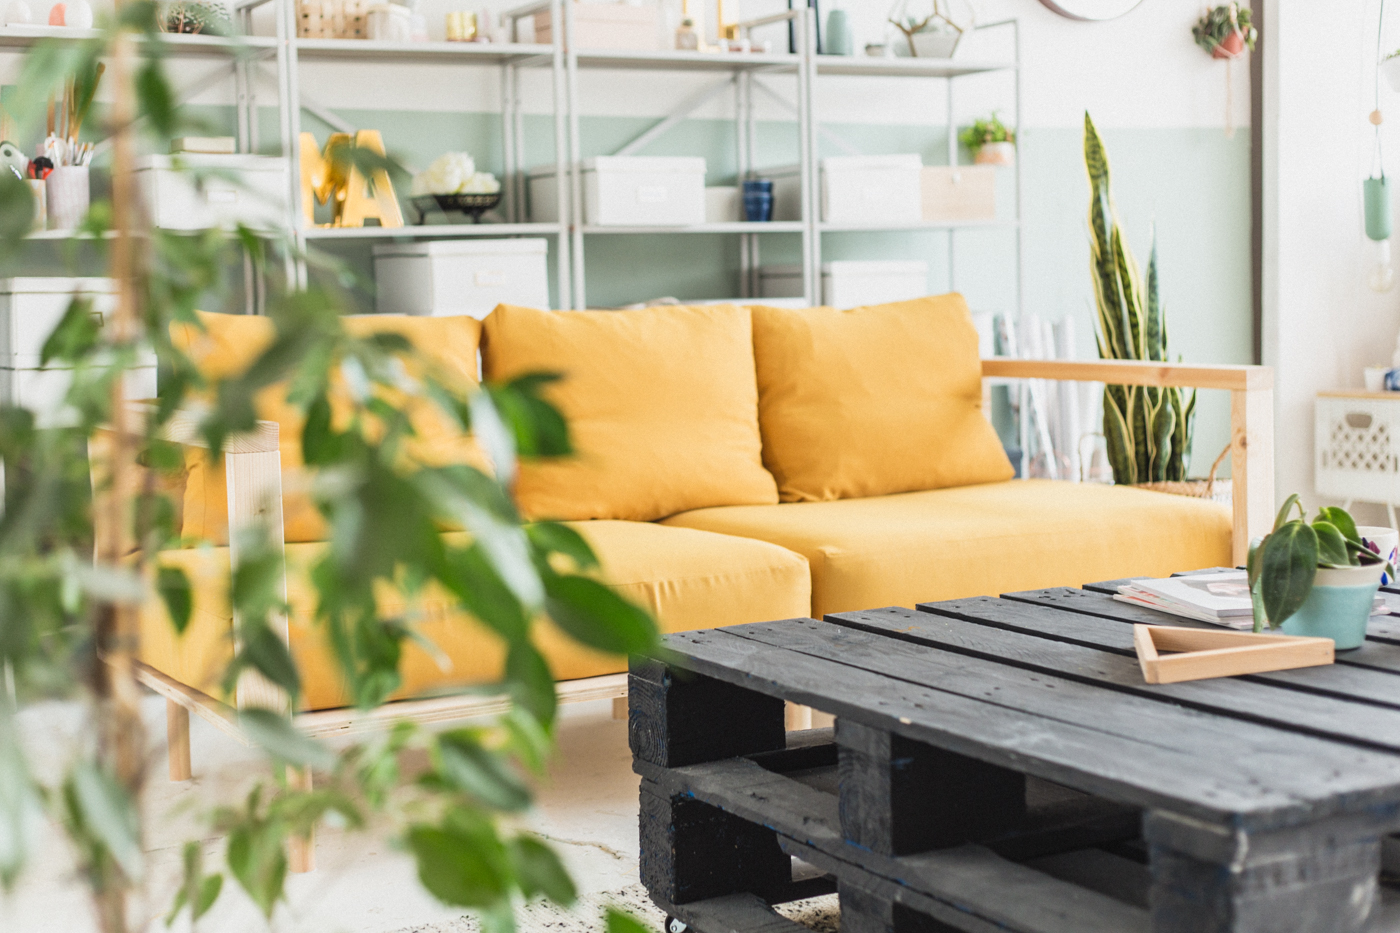
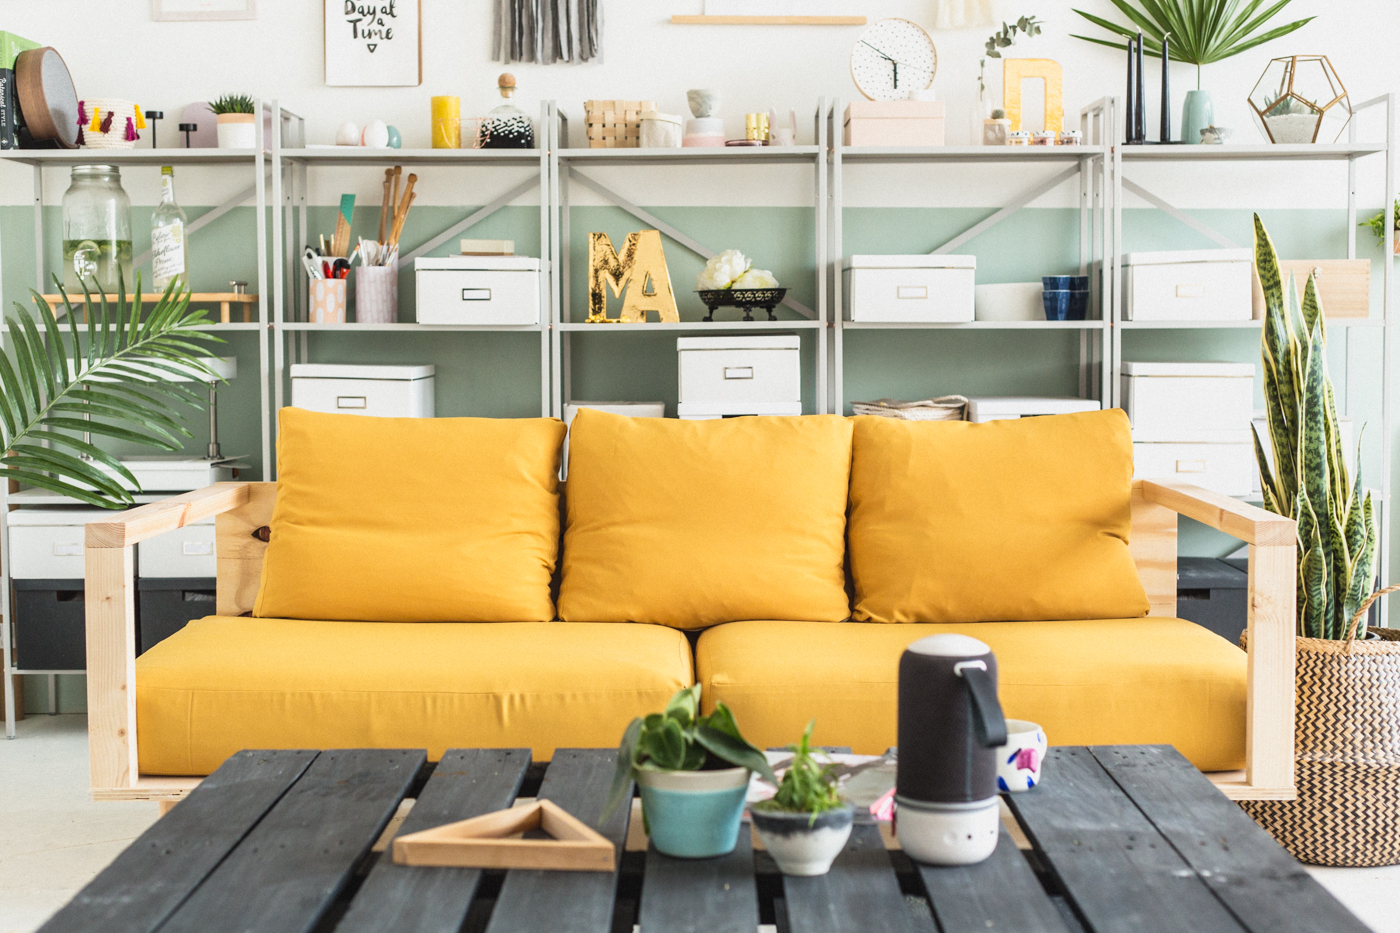
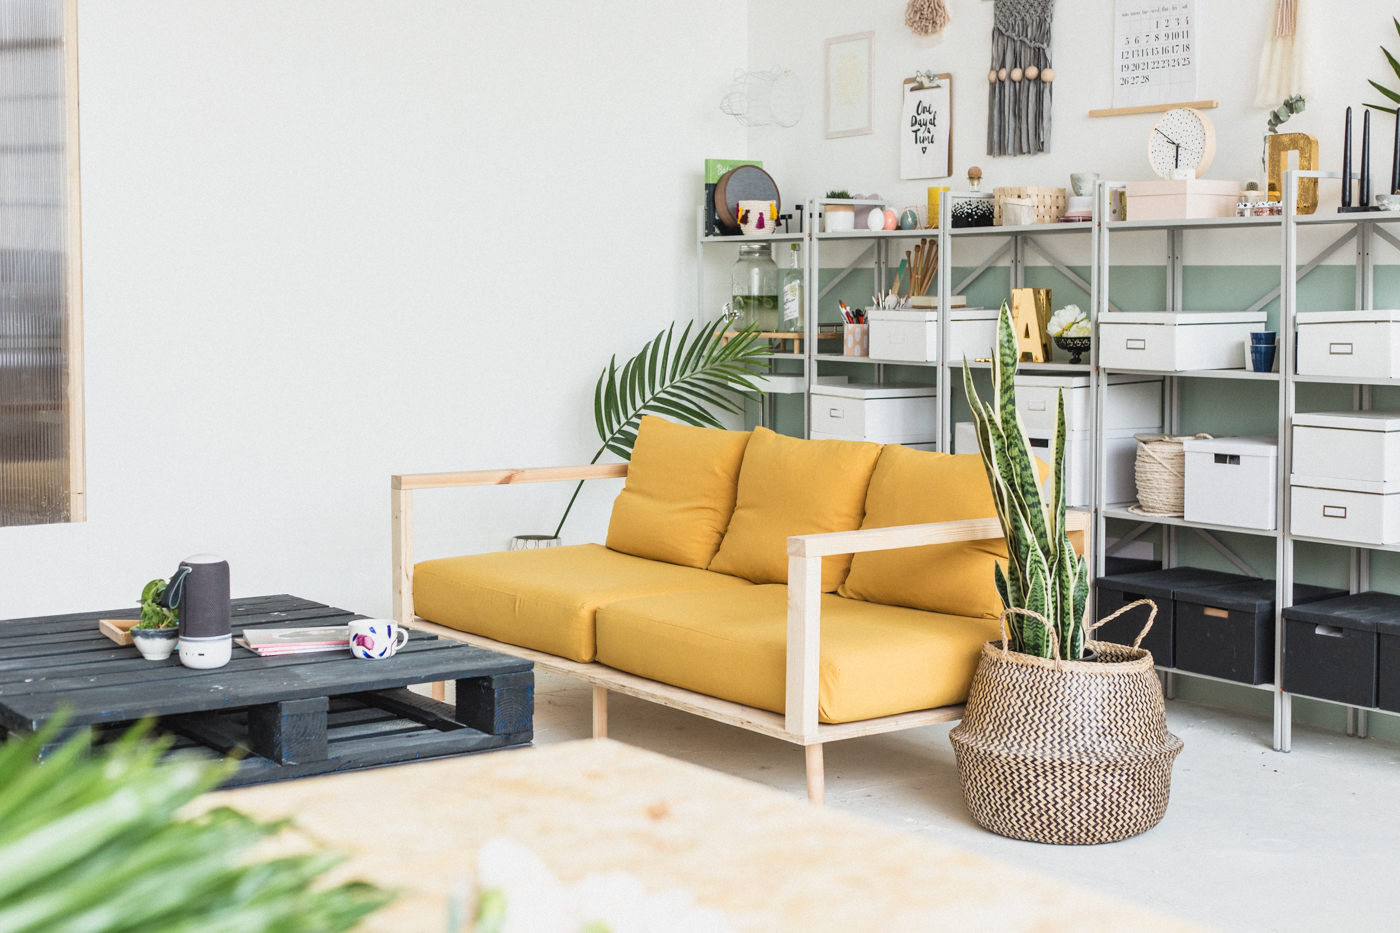


I love this sofa! I’m going to make this for my studio! I’m so excited!
Hi, looks really nice. But how did you make the Pillows etc.? or where do you get them from?
Thanks,
Di
Hey Diana, I made the cushions using this tutorial Thank you :D
Where did you get the mustard yellow fabric ? :D
thanks so much for your answer. Where did you get your filling of the seats etc. get from?
they look so nicly puffy (not just hard cornered)
planing to make a sofa for outside and have no padding yet.
thanks!
Love how you made the sofa . it looks stunning
Thanks Hester! Totally my new desk area ;D
Where did you get the basket holding the snake plant from? I could really use that basket, it’s just so that I have a snake plant and I need a new basket for the plant.
By the way the couch is
I was initially quite excited about this project but I began to have concerns about sturdiness as the instructions progressed. In particular, the dowelling legs attached with a single screw seem, remarkably fragile for sofa supports. I think the overall concept is a good one but for my household I doubt whether dowelling would be adequate enough support. I may consider a sturdier ‘base’ for my sofa but using your general design concept. I’ll let you know how I fare ….
Hey Debbie,
Thanks for your comment. I have replaced the single screw legs with extra supports (I really need to update this post) But another idea is to use a boxy base for something more sturdy. It’s why I called this my ‘studio sofa’. It’s fine for me and other adults to sit on in a work environment but I think you’re right, home life might be a bit hard on her! ;)
Hi there,I log on to your new stuff named “YouTube” daily.Your story-telling style is awesome, keep up the good work! And you can look our website about تحميل افلام.
Thanks for posting this. I’ve been thinking of making a sofa for my patio (outdoor summertime naps!) and this looks really easy. Do you know of a way to DIY outdoor cushions for not a lot of money that are as plush and comfy as indoor cushions?
How tall is the seat height? I see that the legs are 15cm tall and the cushion seems about the same height, making it a total of 30cm. Is that right? That seems like a fairly low seat.
Unrelated to that awesome sofa you made, what is the greenish paint color on the wall?
Pretty cool. Thanks for sharing this DIY tutorial.
Hey! Just found this on pinterest and would love to make this for my front room – but as a previous comment mentions a little worried about stability! Did you ever come across a way to reinforce the legs? It’s the exact style I’m looking for, but hoping I can make a version of it that may withstand an 8 year old divebombing onto it every morning!
Thanks :) !
Your structural concerns are well founded, There are many diy sofas on the interweb, some good designs, and others, this is among the worst, it will not last very long and could actually injure someone if it collapsed. Think of how many cats like to hang out under sofas, Build a different design.
I would put another bar at the front edge so the cushions can’t slip forward when you move around on it. always hating it when the cushion moves around when I change my sitting postion, etc haha
nevertheless…totally gonna build this when we get rid of our old one! haha
Hello! I’m from Brazil and I work with pallets, I liked your idea, but I found the feet a bit weak! Thanks for sharing.
Excelente sofa practico, sencillo, fácil de hacer y comodo buenas ideas para crear muebles
Hi! Love the sofa, and are thinking of making one too. Just trying to estimate the cost of it, especially for the fabric. Will you be able to give me the measures you used for the pillows, back and seat? (widht, depth, height) Then I will be able to make a approximate budget. Thanks :) Keep up the good work, its a great blog!
Hello! Thanks for the plan! I’m gonna build something similar.
How did the sofa hold up with time. Is the center caving? What would you do differently?
I’m curious about this too. The feet have been mentioned, but it looks to me like the backrest won’t stand the test of time, maybe? I’m really curious as to how it’s held up. I really like the design!
WOW , Never thought about it before , the images looks great , it does not look like those great images when am trying to make it on my own :)
DIY furniture looks better and better every time. They are more creative and provide the place with some uniqueness. Much of such furniture we have in our office. Looks nice.
Benefits of Thai spa compared to other massage locations. You can learn new techniques and relax at a Thai spa close to you. You will be amazed at the benefits of full body massage near me . The smell and the ambience are all wonderful.
It looks nice! I like it. One question though… how sturdy is this sofa? The legs seem too fragile to me.
One of the oldest healing practices is massage. Massage was used to treat many ailments by ancient peoples such as the Ancient Greeks and Egyptians, Chinese, and Chinese.Visit massage near me
I read that Post and got it fine and informative. Discover a hassle-free solution for selling your New York home. WeBuyHouseNY offers fair prices, quick transactions, and personalized service. Streamline the selling process today with our trusted team of real estate experts.” Contemporary Home Design
Loving this simple yet fascinating and incredible ideas !
Wow, your DIY Wooden Studio Sofa looks fantastic! I can totally relate to the excitement of planning and organizing for a project like this. It’s amazing how something as simple as a cozy sofa can transform a studio space into a comfortable and inspiring oasis. ✨ I’m curious, did you follow any specific instructions or design ideas for this project, or did you come up with your own unique approach? I’d love to hear more about your creative process! And I agree, as the days get brighter and warmer, it’s the perfect time to enjoy the fruits of your hard work. Happy spring and happy relaxing in your beautiful studio!