• Home
  • Blog
  • About
  • Collaborate
    • Media Kit
  • We Make
    • Bloglovin
    • Facebook
    • Instagram
    • Pinterest
    • Twitter
    • YouTube

Fall For DIY

  • DIY
  • Interiors
    • Planters
    • Paper
    • embroidery
    • Drinks
  • Blogging
    • Photography
    • Instagram
  • fashion
    • Jewellery
    • Accessories
  • Inspiration
    • Round Up
    • 50 DIYs
  • Office
    • Free Printables
    • Organize
  • Party
    • Christmas
    • Halloween

Our favourite things in your inbox every month!

DIY Packing Paper Sack Planters & Vases

DIY-Packing-Paper-Sack-Planters-Tutorial-_-@fallfordiy-1

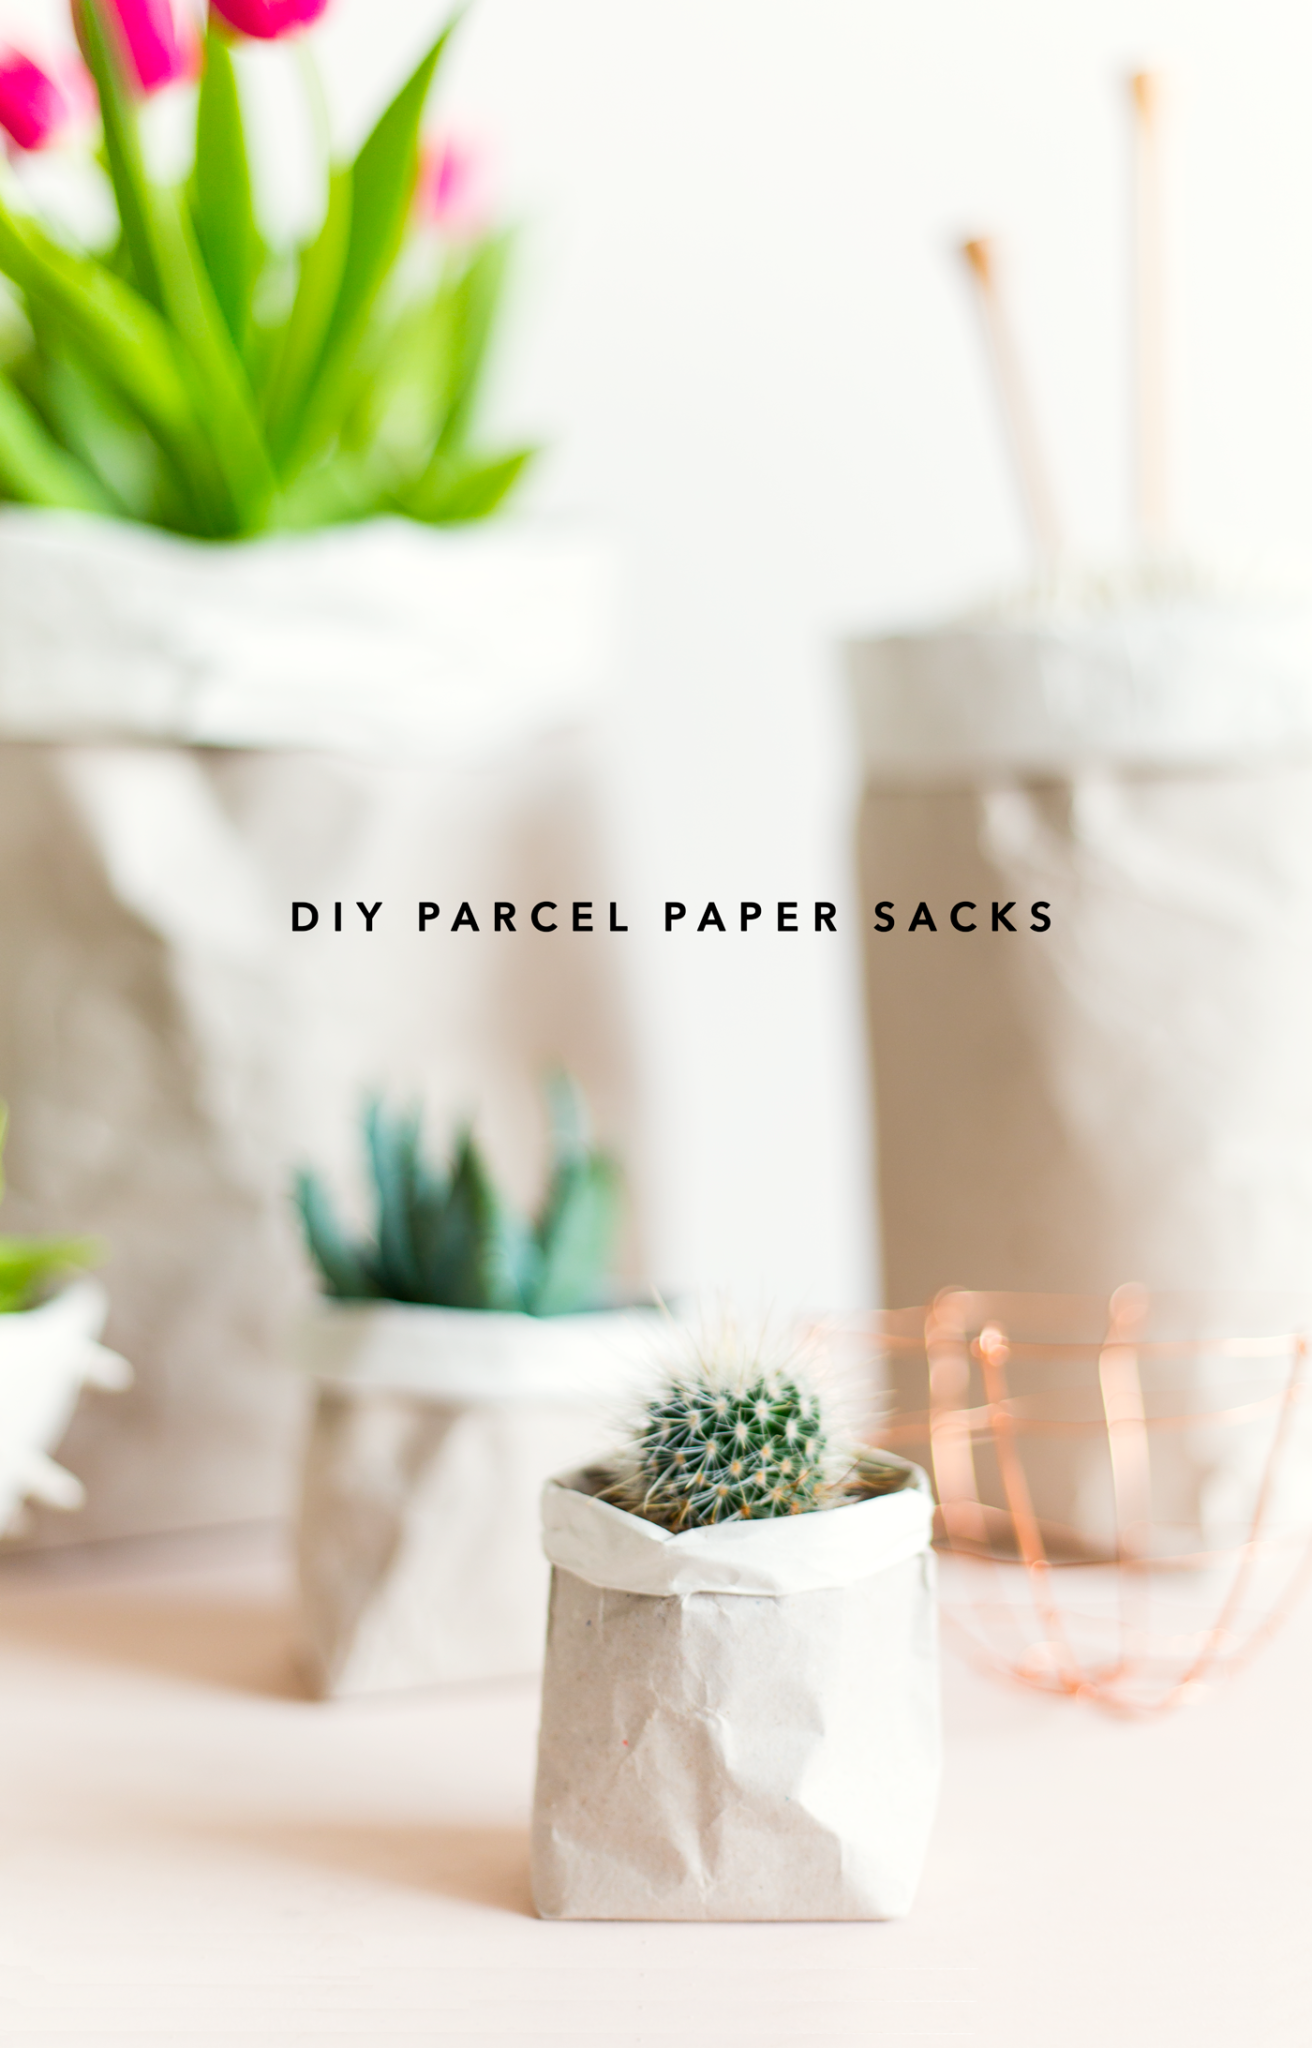
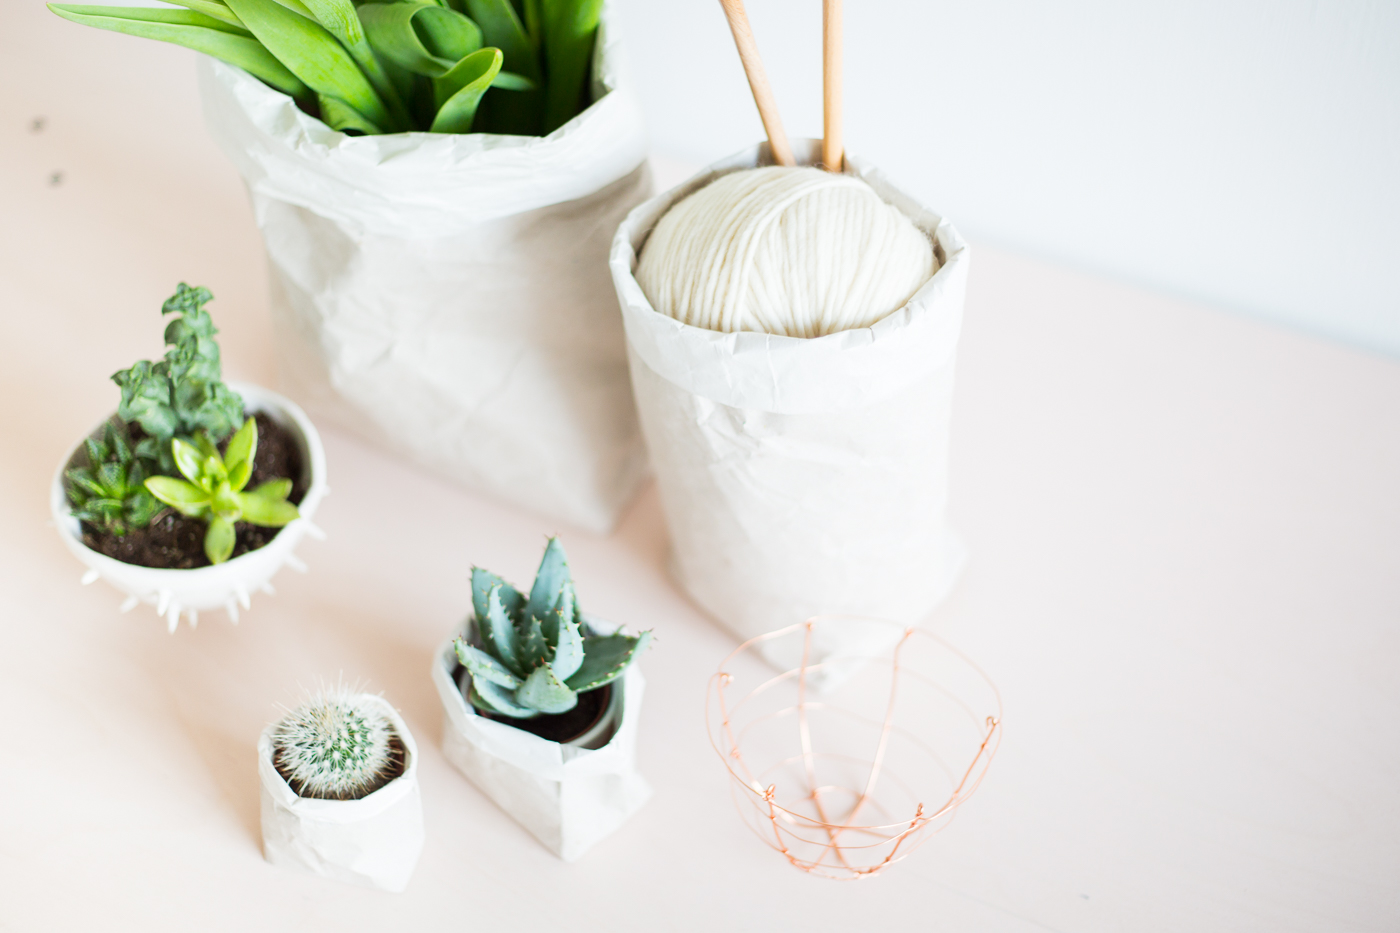
I have this thing with packing paper. I get quite excited opening a parcel to find out what type of paper my items have been wrapped in. It’s rare but sometimes you get these beautiful light grey or cream papers that are sprinkled with flex of colour which make them look handmade. I aways keep these because they are so pretty, but after four months of moving materials from my home to the studio I’m starting to think I have a real problem and if I want to keep things like this I’d better put them to good use!

DIY Packing Paper Sack Planters | @fallfordiy

This is a great tutorial for all you paper savers! You can use recycled papers like me or patterned papers you have been saving. You don’t need a lot to make the smaller sacks so start raiding your scrap drawer now!

DIY Packing Paper Sack Planters | @fallfordiy

DIY Packing Paper Sack Planters | @fallfordiy

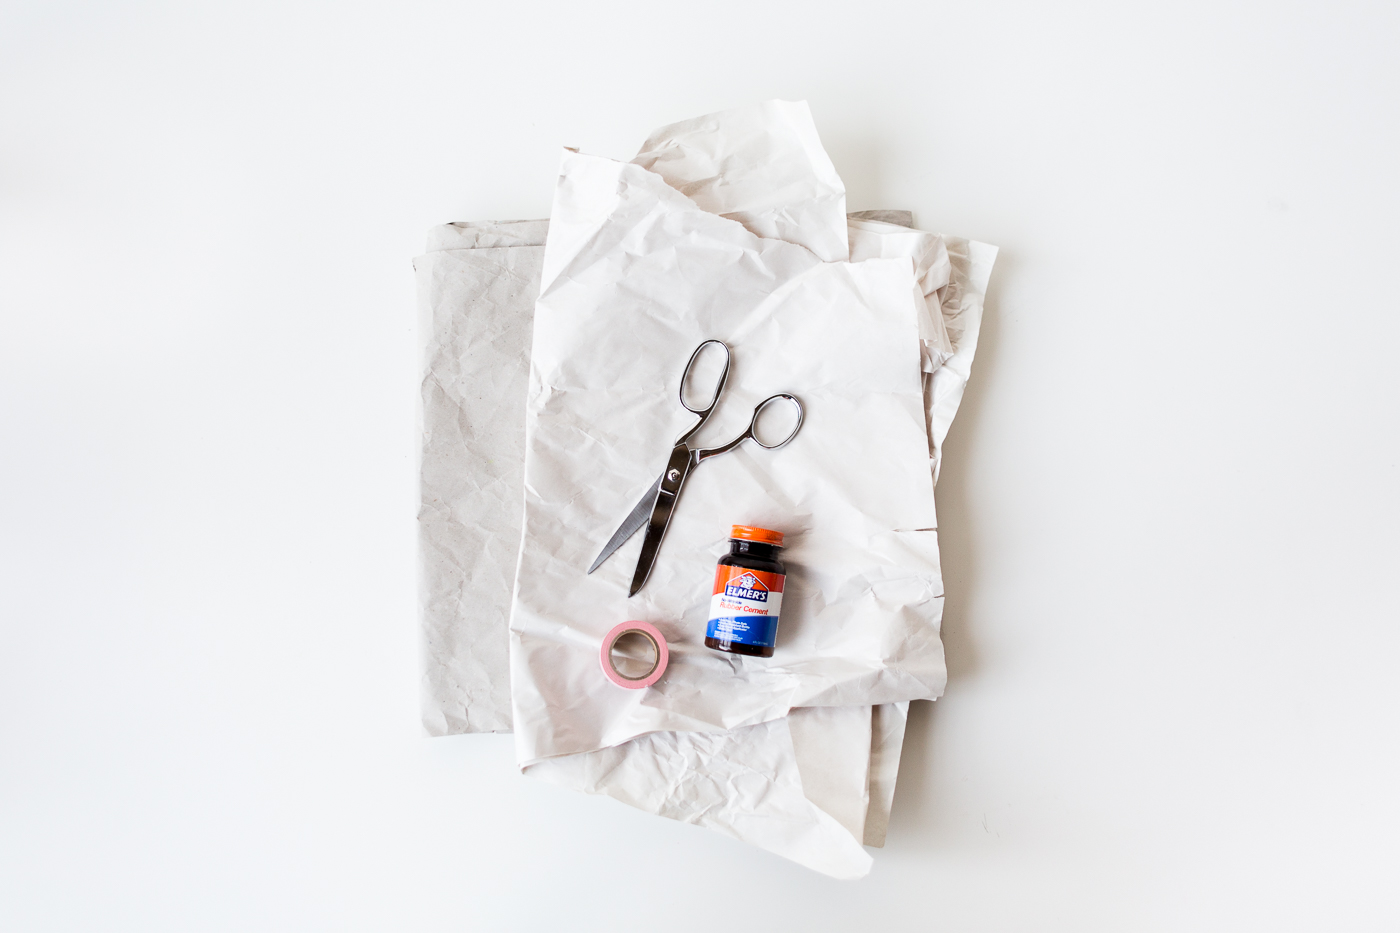
Materials
Paper | Glue | Tape | Scissors

DIY Packing Paper Sack Planters | @fallfordiy

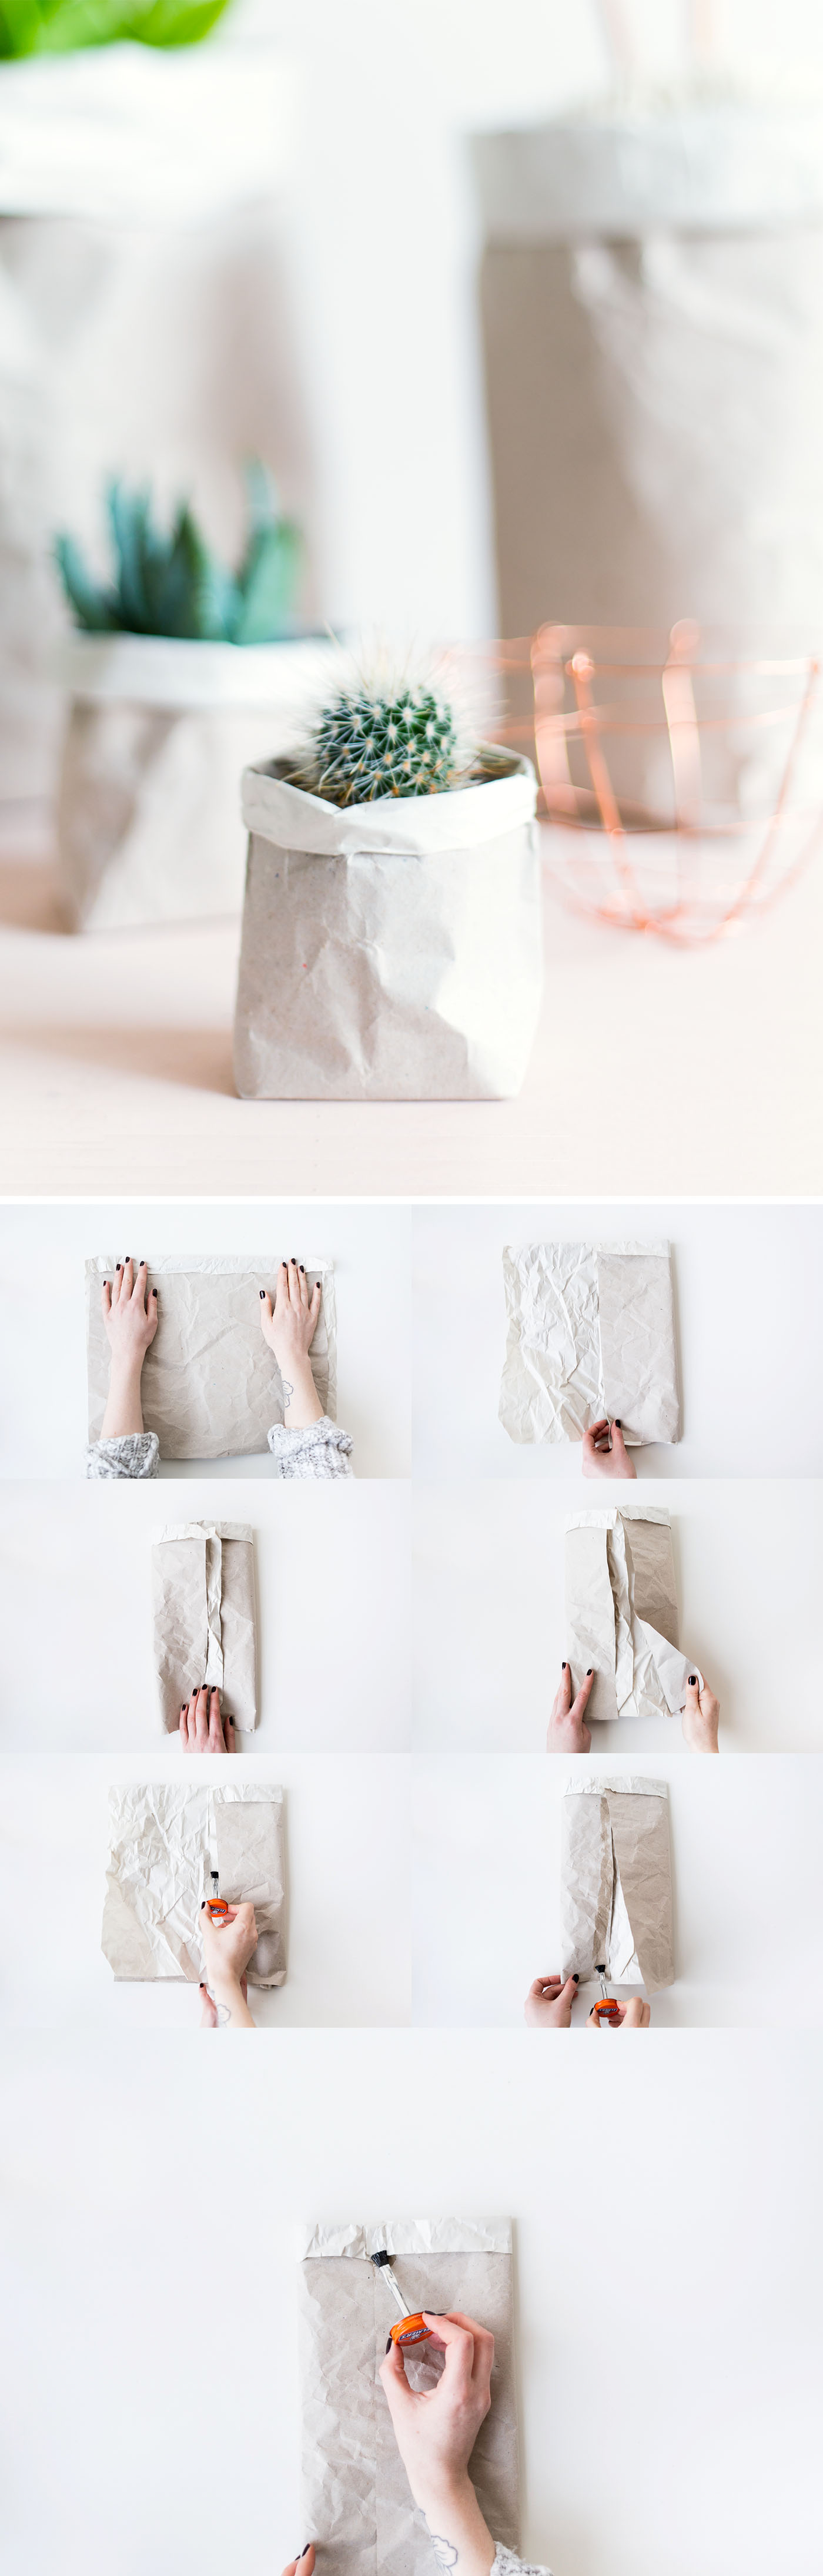
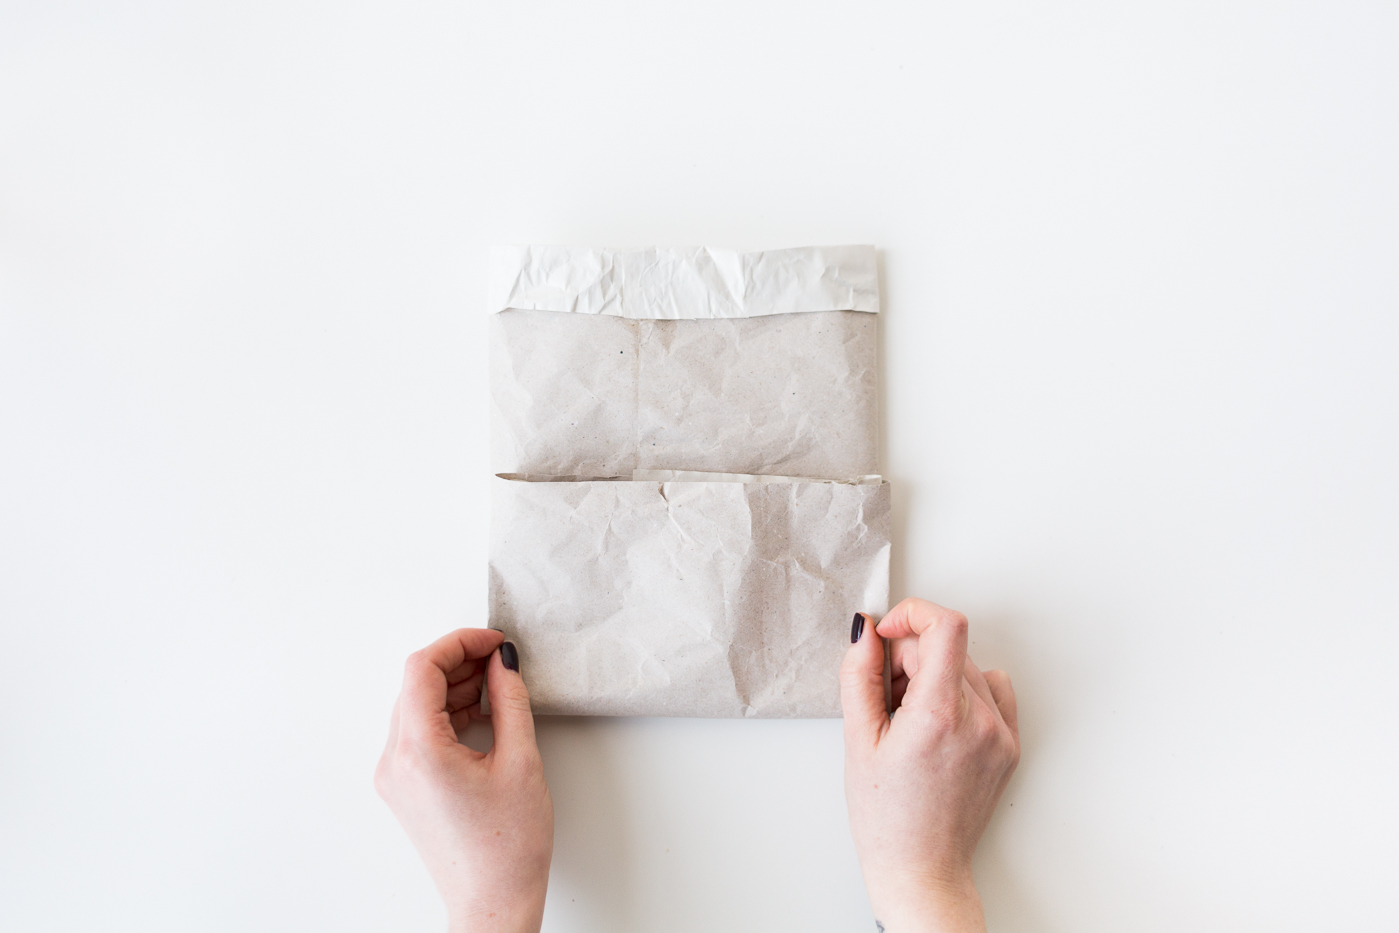
1. Cut out two pieces of paper. I like them to be two colours so you get the top fold in a different colour to the outer sack. Cut the inner paper so it is slightly bigger on one side to make the folding a bit easier later. Place the paper down – inside piece first then outer piece over the top. Fold the excess from the inner piece over the top of the outer paper.

2. Turn both pieces over and gently bring the right and left edges into the middle. Don’t press down or crease the folds.

3. On the right hand side pull apart the inner and outer pieces of paper and run glue along the inside edges. Gently bring the left hand edge into this space and press into place on the adhesive. Make sure the glue doesn’t stick the insides of the sack together – just the edges. Add more glue to hold the fold down at this join.

Packing Paper Sack Planters | @fallfordiy-11

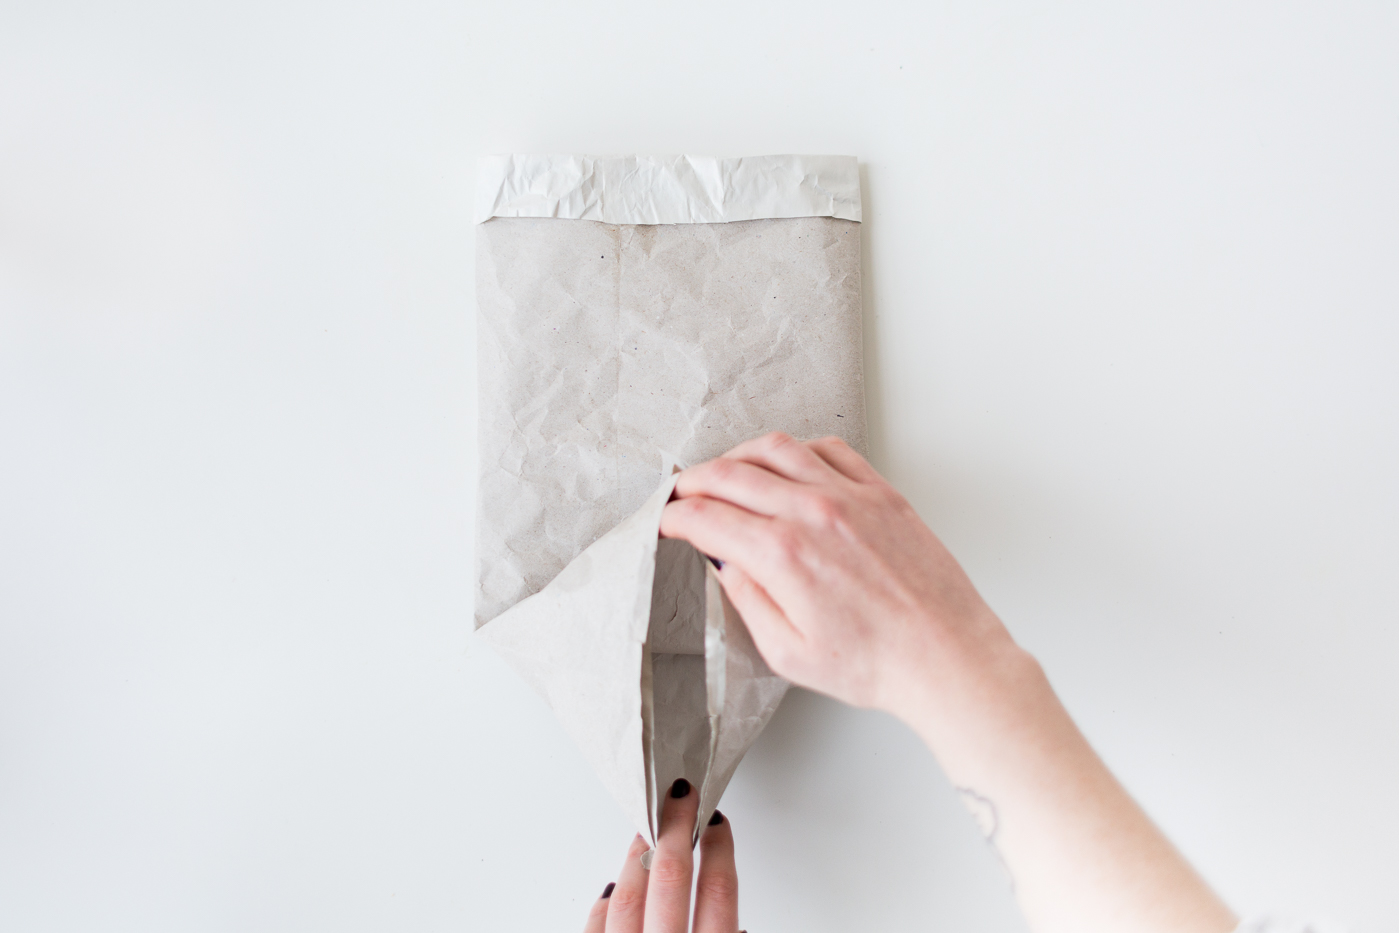
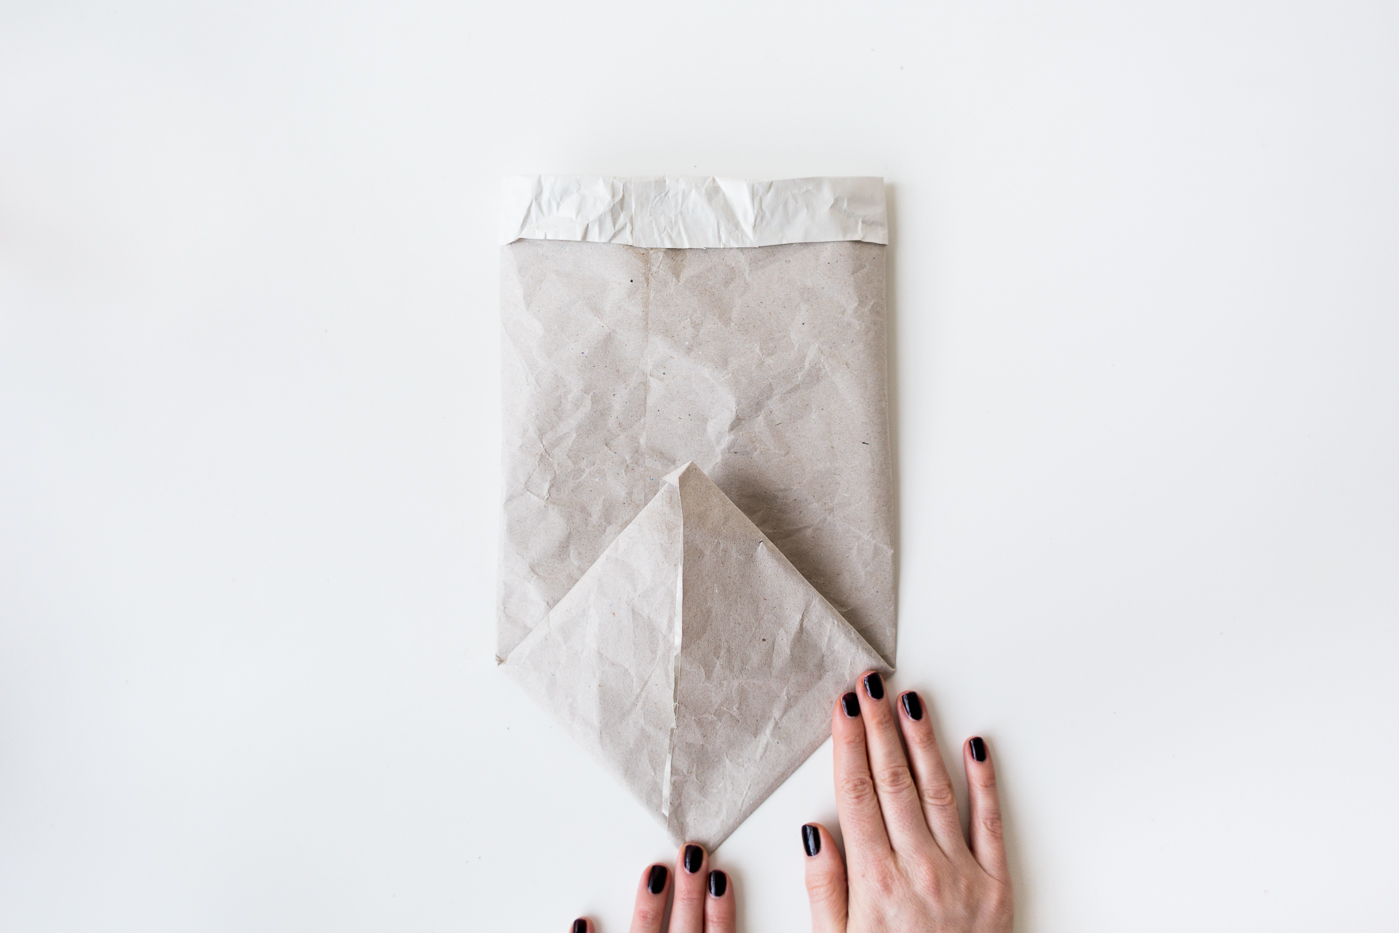
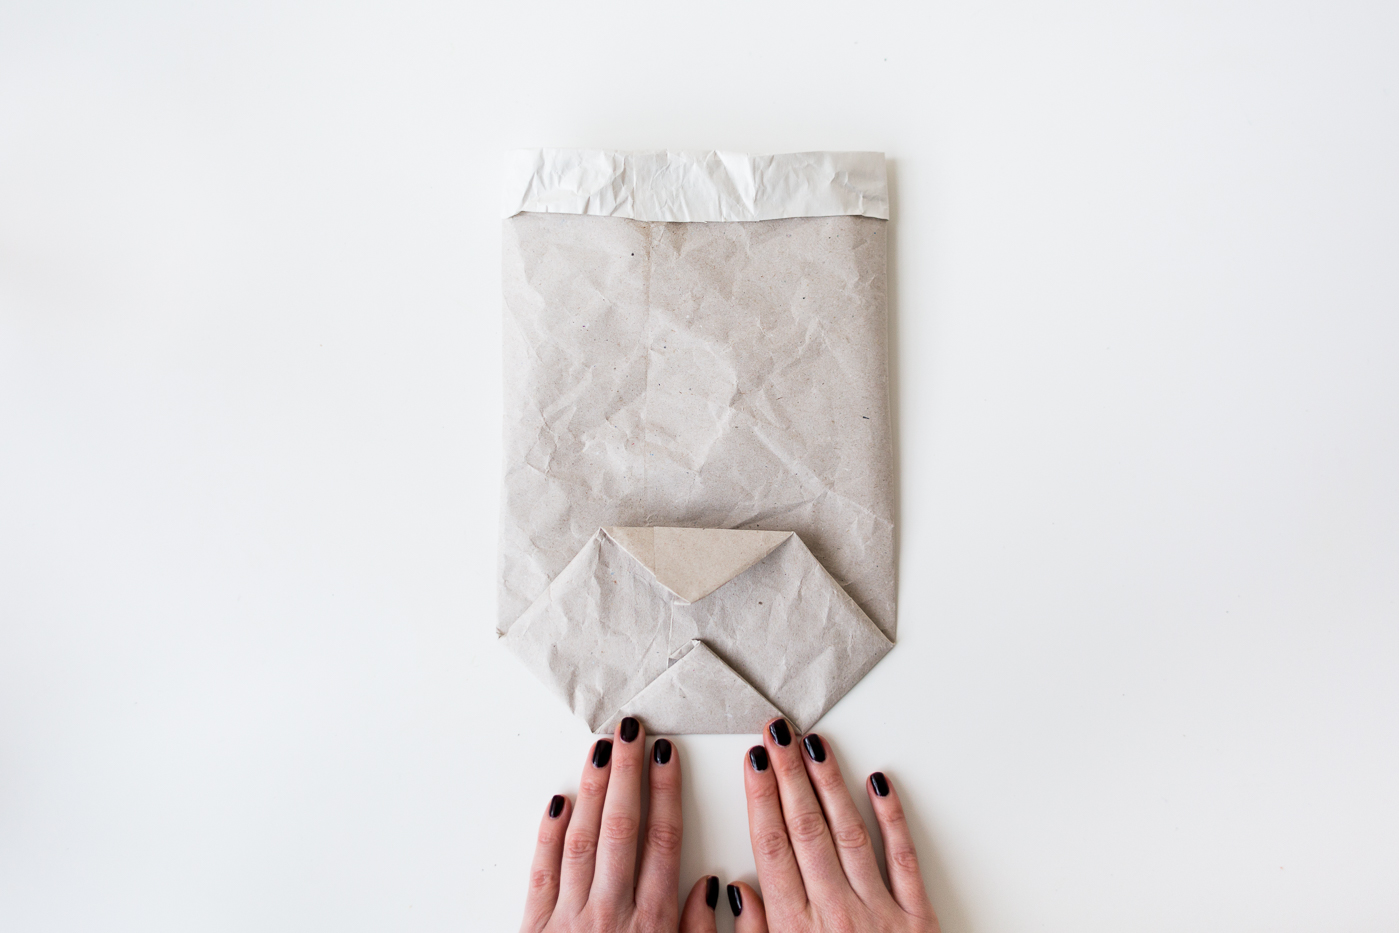
4. Fold the bottom of the sack up. The more you fold the wider the sack will be, but the shorter it will be too! Pull apart the sides of the sack from the bottom to make a diamond shape (see image below). Press down the edges of this diamond. (Your diamond might have a flat top and bottom which is ok too).

Packing Paper Sack Planters | @fallfordiy-12 Packing Paper Sack Planters | @fallfordiy-13

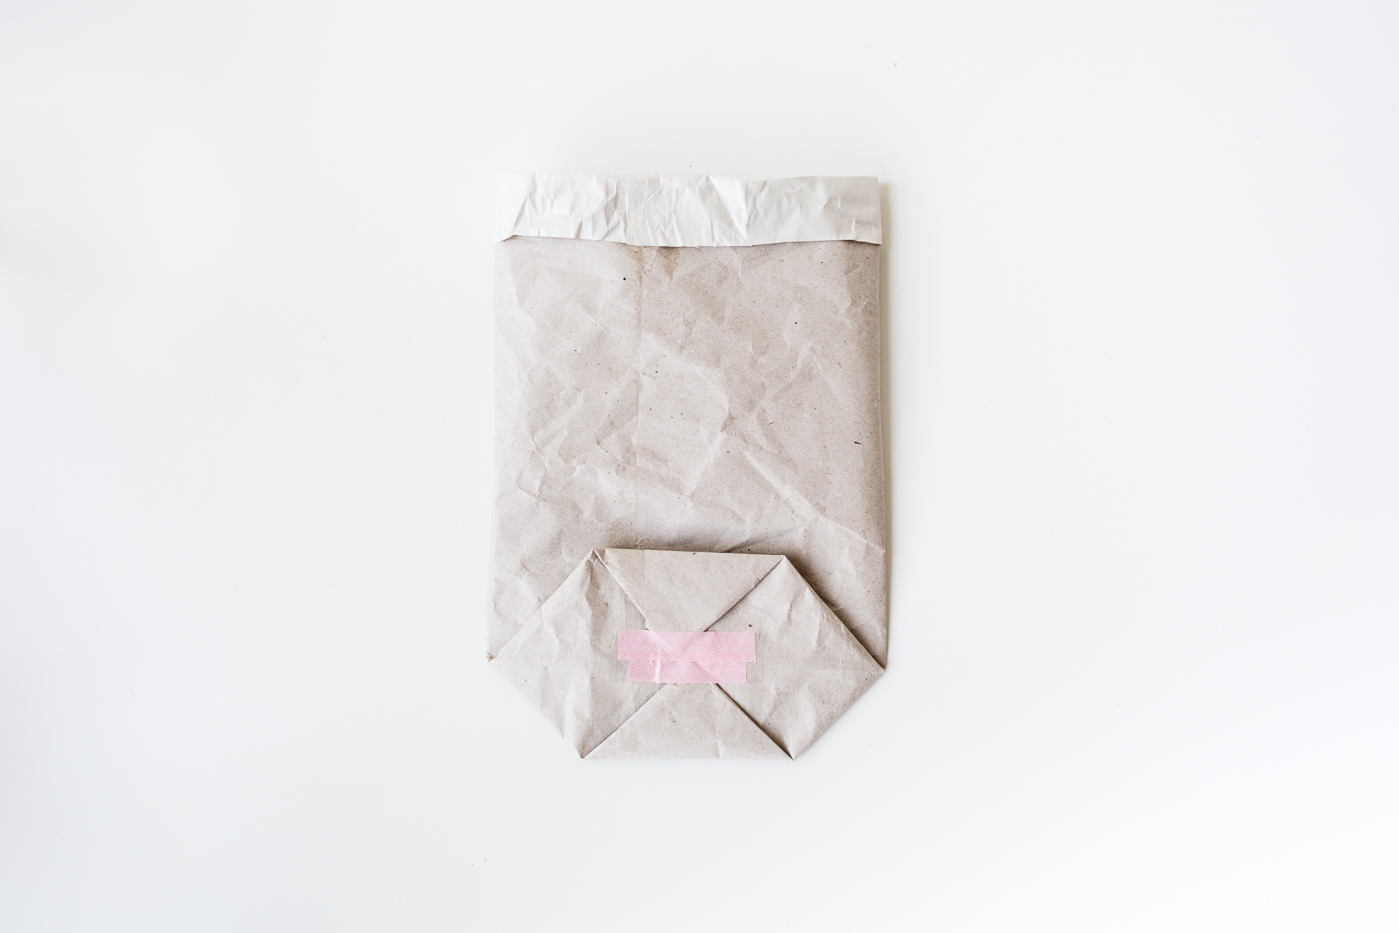
5. Fold the top and bottom corners into the centre and tape into place.

Packing Paper Sack Planters | @fallfordiy-14 Packing Paper Sack Planters | @fallfordiy-15

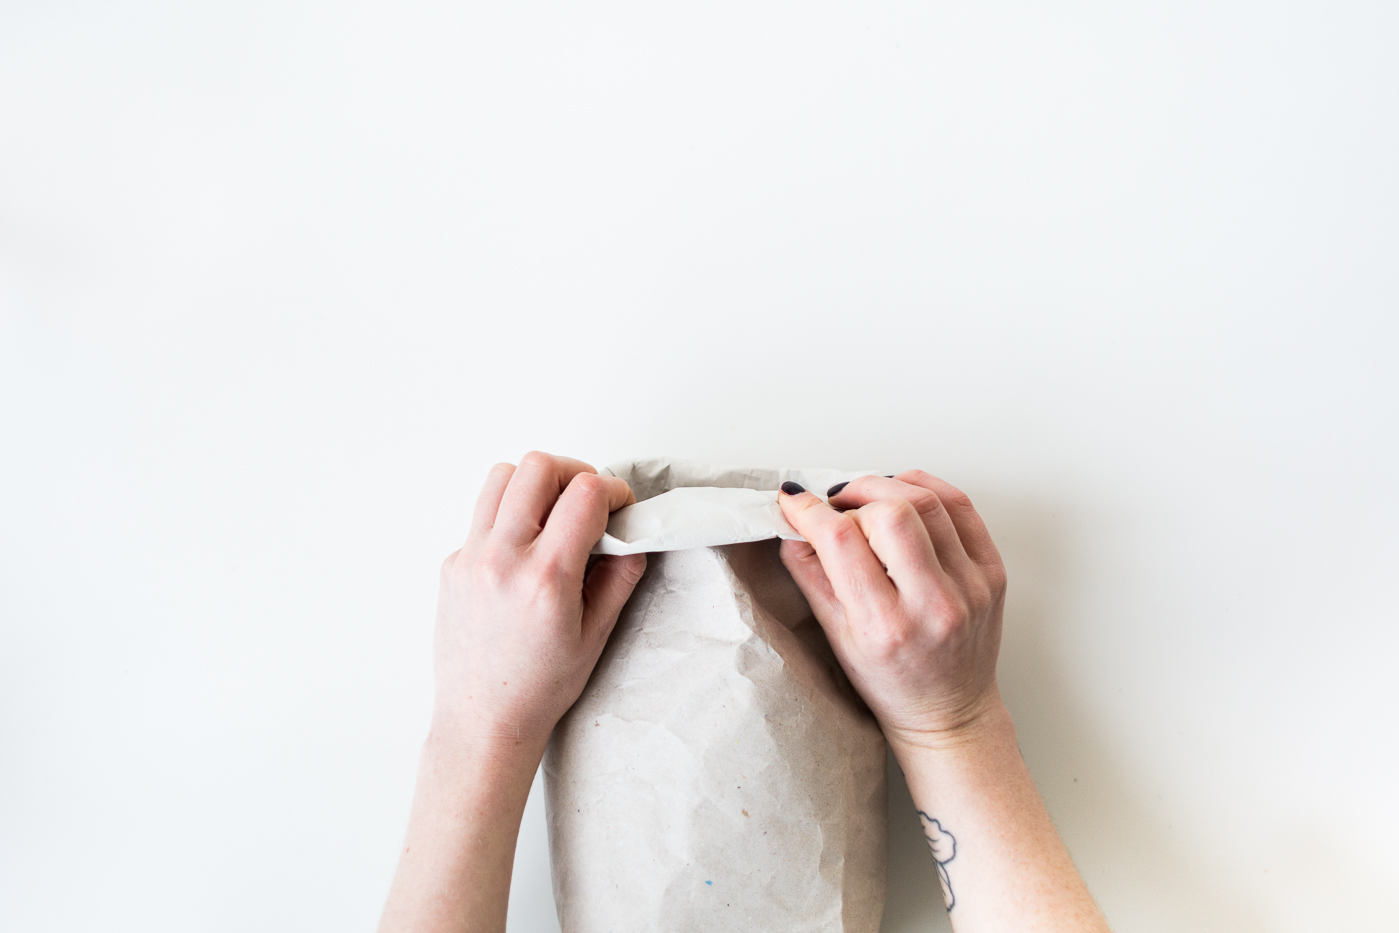
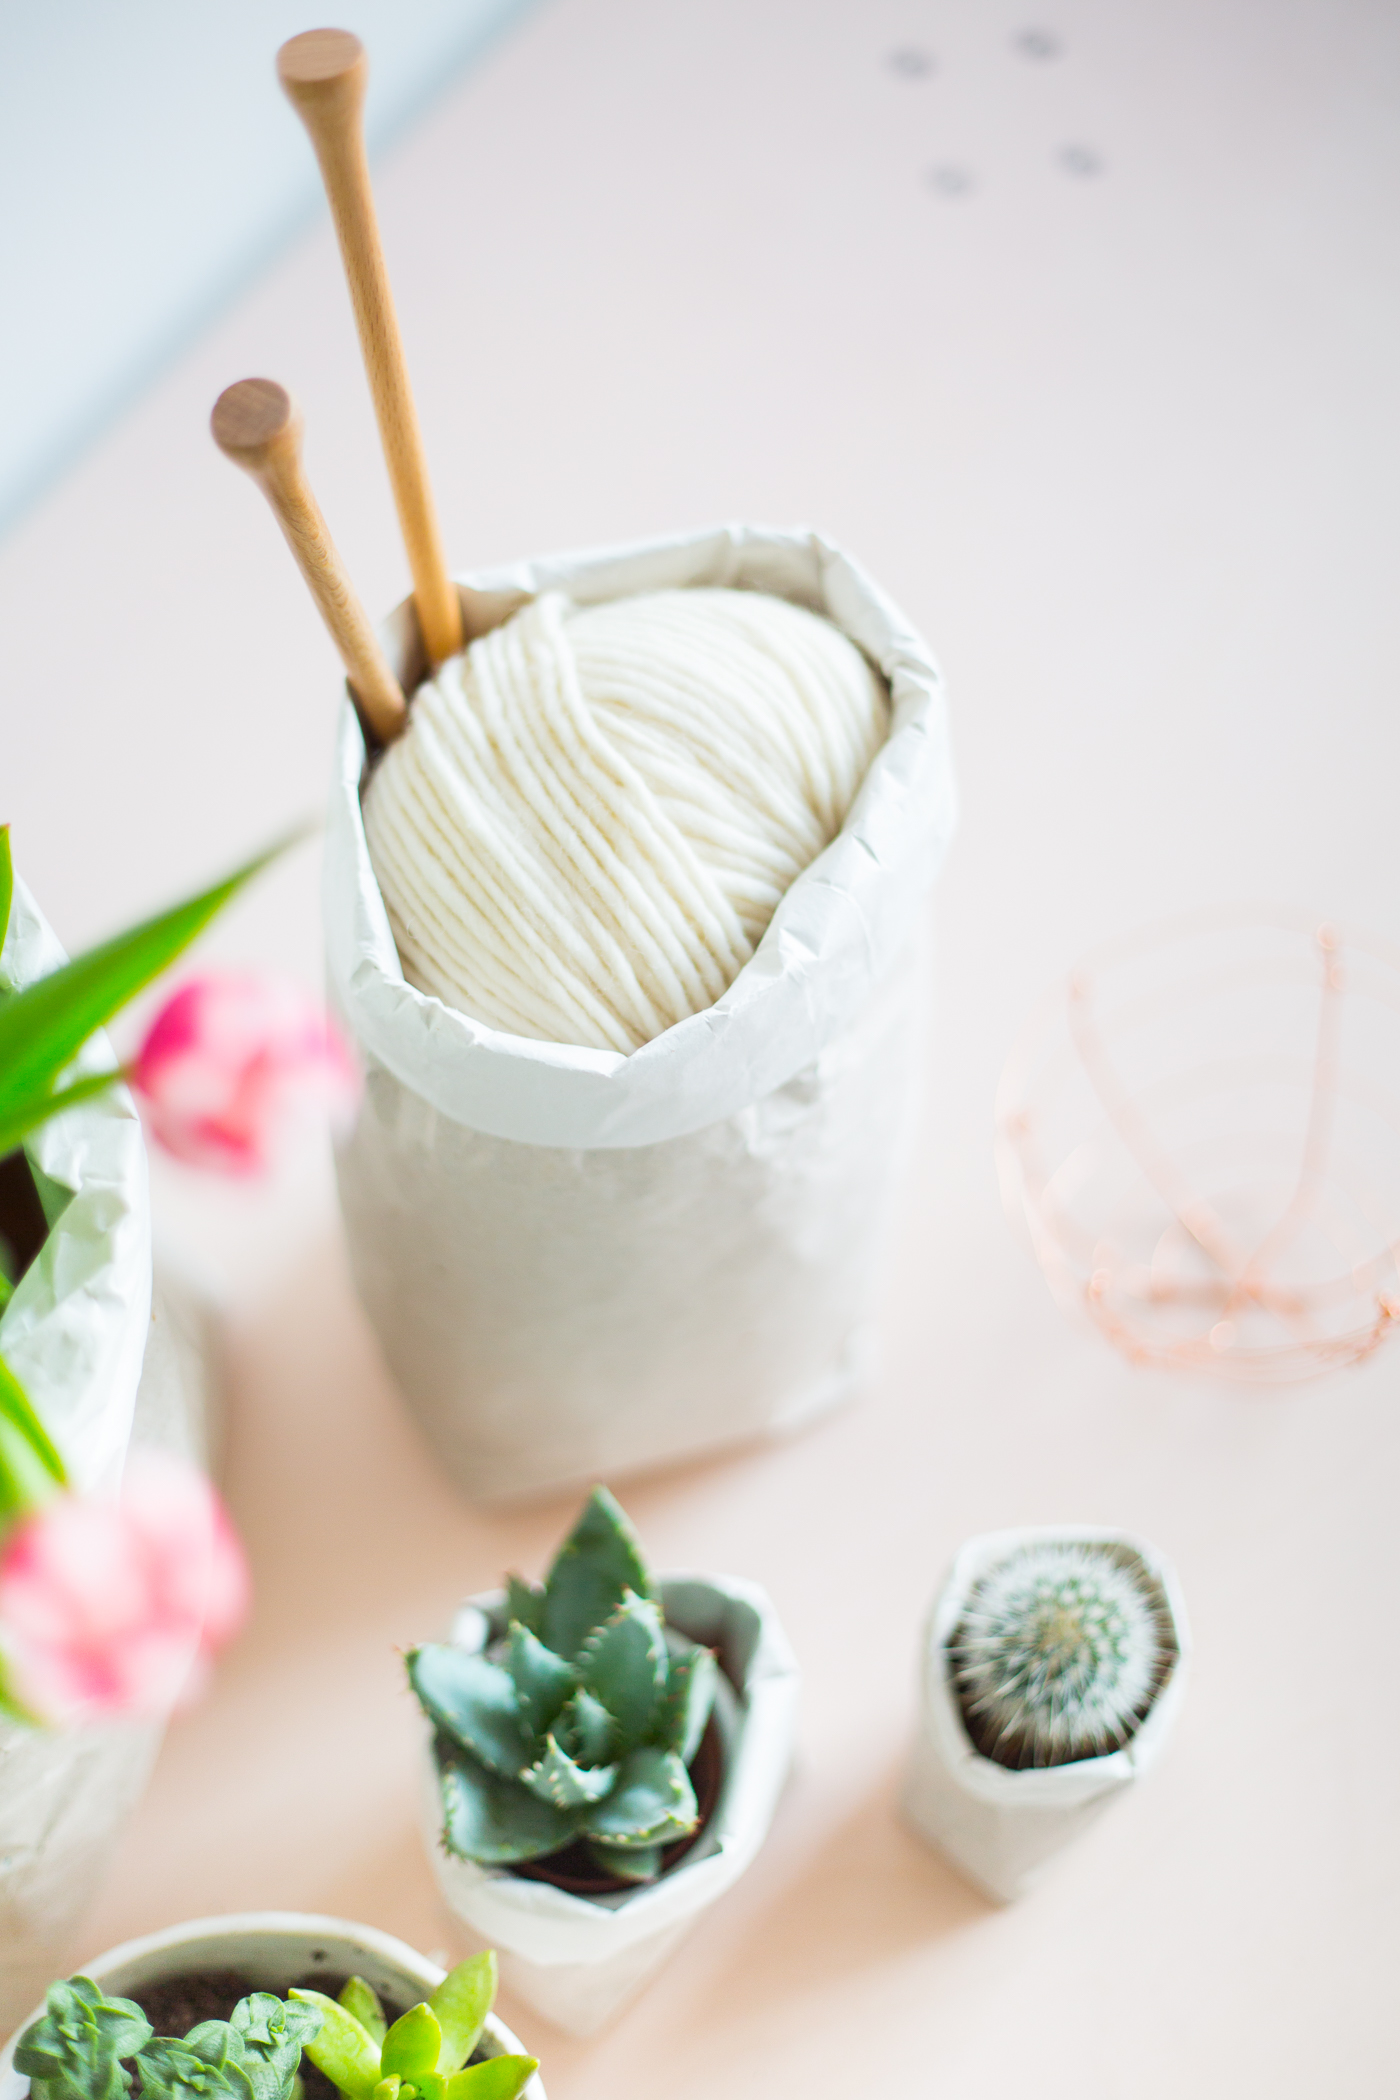
6. Put your hand into the sack and push out into shape. Fold over the top of the sack one or two times depending on the size you want your sack to be.

Packing Paper Sack Planters | @fallfordiy-17 Packing Paper Sack Planters | @fallfordiy-18

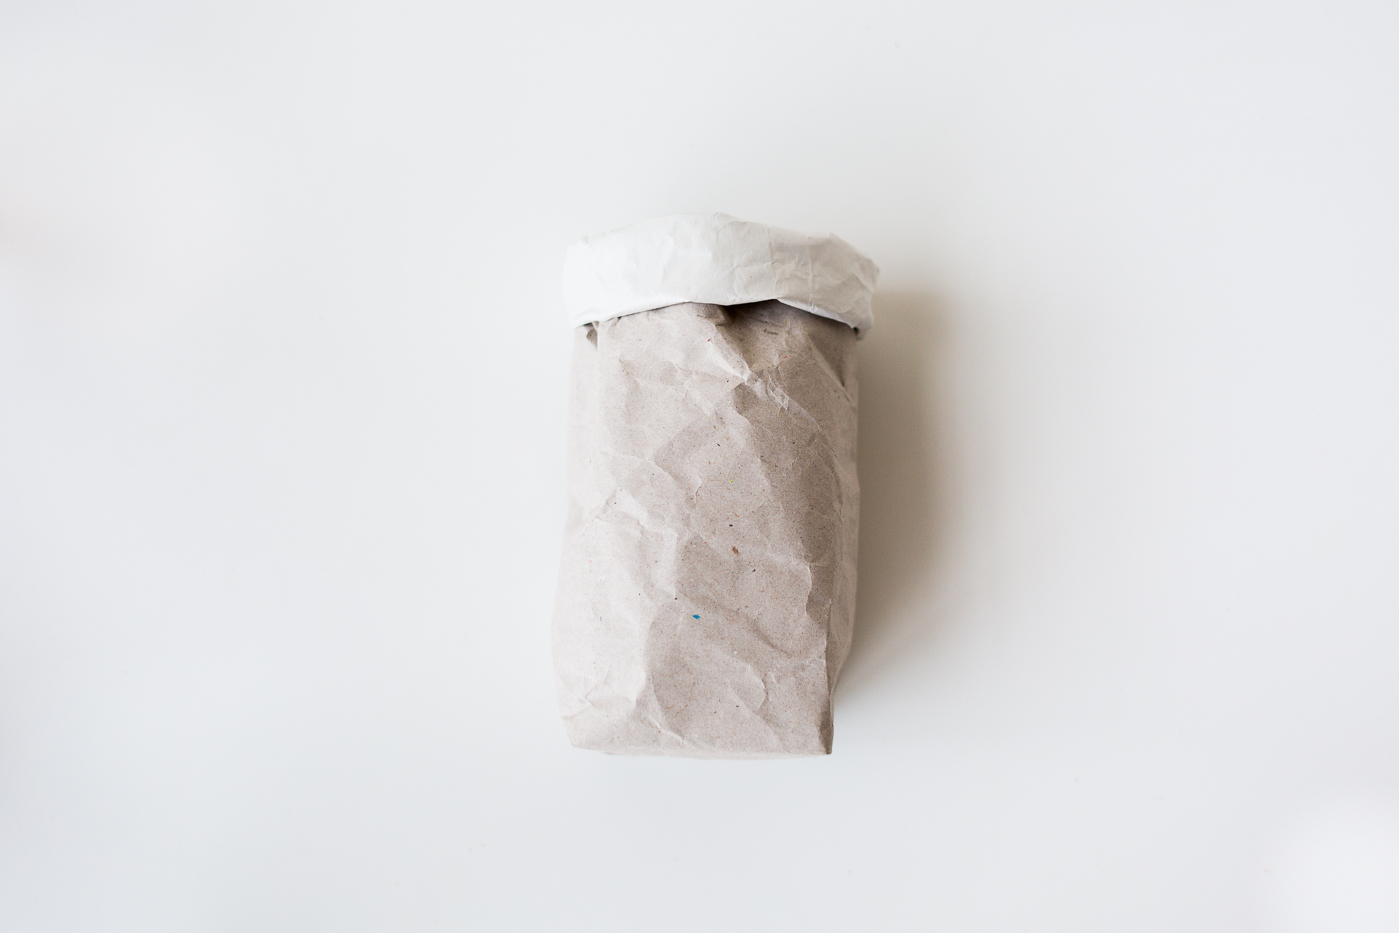
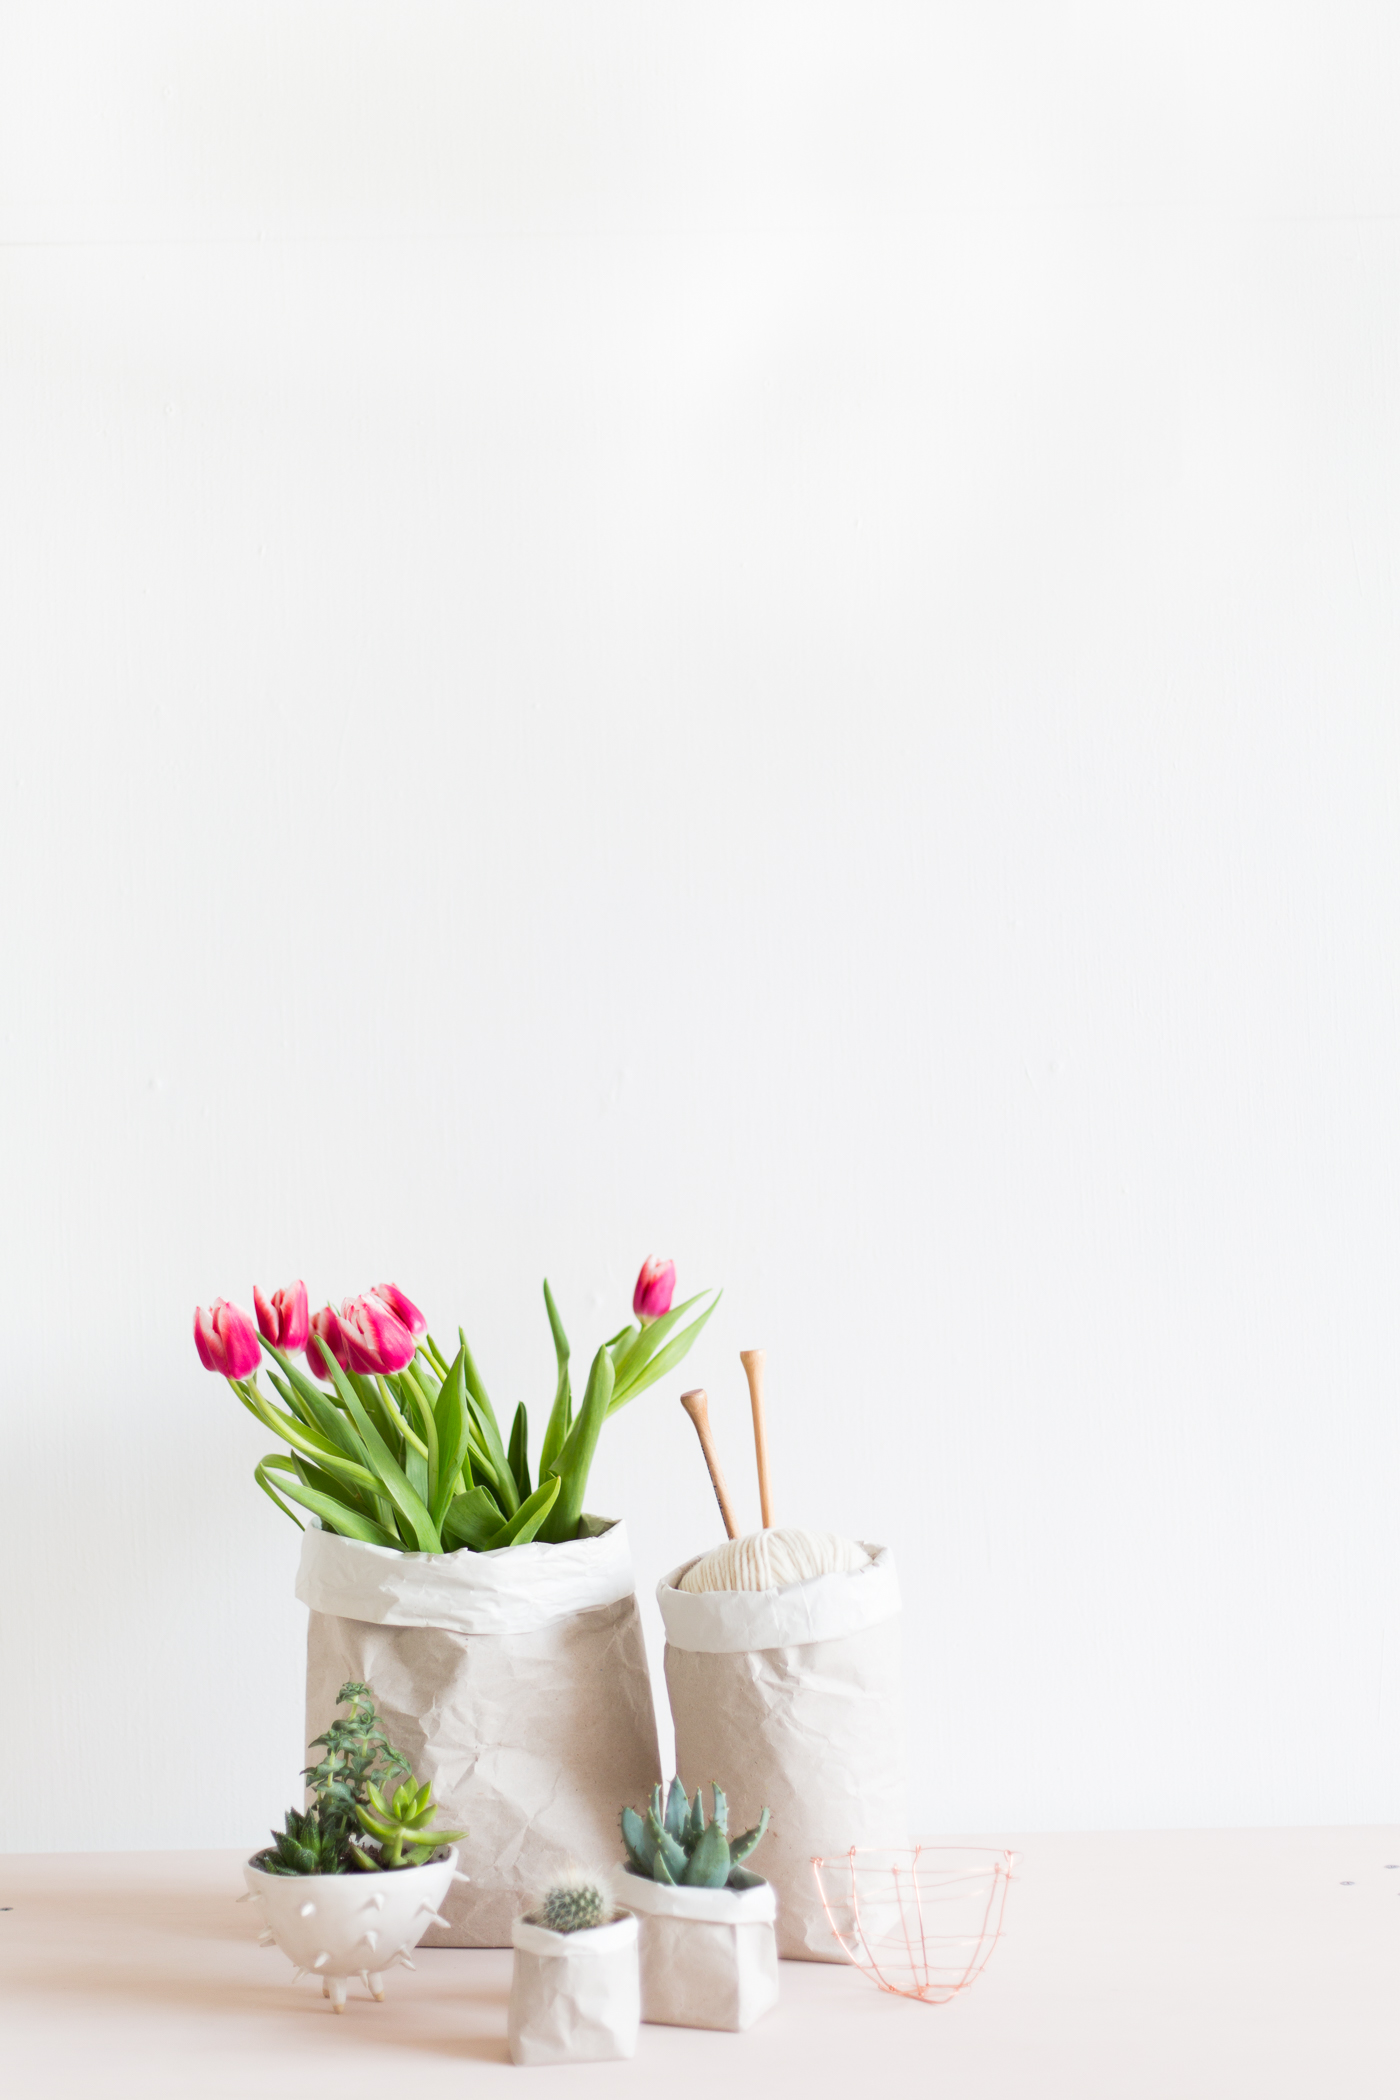
Now it’s ready to fill with a plant pot or vase. Remember, don’t water straight into the bag unless you want a soggy mess on your hands!
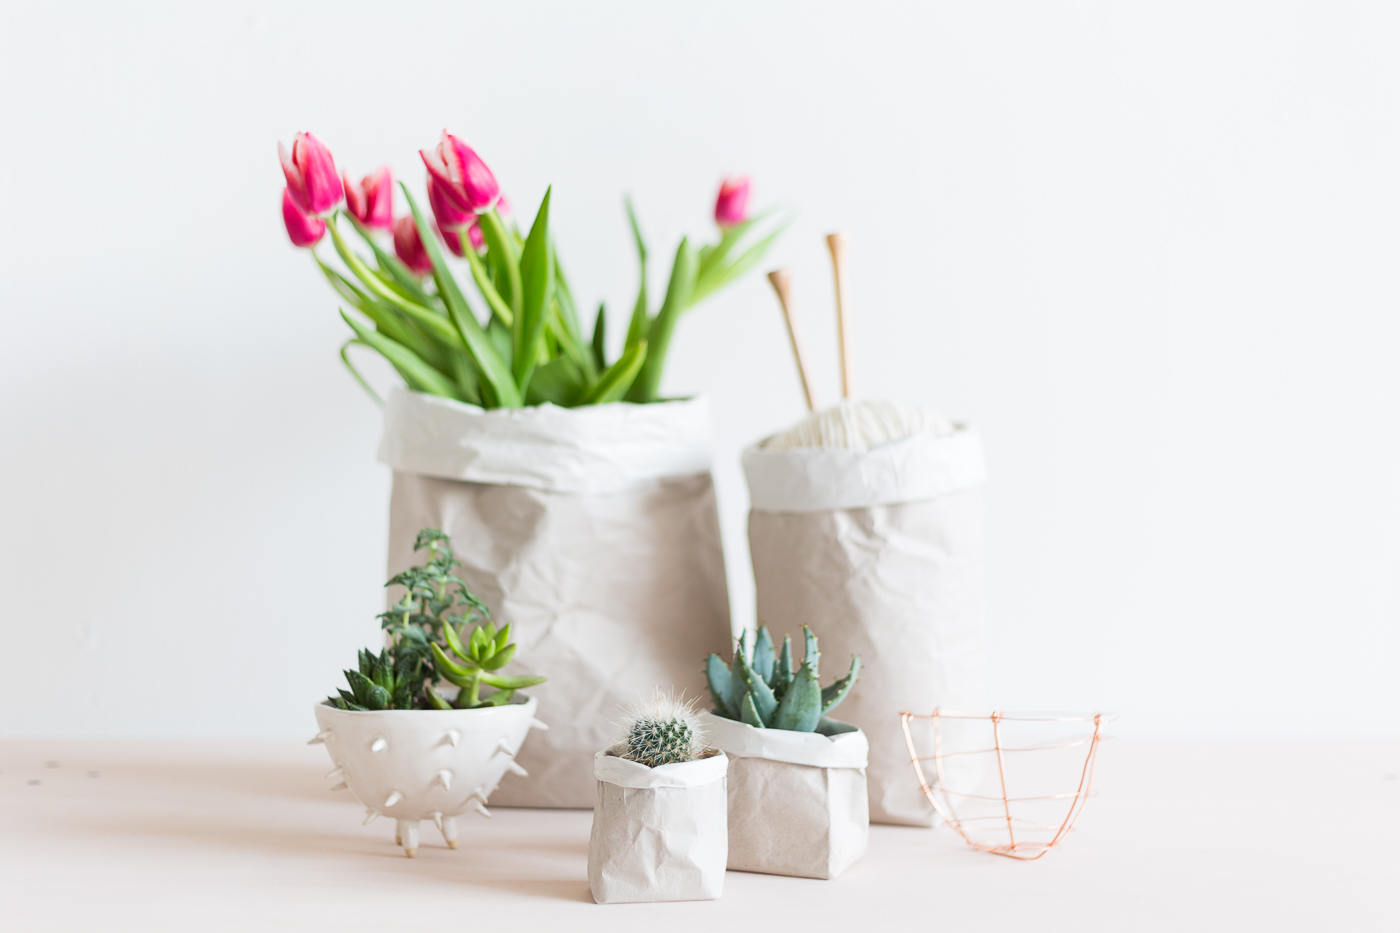
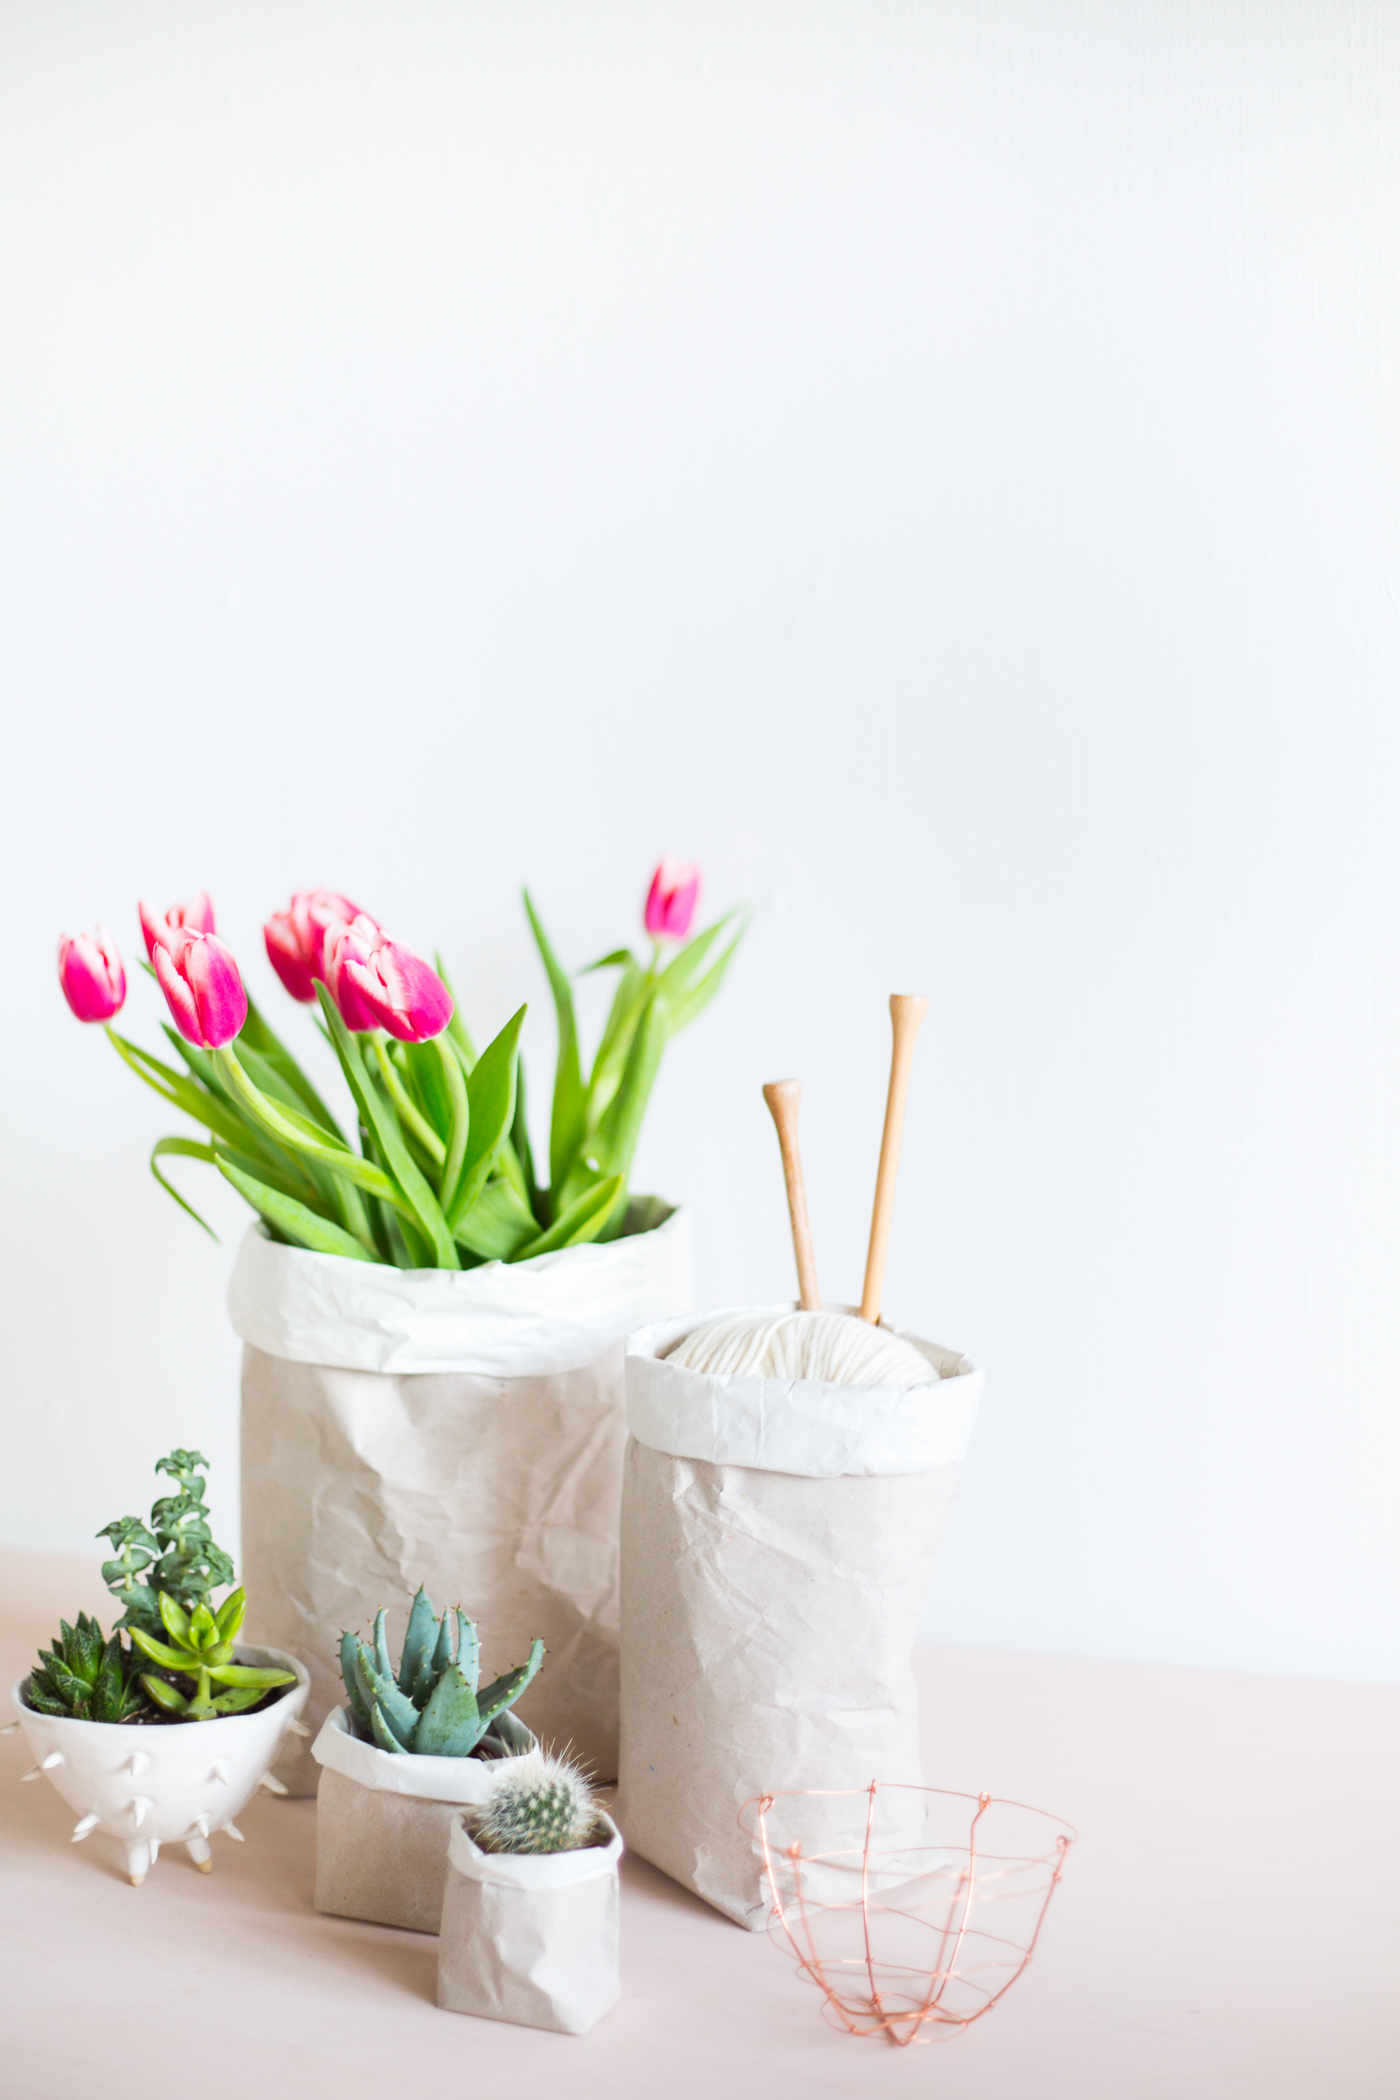
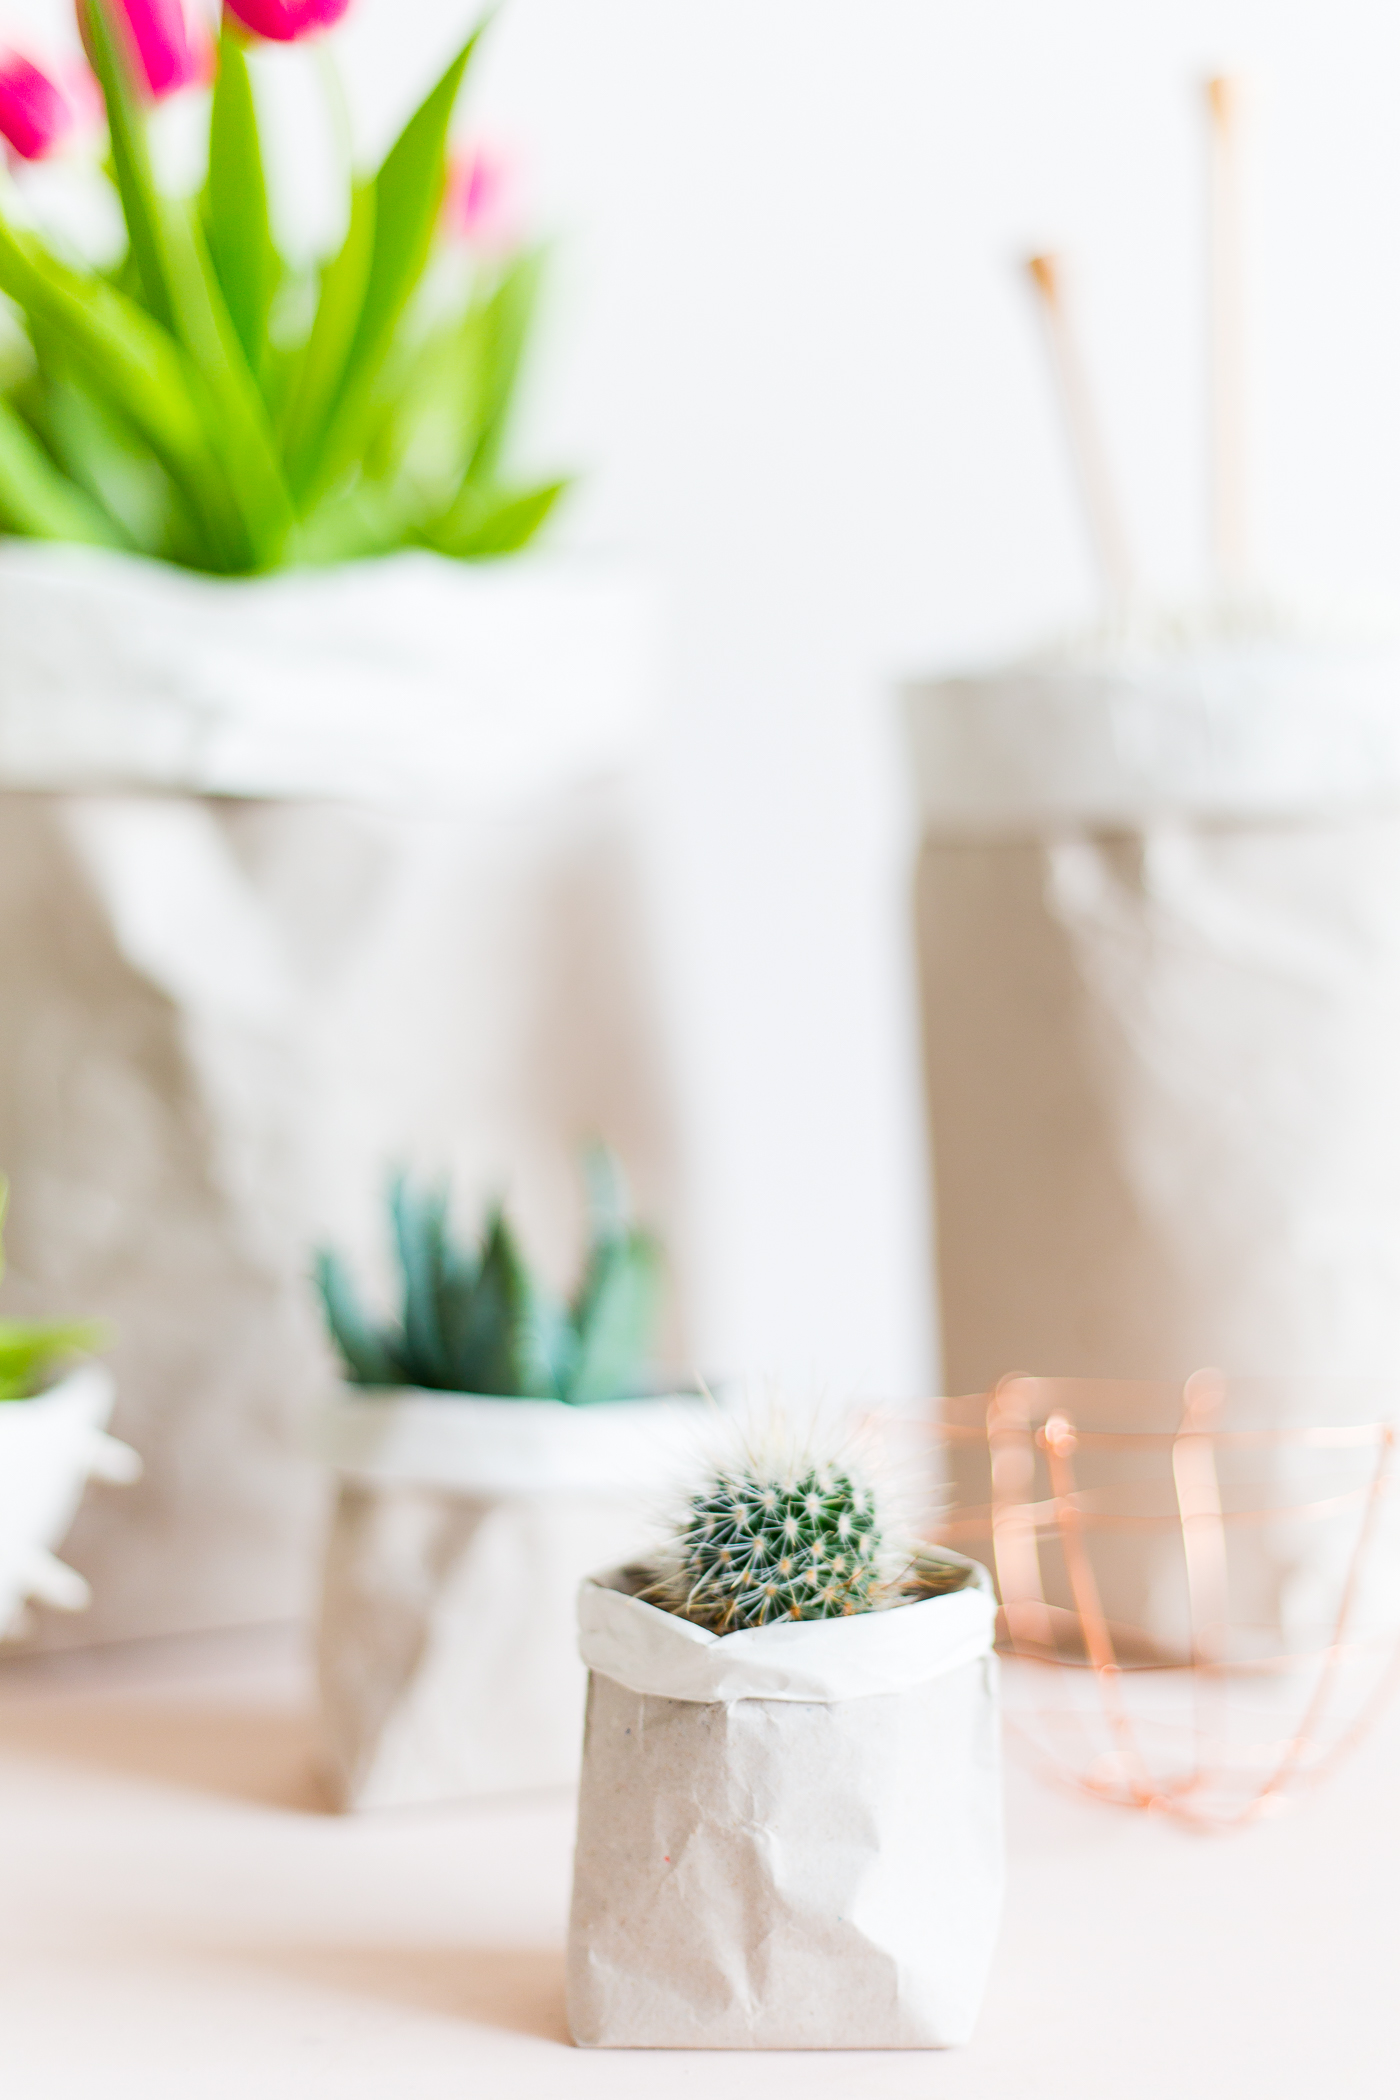
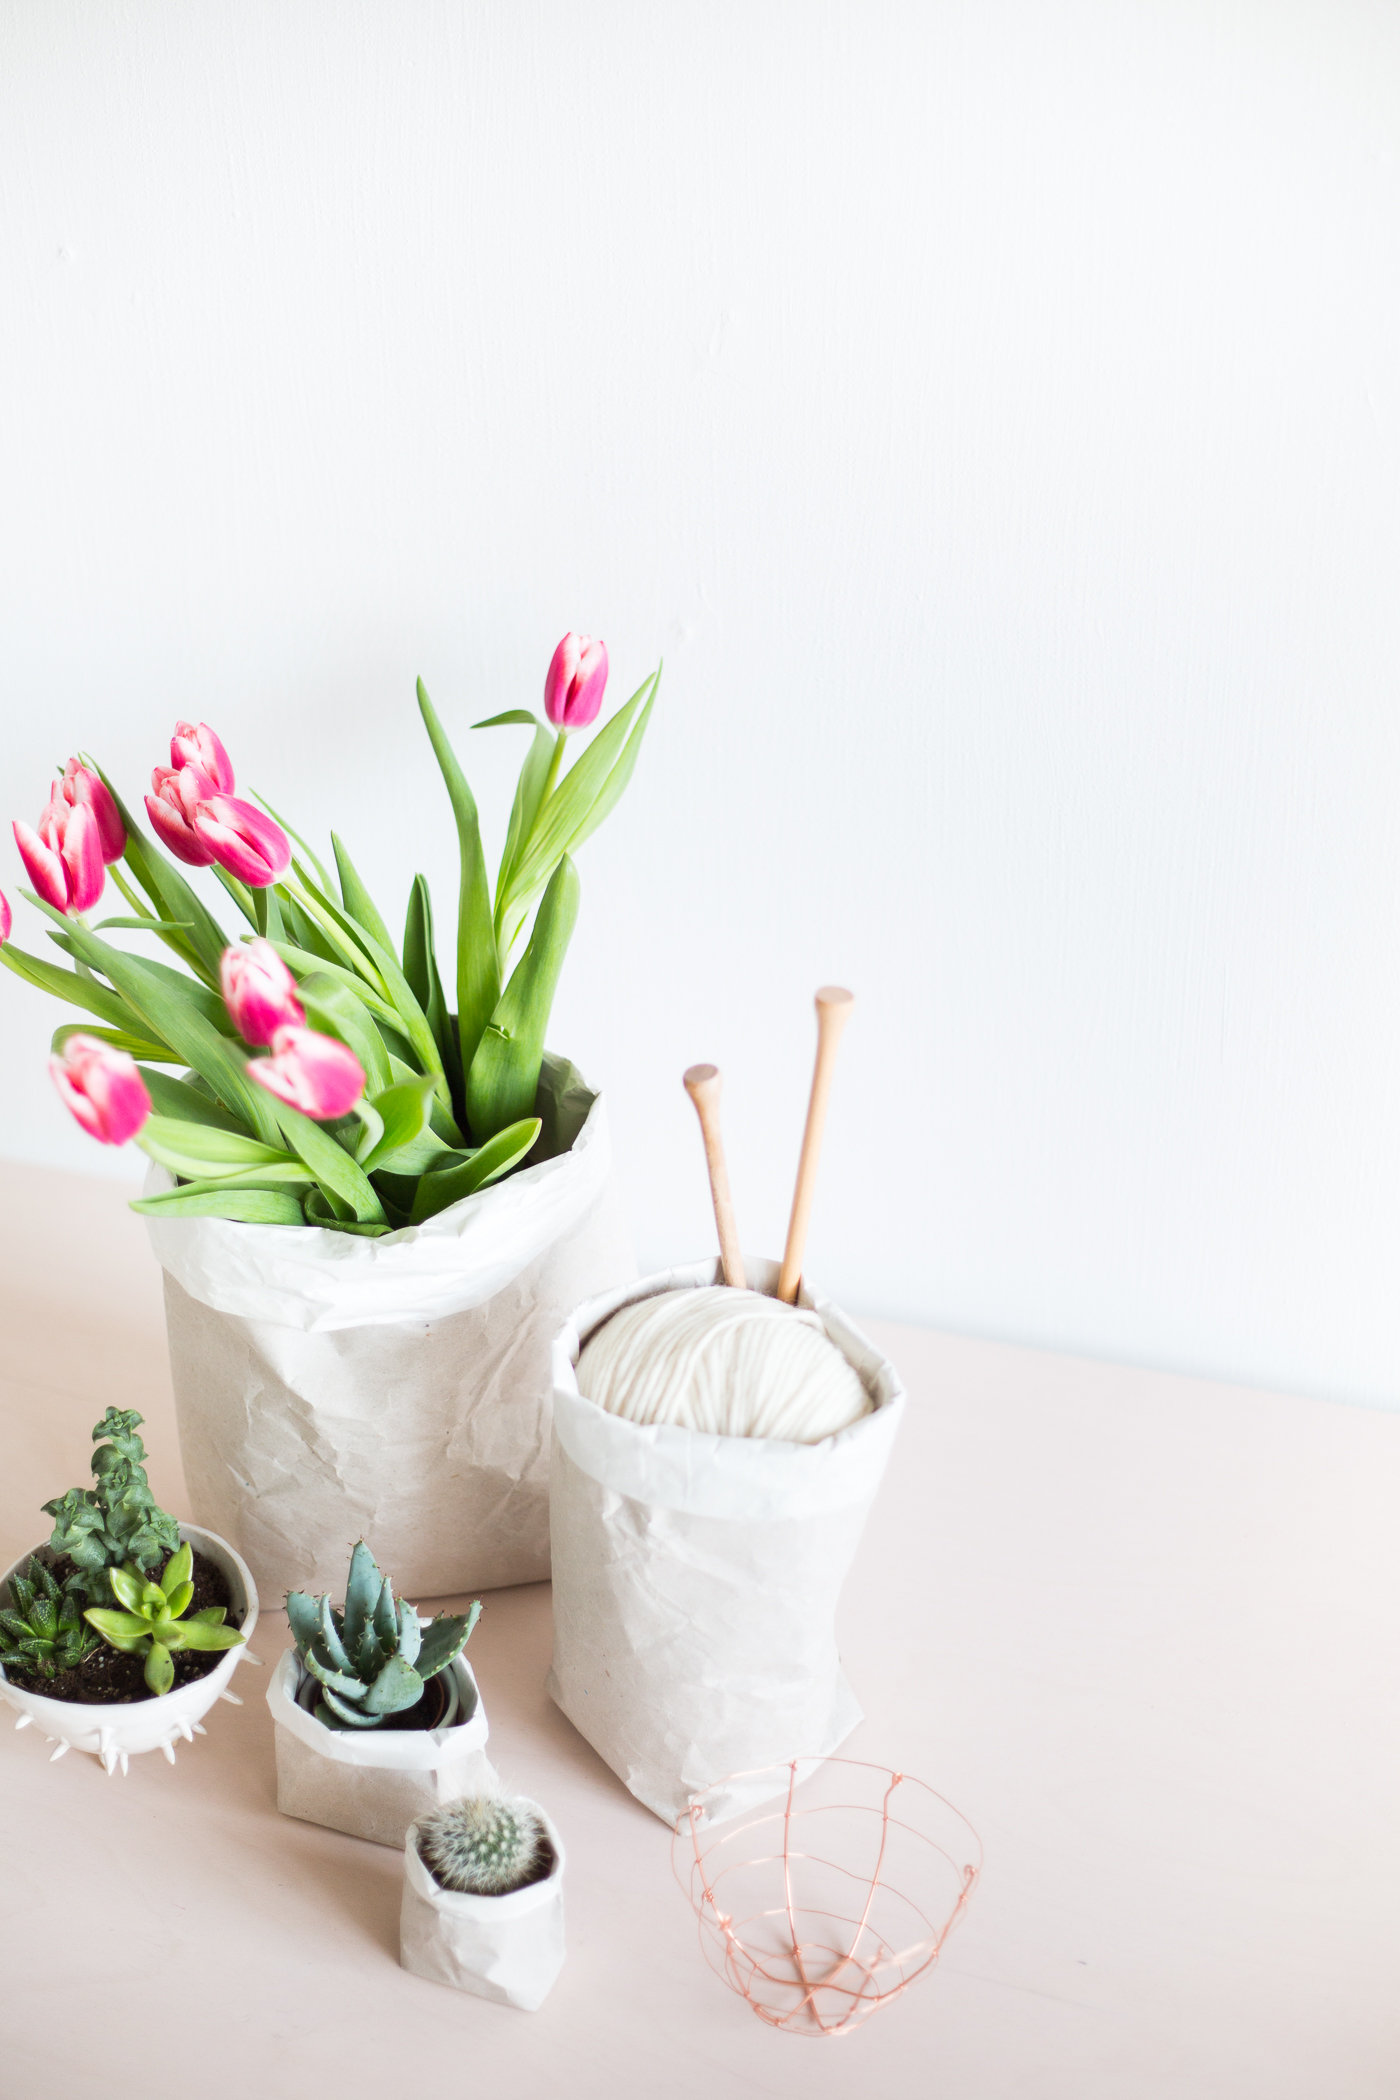
DIY Packing Paper Sack Planters | @fallfordiy DIY Packing Paper Sack Planters | @fallfordiy DIY Packing Paper Sack Planters | @fallfordiyDIY Packing Paper Sack Planters | @fallfordiyDIY Packing Paper Sack Planters | @fallfordiyDIY Packing Paper Sack Planters | @fallfordiy

Related

DIY32 Comments

« How to take Photos of your Hands for Instagram
Come and Make Cool Clay with Us! | We Make Collective »

Comments

  1. Amy | Delineate Your Dwelling says

    April 14, 2016 at 3:06 am

    Simple and lovely!

    Reply
  2. m.e. says

    April 15, 2016 at 11:22 pm

    These are precious & I’m right there with you on the odd hoarding habits. Some things are too pretty to let go!

    Reply
  3. guest says

    April 20, 2016 at 3:12 am

    I made it out of the newspaper to cover an ugly pot. Turned out pretty well. Thanks for the idea.

    Reply
  4. Chloe says

    April 20, 2016 at 8:43 am

    Love this!

    Reply
  5. Jeanne says

    June 1, 2016 at 8:29 pm

    Hello, un petit mot pour te dire que j’ai adoré découvrir ton DIY, je l’ai sélectionné pour mon calendrier DIY du mois de mai ! Je te laisse le lien : http://www.cahierbleu.fr/calendrier-inspiration-diy/

    Reply
  6. Deidre Layne says

    June 5, 2016 at 8:56 pm

    I love this!! Thank you so much for the tutorial!! I’ve seen these online but I’ve been wanting to make it myself rather than spend a bunch of money.. I could just buy a roll of craft tape and I’ll only have to invest a dollar or so!!! Thanks again!! It’s so cute :) love your blog!

    Reply
    • fran says

      July 5, 2016 at 1:11 pm

      Thank you so much Deidre! That is exactly why I made them. I didn’t want to spend lots of money on something I was sure I could make at home. So happy you like them <3

      Reply
  7. Filiz says

    May 22, 2017 at 12:06 pm

    Simple and really cool!

    Reply
  8. Emy co says

    August 20, 2017 at 4:24 pm

    I love this style! a simple and trendy diy thanks ;)

    Reply
  9. Anna says

    March 6, 2018 at 1:59 am

    The white makes them very elegant, congratulations!

    Reply
  10. hyipforum.org says

    October 19, 2018 at 9:01 pm

    hi!,I like your writing so so much! proportion we communicate extra about your article on AOL?
    I need a specialist in this house to resolve my problem.
    May be that is you! Having a look ahead to peer you.

    Reply
  11. Medina says

    June 7, 2020 at 10:17 pm

    Hello! If I water my plants in this sack, will things go wrong? I was planning on planting directly into the sack, so is this made for watering? Thank you in advance :)

    Reply
  12. bangalore massage says

    October 14, 2022 at 6:31 am

    Aside from loosened up muscles, your temper will likewise improve, hence furnishing you with an unwavering discernment. A decent outlook will hoist your temperament, assisting you with managing viably during upsetting circumstances. A body back rub will get inspiration, causing you to have a decent outlook on yourself; it additionally hugely affects great body massage in bangalore

    Reply
  13. nuru massage says

    December 3, 2022 at 1:47 pm

    Massage can bring you a sense of calm and deep relaxation. Massage stimulates endorphins, which are brain chemicals (neurotransmitters), that cause feelings of well-being.Visit nuru massage

    Reply

Trackbacks

  1. Ideas para el fin de semana - Demodé says:
    April 15, 2016 at 1:52 pm

    […] Crea unos saquitos de papel. Reciclas y decoras, ¡una de nuestras […]

    Reply
  2. 10+ DIY Mothers Day Gift Ideas - Homey Oh My! says:
    April 28, 2016 at 9:48 pm

    […] Paper sack planter […]

    Reply
  3. Blumentöpfe aus Stoff Selber Machen- DIY Anleitung says:
    June 19, 2016 at 10:23 pm

    […] genäht. Dazu habe ich mich an einem DIY Tutorial von Francesca (Fall for DIY) orientiert, die auf ihrem Blog gezeigt hat, wie man Blumentöpfe aus Papier bastelt. Das Prinzip ist also bei mir genau das gleiche und ich […]

    Reply
  4. Cómo hacer bolsas de papel para tus plantas | Para Entretener says:
    July 11, 2016 at 6:14 am

    […] a esas aficiones que tenemos un tanto abandonadas el resto del año. Para todos vosotros, aquí un tutorial superfácil de Fall For DIY que nos ha encantado y más de uno ya está tijeras en […]

    Reply
  5. CHEAP BUT AWESOME WEDDING DIYS | Wooden Flamingo says:
    September 15, 2016 at 9:00 pm

    […] Fall For DIY […]

    Reply
  6. CURRENT FAVORITE DIY PROJECTS FOR GIFTING | E. INTERIORS says:
    November 2, 2016 at 6:35 pm

    […] sorry, but these DIY sack planters & vases are TO DIE FOR. They are easy too – talk about the perfect gift for teachers, neighborhood […]

    Reply
  7. DIY : cache-pot en papier says:
    December 14, 2016 at 8:17 am

    […] internet comment en réaliser un avec ce que j’avais sous la main. C’est sur le site de Fall for DIY que j’ai trouvé mon bonheur, grâce à son tutoriel en photos. Concernant le matériel, ce […]

    Reply
  8. DIY – papírové obaly | VINTAGELOVER.CZ says:
    February 21, 2017 at 6:45 am

    […] obal.  Já vím, nic nového… Ale já ho ještě pro sebe nevyráběla… :-)  Zde je návod, jak na to! Krásný den […]

    Reply
  9. DIY – papírové obaly | VINTAGELOVER.CZ says:
    February 21, 2017 at 6:45 am

    […] obal.  Já vím, nic nového… Ale já ho ještě pro sebe nevyráběla… :-)  Zde je návod, jak na to! Krásný den […]

    Reply
  10. DIY | paper bags voor bloemen en planten - Wonen&Co says:
    May 4, 2017 at 9:08 am

    […] een kleiner formaat, maar heel geschikt voor jouw verzameling cactussen en kleine vetplantjes. Op fallfordiy.com vind je een handige tutorial waar je – met alleen papier, een schaar en lijm –  in een […]

    Reply
  11. 3 Ways to Wrap Flowers for Mother's Day Using Your Craft Closet | ctrl + curate says:
    May 4, 2017 at 12:34 pm

    […] because paper sacks were a 2016 big trend, I’m going to direct your attention to Fall For DIY’s tutorial on how to fold one. She is the queen of diy and her steps are so, so easy to follow. I used a […]

    Reply
  12. Friday Favourites October 13th | ROWE SPURLING PAINT COMPANY says:
    October 20, 2017 at 4:13 pm

    […] THREE: A few weeks ago we decided to tackle cleaning out a few cabinets in our home office.  I found a MOUNTAIN of wrapping paper.  A lot of will be used for the holidays (Christmas is coming!?!?) but these adorable DIY bags are a great way to use up the rest.  For the tutorial click here. […]

    Reply
  13. My reusable items and using what I already have – planting cakes says:
    December 13, 2017 at 1:28 pm

    […] One more thing are produce bags, they are everywhere if you are a supermarket shopper and trust me I know because I work in one!. One onion, bag; one potato, bag and it goes on! The amount of unnecessary bags we think we need to use is ridiculous! I’ve always hated plastic shopping bags and even if they are recycleable people tend to mistake them to be put in recycling bin yet they will still end up in the landfill if not put away properly. Instead, take your own shopping bags! Yes, yes, shopping bags are sometimes laminated and if it bothers you and makes you feel better, there is a new recycled shopping bag and a coconut string bag if you’re into that. Right now, I am not buying any more shopping bags since I believe I have enough to be re-used forever; accumulated over the years by myself and others; and if I am, I’m sure to get either if those two or one of these. My Ever Eco produce bags are great: they are made from recycled bottles, very light weight and you can even attach them to your bag so you don’t forget! There are 8 in a bag per purchase and surely you got what you pay for. I use them when I purchase produce, store produce in my fridge and even use them to store cut vegetables/ fruits in my fridge. I even have a couple that I tied on my daughter’s cot to pile up her toys. If your shopping bags are not of use to you anymore, or they start to degrade, I think it’s a good idea to reuse them again. […]

    Reply
  14. Christmas Gift Guide: Nachhaltige Geschenkideen - Infinity Mannheim Blog says:
    December 17, 2017 at 3:25 pm

    […] ein Geschenk wären zum Beispiel eine selbstgemachte Lippenpflege aus natürlichen Produkten oder Übertöpfe und Vasen, gebastelt aus Papierresten. Wenn es um DIY geht, sind der Kreativität keine Grenzen […]

    Reply
  15. cara menang scr888 says:
    December 18, 2017 at 3:08 am

    scr888 hack software

    DIY Packing Paper Sack Planters

    Reply
  16. Website says:
    October 16, 2018 at 11:27 pm

    website

    DIY Packing Paper Sack Planters

    Reply
  17. 18 DIY's to Make & Sell - Design & Roses says:
    September 22, 2019 at 3:48 pm

    […] Everyone loves cacti, right? So, create a fun, vintage-type parcel paper bag with this similar tutorial from Fall for DIY. Not to mention, it’s a great organic way to save paper. (via Fall for DIY) […]

    Reply
  18. 39 Lovely Succulent Gift Ideas - The Best Plants, Pots and Products - Dodo Burd says:
    October 12, 2020 at 8:25 pm

    […] […]

    Reply

Leave a Reply Cancel reply

Your email address will not be published. Required fields are marked *

Search

About

Preorder My Book Now!

Follow

Featured

shop earrings

Partners

Terms & Conditions
Private Policy Statement

DIY

A Green Garden Refresh with Durapost Vento Fences

A Green Garden Refresh with Durapost Vento Fences

3 Ways to Use a Printer that will Make Your Life Better

3 Ways to Use a Printer that will Make Your Life Better

DIY Tower Cleansing Bars

DIY Tower Cleansing Bars

DIY Wavy Shelf with Cricut

DIY Wavy Shelf with Cricut

How to make your Mother’s Day gift more than perfect this year with DIY fabric wrap

How to make your Mother’s Day gift more than perfect this year with DIY fabric wrap

DIY Valentine’s Clay Name Necklaces

DIY Valentine’s Clay Name Necklaces

DIY Seamless Floor to Wall Wood Panelling (with Laminate)

DIY Seamless Floor to Wall Wood Panelling (with Laminate)

How to Recycle your Advent Calendar this Christmas

How to Recycle your Advent Calendar this Christmas

DIY Faux Stoneware Candle Holder

DIY Faux Stoneware Candle Holder

DIY Speckled Clay Arch Picture/Card Holder

DIY Speckled Clay Arch Picture/Card Holder

More Posts from this Category

Copyright © 2023 ·Savory &middot; Genesis Framework by StudioPress &middot; WordPress &middot; Log in