(Click here to see the first part of this tutorial)
With the nozzle on the sealant use the caulk gun to squeeze it along the edges of the perspex where they join. This will be messy so put protective sheets down and wear old clothes. Smooth the sealant using a piece of card. Make sure all the space between the sheets is filled and the sealant is smooth.
Rest the final piece of perspex on top of this square. You might need to put something inside the box to keep it in place. Use the silicone to secure this into place in the same way as you did with the sides.
Leave overnight or until dry then peel off the protective plastic sheet. Gently scrape off any excess sealant using the blunt edge of the perspex cutter. Be careful not to scratch the box though!
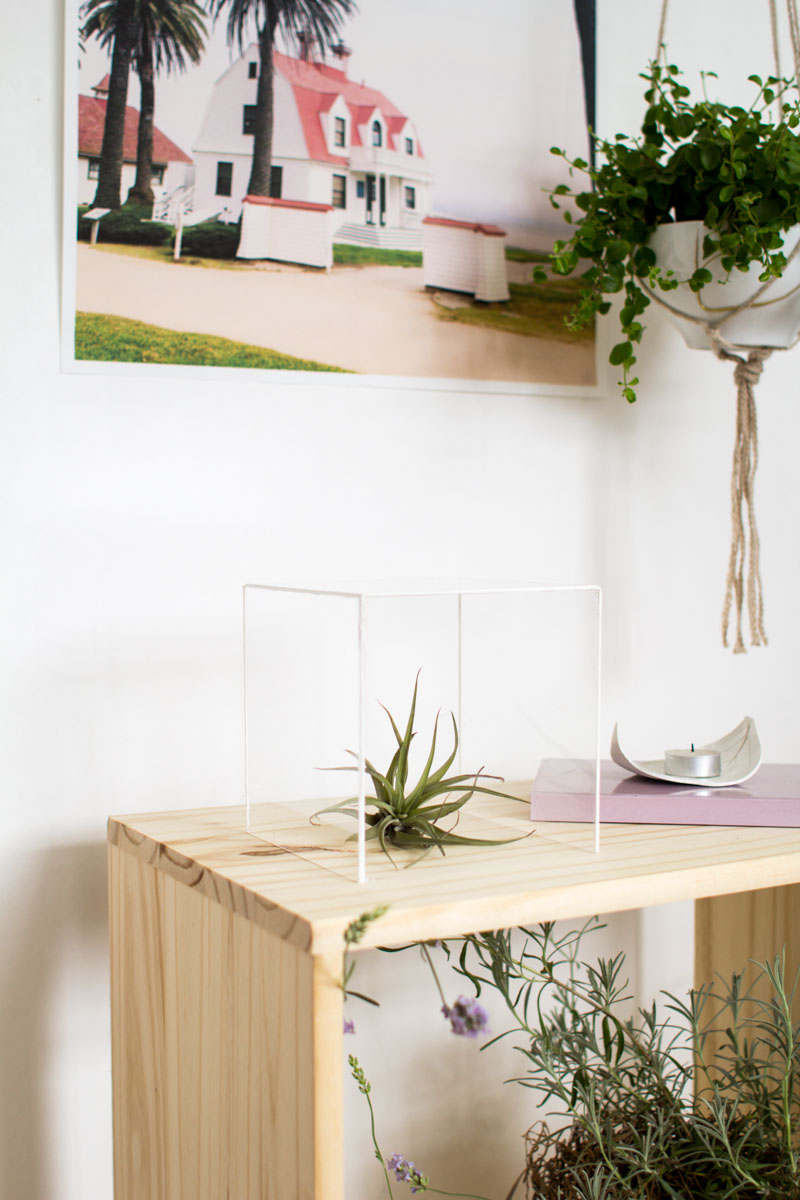
Now just find the perfect spot and give your air plant a home.
If you’re looking for planter DIY tutorials then check out my most popular ones right here!
*This post contains affiliate links.

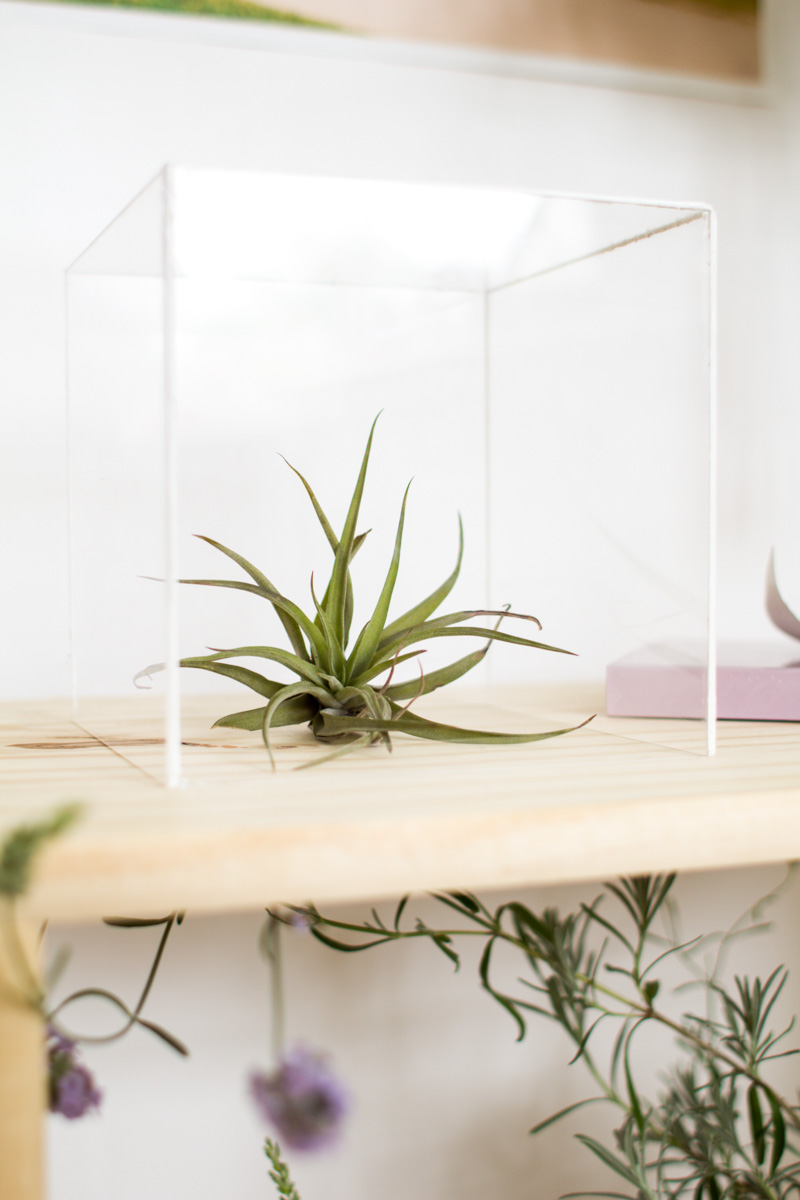
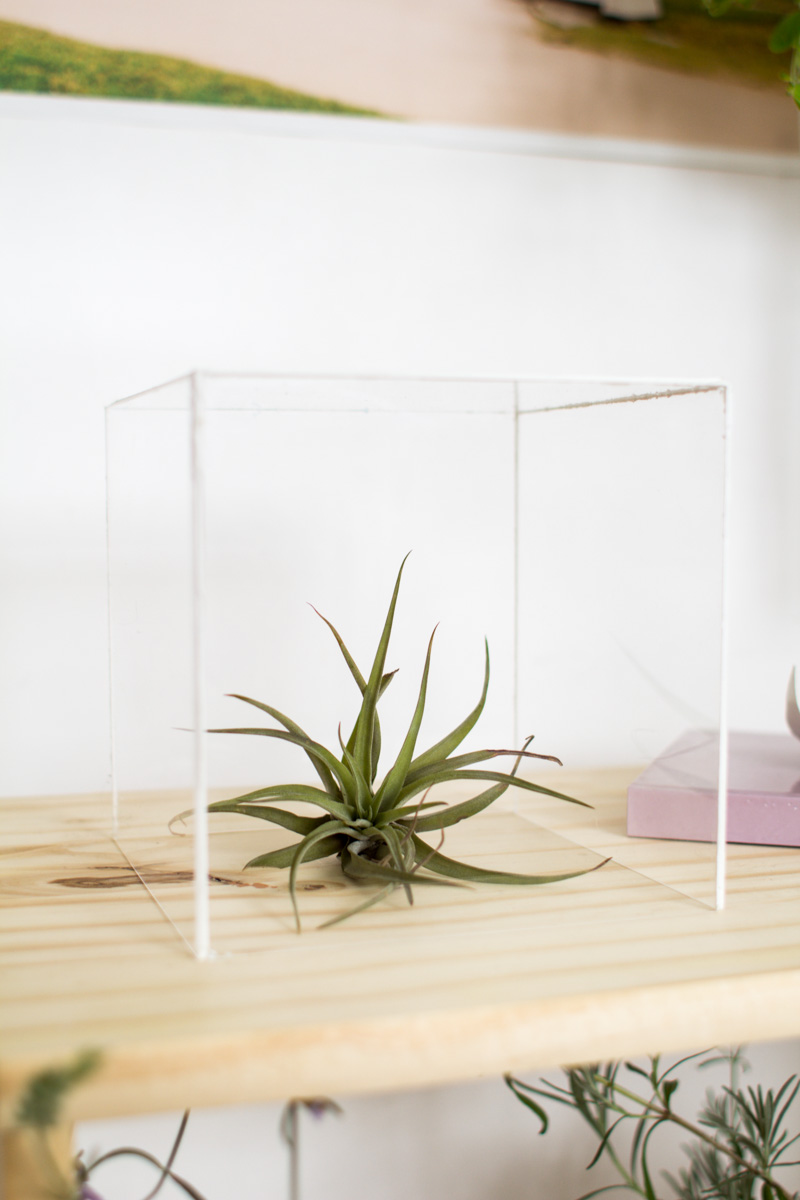
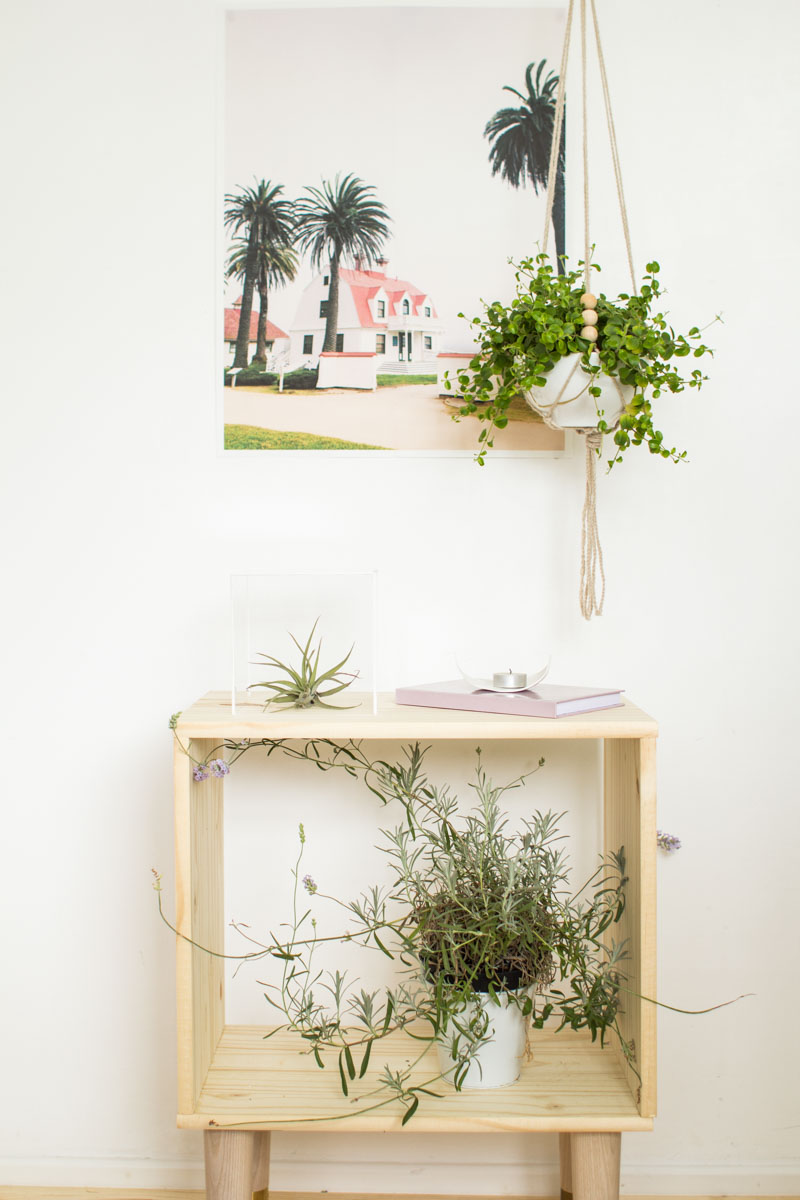
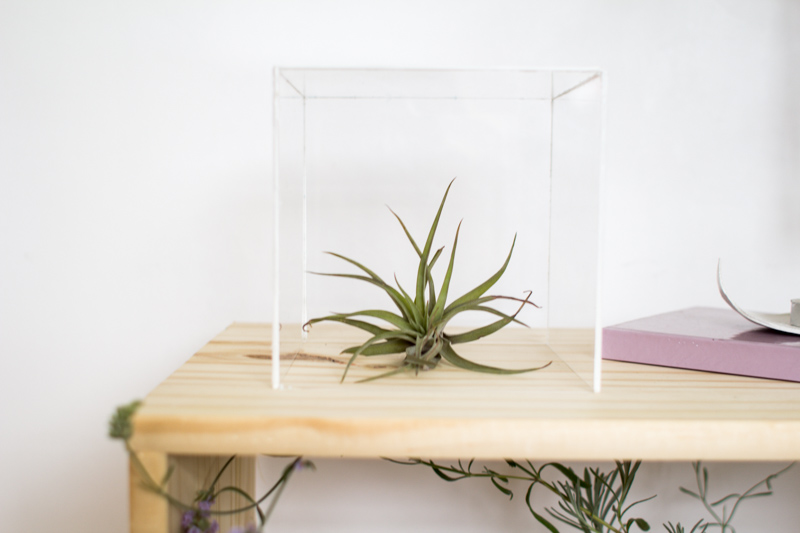
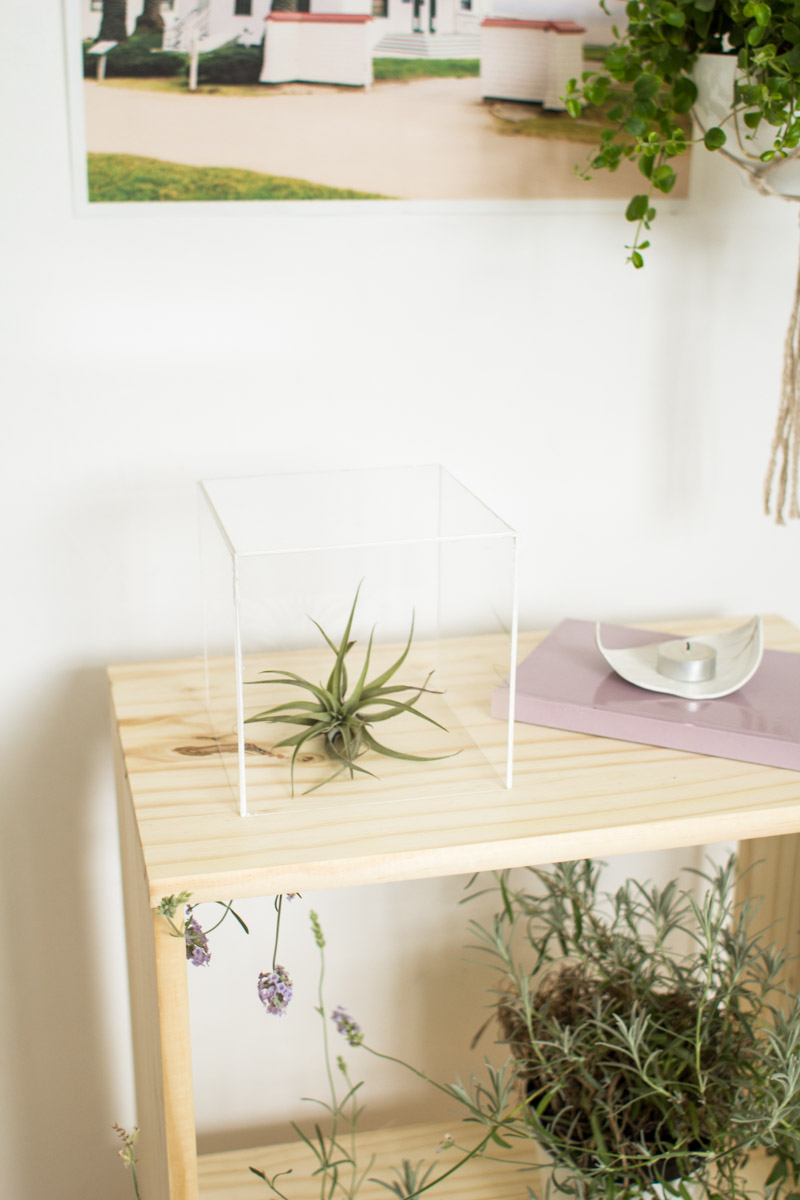
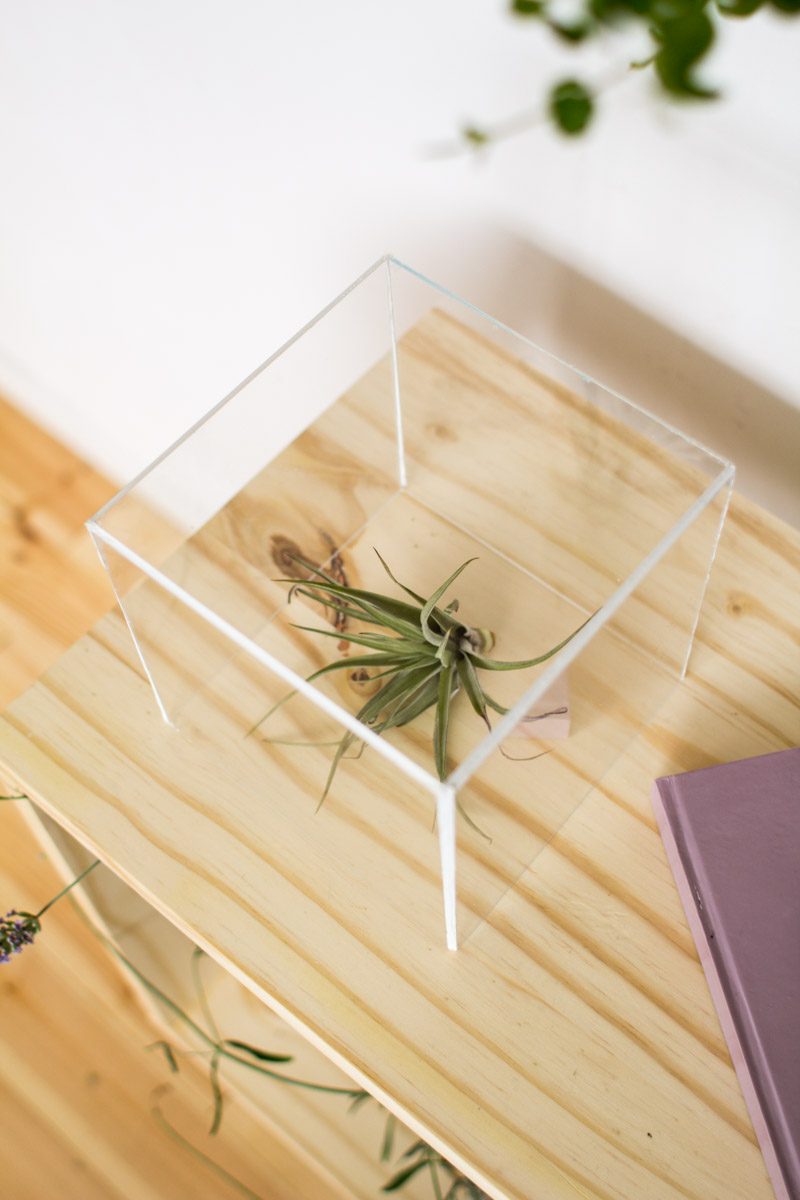
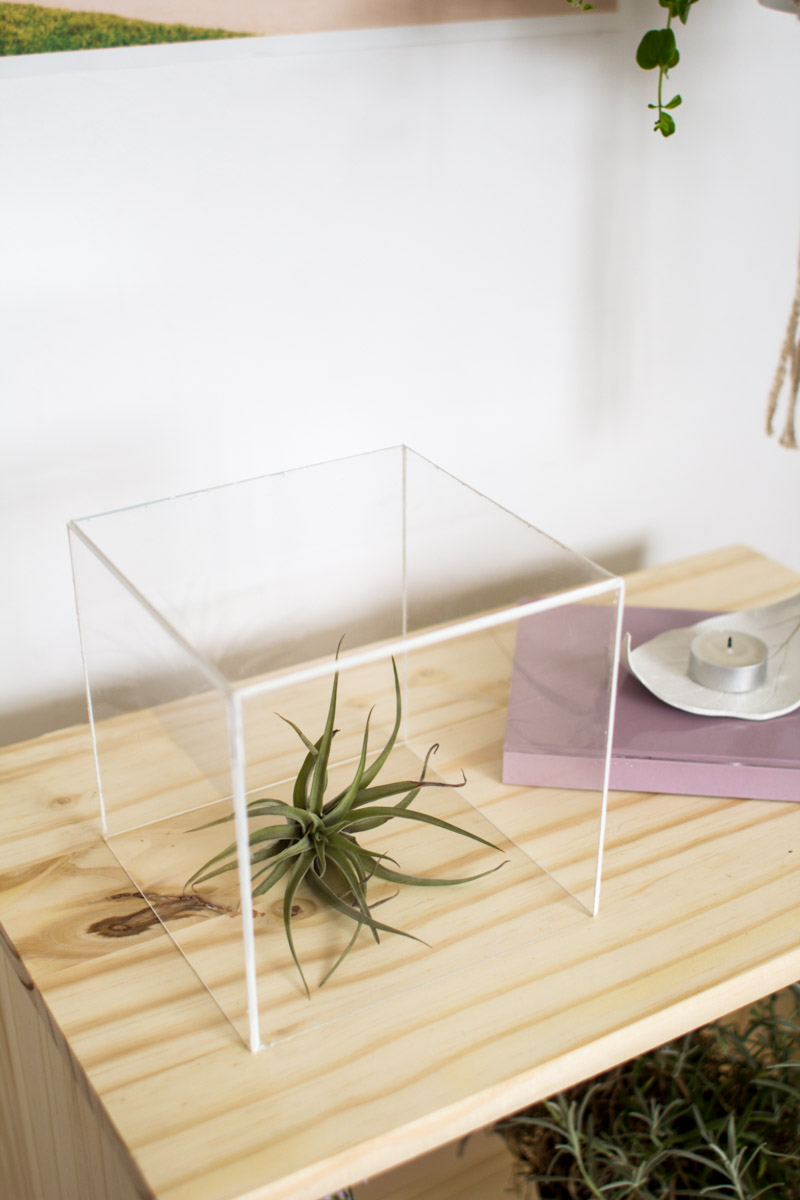
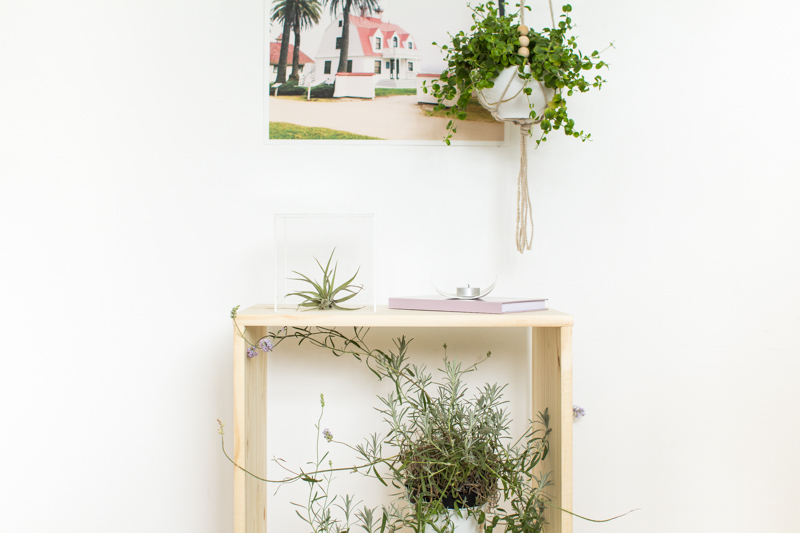


This is beautiful! I hadn’t thought of putting one in a clear box before. LOVE your photos, Fran!
Thank you so much Sarah! More ideas to come :)
These are gorgeous, Francesca! I love air plants too, but I learned the hard way that the little guys still need water, even if there’s no soil. For anyone else confused about care, here’s a helpful article: http://www.airplantsupplyco.com/pages/air-plant-care
Thanks Stephanie! That’s a great article – very useful info. I don’t know if my plants would have lasted very long if you hadn’t shared it! x
Ahhh! It’s so pretty!!
Love this! I think you’re a braver gal than me to work with perspex- I can’t ever get the lines quite right and I’m too much of a perfectionist to cope! I’ll have to stick with himmelis (but keep the air plants though. they’re too darn gorgeous)
xxx
Chambray & Curls
This is wonderful, Francesca! I remember when you posted this a while back and someone actually just asked me if I’ve ever glue acrylic/plexiglass. This project of yours came to mind so I sent them here ;)
I just did my first acrylic project (http://www.alwaysrooney.com/2016/02/acrylic-arm-rest-caddy-diy.html) and I’m addicted to the material now! I think I need to make this display case!
-Courtney
You can also buy metallic tape 1/8″ wide in copper- brass -silver -usually stained glass supply places and metallic tape your edges instead of caulking – they can then be aged with a brush on chemical that reacts to the real metal. This is used for decorative glass display boxes for decades now ….