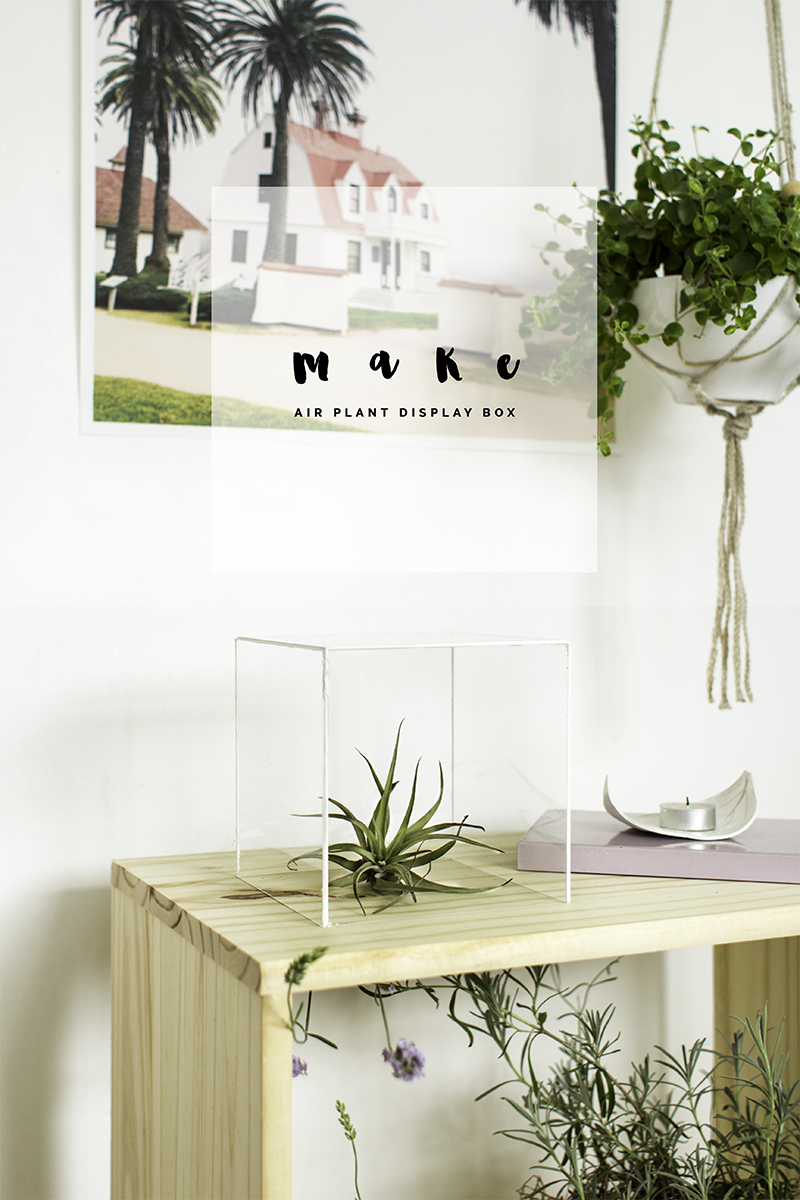
So until air planters began to pop up on the DIY blog scene I had absolutely no idea they existed. Then, all of a sudden my mind is being blown by this pretty little plant that doesn’t need soil or a pot to grow in. Oh, the cogs in my brain went wild! You guys know how I feel about hanging planters right? Well this might be just the first in a long line of ways to display these fellas around my home too.
I have tons of ideas but I’ve been sitting on this one for a while now. I wanted to make it as a jewellery display box (which of course it can still be) but I couldn’t resist creating a home for air plant number one.

Materials
UK/Europe*
Perspex | Interior sealant + Caulk gun | Perspex cutter | Sellotape | Air plant
US*
Plexiglass | Interior sealant + Caulk gun | Perspex cutter | Sellotape | Air plant
(I’ve always struggled to decide where to add links to materials sources. So I’m including UK/Europe and US links. What do you think? Are there any other places you would like me to include?)
Instructions
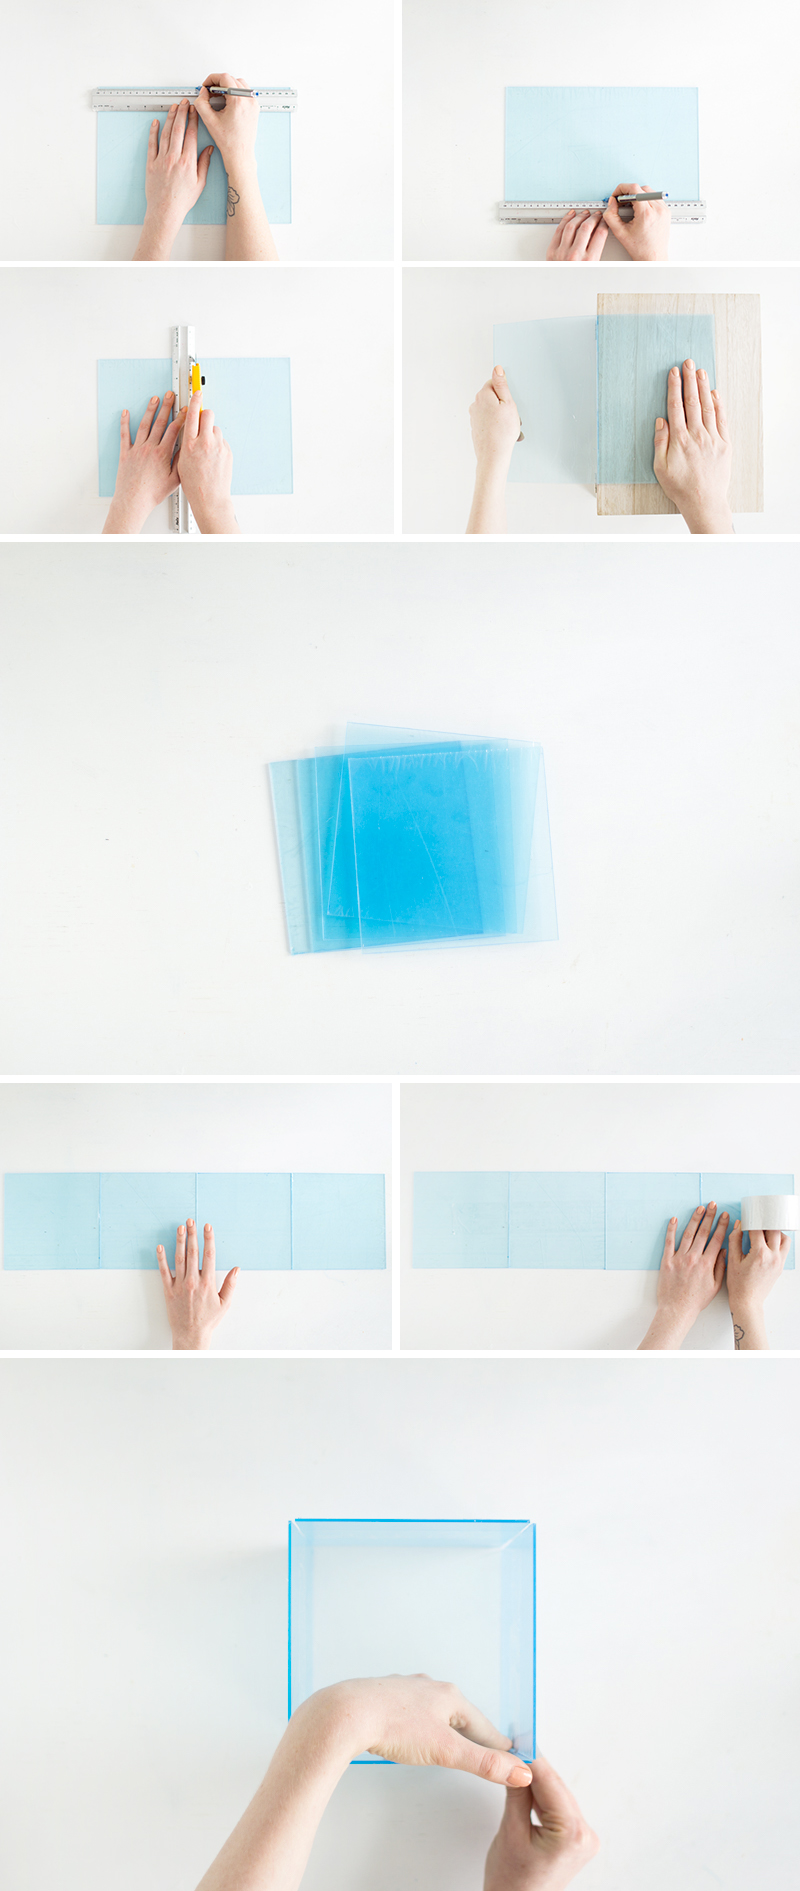
Measure the length of your perspex sheet exactly and half it. Accurately mark the half way point at both the top and bottom of the perspex sheet. Line up your ruler with these markings and draw a line between them.
Without moving the ruler take the perspex cutter and press the pointy bit down against the edge of the ruler. Gently pull the sharp point along the perspex two or three times. If you want you can remove the ruler now or keep it there for safety. You should start to see a groove appear along the line. Keep pulling the point edge all the way along this line six or seven times more.
Pop on a pair of safety goggles and hold the perspex over the side of a table, lining up the groove with the table edge. Hold the side that’s on the table firmly and press the other side down. It should easily snap in two leaving a clean line. If it doesn’t break straight away run the cutting tool over the perspex a few more times and try again.
Now you have rectangular pieces, mark off the same measurement as before (half the original length) and repeat the cutting process to create a square shape. Cut 5 of these.
Line four of the squares up in a row and secure together with sellotape. With the Sellotaped side facing inwards create a square and use another piece of tape to join them together.


This is beautiful! I hadn’t thought of putting one in a clear box before. LOVE your photos, Fran!
Thank you so much Sarah! More ideas to come :)
These are gorgeous, Francesca! I love air plants too, but I learned the hard way that the little guys still need water, even if there’s no soil. For anyone else confused about care, here’s a helpful article: http://www.airplantsupplyco.com/pages/air-plant-care
Thanks Stephanie! That’s a great article – very useful info. I don’t know if my plants would have lasted very long if you hadn’t shared it! x
Ahhh! It’s so pretty!!
Love this! I think you’re a braver gal than me to work with perspex- I can’t ever get the lines quite right and I’m too much of a perfectionist to cope! I’ll have to stick with himmelis (but keep the air plants though. they’re too darn gorgeous)
xxx
Chambray & Curls
This is wonderful, Francesca! I remember when you posted this a while back and someone actually just asked me if I’ve ever glue acrylic/plexiglass. This project of yours came to mind so I sent them here ;)
I just did my first acrylic project (http://www.alwaysrooney.com/2016/02/acrylic-arm-rest-caddy-diy.html) and I’m addicted to the material now! I think I need to make this display case!
-Courtney
You can also buy metallic tape 1/8″ wide in copper- brass -silver -usually stained glass supply places and metallic tape your edges instead of caulking – they can then be aged with a brush on chemical that reacts to the real metal. This is used for decorative glass display boxes for decades now ….