I must admit I’ve made my fair share of makeover messes whilst attempting to create a home interior I love. My ethos is (quite clearly) that everything can be updated and given a new lease of life with a quick coating of paint. Most of the time it works out really well, but usually ends up being more effort, taking up more time and becoming a huge mess in my kitchen for several days before this point. This can be a little off-putting when you’re thinking about starting a project. Just moving the often bulky furniture to my little kitchen can be a nightmare in itself. It got me thinking. There must be a better way…
And there is!

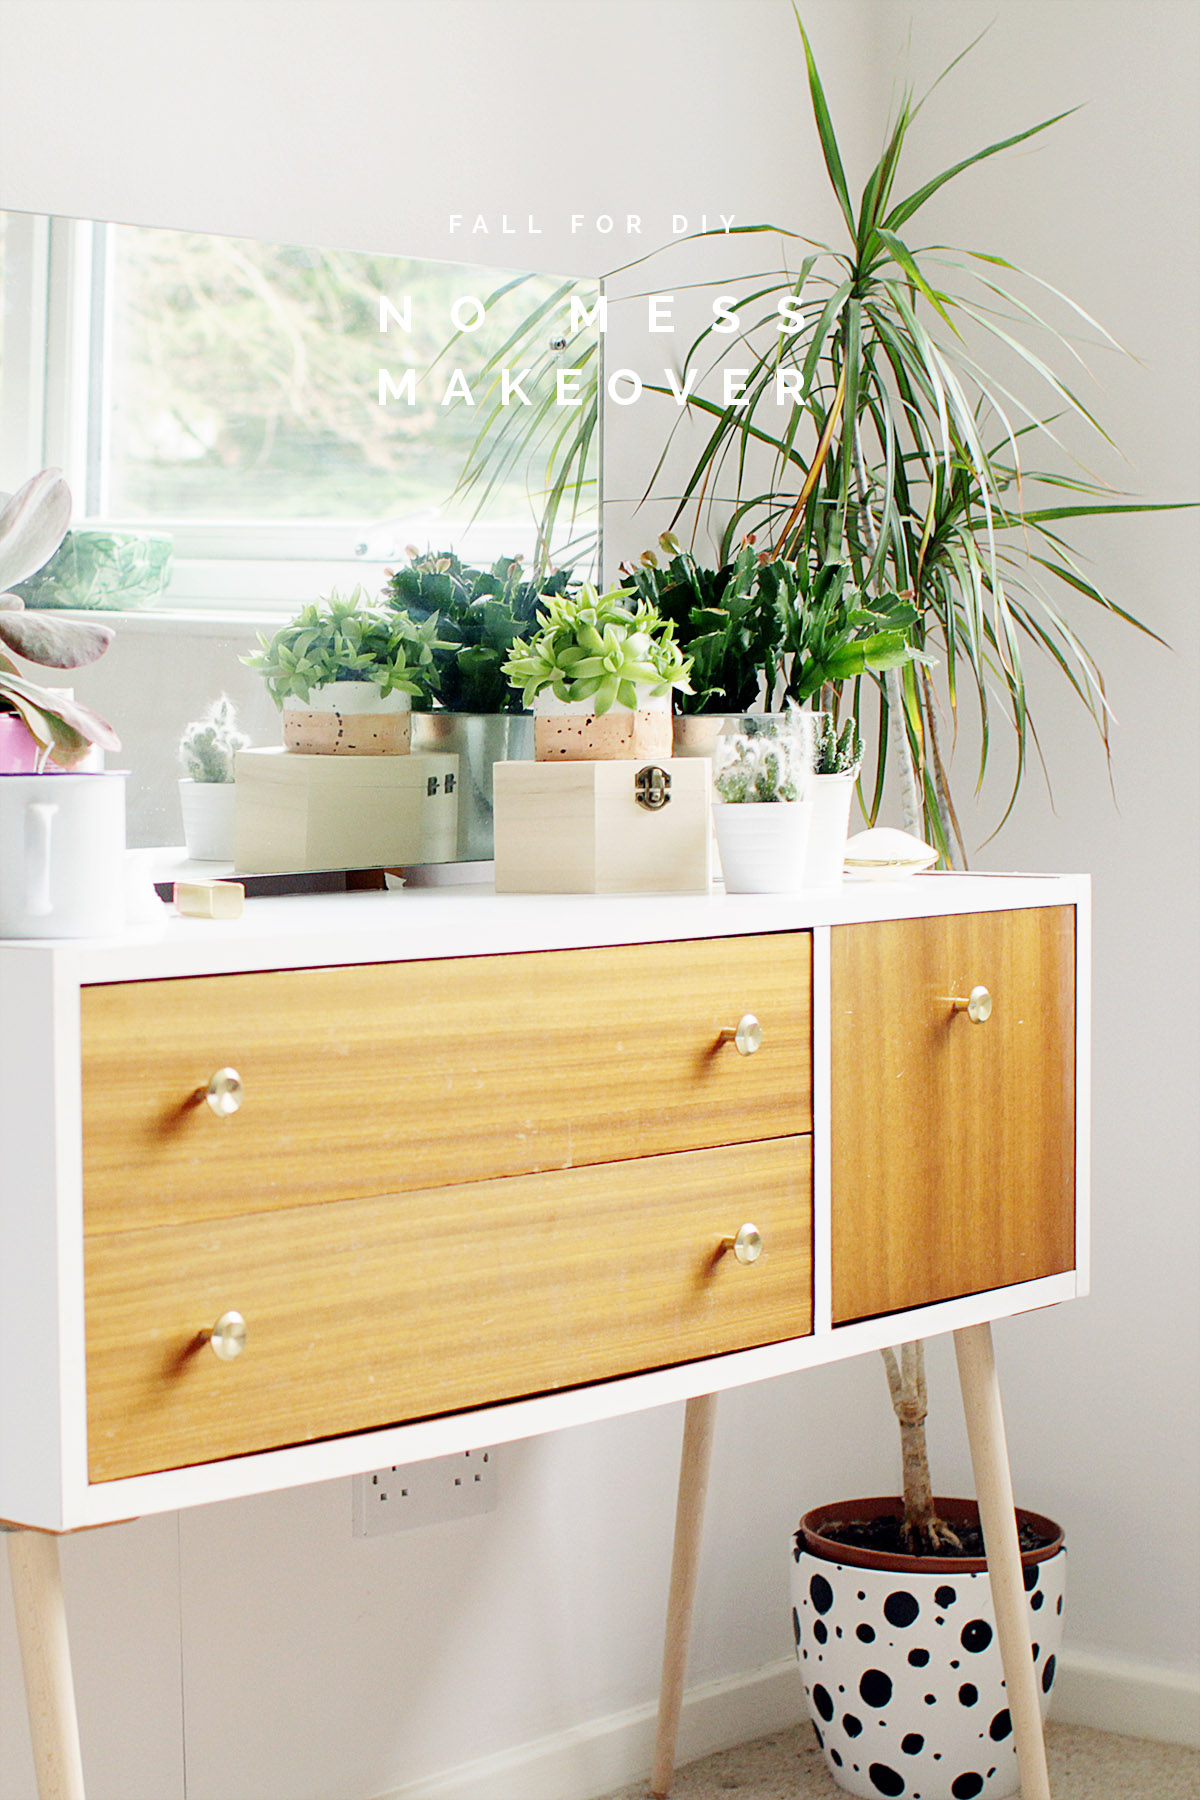
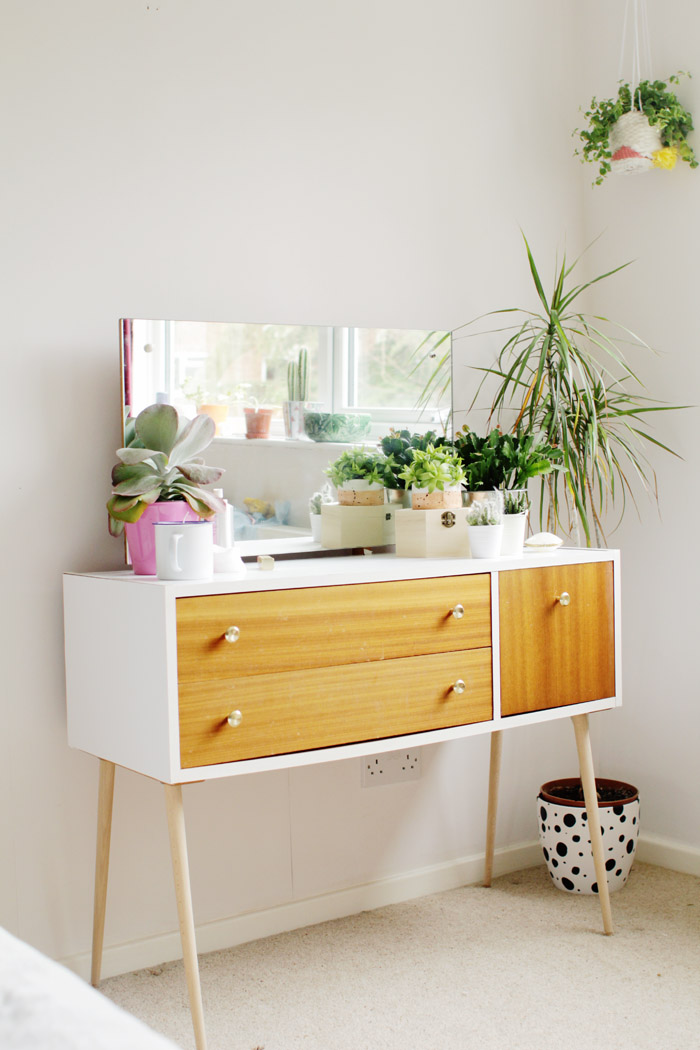
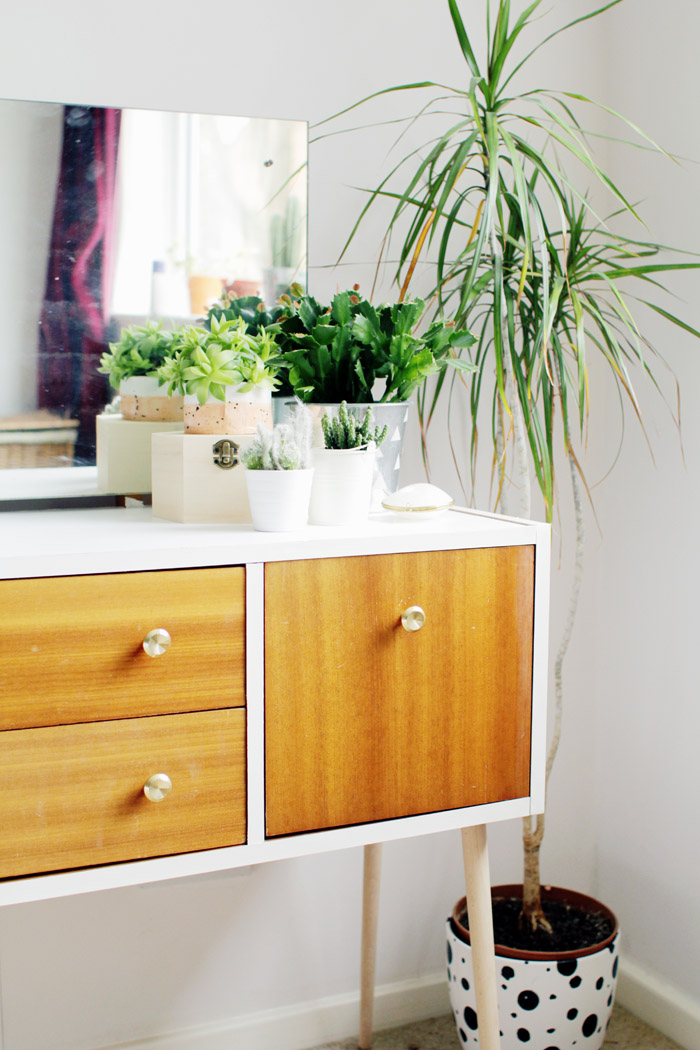
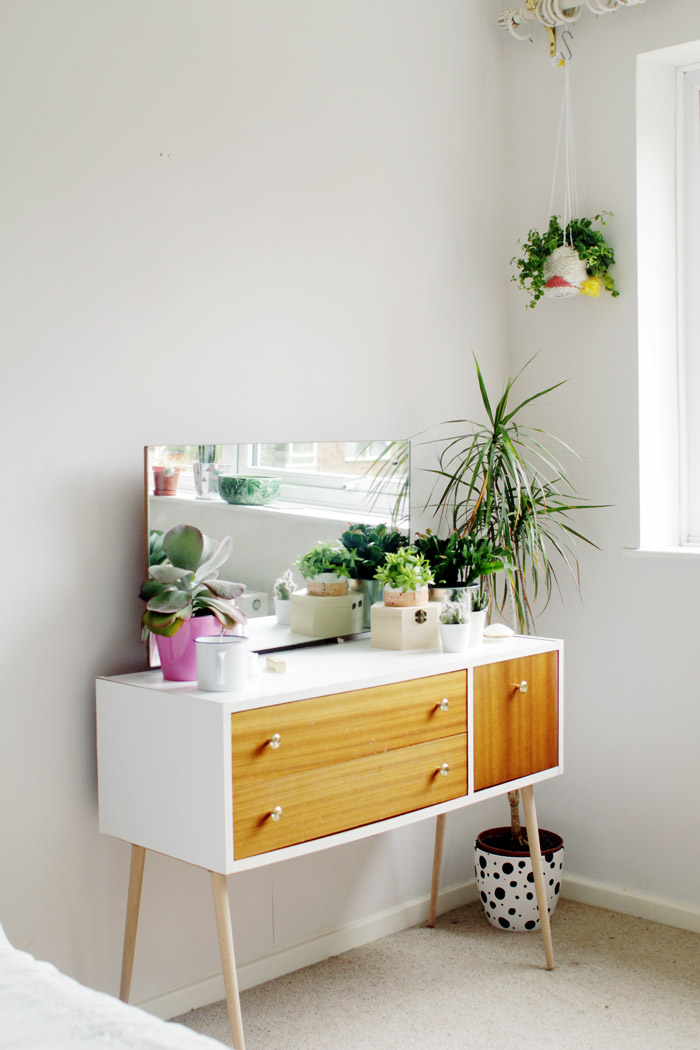
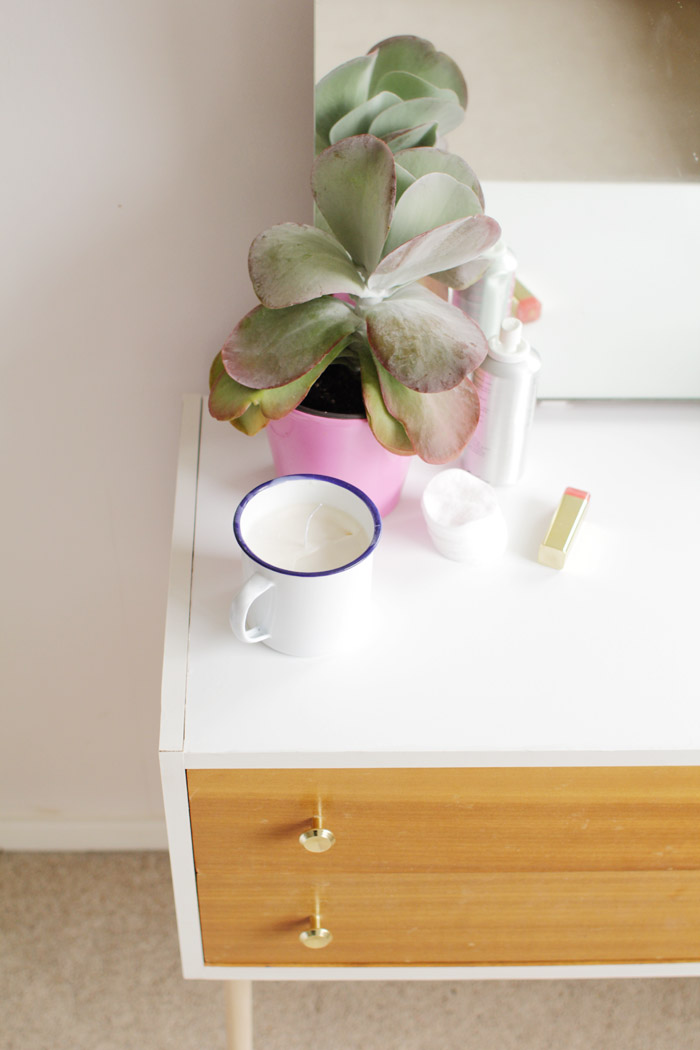
I transformed this project from a very dated, watermarked dresser I got for just £12 in a charity shop sale into a modern piece that now brightens up my bedroom, without a single lick of paint! No getting my hands dirty. And, if you needed any more convincing, the whole project took less than two hours. No waiting around watching paint dry. Here are my tips to updating your furniture (relatively) fuss free.
This is my new go-to material. It will cover any project big or small and gives such a professional finish. Whilst I was using it to hack this project I discovered this great trick to creating a smooth and seamless surface. Using a squeegee to pull out any air bubbles when you’re placing the sticky back paper will give your surface a totally pro look. Measure carefully and line up two corners along a long length before sticking the rest down. This will help you align it correctly. For more pictures head over to my Ladder Shelf Hack to see more.
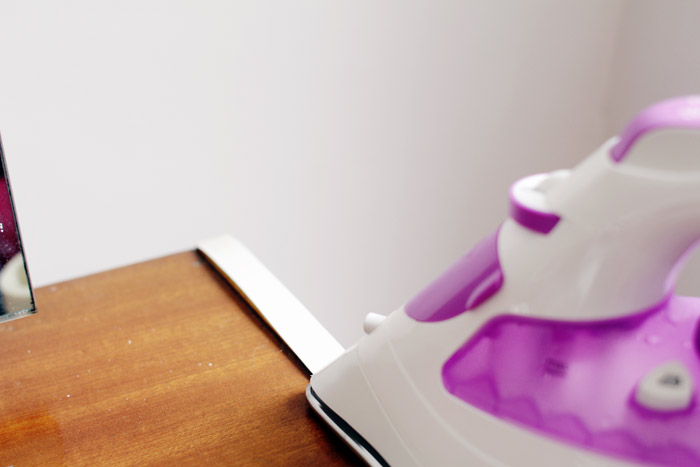
2. Melamine Iron-on Edgebanding
I love how easy this is to use. You can iron this onto practically any surface to add neat, straight and pro edges. This dresser had faux wood laminate edges covering chip board edges so after peeling these off the surface was ready for it’s new, fresh edging. Just hold the end in place and carefully run a medium/hot iron over the surface. Make sure your iron is clean so it doesn’t leave any marks.
3. What’s underneath?
Rather than adding over the top, it’s always worth investigating what’s underneath. The legs on the dresser were covered in a thick, black, shiny plastic that gave the whole piece a much darker feel. My first thought was to spray paint them but who want’s that hassle!? I peeled back a little of the plastic and saw the gorgeous raw pine underneath. After stripping the legs the piece was so much brighter!
4. Can’t reuse? Replace
The feet were rusted and one was missing so I’m on the hunt to replace these with something much cleaner and perhaps DIY? I also want to make some new draw pulls and replace the screw covers on the mirror. This is where your imagination comes in and you can create a piece that encompasses your personality and tastes. It’s often the smaller details that make something so this is your chance to really shine.
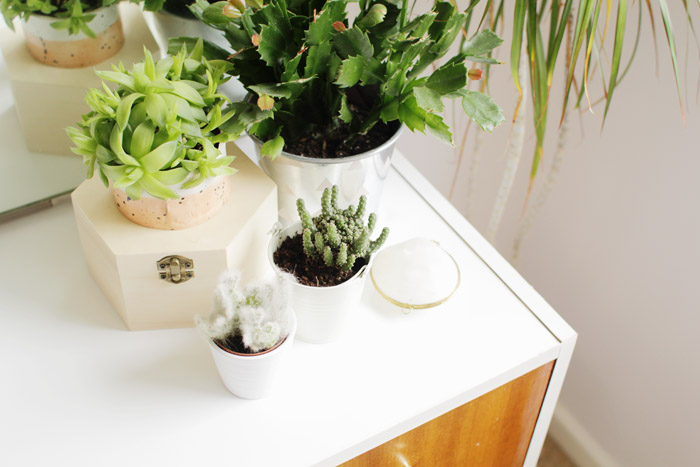
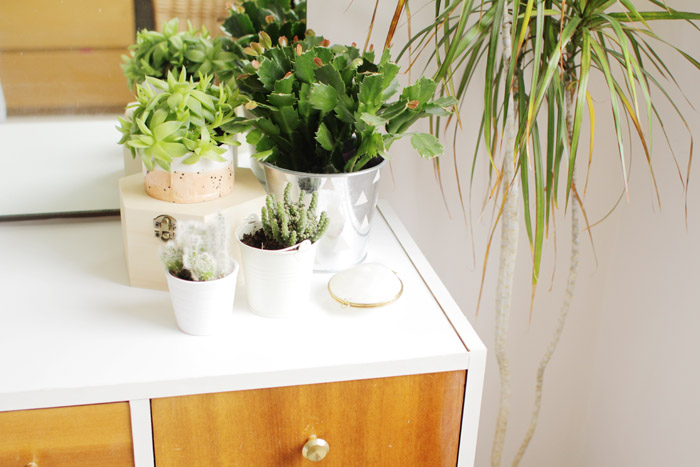
5. Clean and polish
Sometimes just a good scrub can transform a piece of furniture. Before you treat any surface you’ll want to make sure it’s free or dust and dirt and you never know what you might uncover? (I definitely need to practice what I preach and get some glass cleaner on that mirror… yeugch)

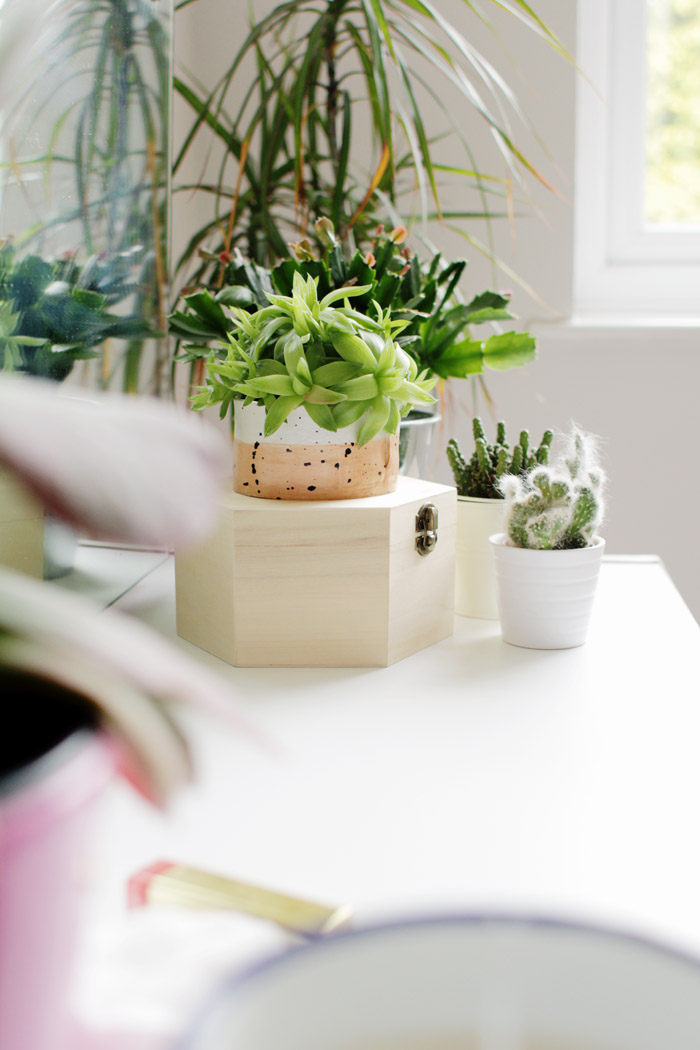


For now I’m so happy at how this project turned out. It’s actually one of my favourite pieces of furniture in the house right now! So much so I’m eyeing up other things to cover in contact paper as we speak…


Wow! The dresser looks so much better! Who would of thought it was transformed by contact paper? I may have to implement this idea on my dresser. Thanks for the idea!
Me too! I just got two ikea dressers from Craiglist, but they need some extra umph~
I love updated preloved furniture! Good for the wallet and for the environment as well! Good luck with your project! Tag me on Instagram if you like so I can see how they turn out :)
ALL HAIL THE QUEEN OF CONTACT PAPER! I would NEVER have guessed that you didn’t paint this cabinet. It looks absolutely stunning and so pro. And I am all agog over your fantastic no-mess tips–so helpful and practical!! I’ve been toying with the idea of contact-papering our kitchen table until I can give it a more permanent makeover–now I’m sold. Thank you Fran!
Wow! I can not even stress enough how much I love everything about this! The furniture makeover and all the plants! Love love!
Tegan xx – Permanent Procrastination
I love this Fran! Looks like a totally brand new piece of furniture. I would never have thought of using contact paper for something like this but it looks amazing x
Looks amazing and I love all of the plants. I found a similar laminated dresser on the side of the road and I’ve been wondering what on earth to do with it. I’m still a bit worried about getting the contact paper nice and smooth! X
Just wondering if you put the melanine on the side or the contact paper?
This makeover are superb. I like the style of yours. I would like you to add Creativewood on your list.
It looks fantastic now! Great idea!
Hi! :) Where can I get that white contact? Thank you very much.
Hey Claudia,
You can get contact paper or self adhesive paper in any DIY store. I buy mine from Homebase. Hope that helps :D
Wow, I have a newfound respect for this project and all other contact paper projects. I am contact papering my mid-century credenza and let me tell you, there are a lot of expletives leaving my lips. My biggest issue is lining up the sheets and the edges. Ooooffff, the edges.
Hi, I might be very late with my comment but I have a question. I would like to redo my dinning table and was wondering if I could use contact paper for it. You know…. it is a dinning table, you kind of eat there. The table is wood color and glossy finish.
Your project turned out fabulous.
Thank you!
Indeed a great read.
Aw, this was an incredibly good post. Taking a few
minutes and actual effort to generate a really good article… but
what can I say… I hesitate a lot and never seem
to get anything done.
Really appreciate this wonderful post that you have provided for us.Great site and a great topic as well I really get amazed to read this.
I don’t know how to update furniture like that, moreover, many of the old things look just awful that I rather go to the West Elm website – this is a furniture store and find something suitable to replace. I read reviews about them https://west-elm.pissedconsumer.com/review.html not so long ago and did not understand why their reputation is so low in the market