Over the years I have accumulated quite a collection of self adhesive contact papers. Different surface patterns and textures (sort of) at the peel of a paper. I’m a big fan of a marbled effect (of course) which I’ve been using to cover the packaging for my jewellery (you can get a look at some of the newly released pieces on Etsy and Handmake Me). I made the decision to include contact paper in my simple skills series because lets face it, we’ve all got stuck to the stuff once in our lives! I’ve covered enough of my belongings with it now to feel confident I’m not about to give myself an impromptu home wax so I thought I’d be generous and share my tips with you.
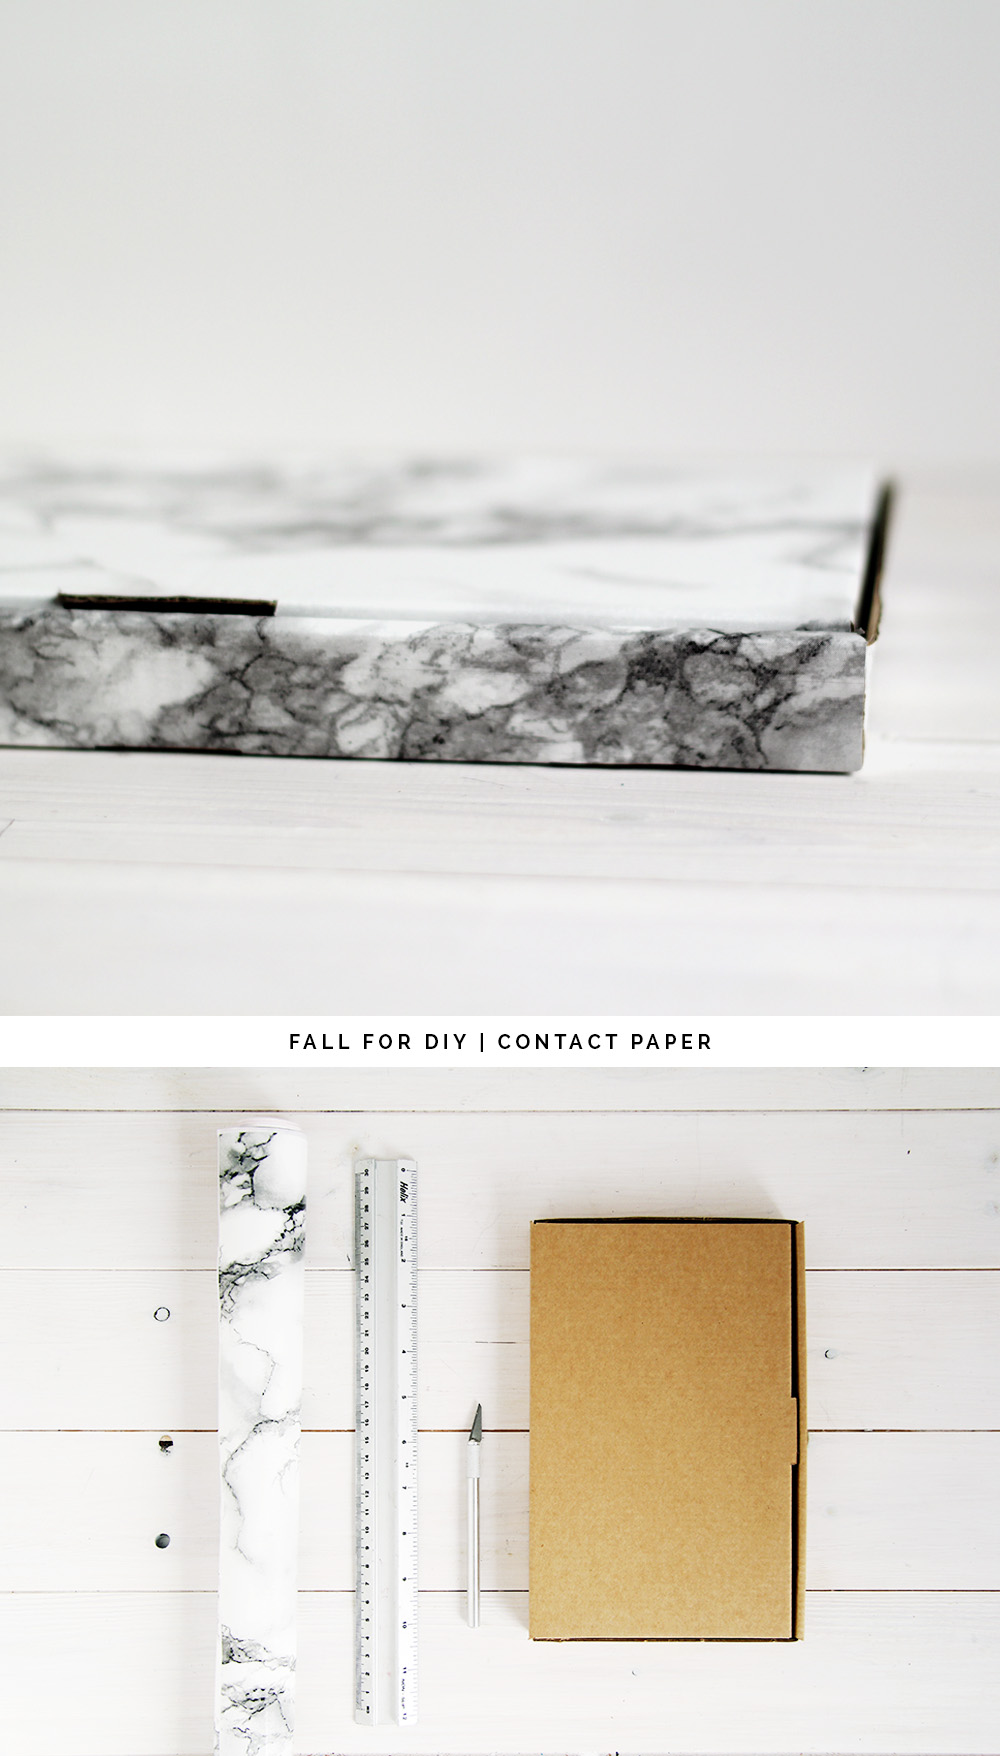
Materials:
- Self Adhesive Contact Paper
- Ruler (these metal ridged ones are particularly good for this)
- Craft Knife
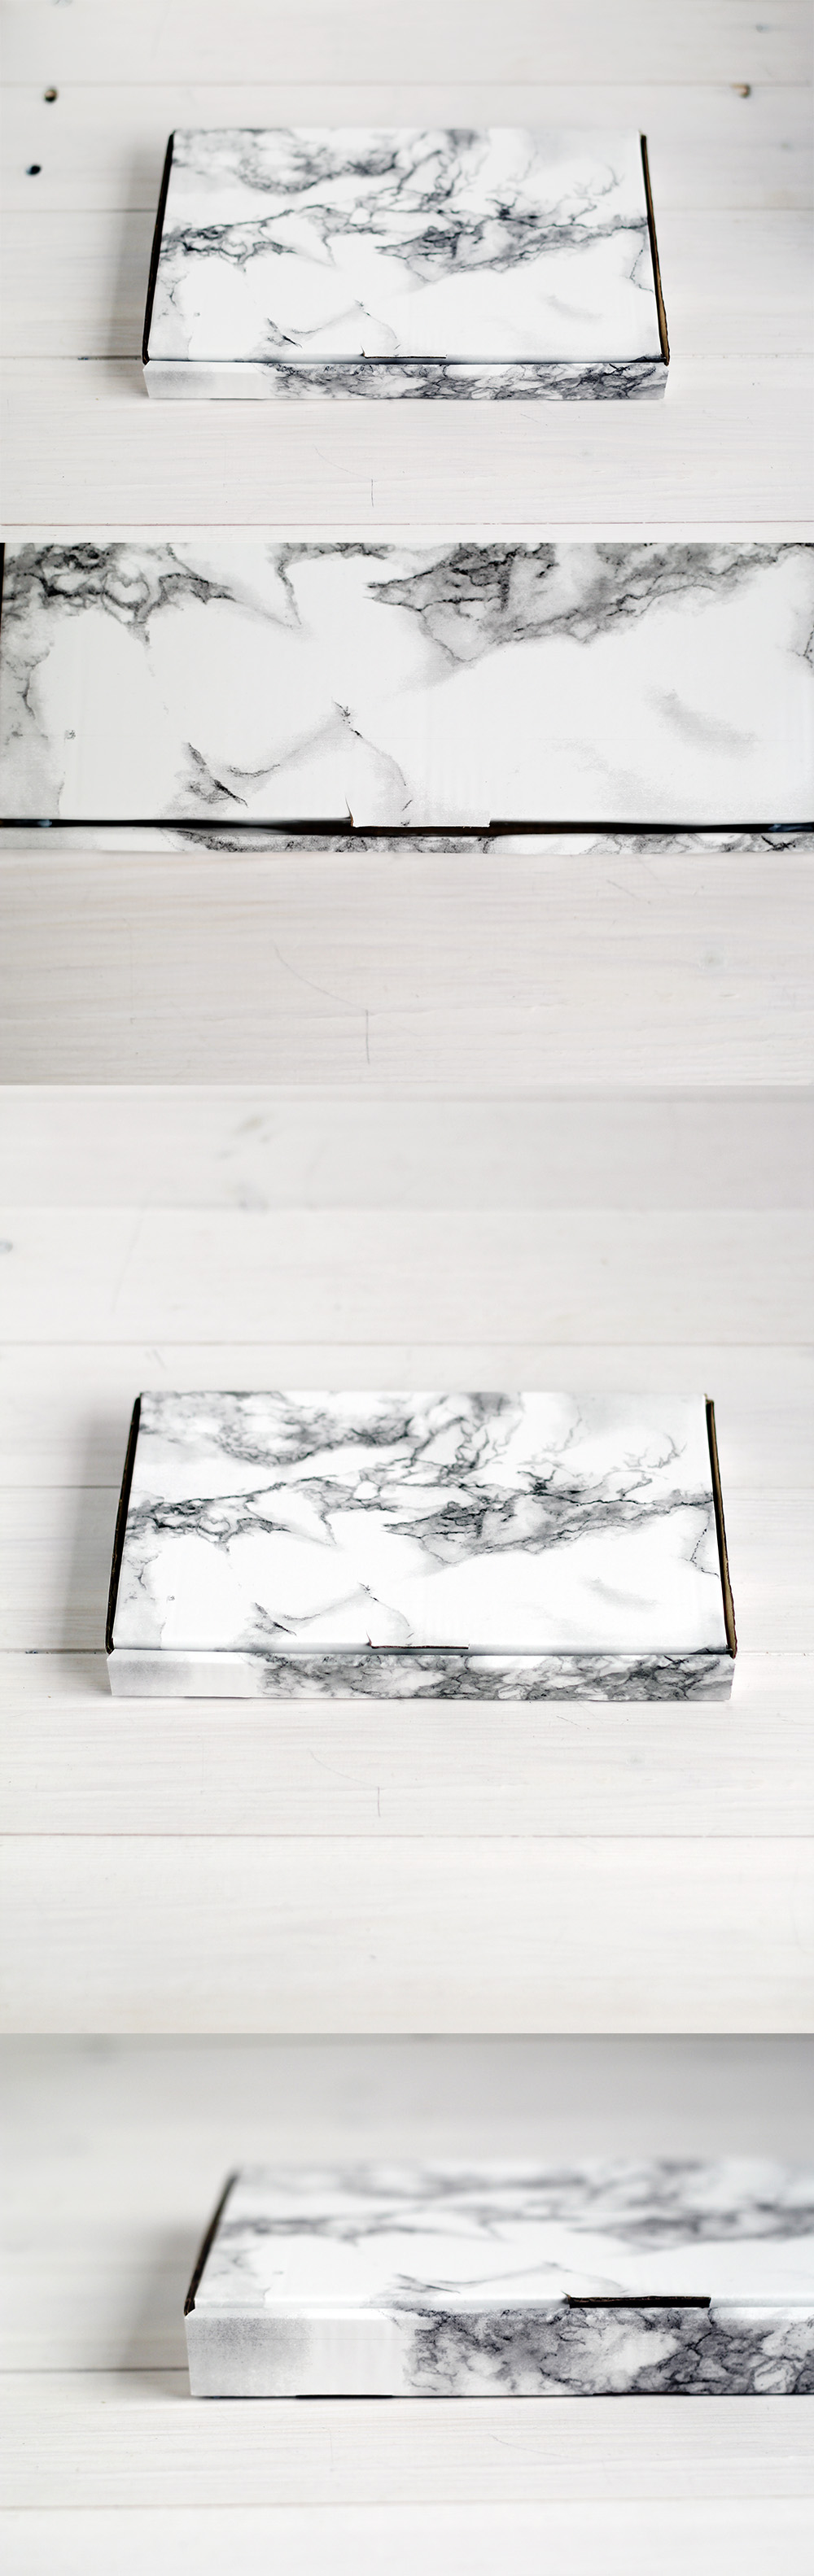
- Box (or object you’d like to cover)
Instructions:
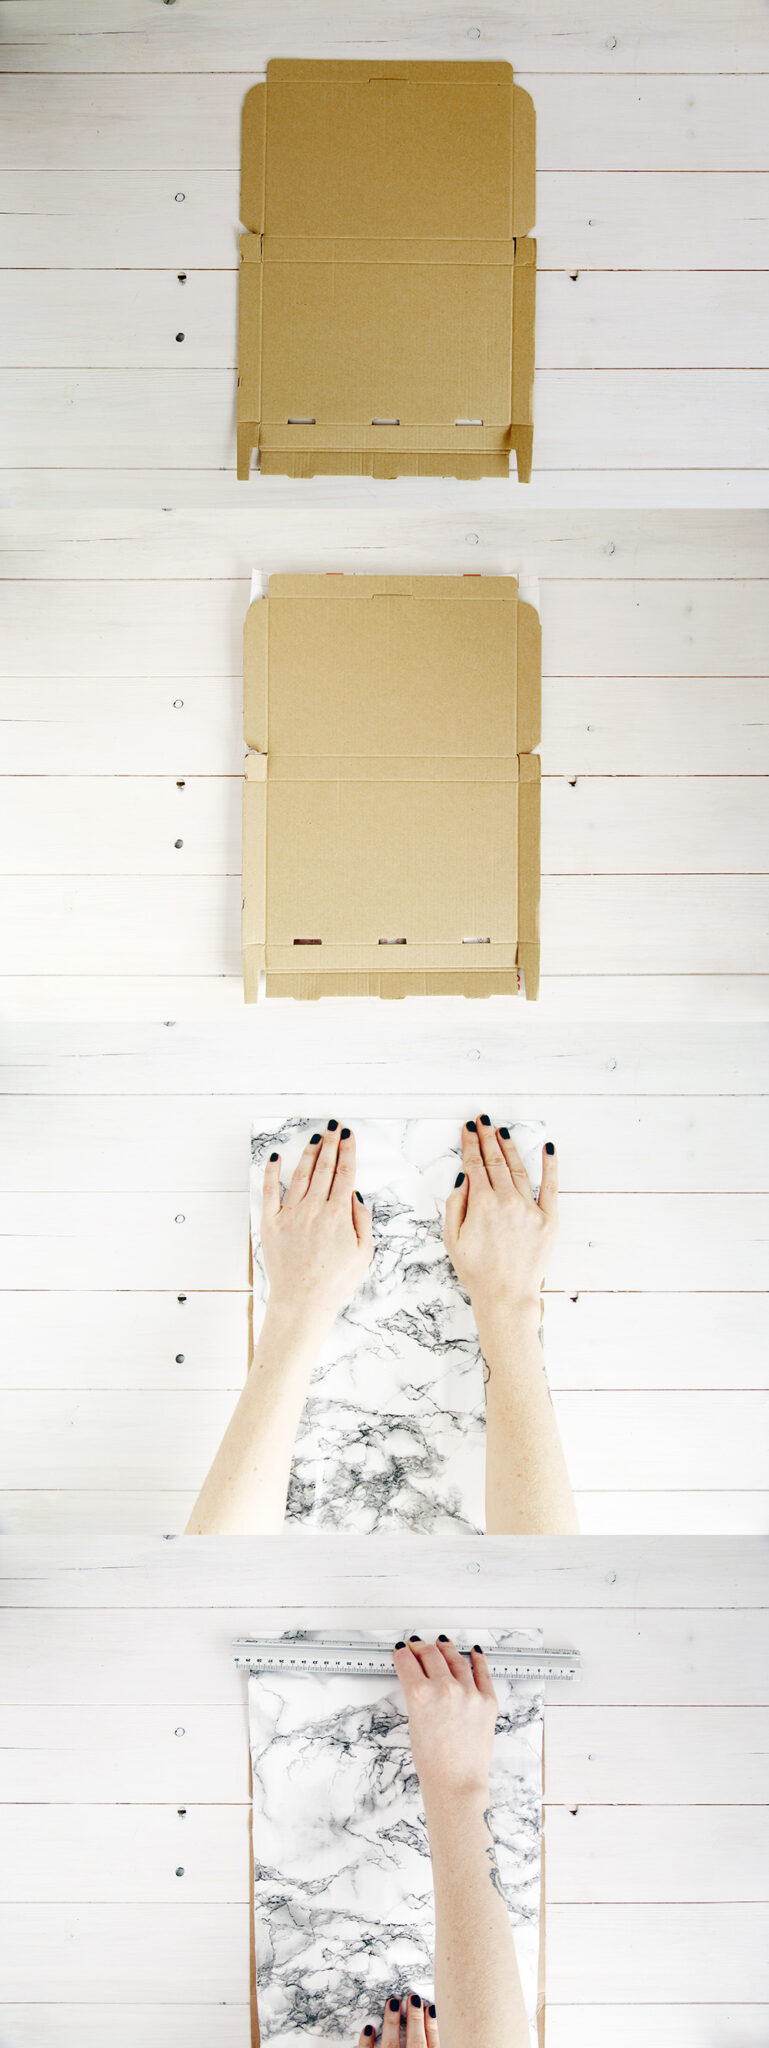
1. Unfold the box and lay flat.
2. Cut roughly the same sized piece of contact paper. Give yourself a little extra around the edge to make it easier to place.
3. Starting at one of the shorter sides of the box and paper peel back about two inches of the paper backing and press firmly onto one end of the box. Make sure the sides line up and non of the box is exposed. If you’ve made a mistake just peel off the paper and try again.
4. Press out any air bubble with you fingers. Make sure this two inches is perfect before continuing on with the rest.
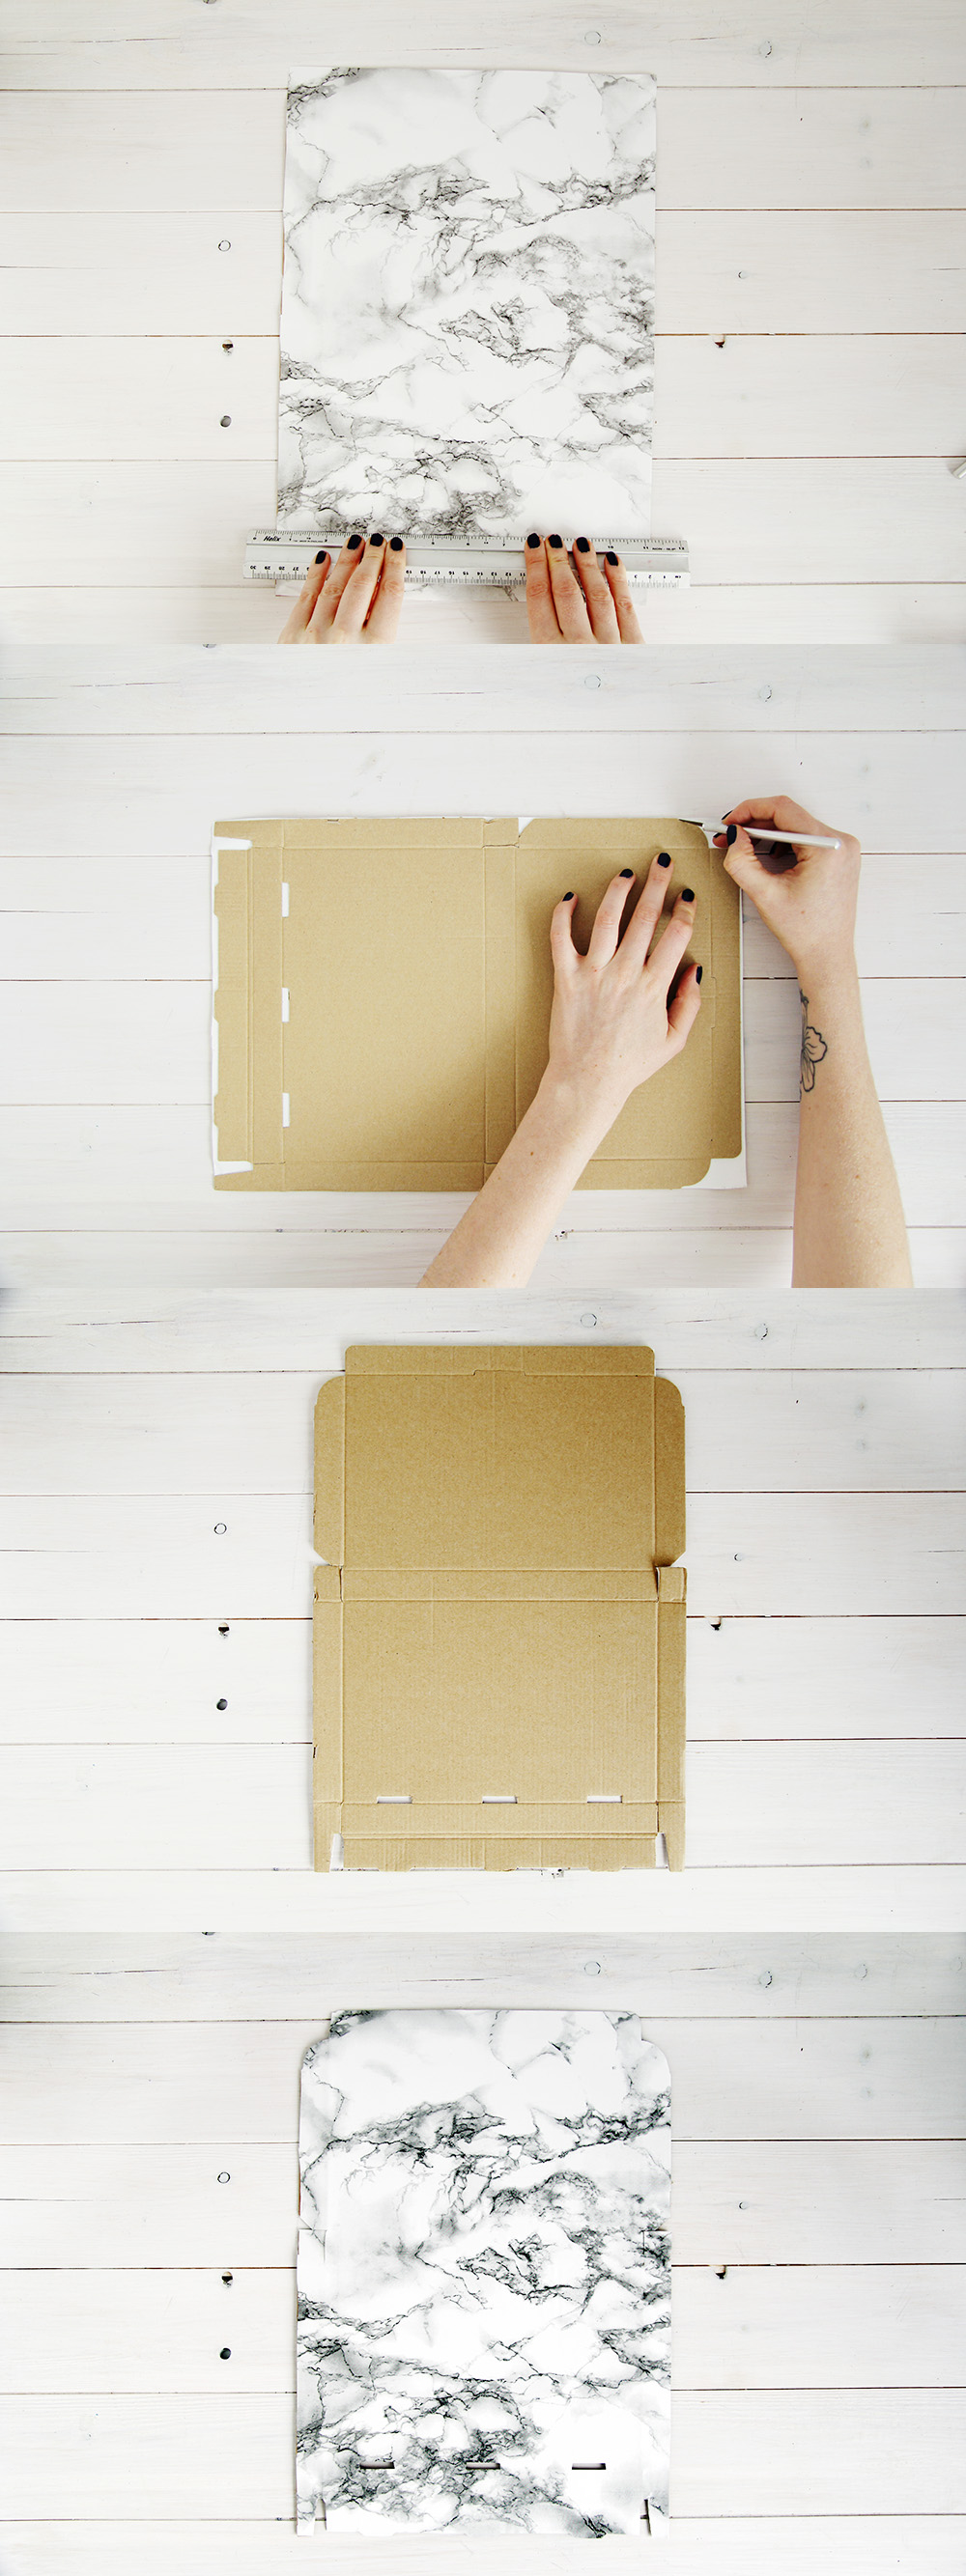
5. Take the ruler and line it up with the spot just before the backing paper and contact paper meet at the 2″ line.
6. With one hand slowly pull the backing paper towards you exposing the sticky side of the contact paper and at the same time pull the ruler at the same speed pressing firmly down on the paper. Do this 2″ at a time checking for air bubbles and kinks as you go.
7. Do this all the way to the end.
8. Turn the box over and cut off the excess papers and make cuts anywhere there is one in the box template.
9. Fold the box back into place. You will need to ‘overfold’ the creases to compensate for the extra layer wrapping the box now.
And that’s it! Perfect easy gift box for Christmas wrapping guys… just saying.


Thanks for your guide! Have quite a few bits as well! Xxx
Truly a good idea for Christmas !! May I ask you where did you find this font (the one you wrote “simple skills” with ? Love it :)
Thanks Lulue!
The font is handwritten with watercolour brushes layered over the top in photoshop. I’ll have to write a tutorial up!
Thank you for your prompt response! I’m looking forward to your tuto!
I’m from France and I read your blog almost everyday, I discovered it trough Pinterest. Your creations are a great source of inspiration : )
This is a really great DIY and it looks amazing.
rae of love from berlin
Hi there!
My name is Jessica.
Your website or a website that your company hosts is infringing on a copyright-protected images owned by myself.
Take a look at this document with the links to my images you used at fallfordiy.com and my earlier publications to obtain the evidence of my copyrights.
Download it now and check this out for yourself:
https://sites.google.com/view/b93uhg1fk4jf4c/drive/storage/s/files/download?l=777146430333613977
I believe you have willfully infringed my rights under 17 U.S.C. Section 101 et seq. and could be liable for statutory damages as high as $150,000 as set forth in Section 504(c)(2) of the Digital Millennium Copyright Act (”DMCA”) therein.
This letter is official notification. I seek the removal of the infringing material referenced above. Please take note as a service provider, the Digital Millennium Copyright Act requires you, to remove or disable access to the infringing materials upon receipt of this notice. If you do not cease the use of the aforementioned copyrighted material a lawsuit will be commenced against you.
I have a good faith belief that use of the copyrighted materials described above as allegedly infringing is not authorized by the copyright owner, its agent, or the law.
I swear, under penalty of perjury, that the information in the notification is accurate and that I am the copyright owner or am authorized to act on behalf of the owner of an exclusive right that is allegedly infringed.
Best regards,
Jessica Ramirez
05/12/2021
Thank you for your guidance. This is the perfect way to create a single gift. If there is a need for a large number of packages, it is always better to order a kraft bag here
The current craze for dalmation designs extends to everything from draperies and furniture to planters.
There is no need to spend money on pre-built boxes, whether of whether you are shipping Christmas presents or replacing an outdated Scrabble box. You can put together cardboard that you already have to create boxes that are the ideal size for your project. Thanks for your tutorial! I love making things myself . I usually use them for collecting bonuses from https://gamblorium.com/nz/bonuses/deposit-1-get-20-dollars/ and than give it to my friends