I’ve learnt many things during my years of blogging. Way too many to list here. If I even attempted it we’d never actually get to the fruit of this post (or should that be vegetable?), but one of the lessons that I think has really made an impact on my life is how to throw a party! Gone are the days where a shop bought banner and a few strategically placed balloons will do the job. No, we now plan for weeks and make everything beautiful. Yes it’s time consuming, and yes, it doesn’t always work out as planned but half the fun is getting together to make plans before hand. (The other half is after a couple of margaritas!)
Another thing I’ve learnt about throwing a great party is that you don’t have to go with convention. Over the last few years Halloween has become brighter, more colourful and even more fun. There’s still plenty of room for the scary and ghoulish but no need to stick to the strict black, white and orange dress code.
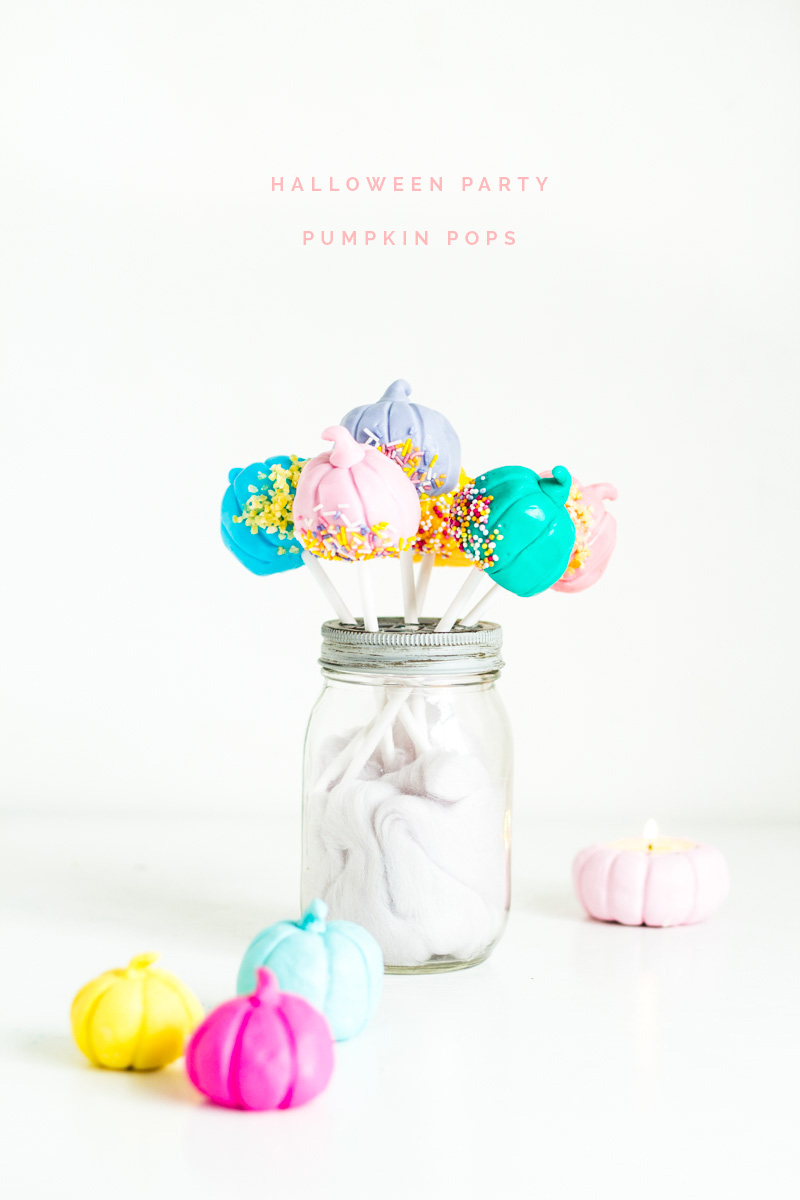
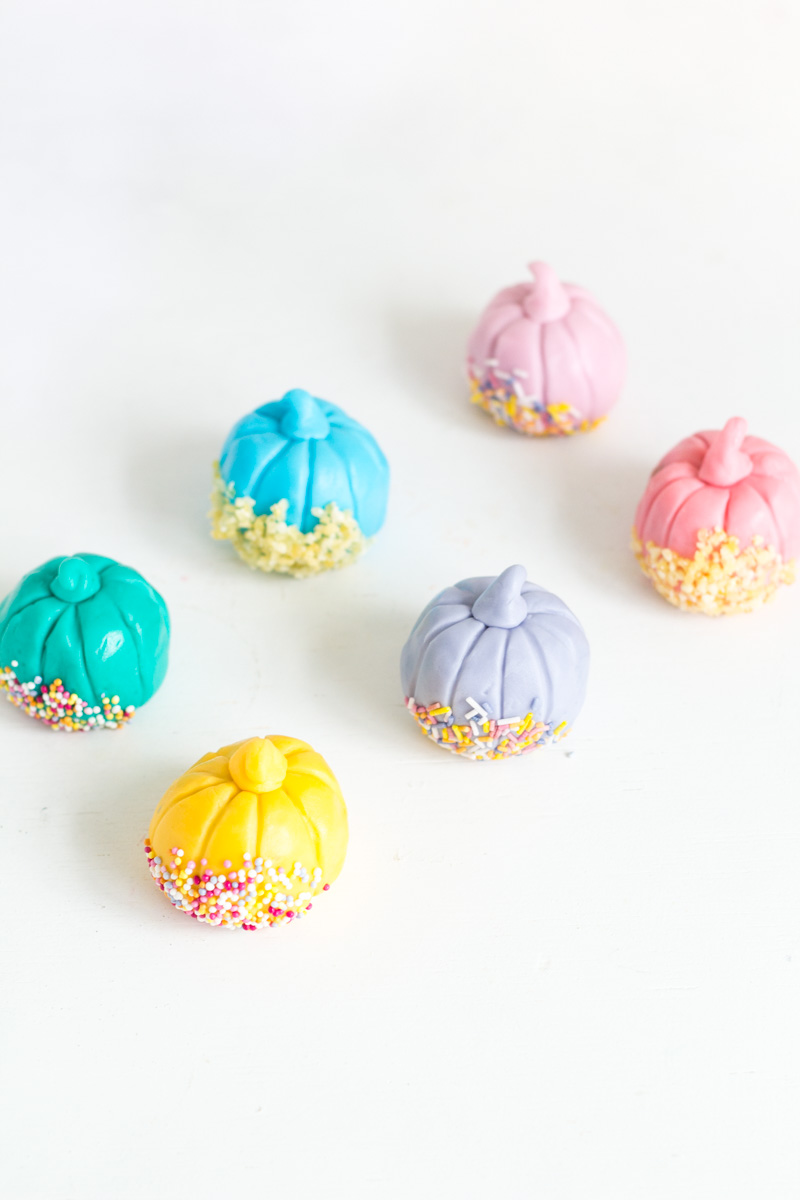
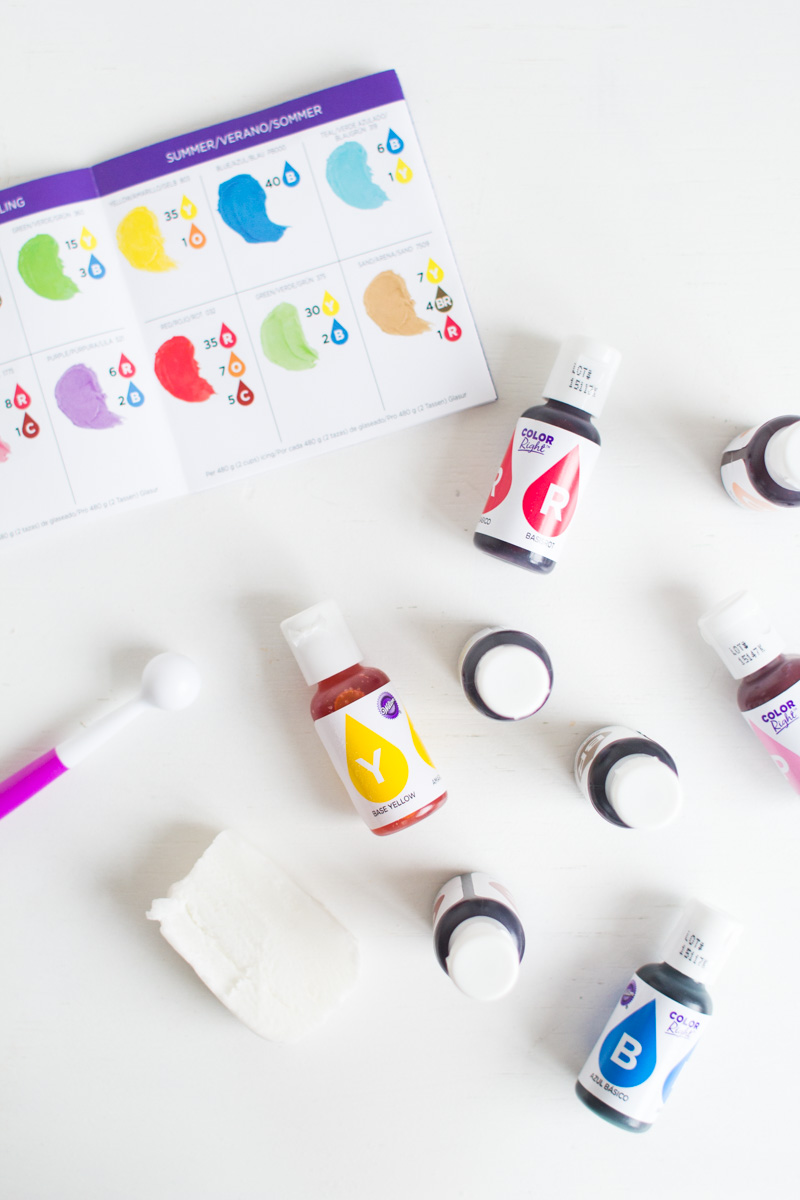
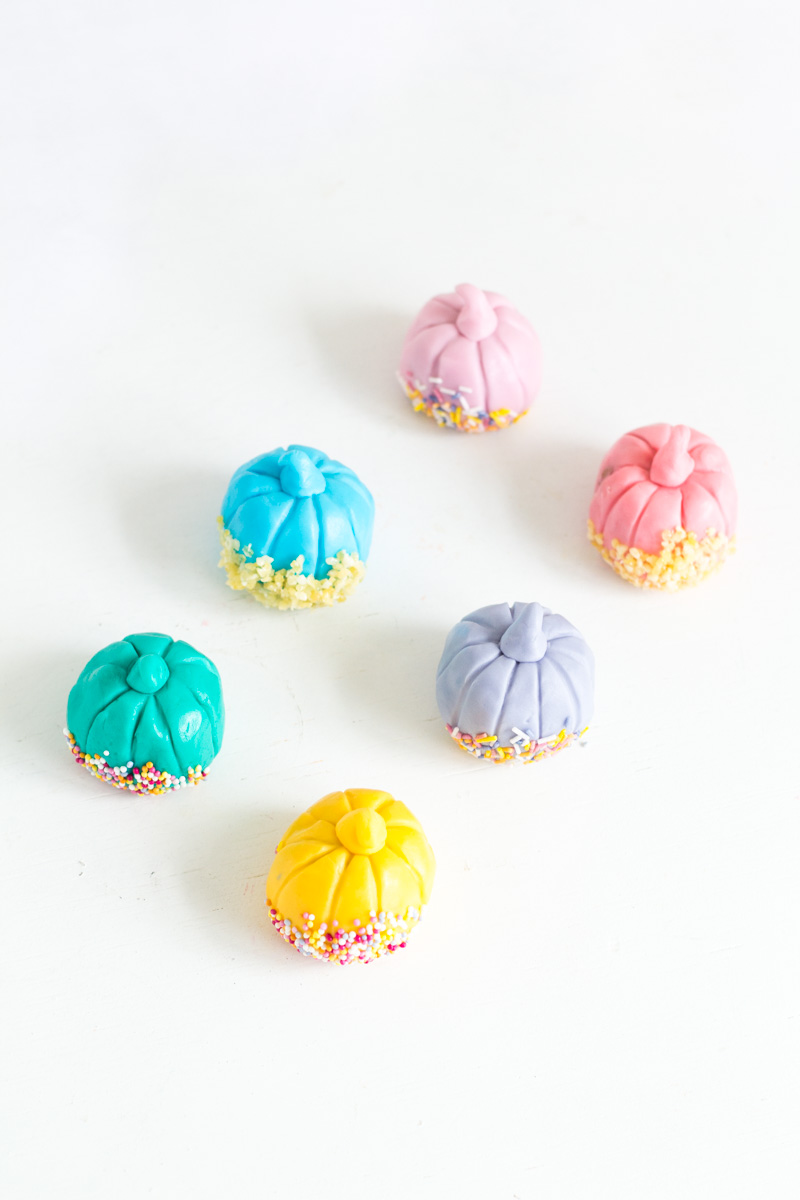
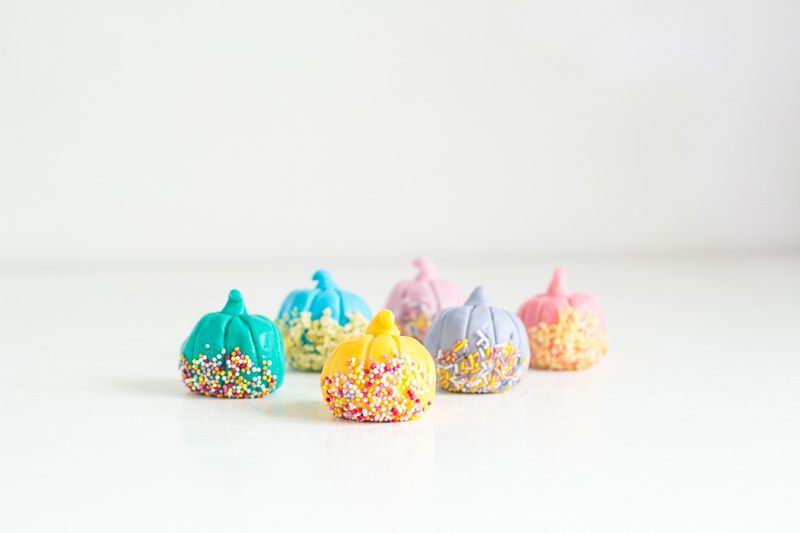
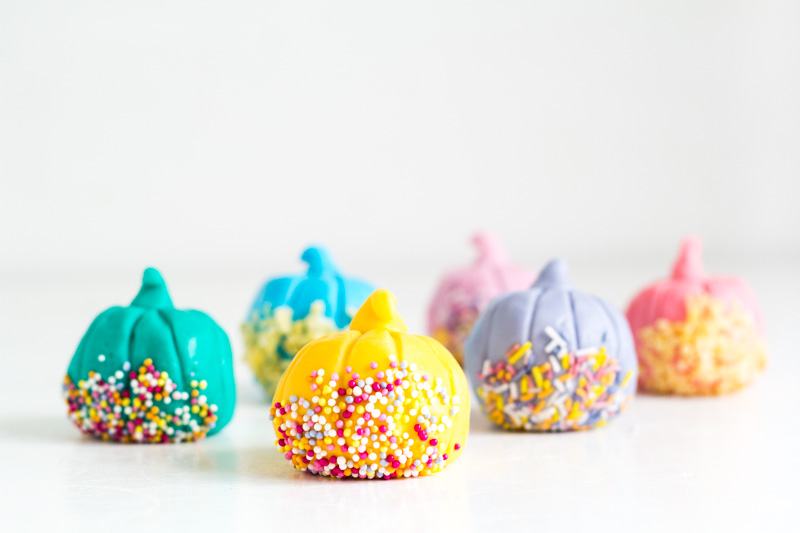
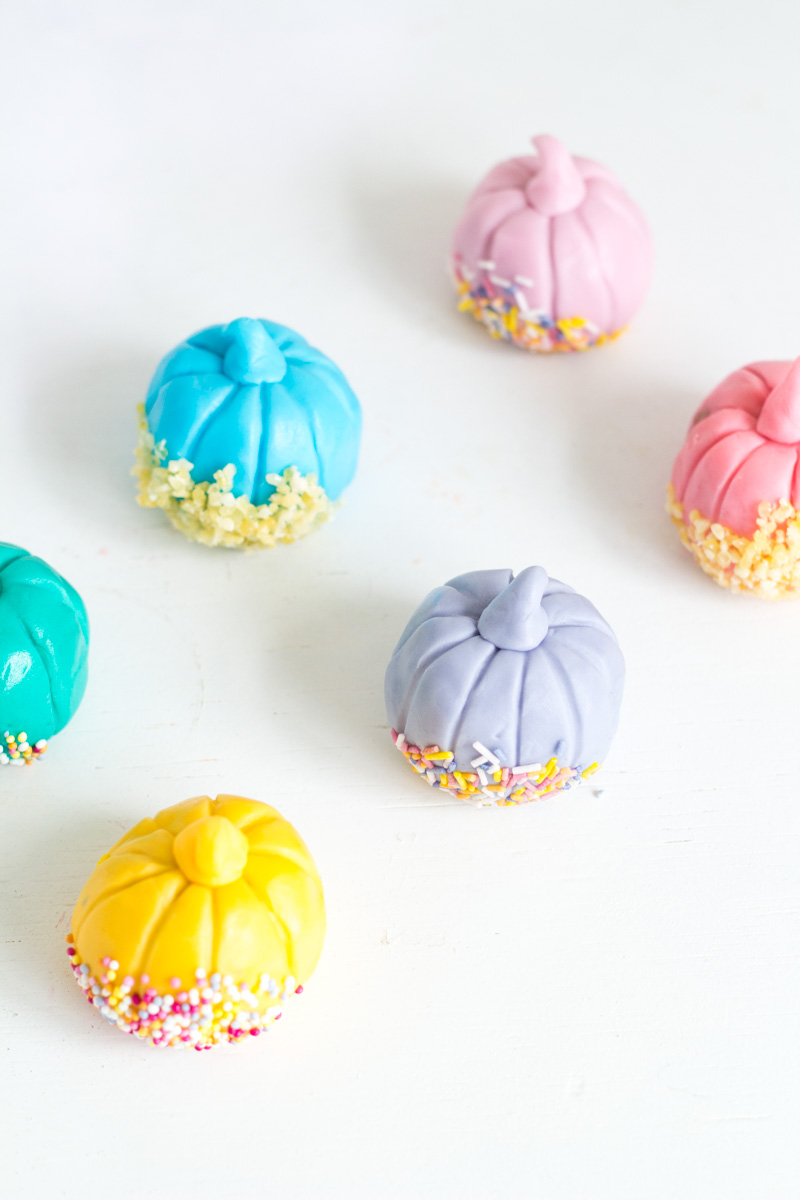
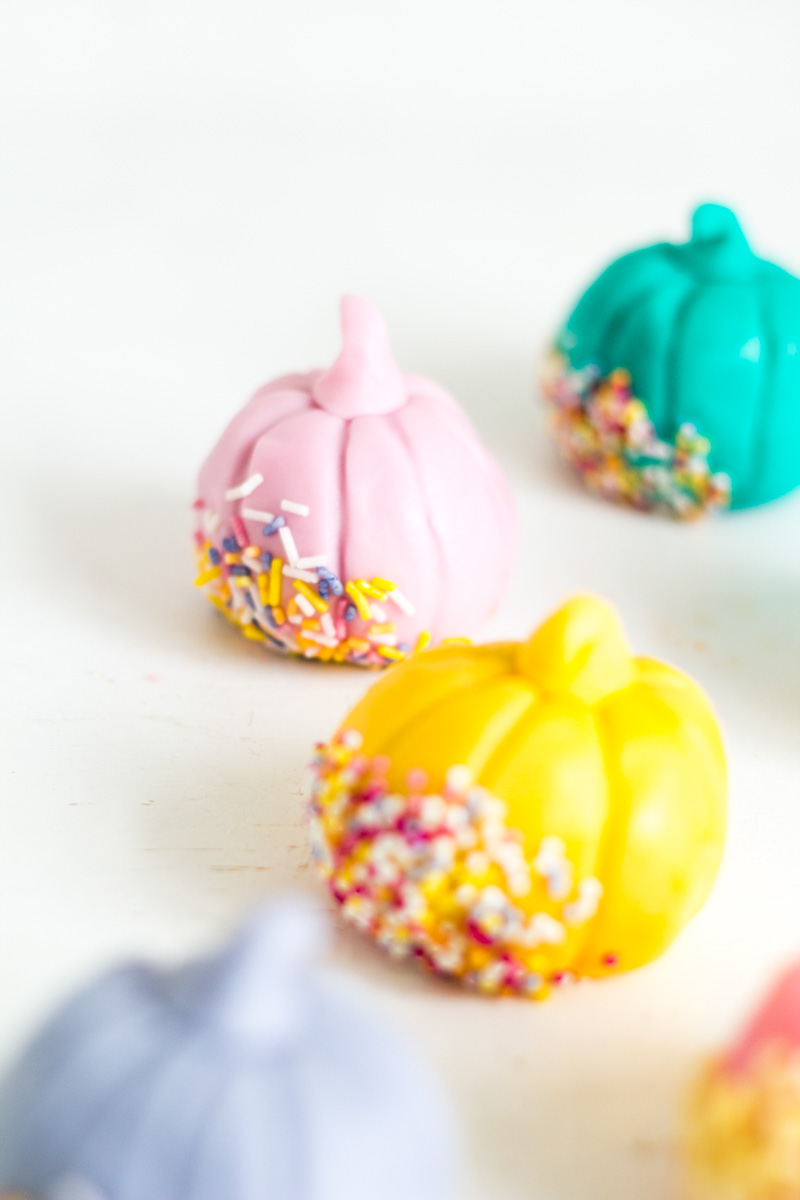
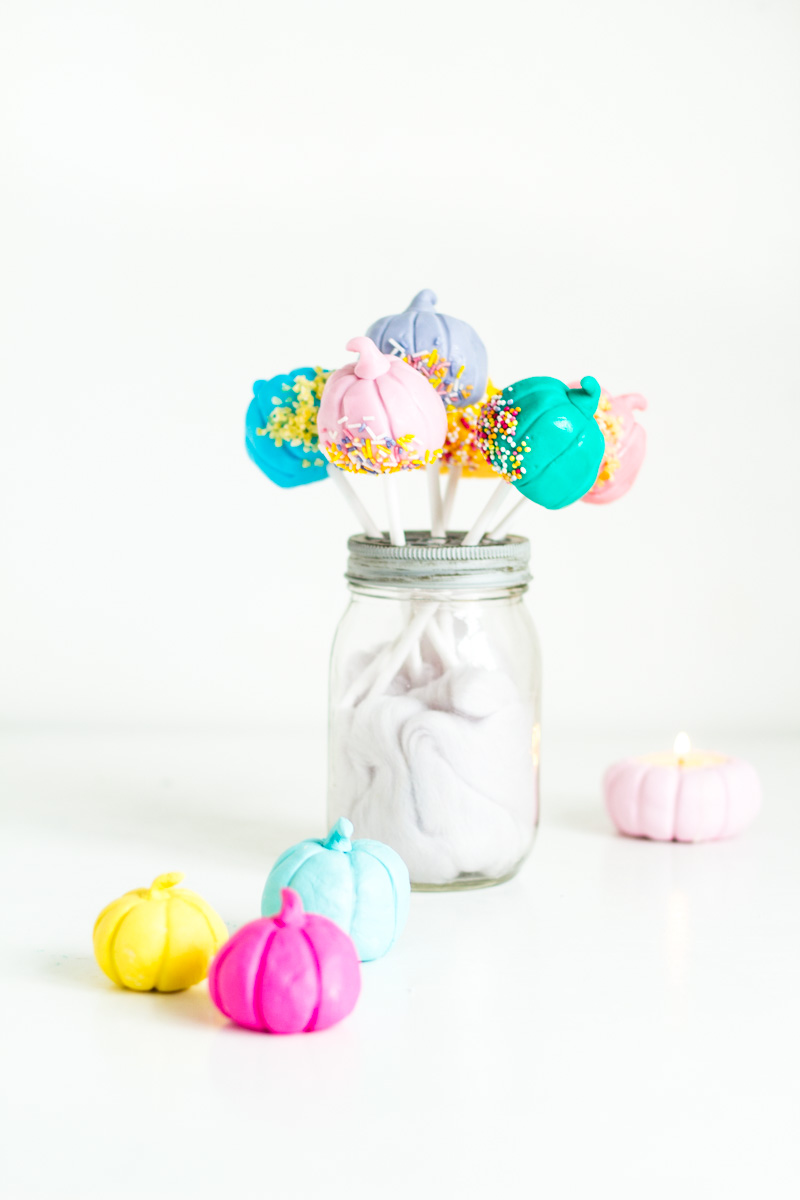
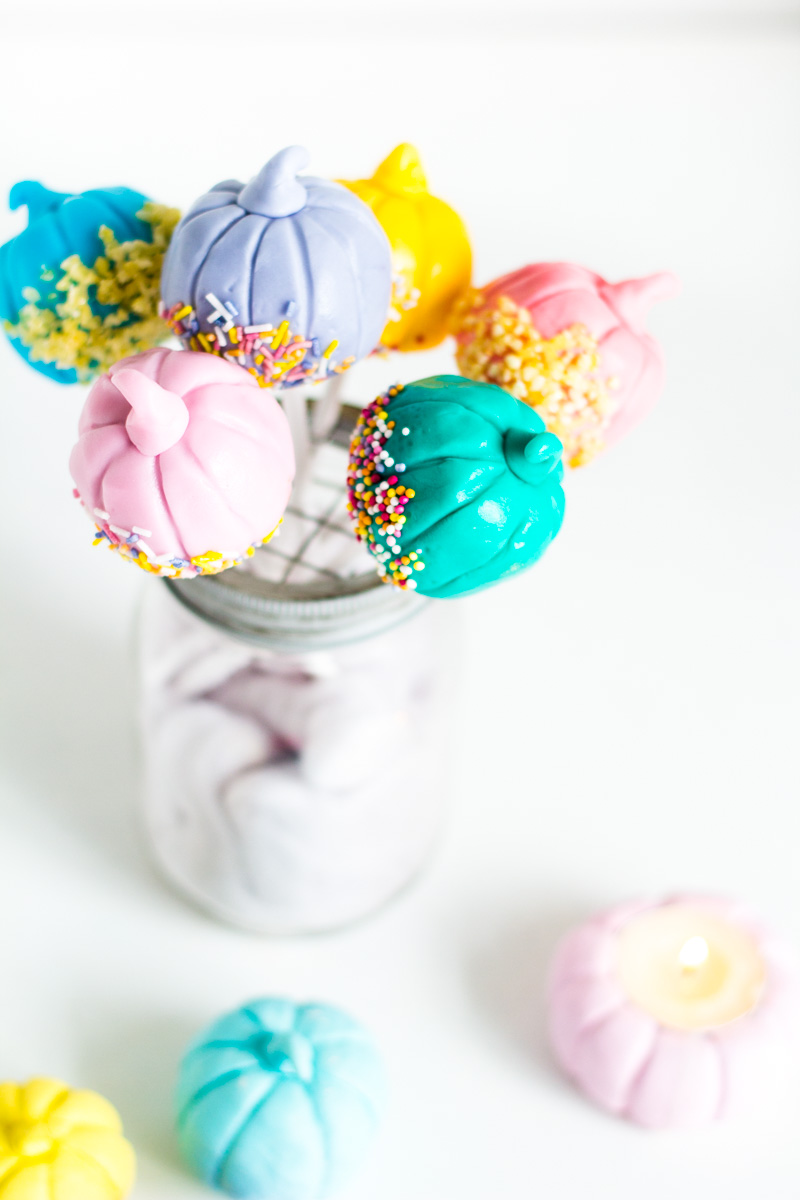
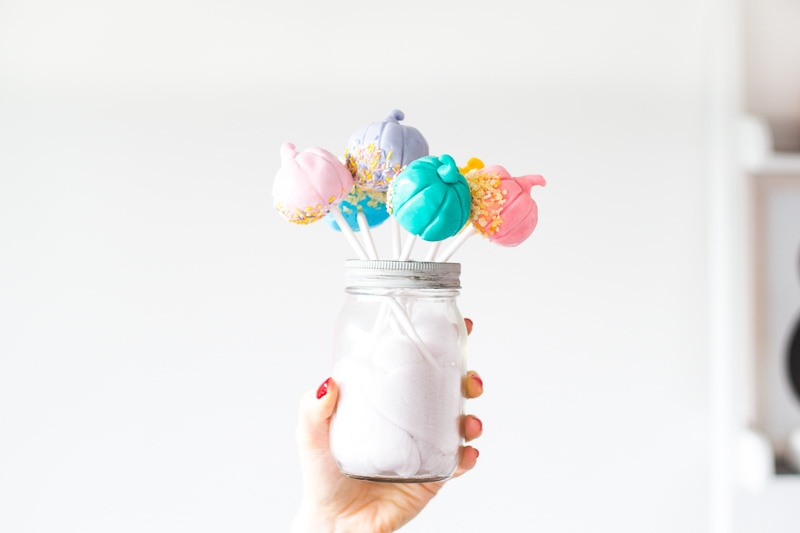
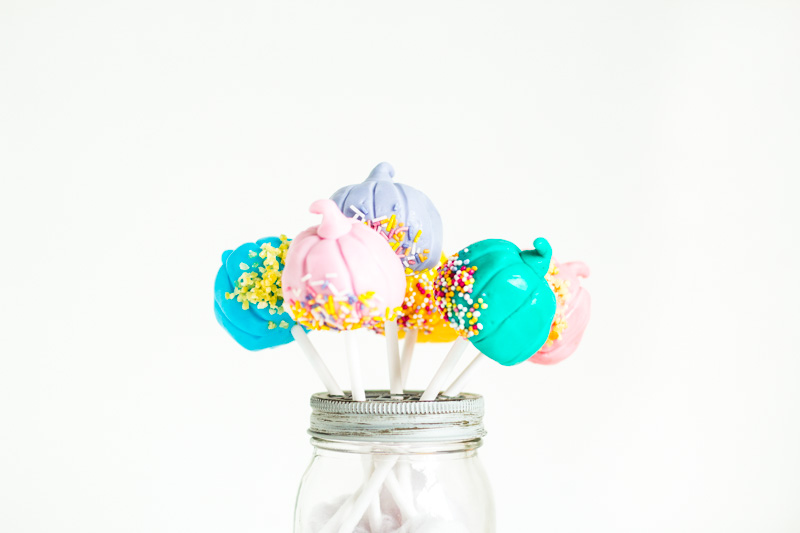
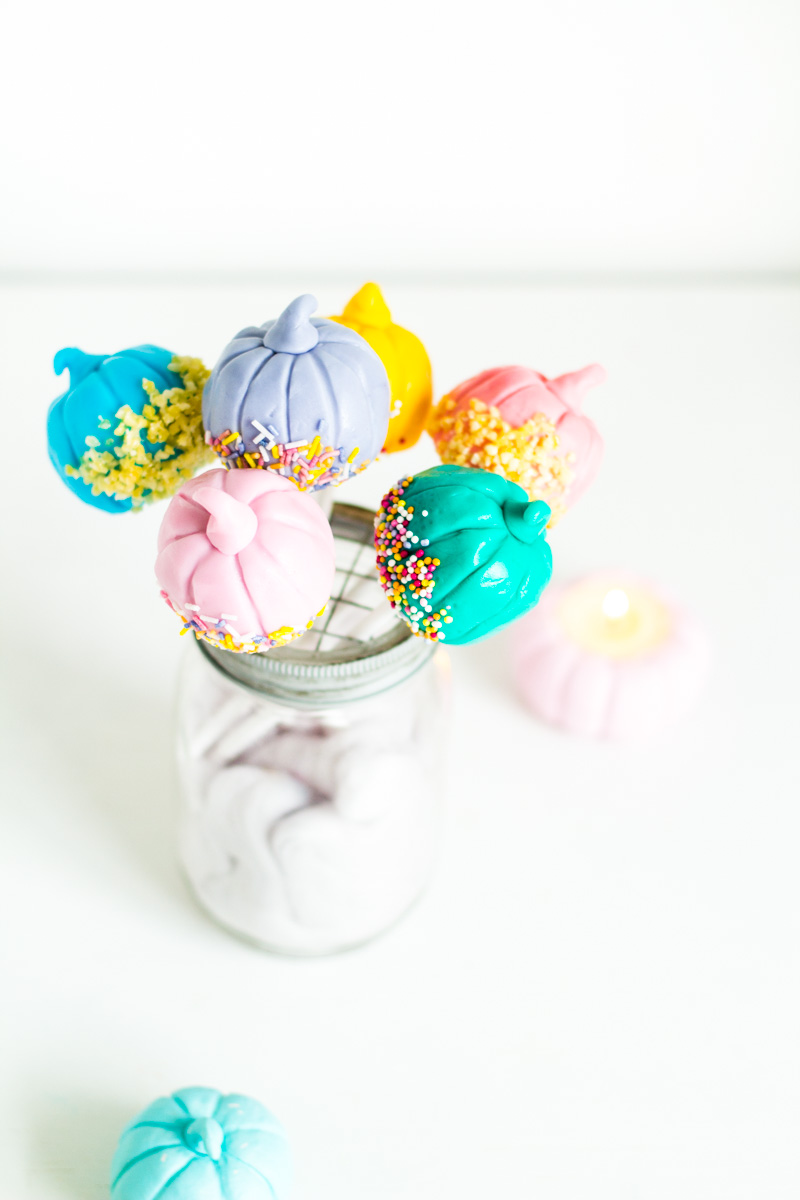
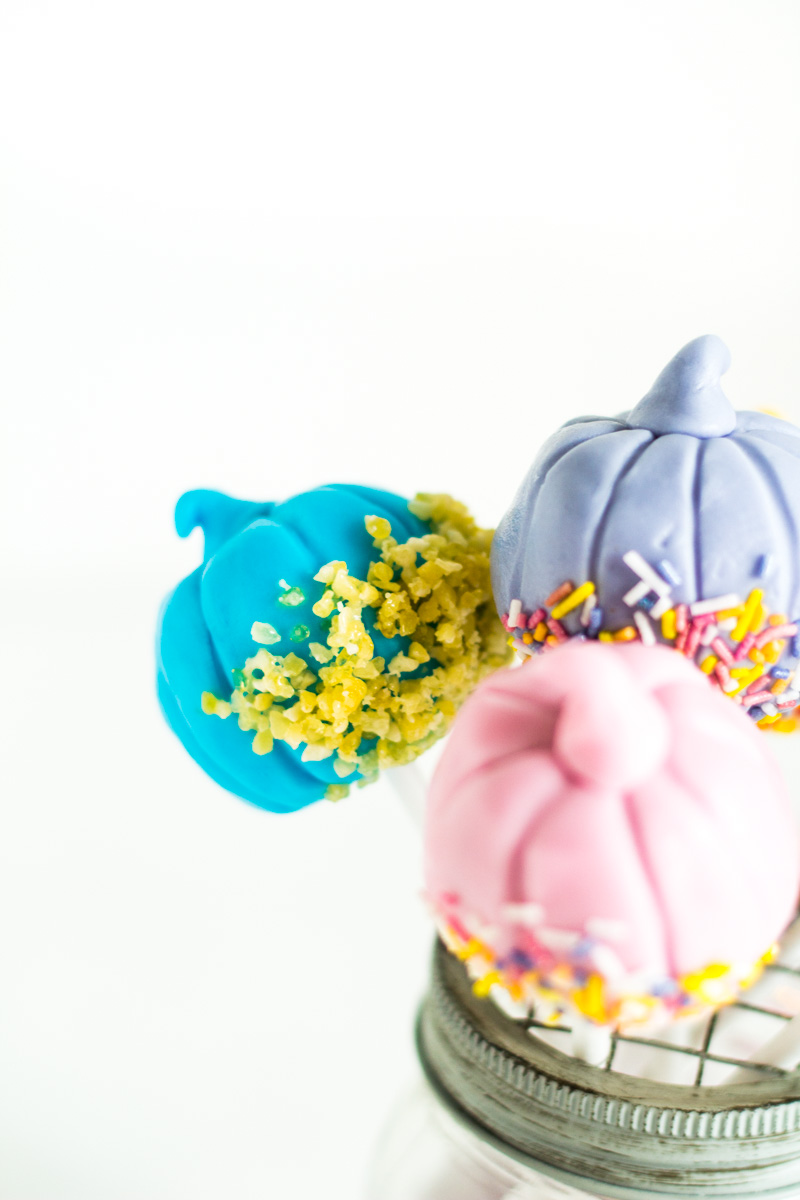
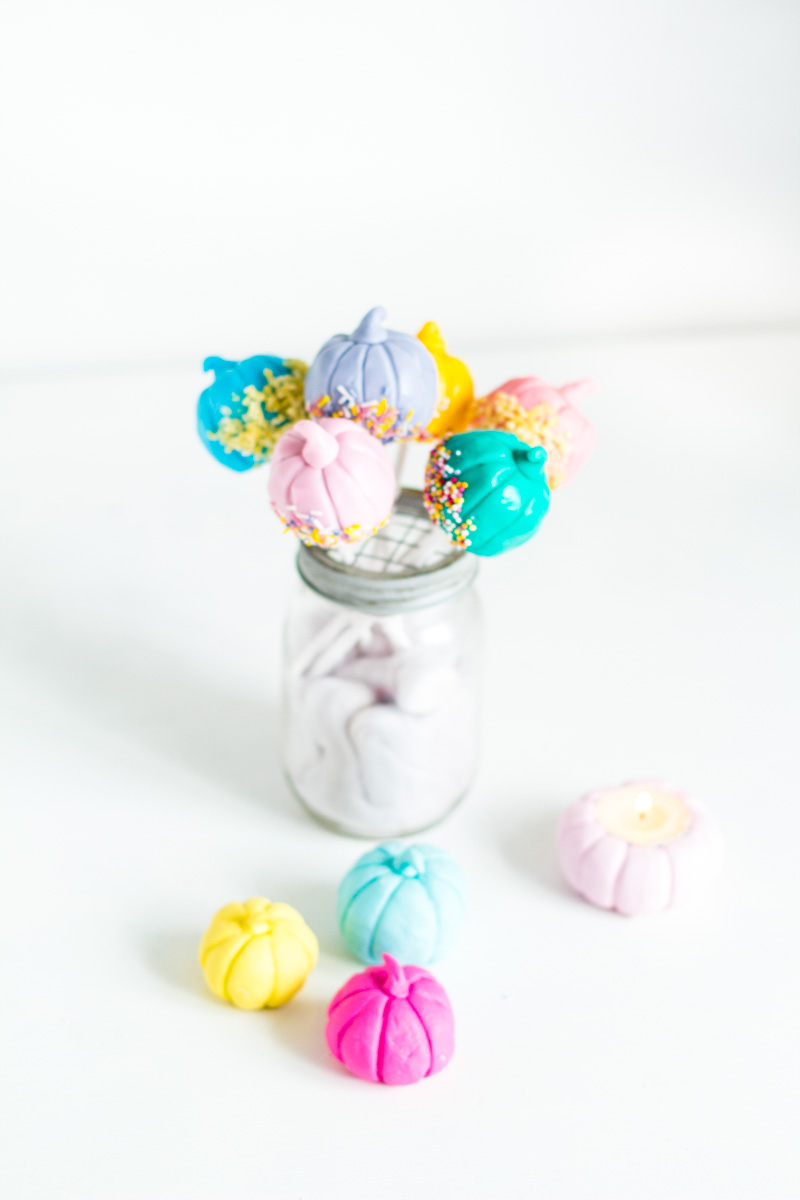
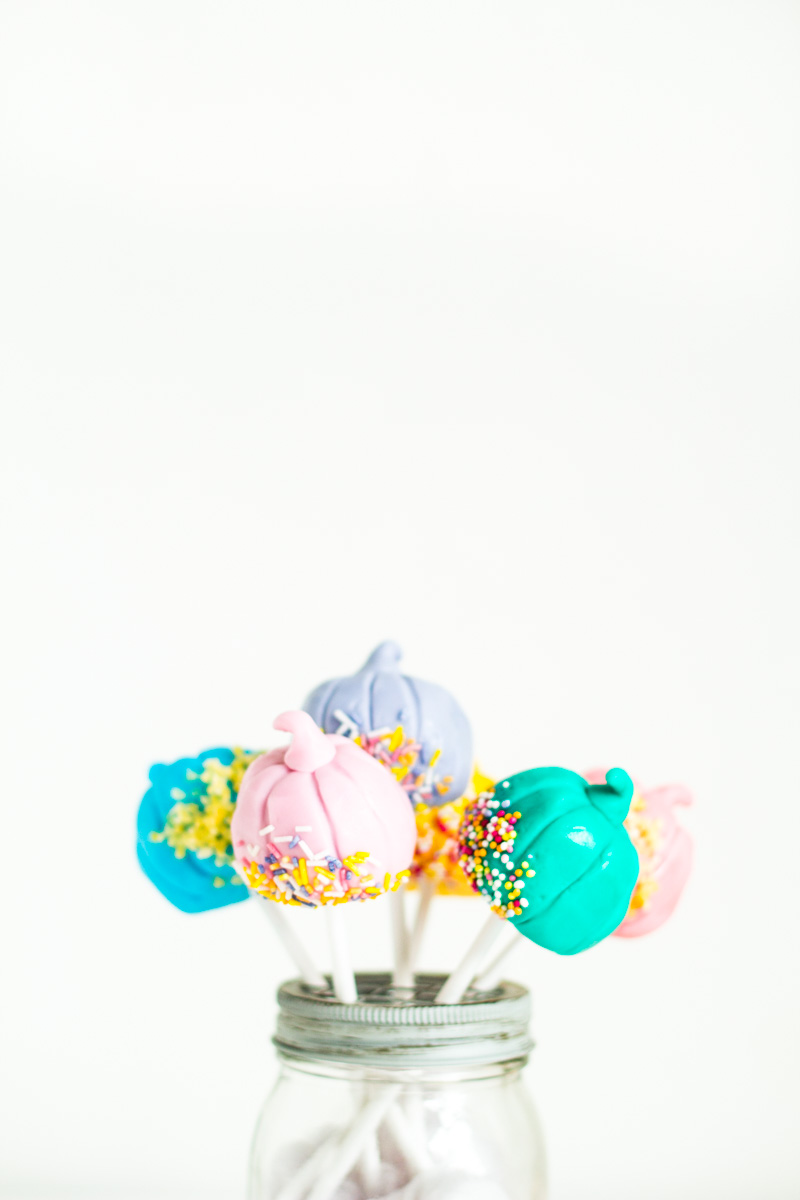
With that in mind I’ve made these bright and colourful Pumpkin Pops using the Wilton Performance Colour System. It’s amazing that with just eight little bottles you can make thousand of different shades AND it comes with a recipe chart to get you started. It means you can make all your guests (and trick or treaters) their own unique pumpkin pop! Oh, and Wilton fondant is vegan so everyone can enjoy them.
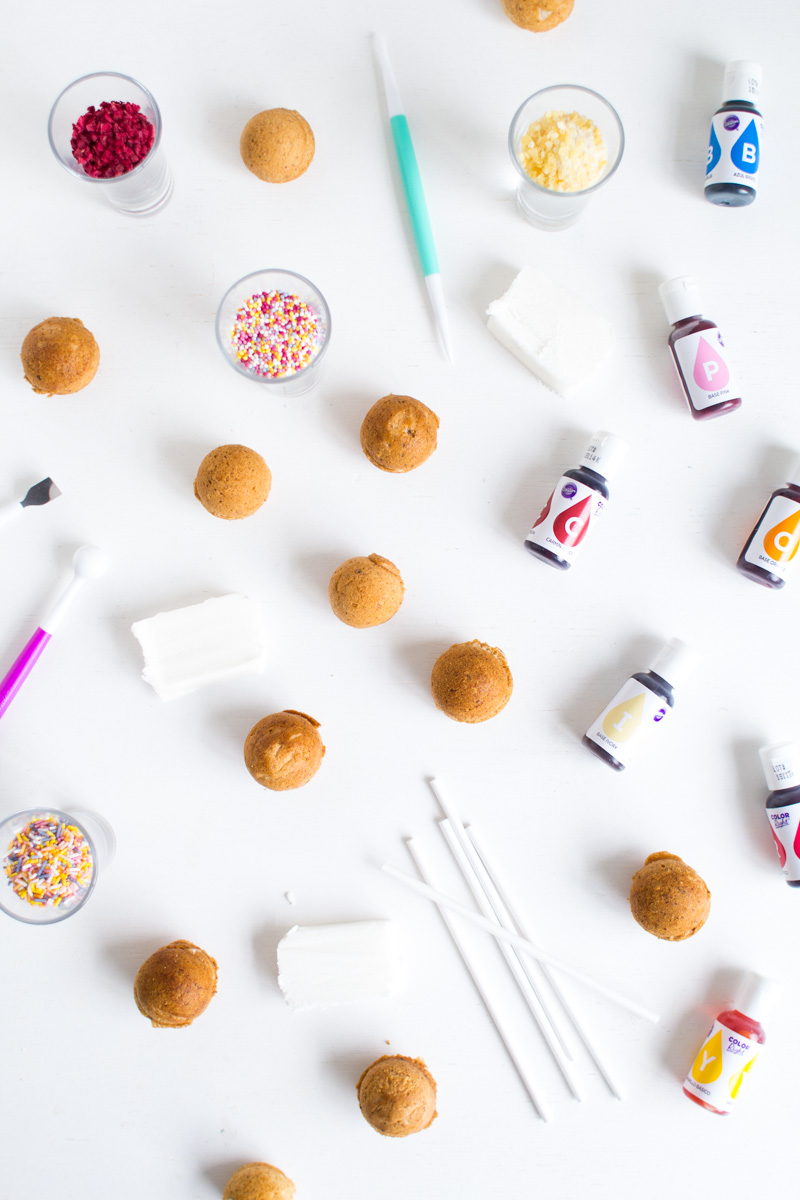
You need:
Cake pops:
- I use Betty Crocker’s cake mixture because it’s vegan and replace the egg with a paste made from ground flax seed and water (1tbsp for each egg). You could mix your own cake mix or if, like me, you think life is too short then pre mixed all the way!
- You can use a cake pop maker or bake the cake as usual and then roll the cake onto balls. Whichever is easiest for you.
- Cake pop Sticks
Decorating
- Wilton Performance Colour System
- Fondant
- Cake decorating tools
- Sprinkles
Instructions:
1. Make the cake pops your preferred way and leave to cool.
2. Mix up your fondant colours. The bottles are very concentrated and you really don’t have to use very much colour to get brilliant results. I actually found that when using small amounts of fondant, squeezing a drop out onto a plate and using a cocktail stick to add colour – sticking to the ratios described on the recipe chart – worked really well.
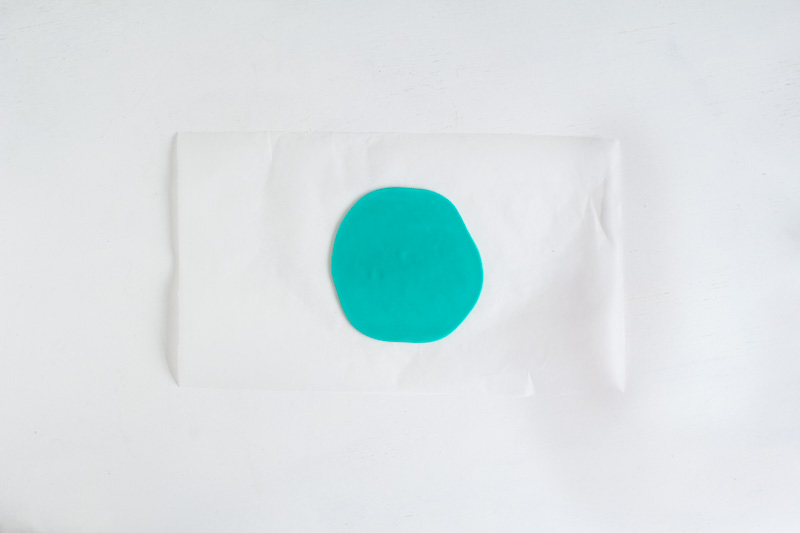
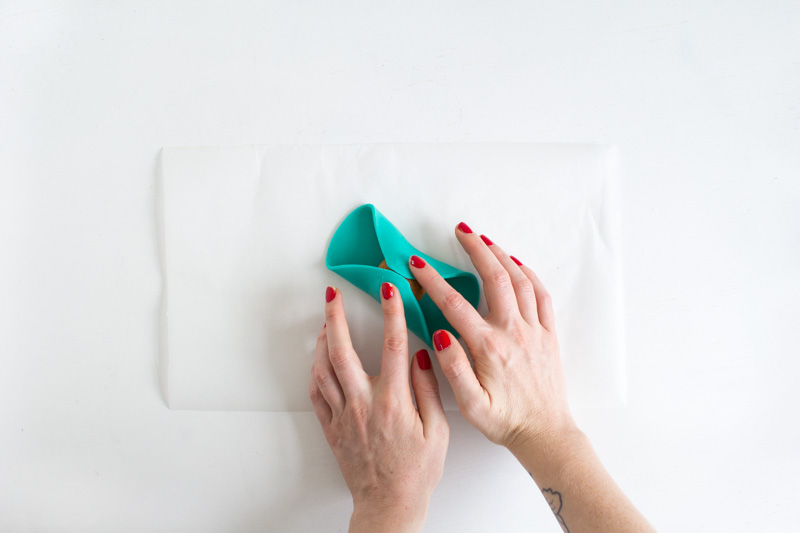
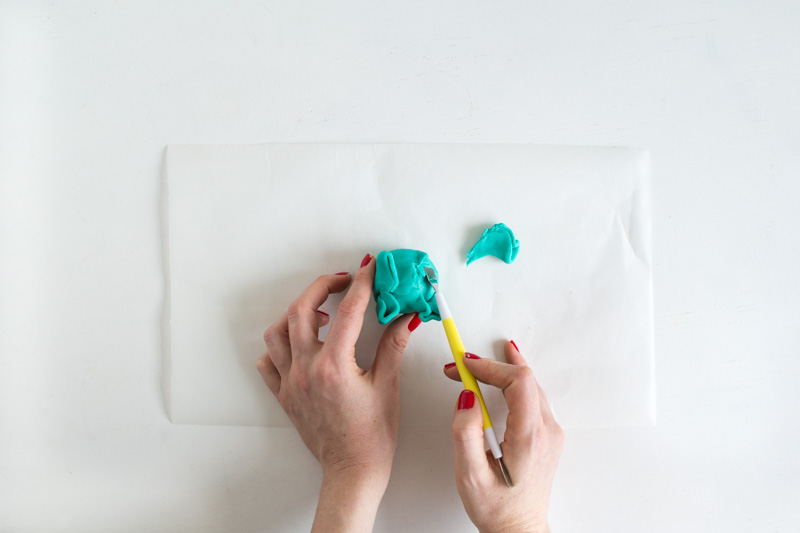
3. Roll the fondant out into a circle large enough to cover the cake pop. Wrap it around the cake squeezing all the edges together and removing the excess.
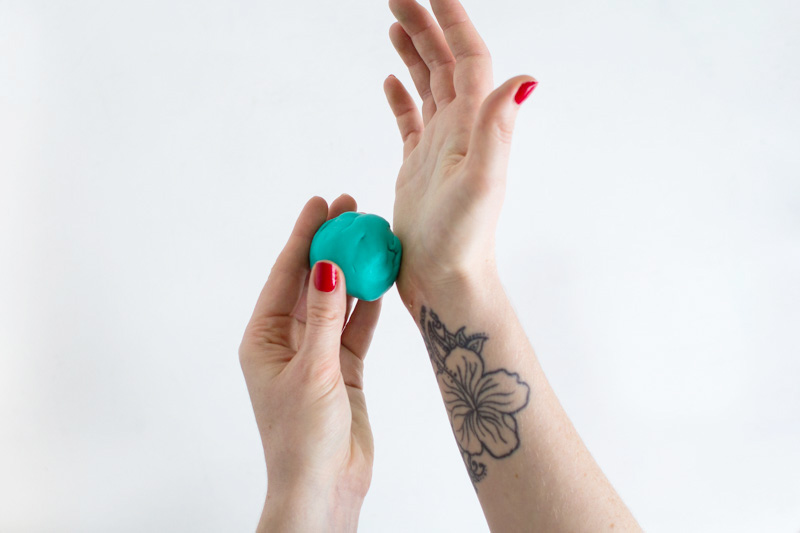
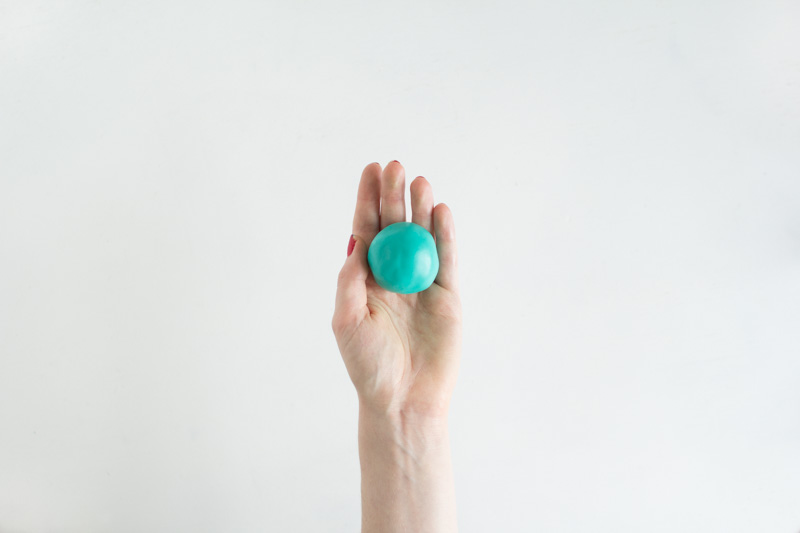
4. Buff the joins in the fondant with the palm of your hand until smooth and you have a ball.
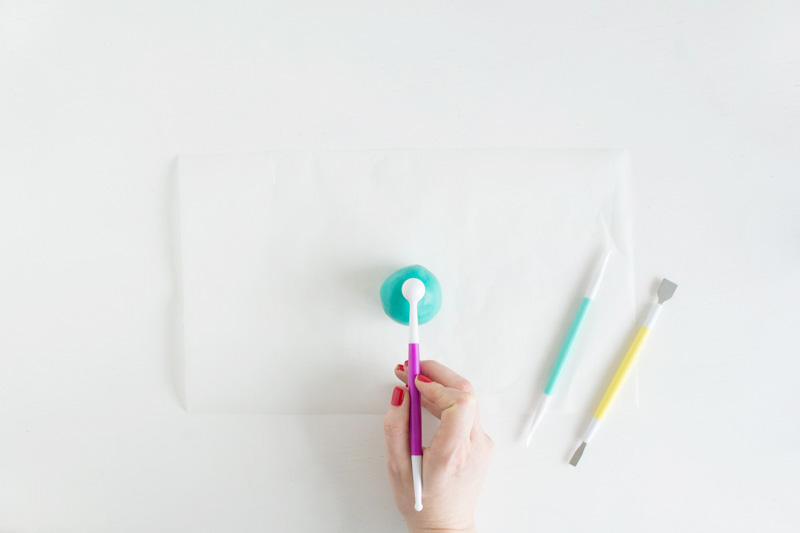
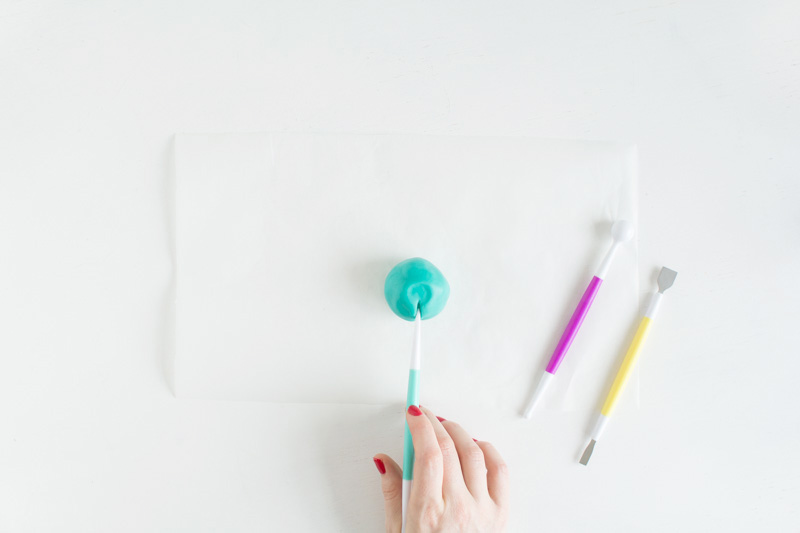
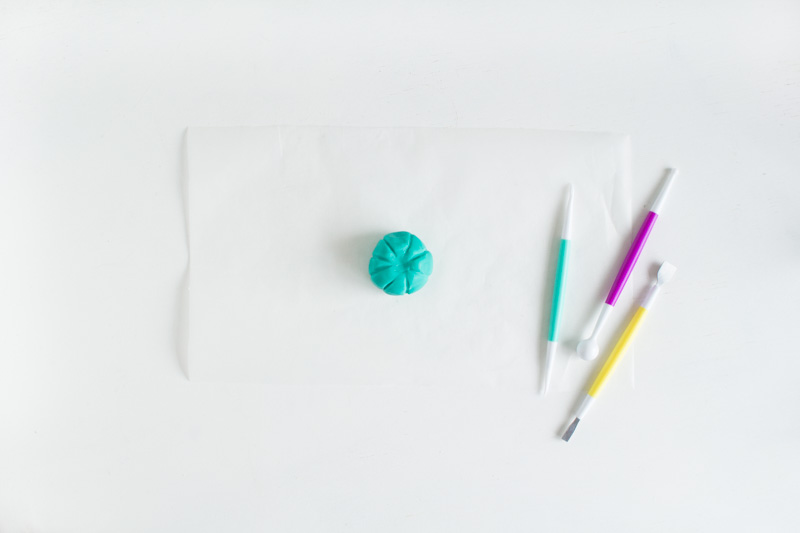
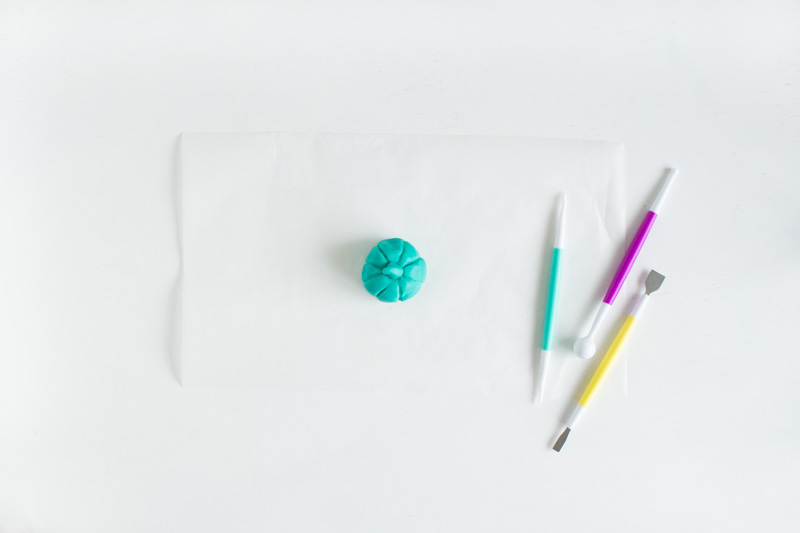
5. Use a large ball tool to press an indent in the top of the ball. From here press vertical lines into the fondant using a pointed tool. Continue around the ball to create the pumpkin shape.
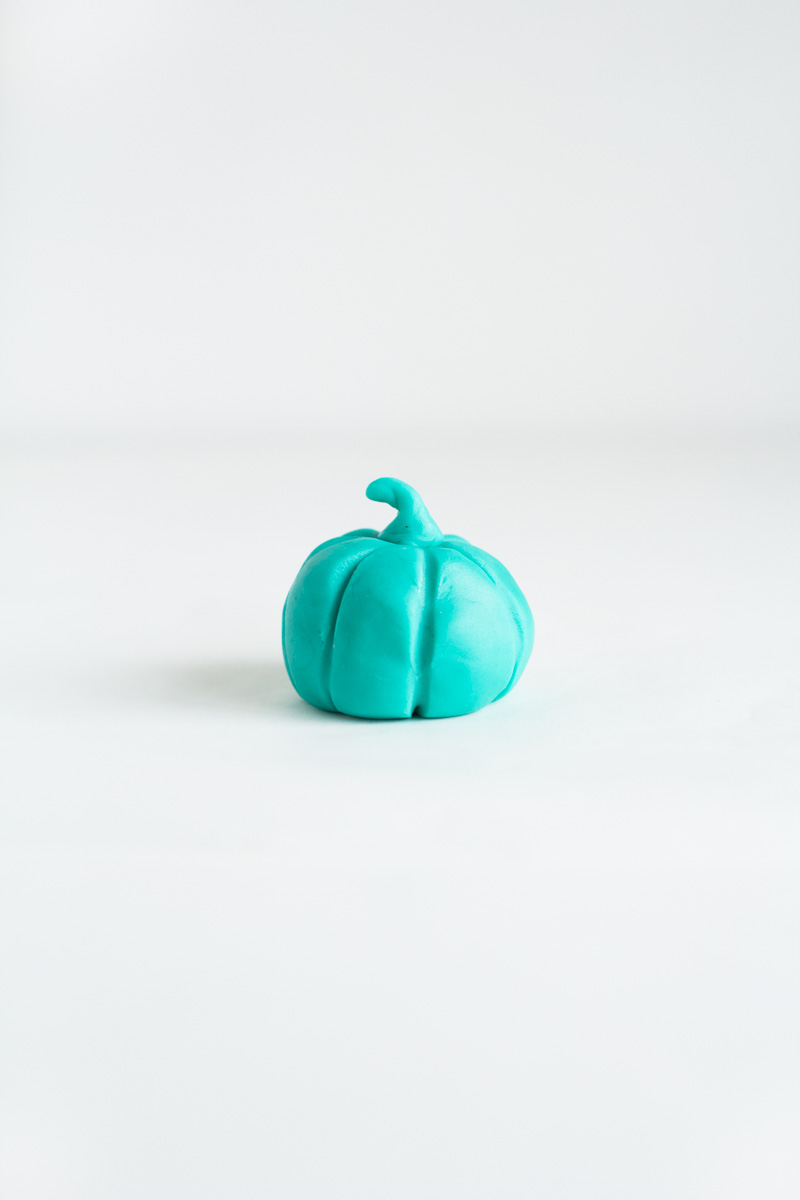
6. Using the excess fondant, shape a little stalk and fix with piping gel to the top of the pumpkin – inside the indent.
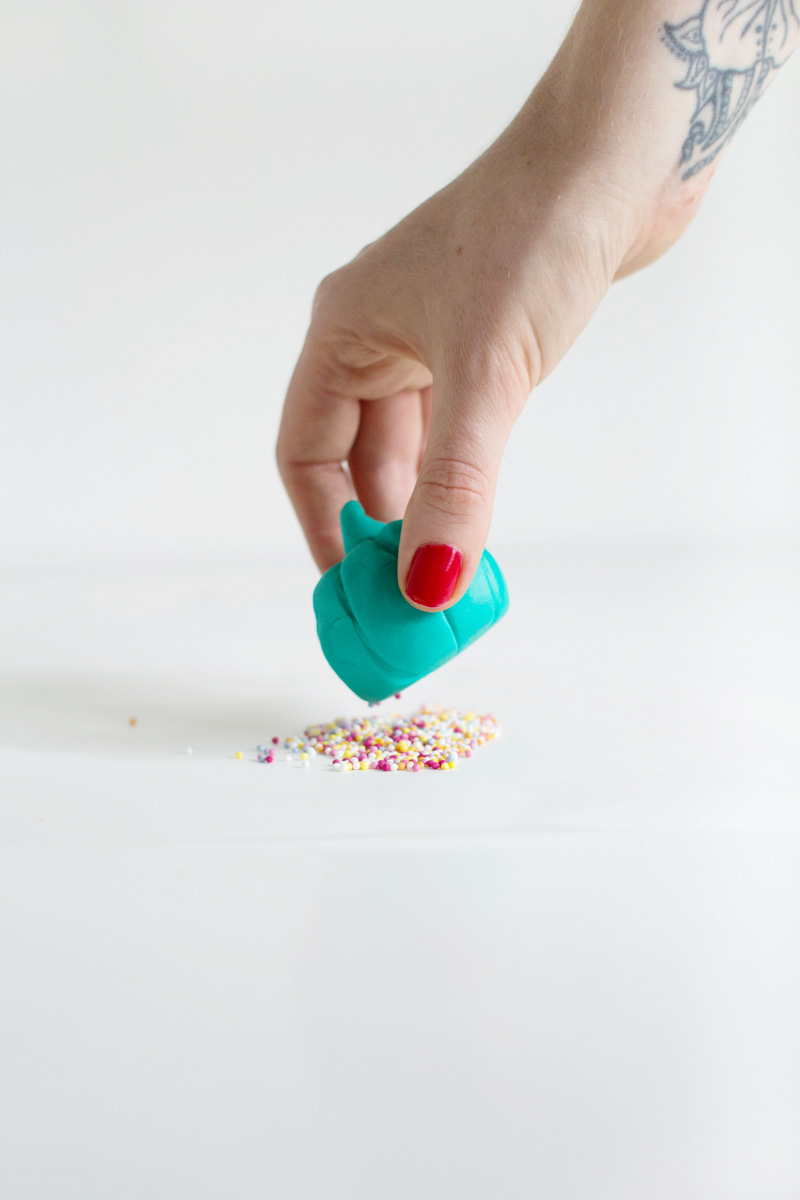
7. Add more piping gel to the side and bottom of the pumpkin and dip into sprinkles. I didn’t have and piping gel to hand so I used rum instead… These pops are adult only!
8. Push the pop sticks through the bottom of the pumpkins and display ready for whoever or whatever walks through your door!



Absolutely lovely, such bright colours! They look delicious!
These look so tasty!
They look so cute!
Aaaah Fran these are so so so cute!!
Such cute little guys! :)
I want to say thanks for beautiful blog sharing with us. Your blog really great resource to update my knowledge.
If you’re looking for glass repair services or replacement, Check out to check out their services, https://www.krygerglass.com