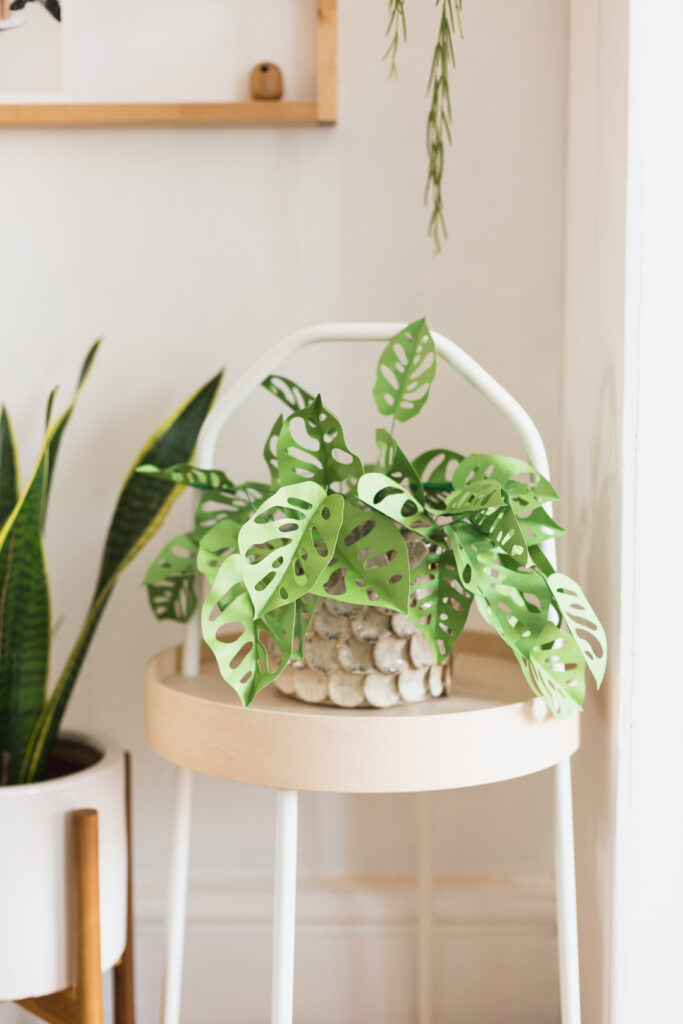
Plant pots and planters are one of life’s little joys. You can pack so much personality into what is essentially a vessel for holding something else. I look around at mine and they are all so unique and add character in the most subtle way. So today I’m working with Wayfair, (who, I’ll say it now, have the biggest array of planters I’ve ever seen. There’s literally something for everyone! Trust me – actually don’t just trust me – take a look here) to show you that you do not have to be a green thumbed plant enthusiast to bring some of this decorative magic into your home.
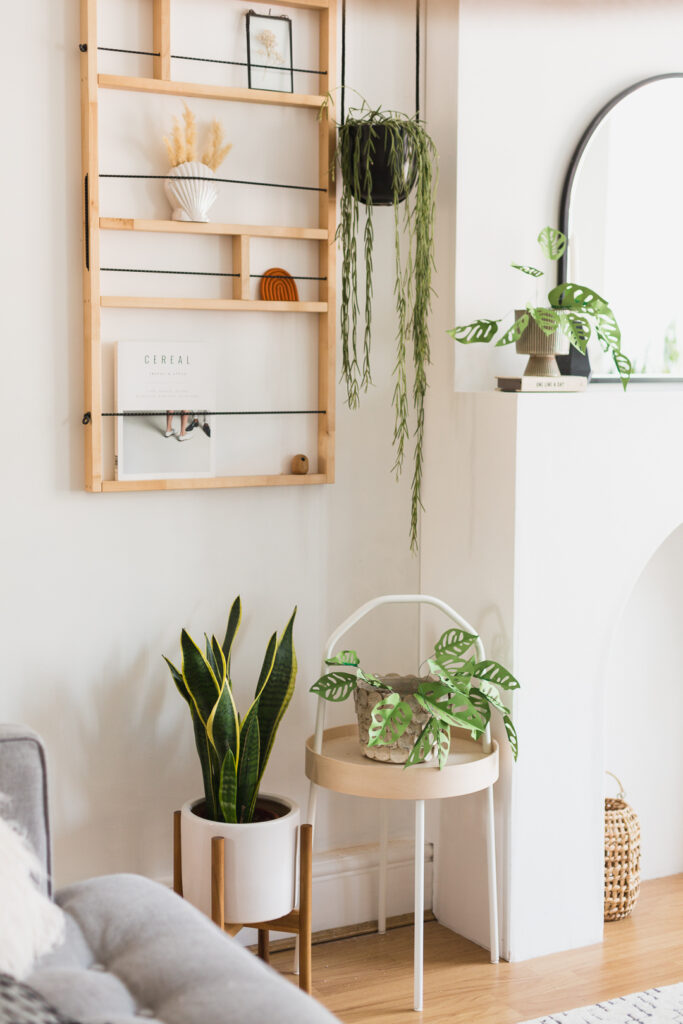
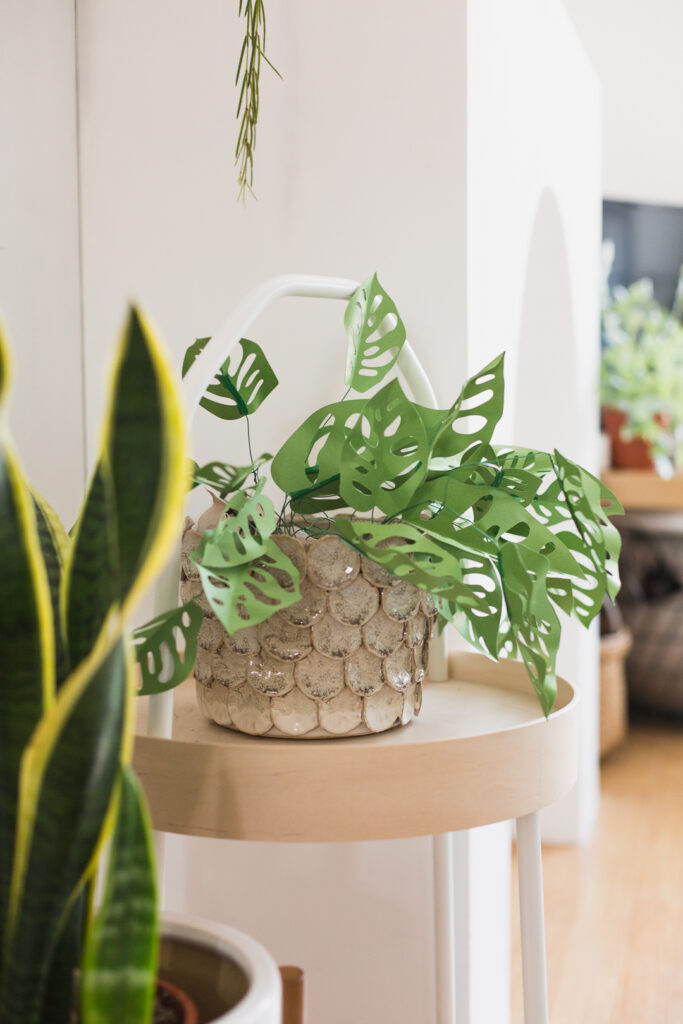
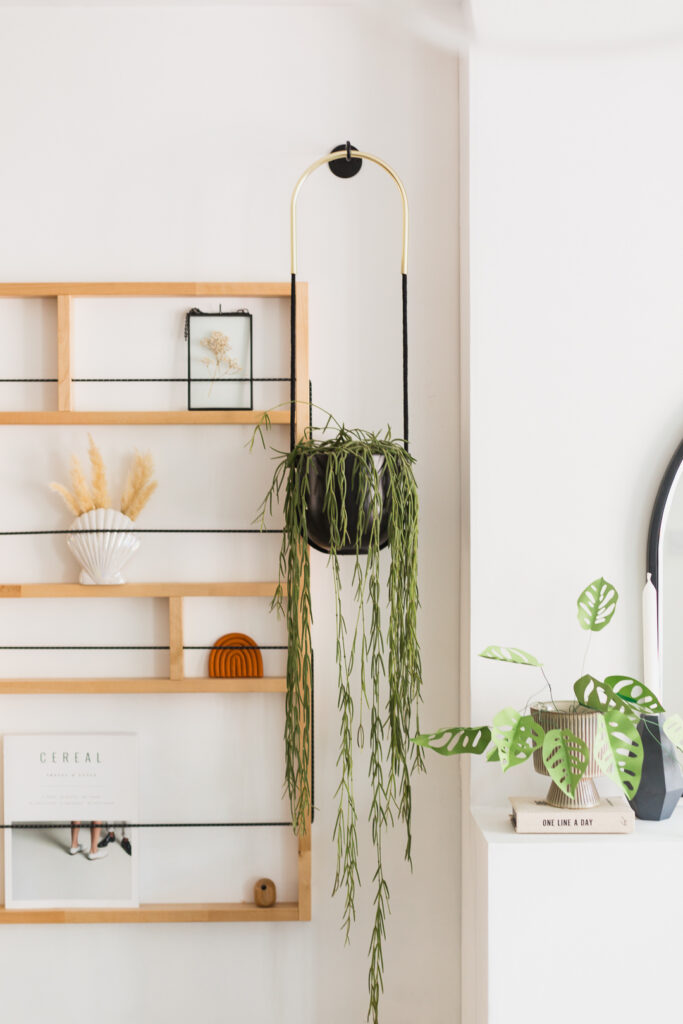
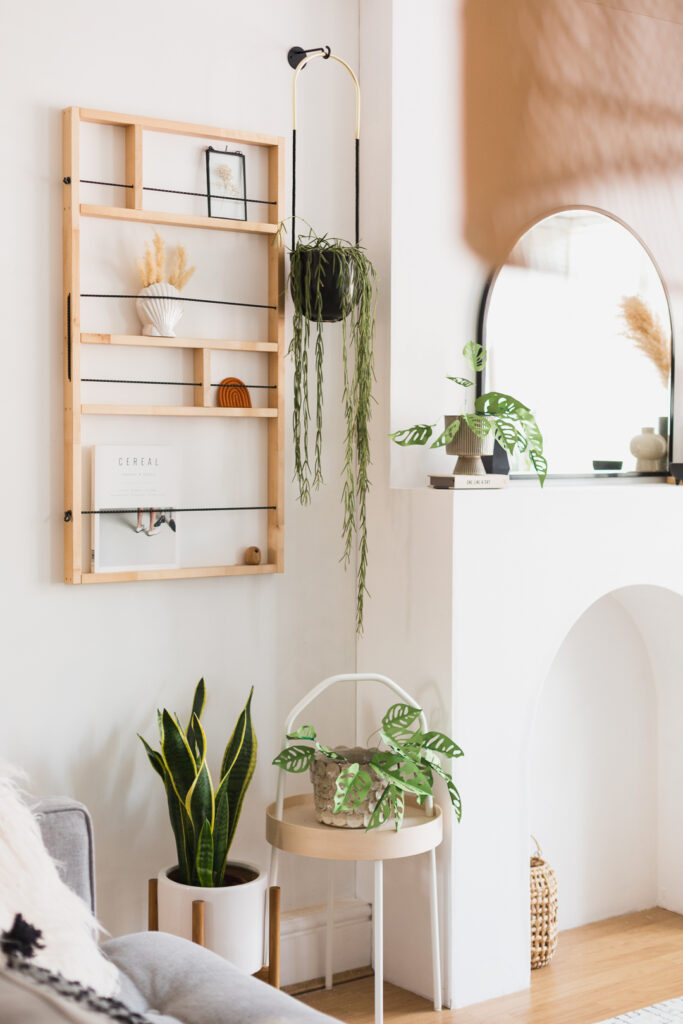
Are you a plant serial killer? You’re not alone. It is hard to stay on top of watering schedules, ensuring the light is perfect, with no draft (or some draft) and no heat (or some heat). Making you own paper plants is so much quicker than growing them (and in my opinion way less stressful!) And there’s the added bonus of never, ever having to water them. They can not die. No plant death guilt here today!
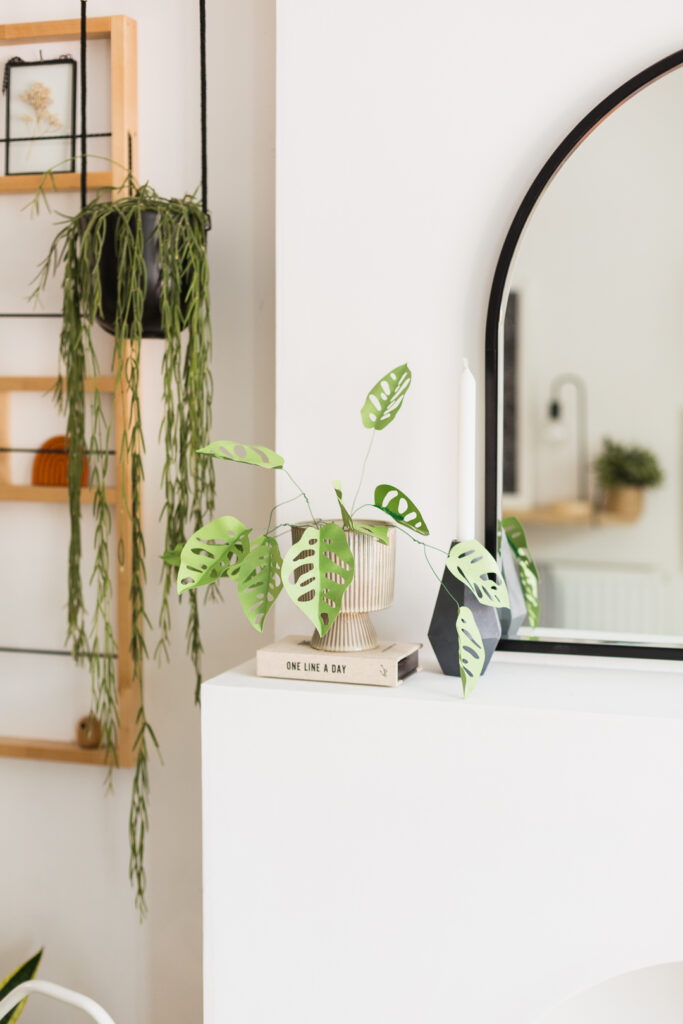
I love the idea of using recycled paper packaging for this project. You get extra creative points for painting a lush green colour to your paper before cutting out the leaf shapes! And you’re likely to have mostly everything you need around the house to get started today! Definitely a bonus while we’re in lock down.
Materials:
- Monkey Mask leaf download
- Paper
- Green card
- Scissors
- Craft knife
- Scorer
- Green masking/washi tape
- Florist wire
- Planters
- Foam/polystyrene
For the project I chose these planters:
Hettie Ceramic Plant Pot
Cinetta Ceramic Plant Pot
Concrete Hanging Basket
Bolo Ceramic Hanging Planter
Watch the video or scroll down for the tutorial with step by step photos:
Instructions:
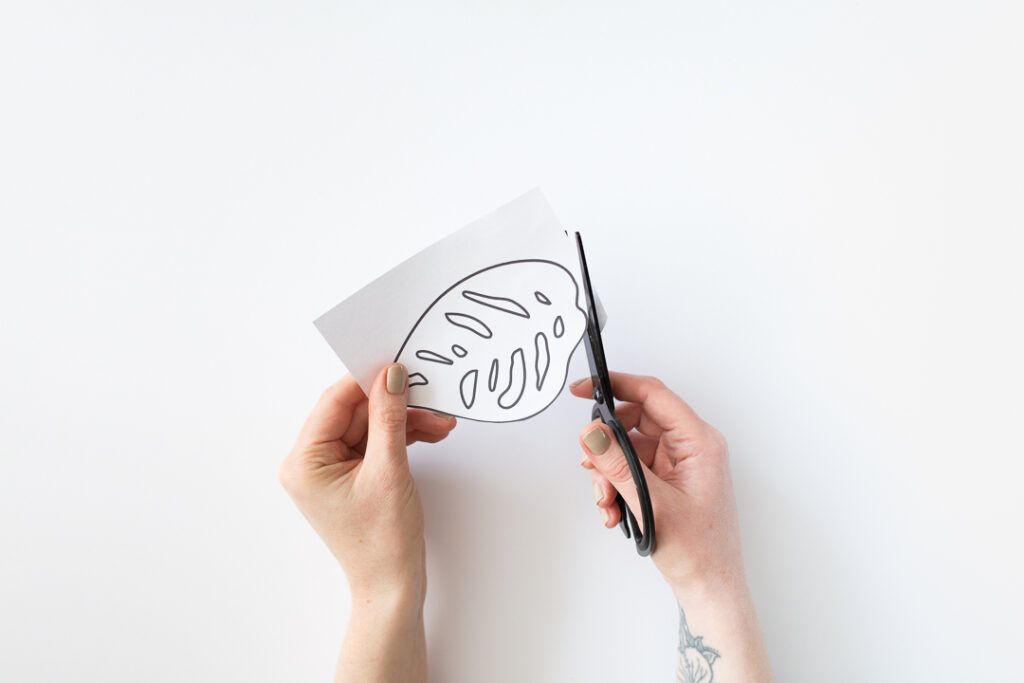
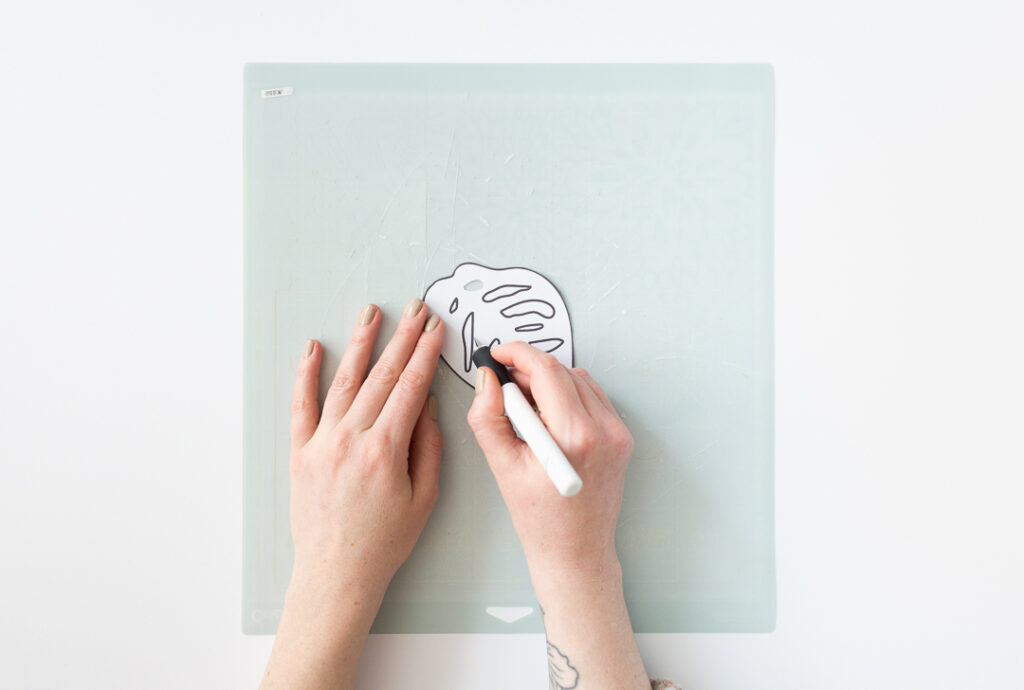
- Print out the leaf template in two or three different sizes. I do this by changing the size percentage on the print screen. When your leaves are printed cut around the edge of the template with scissors. Use the craft knife to cut out the holes in the leaf.
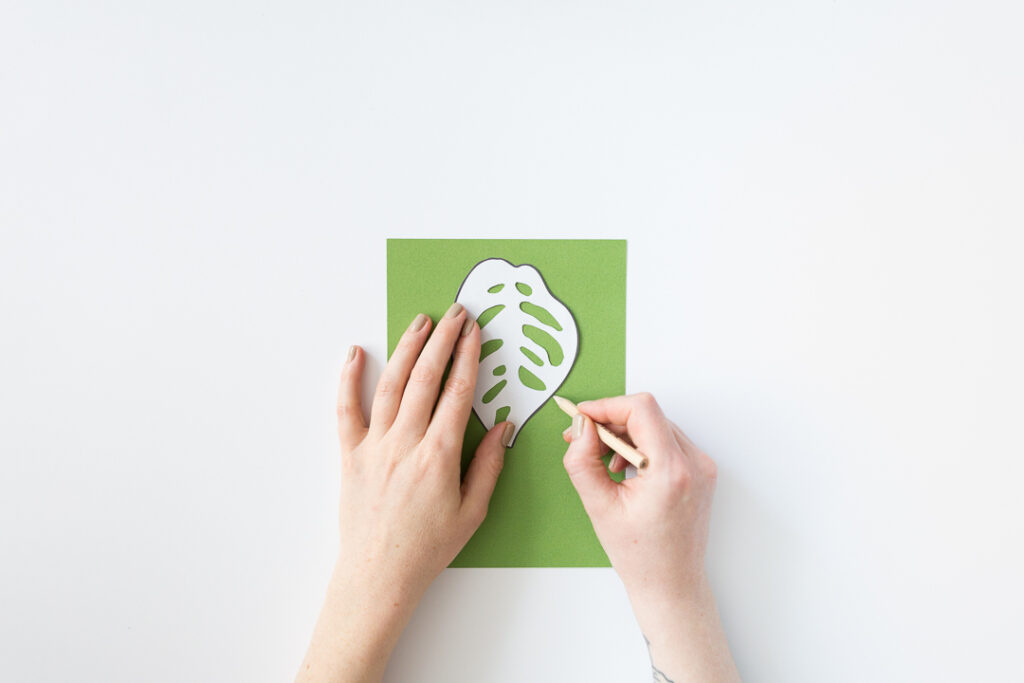
- These will be your templates for the leaves. Draw around the templates onto the green card fitting as many leaves as possible onto each piece. Cut each one out and use the craft knife to remove the holes in the leaves. Repeat this with all the templates until you have around 30 leaves in total.
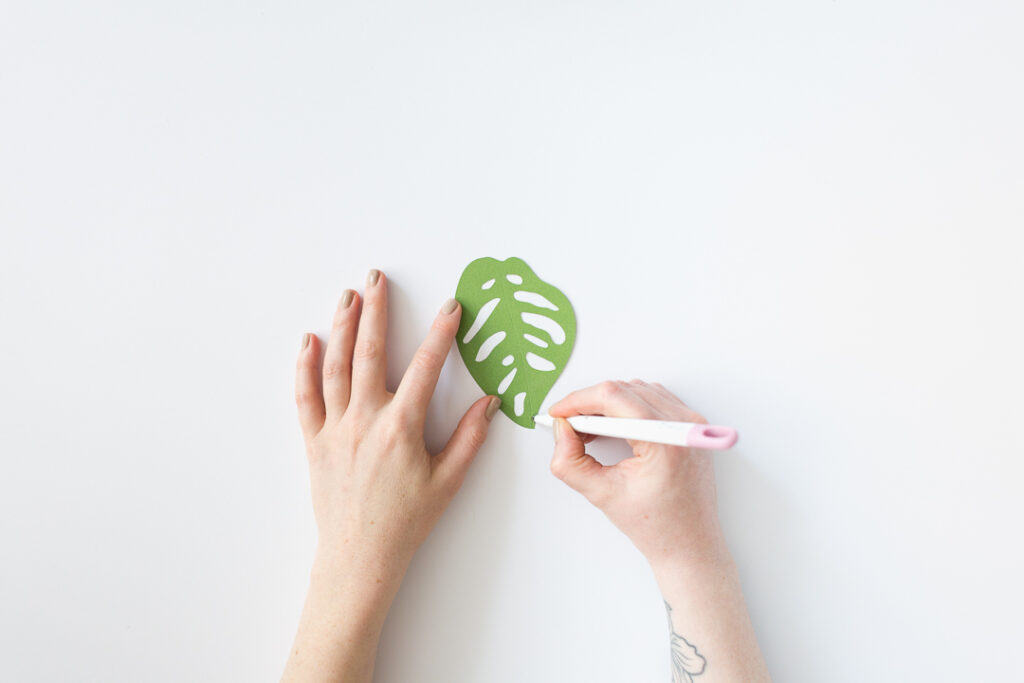
- Run the scoring tool along the centre of the leaf. You want to create an organic line to create a natural look to the leaf, so don’t worry about making the scored line straight. Fold the leaf in half along this line.
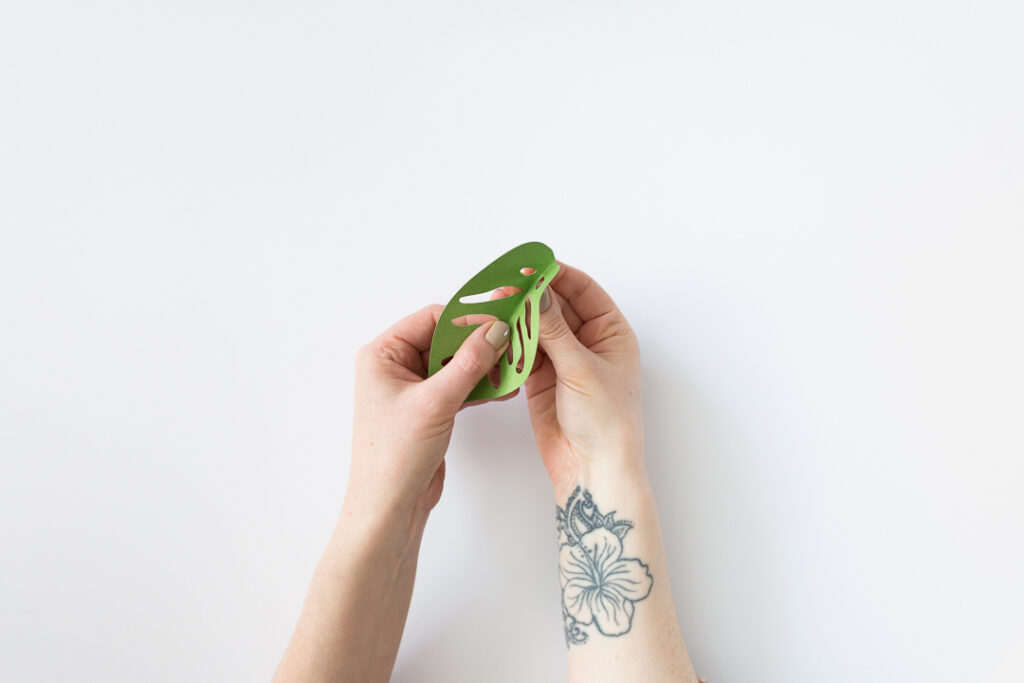
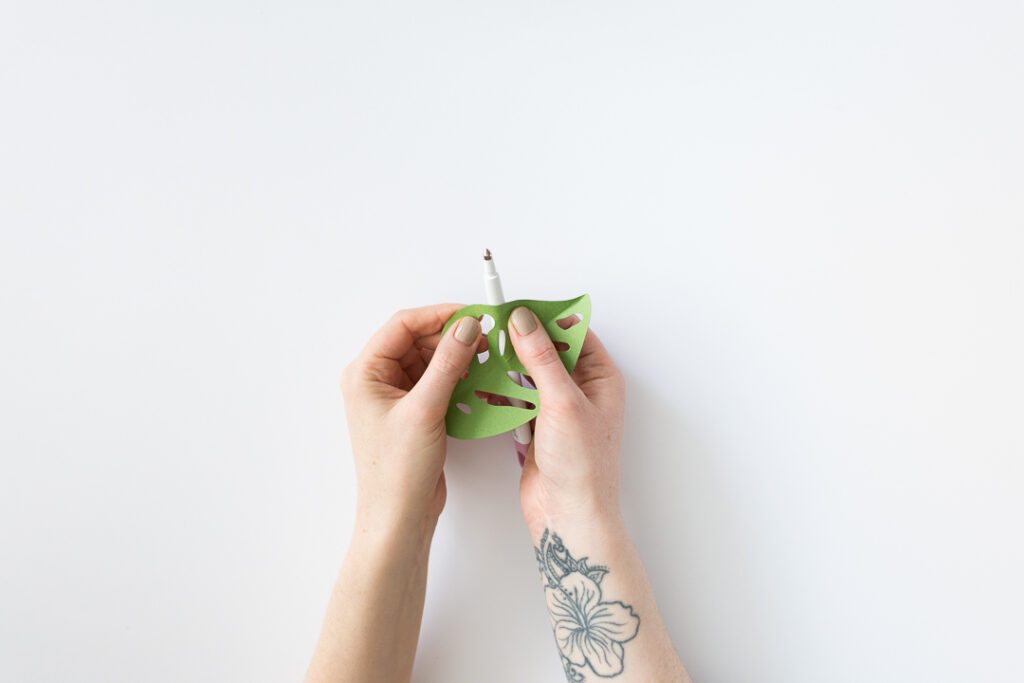
- Using the round side of the scorer (or a pen) curl the underside of the leaf. Hold the scorer horizontally across the leaf as you do this to create waves along the edge of the leaf.
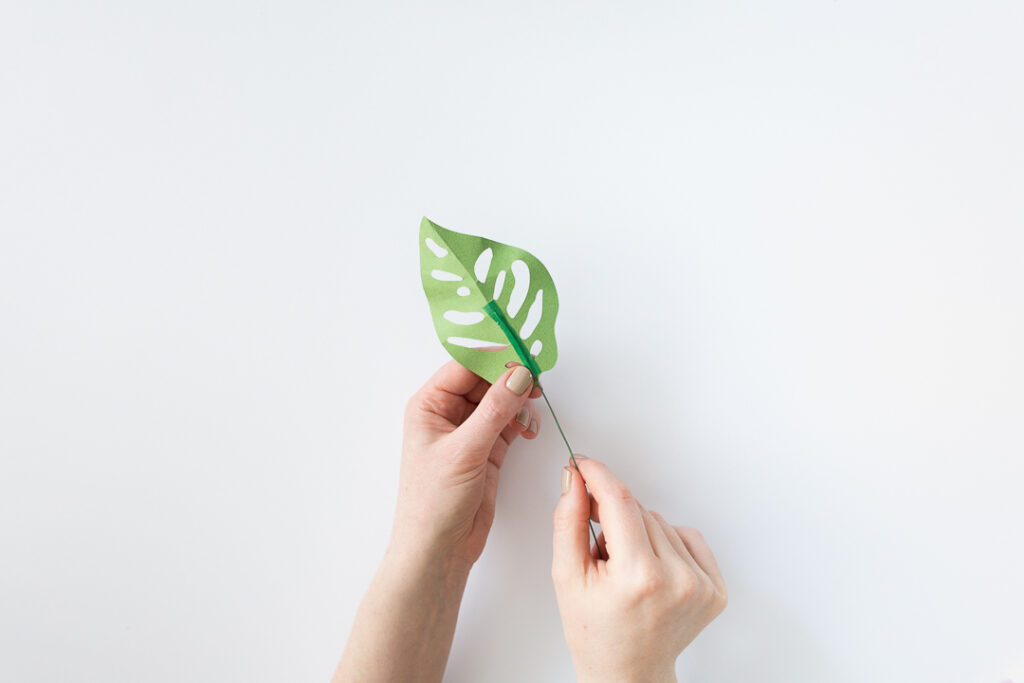
- Cut off a strip of tape and attach a piece of wire around 20 cm long to the fold on the underside of the leaf. Bend the wire down around 1cm from the end of the leaf to create a natural stem look.
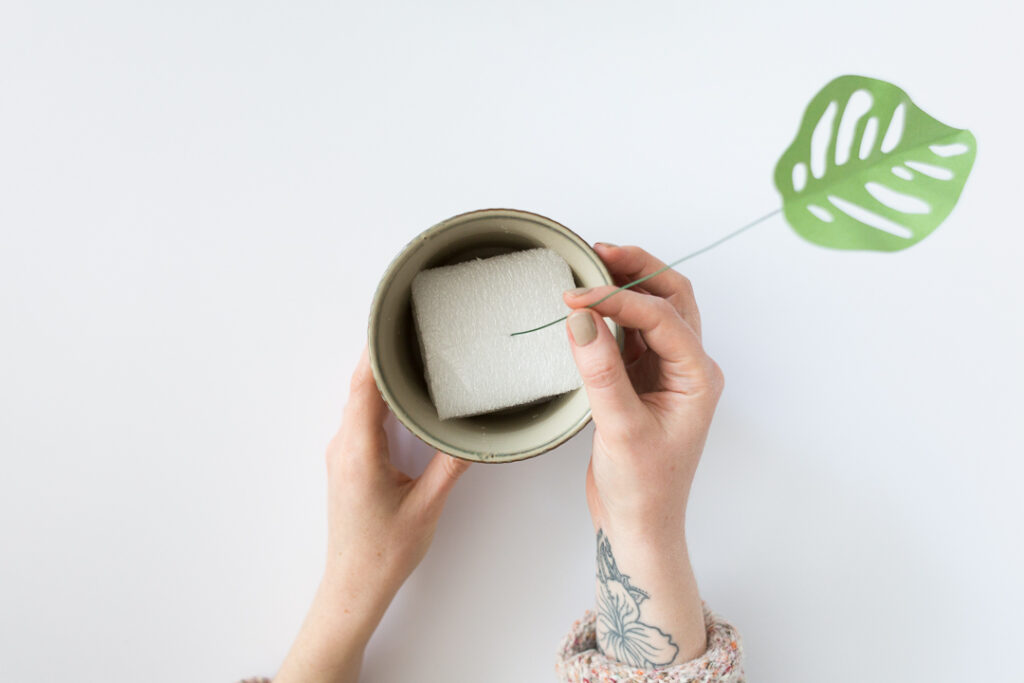
- Place the foam/polystyrene in the planter. You can wrap this in brown paper to create the look of soil before adding the leaves.
- Push the end of the stems into the foam. Bend them into position around the base of the pot. Cut some stems shorter and wrap them around the existing stems in the pot to build the plant up.
- When you’ve added all your leaves bend the wires to create an even appearance. Now your plant is ready! No watering required!
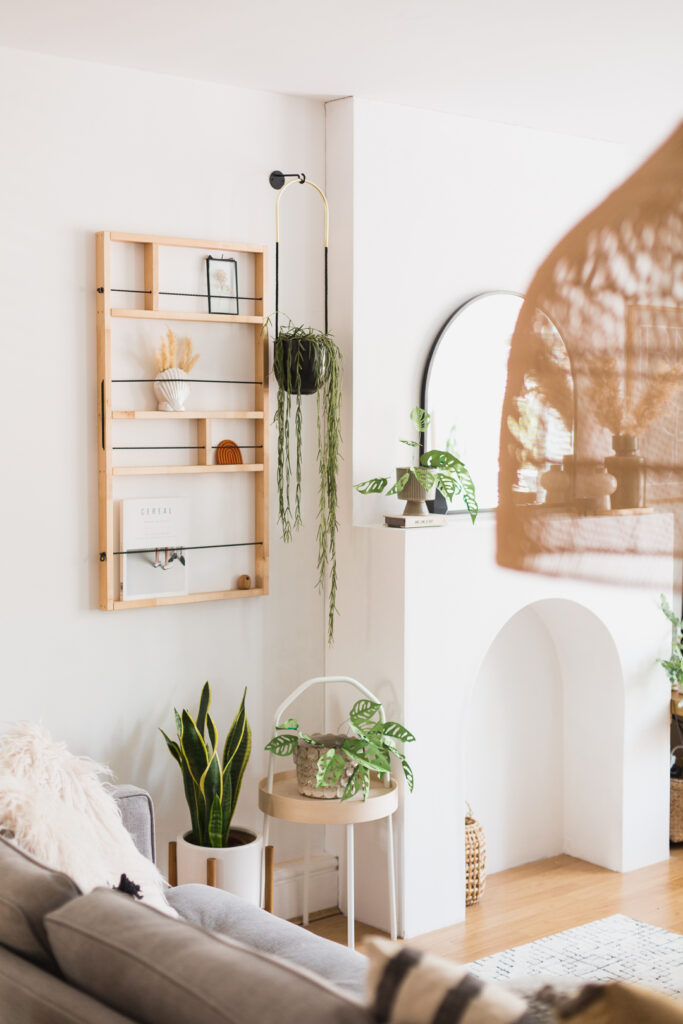
As always I’d love to see if you make this project! Please tag me where you share @fallfordiy so I can see what you’ve made!


This is SUCH a creative idea! Love!! I can’t say I’ve seen anything like this – and it blends in perfectly with the rest of the real plants. Perfect for plant lovers and crafters alike! Thanks for sharing!
– Sabrina ♡
Very Helpful Thank You
Today I was surfing the Internet for some fun. And I found yours, a web about DIY. I consider it’s interesting and useful and you must have put much effort to complete it.
Recently, I have written an article about the creative use of cable ties ( https://onexlimited.com/the-use-of-cable-tie-2020/ ) which has cost me plenty of time and effort. Maybe it is helpful for your audiences. And they will love it.
Would you be interested in giving me a link to my post on your website? You can read my post first before you make a decision. Thank you.
Sincerely hope to establish contact with you and get your opinions on my article.
Awesome blog by the way.
Good Post.Thank you for sharing such amazing information with us.
Nicely written information related to DIY and keep sharing content like this.
Good Post.Thank you for sharing such amazing information with us.
I love those designs. I love to make my room eco-friendly and because of this, I always search for various ideas online. I really like your and I will surely apply them in my home. I want to play online real money games and I thought why not find out more sites in which I can play real money games and earn real money while staying at home.
Hey my self Madhuri i have 3 years of experience in Body to Body Massage services. I gave 100% satisfied service to to our customers through our best spa center IZSPA in Bangalore.Visit massage service near me
Our centre has all the best equipment and highly trained staff, which makes it a complete solution to your body spa and massage needs. Visit happy ending massage in Bangalore
Skin well being requires sustenance sometimes. Standard spa treatment prompts the shining and sound skin. Visit massage parlour near me
Thai massage is basically a gentle movement into yoga-like positions while lying on a padded mat. You will be fully clothed in loose fisherman trousers and a top.Visit body massage in Bangalore The therapist applies pressure to the body using both hands and feet.
Making paper plants is a great way to add some greenery to your home without the maintenance of real plants. I like this plan.
the author’s willingness to delve deeply into the topic, leaving no stone unturned in the quest for understanding.