There’s a place somewhere between ‘make all the things!’ and ‘where can I buy it?’ reserved for all you people who want to add some creativity into your lives, but you know, have kids and jobs and houses to clean and family to take care of and meals to cook and exercise classes and friends to catch up with and maybe, just maybe get a good nights sleep every now and then (if you’re lucky). It can be hard enough to find enough time for the basics, let alone embellish your life with a hobby.
But as hectic as life can be, finding time to be creative is so important. And before anyone here tells me they’re ‘just not creative’ I’m calling it! Everyone is creative. Being creative doesn’t mean you paint the Mona Lisa the first time you sit at the easel. It means you make something, ANYTHING! You can make the actual worst thing anyone has ever made (although you’d have to wrestle that crown off my head because trust me, there have been some stonkers) but it’s about the experience and learning from it. OK, yes, it is way more satisfying when you make something you actually like, but that’s why I’m here. To guide you through the process and give you a gentle push in the right direction.
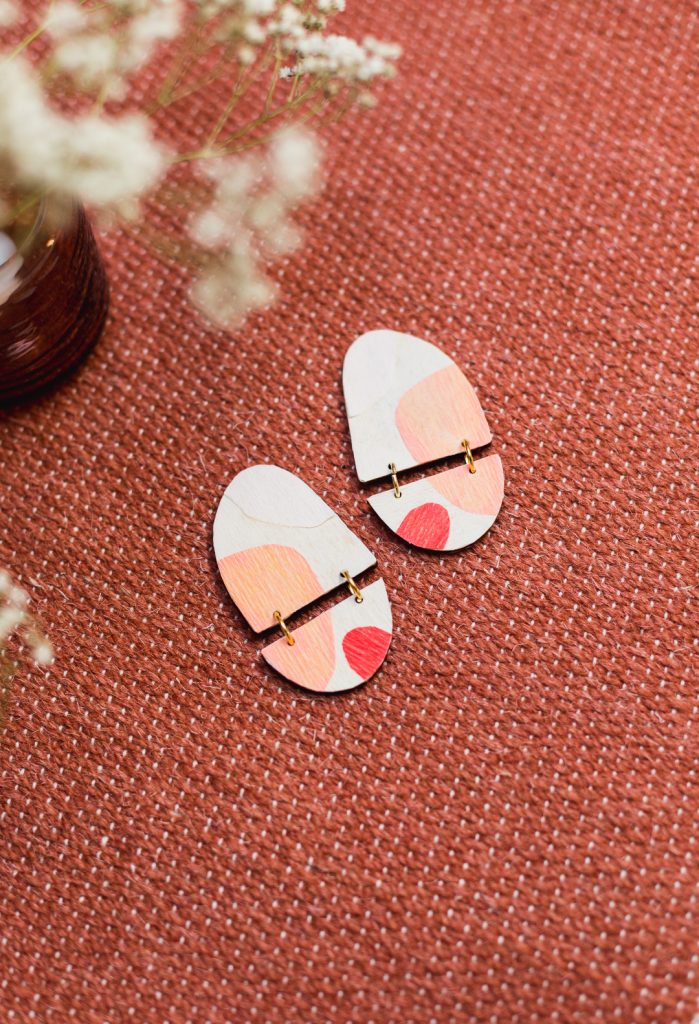
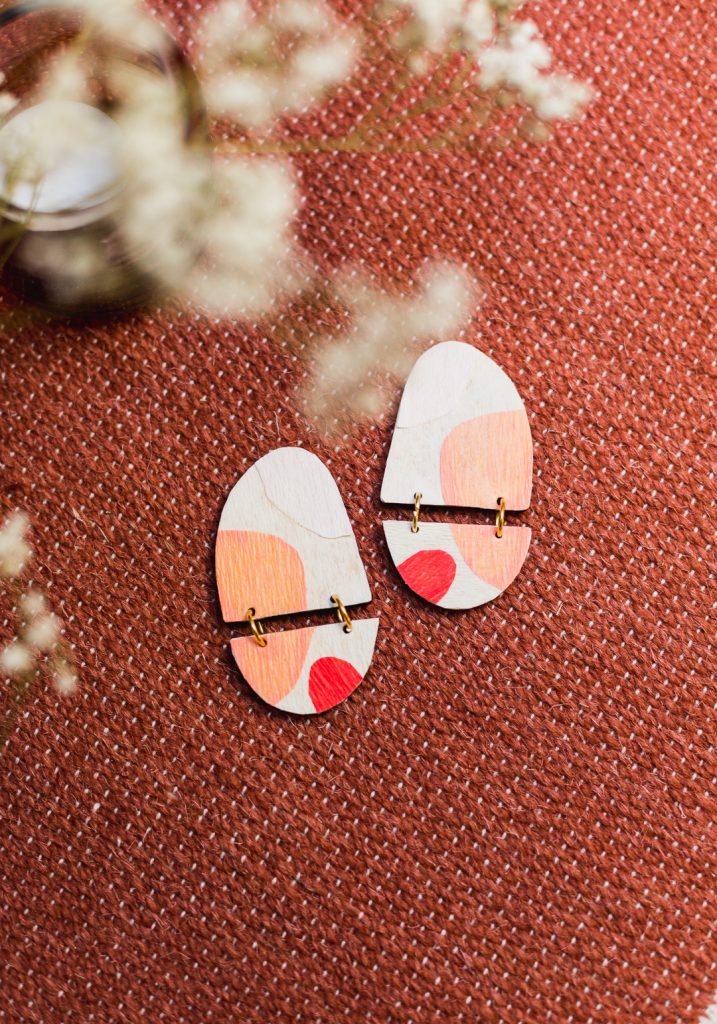
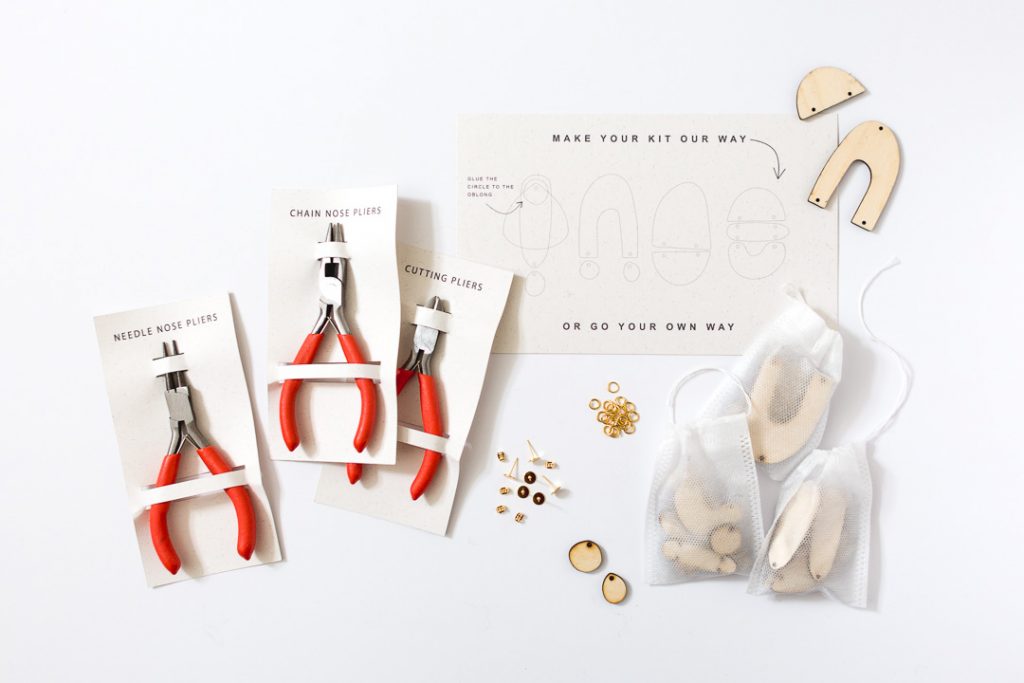
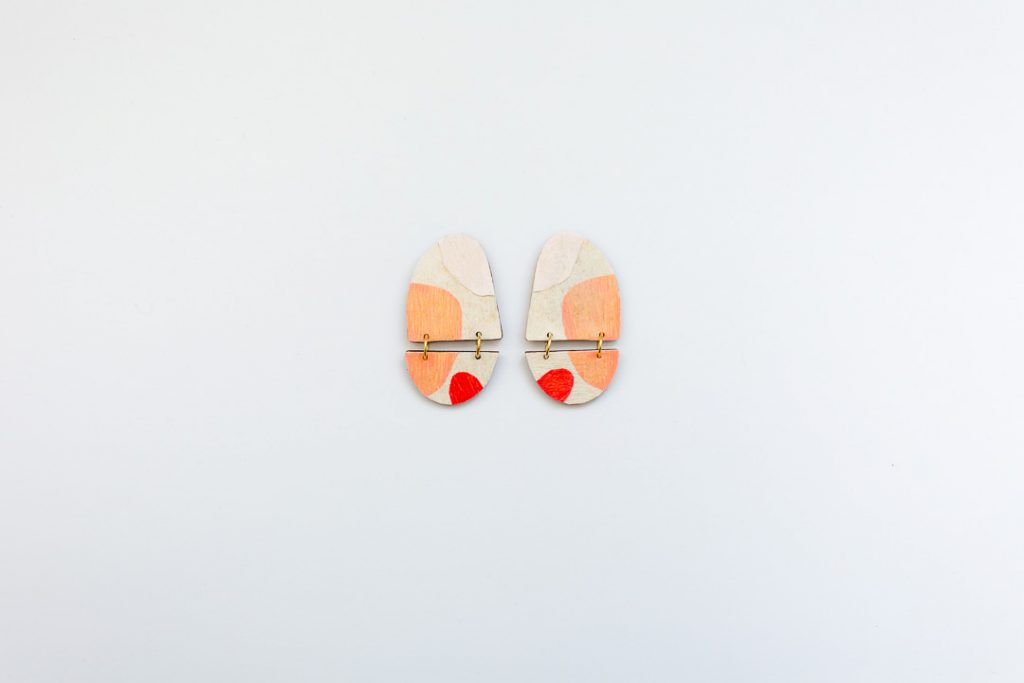
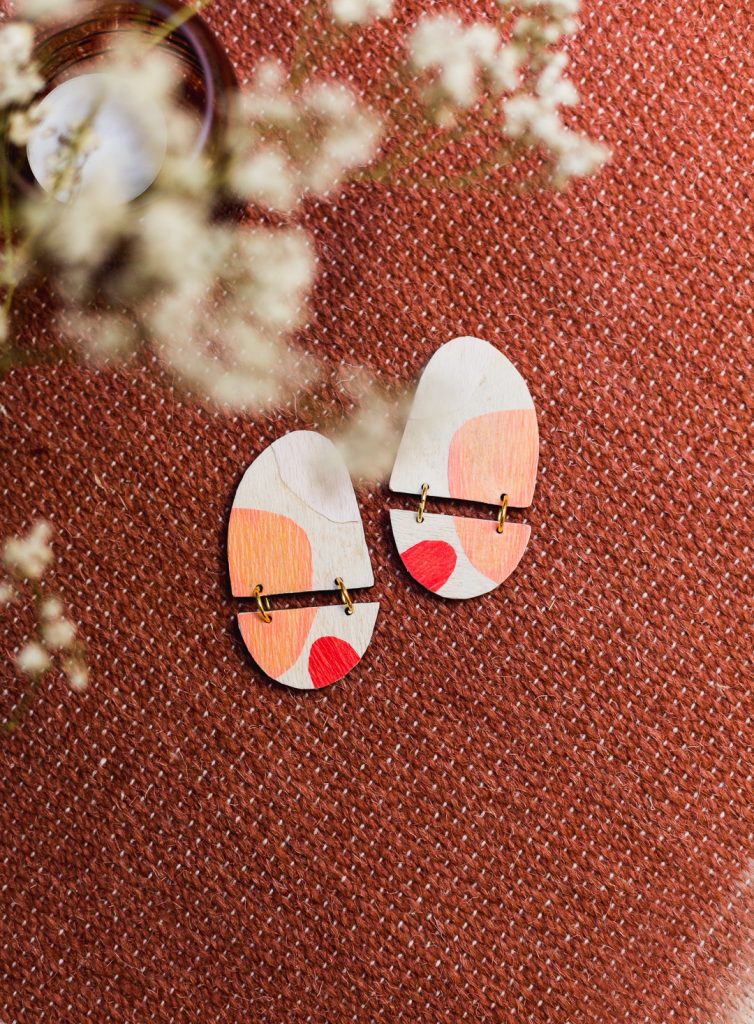
That’s why I teamed up with Rebeca from Working Clasp to create a DIY kit for you – the people in the middle. If you can find 10 minutes to watch your favourite show on Netflix or listen to a podcast you can sit and make a pair of earrings at the same time. That’s all you need. But because we want you to be creative we’ve created a kit that gives you more. More than what it says on the box. It gives you the opportunity to play and experiment and make something unique!
This kit gives you limitless options for customising, but because we know that when you can do anything you sometimes get stuck doing nothing at all, we’re here to give you ideas to inspire you or straight up replicate if you want to.
Materials:
- DIY Earring Kit
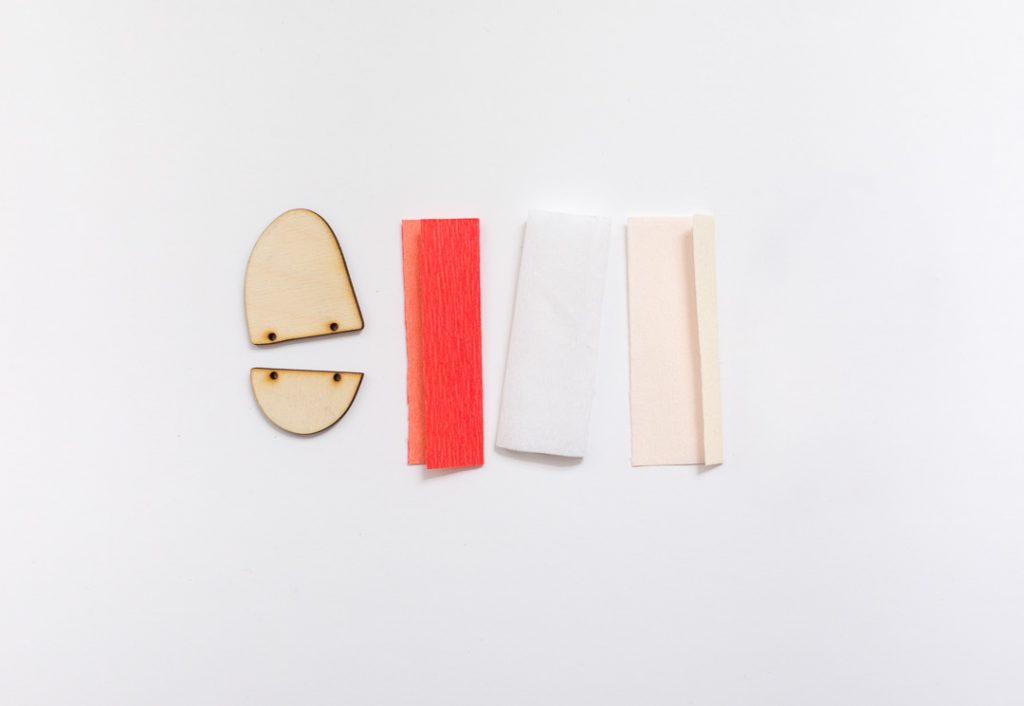
- Tissue/crepe paper
- PVA glue
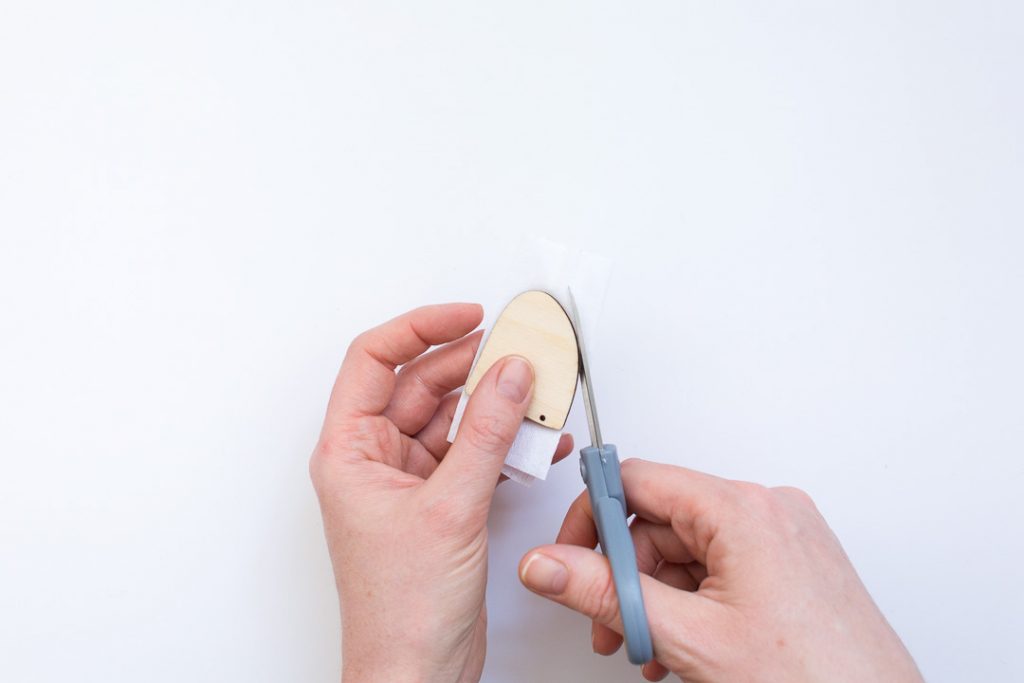
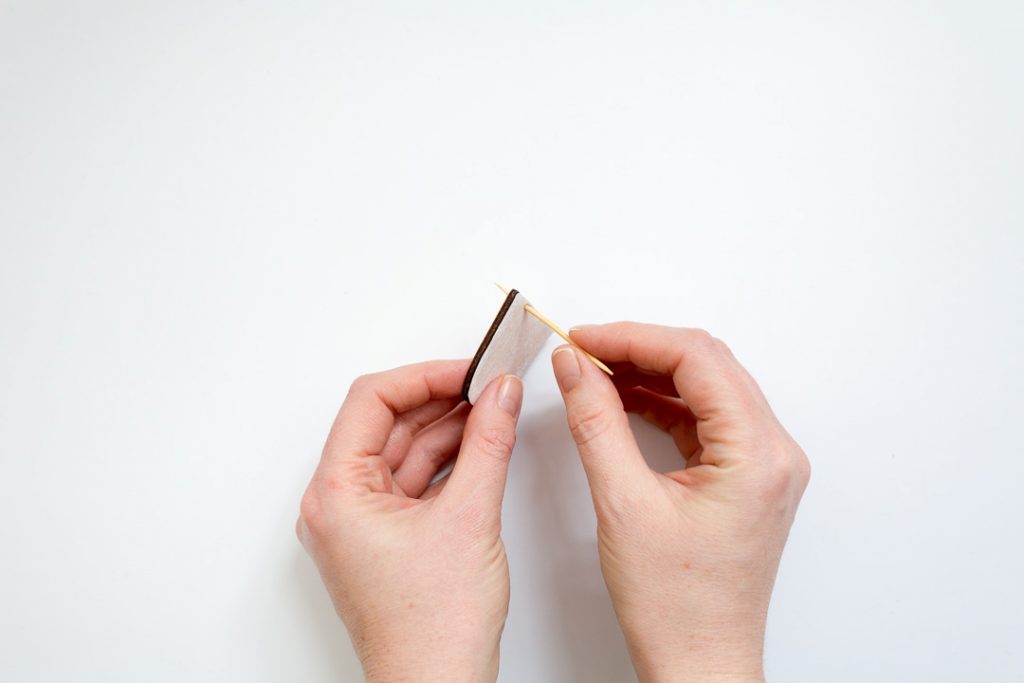
1. Cut a piece of tissue paper roughly to size and use glue to secure it to the wooden earring blanks covering the entire piece. Use scissors to cut off the excess. If you cover the holes in the blanks with the paper poke them through with a cocktail stick. Repeat with the opposite piece.
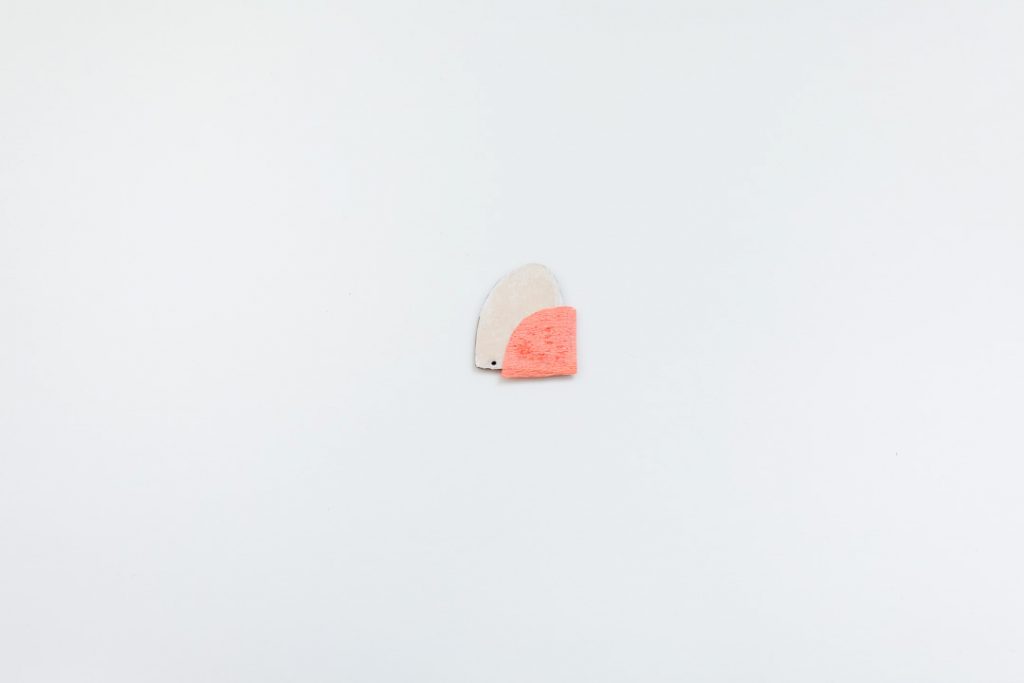
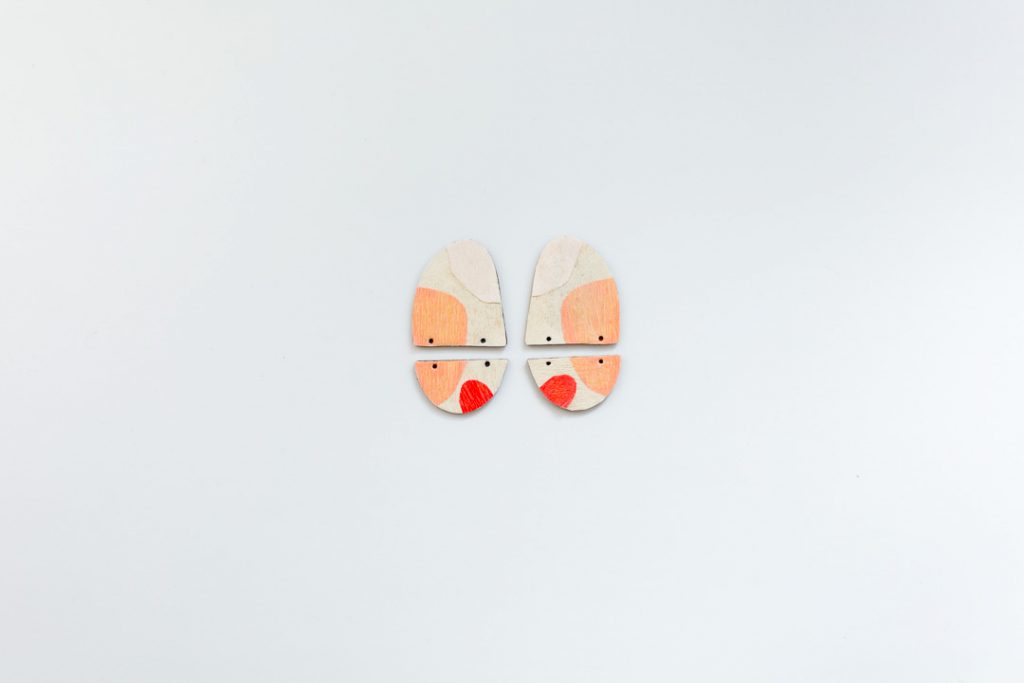
2. Fold the tissue paper in half and cut out various shapes in the colours you like. Arrange these over the earrings making sure you mirror the image on the opposite piece (unless you want to create a different design for each earring!)
3. Glue down and cut off the excess around the edge.
4. Once the glue is dry attach the shapes together with jump rings (click here for tutorial) and glue the earring backs to the back of the earrings. Wait until the glue is dry and you’re good to go!
I’ll be sharing more ideas for the earrings really soon so keep your eyes peeled for that! If you have any requests let me know in the comments or over on Instagram!


This is so simple, and I can DIY is in every color I want. It would be super expensive in the shop.
I loved this DIY! Such a simple way to make classic and beautiful earnings! Thank you!
Loved the way you explain this unique idea to us. Wooden earing is something new to try. Keep sharing your DIY with us.
It was not an easy job to make such wonderful wooden earrings but you have done it very expertly by using your past experience. The best thing about you that I love most is that you also share ideas with others and folks imitate you very well to do such wonders in practical life. As I imitate the habit of students of reading edu birdie review before hiring an online writer to assist them in their research papers.
good blog Visit nuru massage in bangalore
great creative Visit nuru massage in Bangalore
Relax in isha b2b spa Bangalore’s best Spa Centre. It has been providing services since many years in india, Visit nuru massage
The design looks amazing.