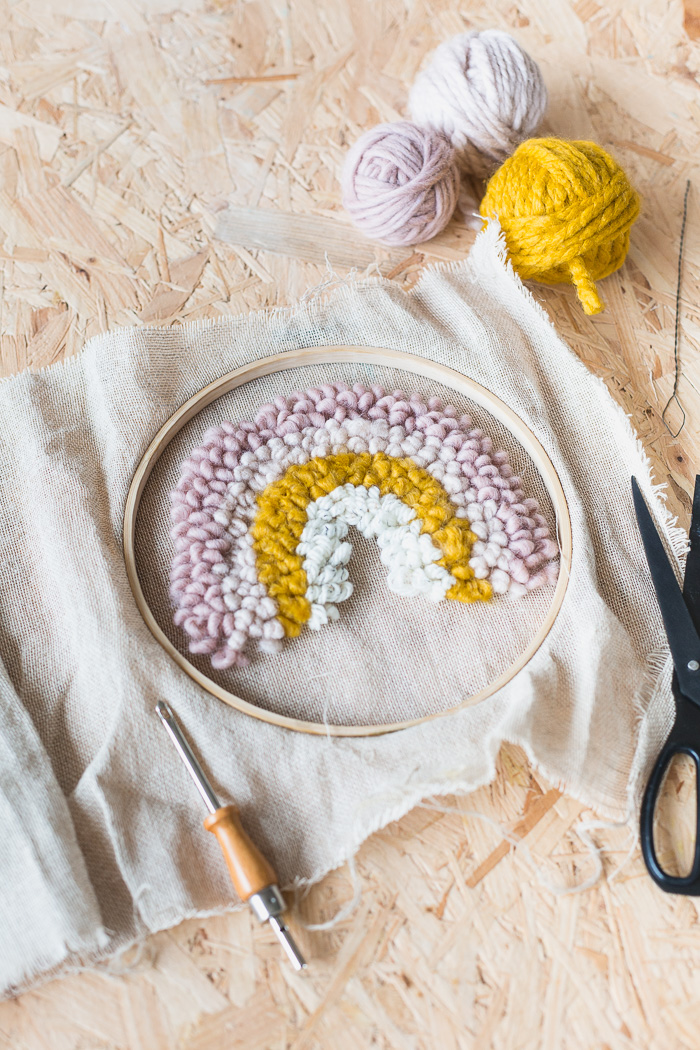
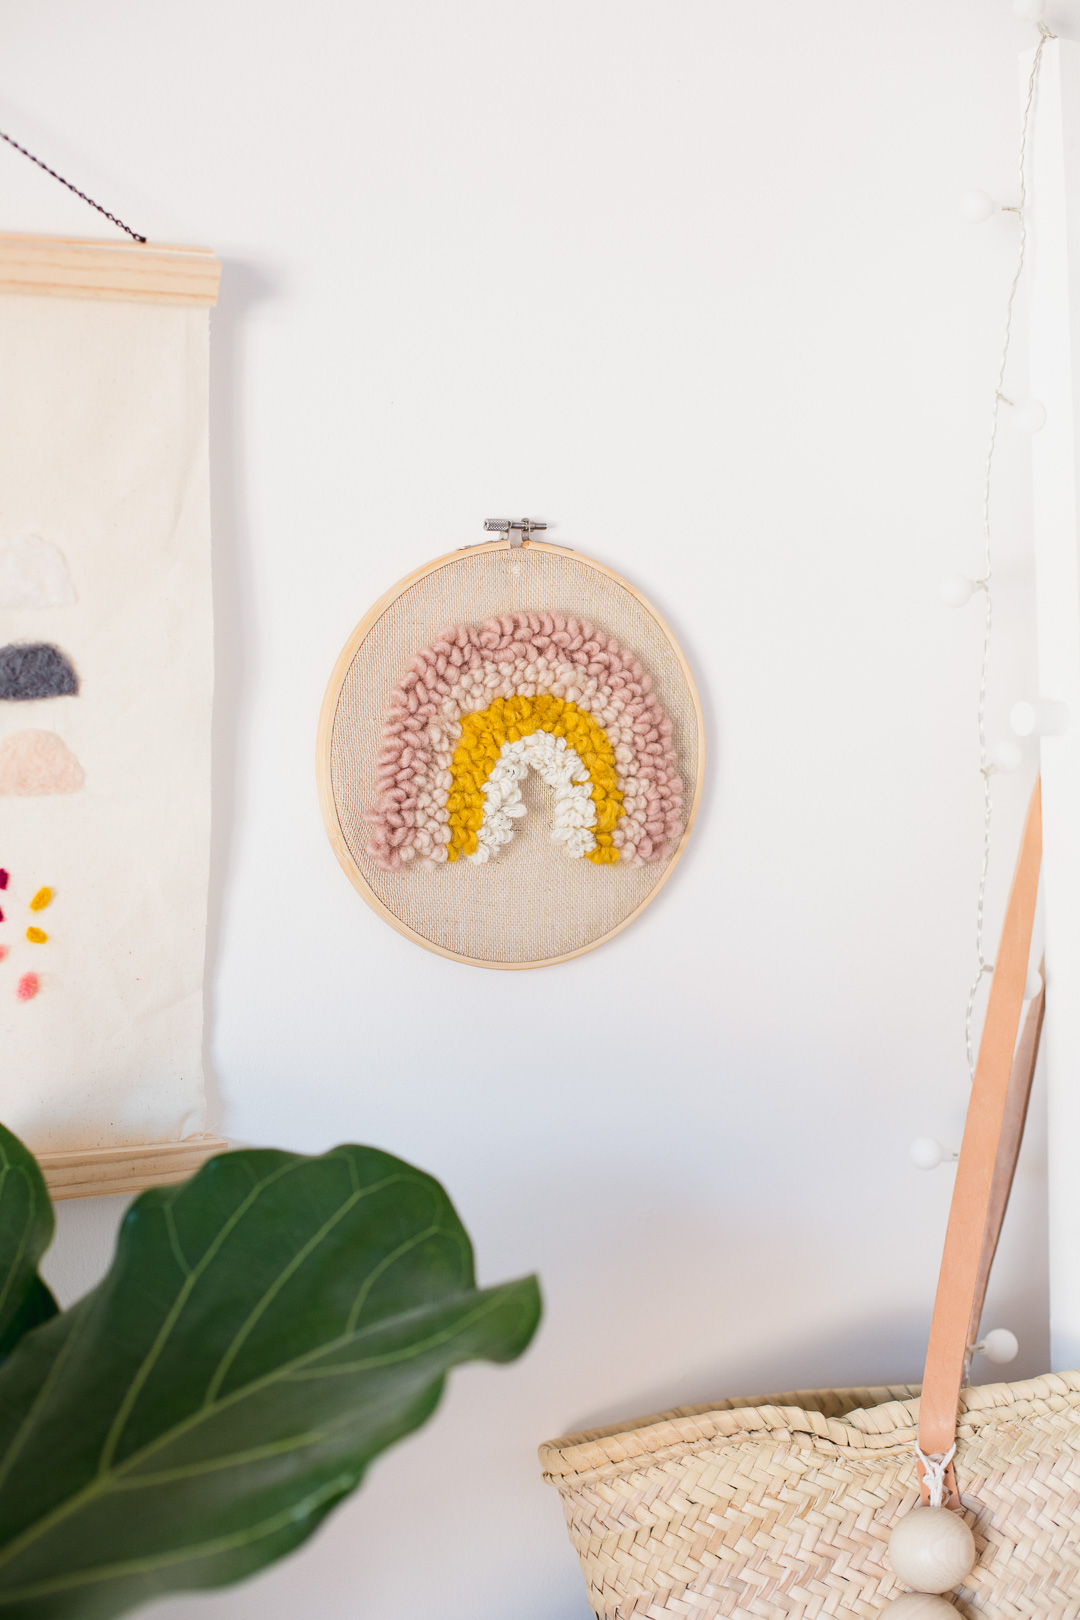
The punch rug craze has taken over and by the looks of things isn’t going anywhere fast. With good reason really. It’s such an easy and fun craft. The results are beautiful and you can make a simple wall hanging like this in about an hour. Yes, even if you are a beginner!
I love trying new techniques but sometimes it can be expensive (and take a lot of Googling) to find supplies and instructions. It took me days to learn about punch needling (this was two years ago now) before it became more popular. And the only needles (and fabric) I could find were quite expensive and needed to be imported! My biggest goal selling kits was always to make new crafts accessible (and beautiful) so I spent more time researching how I could make this an affordable option for someone just starting out.
Now just a note for if you don’t know the history of We Make Collective. I started off as a (two) monthly craft kit subscription. As we speak there are quite a few contemporary craft kits on the market but at the time it was difficult to find supplies and instructions for modern creative ideas all in one place. People wanted to be creative and make something beautiful at the same time. That became clear when at our peak I was sending out hundreds of kits at a time and had a team of five amazing bloggers writing tutorials for each kit! Sadly, when I became pregnant I had to end the subscription as I just couldn’t keep up, but I really wanted to continue to sell some kits over on wemakecollective.com.
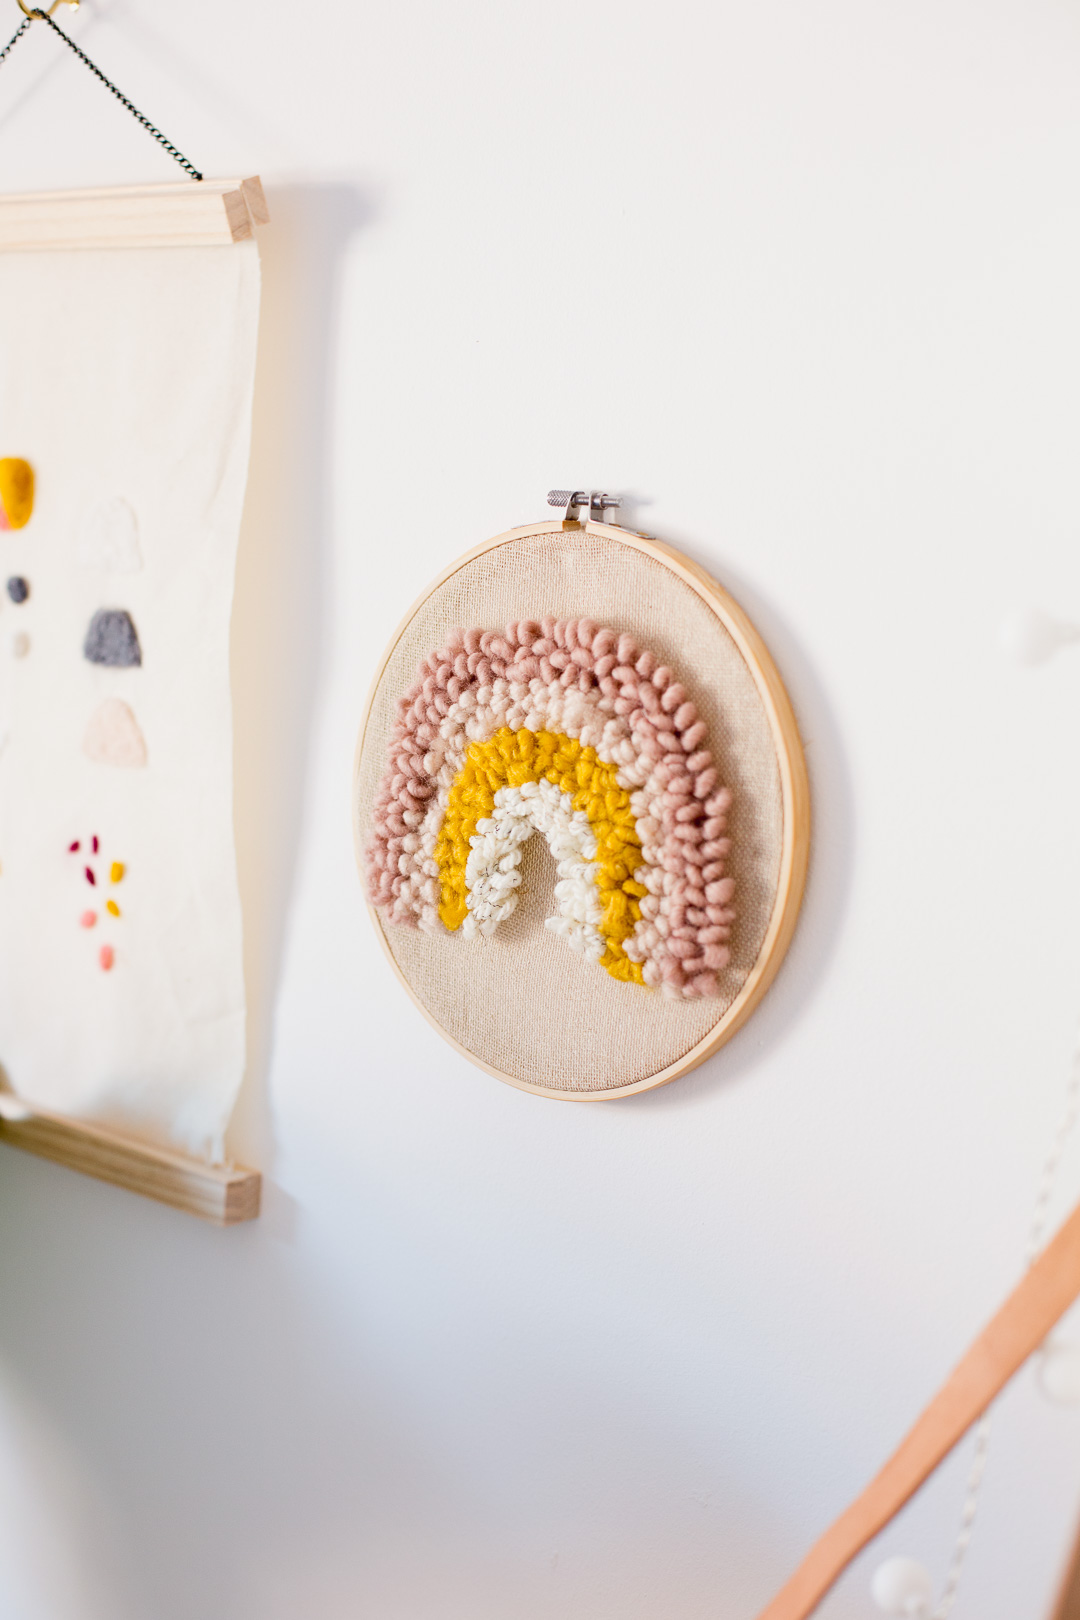
I am a little bit sad we didn’t get the chance to create a punch rug kit during that time, so while I already sell a beginners punch rug kit I’m going to add some additional projects and kits to the collection! Starting with this rainbow wall hanging!
I’ve created a video to show you exactly how to make the rainbow and if you read on below I’ve left a more detailed tutorial to get you off to a flying start!
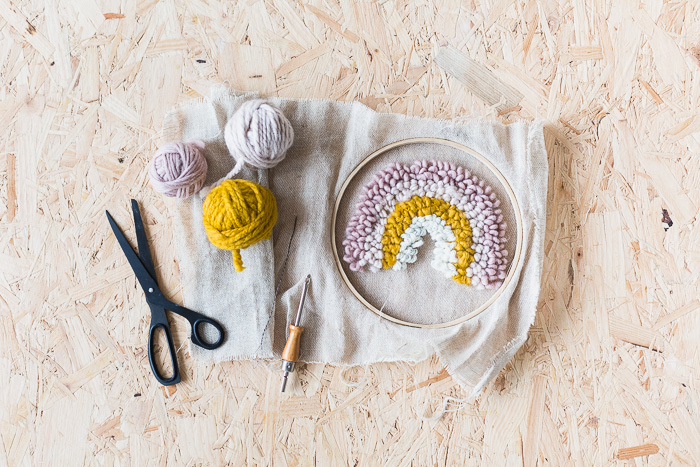
1. Place the fabric in the embroidery hoop. Tighten the hoop as much as possible.
2. Draw your design onto the fabric. Work on the top side of the hoop.
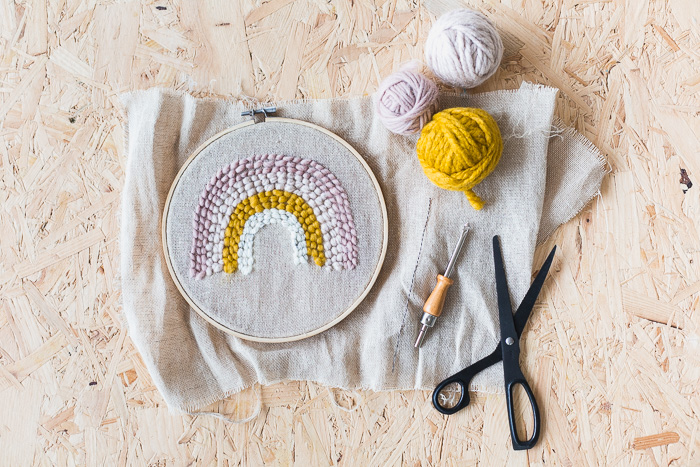
3. Thread the needle using the wire needle – thread the yarn through the loop in the wire. Push the wire up through the round end of the punch rug needle towards the needle like end. Then thread it through the hole in the needle end and remove the wire to start punching.
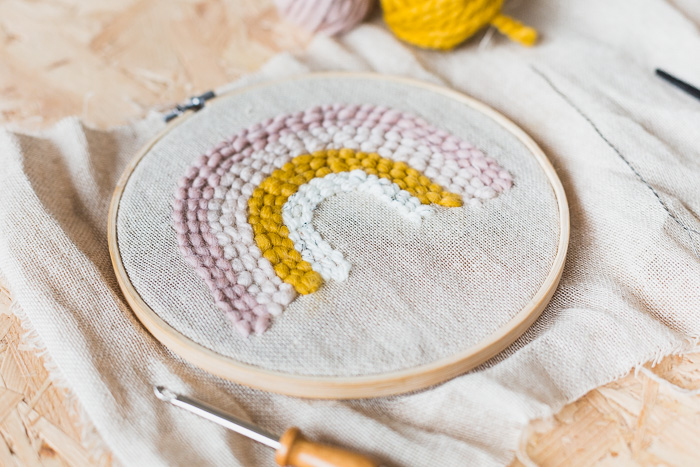
4. Push the needle through the fabric. Pull the tail all the way out to the back side of the fabric.
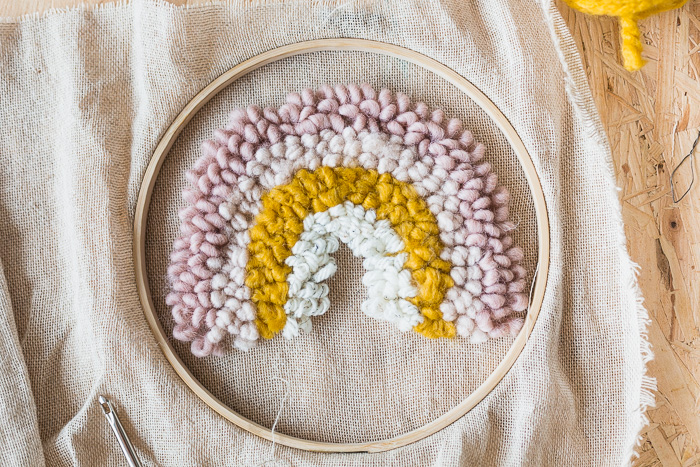
5. Holding onto this tail bring the needle back out – keeping the tip close to the surface of the fabric. Move the needle along by around half a centimetre. You need to keep the hole in the needle facing the first hole you punched in the fabric. The yarn should be straight, not wrapped around the needle.
6. Punch the needle into the fabric again. Ensure you push it all the way to the handle and slowly pull it out again. Repeat steps 5 & 6 covering the area of the fabric. You shouldn’t need to hold onto the loops you are making on the back of the fabric.
7. To finish the yarn and begin with another, push the needle through the fabric, turn the fabric over and cut the yarn at the needle point before pulling the needle back out. The ends of the yarn can be trimmed to the length of the pile.


I LOVED seeing the video of how simple it really is to do punch needle work! Such a gorgeous end product, just pinned.
I tried this technique many years ago to make rugs, but we put latex on the back to keep the treads from coming apart. I know that a simple little wall hanging isn’t going to come apart, but what would you use to secure the back if you use the punch needles to embellish clothes?
This is super cute!! I love the whole rainbow trend that’s going around, and I totally have been planning on buying a punch needle for forever now! :)
Its cool but hw can I start such
I am really pleased to read this web site posts which carries plenty of helpful information, thanks for providing such data.
Fastidious response in return of this question with firm arguments and explaining the whole thing on the
topic of that.
“I was excited to uncover this web site. I wanted to thank you for ones time for this particularly fantastic read!! I definitely savored every bit of it and i also have you saved as a favorite to see new things on your web site.”
נערות ליווי בתל אביב
I’m impressed, I have to admit. Seldom do I come across a
blog that’s both educative and engaging,
and without a doubt, you have hit the nail on the
head. The issue is something that not enough men and women are speaking intelligently about.
I’m very happy that I came across this in my hunt for something concerning this.
Thank you for updating us with the outcome.
Hi there, after reading this awesome article i am too happy to share my knowledge here with mates.|
I have come across this article and it is the best of its kind.
you have an excellent
write-up and your content word & idea are self-explanatory and good for one to read….
Can you please tell me how I can build my website as yours Thank You?
This blog very nice and informative. Thanks for sharing this blog. I am waiting for your next articles. Keep it up quickly.
PG SLOT, the most attractive online slots game that is number one in the slot game industry in Thailand Which is very popular among the slot players in Thailand. PGSLOT consumes up to 70% of the slot game market percentage from all slot players in Thailand, which the new PG slots website is hot like COOKIESLOT of We are another website that takes care of and provides a full range of PG slot game camps. You can be confident that your PG slots game will never be the same again. Support for mobile slot games, including a full-featured slot play application fome123
Aside from loosened up muscles, your temper will likewise improve, hence furnishing you with an unwavering discernment.Visit b 2 b massage
Our centre has all the best equipment and highly trained staff, which makes it a complete solution to your body spa and massage needs.Visit body to body spa in Bangalore
Relax in isha b2b spa Bangalore’s best Spa Centre. It has been providing services since many years in india, to help people lead a comfortable and relaxing lifestyle.Visit massage center near to me
Instead of being treated as a luxury spa treatment, the We people view their traditional Thai massage as an essential therapy to promote wellness. Visit body massage spa near me .It is a practical way to relax the whole body that is in line with the main pillars and principles of Thai medicine.
Awesome website!
Thanks for the info!
Keep going!
Love this fun craft! You make it look so easy I want to try it. Thanks!
do you sell this kit?
What type of yarn did you use? What are the shades please. Thank you have a lovely rest of your day