It’s time to get the good china out. Or in our house the ‘styling’ tableware. The stuff I only use in photo shoots because someone can’t be trusted with breakables and a tiled kitchen floor. But I throw caution to the wind at this time of year (which is probably not the only thing that will be thrown.. Me? Bitter? No, of course not…)
Usually I cover the table with a big white tablecloth and set up over that, but this year I actually have a table to be proud of. It gets so many positive comments from all our guests, so it doesn’t seem right to hide it away. Saying that, I don’t want to leave it completely exposed. I’m still a bit overprotective. So I believe I have come up with a healthy compromise.
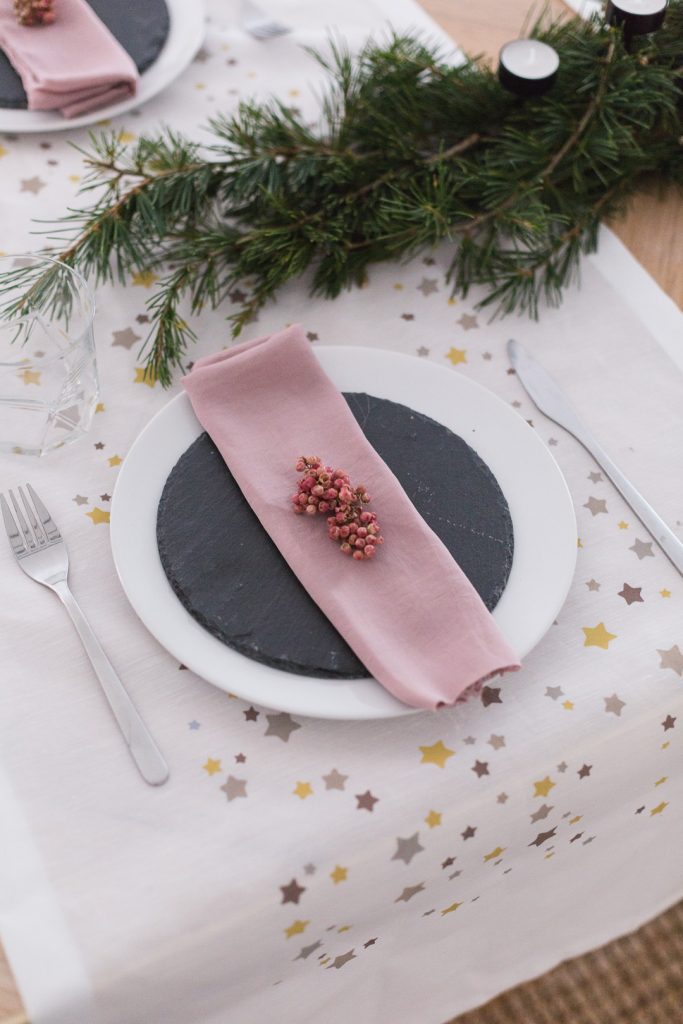
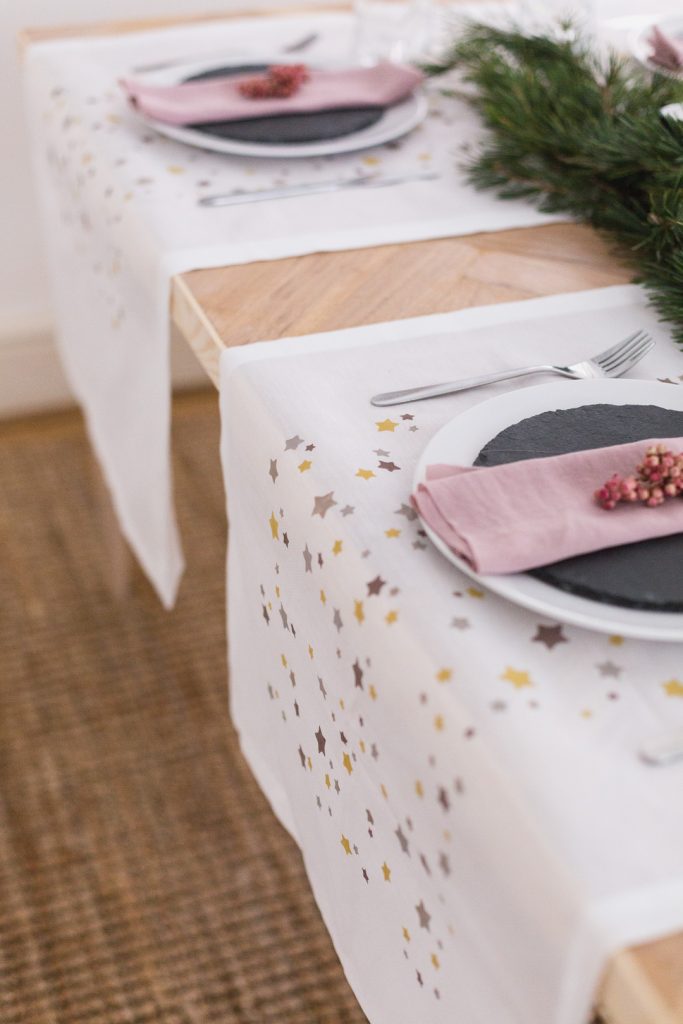
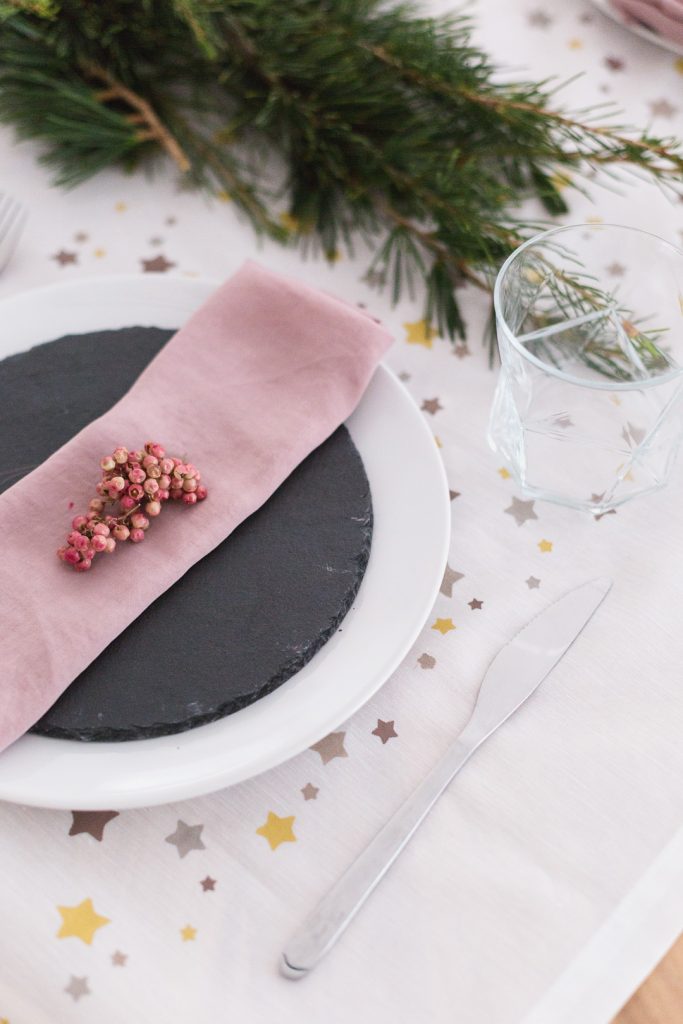
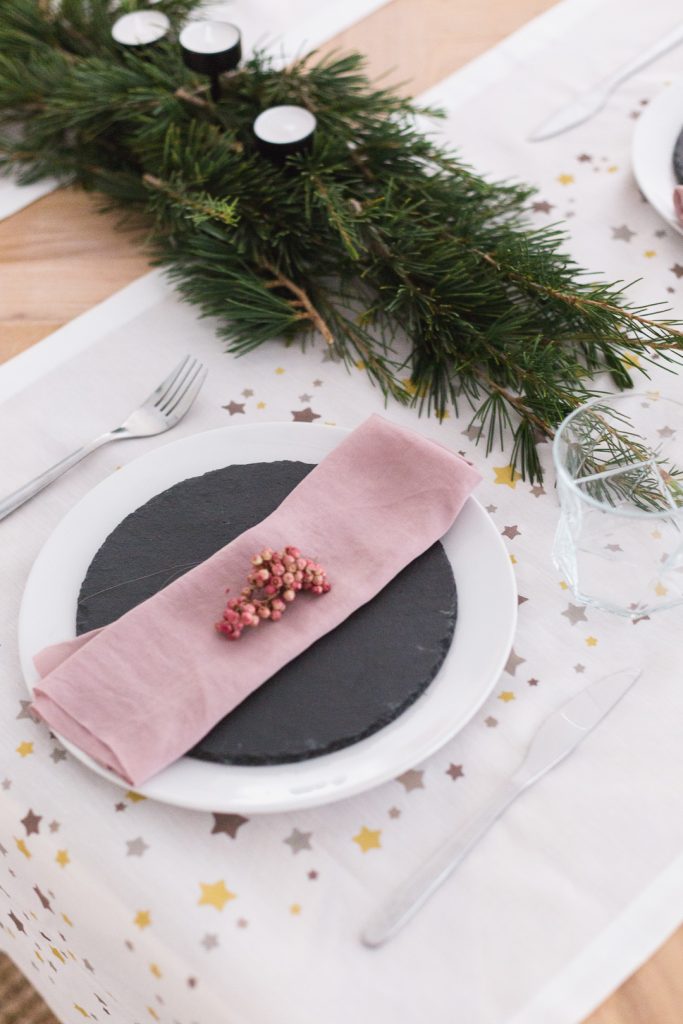
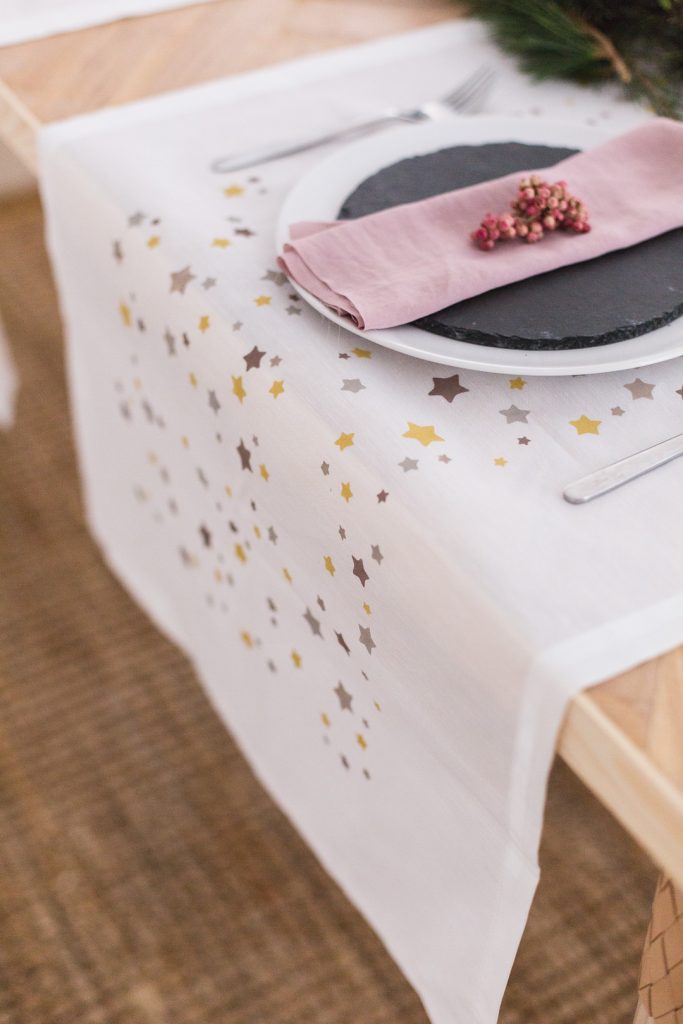
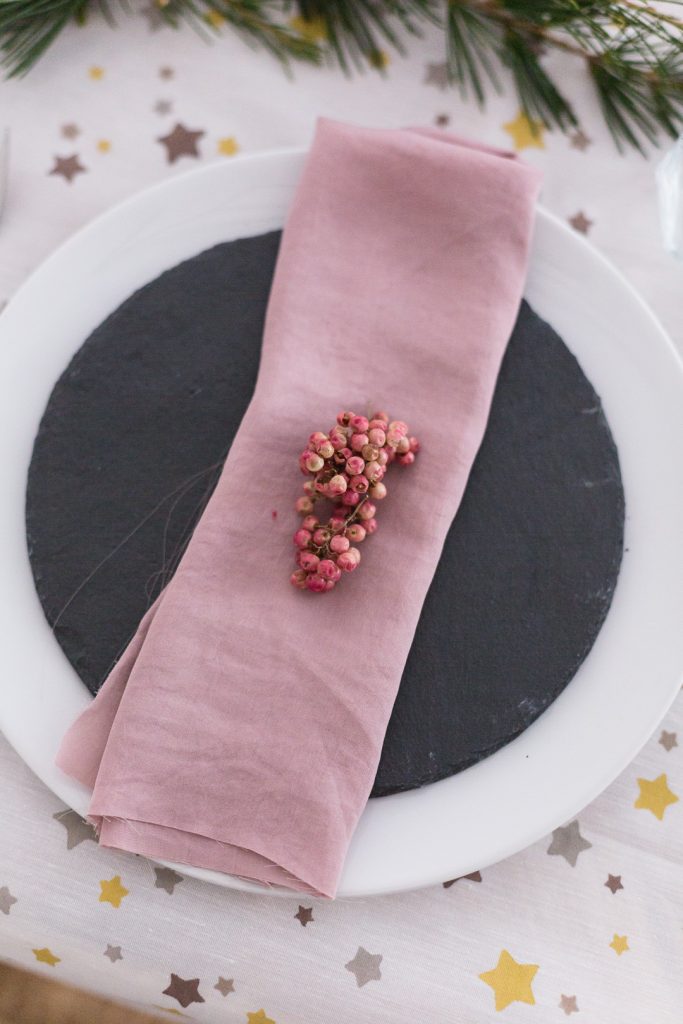
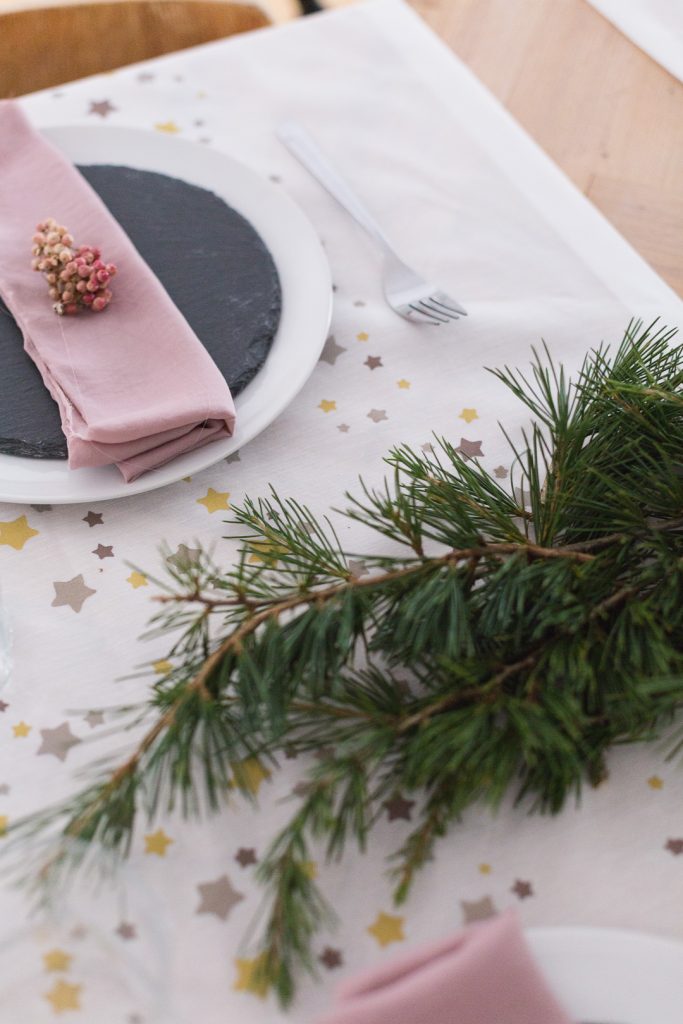
I’ve printed my own festive table runners using Vintage Paints. Grand Illusions paint range has a high chalk content which makes it perfect for this application. The paint is thick enough to use with a stencil without bleeding, but not too thick to crack once dried. The result is a lovely soft print!
You could of course use this technique on a traditional table cloth – perhaps along the middle as a built in centre piece. I’ve printed two runners (made from strips of fabric with the edges hemmed) to lay them across the table. This is a great way to protect the table and show the beautiful wood underneath! Watch the video below for the tutorial and read more detailed instructions below
This post has been sponsored by Grand Illusions. Thank you for supporting the companies that support Fall For DIY!
Materials:
- Grand Illusions Vintage Paint
- Table runners or Cotton fabric
- Vinyl (sticky back plastic)
- Craft knife or punch
- Sponge brush
Instructions:
1. Cut out the stars in your self adhesive vinyl. You can also use punch stamps or a dye cutting machine to create the template.
2. Peel the sticky side from the backing paper and place it in the middle of your table runner. I like working from the middle to get even coverage. (You can buy table runners or easily make sure own from strips of fabric. Just hem the edges and press.)
3. Smooth over the vinyl until it is all secured to the fabric. Dip the sponge brush into the paint taking care not to get too much on the sponge.
4. Carefully dap the paint over the star shape. Dab straight over the star and make sure not to wipe the paint as you risk catching the brush on the shape.
5. Wait for the paint to dry (or use a hairdryer if you have no patience like me!) then slowly peel back the vinyl to reveal the pattern.


This looks so beautiful and am very impressed. Also i want to share freevbucksblog this info for them who wants play the robux game.
Our centre has all the best equipment and highly trained staff, which makes it a complete solution to your body spa and massage needs. Visit our spa today if you’re looking for the best and most ideal spa in Bangalore.Visit 24 hours massage centres in Bangalore