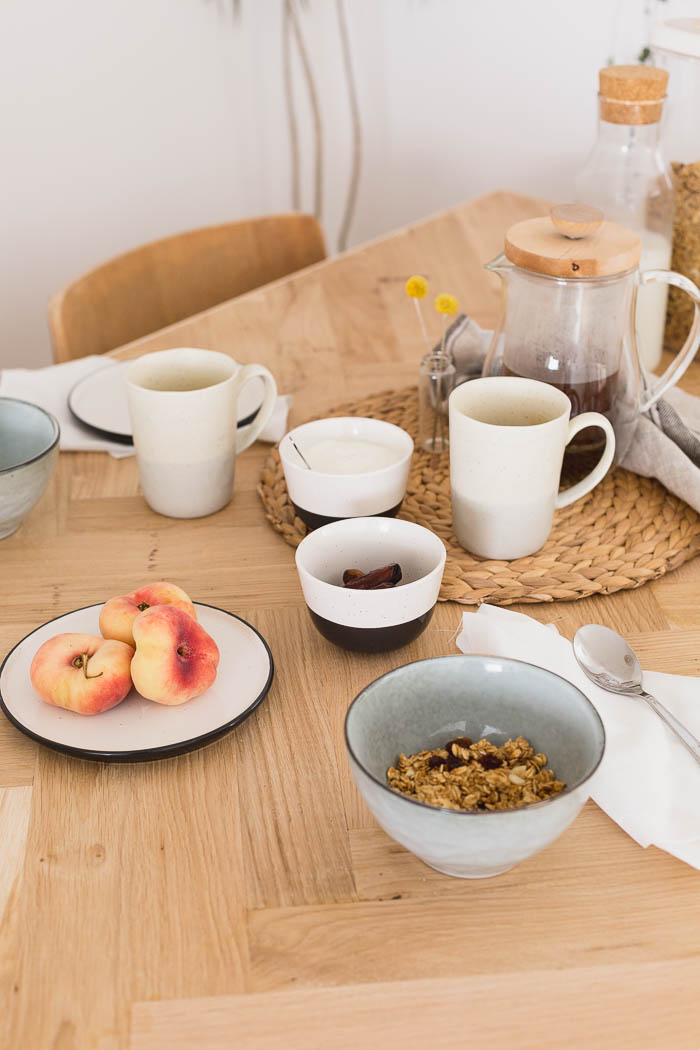
Ollen has had many ‘firsts’ this month. He’s cut his first tooth, said his first word (yes, I’m counting mamamamama), crawled for the first time and had his first meal sat at a table. That last one doesn’t usually come in the set of baby milestones, but I was probably more excited than I should have been about the whole event. I’ve been working for months to make this happen. Ollen is at that lovely phase in which he either wants to be held or rolling under the sofa, so getting any work done is tricky, let alone woodwork, which involves making noise/dust/lost limbs if you don’t pay attention. Let’s just say it’s been a labour of love (and late nights)

Saying this I have used a few items that have been a godsend to get the table completed. Full disclosure, I have been sent some items free of chanrge to use and share with you. I’ve specified these in the materials list below using c/o, but these are all products that I would definitely buy myself to make this table.

Materials
+ Oak parquet flooring (c/o Direct Wood Flooring – they sent me this for my bedroom floor and I had some left over)
+ Table legs (c/o Prettypegs)
+ Ferm Electric Mitre Saw (c/o ManoMano)
+ Royobi Random Orbital Sander (c/o ManoMano with battery and charger)
+ 18mm MDF 135 x 80 cm
+ 4m of 4cm Stripwood
+ 4m CLS Studwork Timber – 38 x 63
+ Wood Glue
+ Plastic Scraper
+ 75mm Screws
It’s a long list but you can buy it all in one go or do as I did and just get what you need as you go. If you’re going to spend a weekend working on this, then definitely save yourself time and get it all together! But if, like me, this is a longer project for you it is ok to just focus on one step at a time.
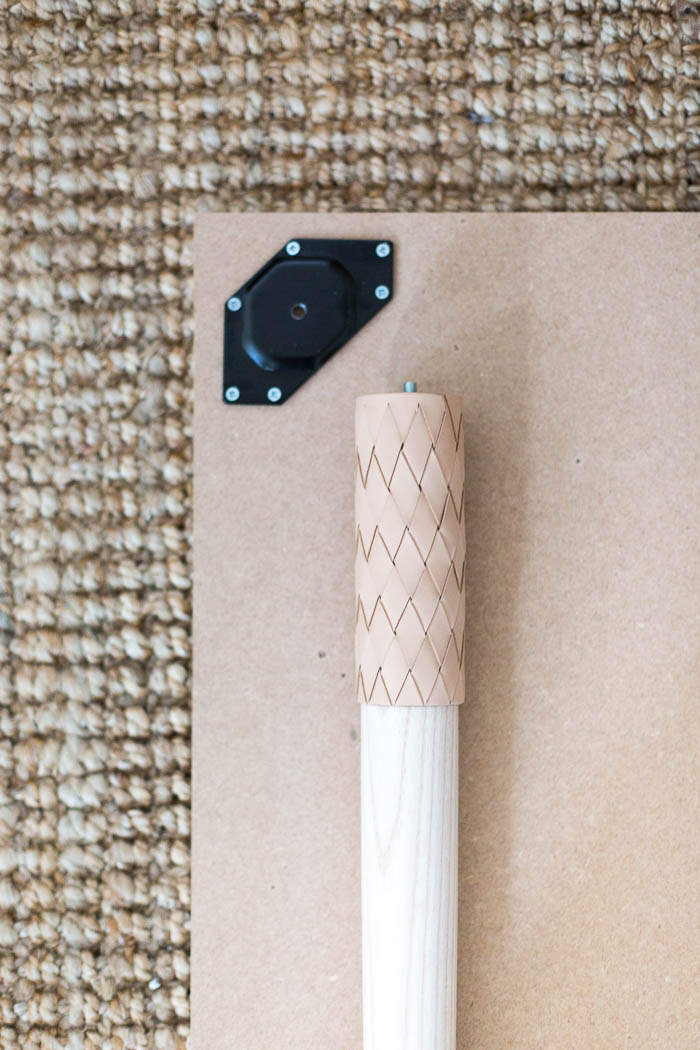
I’ve started with attaching the Prettypeg legs to the MDF board. You could leave this step until the end, especially if you don’t have a lot of space to work in, but I found it was easier for me to have the table set up to work on.
The legs are so easy to attach. You have everything you need included in the package. Attach the plates to the table using the screws provided. Screw the bolt into the leg and then twist it into the plate. You want to get it as tight as possible.
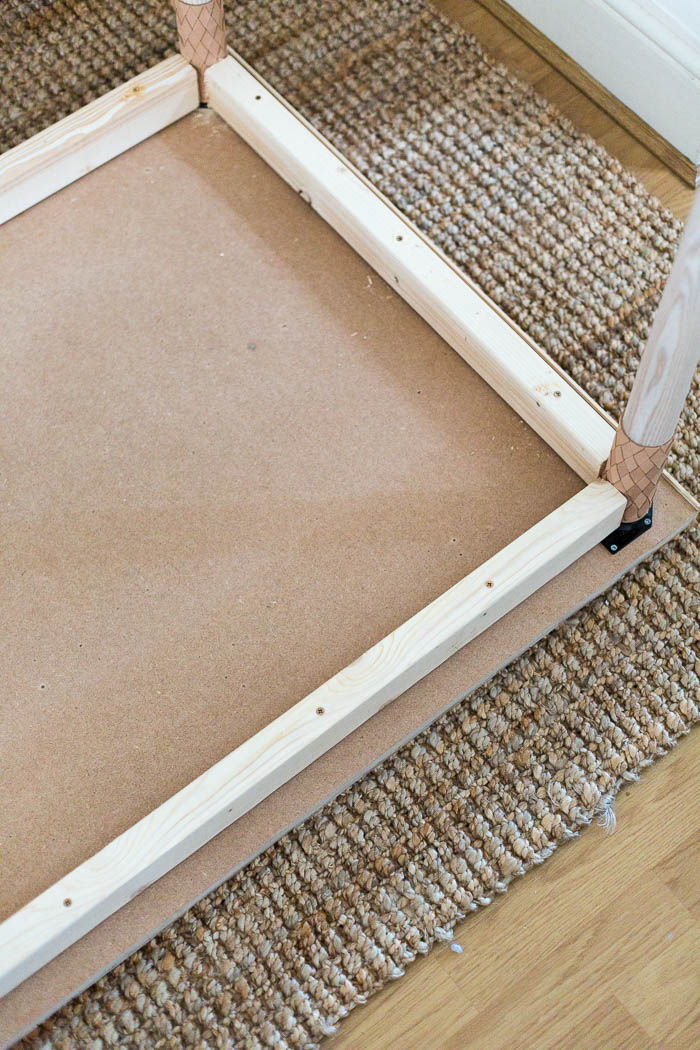
Once all the legs are on measure the distance between them and cut the CLS to size. If you need to, hammer the wood into the spaces between the legs. It’s good if it’s a tight fit as this will help to keep the table sturdy. Use the long screws to attach these to the table top.
Turn this over and you’re ready to get started on the parquet.
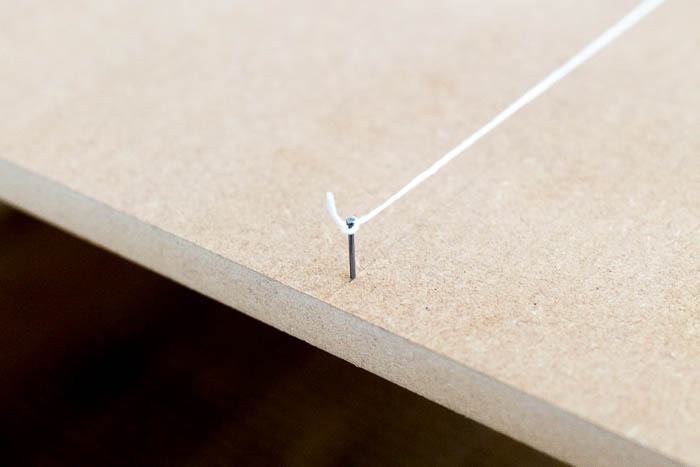
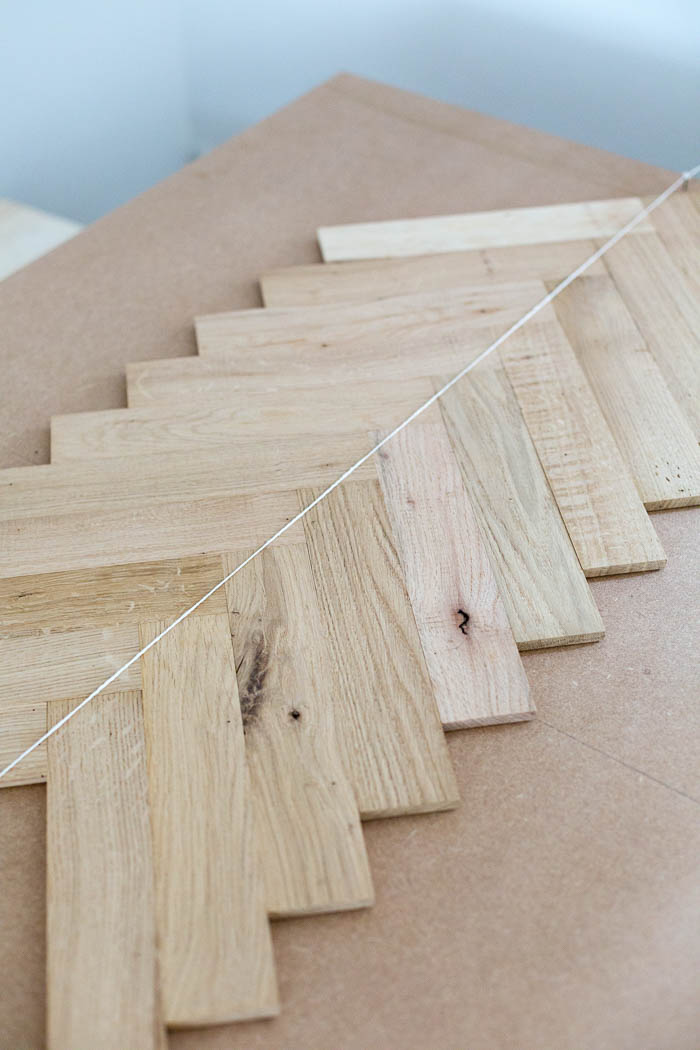
Find the middle of the table lengthwise and draw a line down it. Hammer two nails into each end at tie a piece of string to both. This line will help you keep the tiles centred.
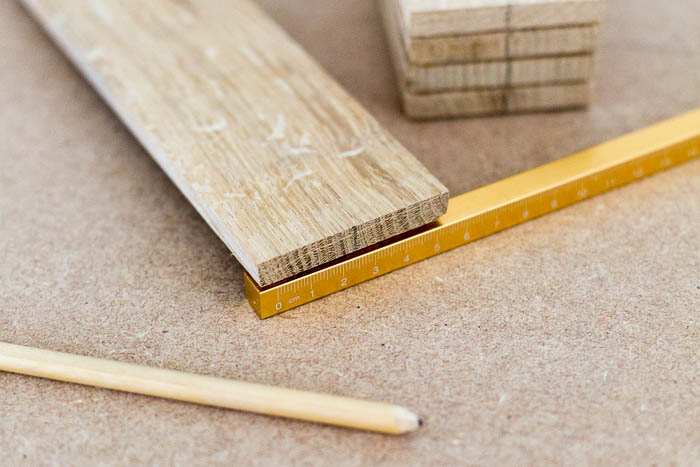
Measure halfway along the parquet tile and mark. Repeat this on eight to ten tiles.
Place the tiles on the table in the herringbone pattern. Line up the string with your pencil markings on each tile to keep the pattern straight. It’s important that you start perfectly as the rest of the pattern will be built around this.
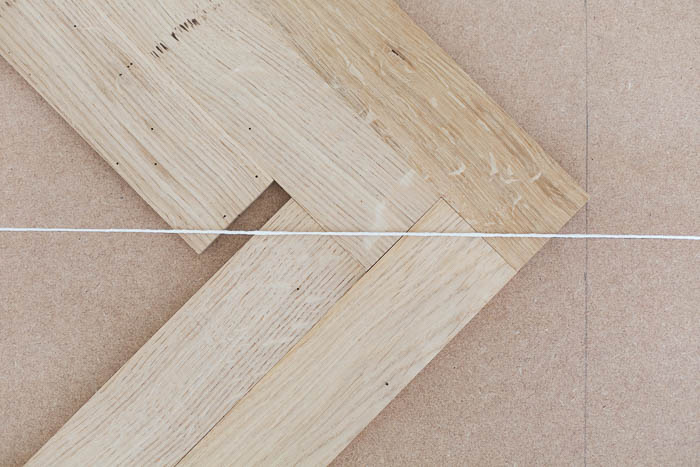
Use wood glue to secure these in place, then continue to complete the rest of the row until your tiles reach the edges.
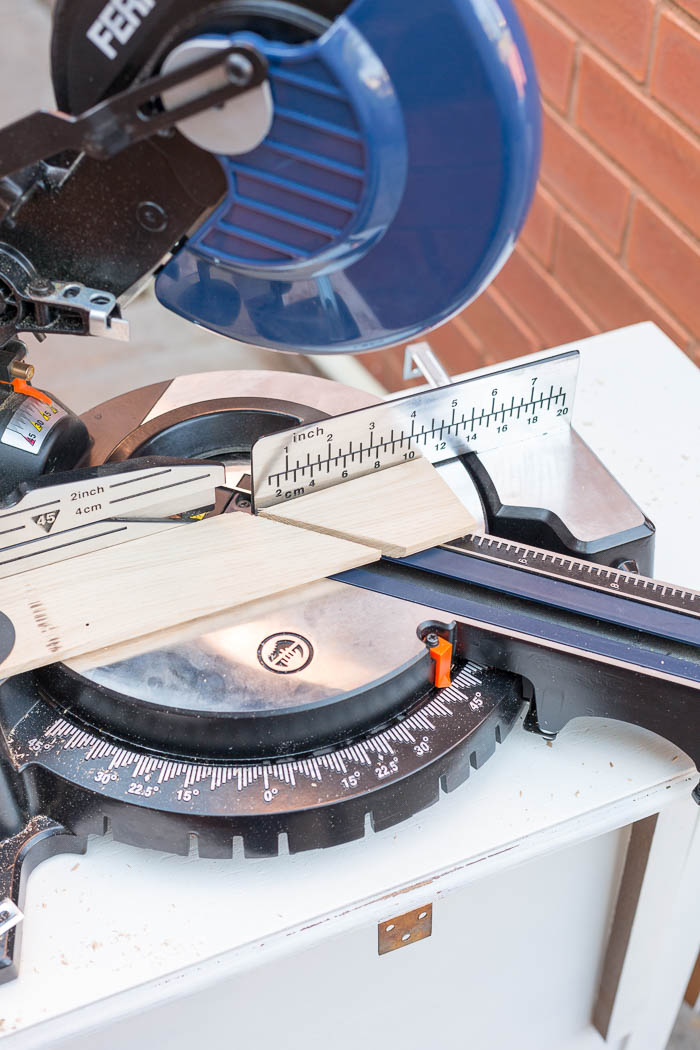
Let the glue dry so you don’t accidentally push these out of place. Then place the surrounding tiles in place on the table top. You’ll need to cut these – so mark off the cuts with a pencil and use the mitre saw to make the cuts. This Ferm mitre saw is a really affordable option and makes such quick work of these cuts. I wish we’d had this for our bedroom floor. It would have been so much quicker than using the jigsaw – and much neater!
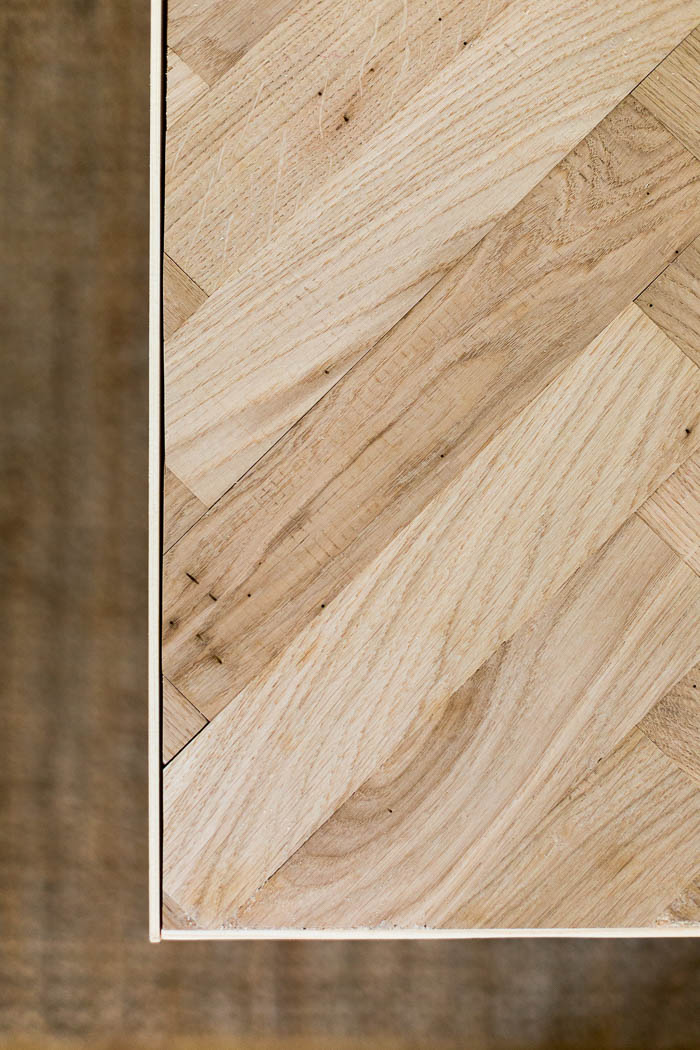
Glue all the pieces into place. I’m not sure if this is some kind of geometric mathematical pattern but the corners you cut off from the tiles are perfect for fitting into the small gaps left at the edges.

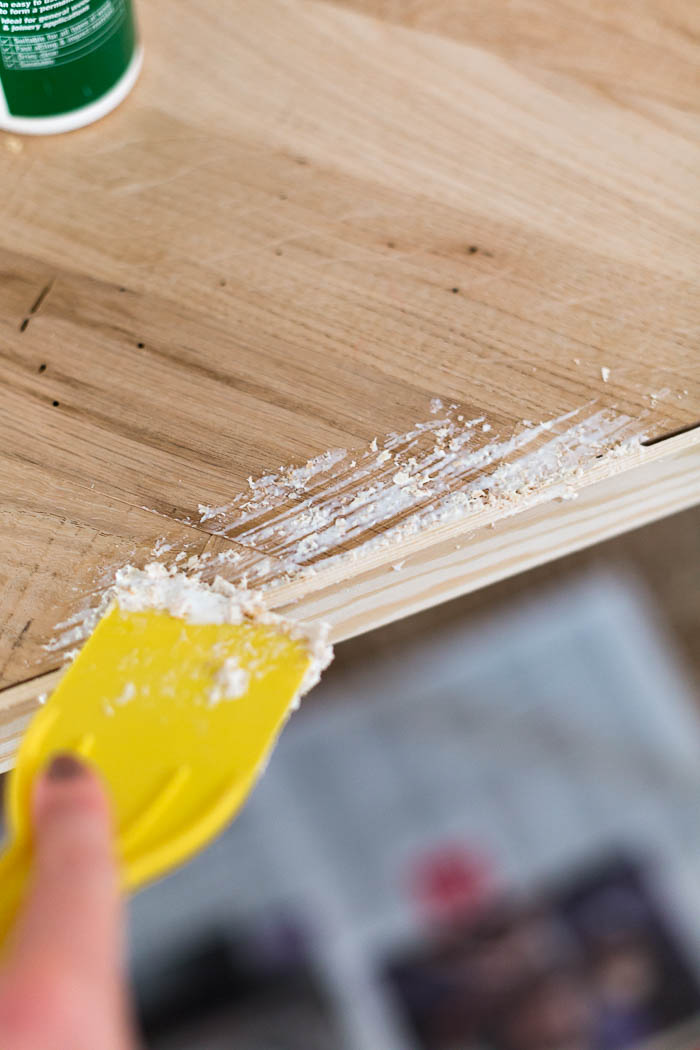
Cut the wood strip to size and glue onto the edge of the MDF. My table had quite a gap between the tiles and the edging. My measuring and cutting was off, but it’s ok. In fact even if you measure perfectly you’ll probably need to fill in some gaps on the table.
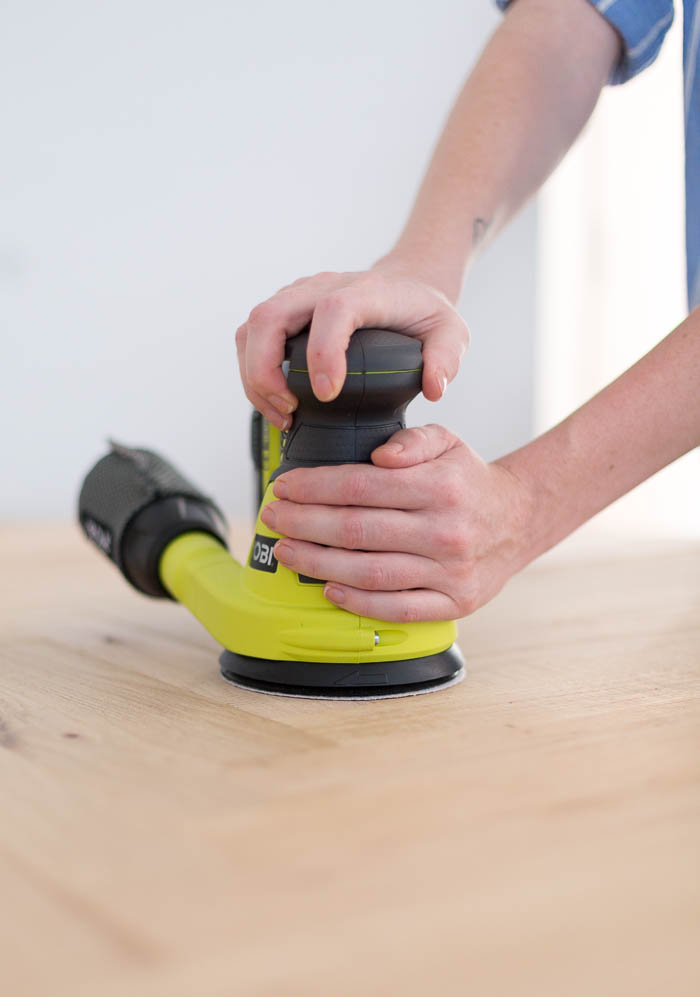
First of all sand down the top of the table using a rough sand paper. My Ryobi Orbital Sander is perfect for both the heavy and finer work here. If you’re looking for an all rounder this is the one you should get! Once the table top is smooth mix up the sanding dust with some wood glue to make a paste. Scrape this into any gaps around the edge or between the tiles. Once it’s dried sand over the glue to take off the excess and then the whole table with a finer sand paper. Make sure you remember to get the edges too.
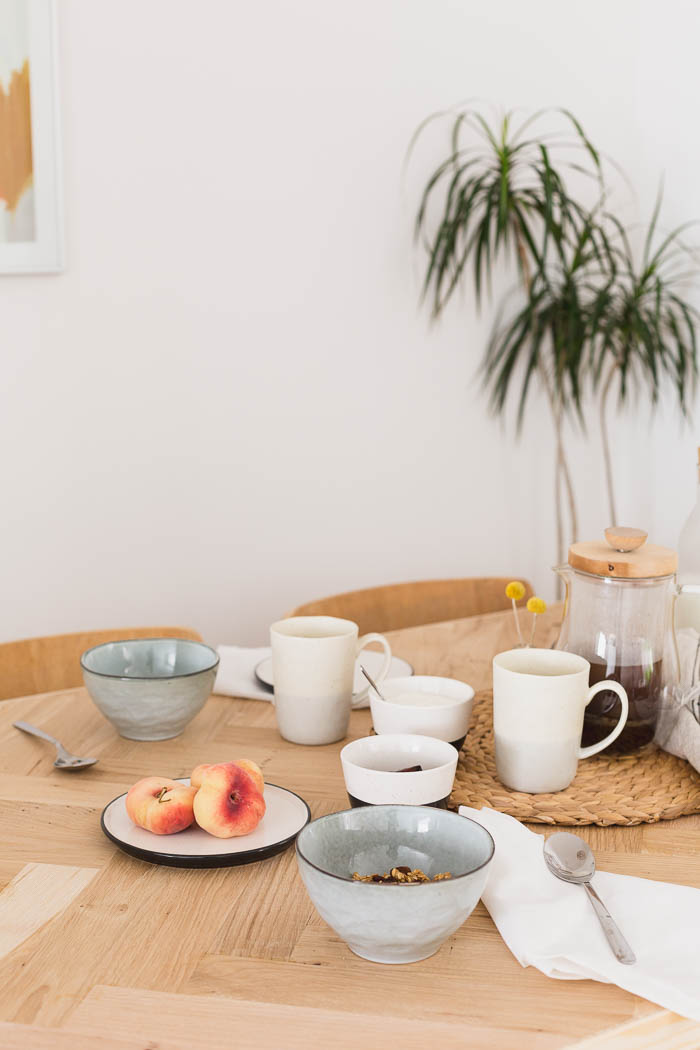
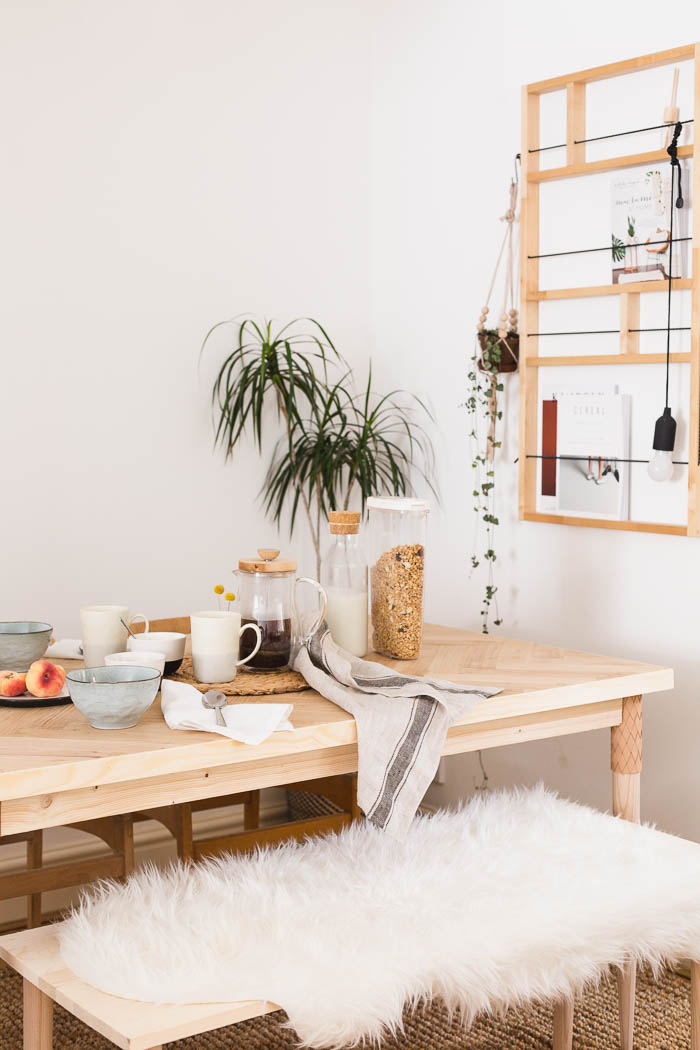
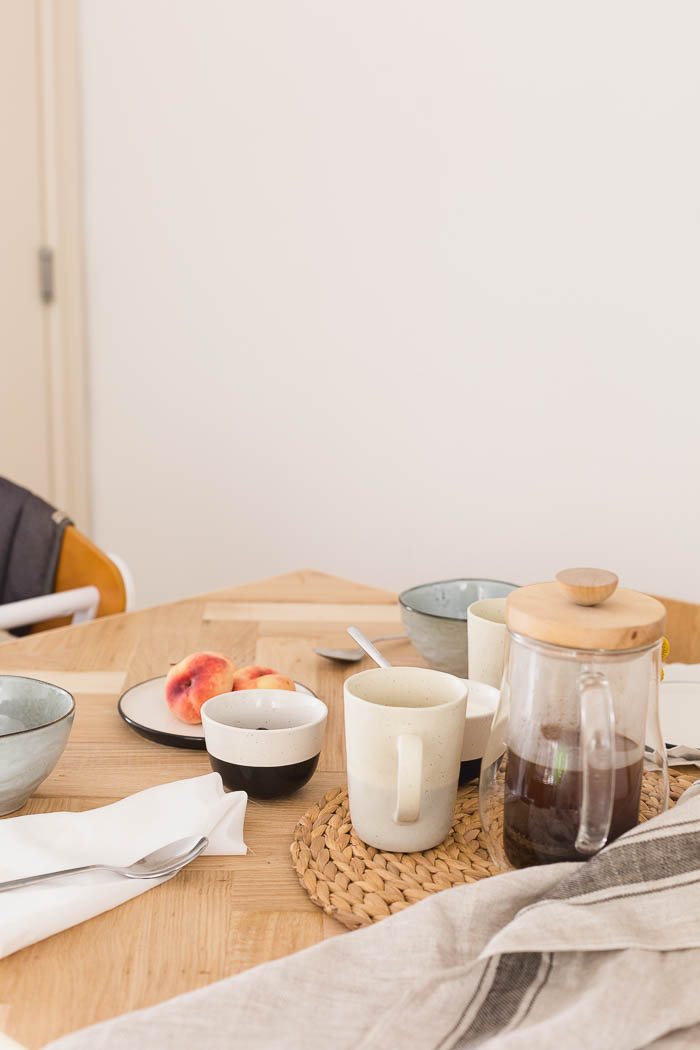
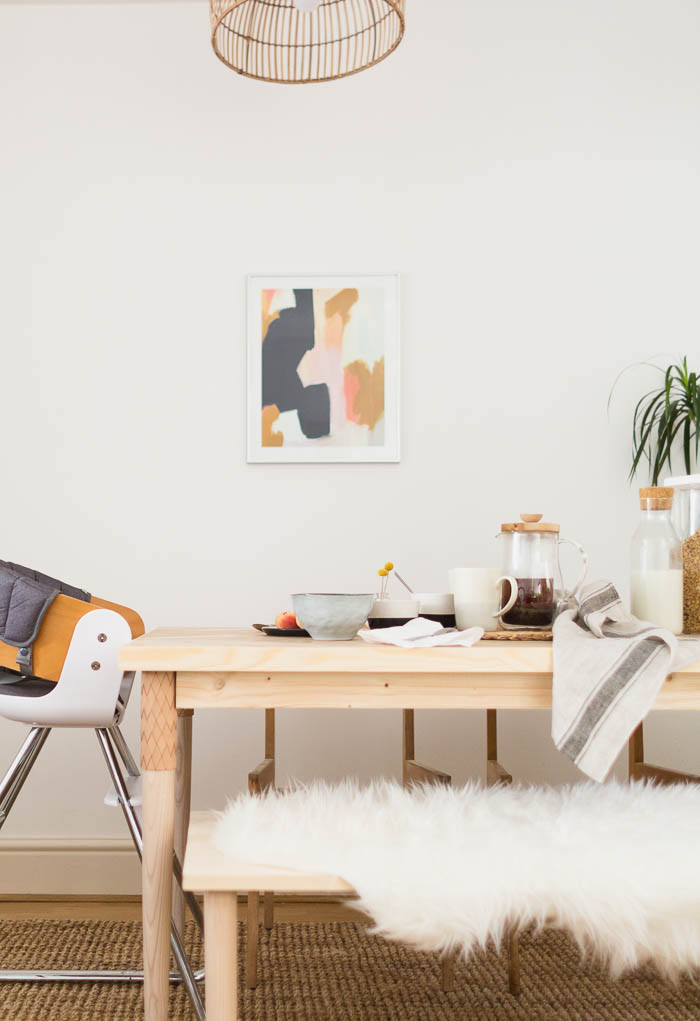
So now your table is looking pretty good! The last thing to do is to protect it from all the little (and big) spills with your choice of varnish/oil. I am using Osmo oil stain in white to keep the light to match the legs. I haven’t actually stained the table yet… It’s yet another thing I need to offload my child onto someone to complete, so we’re actually only using the table with a blanket and a table cloth for now. There’s no way I’m going to risk a spillage just before it’s finished!
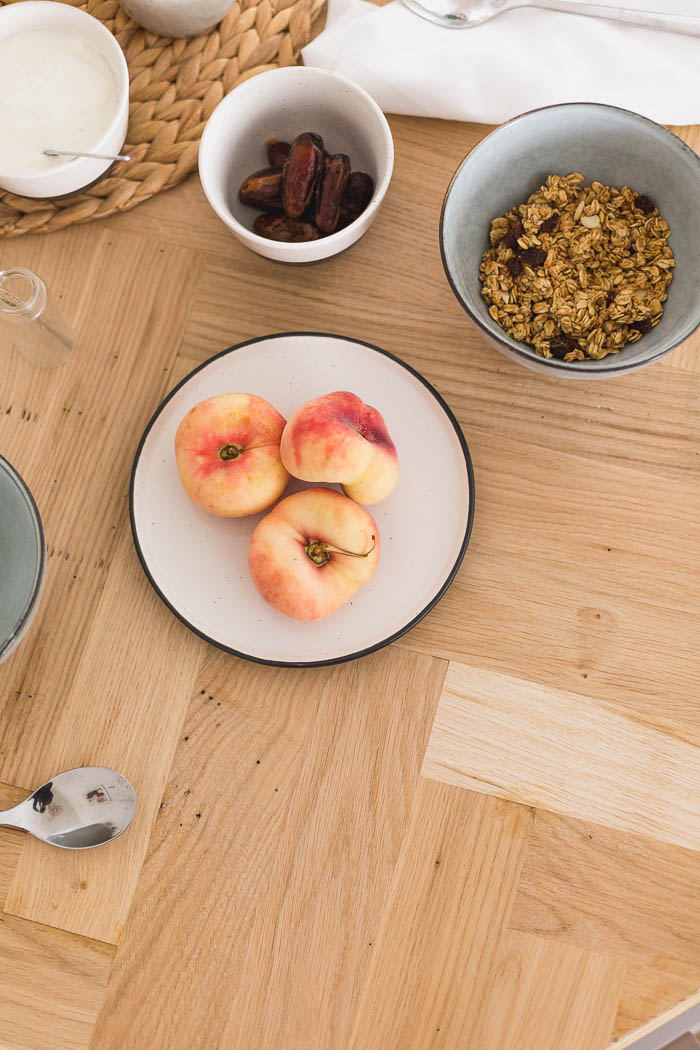
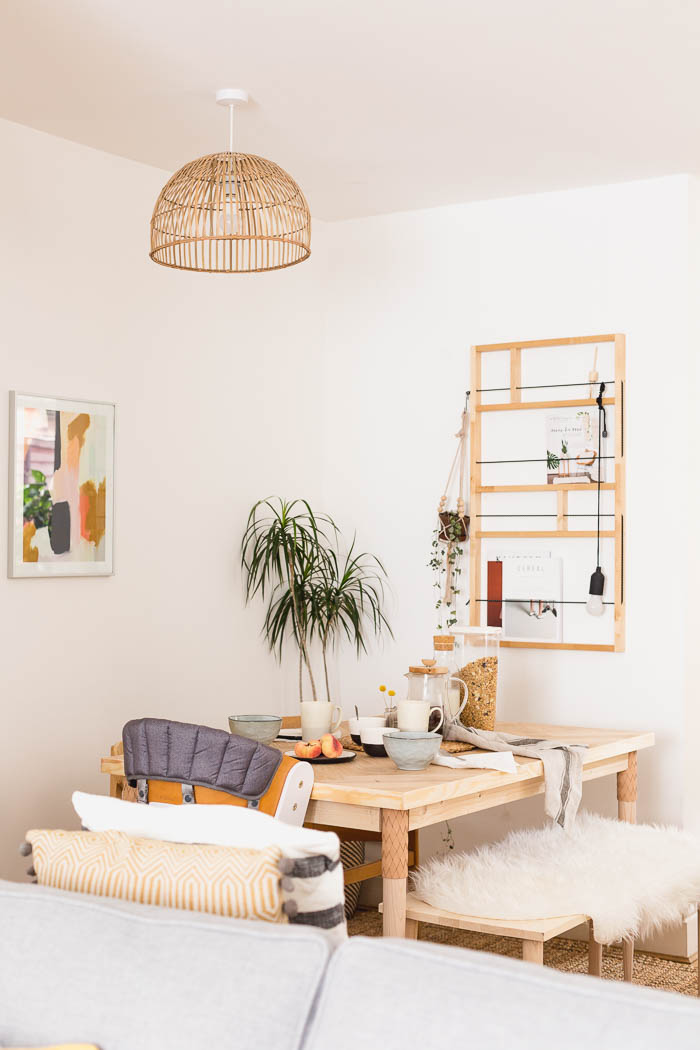
Even though there’s still the staining to do, I’m celebrating this one. We finally have a table to go with this DIY bench!


These legs are awesome! I totally need a table like this for when we move into our new house soon!
Paige
http://thehappyflammily.com
What a beautiful idea, I have never thought of using parquet for a table before. And those legs fit wonderfullly!
https://www.makeandmess.com/
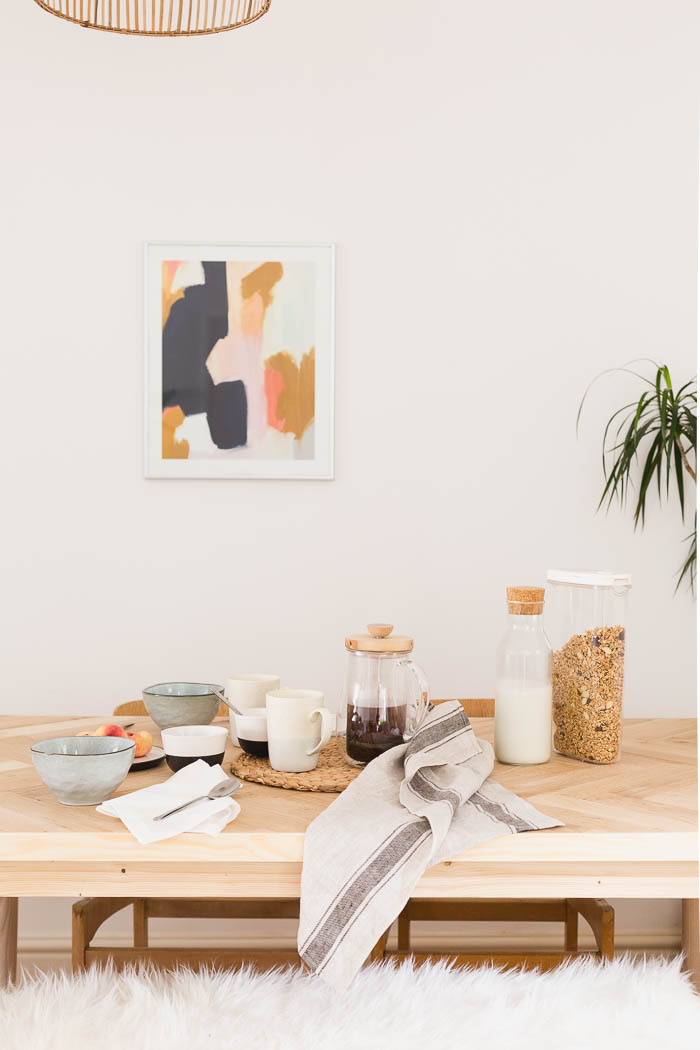
Okay this is insane, I really really really love it! The herringbone pattern adds such a nice touch of visual interest, whilst keeping it pretty neutral and subtle.
You make it look so easy – I want to chuck out my current dining table and make a new one now!
-Mike, http://www.thecraftygentleman.net
Wow really interesting article, may later be able to share other helpful information are more interesting. Thank you!
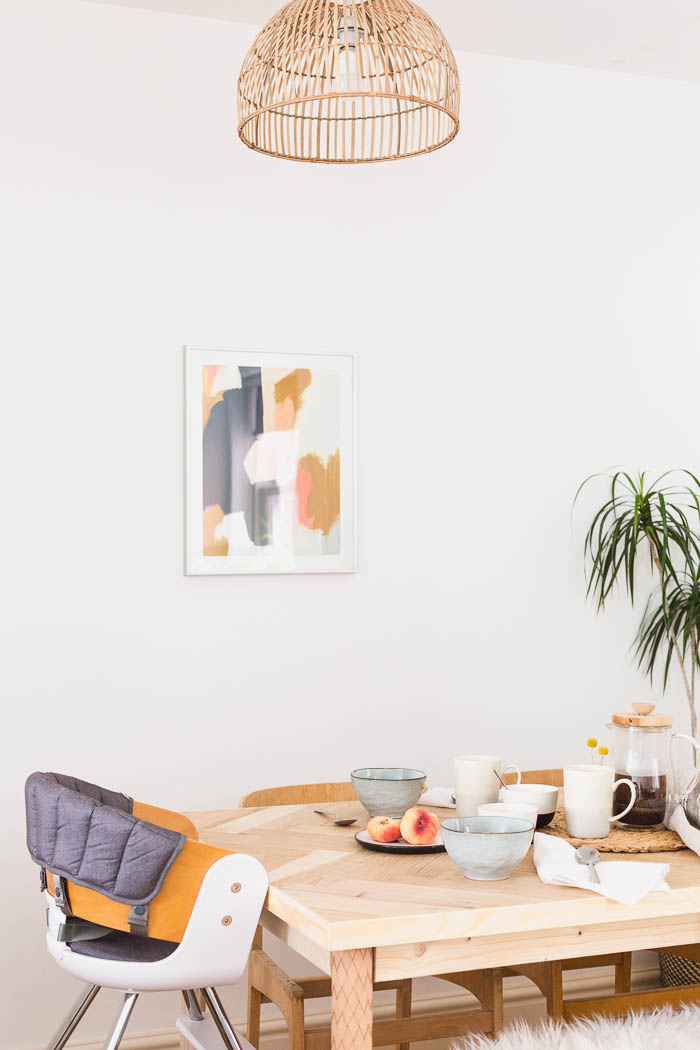
Love your light fixture! Could you please share where you got it? Table is amazing!!
Wow! I love the herringbone design, it reminds me of the floors we had while living in Germany. Was it heavy after completion? Thanks for sharing!
very good. Thank you for sharing!
This is really a great stuff for sharing. Keep it up .Thanks for sharing.
wow, creative and unique, thank you for sharing the way.
I visited to pretty pegs site in search for these pretty peg legs. The herringbone pattern adds such a nice touch of visual interest and its look very pretty and beautiful.
great article
wow, creative and unique, thank you for sharing the way.
I visited to pretty pegs site in search for these pretty peg legs.
I think you should, so read it and make conclusions. We personally bought. Good luck.
This is so beautiful! But something about where it’s placed in the room makes it look bad. I think it would look nice against the wall to the side of it with the bench on the outside, with the two chairs on the short ends of it. But that’s just me. I thought those were fold-up chairs at first. Really, really great work.
Where else may anyone get that kind of info in such an ideal approach of writing? You are Excellent.
Wow, this blog is awesome. Wish to see this much more like this. Thanks for sharing your information!
I want… no, I need a table like this where I can work smoothly. DIY the table.
Your blog is amazing in looks, and I love that you are starting your article with a Little cute flower. in fact, in Islam religion kids refer to haven’s flower.
Which types of woods would be the best to create this table?
The kitchen table is the heart of the home. It’s a place where we gather to enjoy meals with our family, celebrate a special occasion or work on a school project. Whether you’re looking for a casual and cozy kitchen table or something more formal, Ashley HomeStore has a great selection of dining room tables to suit your style.
Thanks for these ideas on DIY Parquet Table with Prettypeg Legs. You can get information on Write for us “Software” and post guest posts.
Astonishing! What a by and large differentiation to be consolidated here and to be significant for this thoroughly shocking neighborhood people. In case someone let me in on a half year earlier I would be in the position I am today by essentially taking a course called Connect With Anyone, I would never have confided in it
good article, thank you
Buy one of the many carefully crafted mens watches online to make your style look elegan .IT Solutions Company
Our centre has all the best equipment and highly trained staff, Visit female to male spa near me
Your blog https://vjackets.com/lady-gaga-top-gun-jacket is beautiful, and I adore how you begin each article with a small, beautiful flower. In reality, children in the Islamic religion allude to the flower of Haven.
I love your blog entry about Moving Day in Boston. It was exceptionally complete, and I value that you carefully described the why’s, the manner by which’s, and what’s of Moving and the city of Boston. Certainly an extraordinary read!
Charlie McGee Shearling Hoodie
I love your blog entry about Moving Day in Boston. It was exceptionally complete, and I value that you carefully described the why’s, Charlie mcgee shearling hoodie the manner by which’s, and what’s of Moving and the city of Boston. Certainly an extraordinary read!
My goodness, what we are doing to Mother Nature, environment is dying and so are we with it.
I don’t read articles online very often, but I’m glad I did today. It’s very well written, Shop Now The Sandman 2022 Dream Trench Coat at Hleatherjackets, Avail World Wide Free Shipping.
I never stop myself to mention some thing about it. You’re doing a remarkable process. Hold it up Star Wars Andor Outfits
It is highly informative and builds great interest for the readers. For the people like us your blogs helps to get ideal information and knowledge. Blade Runner 2049 Jacket
Great article! Your article is very helpful for me. I hope you will continue to write such good articles as well. USA Jacket
Outstanding writing, I love how well you placed each comma in the article, I love how you explained every detail and placed it in separate paragraph.
It this good to see that kind of blog. read it and I like it a lot. i’. I’m excited to announce to you that the new and trendy Bullet Train Ladybug Green Jacket Bullet Train Ladybug Green Jacket is now available. you can easily buy and make yourself look more attractive.
Excellent use of punctuation; I appreciate how each comma was put in the text. I also appreciate how each detail was described and given its own paragraph.
Love your post. keep sharing more like this and i would like to read post like this more and more.
cbd-care
It was very nice to read your post and it is really helpful for me. i would like to share it with my friends also.
Thanks for sharing this amazing and informative post. keep sharing with us.
B3 Men Shearling Aviator Bomber Leather Jackets
This is without a doubt the greatest post I’ve ever read. very easy to understand and simple. The middle section, however, is very fascinating. Continue on in this way. popular bomber jackets I’ll visit your website again.
Great article! All the articles you have, they enjoy reading and learning a lot. Your article is very helpful for me. I hope you will continue to write such good articles as well. Really enjoyed reading your blog.
Every one of our eateries in the states is open seven days a week and provides mouthwatering, freshly prepared seafood for lunches and dinners in addition to an on-site bar
May I thank you for this elegant and comprehensive post.
Such an informative post, I really like it keep sharing this type of amazing posts with us John Dutton Jacket
Thanks for sharing this amazing and informative post. keep sharing with us.
American leather jacket
love the content of this blog and the positive you have. Thanks!
Mens Steampunk Tailcoat
A great Website pinoy tambayan and pinoy tv show just on tambayann.me. then why are you waiting for ??
NBA Youngboy Jacket
Revenge Official Clothing Store + XXX Tentacion Clothing Store,You can buy Official Hoodies, T-Shirts,Jackets,Long Sleeves and More.
Thanks a lot for sharing. I love this post and hope you can write more informative blogs later. I will pay close attention to your update.
I appreciate you sharing this fantastic post. I adore your article. This website is really user-friendly and well done. Thank you for contributing your ideas. Welcome to see my
Website.
Such a great content. Very positive and informative. Custom Patches
A good website or latest content uploaded nice sharing website thank you check this leather jacket biker jackets
I like looking through a post that will make men and women think. Also, many thanks for allowing me to comment. Starter Jackets
Our Windows specialized team facilitates organizations around the world to transform and modernizes Microsoft workloads on the AWS cloud. We’ll provide you with the best services to achieve your modernize windows workloads goals and set you up for long-term success with the newest and maximum cloud-native technologies accessible.
Superb article, Each word of this blog is fantastic and great, Thanks for writing this precious post for us.
you stream IPL anytime and anywhere via live-streaming apps. Now cricket fans balance their work life and passion for cricket and know How To Watch IPL 2023 Live on Mobile Free ?
I’m very glad to see that this article has stimulated you and it’s been a really informative article. I hope that you continue to read more articles from us in the future.B3 Aviator Leather Jacket
Thank you for sharing your experience, it is very interesting. As a professional, I think your post is very informative and I have learned a great deal from it. b3 aviator brown leather jacket
You can also get this service from an online app where you can get plenty of ideas, visit CMOLDS a leading mobile application development agency san francisco, visit them and become a part of a wonderful team.
I want to express my gratitude for sharing your thoughts and experiences with us. Your blog is not just a platform for information; it’s a source of inspiration and enlightenment. I eagerly await your future posts, as I know they will continue to expand my horizons and challenge my thinking
fancy women shirts
The Official Website of Chrome Hearts Fine Hoodies,T-Shirts,Baccarar,Jewelry, Accessories, Shoes, Fragrance & More.
https://chromeheartsstore.online/
Thanks for sharing this valuable content. We will keep follow you
Your article has given me some useful information as I search for a new coffee grinder. For a more reliable grind, I’ll make sure to take burr grinders into consideration.