There’s nothing more pleasing than a really great upcycle. I love creating these projects for a number of reasons. It’s great for the environment, even better for your bank balance and while you’re at it you are scoring some serious creativity points with yourself. But the best thing about a great upcycle project is that you finally put all those hours spent browsing Pinterest to good use. Meaning you can totally justify a little more time Pinning (including this post of course!)
My upcycled projects usually come out of either being unable to find exactly what I’m looking for, or being unable to afford it. When I get something into my head I’m like a dog with a bone. Which is why I love that my projects are about to get easier with a trip to ALDI. Now, when I’m picking up Ollen’s nappies (FYI new parents, ALDI nappies are the best!) I can swing by the DIY section and pick up everything I need from the new upcycle range. Launching on the 29th July is a whole upcycle range to get the job done! As if I didn’t love the mystery aisle enough already.
Included in this range are tools (I got an electric screwdriver that has all the heads you’ll ever need. Seriously, I’ll never use an allen key again), chalk paints, spray paints, fabric bundles, kits for stencilling, adhesives and even a mini bench grinder!
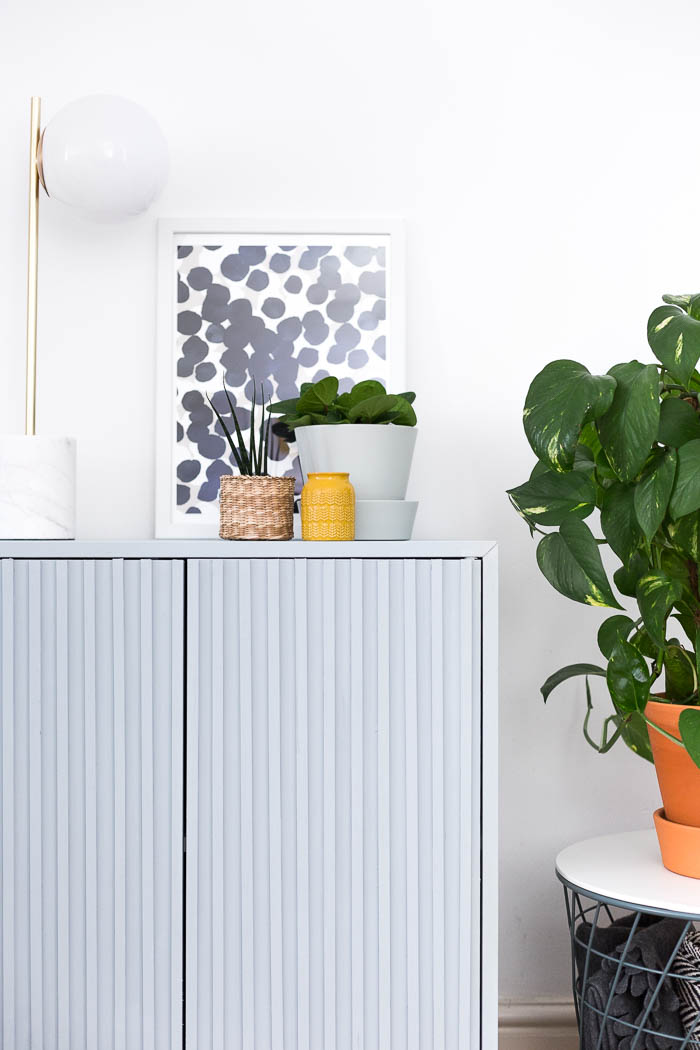
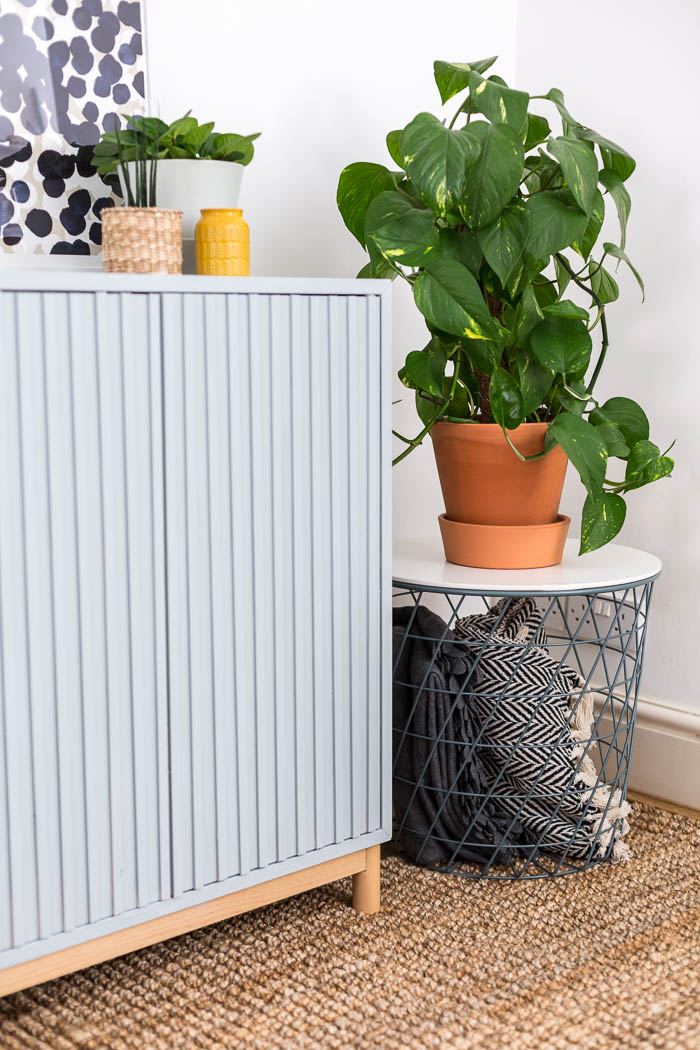
ALDI approached me to put their products to the ultimate test. They asked me to upcycle an item of my choosing and once finished sell it, with the profits going to ALDI’s choice of charity, The Teenage Cancer Trust. Now, I love a challenge, especially when it has a worthy cause behind it. So I’ll be auctioning a number of items over on my Instagram page this week, starting with this cabinet! This is collection only (from Birmingham, UK) but I’ll have more items that can be posted to the winner. So please, even if you can’t bid, go and follow me now and tag/share the posts so we can make as much money possible.
Since there can only be one winner I’m sharing with you the steps to make this cabinet yourself. So you can pop out to ALDI on Sunday, pick up the supplies and get making! Read on for instructions:
Materials:
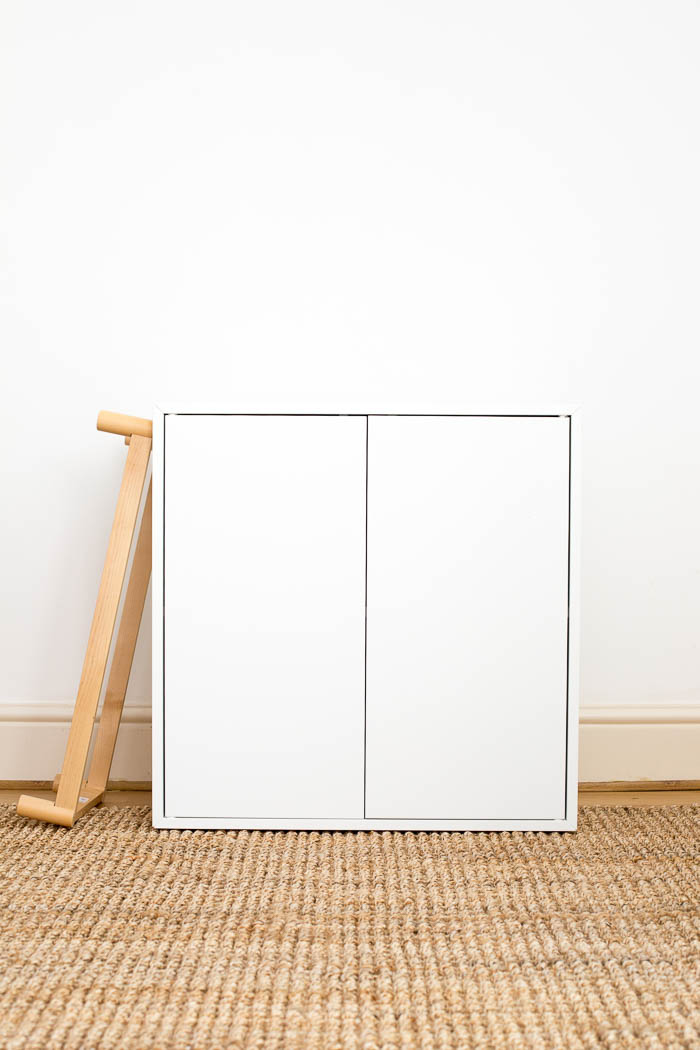
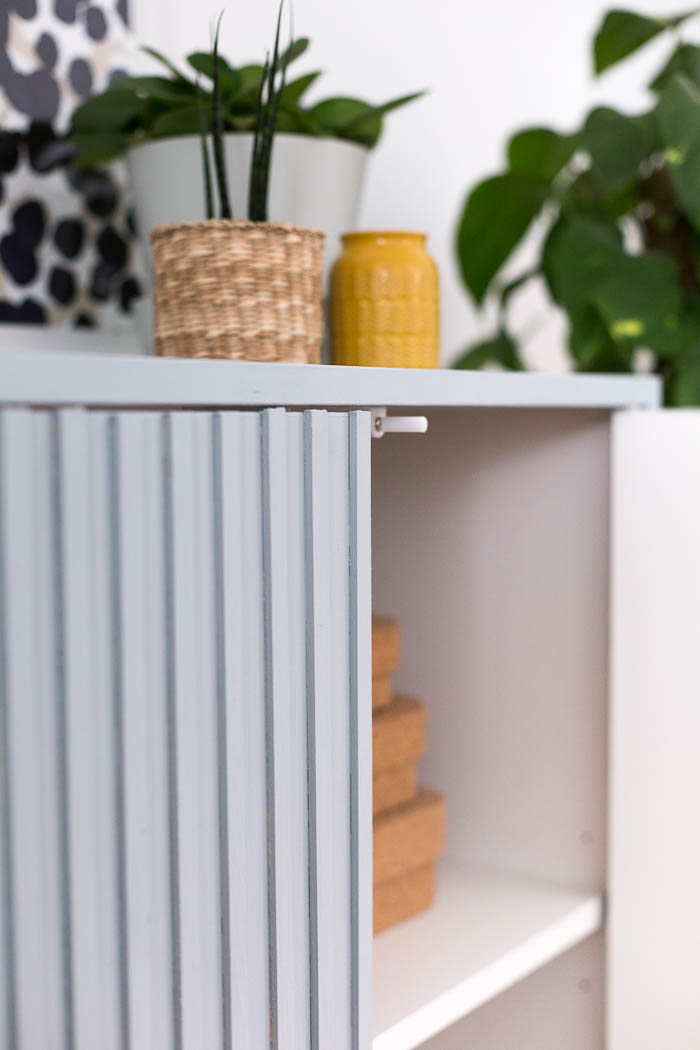
- Cabinet (I’ve used this one with push opening doors – you may need to add handles it you’re using something different)
- Chalk Paint
- Paint Brush
- Roller
- Gorilla Glue
- Wood Strip
- Furniture legs

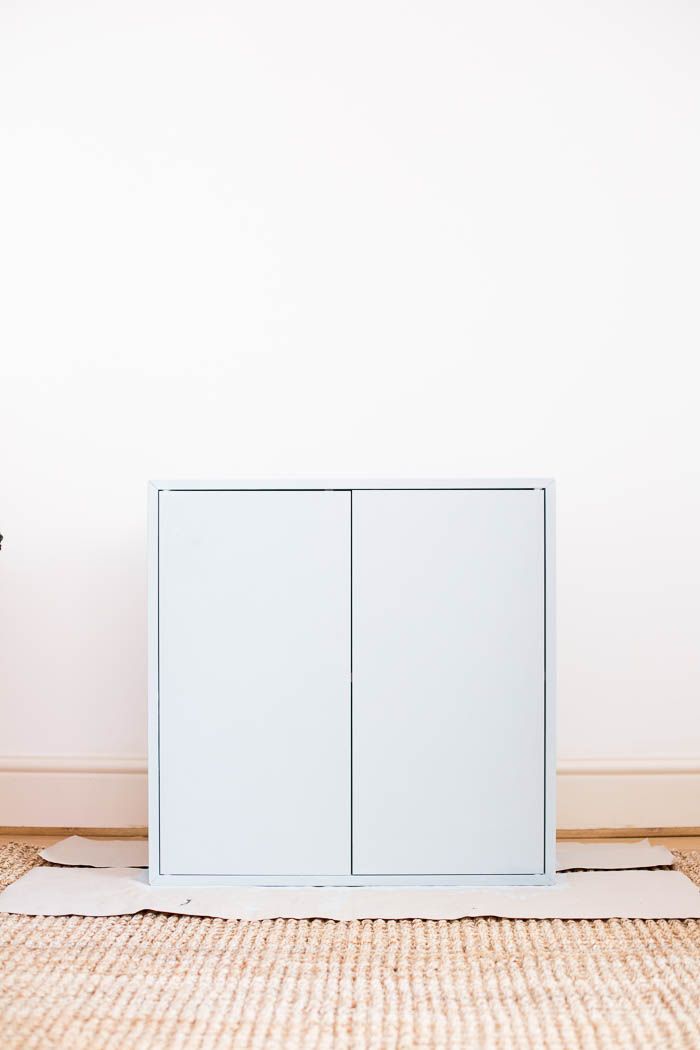
1. Lightly sand down the surface of the cupboard. You only want to create a rough surface for the paint to adhere to. Don’t worry about taking off any layers of veneer/varnish. I’ve mixed a little black chalk paint into the duck egg chalk paint to create this blue/grey colour. Paint on two to three layers of paint, letting each layer dry fully before starting the next.
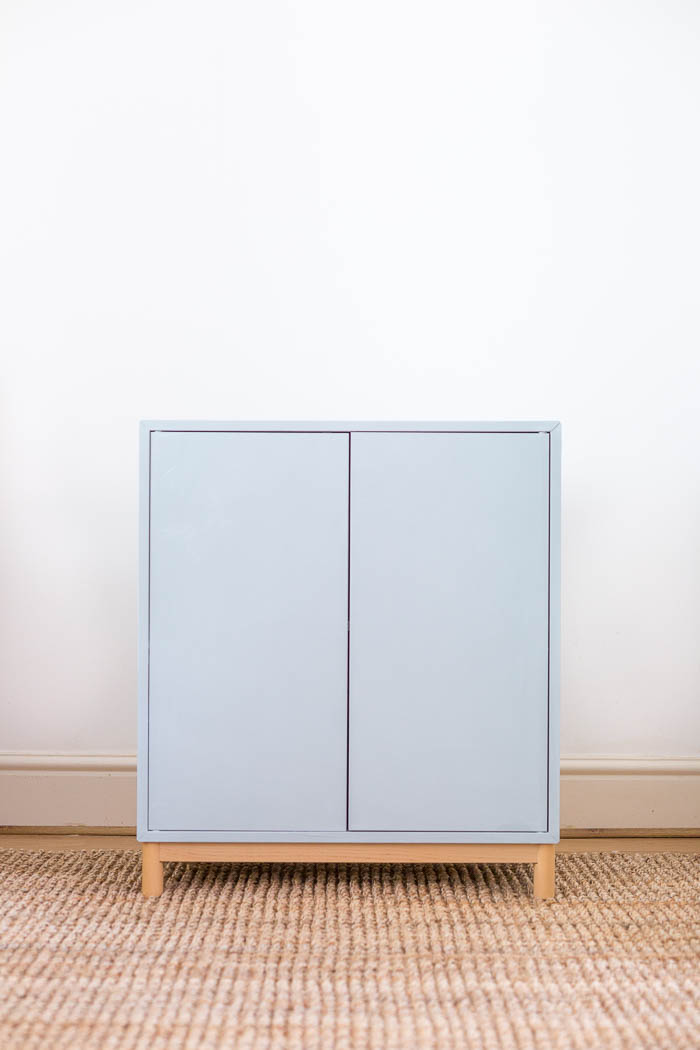
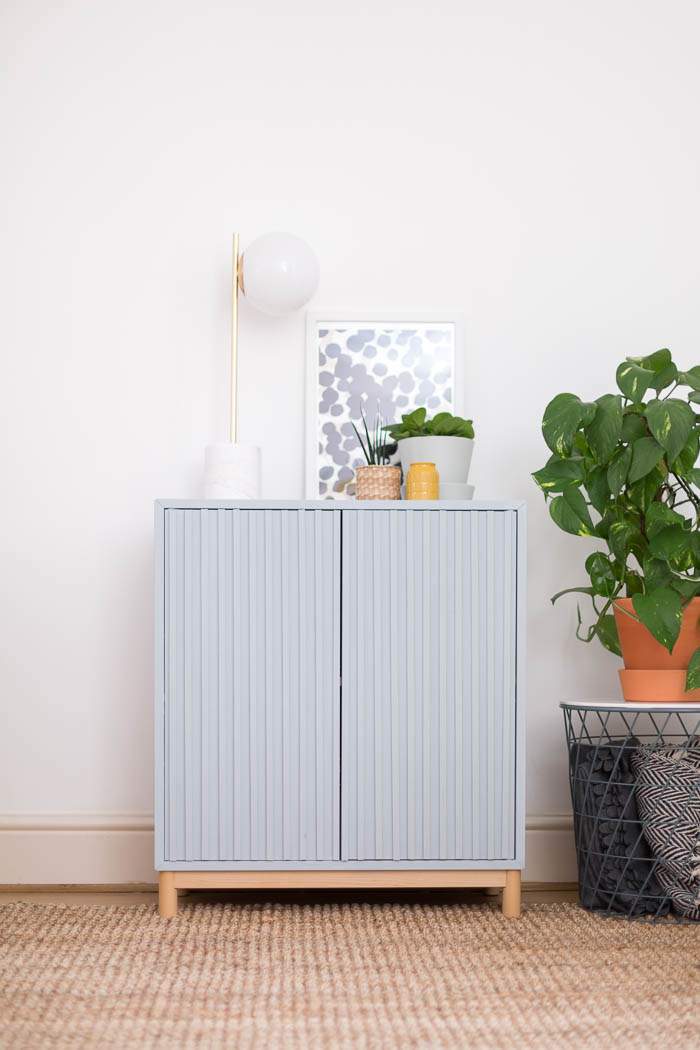
2. Once the paint coverage is even and dry attach your chosen legs to the bottom. I’ve used these ones but you can also find great legs for cupboards here.
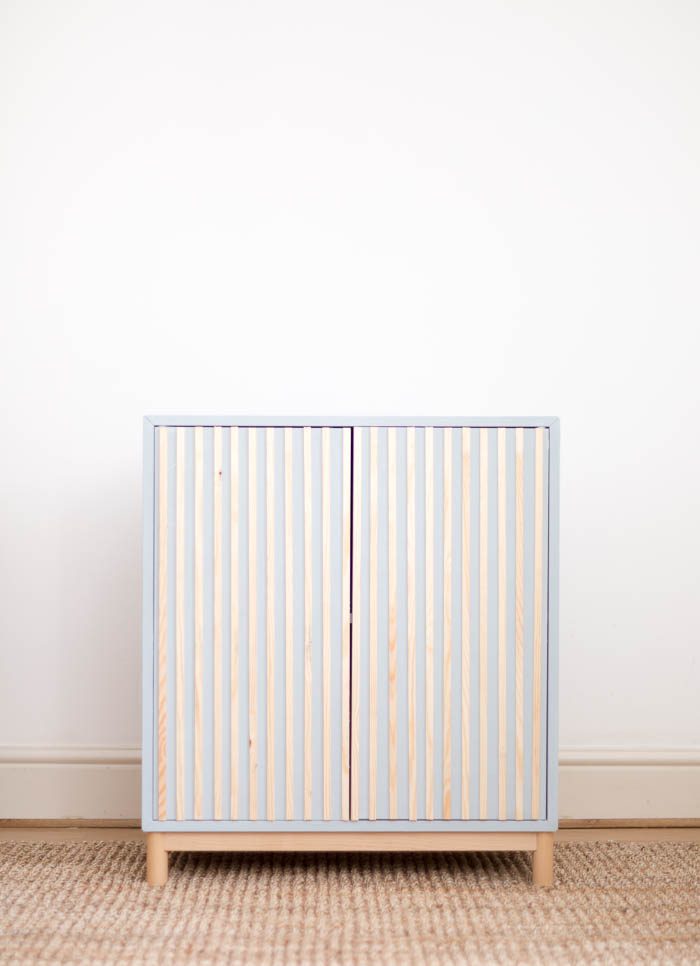
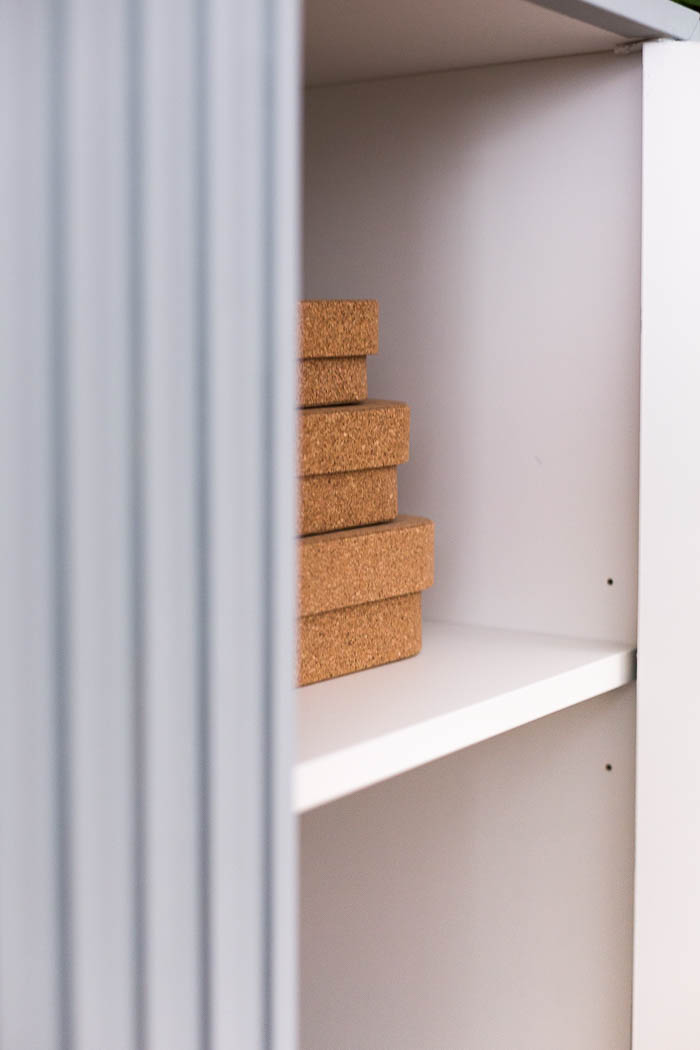
3. Cut thin strips of wood to the same size as the door height. Arrange these along the doors so they are evenly spaced and glue into place using Gorilla Glue (available at ALDI). TIP: Make sure your wood strips don’t stop you from opening and closing the door at the outer edge.
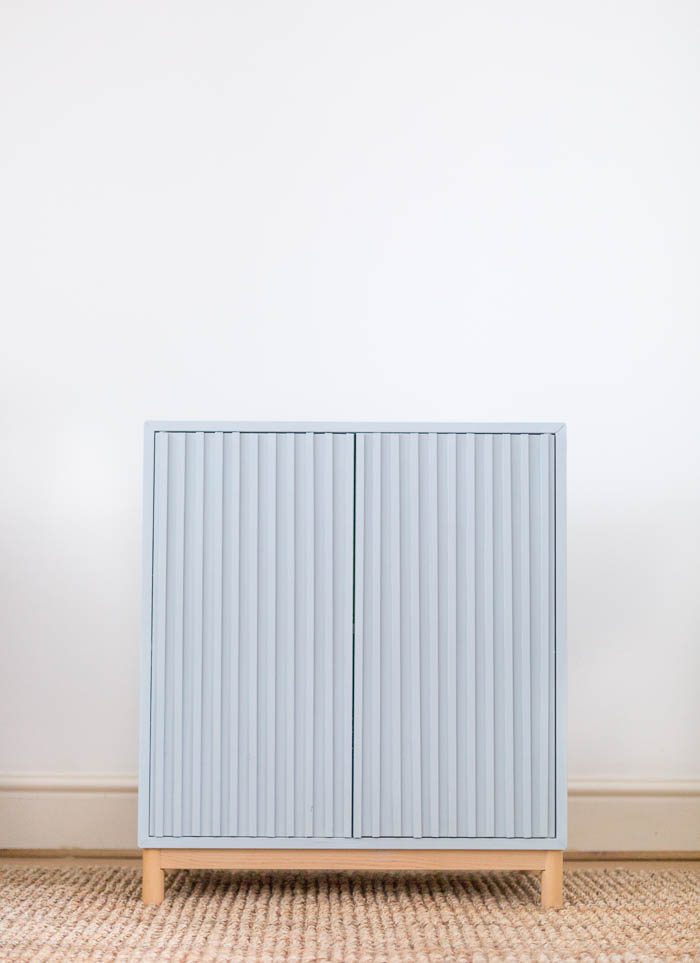
4. Once dry paint them with a couple of layers of chalk paint, ensuring you cover them fully at the edges.
*This post has been sponsored by ALDI. All opinions are my own. Thank you for supporting the brands that support Fall For DIY.


What an upcycle, it looks amazing!
https://www.makeandmess.com/
Wow, looks good, especially the end. I had been looking for that subject for a few times throughout the nest, however there was not anything valuable.
So pleased to reach your post at the end. I’m keen on that subject, and I want to be constantly
conscious of the most recent news. That’s a joy to read your
post and eventually clarify the issue myself.
I am into DIY and upcycling, too :) At the end of the day, it always feels great when you help others. It literally warms your heart..
xoxo Langston
I really like reading through a post that can make people think. Also, many thanks for permitting me to comment!
When repairing any room, do not forget about the most important final stage – your safety. Personally, it seems to me that no home can do without wireless interconnected smoke detectors right now. Smoke detectors or sensors are sensitive to smoke in the surrounding atmosphere, so you can sleep safely with them
You have been looking for an amazing place to get your massage service, but have you checked out our site yet? We provide the best service in city Visit 24 hours massage centres in Bangalore
After a scene in the newest Sex and the City spin-off showed Mr. Big suffering a fatal heart attack after riding a Peloton bike, the fitness brand made money off of using the star.