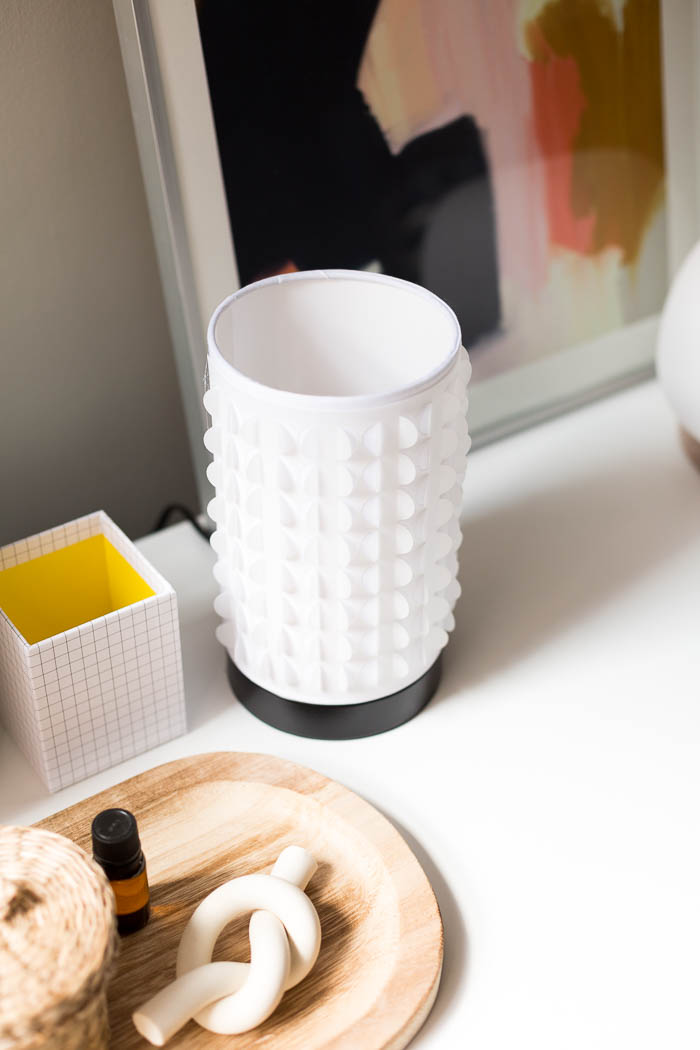
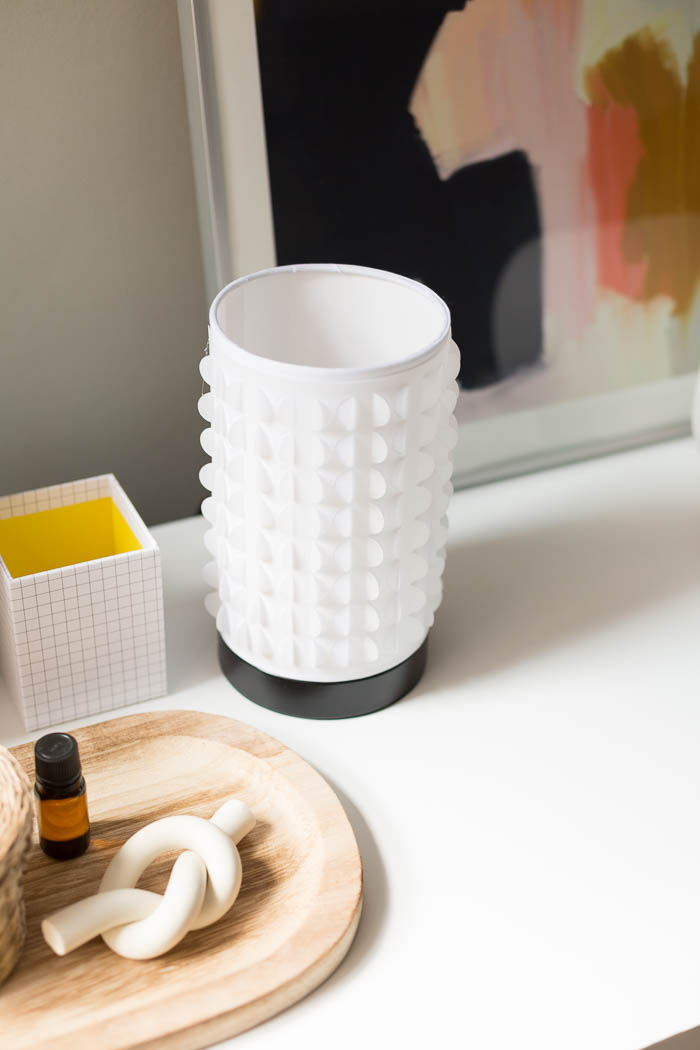
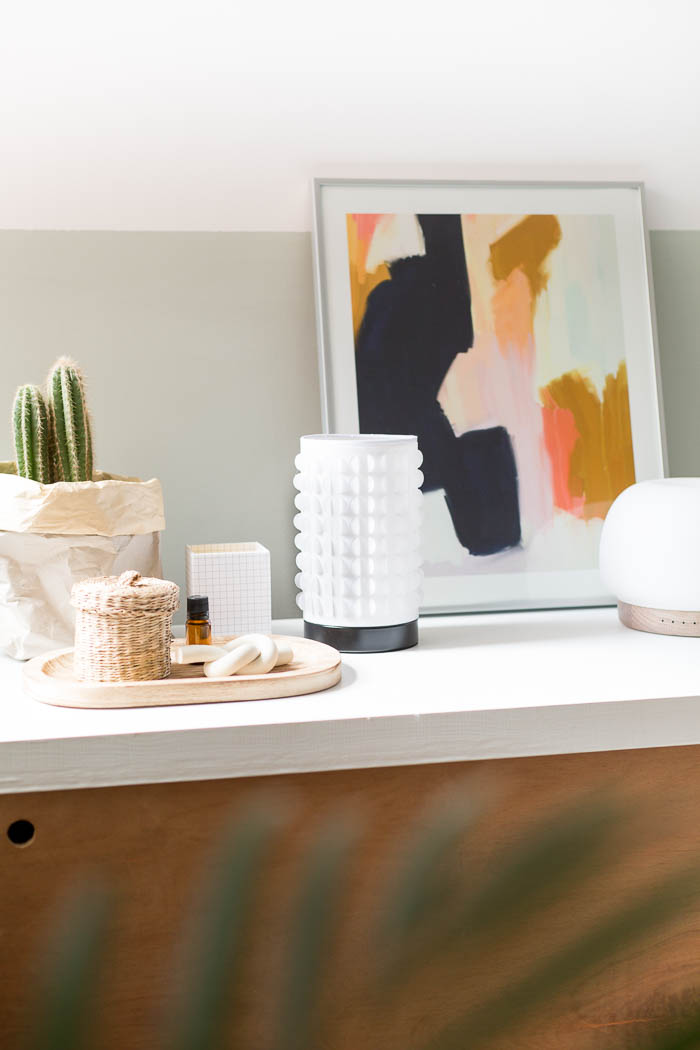
Some of my favourite projects are the ones that take an existing item and completely transform it with a quick and easy makeover. Who doesn’t love a fast craft? Especially one that upcycles something you already own! I’m partnering with Cricut to do exactly that with this lamp. I actually bought this lamp on a whim. It was on sale and cost only £3. I had no idea what I was going to do with it but I new it would make a good project.
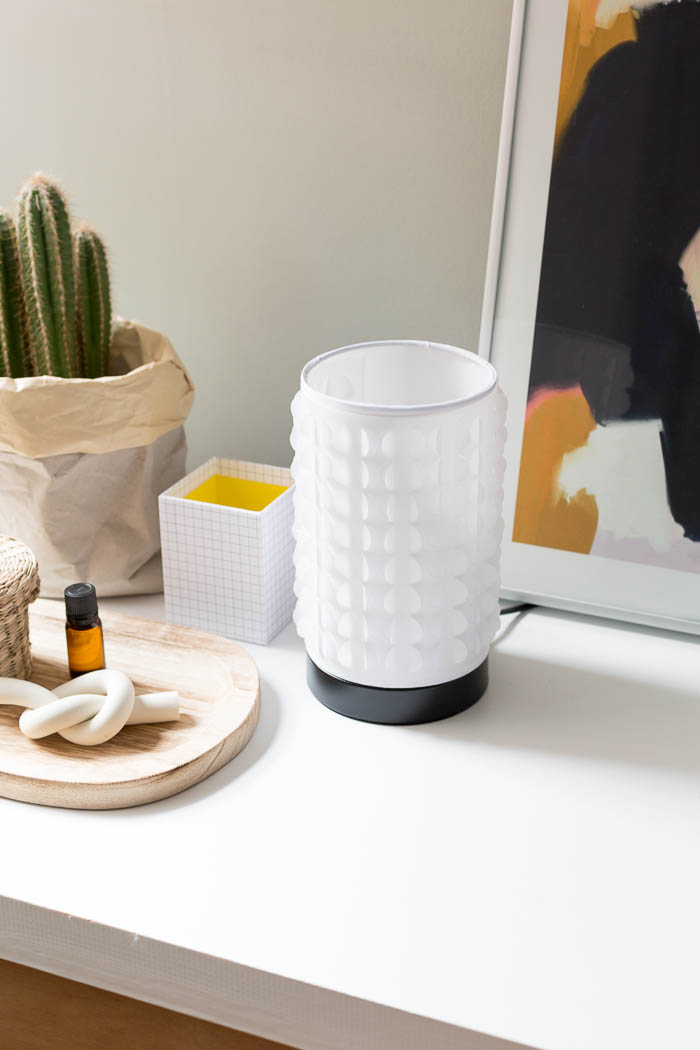
You don’t need to go out and buy something new for this though. This tutorial will work with any cylindrical or square lampshade. It’s easier if it’s smaller. Although it’s not impossible for a larger shade (and it would look amazing) but it will just be more work to line up the cut out shapes. But considering how easy the rest of this DIY cut out lampshade is, it’s not too much to take on. If you give it a go make sure you send me a picture!
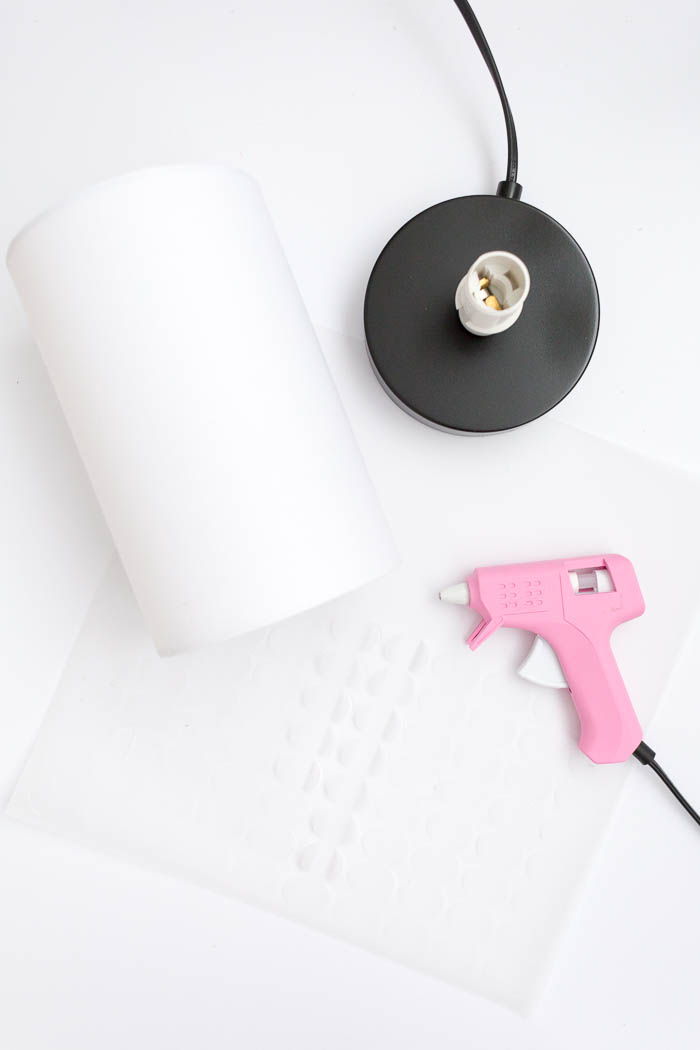
Materials
Cricut Maker | Cutting Blade | Scoring tool | Lampshade | Cricut Vellum | Glue Gun
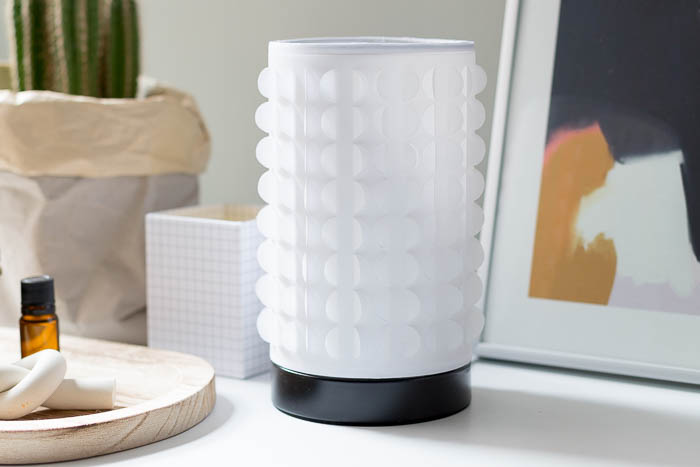
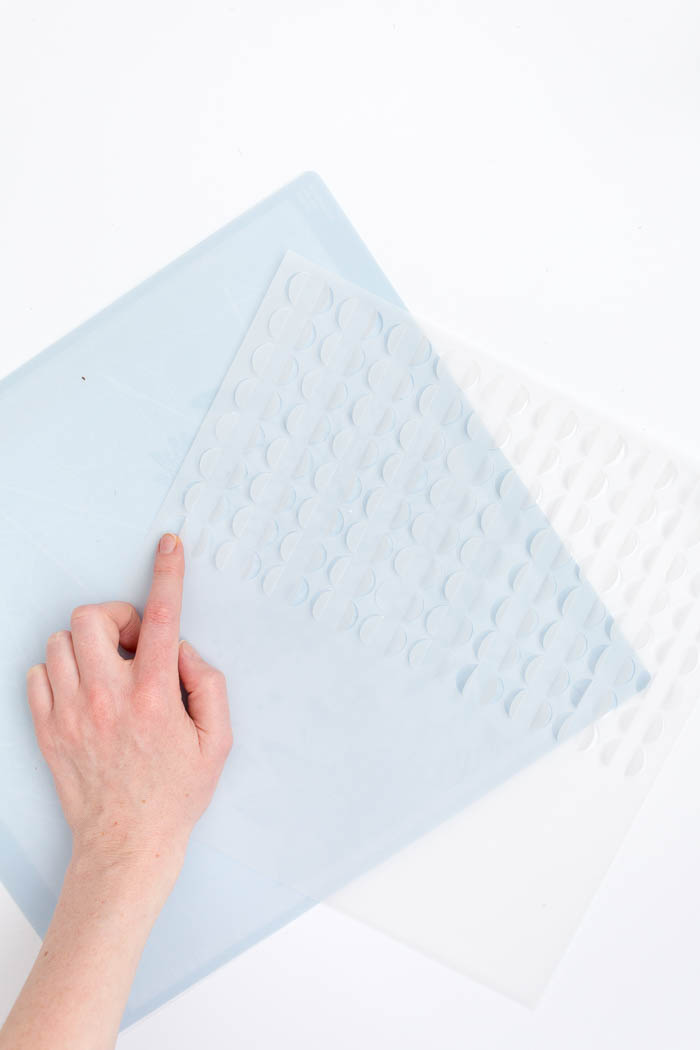
1. Using this template cut out the shapes on the Vellum. Measure the length of your lampshade and adjust the template accordingly. You can either shrink or enlarge the size or duplicate the pattern and repeat it to cut over a larger scale.
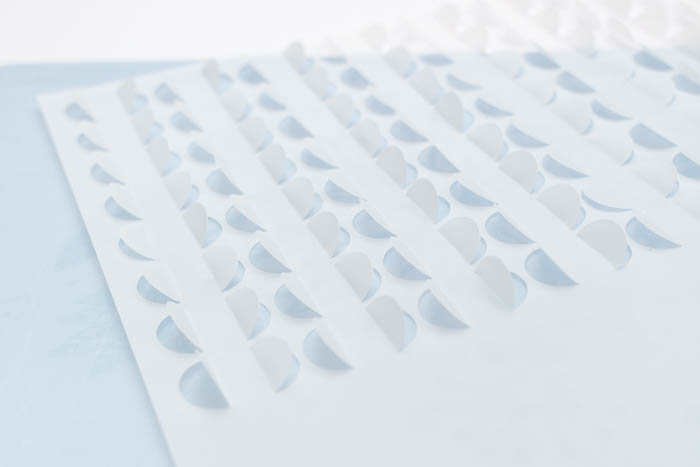
2. Fold each semi circle at the score line out towards the front of the vellum. Cut off the excess vellum to fit your lampshade.
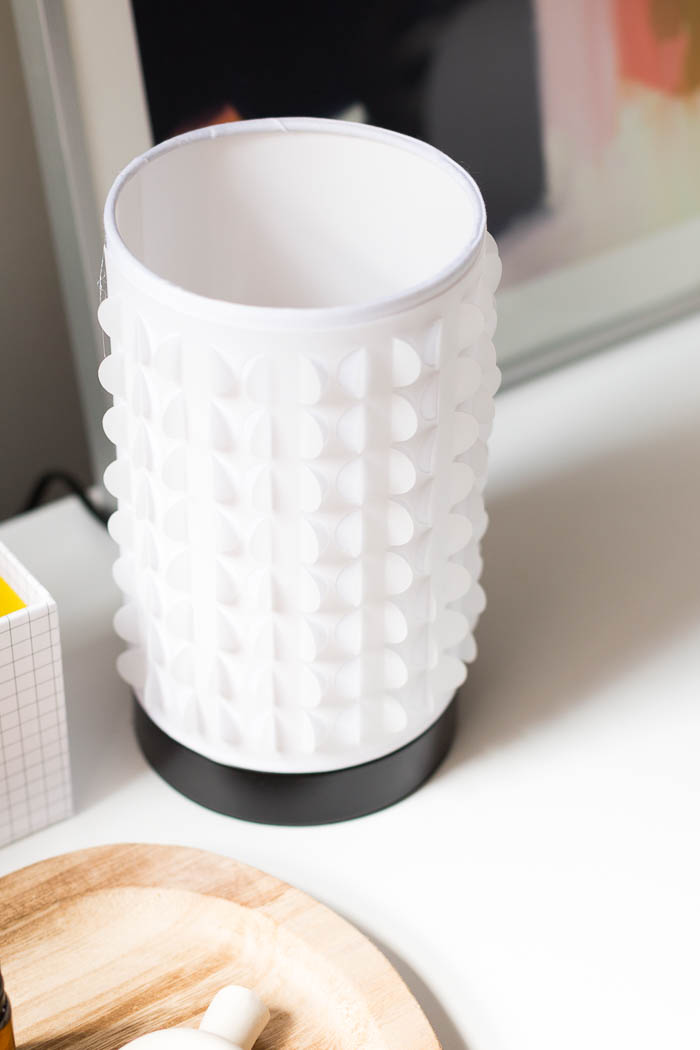
3. Using hot glue, adhere the vellum to the lampshade taking care to keep in straight all the way around. If you need to use more than one piece of vellum trim the edges where they meet and carefully line up the pattern.


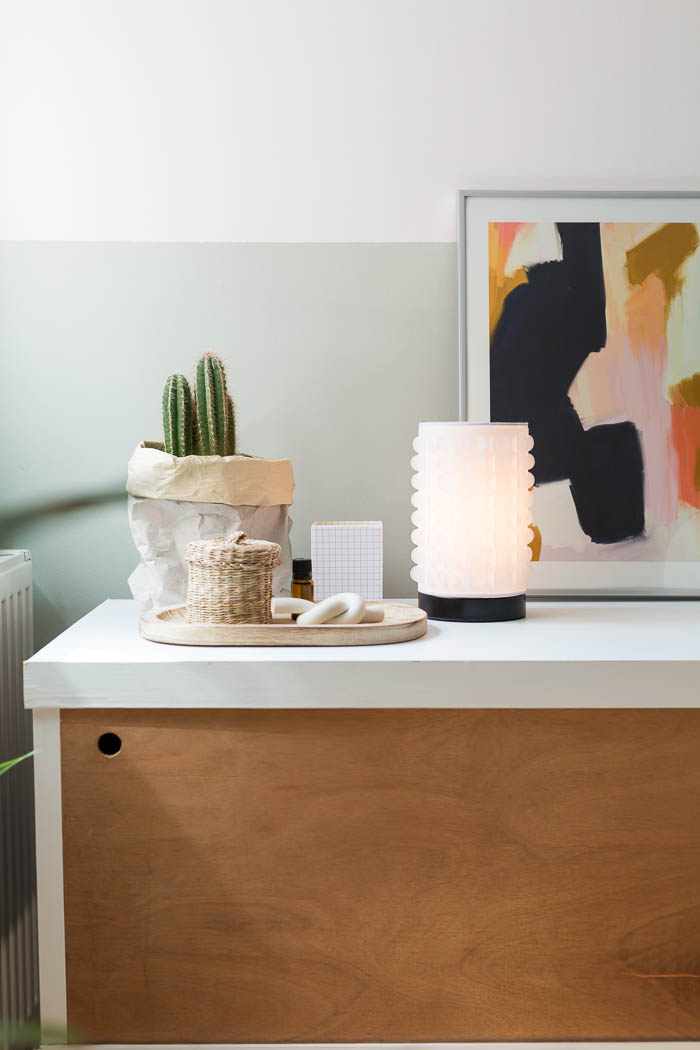
The new Cricut Maker has so much potential. I’ll be working more projects very soon, showing off it’s abilities to cut fabric and thicker materials like balsa wood. The possibilities are endless! I can’t wait to show you more!
If you’d like me to try any materials or techniques out to show you let me know in the comments!


Been wanting a Cricut Maker for awhile and this might have convinced me to finally buy it- absolutely gorgeous Fran!
Very useful.
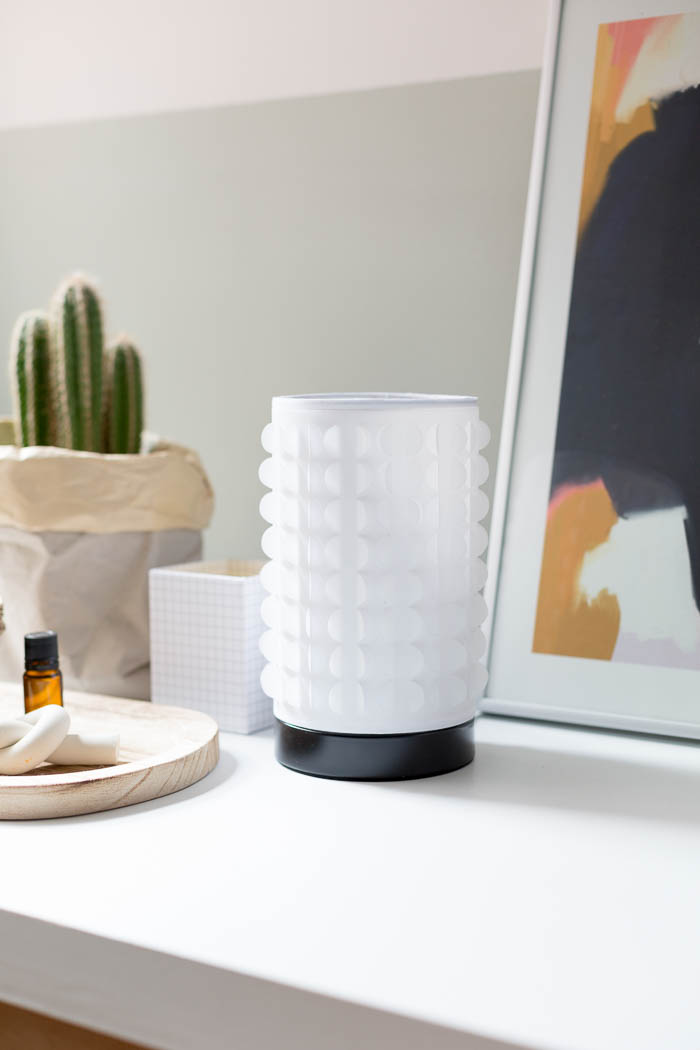
How stylish this looks, it could be from a really expensive store!
https://www.makeandmess.com/
I just bought a cricut maker this week (can’t wait for it to arrive). Looking forward to seeing how other people will use it. And already planning out some of my first projects.
I’ve been wondering if it could cut sheet metal with the new knife.
I LOVE the Cricut Maker – I got mine a few months ago and I’ve made so much with it already! This lamp upcycle is awesome, great idea.
https://www.thecraftygentleman.net/2018/02/18/cricut-maker-unboxing-review/
A small gadget from Cricut will also come to me soon and I am just waiting to use it. Your lampshade design went great and presents itself that way. I am waiting for further realizations that will allow you to be inspired in your home works. It is a pity that you did not add a picture as it shines in the evening after dark. Regards!
Great info thanks buddy! Will surely utilize your research resources.
It’s really incredible how similar ideas may arise. I just published a similar article on this subject! You ought to look into it.