I’m finally ready to start sharing my bedroom DIYs with you! This room has been a work in progress for such a long time. The day we took up the carpet (and discovered an uneven floor underneath) feels like years ago already, even though we haven’t even lived in this house for a year yet! I get so impatient when I want something to happen, which is why I tend to stubbornly do a lot of these jobs myself (anyone remember the whole flooring saga?). At least this way I’m being proactive, even if it does end up taking so much longer!
At this moment in time I do still have some small details to finish in here. But hopefully I’ll be ready to show you the final before and after soon! I’m still waiting on this baby (5 days overdue now), so I have a little bit of time (maybe?) left to get these last details finished and take photos before we get overwhelmed with washing and nappies and all sorts of other baby paraphernalia.
Materials
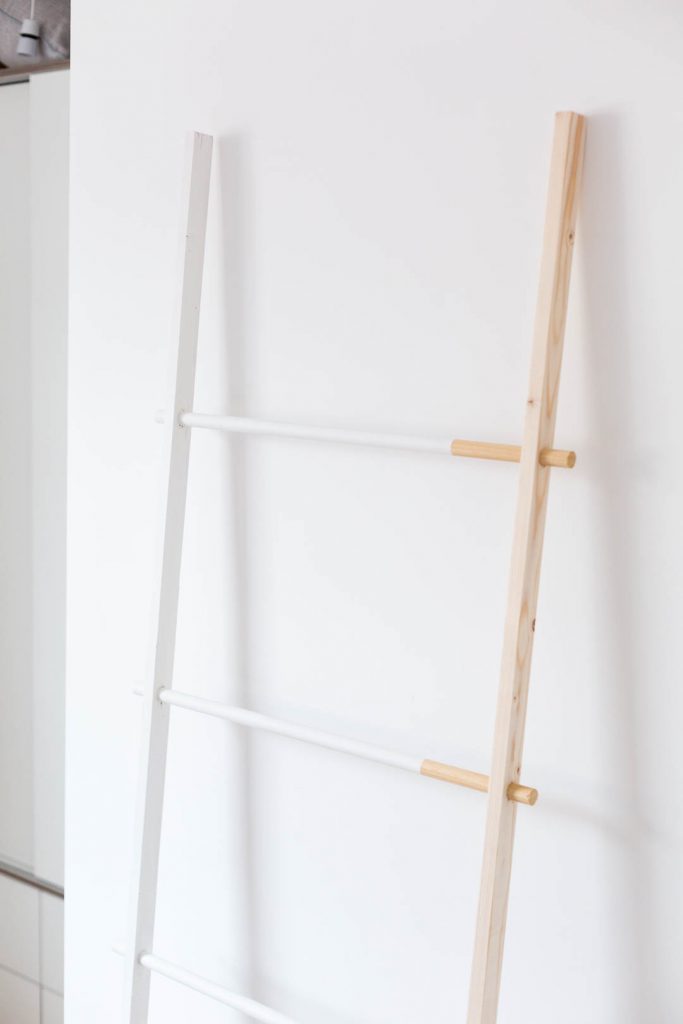
-12mm Round Wooden Dowel (cut into 4 x 60cm lengths) I recommend using this saw
-Wood Strip 2cm x 3cm (Cut to 2 x 180cm lengths)
-12mm Wood Drill Bit
-Sanding Paper
-White Paint
-Masking Tape
Instructions:
1. Decide the top and bottom ends of your wood strip. Measure and mark off equal lengths of 35cm creating four points along the strip.
2. Drill holes using the 12mm drill bit at these points. TIP: Place the wood strip on top of a scrap piece of wood to stop it splintering. Sand down the holes and push the dowel through them until you have 2cm poking out at each end.
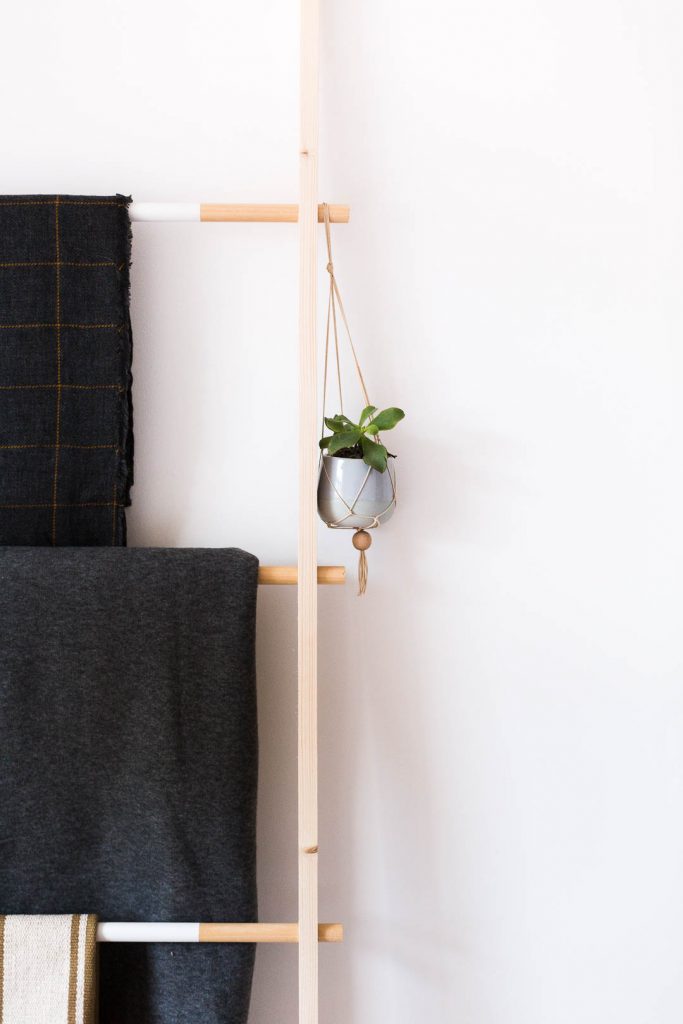
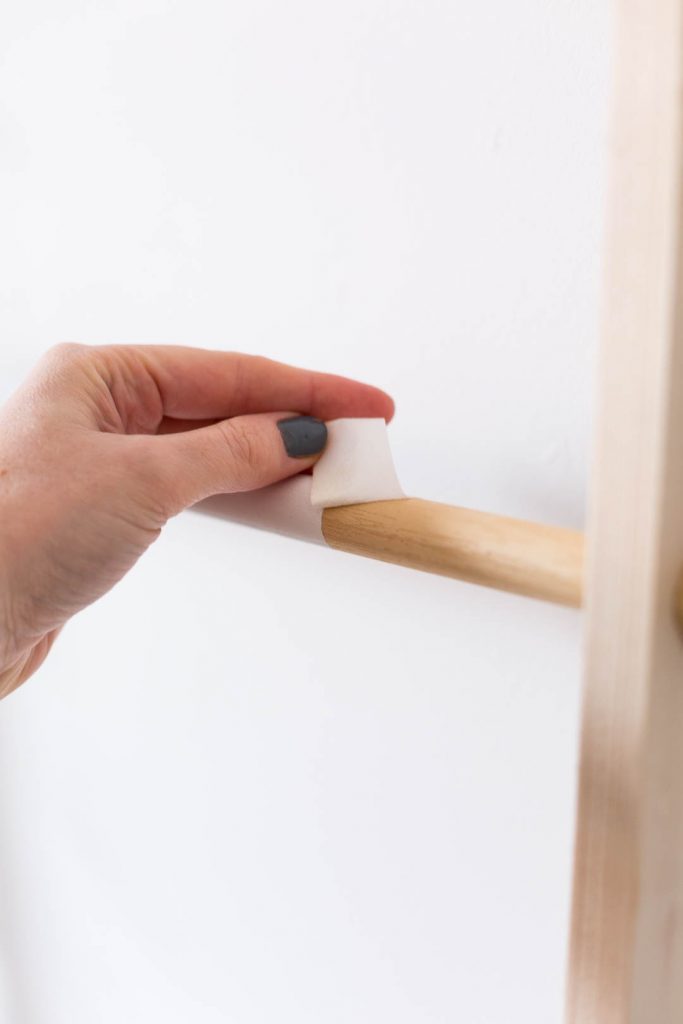
3. Tape off each dowel around 3/4 of the way along and paint the one side. After a couple of coats have dried peel off the tape and sand off any paint that has bled underneath.
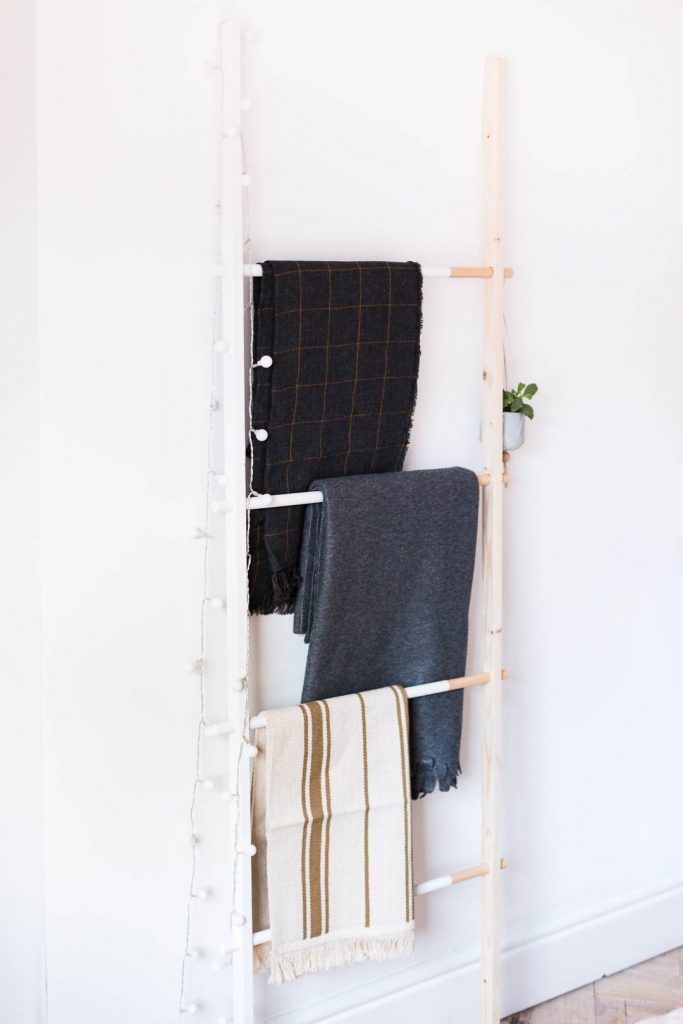
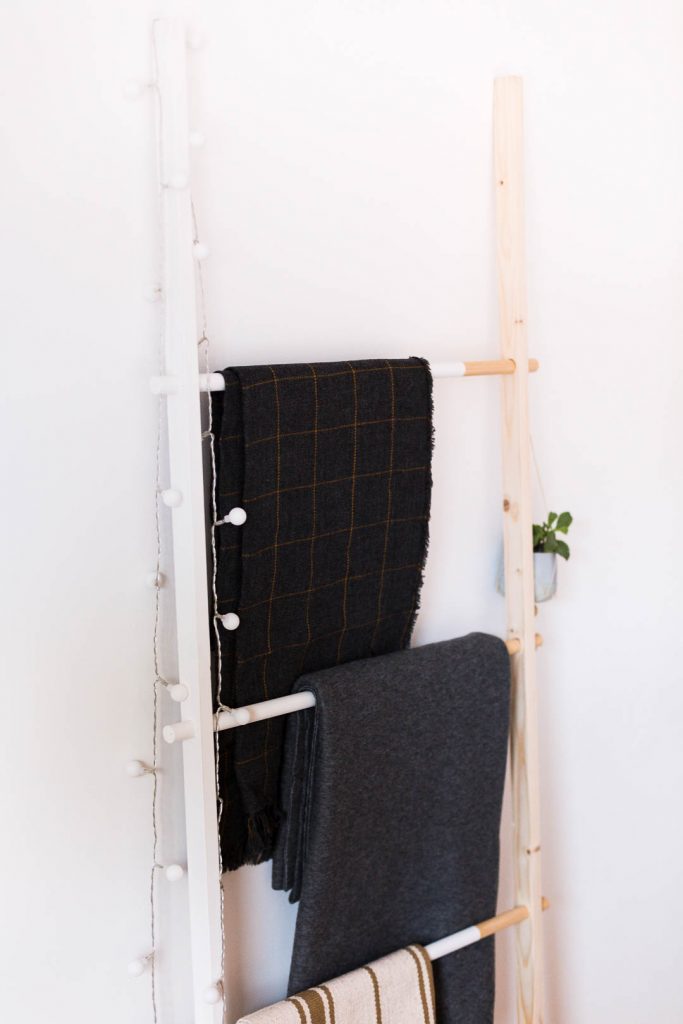
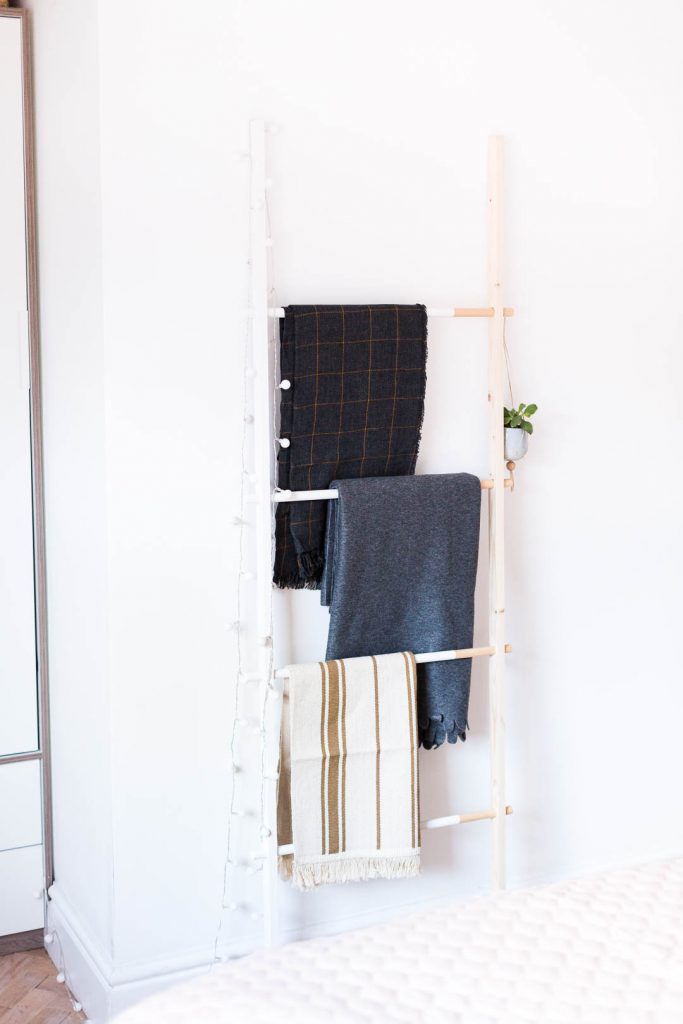
You can sand any rough edges or paint drips and your ladder is ready! Make sure that before you paint the dowels are in the correct position, as this is more difficult to adjust after painting. Now you have a space for those extra blankets come spring, magazines, hanging plants and my favourite, fairy lights to keep the darker nights more cosy and less depressing!
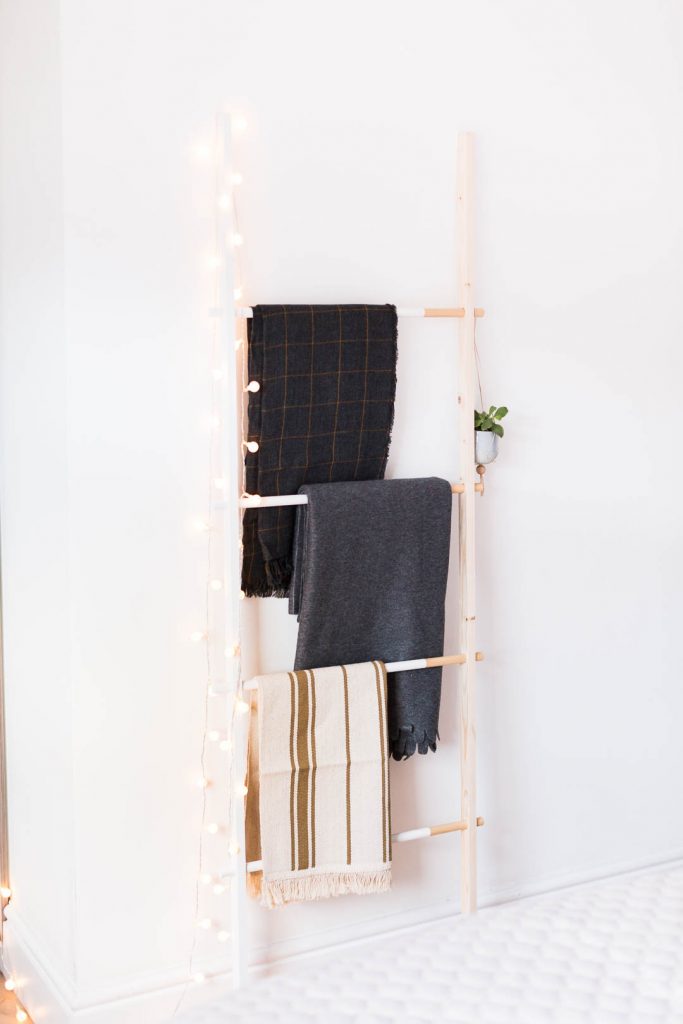
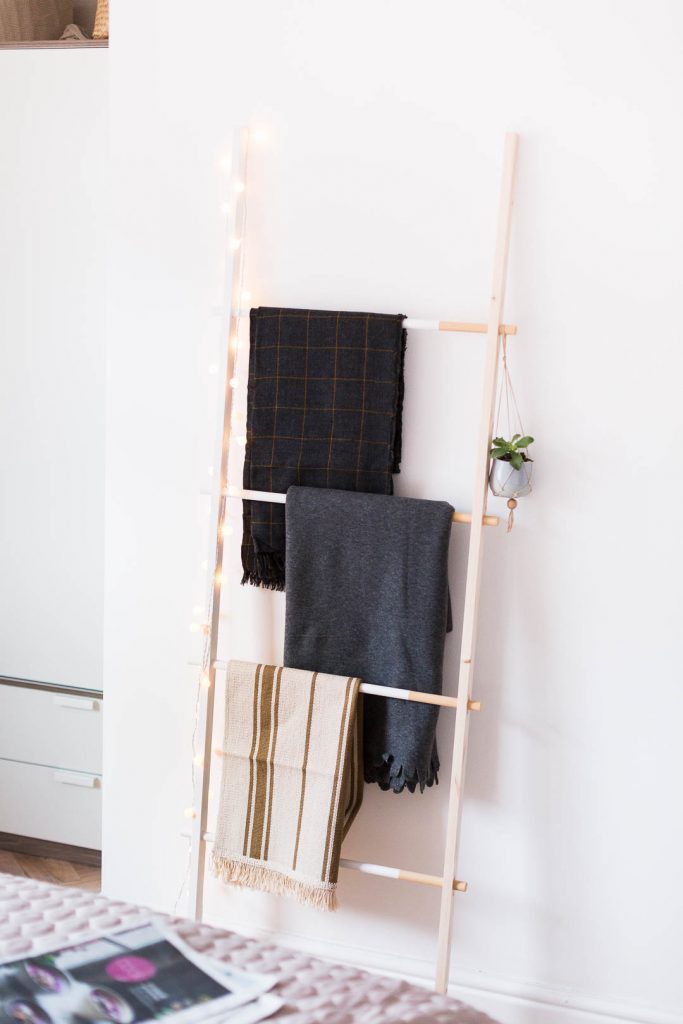



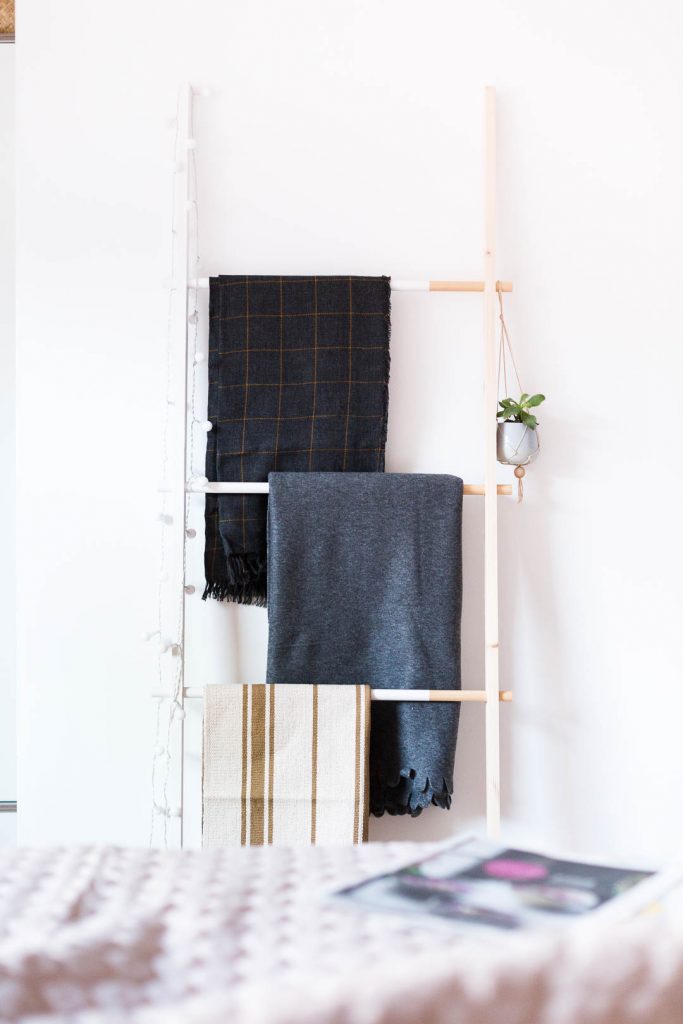


That ladder looks so wonderful, I like the idea of decorating it with some string light and the plant! I have a similar one in my living room, maybe I’ll add these things as well!
https://www.makeandmess.com/
Perfection!!! Your style is awesome :) pinned and inspired to make your blanket ladder ;)
Ursula @ https://kraftmint.com blog {modern DIY’s}
This is SUCH a cute DIY! Love how the ladder turned out!
http://www.petiteelliee.com
Ellie xx
Test a new platform of binary options with the tools of technical analysis a set of ready-made strategies. The unique option of «risk-free trade». $ 153 325 Paid to our traders yesterday. Register now and get 10.000 virtual FUNDS in case of right forecast! This is FREE! подробнее тут 3na47.tk
The finished result looks amazing!
-Jacqueline
http://www.jackieomy.com/
Thinking of making this for my SO to hang his clothes on. How do you stop it from moving about if it’s for everyday use?
Привлекаем целевых посетителей
Как поставить копилку на свой сайт
Несколько советов по работе над новым сайтом
*w
[…] also DIYed this blanket ladder which is great for throws, magazines and even occasional items of clothing when I don’t have a […]
We have DIYed our house wall to increase the beauty of the house. This DIY is really good and looks gorgeous. I have also a DIY half-painted blanket ladder in my house. In this condition, I was to check all the designs on https://downloadtimecalculator.org/
You can also see your net worth and debt, and monitor your credit score Typical features in the leading budgeting apps include: connecting all your financial accounts, receiving notifications of upcoming bill payments, designing a budget, credit score tracking, tracking spending, setting up financial goals and more. http://www.planstlevents.com