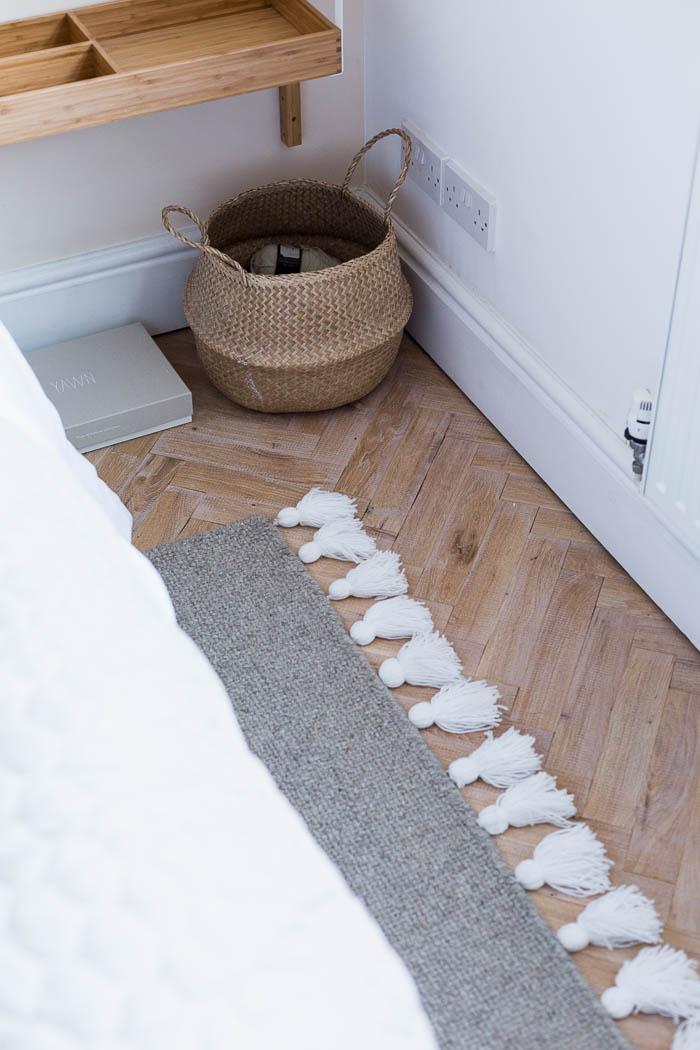
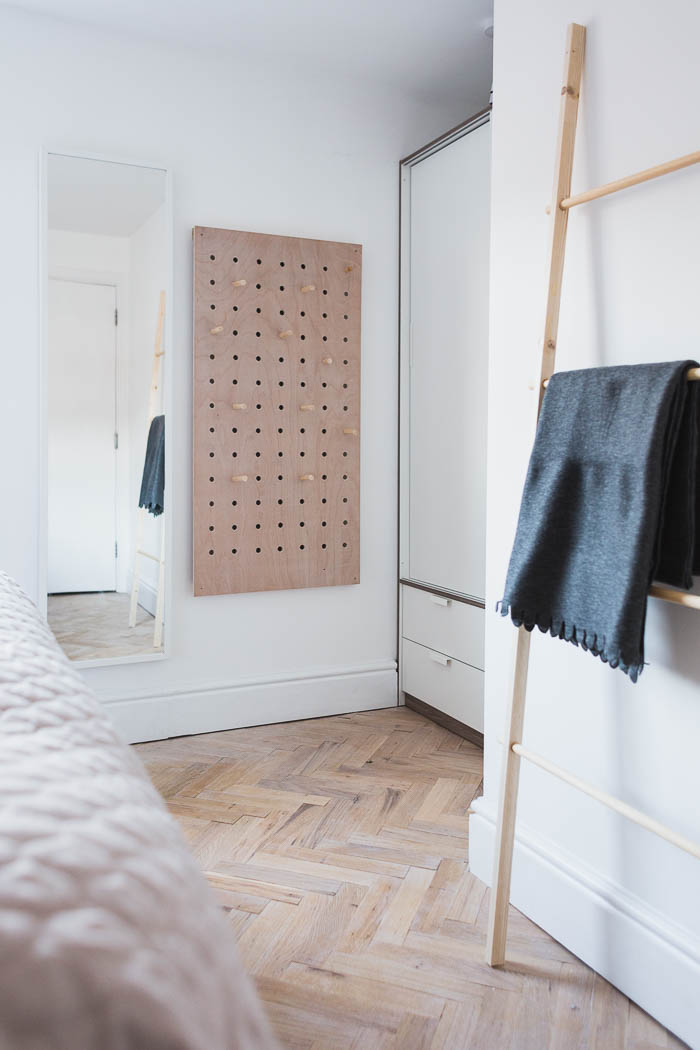
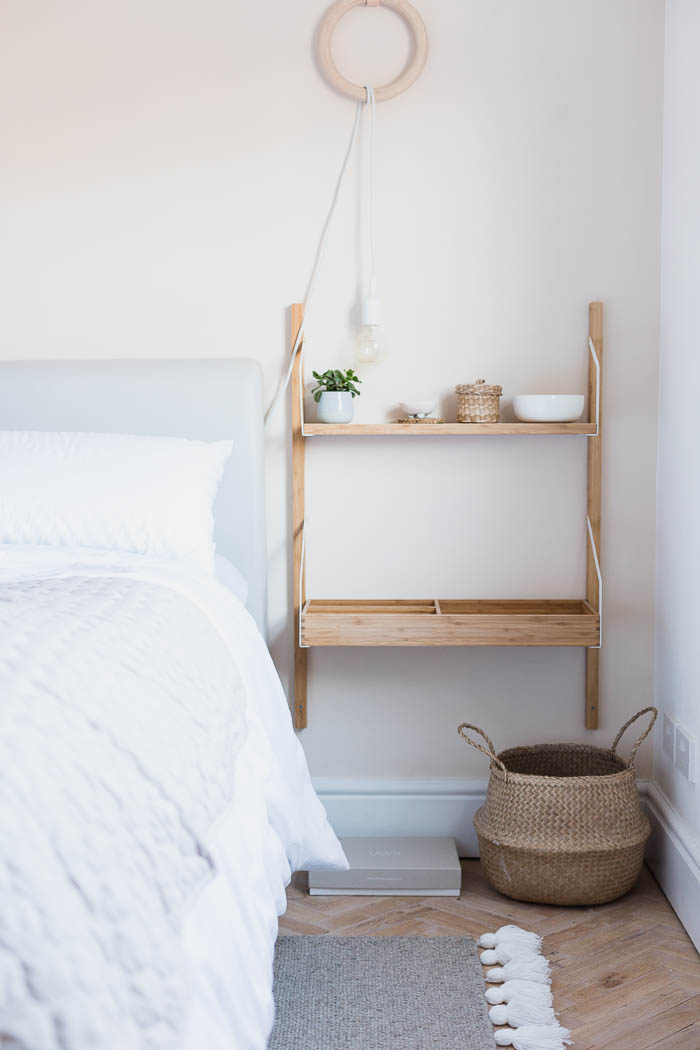
If you watch my Instagram stories you might have seen the start of our bedroom transformation (way) earlier this year. This was one of those projects that I figured might take a month, maybe two but has now been ongoing for maybe double that time (if not more. I’m too scared to actually figure out the dates). Finally the finished room is almost ready to share and you’ll get a little sneak peek in this post, but I still have a few more DIY’s that will complete the makeover. I know a lot of you were waiting to hear more about one aspect of the makeover that is probably my favourite.
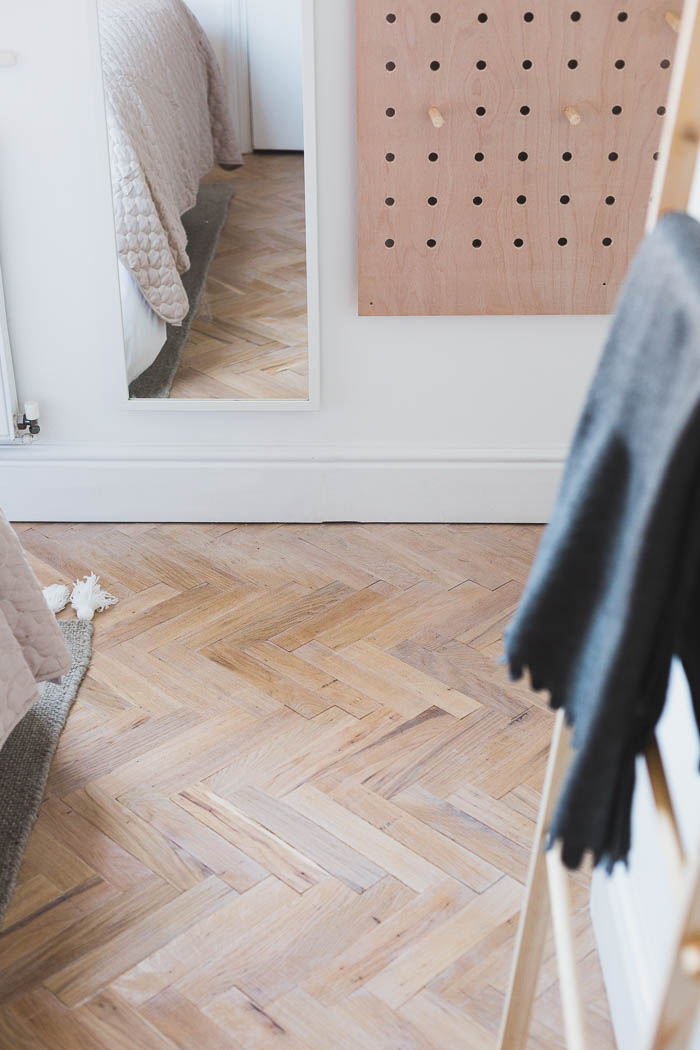
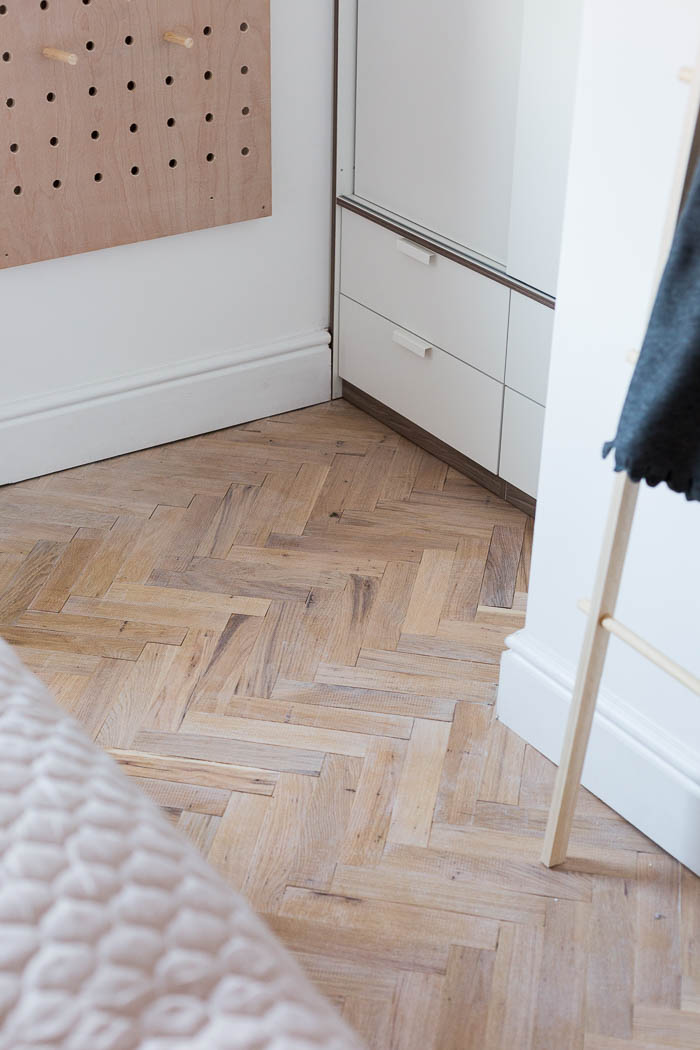
Our solid wood parquet floors. I don’t know if you know this about me yet, but I tend to believe that I can do almost anything I set my mind to. I can be quite stubborn if someone tells me otherwise. So when I decided I wanted parquet flooring in the bedroom and every single website I could find told me to hire a professional, did I listen? Of course not! But before we get into how I laid the floor I’ll warn you this was more complicated than I was originally expecting and took much longer. BUT I did complete the task at hand (with a little help as I was several months pregnant).
We partnered with Direct Wood Flooring who very kindly sent us the untreated solid oak parquet block for the room. And there’s a discount code later on in this post so keep scrolling!
Doing the Prep Work
It was such a relief to rip up the old carpet. We knew we would have some difficulty with the boards underneath as the floor was clearly uneven, but we didn’t expect it to be as arduous as it turned out. It turned out the uneven area was in a position that meant we would have to take up all the base floor boards in the room, just to see what the problem was. So we were left with a couple of options. Either place another layer of boards down to create an even base or try to fill in the dip.

I had seen/read about floor leveller before. We watched a few youtube videos and before we could come to our senses decided to buy primer and levelling concrete. Usually me and Alex are so cautious before doing something like this (which is probably why everything takes forever. We’re so indecisive), but we had Al’s dad on hand to egg us on. We were totally reckless and just went for it. I would advise getting some form of professional advice before starting something like this. I think actually we were pretty lucky when we laid the leveller that nothing came through the ceiling underneath!
Once the floor was level we could start to think about putting down the floor. The wood needs a few days to acclimatise to the conditions in the room it’s going to be laid. So after piling it up like an almost finished game of jenga, we left it for five days to get used to the conditions of the room and expand.
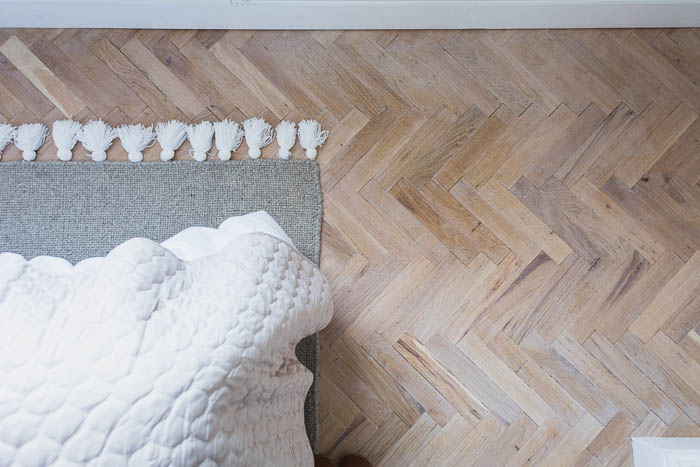
During this time I drew out a grid on the floor avoiding any topple zones and making sure my lines were evenly spaced and in line with the walls. This was a big help when putting down the blocks and keeping them straight. Especially at the beginning when it’s so important to get it right. I’d read to start in the middle and work out. Once the wood had been resting for a few days I started to try a few different designs. I knew that I wanted to go for the classic herringbone look, but there was no harm in experimenting with the style of the floor.
Laying the Floor
This is where it gets exciting… and then really repetitive. Sweep the floor and make sure it’s clear of debris, protruding screws or lumps and bumps. I started by laying out my chosen design in the middle of the room, making sure it was lining up with the grid on the floor. I created a small section with a number of boards going in all directions. After measuring and checking five times that this was level with the walls of the room, I spread urethane hardwood floor adhesive onto the floor next to these and continued to work in line with them. Once a had glued down a number of boards (checking again these were level and in place) I took up the original boards and replaced them once I’d applied the adhesive.
I cannot stress enough how important these first boards are. Your whole floor will be built around them so make sure you’re getting these right. Any cracks or space where they meet will have an impact later on so take plenty of time over getting these ones perfect.
Time to get real now. This kind of flooring takes a while to lay. I spent a few days putting it down and of course the glue would dry between sessions. This meant any mistakes I made were very difficult to fix. I did end up having to plane down and sand a few boards so they fit in place. This is obviously not ideal. If you can take some time and get some help laying the floor in a single session (at least until you reach the edges of the room).
Then once you have reached the edge of the room, you’ll need to cut the wood to size. I cut out a piece of paper the same size as one of the parquet blocks. I could then fit this into place folding the paper at an angle to leave a 1cm gap between the edge and the wall. This gave me a template to cut the board. I took off the skirting board around the room, but you can also use edging to hide this gap, which is a bit easier but in my opinion doesn’t look as clean.
So after cutting and fitting all these boards in place you have a floor! Now take yourself out for dinner to celebrate because you’ve achieved a lot, but we’re not done yet. You still need to sand the floor. I tried to cut a corner here and use my electric sander rather than a floor sander. To be honest this way took a lot longer and I think the result would look even better if we’d just hired a floor sander for the day. I’d recommend doing so before moving onto finishing the wood.
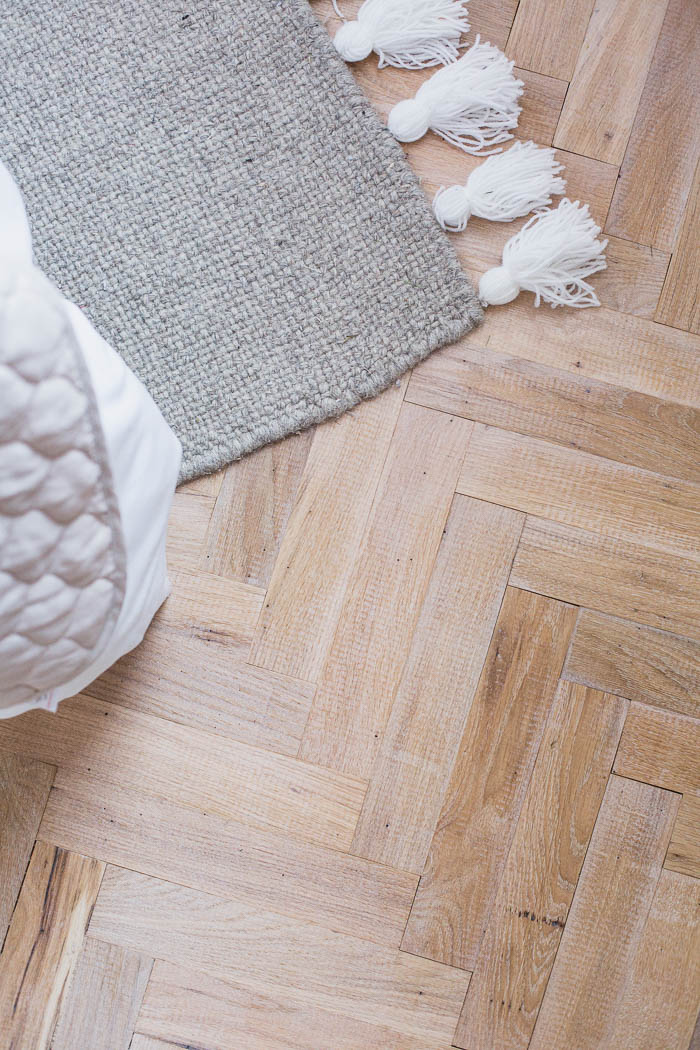
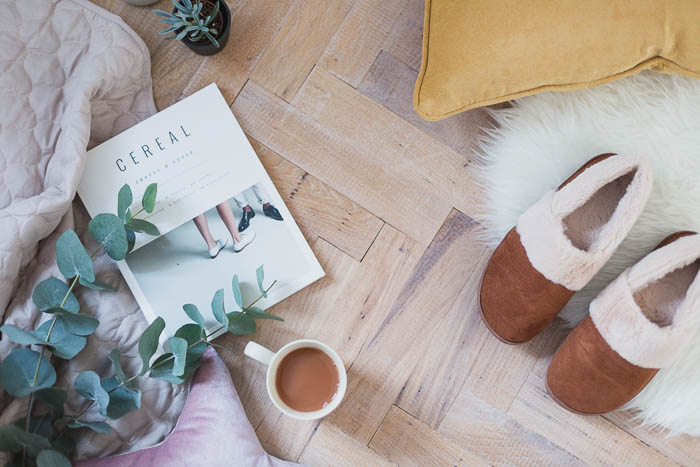
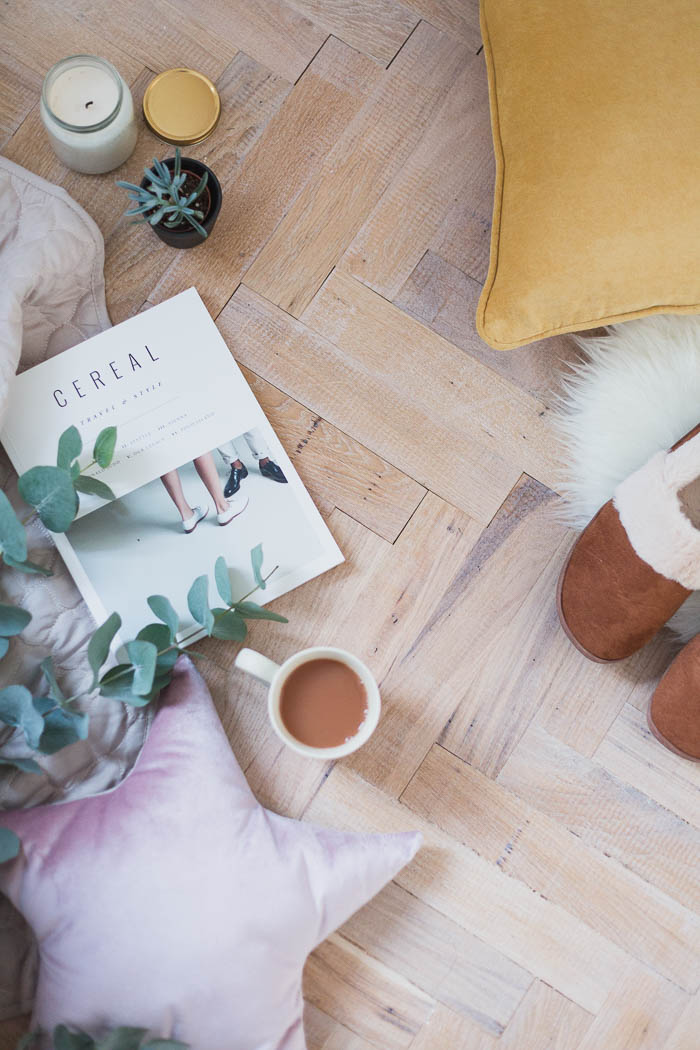
On that note I went for a oil finish rather than a varnish. I really wanted to keep the raw, natural look of the wood rather than something more glossy. The white oil was perfect for our small room. I was worried anything darker would make it feel small. Oil is notoriously hard to get right though. We rolled a thin layer onto the floor and I went over with the sander once it had dried to even out the thicker bits. Other than brushing each individual board I’m not sure of a better way to do this. The result is wood with more grey than orange tones which is exactly what I was going for!
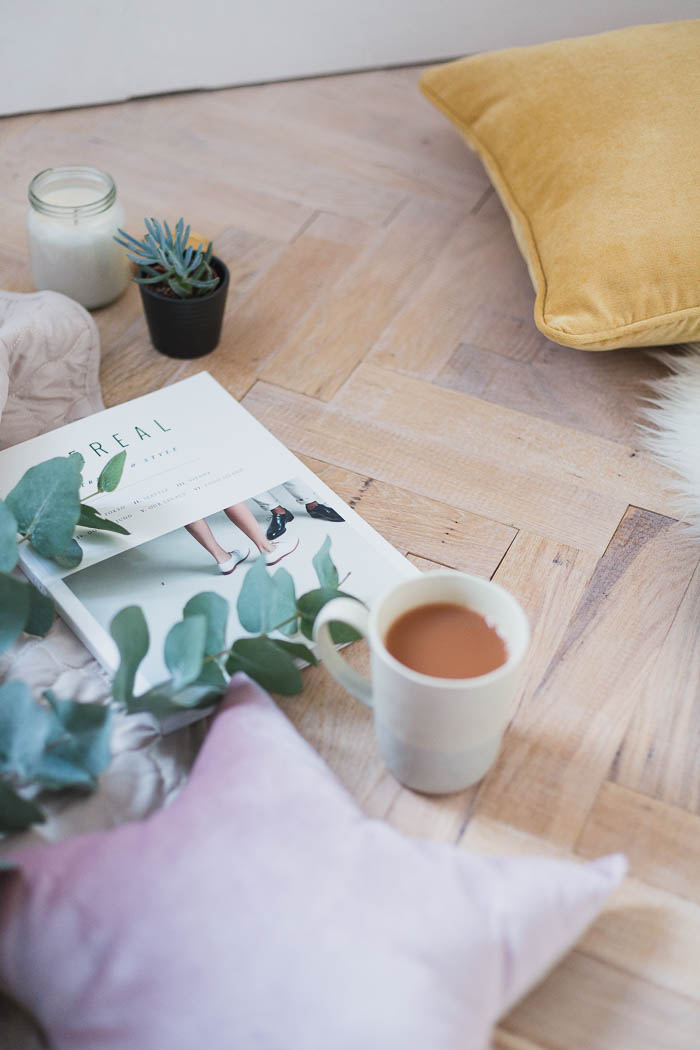
Even though it tooks weeks to complete this floor and the whole time we were squeezing around furniture in the rest of our house, I would do it again in a heartbeat. It makes such a huge difference to the room. After six months of living here I feel I have a sanctuary to go to every night, instead of walking in and putting up with things as they are. For the first time ever I have a bedroom I want to actually spend more time in just reading and relaxing.
Right now you can get a 10% discount on your choice of flooring over at Direct Wood Flooring using the code FFD10. That is whether you go for a solid wood parquet floor like me or a quick and easy laminate alternative like this one that I love! Let me know what you decide on below.


It looks sooo amazing, I just love parquet floor! You did such a good job with it!
https://www.makeandmess.com/
Keep up the good work.
This. is. amazing. I can’t believe you did this gorgeousness while pregnant. Love the herringbone pattern!
This is so inspiring – you got such a great result, plus it’s lovely to see vintage style reimagined when so many rip it out thoughtlessly because it’s not “current”. You have proved that class and taste never go out of style!
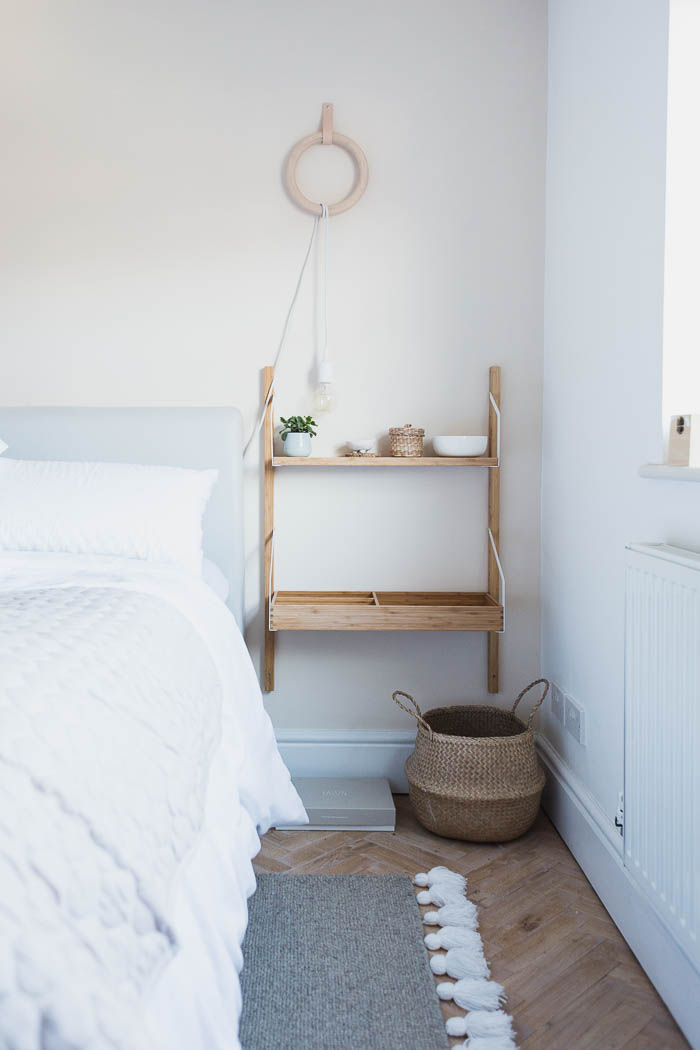
It looks freaking fantastic! The color is just heavenly, light and airy but with so much yummy texture. And I’m loving these peeks of your room, can’t wait to see the rest! Also, your use of that IKEA shelf as a nightstand is brilliant, I’m going to copy that one! xo
What a gorgeous floor! You did an amazing job. Kudos to you for your determination. I just love the color. Could you please elaborate on the white oil? Like who makes it? Not familiar at all with this product. I am wondering about your thoughts on using this product on pine shiplap walls?? Any feedback would be greatly appreciated.
I’ve always wanted hardwood floors and this article convinced me even more than that’s what I want! I just bought a new home and I’m thinking about replacing all of the carpets with wood.
We are getting ready to lay parquet (engineered oak in our case) in our living room and so I’ve read this with real interest and the result looks absolutely incredible! Goodness, if you can do this whilst pregnant, surely we can manage it too? LOL! Beautiful and inspiring – it really does look fabulous xxx
Flooring DIY projects are very rewarding. For future projects, consider flooring supplies and flooring materials from Rustic Lumber Co. https://www.rusticlumberco.com/our-products
Wow nice idea
Izspa is best place known for female to male body massage and body to body massage,Thai massage service in Bangalore.Our motto is giving 100% satisfaction to our customers.We are known for safe and secure service provider among all.
Visit full body massage near me
You have been looking for an amazing place to get your massage service, but have you checked out our site yet? Visit female to male spa near me
Relax in isha b2b spa Bangalore’s best Spa Centre. It has been providing services since many years in india, Visit spa near me
This is incredible. I can’t believe you did all of this while pregnant. The herringbone pattern is fantastic!
Thanks For Sharing