• Home
  • Blog
  • About
  • Collaborate
    • Media Kit
  • We Make
    • Bloglovin
    • Facebook
    • Instagram
    • Pinterest
    • Twitter
    • YouTube

Fall For DIY

  • DIY
  • Interiors
    • Planters
    • Paper
    • embroidery
    • Drinks
  • Blogging
    • Photography
    • Instagram
  • fashion
    • Jewellery
    • Accessories
  • Inspiration
    • Round Up
    • 50 DIYs
  • Office
    • Free Printables
    • Organize
  • Party
    • Christmas
    • Halloween

Our favourite things in your inbox every month!

DIY Pumpkin Top Tassels

DIY Pumpkin Top TasselsDIY Pumpkin Top Tassels

Although we don’t ‘do’ Halloween all out over here in the UK, I still love the creativity it brings with it. And as the days get colder and the nights darker it’s actually really fun to work on a project that’s just less serious and a bit fun. Halloween gives us the perfect excuse to do this (and get some practice in for all the Christmas crafting that’s coming up!)

DIY Pumpkin Top TasselsDIY Pumpkin Top Tassels

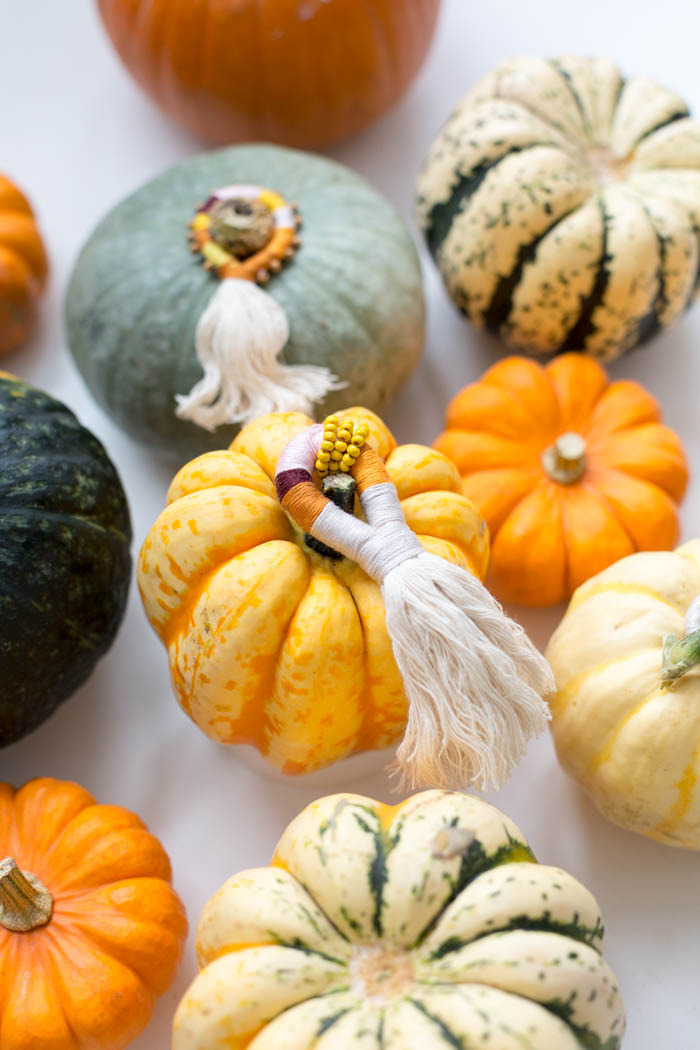
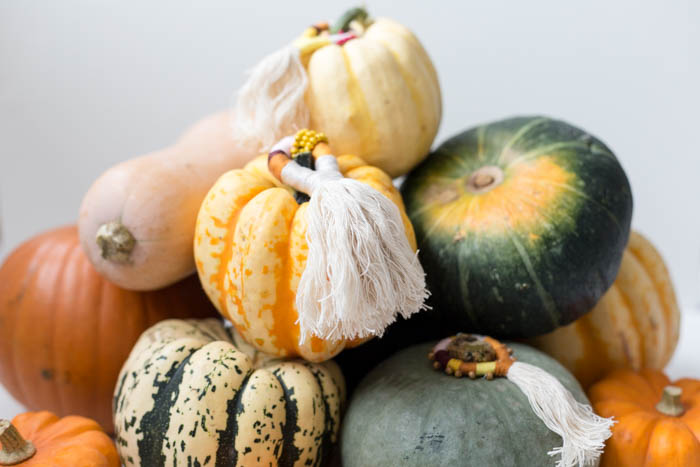
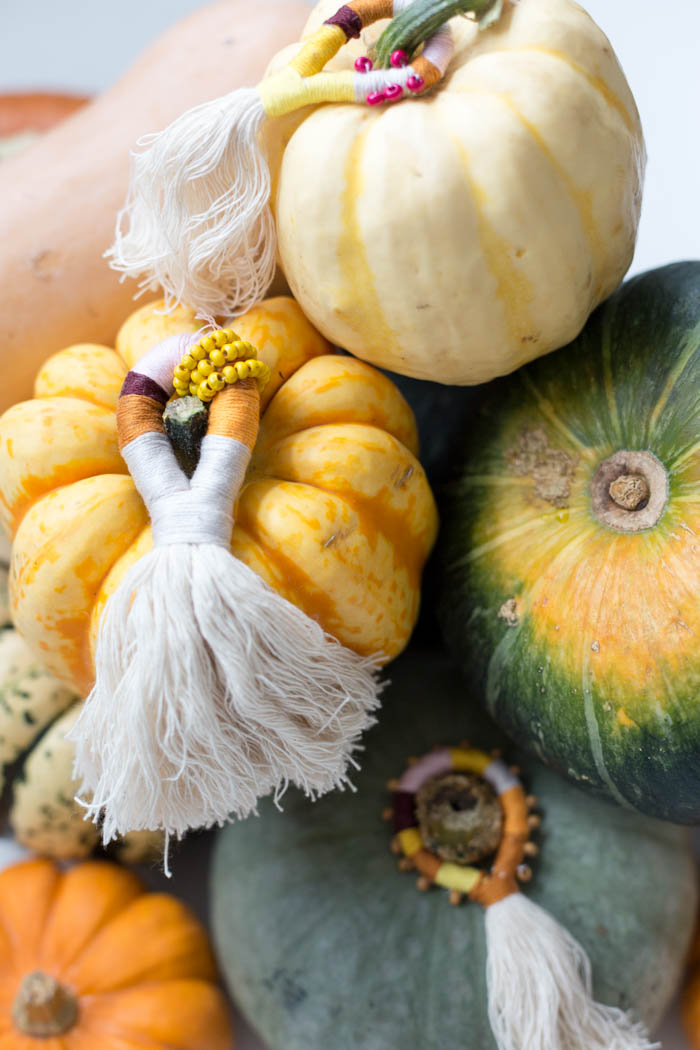
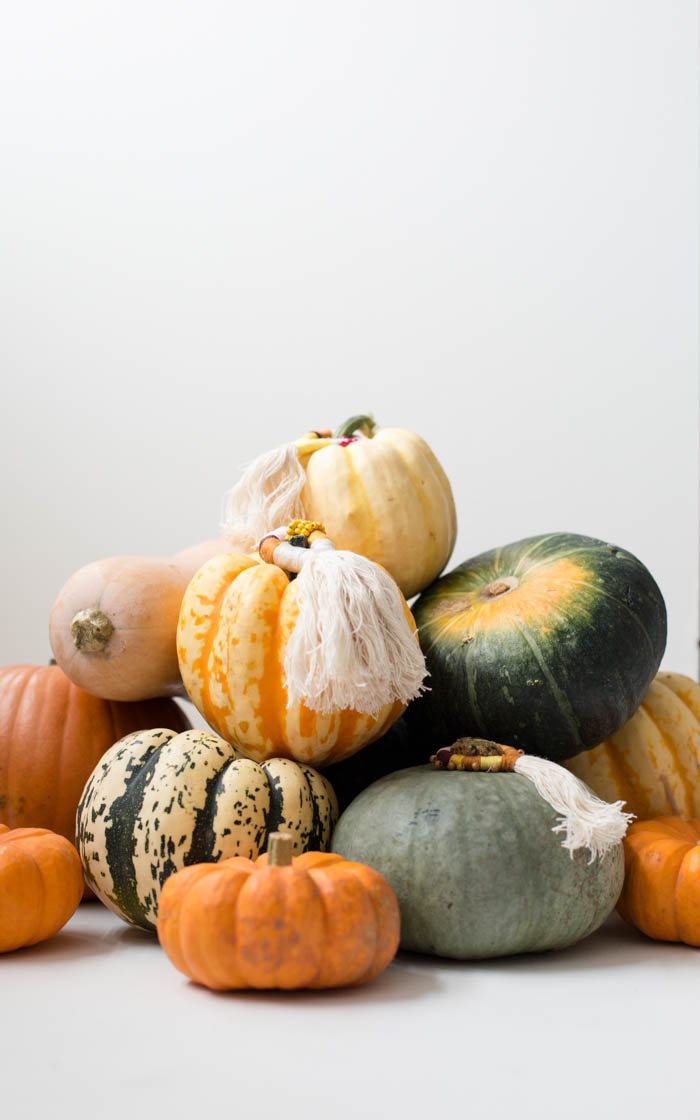
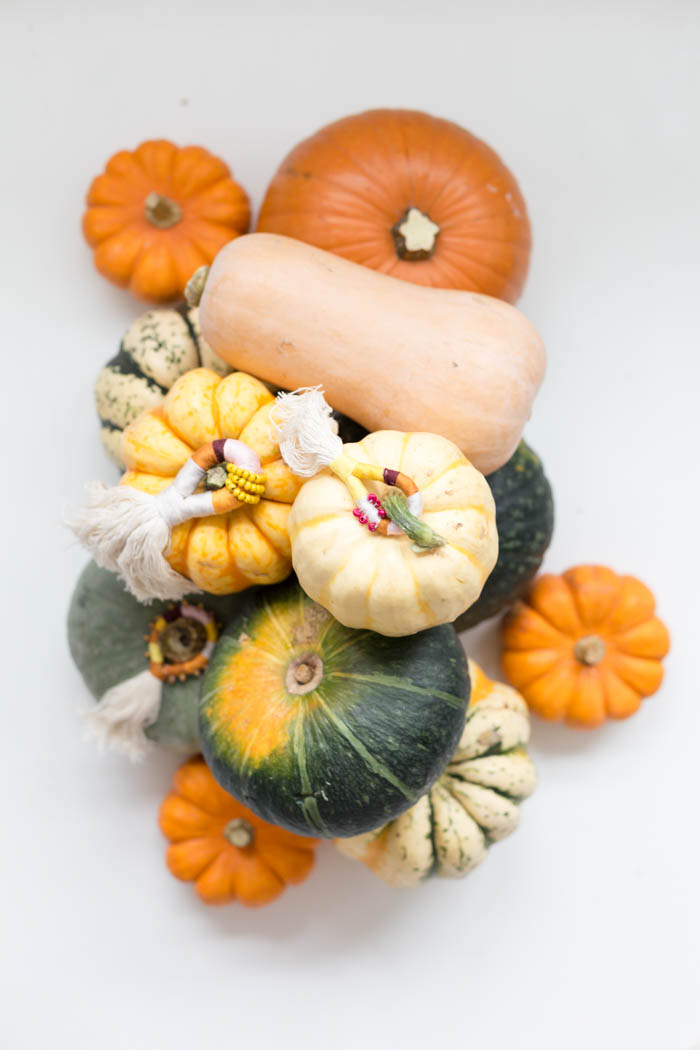
These DIY Pumpkin Top Tassels are just the thing to cheer up an autumnal evening and a bit of fun for Halloween! The best thing about them is you get to buy all the beautiful squash and gourds that are in season now. Yeah, we don’t really need any excuses right? Go buy some anyway!

DIY Pumpkin Top Tassels

DIY Pumpkin Top Tassels

Materials
Rope | Embroidery Floss | Wooden Beads | Scissors

DIY Pumpkin Top TasselsDIY Pumpkin Top Tassels

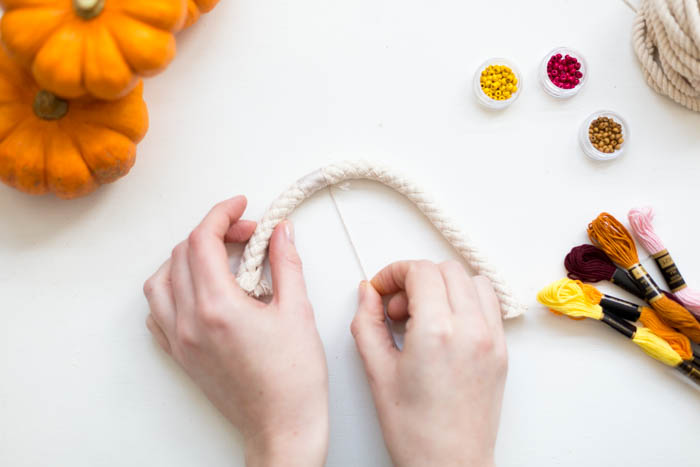
1. Cut a length of rope just over double the length you want your tassel to be. Fold in half and make a loop. At the start of the loop start wrapping your embroidery floss.

2. You can tie each piece on the cover the knot while your wrap (this is easier) or hold the end in place and cover with your wrapped thread. This technique is a little trickier but it keeps the ends neater.

DIY Pumpkin Top TasselsDIY Pumpkin Top Tassels

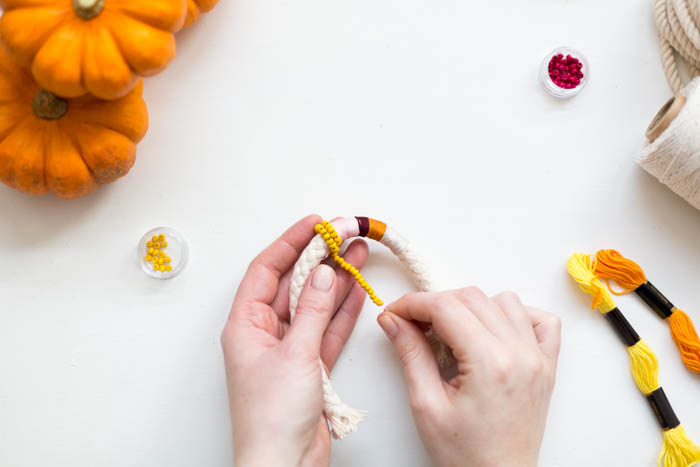
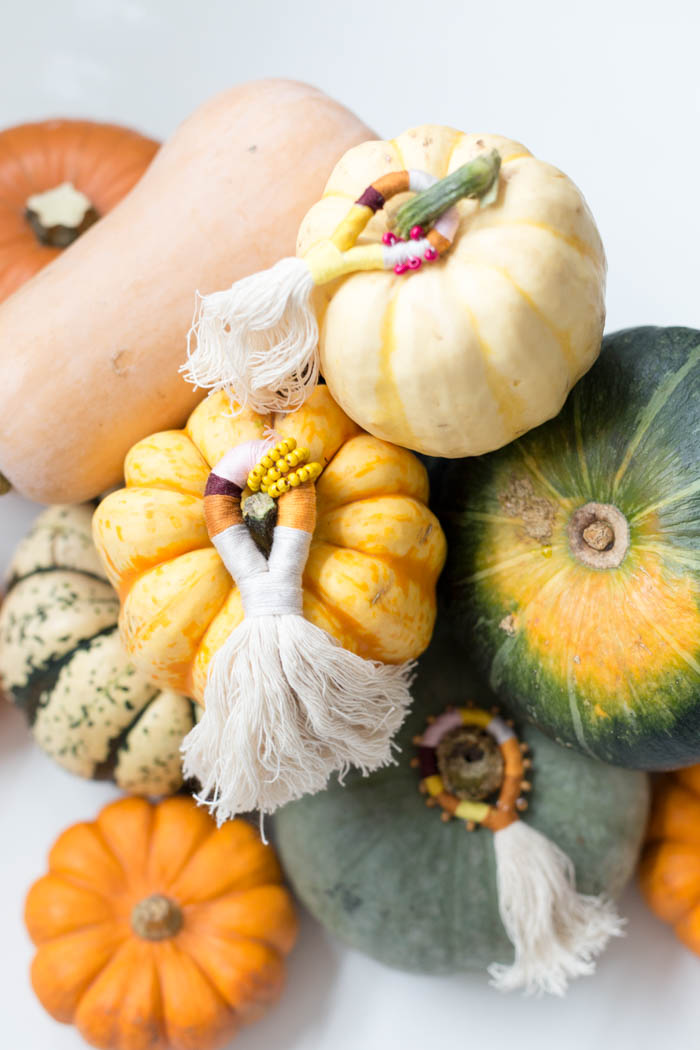
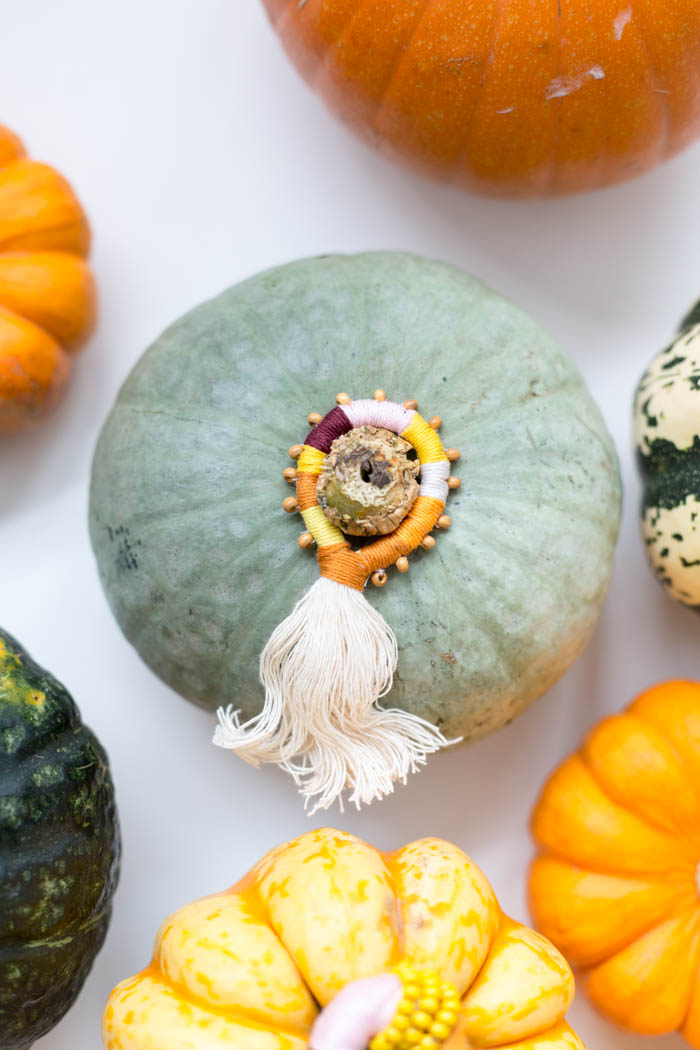
3. Keep swapping the threads to create a colour block effect. Add in beads by either threading up a length of beads to wrap around the rope or sewing them onto the rope individually.

DIY Pumpkin Top Tassels

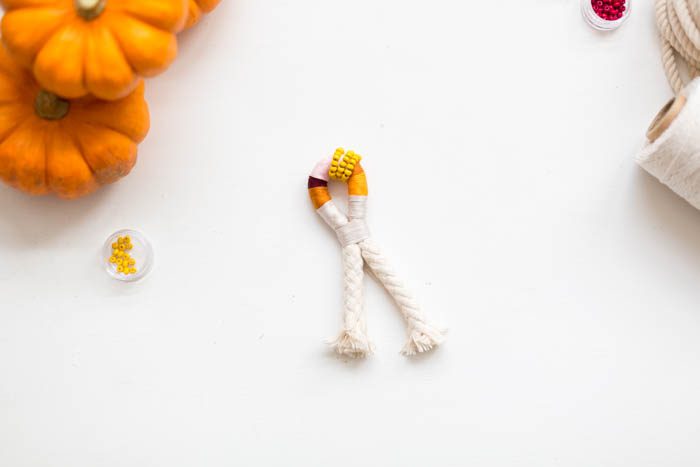
4. When you reach the end of the loop bring both ends together and wrap together. Tie off and thread the end underneath the wrapping.

DIY Pumpkin Top TasselsDIY Pumpkin Top Tassels

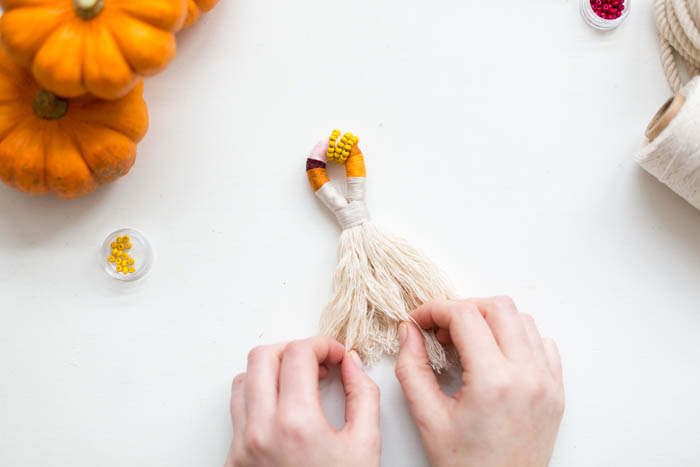
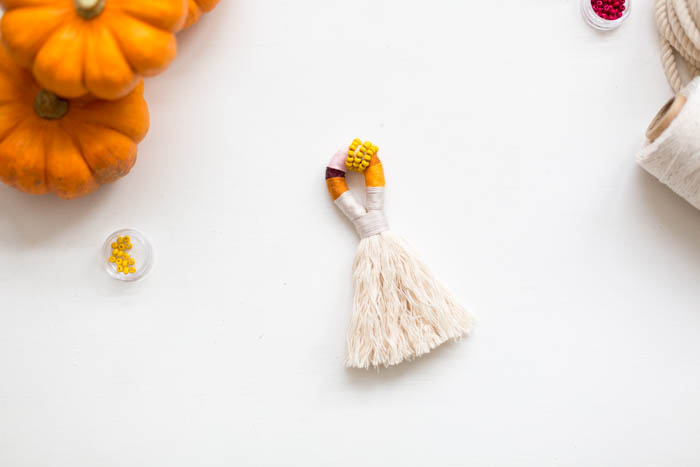
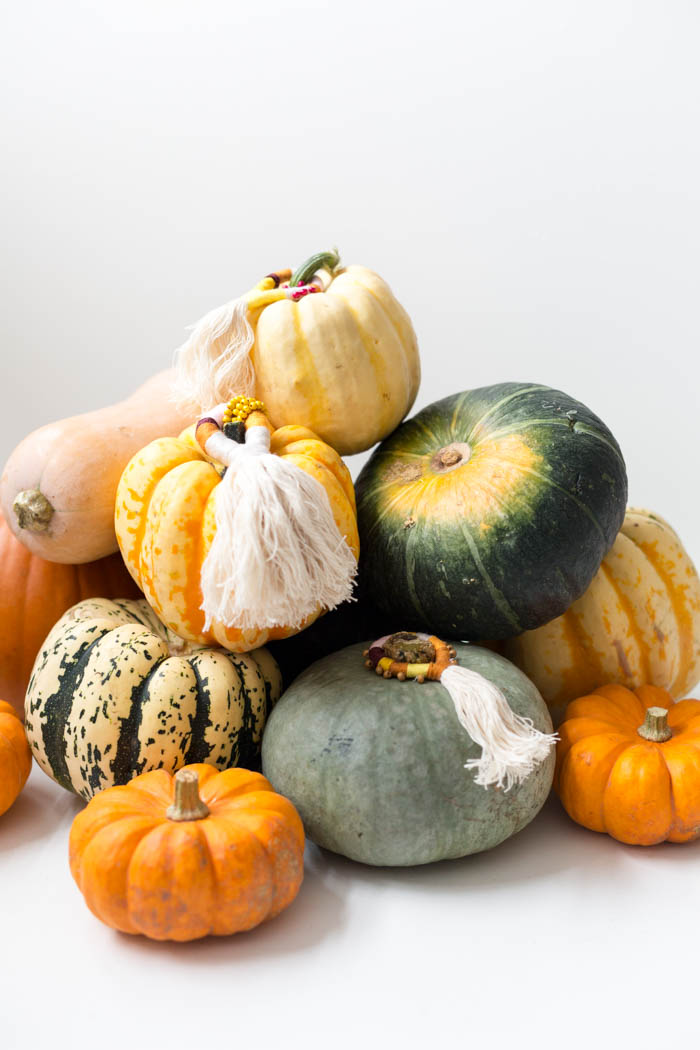
5. Unravel the ends of the rop and brush until you have a tassel. Trim to neaten the ends.

DIY Pumpkin Top Tassels DIY Pumpkin Top Tassels DIY Pumpkin Top Tassels

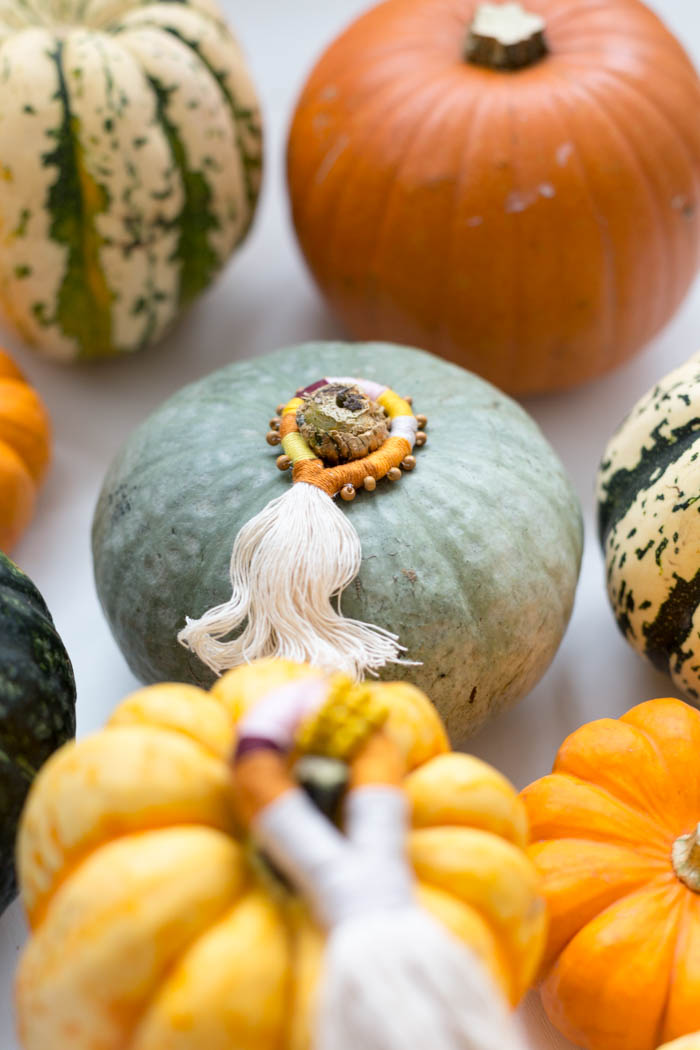
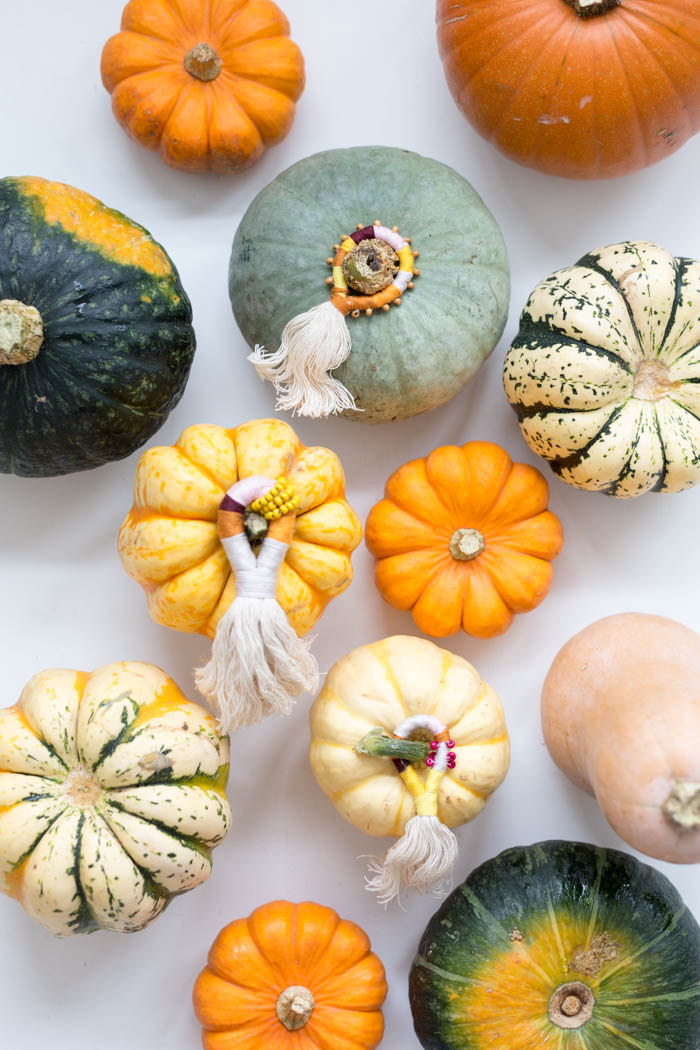
I’ve gone for an autumnal colour way for the season but you can choose any colours you like! Happy making!

DIY Pumpkin Top Tassels DIY Pumpkin Top Tassels DIY Pumpkin Top TasselsDIY Pumpkin Top Tassels

Related

DIY// Halloween// Party9 Comments

« DIY Quick and Easy Fabric Drawstring Bags
Pumpkin Pie Pop Tart with Chai Cream Cheese Frosting Recipe (Vegan Friendly) »

Comments

  1. Cat says

    September 26, 2017 at 8:12 pm

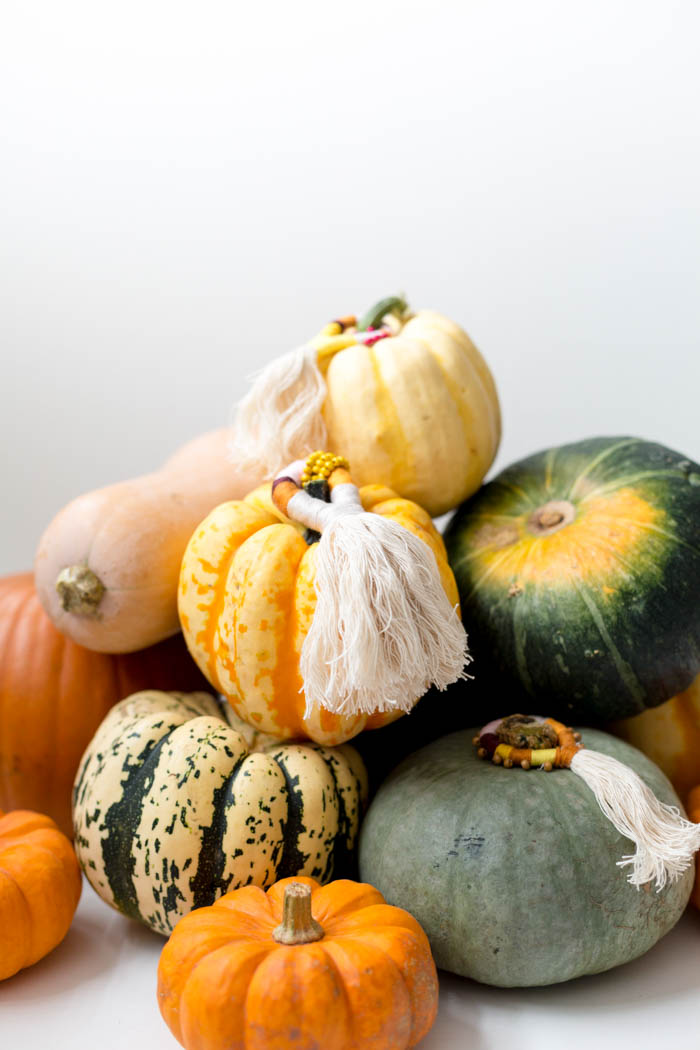
    These are the cutest!! I love the chunky tassels with the beads. Now I have an excuse to buy more tin pumpkins XD

    Reply
  2. Amy | Delineate Your Dwelling says

    September 26, 2017 at 8:27 pm

    This is so brilliant! Love and pinned.

    Reply
  3. massage center says

    June 1, 2022 at 12:19 pm

    A decent outlook will hoist your temperament, assisting you with managing viably during upsetting circumstances. A body back rub will get inspiration, causing you to have a decent outlook on yourself; it additionally hugely affects great well being.
    Visit full body massage near me

    Reply
  4. spa near me says

    June 2, 2022 at 11:24 am

    Our centre has all the best equipment and highly trained staff, which makes it a complete solution to your body spa and massage needs. Visit full body massage near me

    Reply
  5. isha spa says

    July 6, 2022 at 5:32 am

    massage is a great way to relieve muscle pain, soreness, and tension. It doesn’t matter whether this pain was caused by physical or mental stress, the massage will work it out for you.Visit body spa near me

    Reply

Trackbacks

  1. 50 Must Do DIYs | September | Fall For DIY says:
    October 3, 2017 at 9:02 pm

    […] Pumpkin Top Tassels Leather Napkin Rings […]

    Reply
  2. DIY Air Dry Clay Hanging Festive Ornaments | Fall For DIY says:
    December 19, 2017 at 10:49 pm

    […] Use the remaining cord to thread any pom poms, tassels or beads you have (or make) onto the bottom of the ornament. You can find out how to make this tassel here! […]

    Reply
  3. | My Daily She says:
    September 28, 2018 at 11:02 am

    […] Image above via fallfordiy.com […]

    Reply
  4. 15 Halloween Home Decor Ideas – The DIY City says:
    May 4, 2020 at 3:08 am

    […] Find out more […]

    Reply

Leave a Reply Cancel reply

Your email address will not be published. Required fields are marked *

Search

About

Preorder My Book Now!

Follow

Featured

shop earrings

Partners

Terms & Conditions
Private Policy Statement

DIY

A Green Garden Refresh with Durapost Vento Fences

A Green Garden Refresh with Durapost Vento Fences

3 Ways to Use a Printer that will Make Your Life Better

3 Ways to Use a Printer that will Make Your Life Better

DIY Tower Cleansing Bars

DIY Tower Cleansing Bars

DIY Wavy Shelf with Cricut

DIY Wavy Shelf with Cricut

How to make your Mother’s Day gift more than perfect this year with DIY fabric wrap

How to make your Mother’s Day gift more than perfect this year with DIY fabric wrap

DIY Valentine’s Clay Name Necklaces

DIY Valentine’s Clay Name Necklaces

DIY Seamless Floor to Wall Wood Panelling (with Laminate)

DIY Seamless Floor to Wall Wood Panelling (with Laminate)

How to Recycle your Advent Calendar this Christmas

How to Recycle your Advent Calendar this Christmas

DIY Faux Stoneware Candle Holder

DIY Faux Stoneware Candle Holder

DIY Speckled Clay Arch Picture/Card Holder

DIY Speckled Clay Arch Picture/Card Holder

More Posts from this Category

Copyright © 2023 ·Savory · Genesis Framework by StudioPress · WordPress · Log in