I get asked a lot about whether I write DIY’s and tutorials based on what I want to make or what I think people want me to make. The truth is I do a bit of both. Mostly making things I want to make but that are different and interesting for you guys reading. These can be based on trends, new design ideas or something that is and always will be useful. This latter category always tend to do well and that’s why after making 500 of these little fabric drawstring bags it suddenly occurred to me that it might be a good tutorial to share.
Yes, this isn’t the most unique of tutorials, but it’s one I hope many of you will get a lot from. Partially because these bags are so useful for gifts, packaging and storage and partially because after making so many I think I’ve fine tuned the process into an art. Come back and ask me again in a year but I honestly think I have found the quickest and most economical way to make these bags, while keeping the quality and finish perfect!
Materials
Fabric | Sewing Machine | Cotton Thread | Cotton Cord | Iron
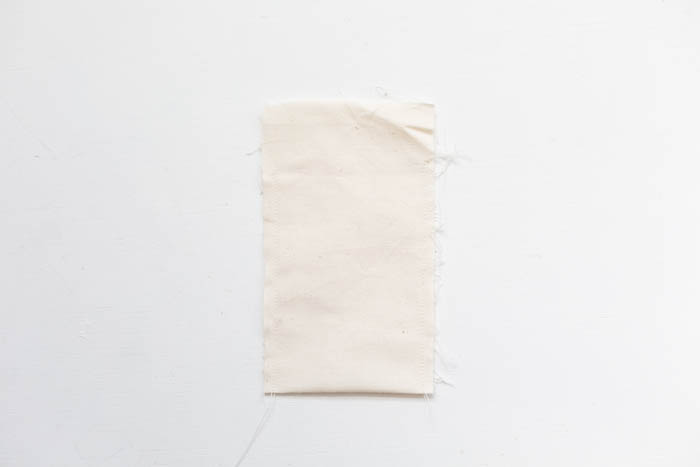
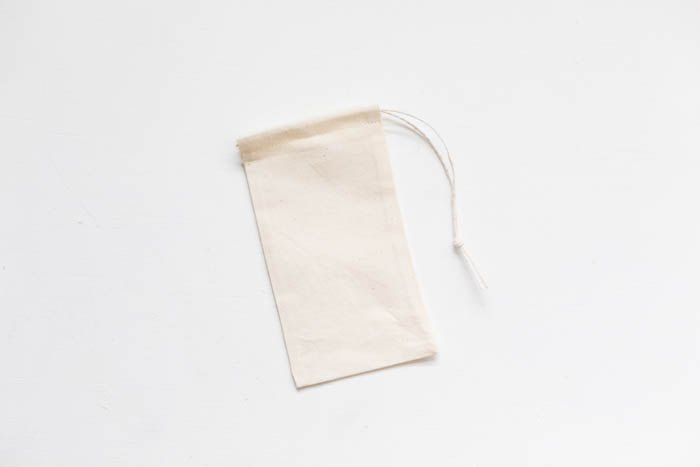
1. To make the bag I cut the fabric into one long strip which I can fold in half to make the bottom of the bag. So measure double the height and add 2 inches (for the cord tie at the top). Then measure the width and add half an inch. Cut this out.
2. Fold in half and sew a quarter inch line down each side starting an inch from the top of the bag (at which both ends meet).
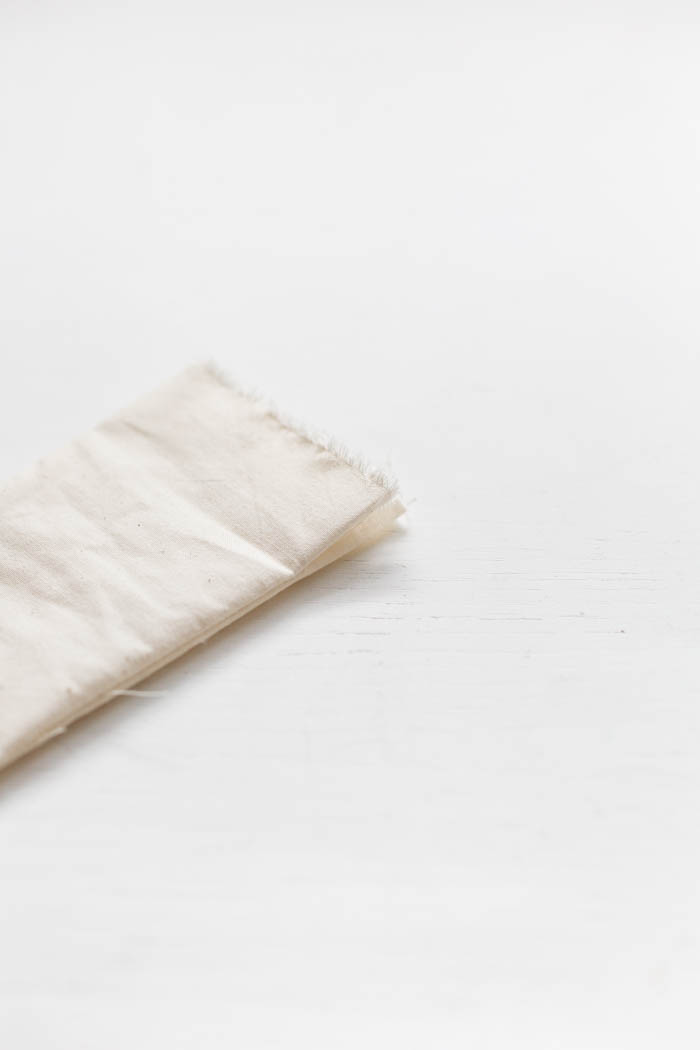
3. Turn the fabric inside out (which will be the right way around) pushing out the corners. Press flat along the seams. When you reach the unsewn inch at the top of the fabric fold in a quarter inch and press into place.
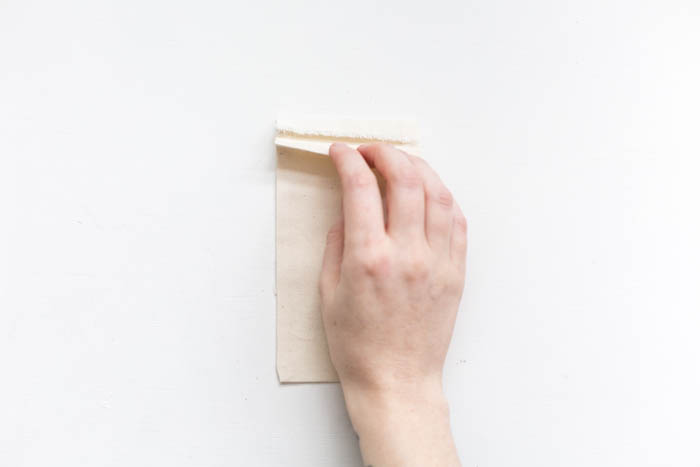
4. Fold the top edges into the centre of the bag about half an inch, so that the edges align with the top of the stitching. Press these down in place.
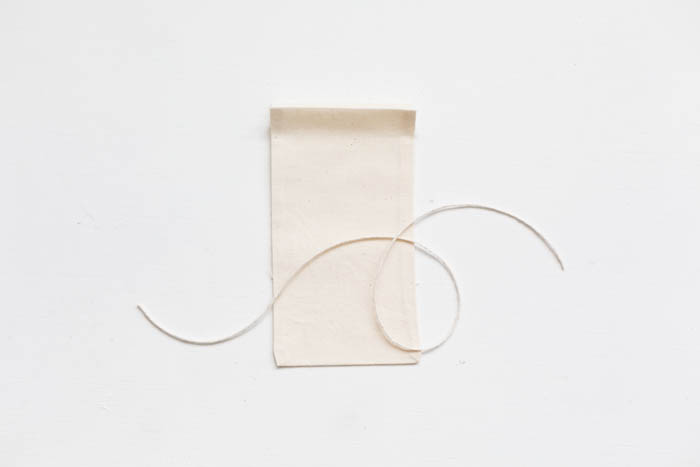
5. Cut the cotton cord 4 times the width of your bag. Fold in half and place inside the tabs of fabric at the top of the bag.
6. Sew along the bottom of the tabs from the top side of the fabric securing the cotton in place. Tie the cotton into a knot at the end.
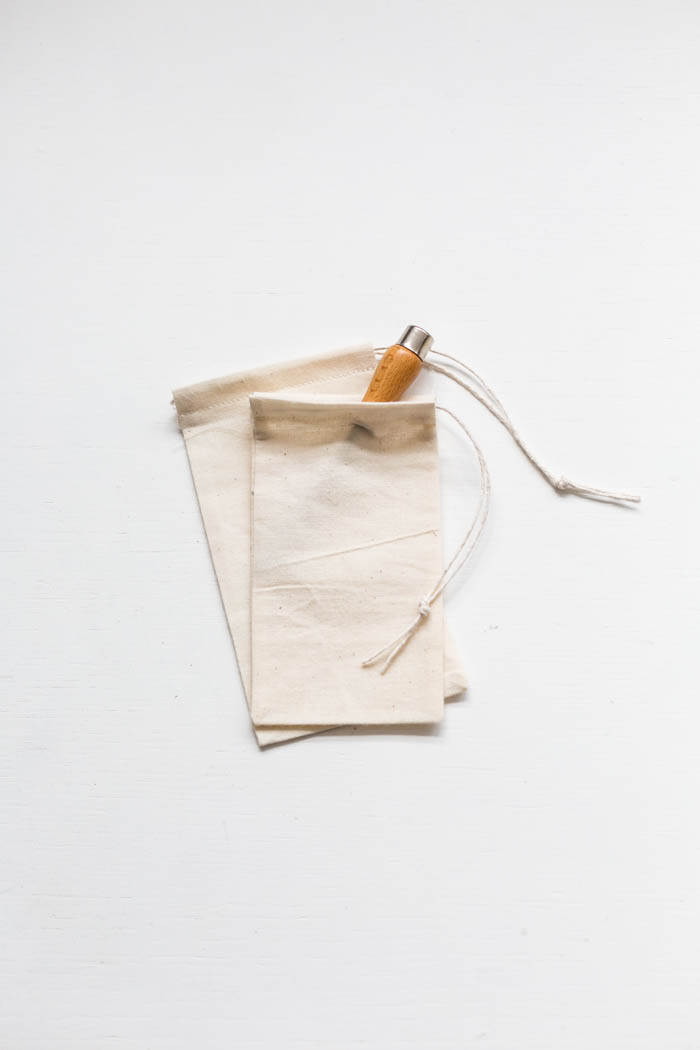
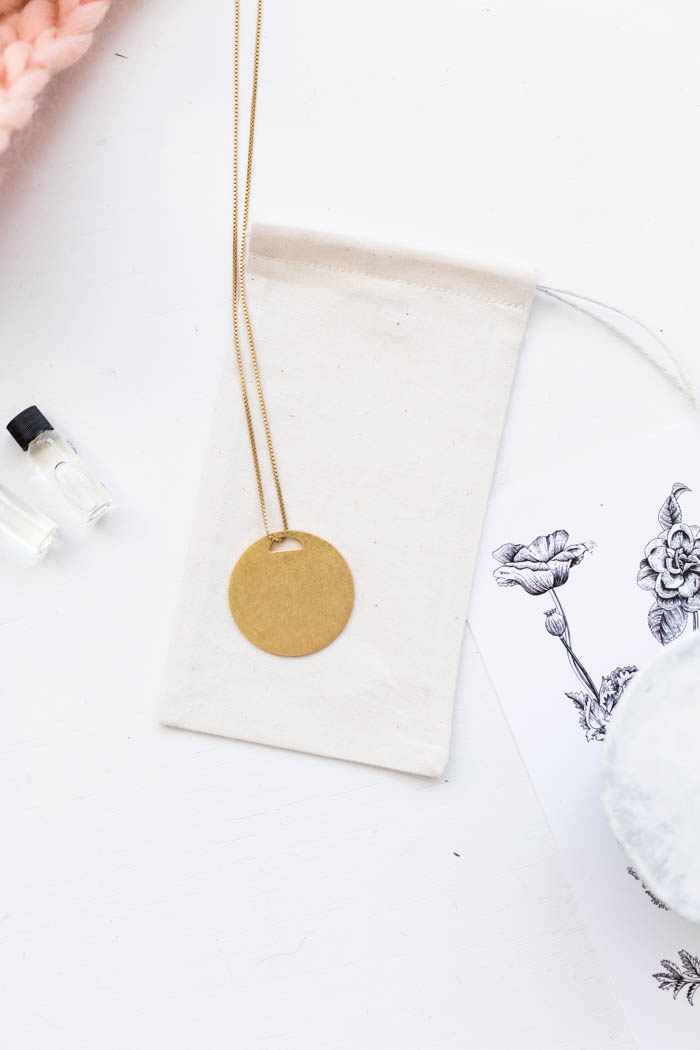
You can leave your bags plain or decorate them using printing and stamping techniques, or iron on products to create personalised gift bags or branded product packaging. This technique also works for making any size bag but if you’re making larger bags for heavier objects then give yourself a bigger seam allowance and a larger tab at the top.
Happy Making!





This is the cutest DIY I have ever seen! Might just have to try this
http://www.petiteelliee.com
Ellie xx
Simple but so effective! I love the look of the natural calico. Thanks, Fran! Will be bookmarking this for later reference :) x
The pouches are great, but this necklace drew my attention most, divine! <3
It looks so cute. Nice post. Thanks for sharing this.
This is sweet! I could make lots of this.
I am pleased with the cuteness of this simple handcraft. Thanks for this post!
Amazing! Its a great idea that you shared.
As a practicing author, I have always adopted an instinctive logic it felt natural to focus on the subject
-> come up with ideas/answers -put it on paper. Yet, nothing
can save me when I was writing concerning thermodynamics, by way of example,
which, as you can guess, is not my primary field of experience.
Anyway, I took some Amazing tips in the writing style, thanks for that:slightly_smiling_face:
Aside from loosened up muscles, your temper will likewise improve, hence furnishing you with an unwavering discernment.
Visit massage center near to me
Our centre has all the best equipment and highly trained staff, which makes it a complete solution to your body spa and massage needs. Visit full body massage near me
Skin well being requires sustenance sometimes. Standard spa treatment prompts the shining and sound skin. That is most likely the motivation behind why body spa is so well known among ladies.Visit massage near me