• Home
  • Blog
  • About
  • Collaborate
    • Media Kit
  • We Make
    • Bloglovin
    • Facebook
    • Instagram
    • Pinterest
    • Twitter
    • YouTube

Fall For DIY

  • DIY
  • Interiors
    • Planters
    • Paper
    • embroidery
    • Drinks
  • Blogging
    • Photography
    • Instagram
  • fashion
    • Jewellery
    • Accessories
  • Inspiration
    • Round Up
    • 50 DIYs
  • Office
    • Free Printables
    • Organize
  • Party
    • Christmas
    • Halloween

Our favourite things in your inbox every month!

12 Shades of Christmas Day Four | DIY Beaded Gift Toppers

DIY Beaded Gift Toppers with Dulux | @fallfordiy

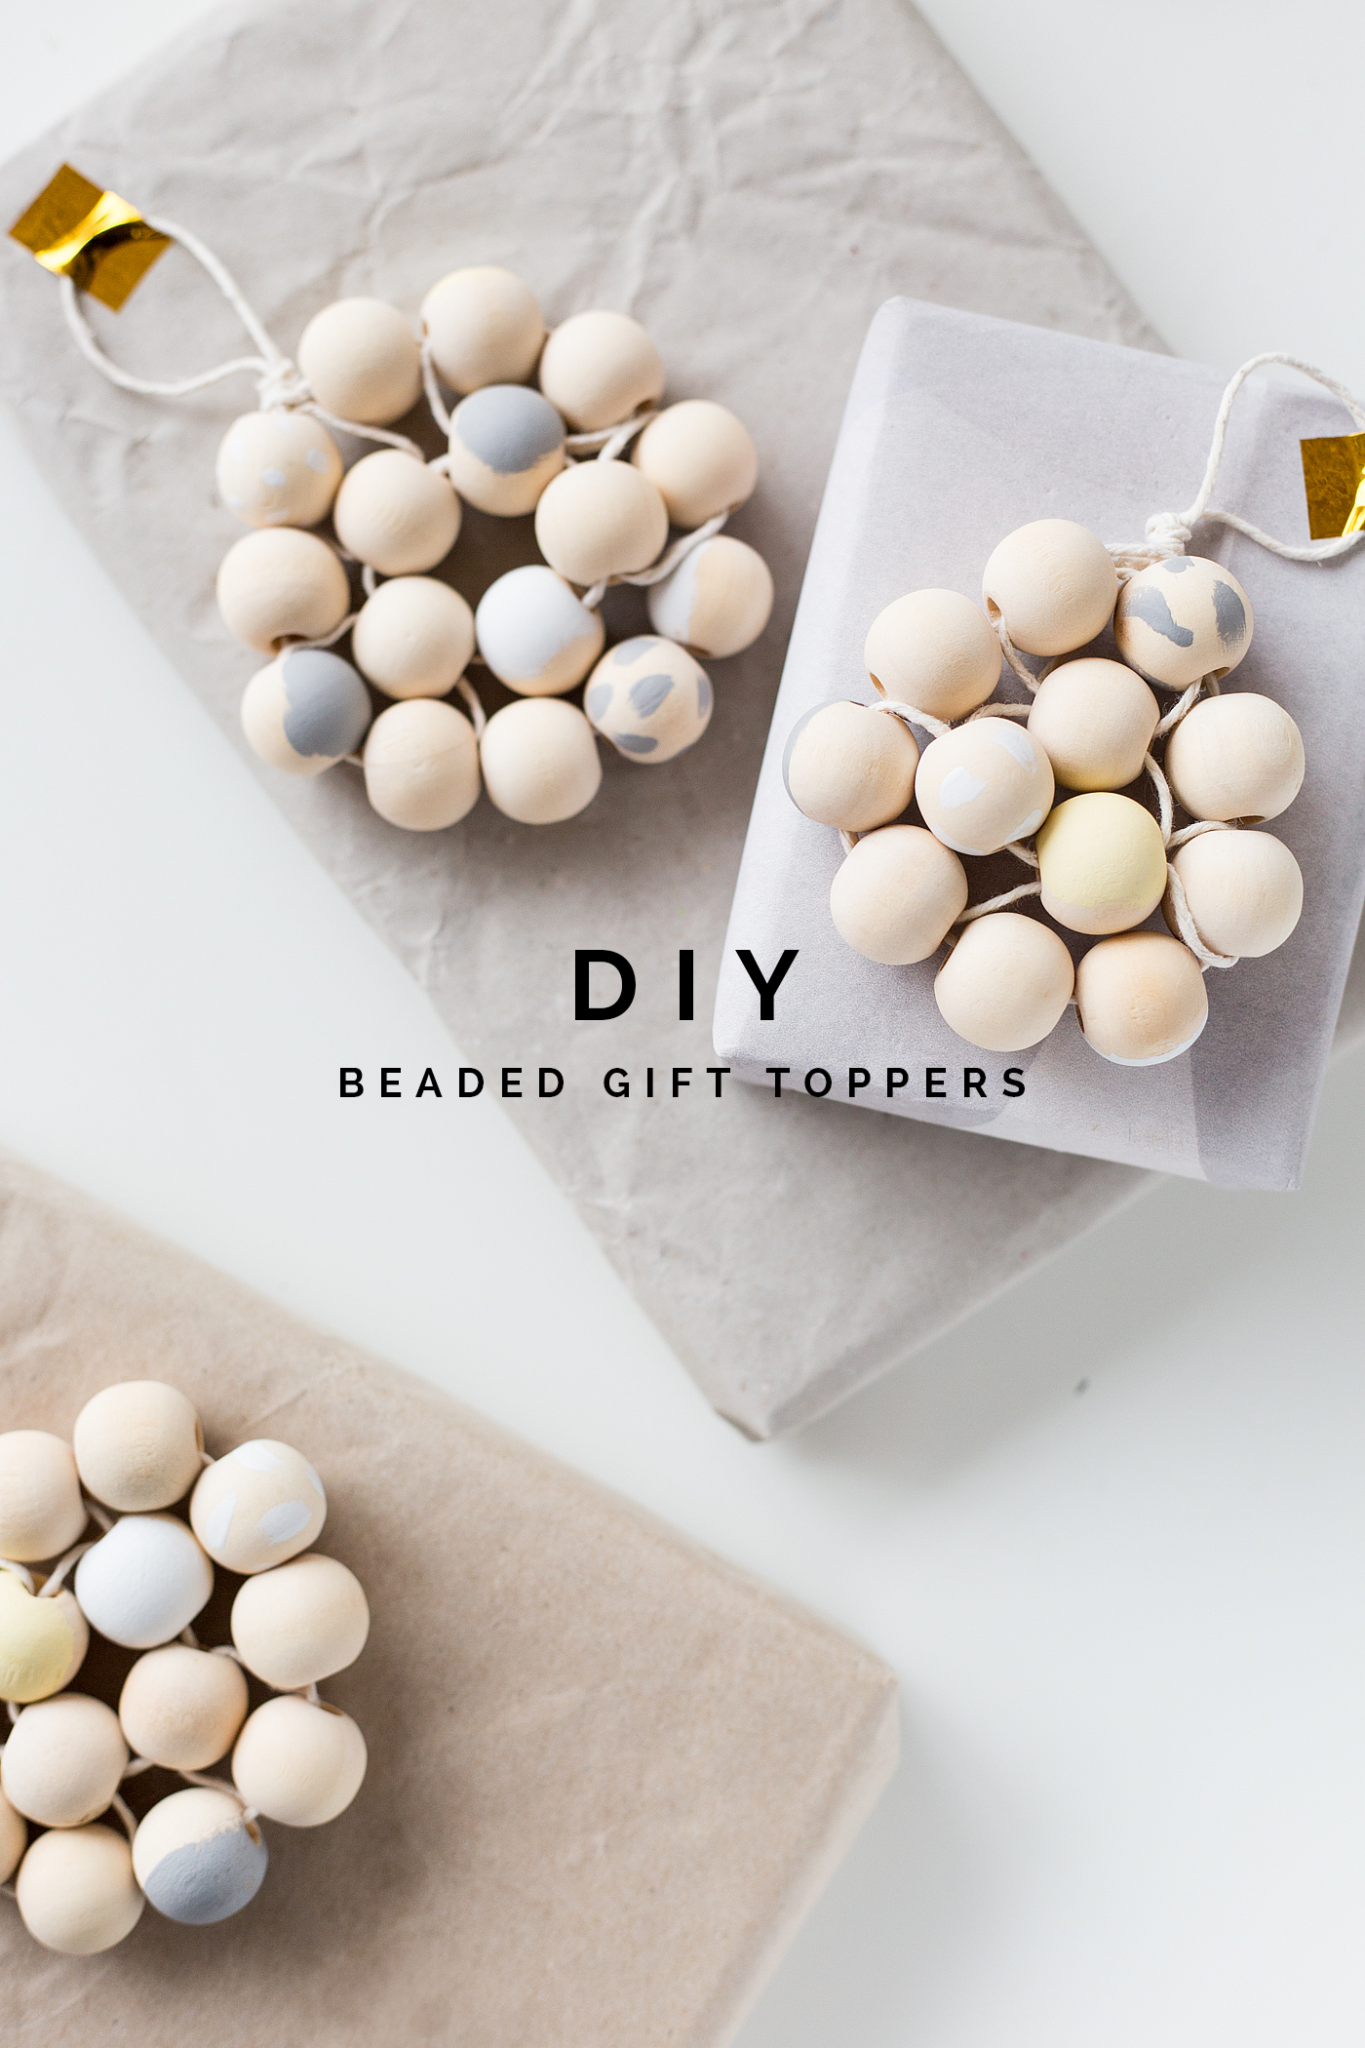
Nothing says stylish Scandinavian Christmas quite like a wooden bead. They just look stylish used anywhere in the home, especially next to any Christmas evergreen. There’s something about the natural qualities of the wood that make them a treat for the eyes.

DIY Beaded Gift Toppers with Dulux | @fallfordiy

Luckily they are also one of the easier craft items to work with. Wooden beads usually have large holes no matter the size of the bead which means we don’t have to fuss around with a needle and thread. All you need to do it grab a sturdy cotton cord and you can create a variety of different decorations.

DIY Beaded Gift Toppers with Dulux | @fallfordiy

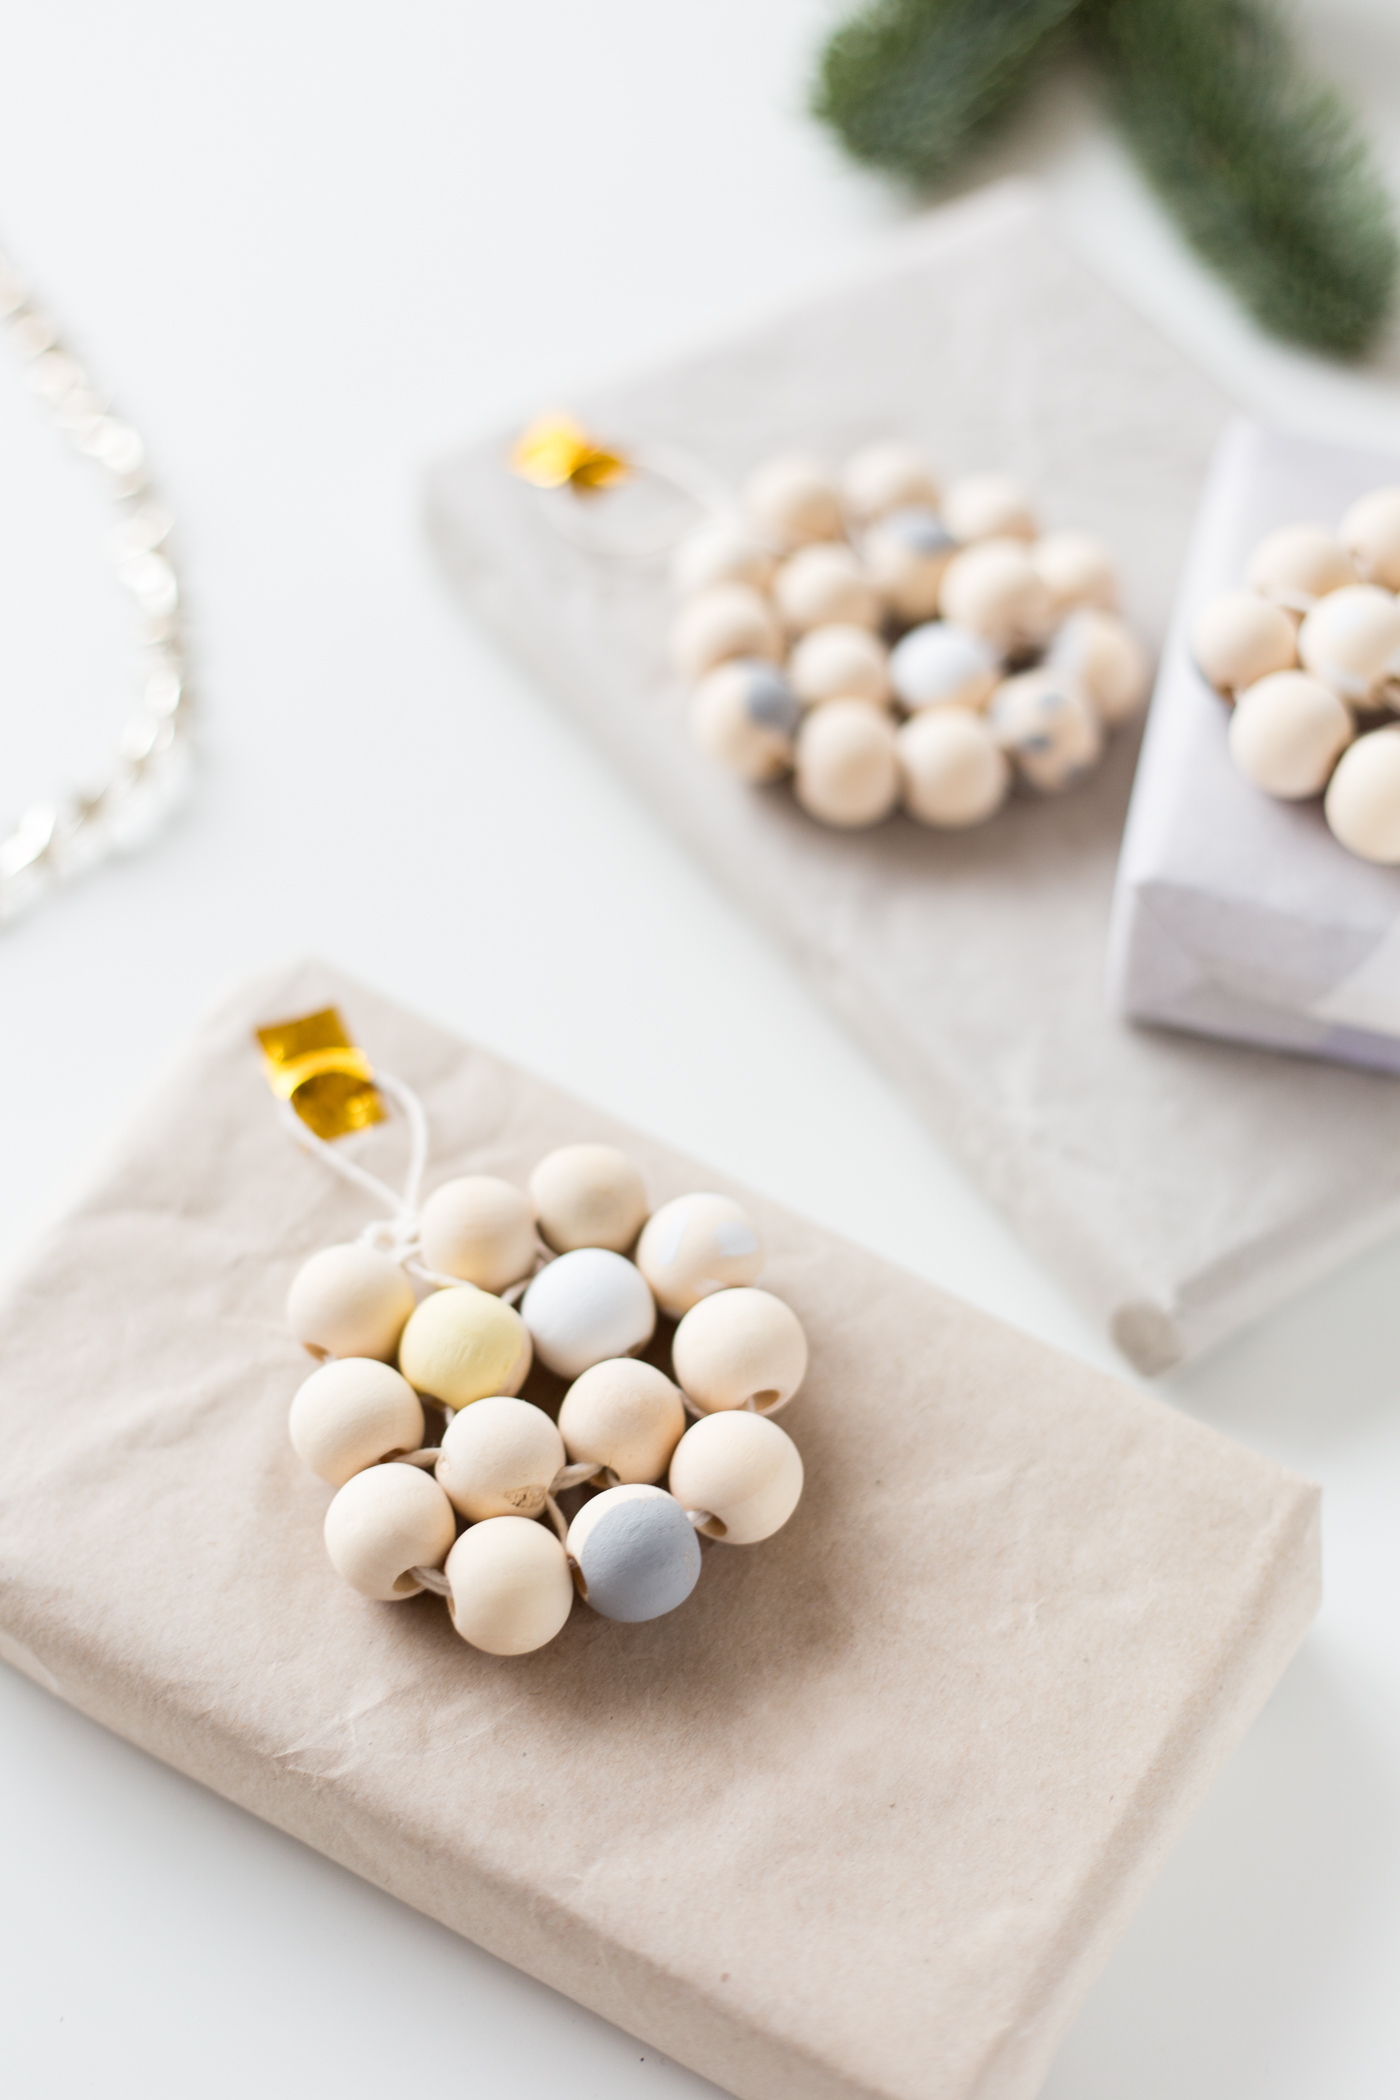
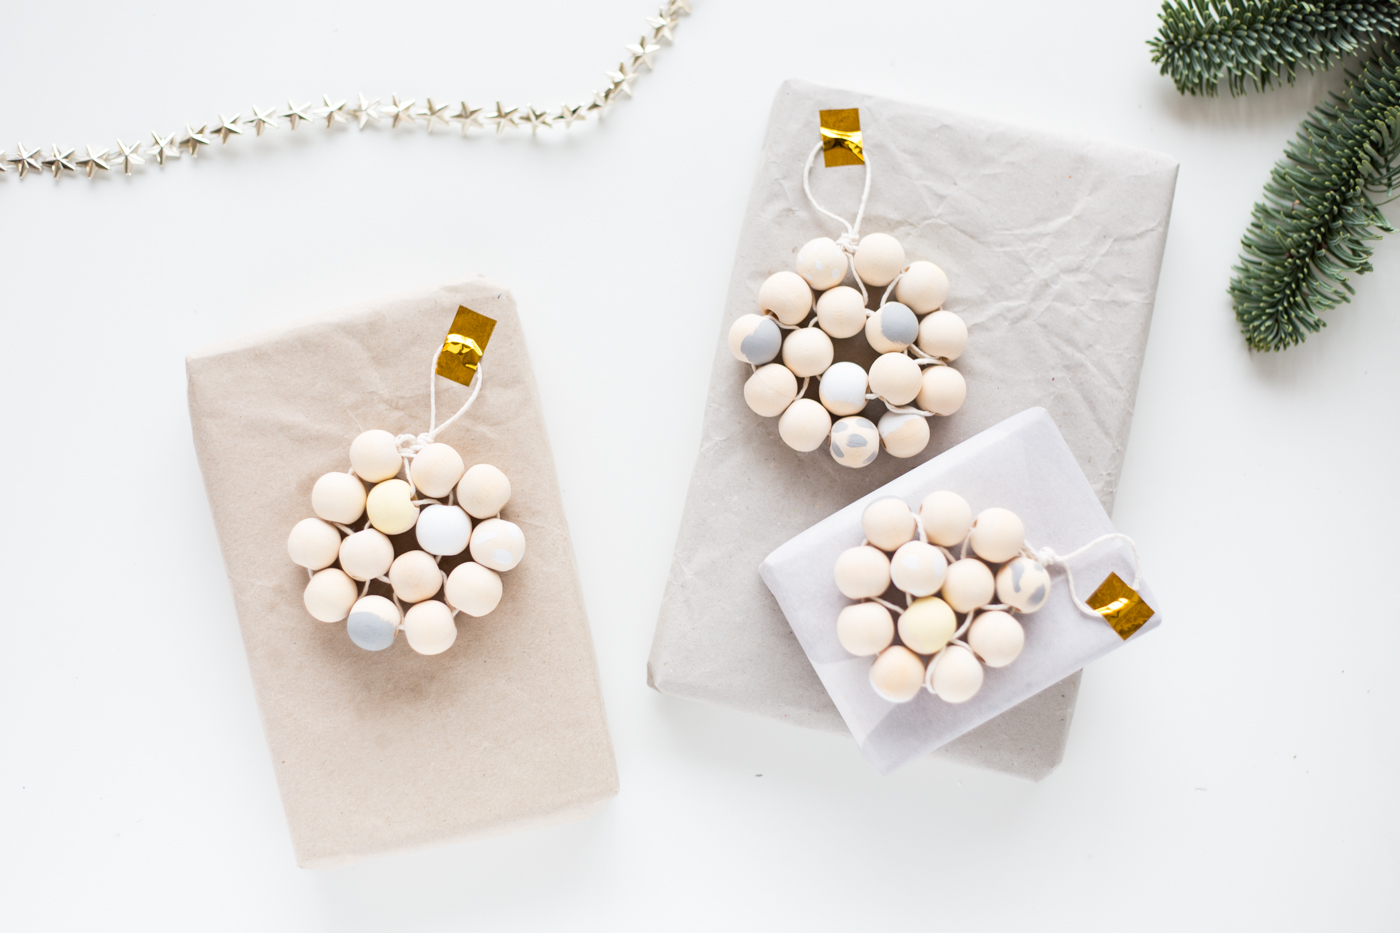
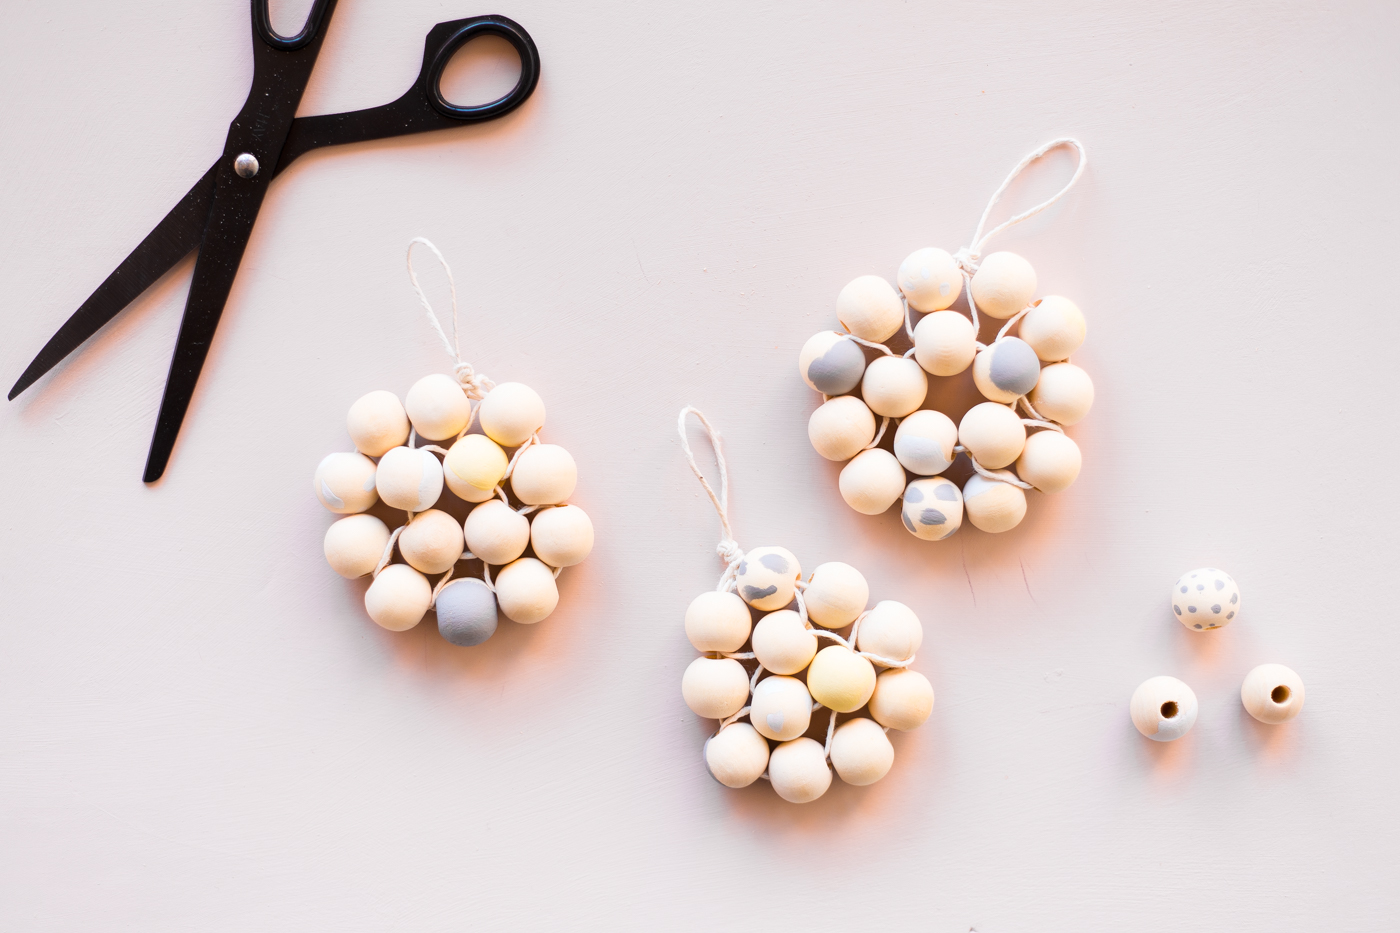
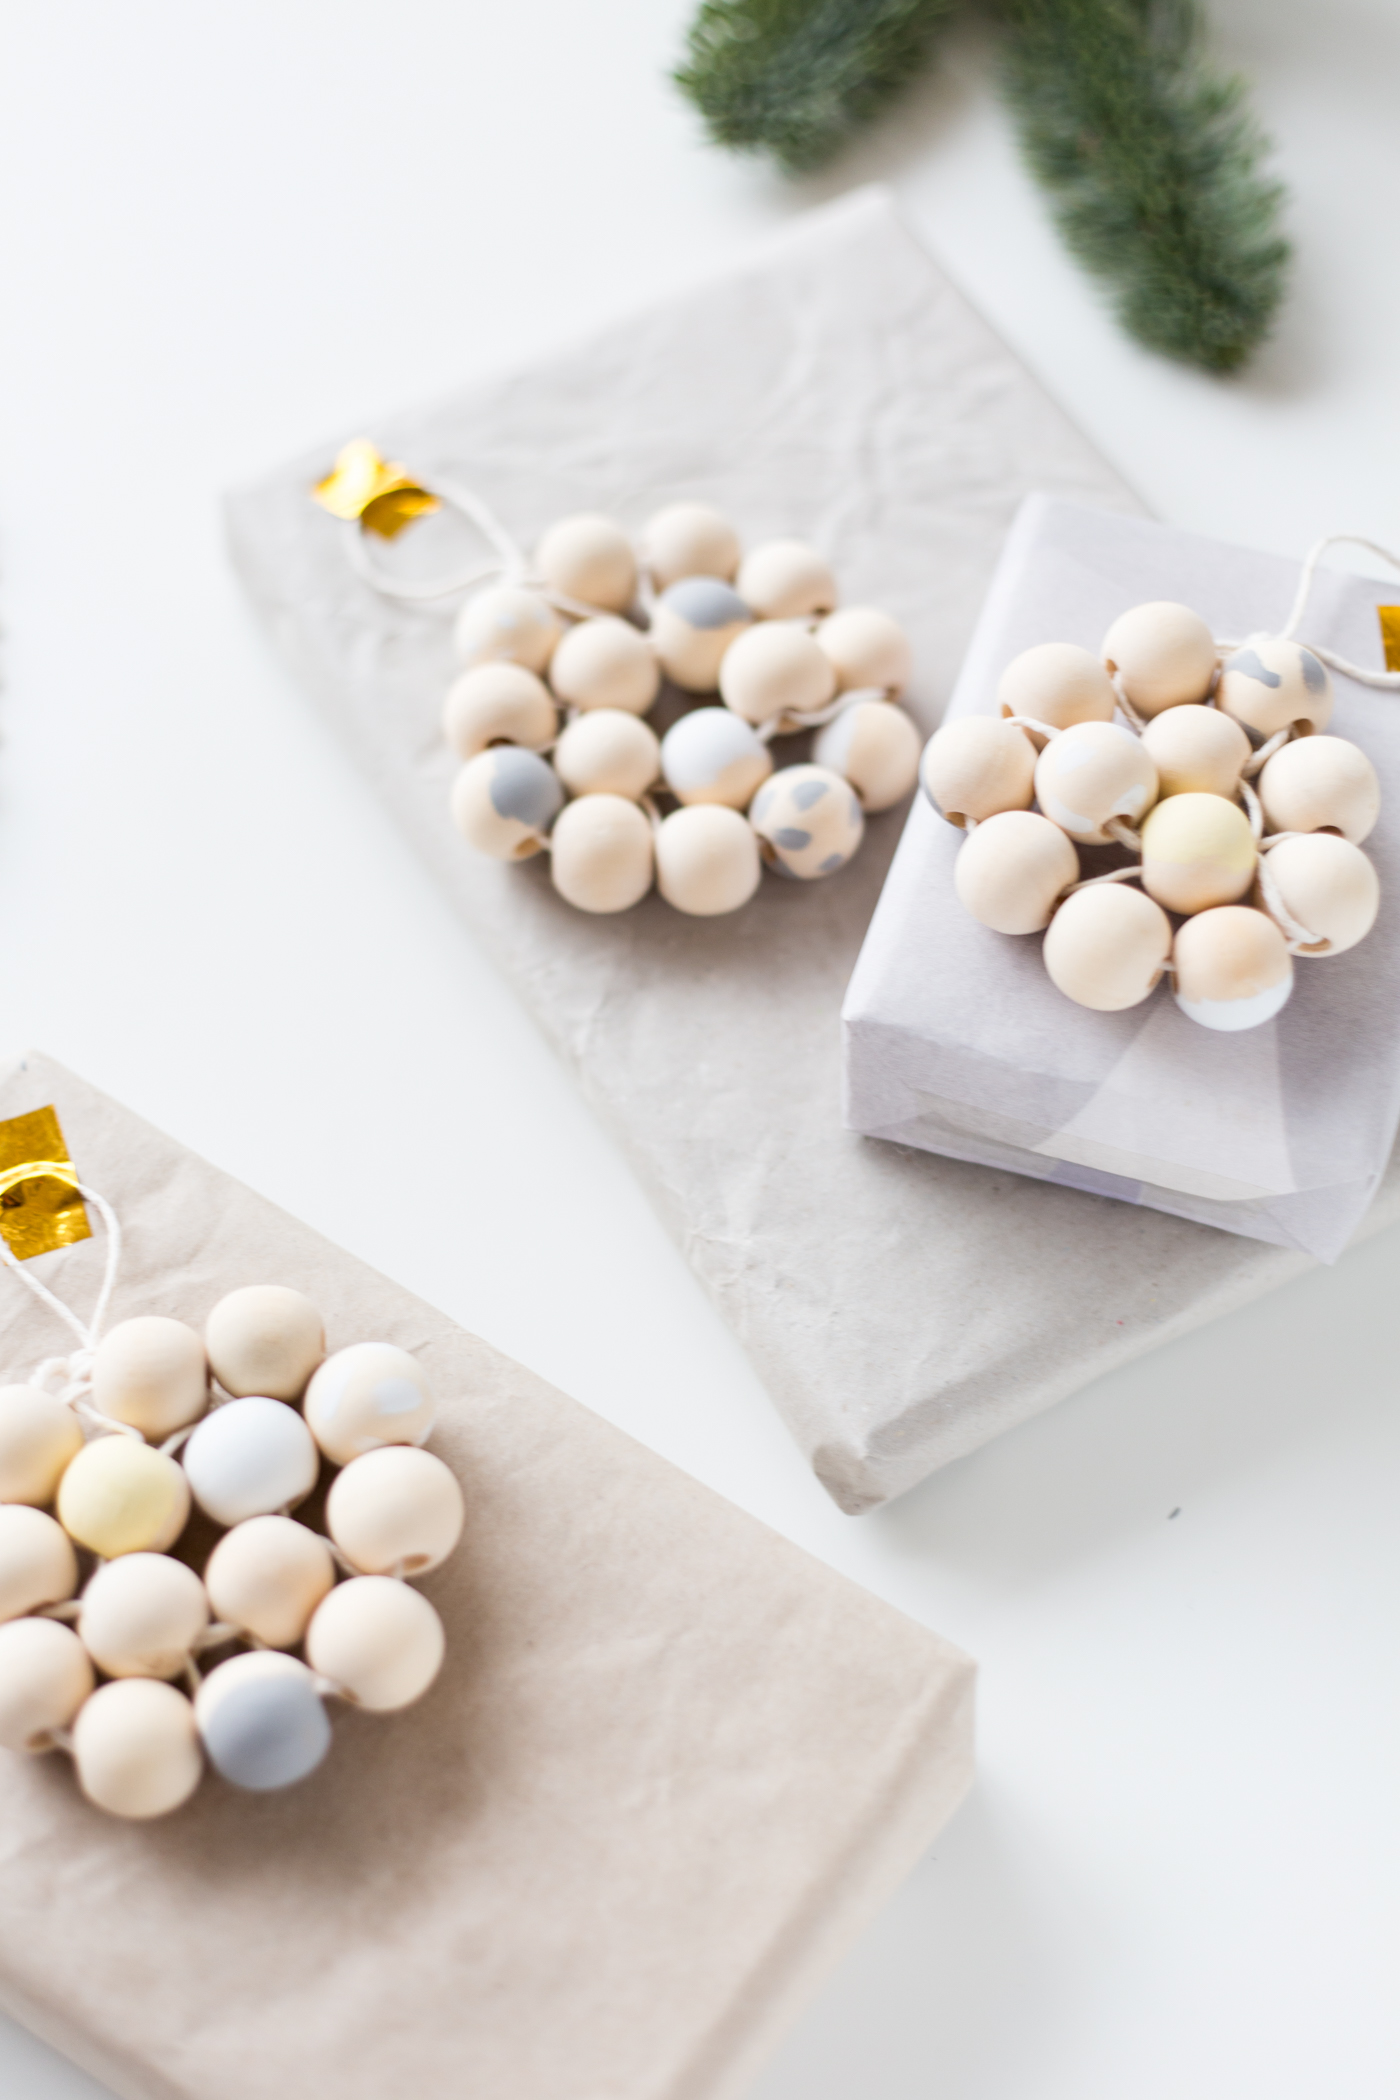
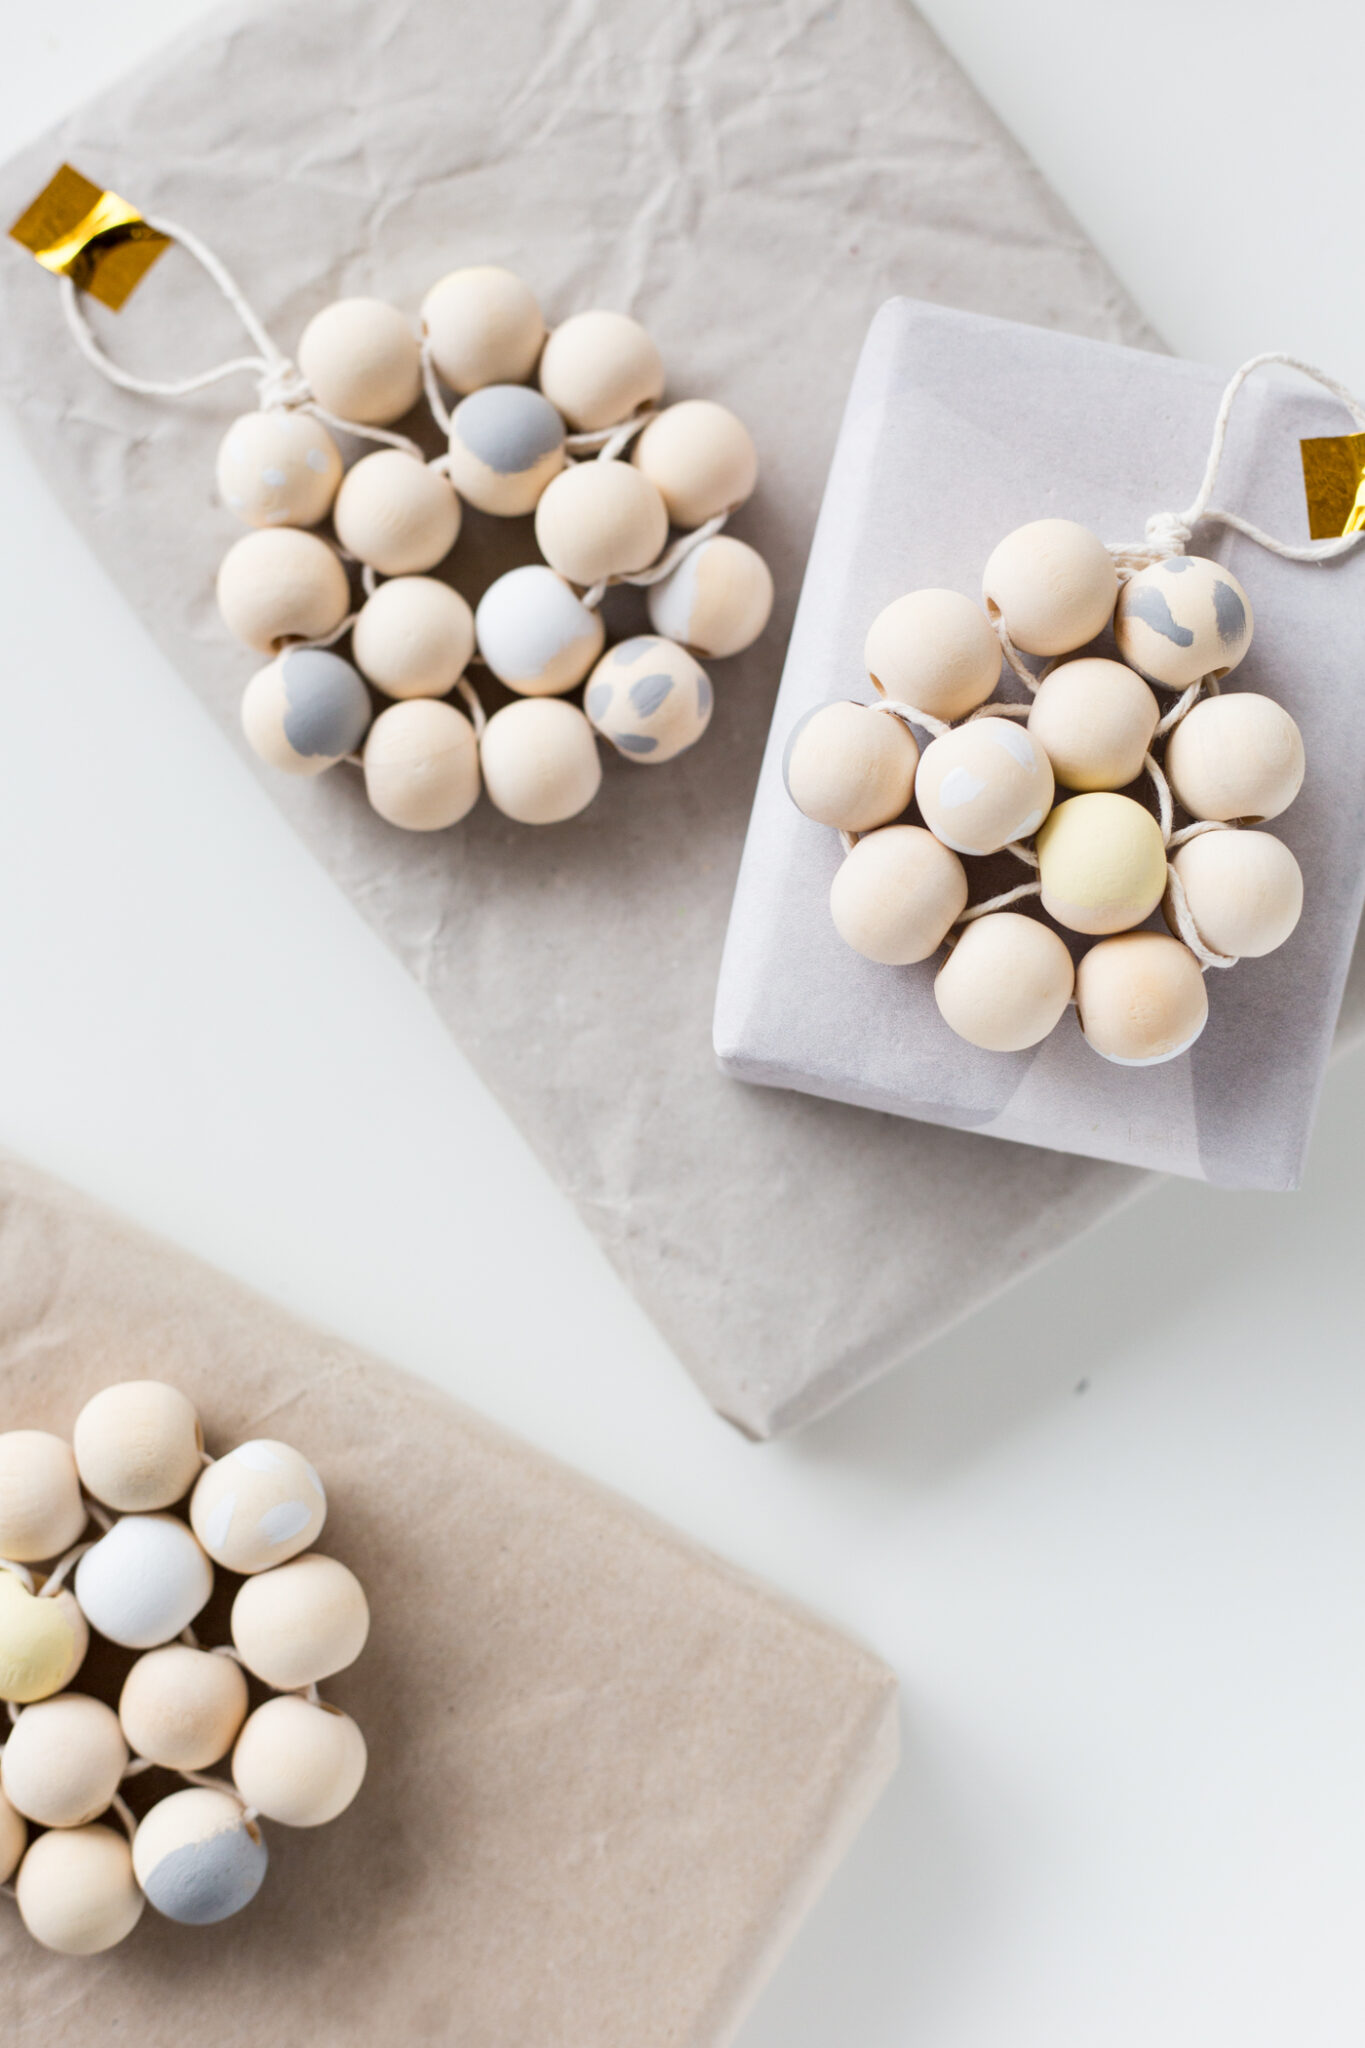
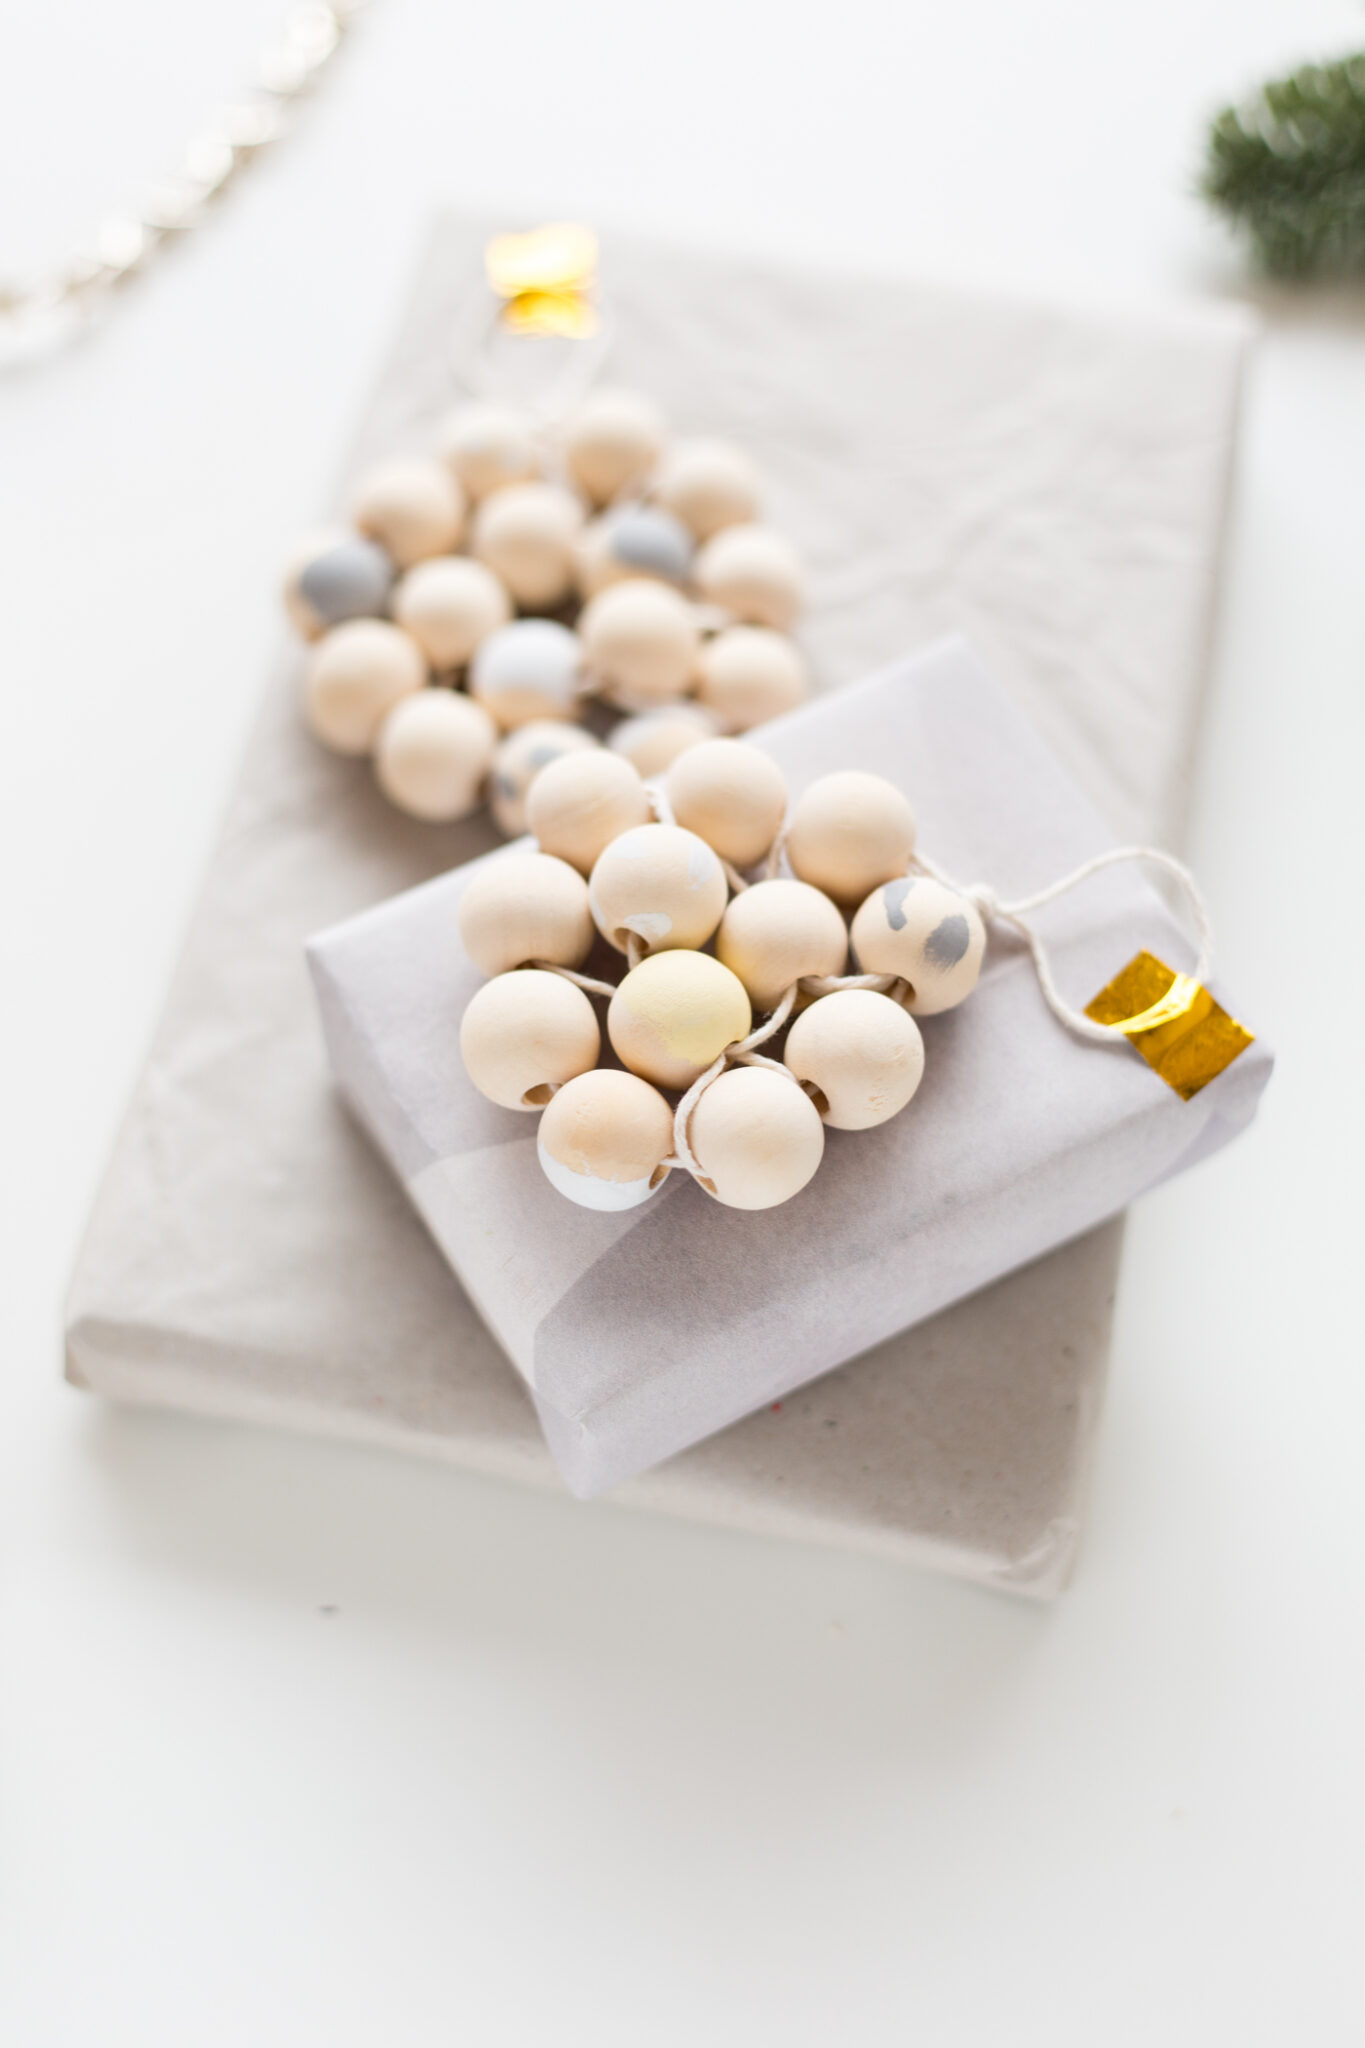
I’m using these beads to create fun gift toppers which can double up as decorations once the present is unwrapped. Add a hint of colour on randomly placed beads to keep the gift toppers unique (and help you remember which gift belongs to which recipient!)

diy-beaded-gift-toppers-tutorial-with-dulux-fallfordiy-1

Materials:

  • 30ml Dulux Tester Pots in Pharaohs Gold 3, White Mist & Night Jewels 4
  • Small Paint Brushes
  • 20mm Raw Wooden Beads
  • Cotton Cord

diy-beaded-gift-toppers-tutorial-with-dulux-fallfordiy-2 diy-beaded-gift-toppers-tutorial-with-dulux-fallfordiy-3 diy-beaded-gift-toppers-tutorial-with-dulux-fallfordiy-4

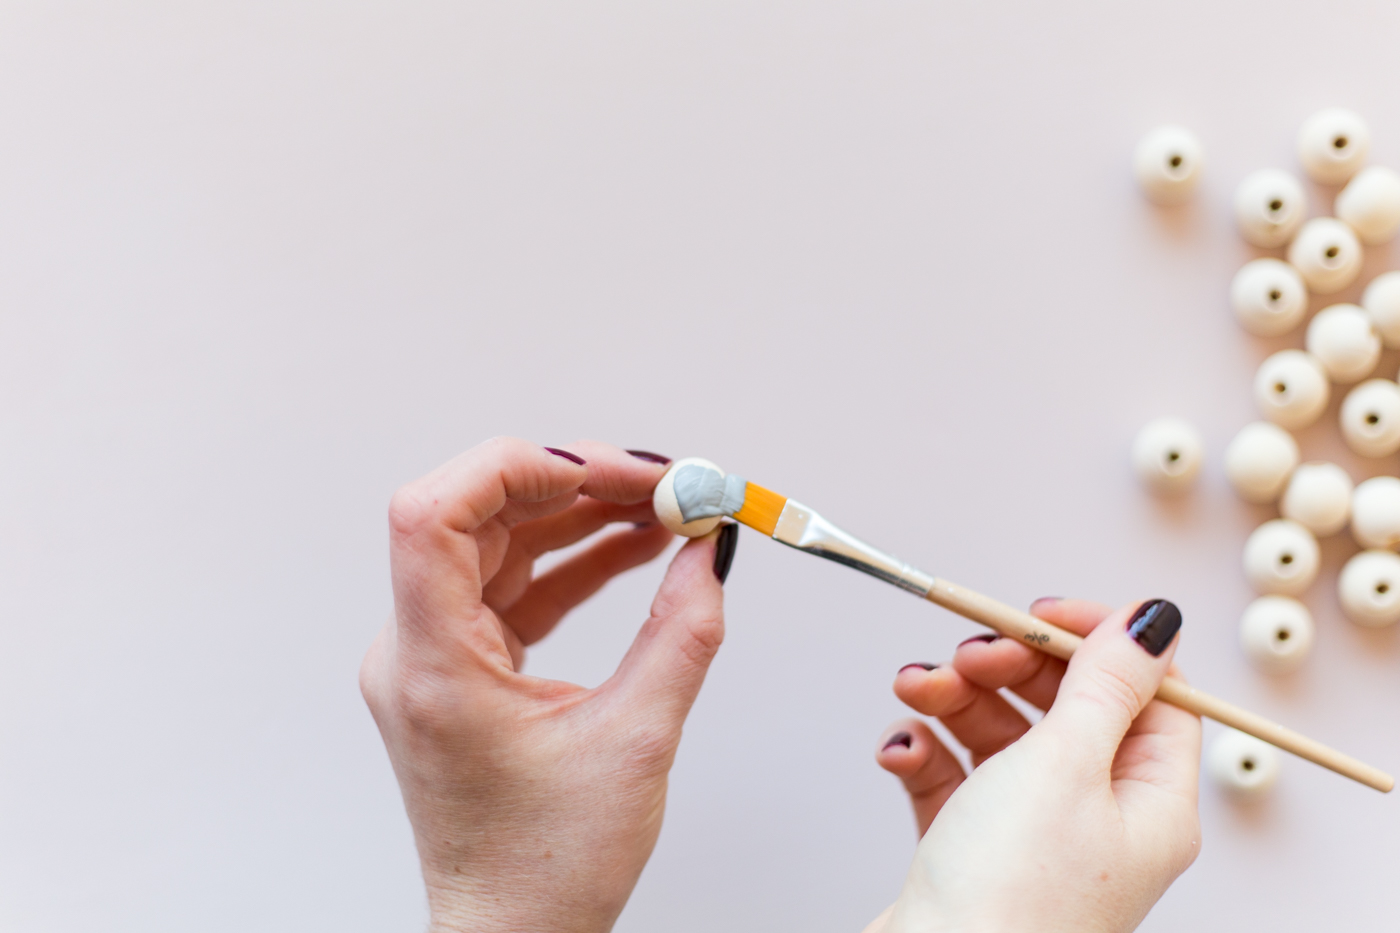
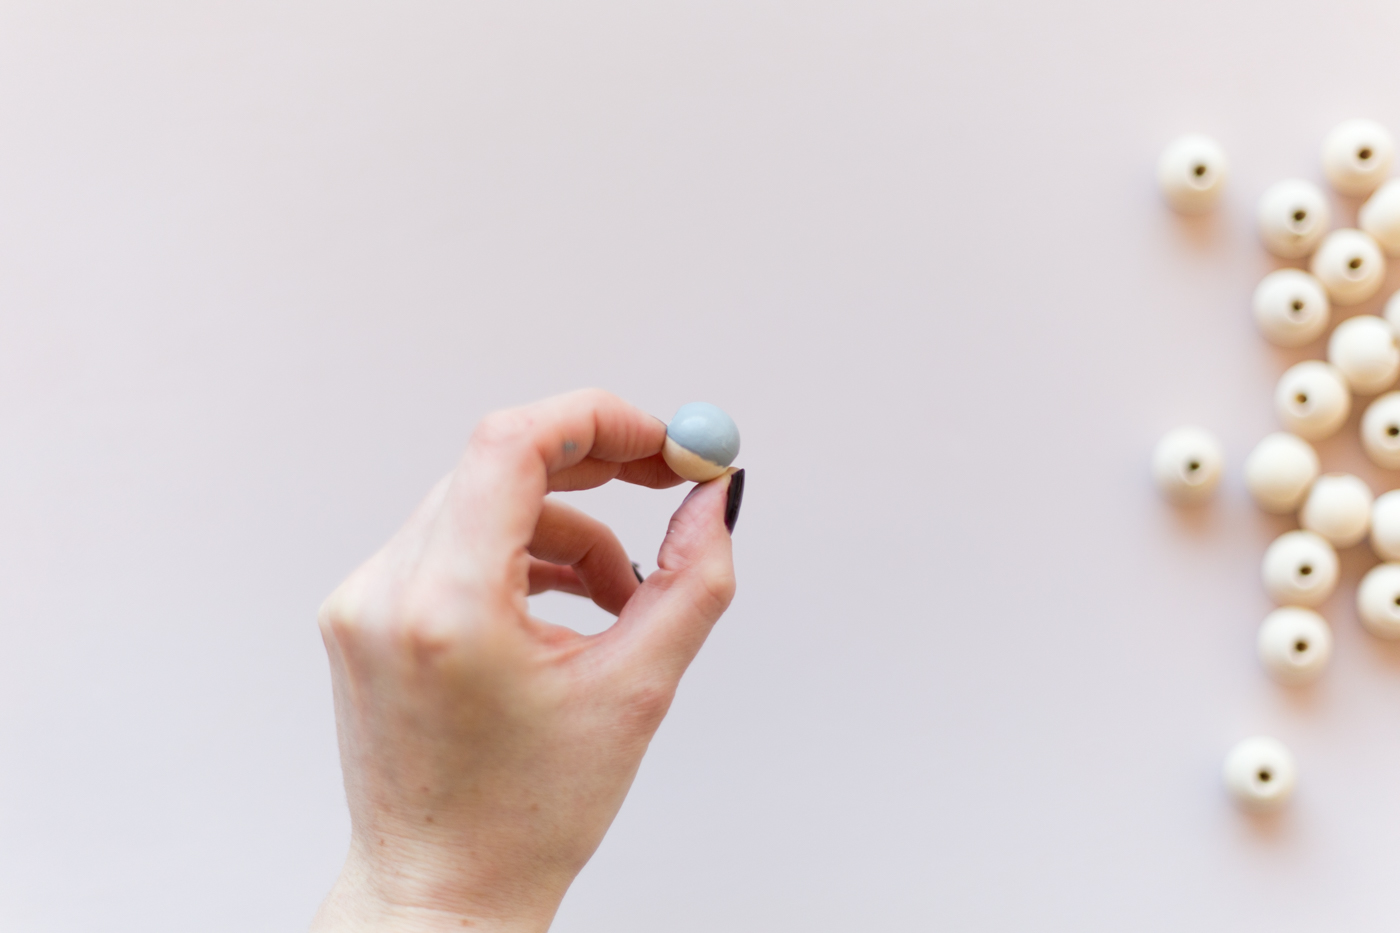
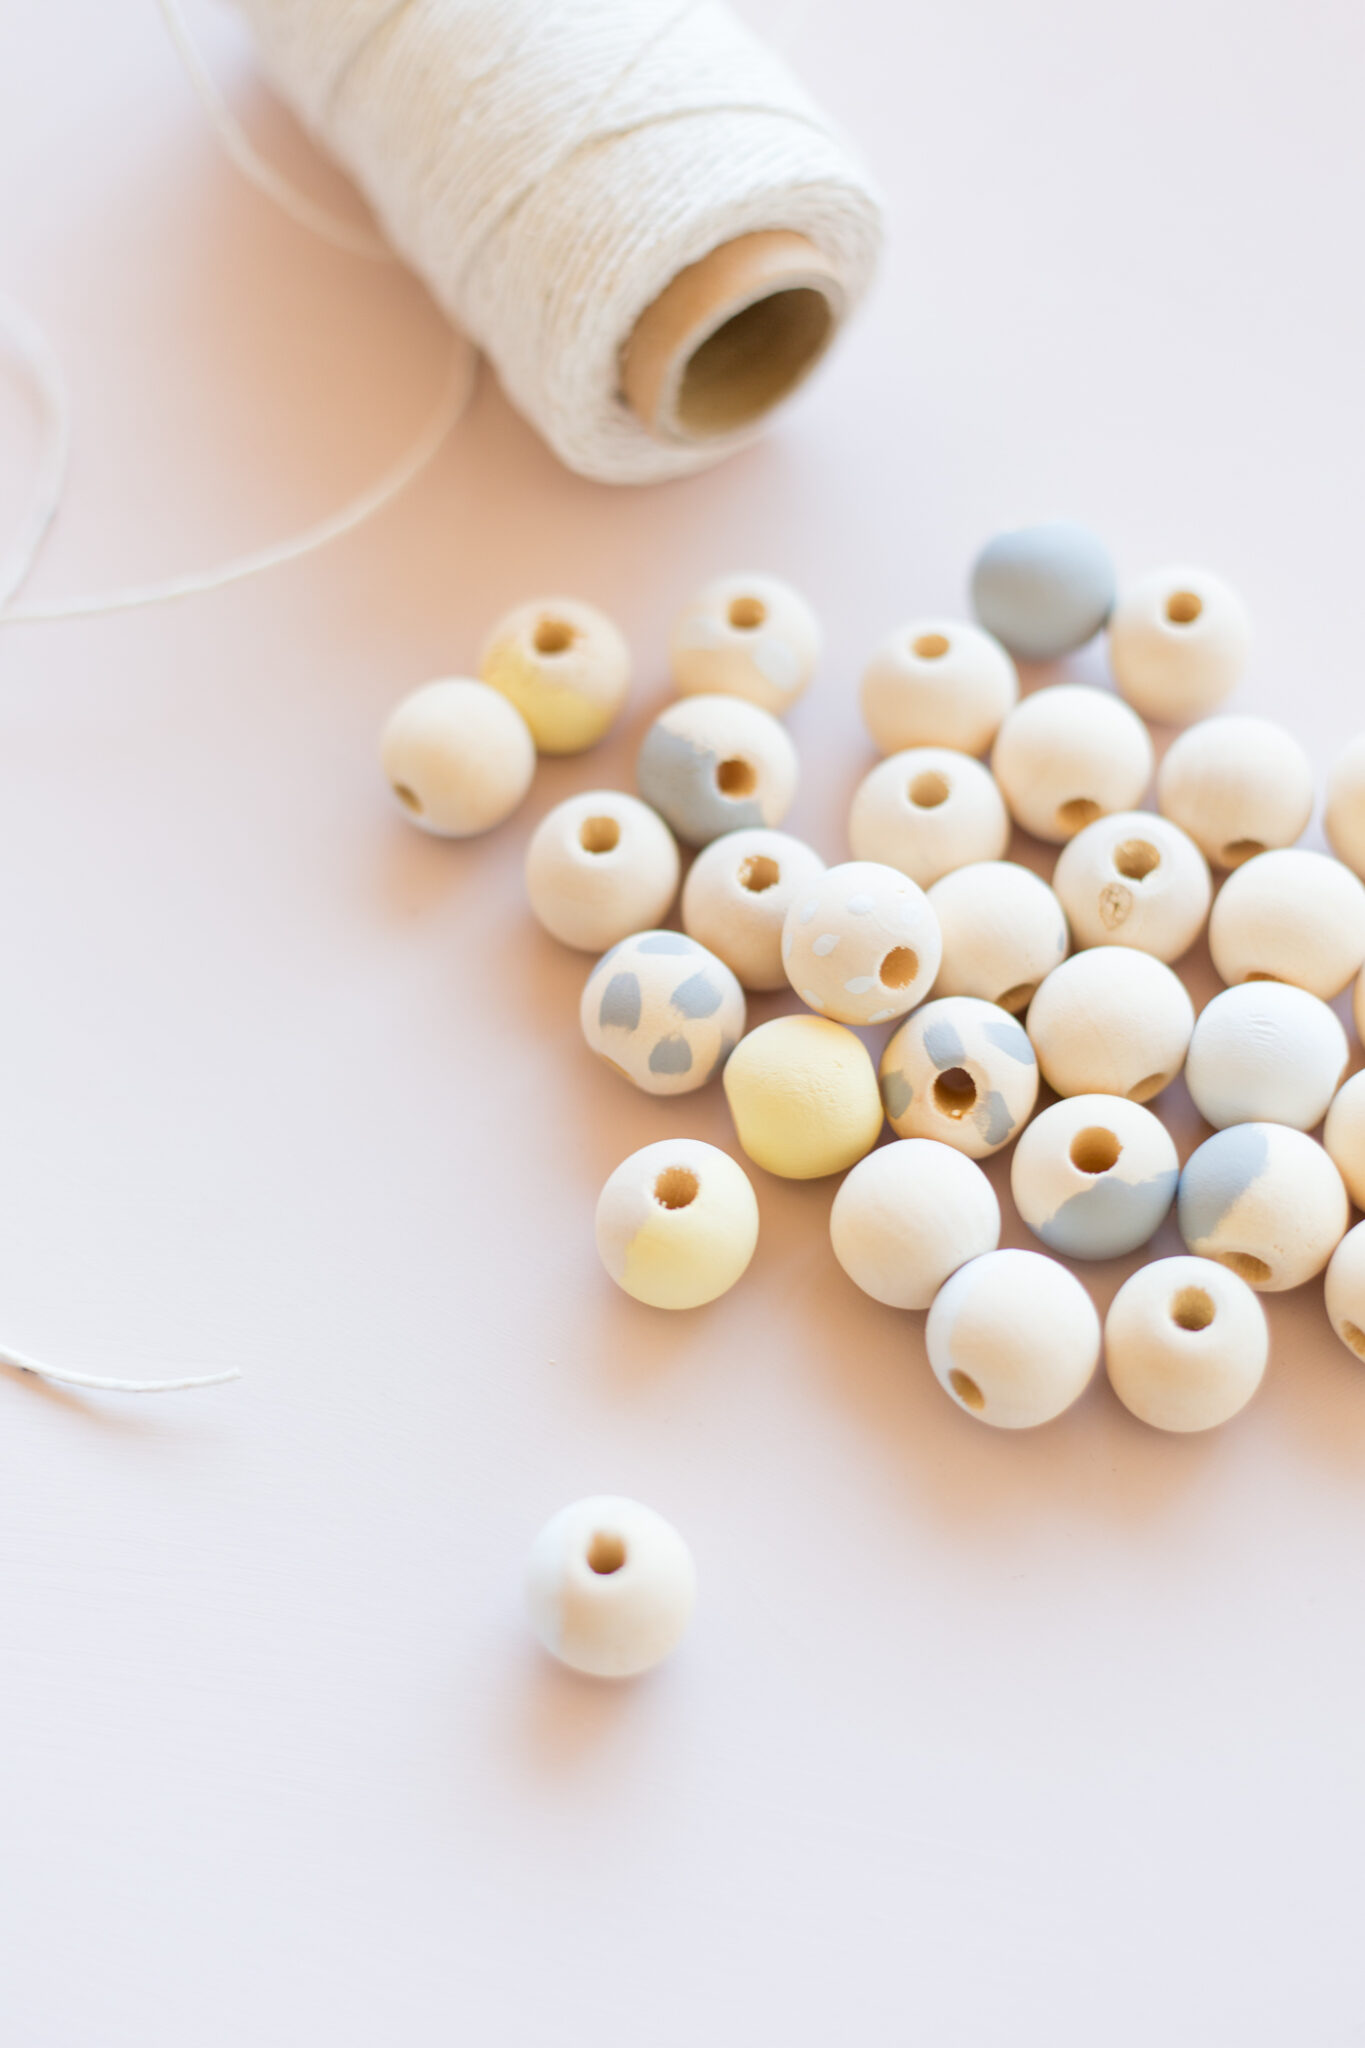
1. Using the Dulux tester pots paint your wooden beads. I’ve roughly painted half of some beads (don’t worry about being neat) and covered others in dots and dashes. You don’t want to paint all the beads and you want a good mix of colours and patterns.

diy-beaded-gift-toppers-tutorial-with-dulux-fallfordiy-5diy-beaded-gift-toppers-tutorial-with-dulux-fallfordiy-6

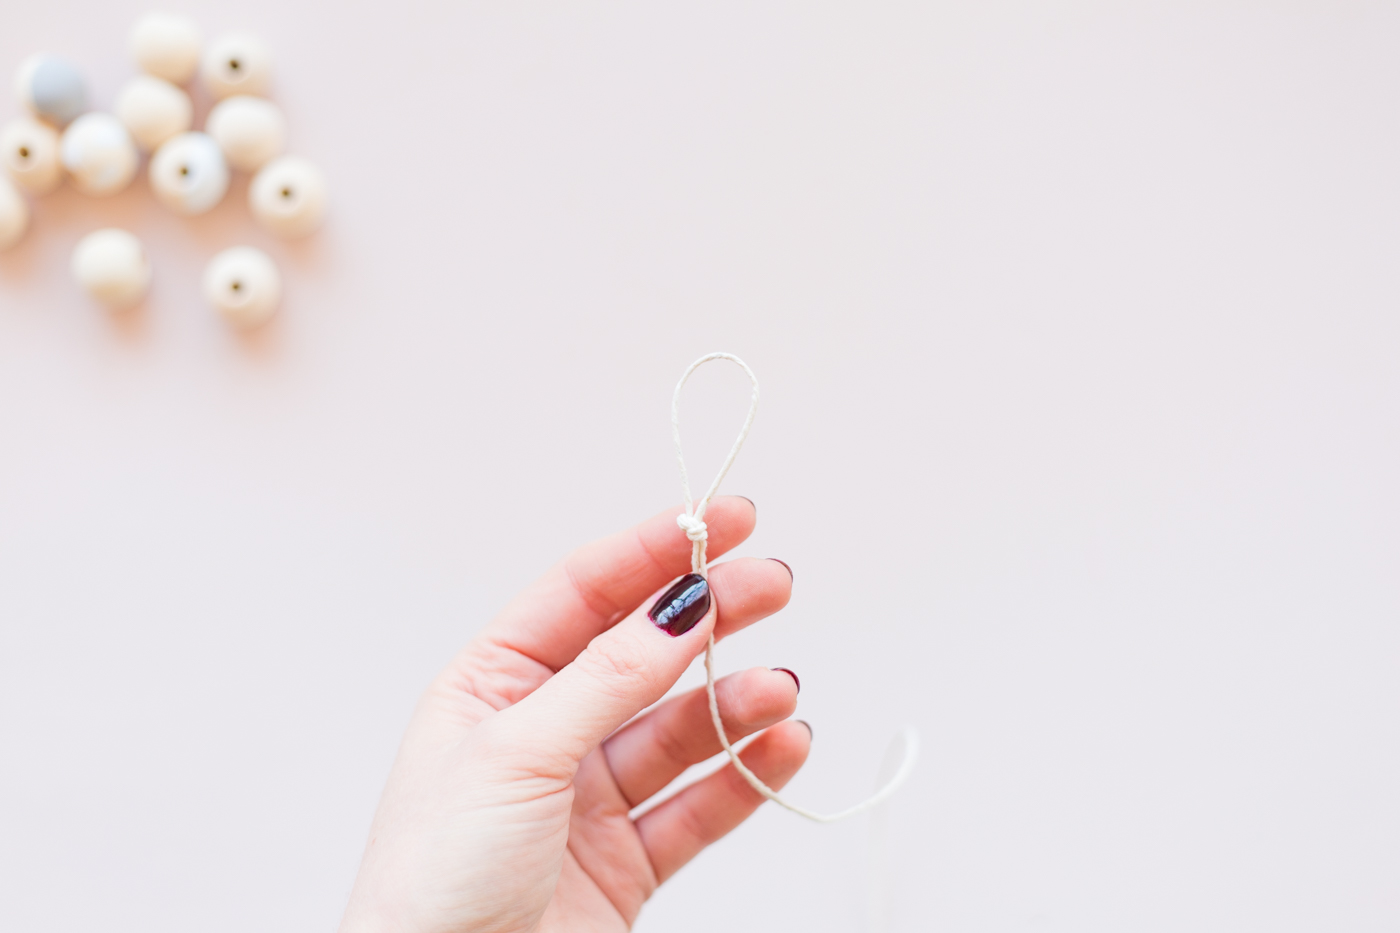
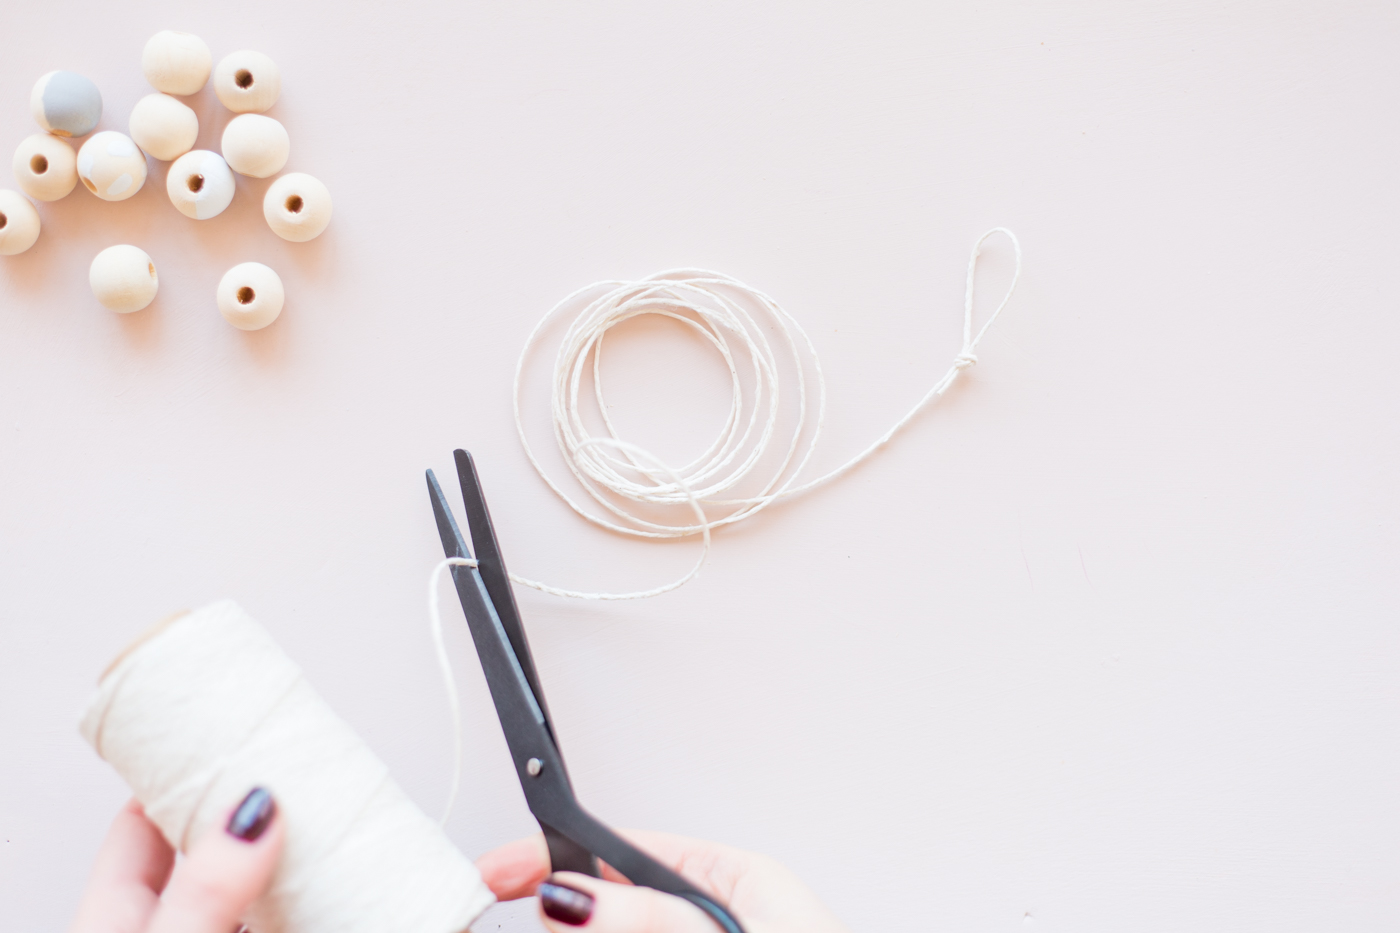
2. Cut a piece of cotton cord around 1.5 metres long. Tie a loop at one end and double knot to stop the beads falling off.

diy-beaded-gift-toppers-tutorial-with-dulux-fallfordiy-7 diy-beaded-gift-toppers-tutorial-with-dulux-fallfordiy-8 diy-beaded-gift-toppers-tutorial-with-dulux-fallfordiy-9

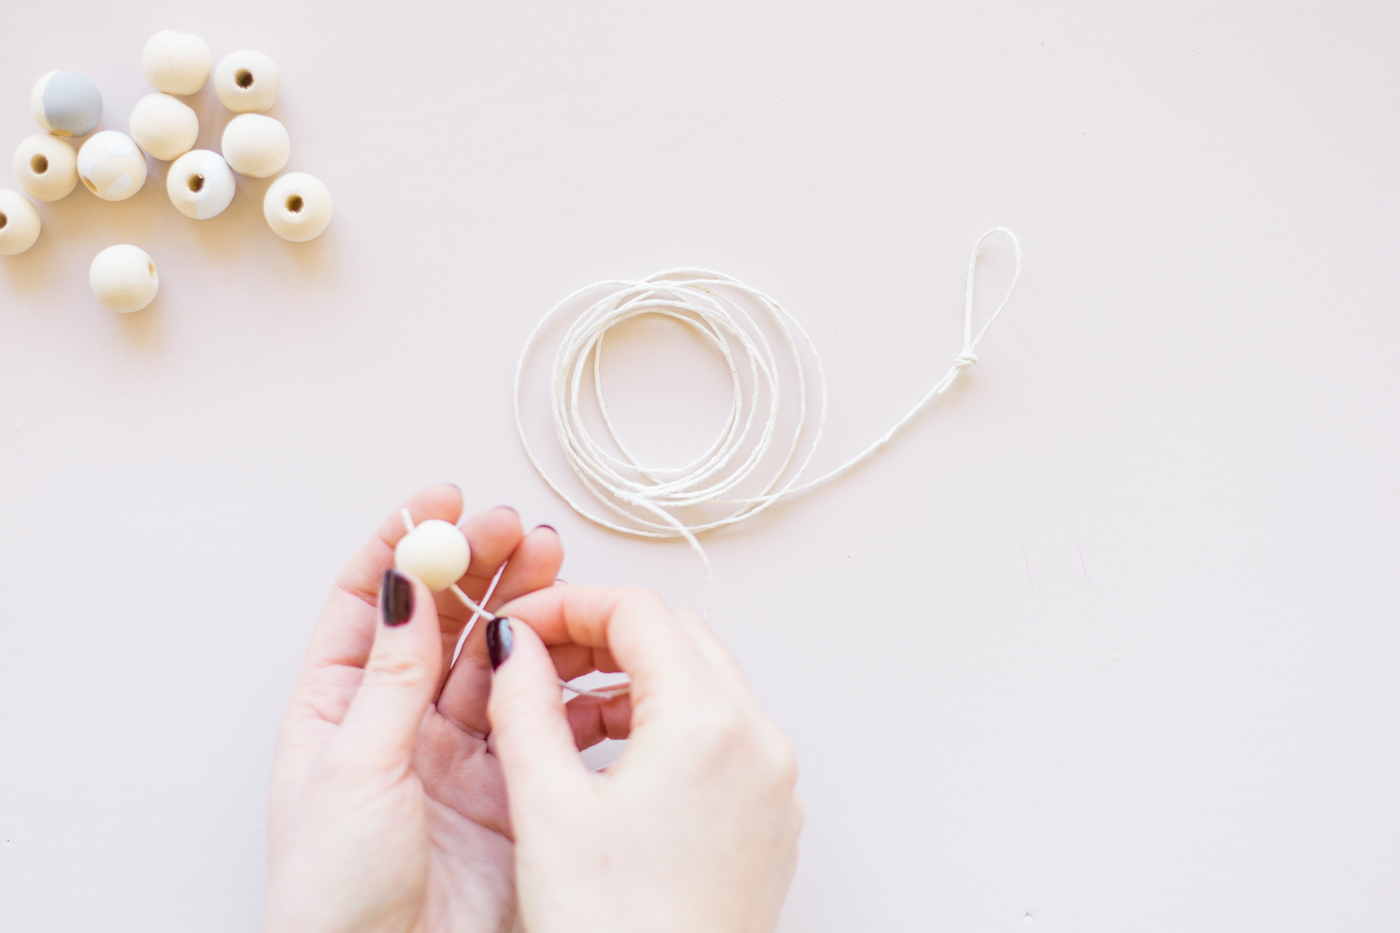
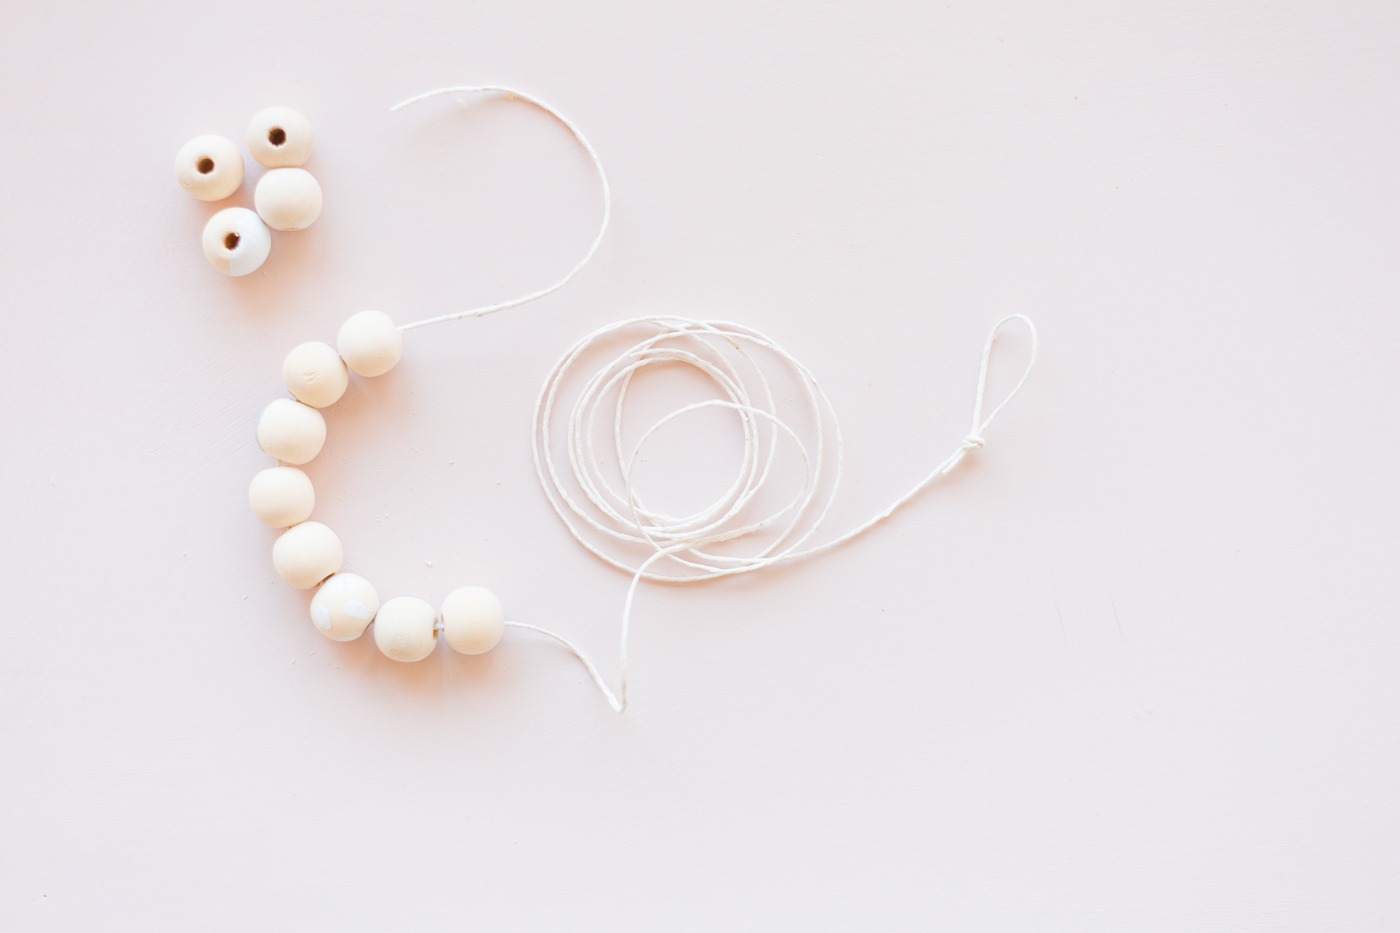
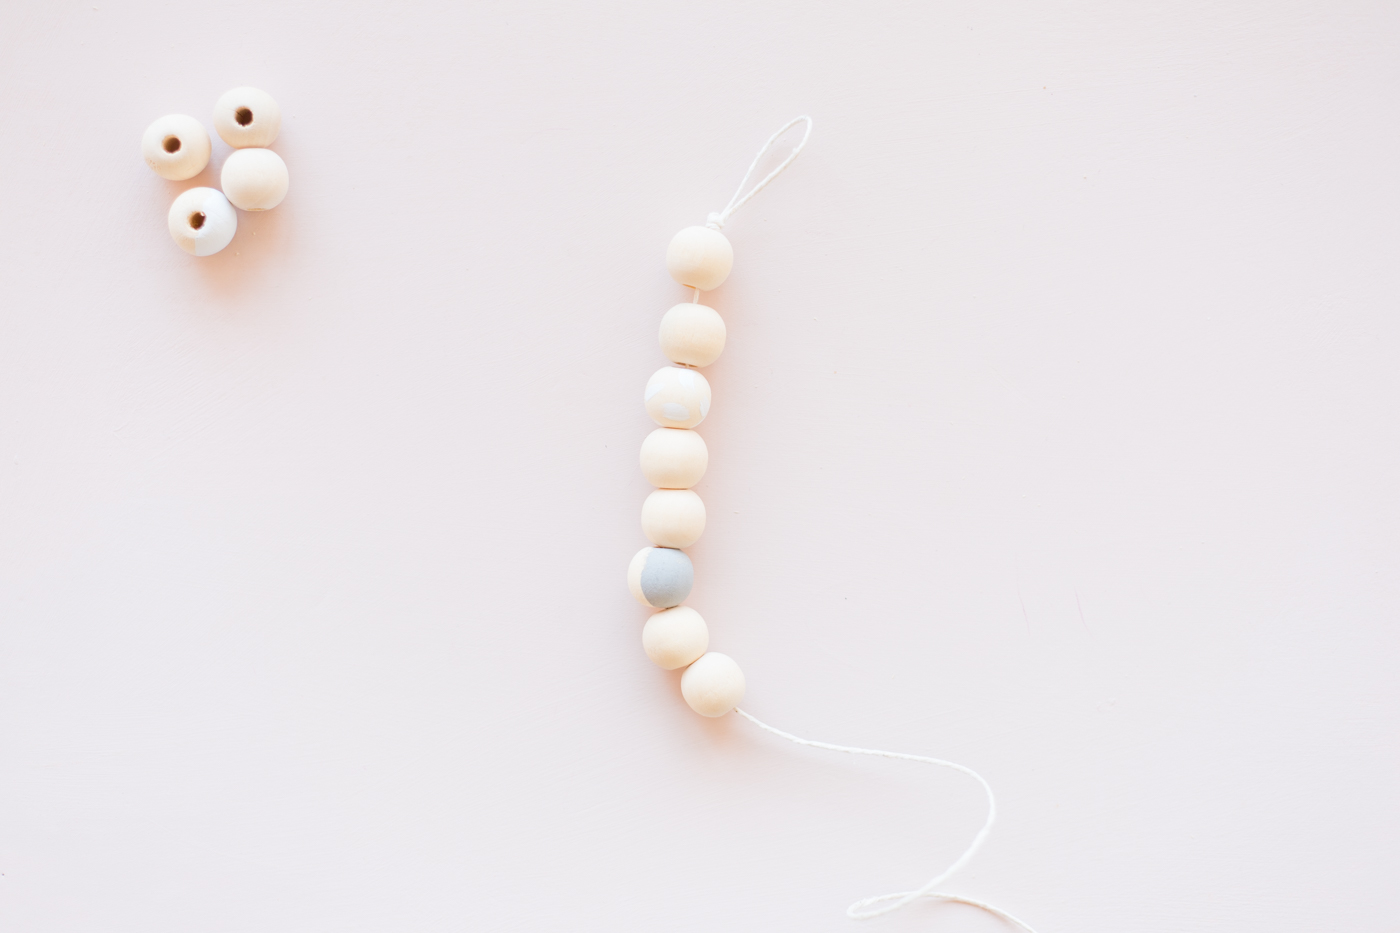
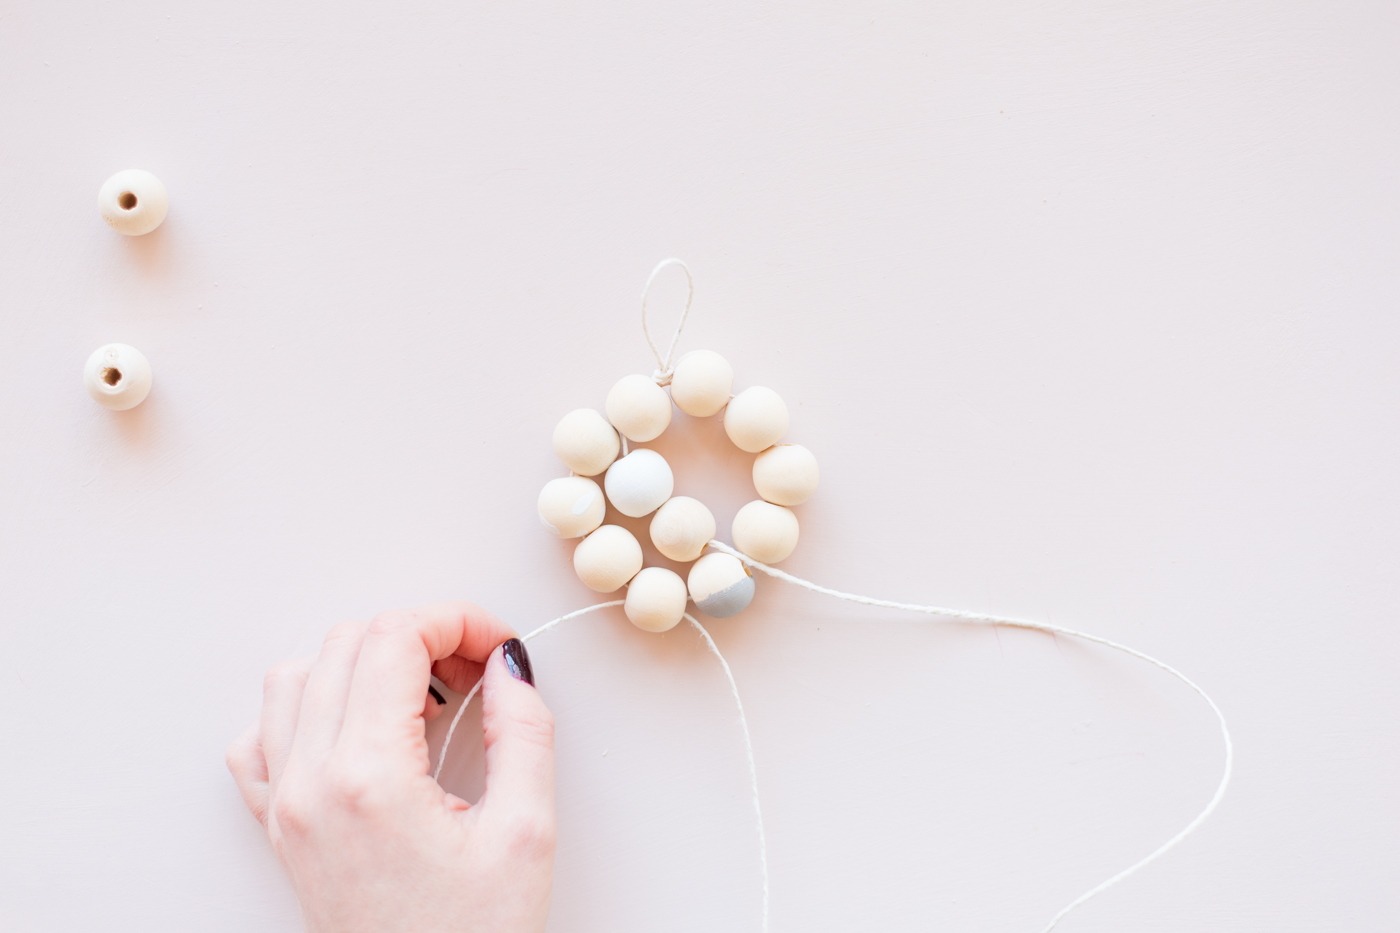
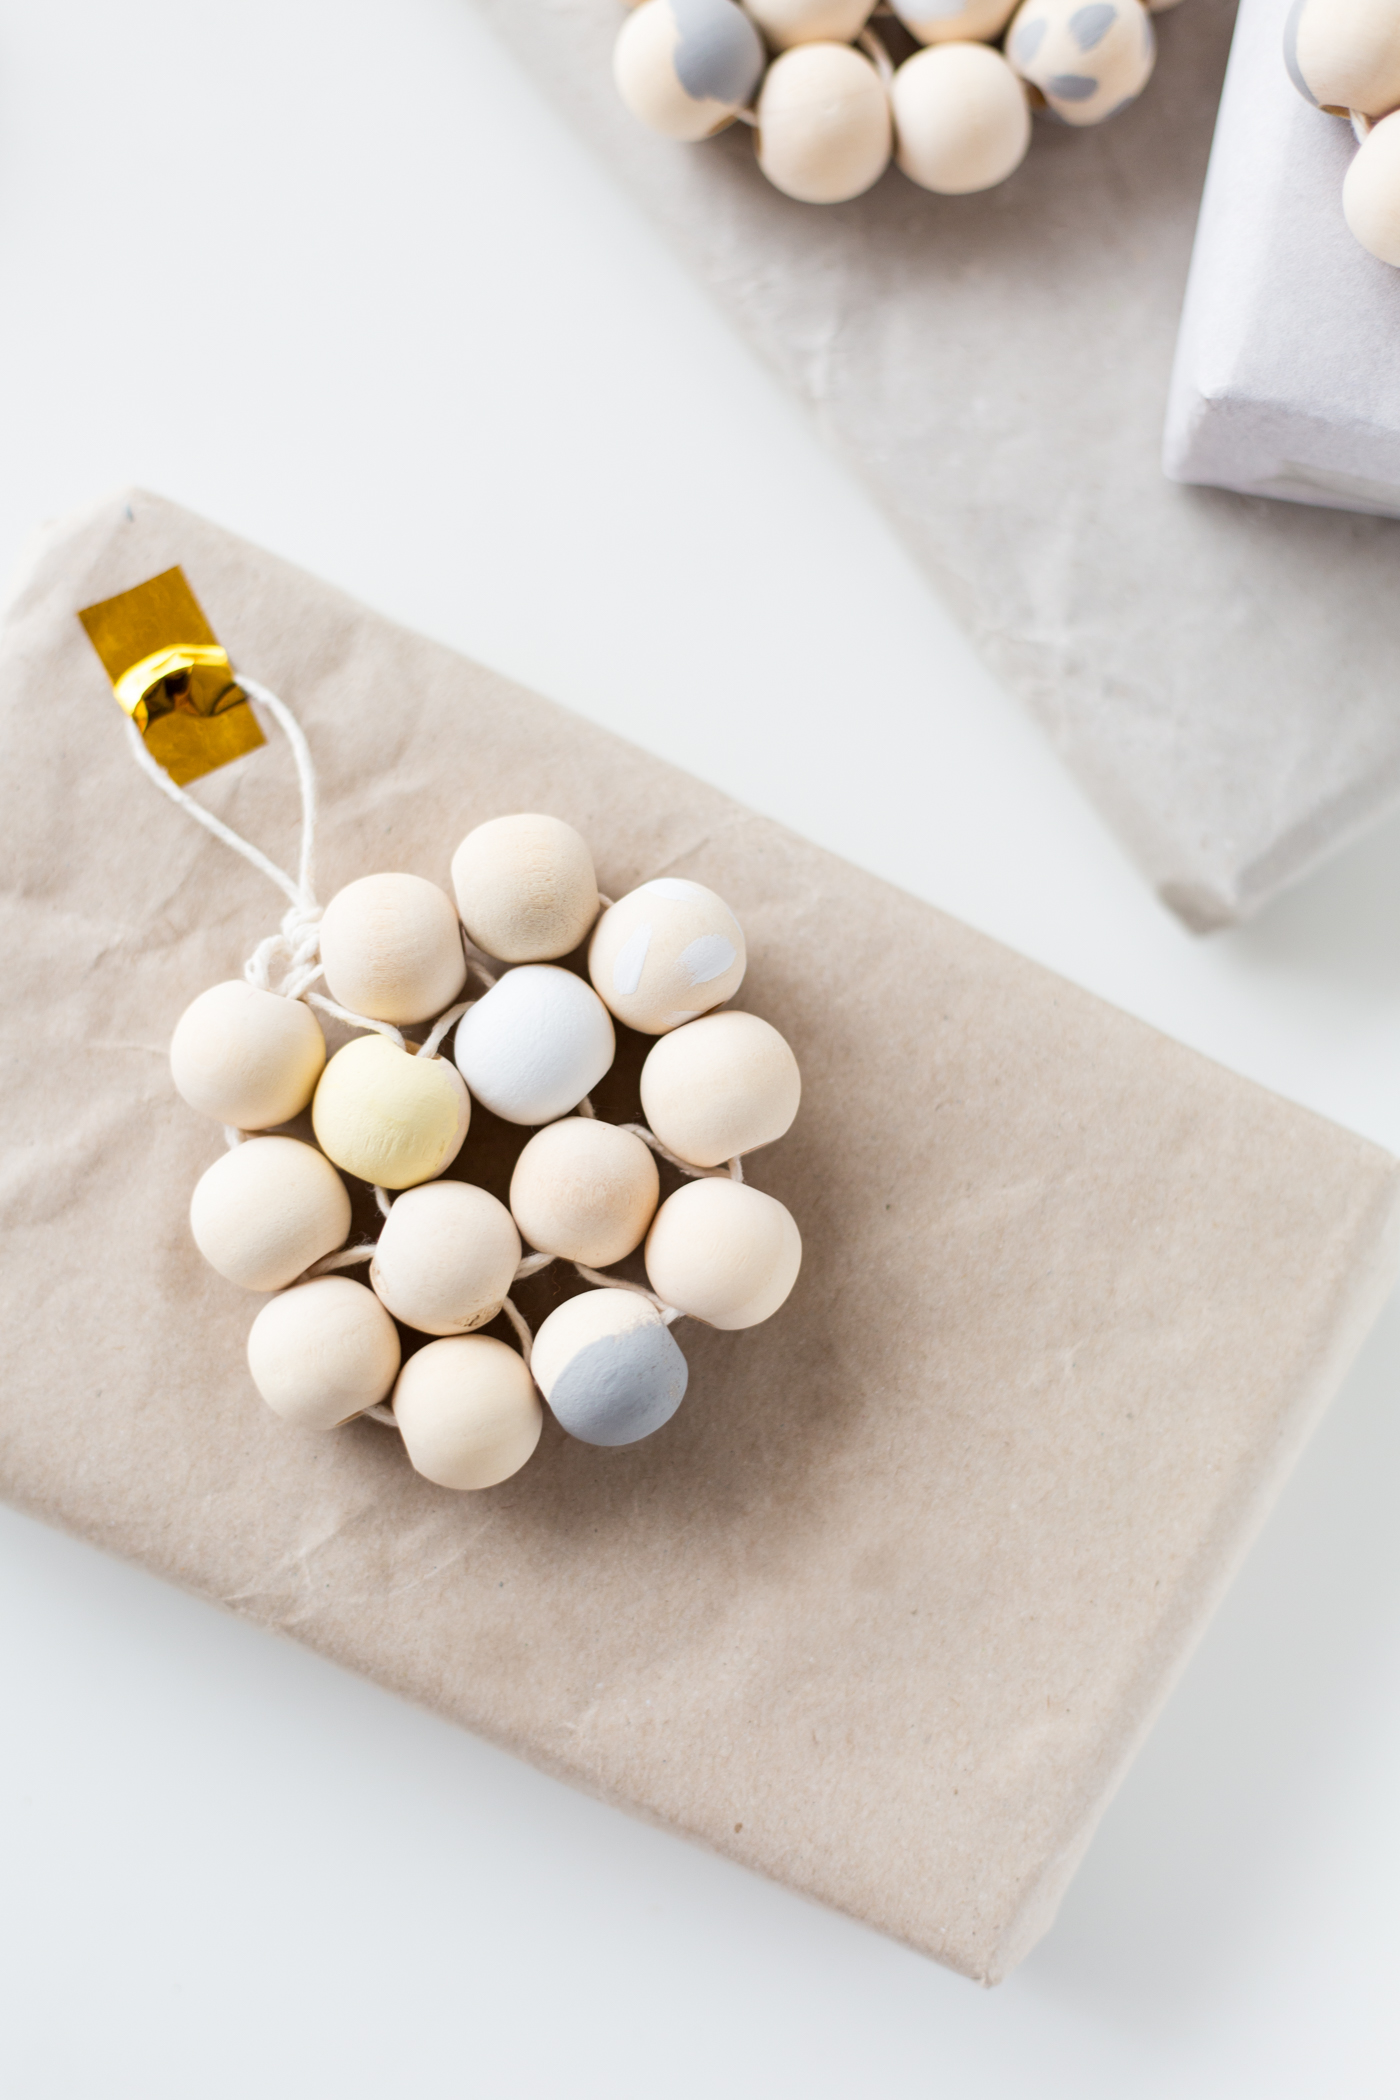
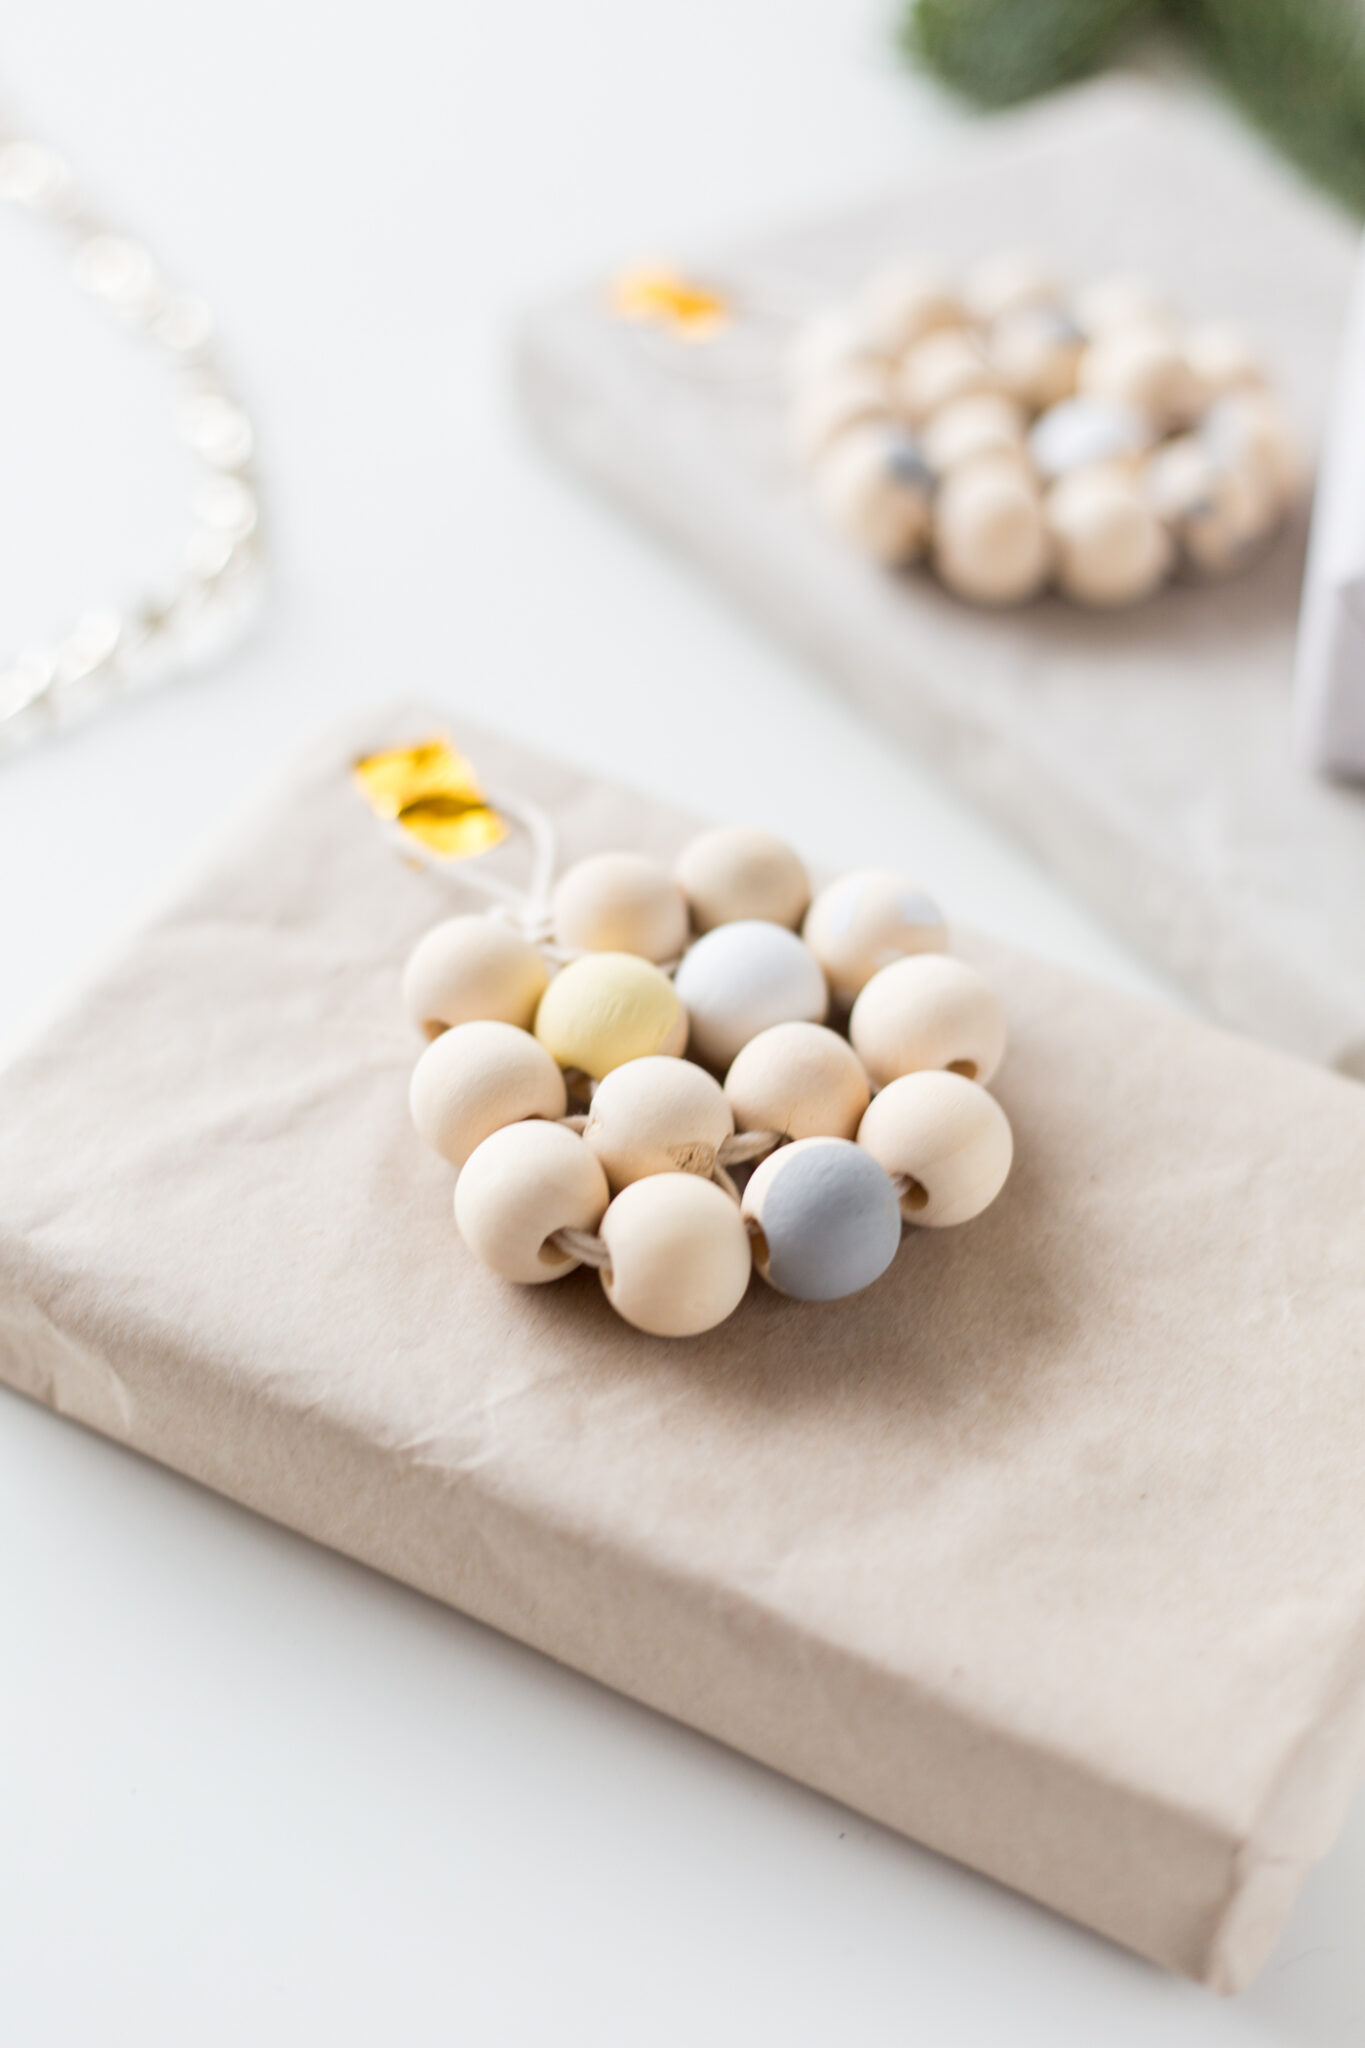
3. Thread on a minimum of 10 beads to create a circle design. You can work with eight for a more triangular final shape.

diy-beaded-gift-toppers-tutorial-with-dulux-fallfordiy-10

4. Thread the cut end of the cord back through the first bead on the strand in the same direction as the first time. Your outer circle is complete.

diy-beaded-gift-toppers-tutorial-with-dulux-fallfordiy-12 diy-beaded-gift-toppers-tutorial-with-dulux-fallfordiy-13diy-beaded-gift-toppers-tutorial-with-dulux-fallfordiy-14

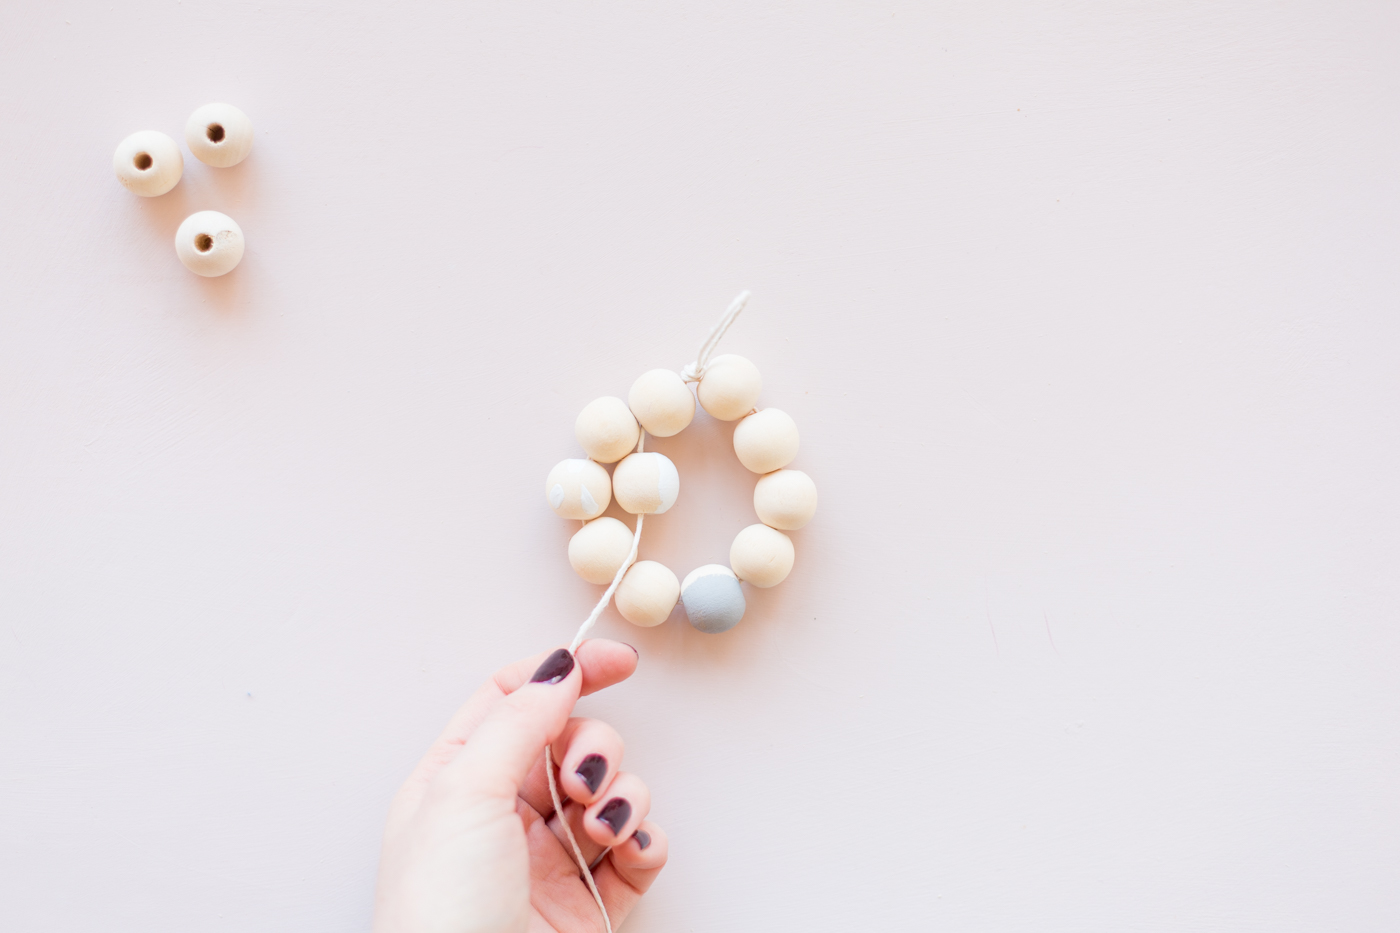
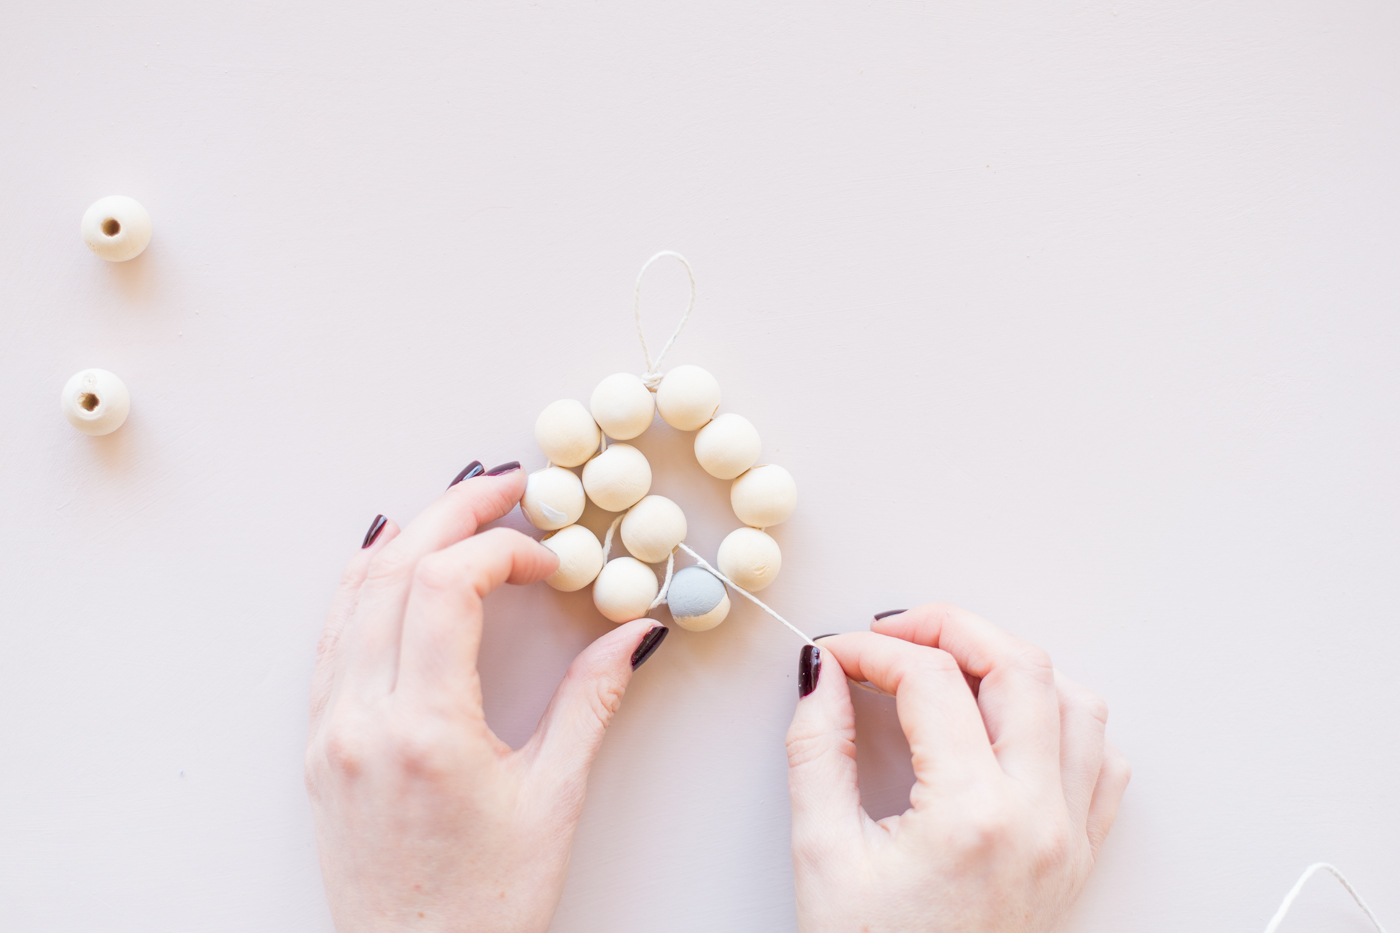
5. To start the inner ring thread two beads onto the cord. Then thread the end, going back on yourself, through the corresponding outer bead and through the second inner bead for the second time.

diy-beaded-gift-toppers-tutorial-with-dulux-fallfordiy-15 diy-beaded-gift-toppers-tutorial-with-dulux-fallfordiy-16

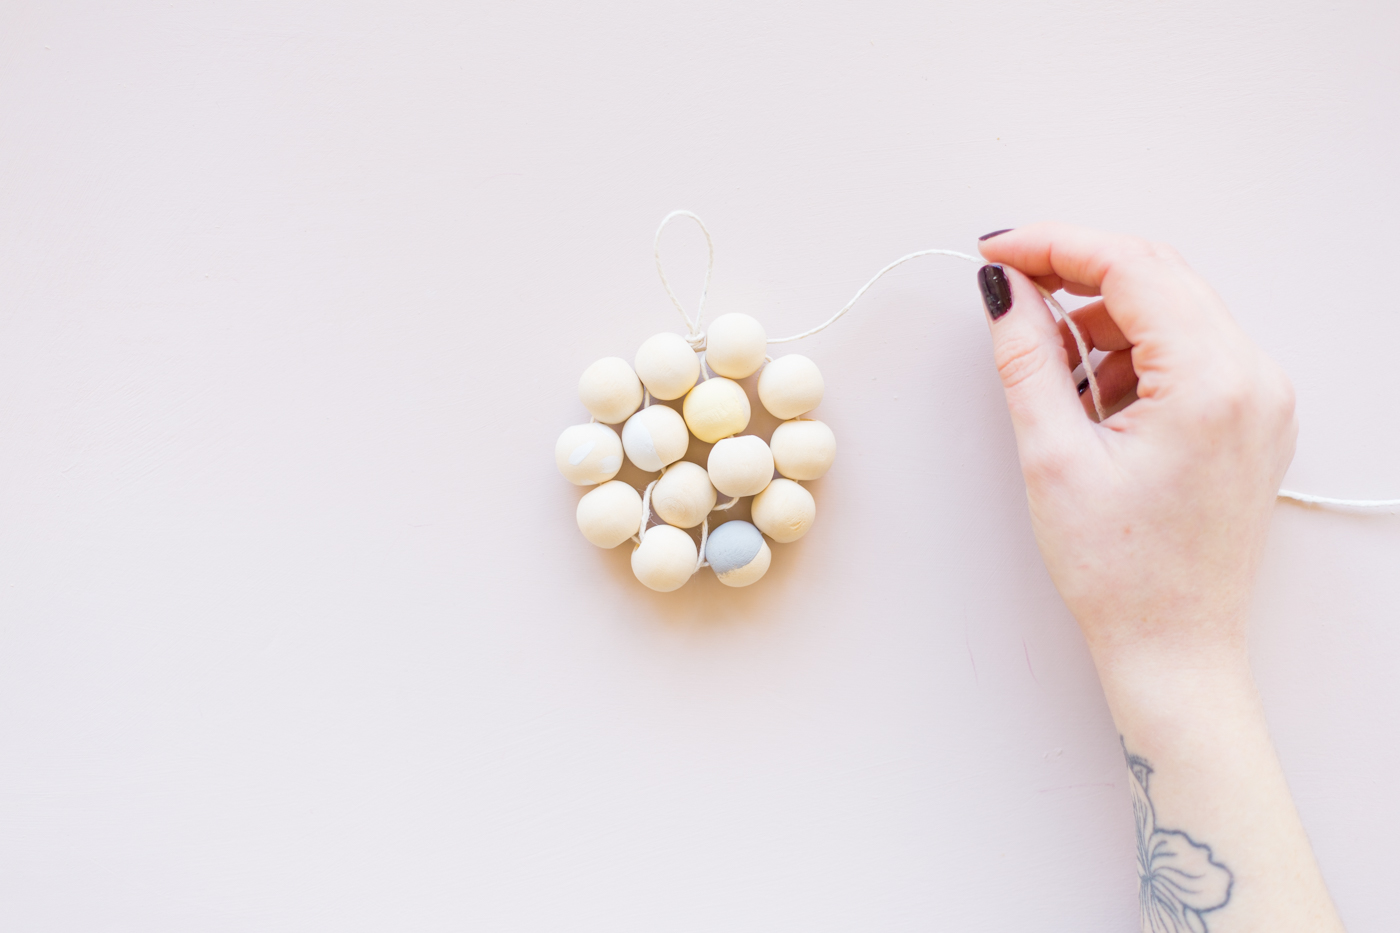
6. Finish the inner ring with two more beads threading back into the outer ring as and when you need to to keep all the beads securely in place.

diy-beaded-gift-toppers-tutorial-with-dulux-fallfordiy-17

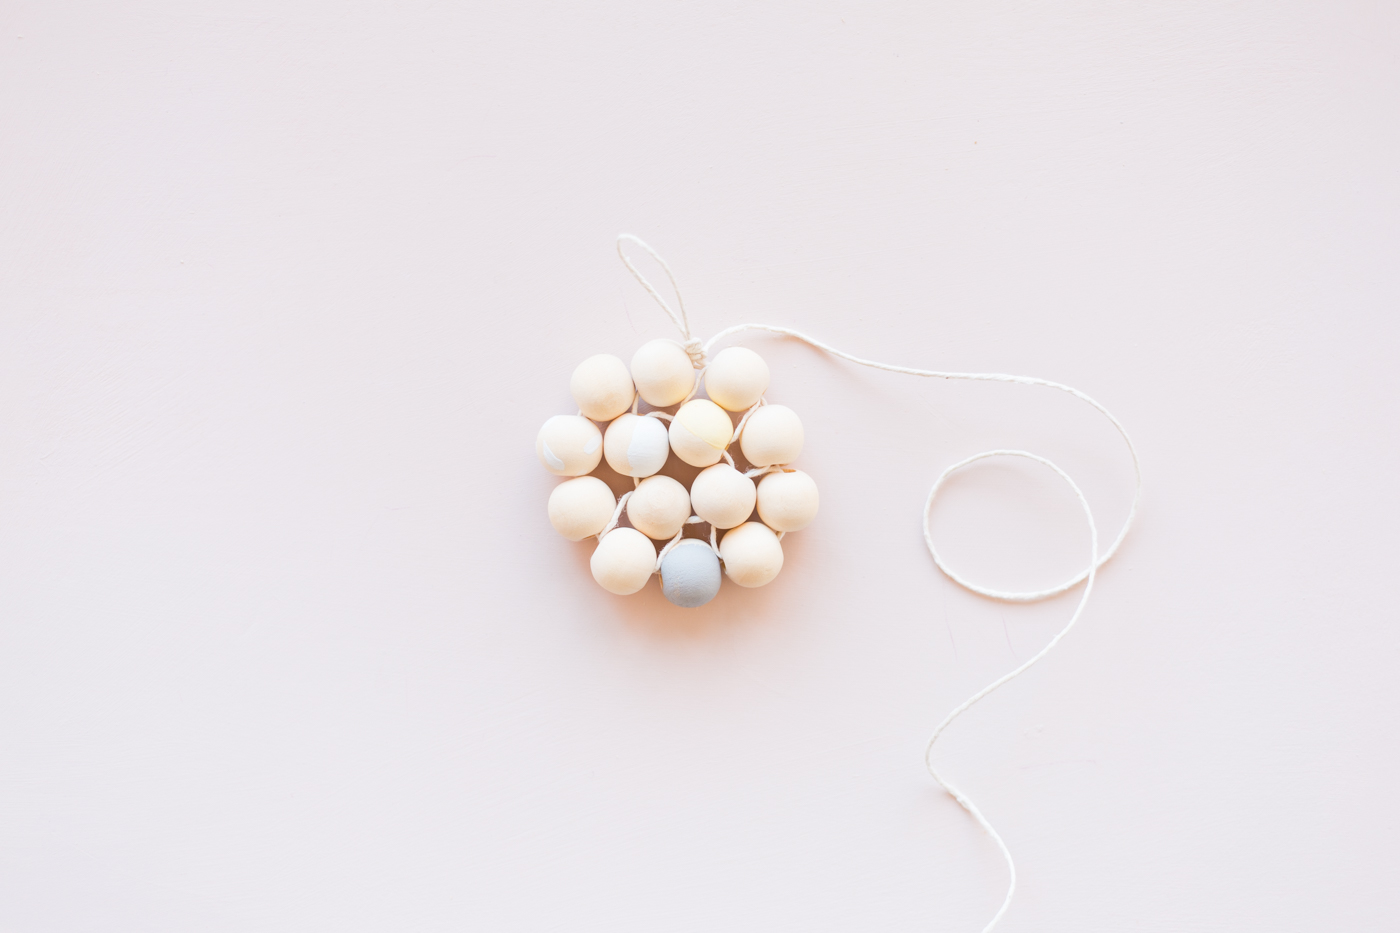
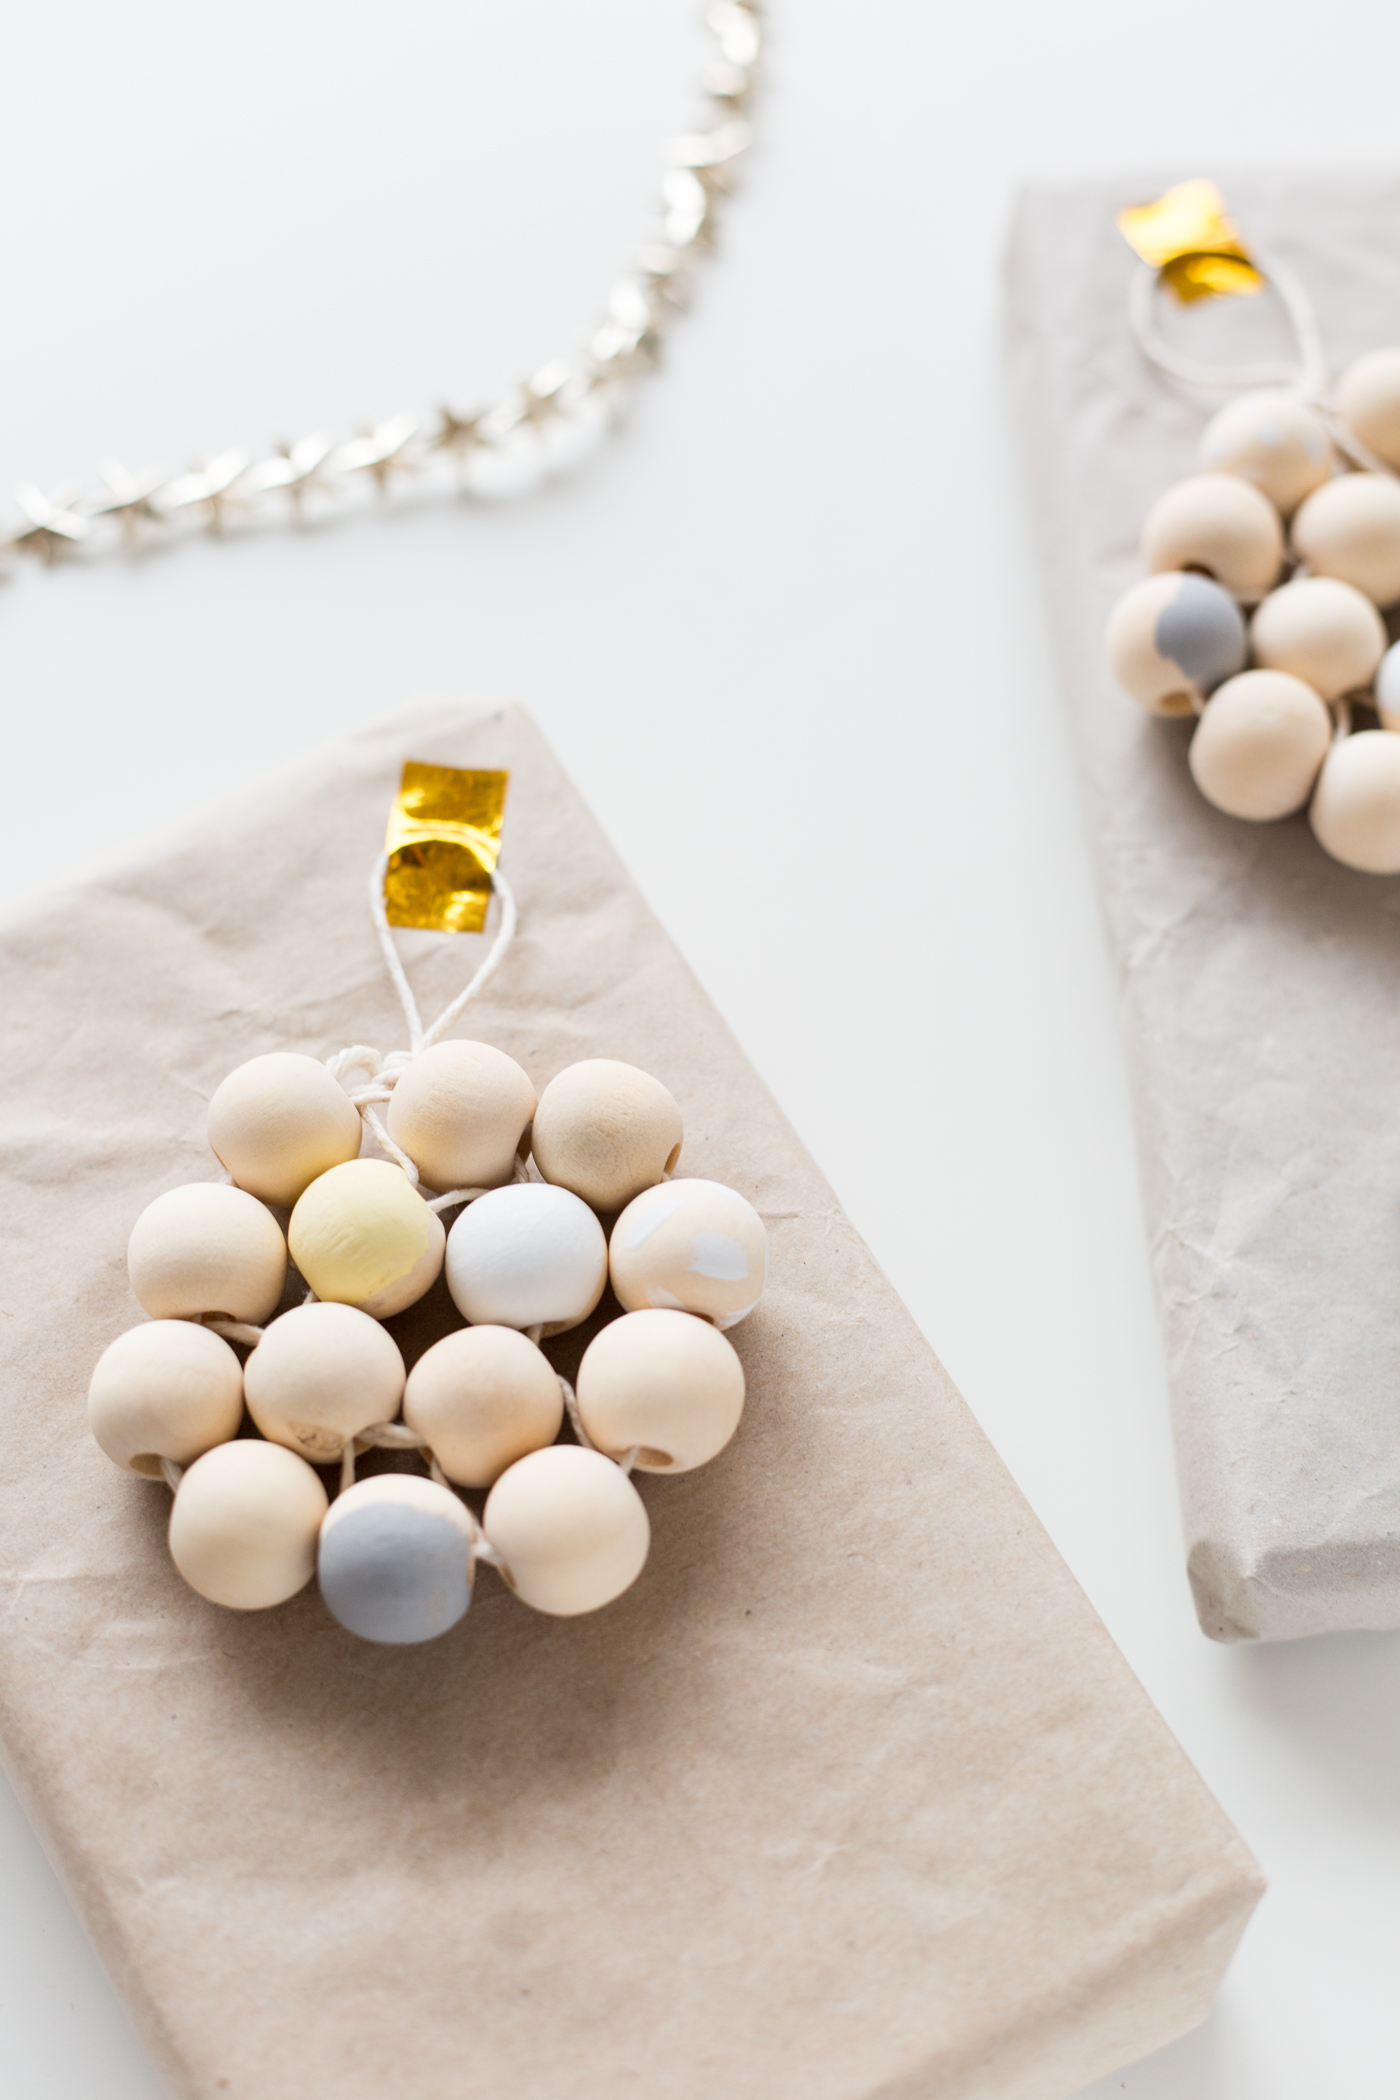
7. Once you have a sturdy structure make your way back up to the cord loop going through the beads. Tie the end of the cord to the knot and trim off the excess cord.

DIY Beaded Gift Toppers

Find some beautiful washitape and secure the loop to your gift. If you struggle to remember which topper belongs to each person you can always add a little initial on one of the beads for that added personal touch.

DIY Beaded Gift ToppersDIY Beaded Gift ToppersDIY Beaded Gift ToppersDIY Beaded Gift ToppersDIY Beaded Gift ToppersDIY Beaded Gift ToppersDIY Beaded Gift Toppers

If you love making these as much as I please share yours with us on Instagram using the hashtag #12ShadesofChristmas


*This post was sponsored by Dulux. Thank you for supporting the companies that support Fall For DIY

Related

Christmas// DIY4 Comments

« 12 Shades of Christmas Day Three | DIY Snowflake Patterned Christmas Bauble
12 Shades of Christmas Day 5 | DIY Contemporary Wood Block Hanging Christmas Decorations »

Comments

  1. Anna McNamara says

    December 4, 2016 at 3:02 pm

    What a fun idea! I’ve never worked with wooden beads but I could see so many fun uses.

    Reply
  2. Jessica says

    December 4, 2016 at 4:31 pm

    This is a brilliant idea. The result is beautiful x

    Jessica — NinetyCo

    Reply
  3. Maritza says

    December 4, 2016 at 7:43 pm

    Love how pretty they look as toppers and how perfect they will be to hang on the tree!

    Reply

Trackbacks

  1. 20 Ornaments to Buy or DIY - Design Crush says:
    December 6, 2016 at 6:00 pm

    […] Iridescent Glass Ornament   2/ Leather Stag Ornament   3/ DIY Beaded Gift Toppers/Ornaments   4/ DIY Clay Pot Ornament   5/ DIY Glitter Dust Filled […]

    Reply

Leave a Reply Cancel reply

Your email address will not be published. Required fields are marked *

Search

About

Preorder My Book Now!

Follow

Featured

shop earrings

Partners

Terms & Conditions
Private Policy Statement

DIY

How to make your Mother’s Day gift more than perfect this year with DIY fabric wrap

How to make your Mother’s Day gift more than perfect this year with DIY fabric wrap

DIY Valentine’s Clay Name Necklaces

DIY Valentine’s Clay Name Necklaces

DIY Seamless Floor to Wall Wood Panelling (with Laminate)

DIY Seamless Floor to Wall Wood Panelling (with Laminate)

How to Recycle your Advent Calendar this Christmas

How to Recycle your Advent Calendar this Christmas

DIY Faux Stoneware Candle Holder

DIY Faux Stoneware Candle Holder

DIY Speckled Clay Arch Picture/Card Holder

DIY Speckled Clay Arch Picture/Card Holder

DIY Raffia Hanging Planter Kit

DIY Raffia Hanging Planter Kit

I wrote a book!

I wrote a book!

DIY Natural Scented Orange Half Candles

DIY Natural Scented Orange Half Candles

DIY Personalised Coaster Place Setting

DIY Personalised Coaster Place Setting

More Posts from this Category

Copyright © 2022 ·Savory · Genesis Framework by StudioPress · WordPress · Log in