If it were up to me we’d have our Christmas tree up, fairy lights a twinkling and Fairytale of New York on repeat from 1st November until spring next year! But unfortunately common sense prevails. I don’t want to be known on our street as the crazy Christmas lady, so I wait for the appropriate time to start putting up decorations whilst secretly planning away behind the scenes (and perhaps sneaking in a Christmas song playlist or two).
This post blog is for all you fellow Christmas lovers. I’ll be writing quite a few festive posts from this point on, so if you’re of the Scrooge mind set then I’m sorry (not sorry), we might go a little overboard in the next 6 weeks (YES THAT’S RIGHT PEOPLE!)
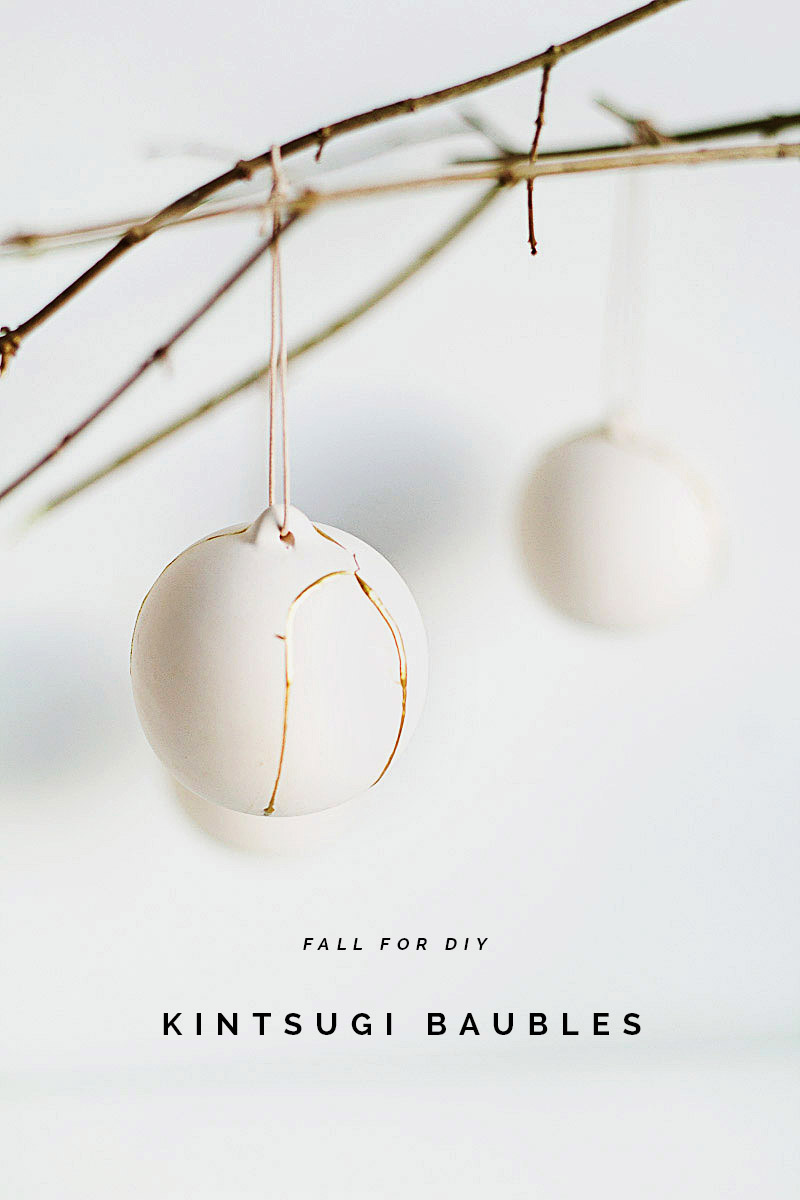
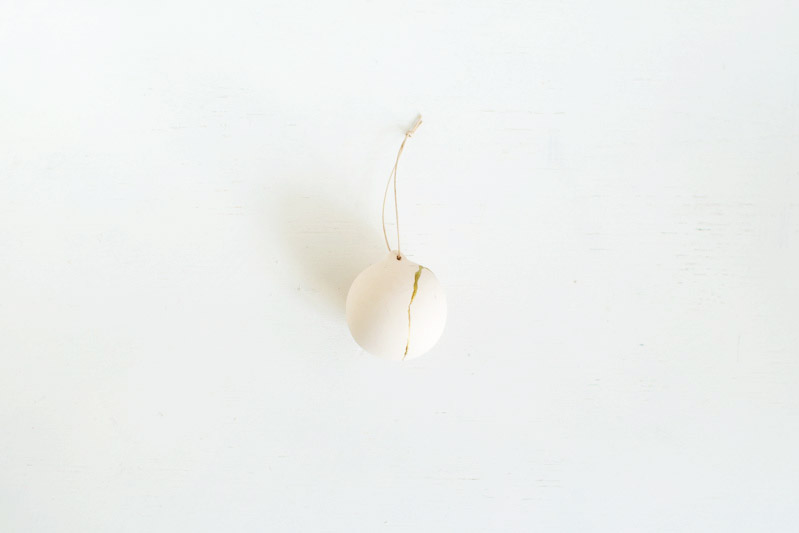
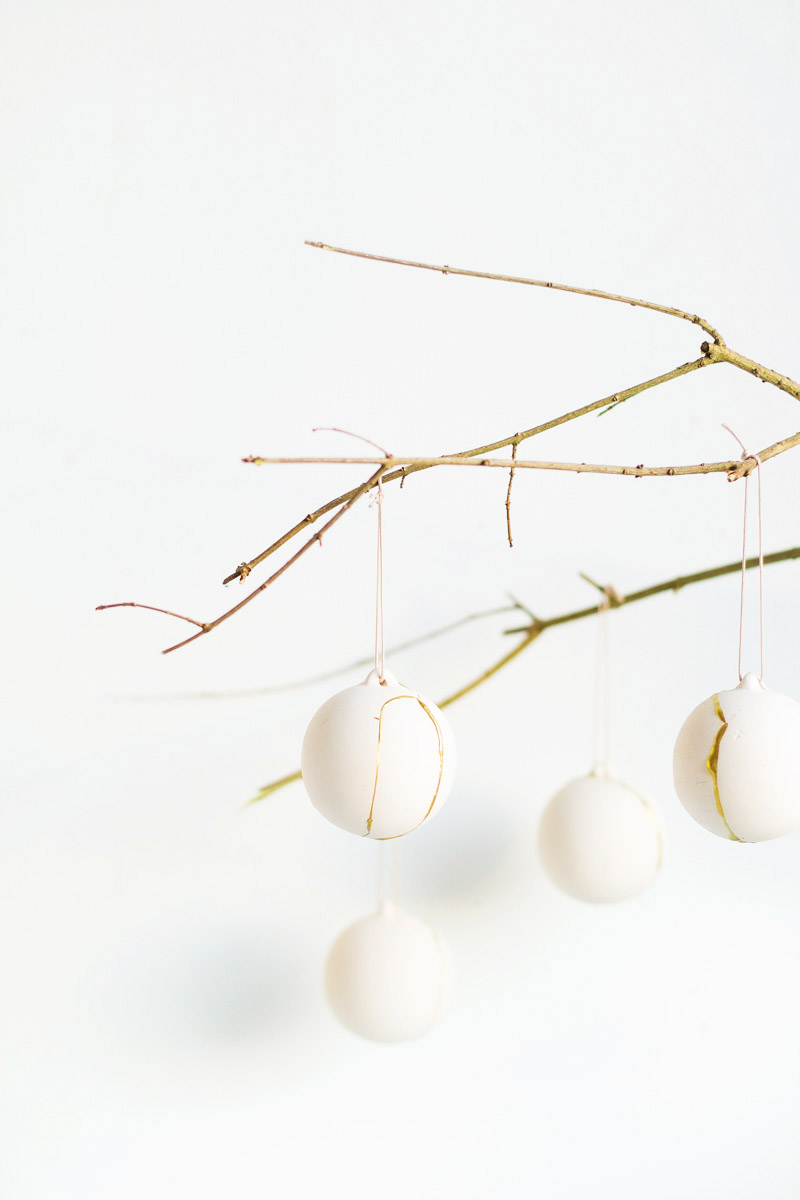
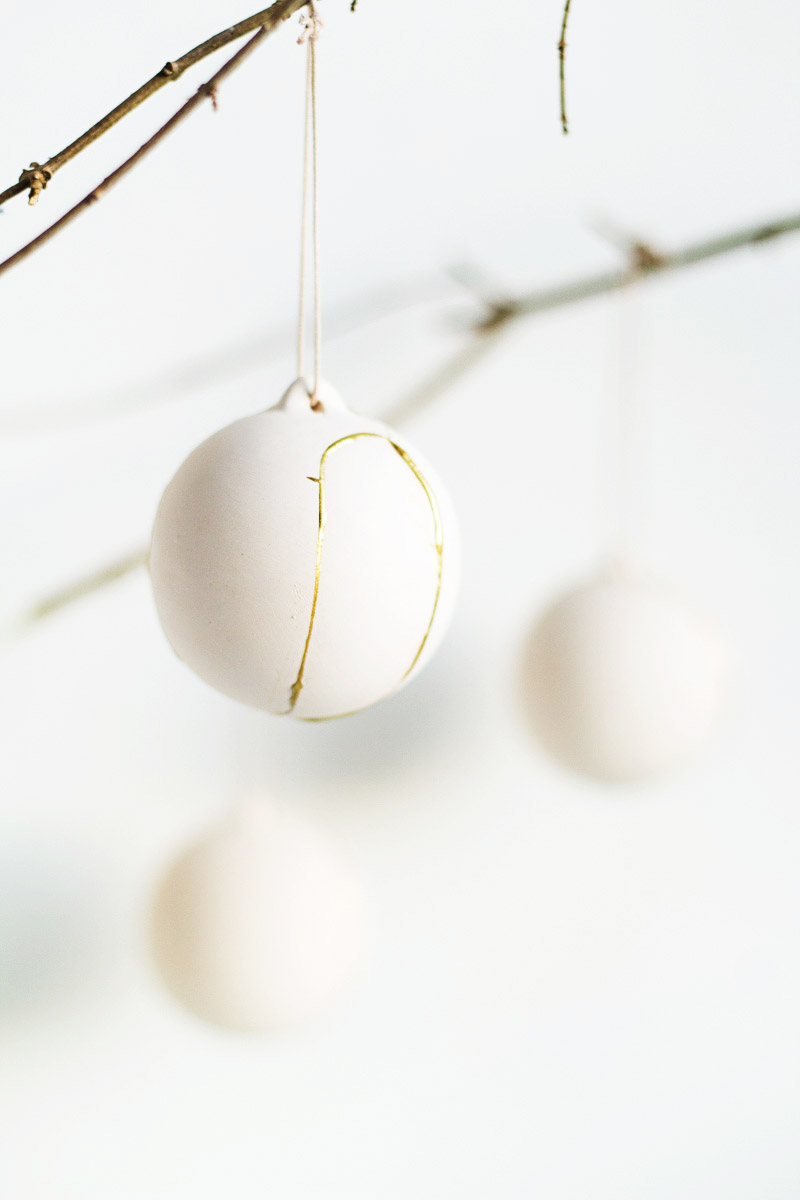
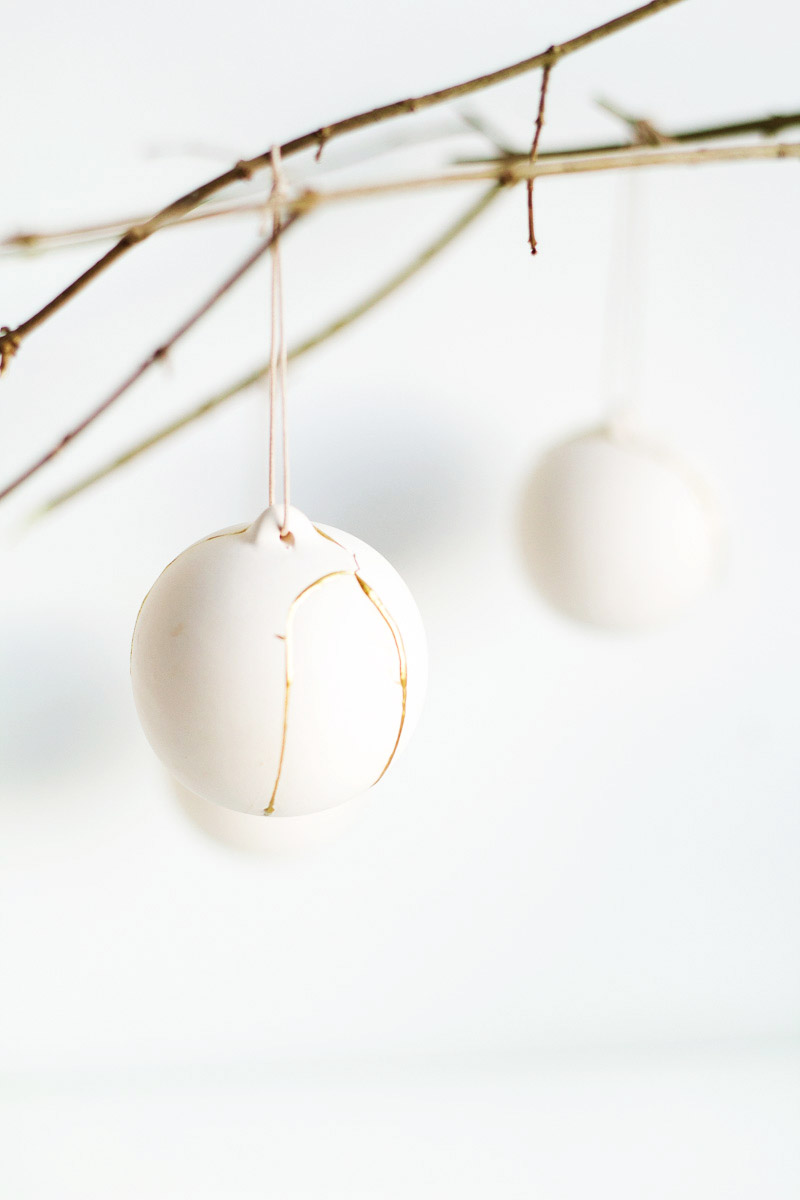
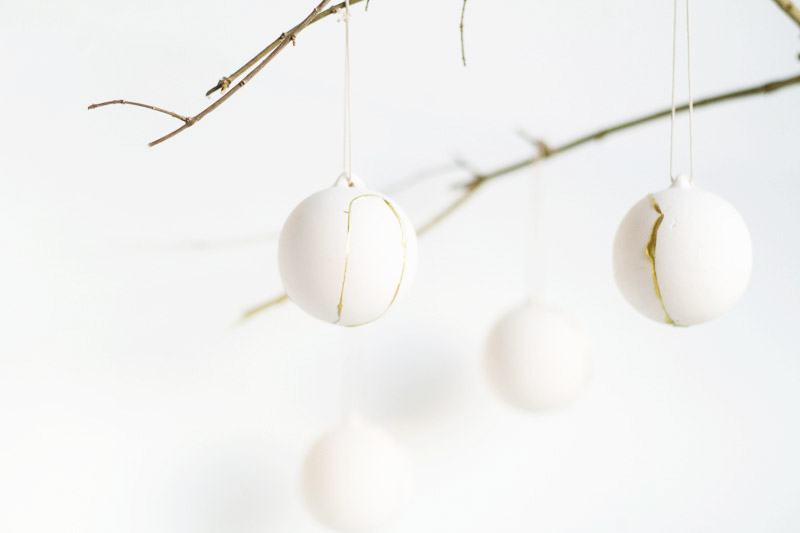
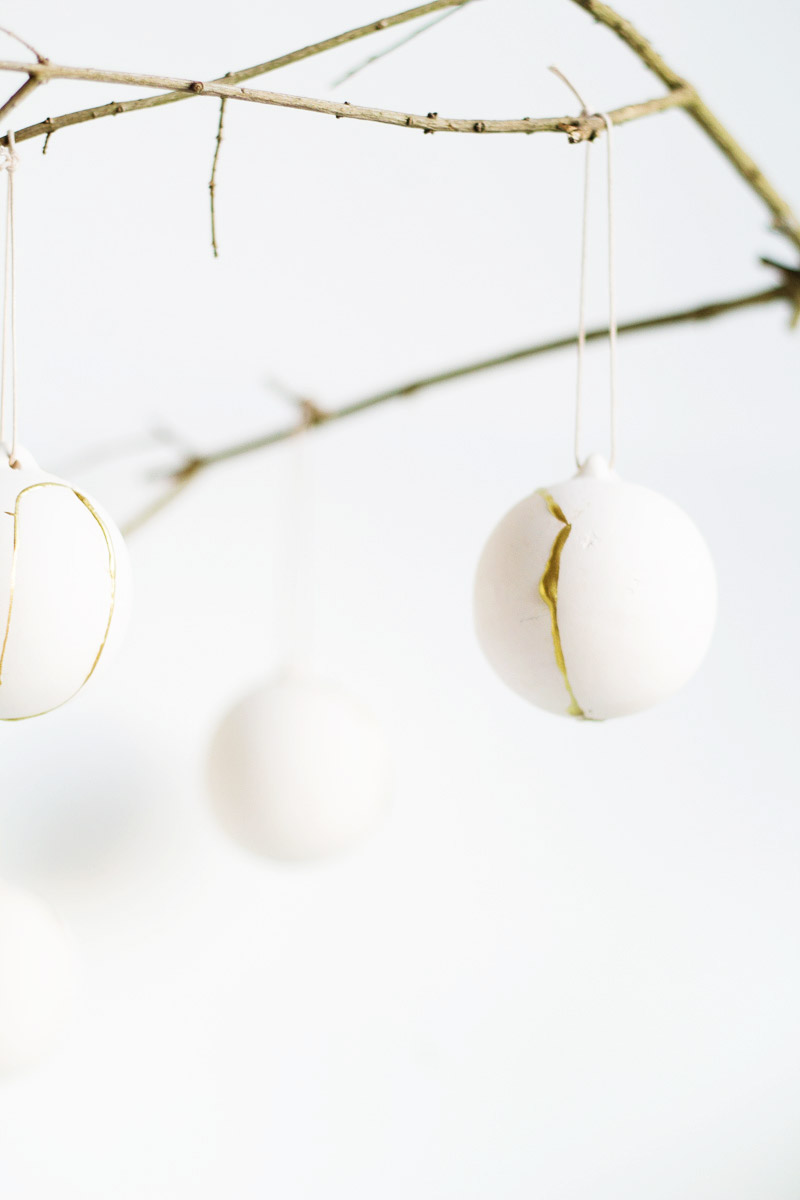
These baubles have been on my list for months now. I used the same Kintsugi Repair Kit from Mora Approved as I did in this DIY ceramic planter post. I just love the beautiful, minimal effect from combining the cracked and broken ceramics with the organic gold streaks. The finished pieces are these contemporary decorations that will easily fit into your current Christmas decor. And if you prefer Mora Approved also provide a kit in silver so you have no excuse not to get smashing! (P.S smashing up a bauble is great for both lovers and haters of the C word alike!)

Materials
Kintsugi Kit | Ceramic Baubles | Masking tape | Cord | Jewellery Hammer
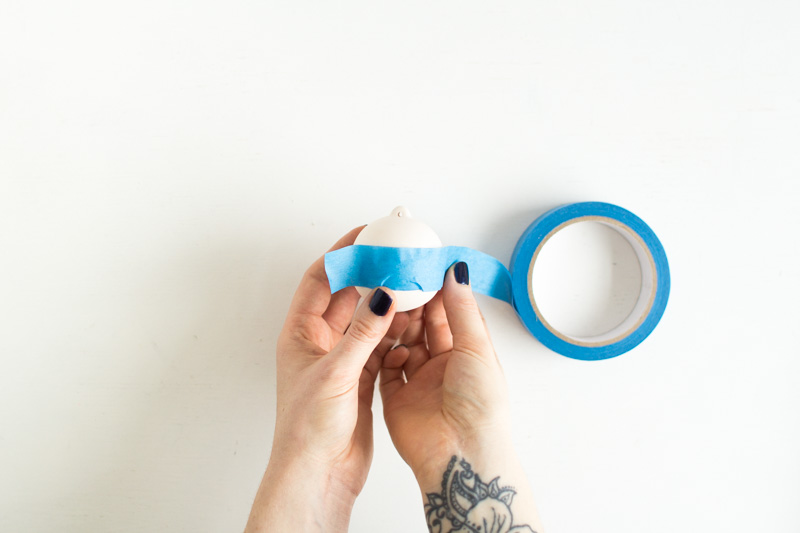
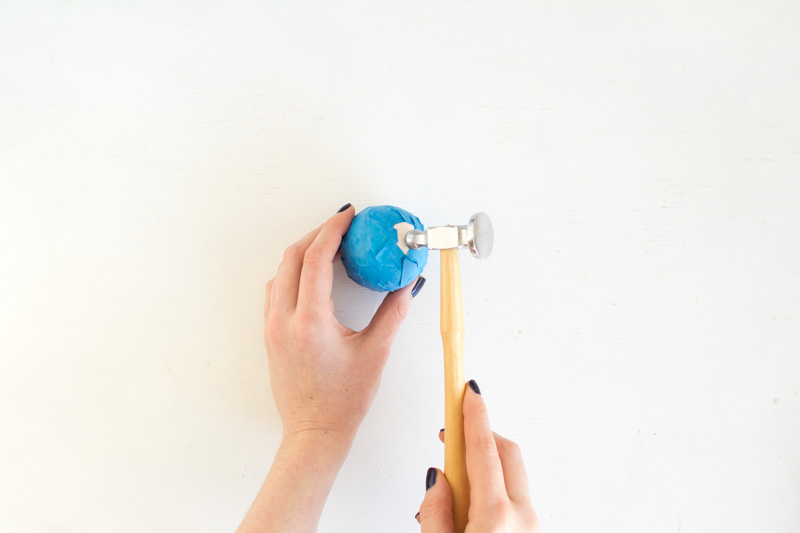
Wrap the bauble in tape leaving a small gap over the bottom of the bauble. Gently tap this area with the smaller side of the hammer increasing the strength of the taps until you see a crack appear. You don’t want to smash the bauble to smithereens, just crack onto 2/3/4 pieces.
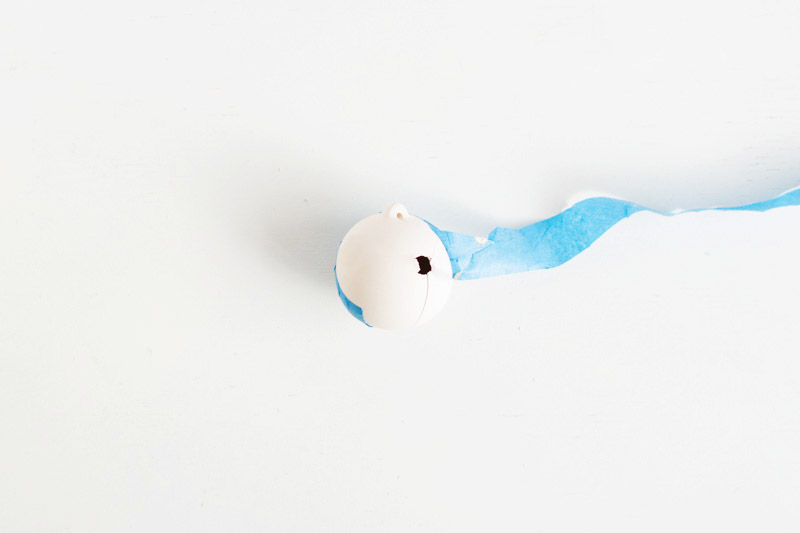
Unwrap the masking tape and if you need to gently tap along the crack until your bauble is in at least two pieces.
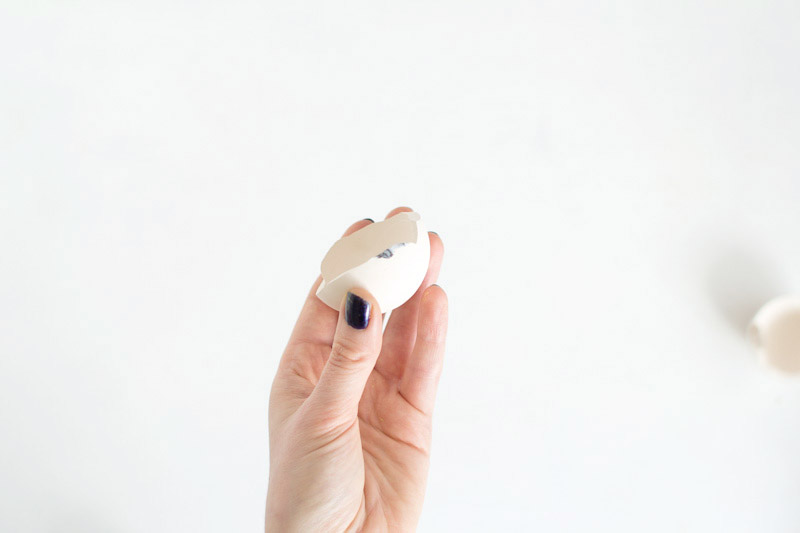
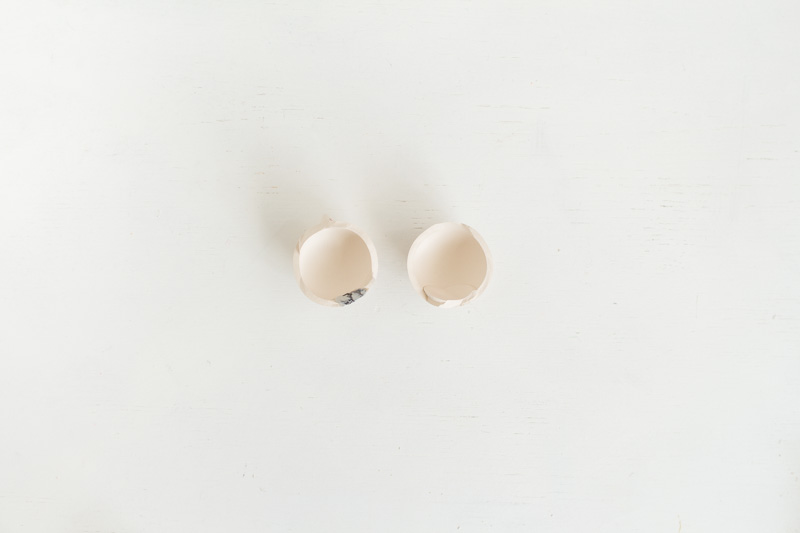
At this point use the putty to fill the whole you will have made at the bottom of the bauble. Carefully press into place testing the fit by placing the pieces back in line with each other.
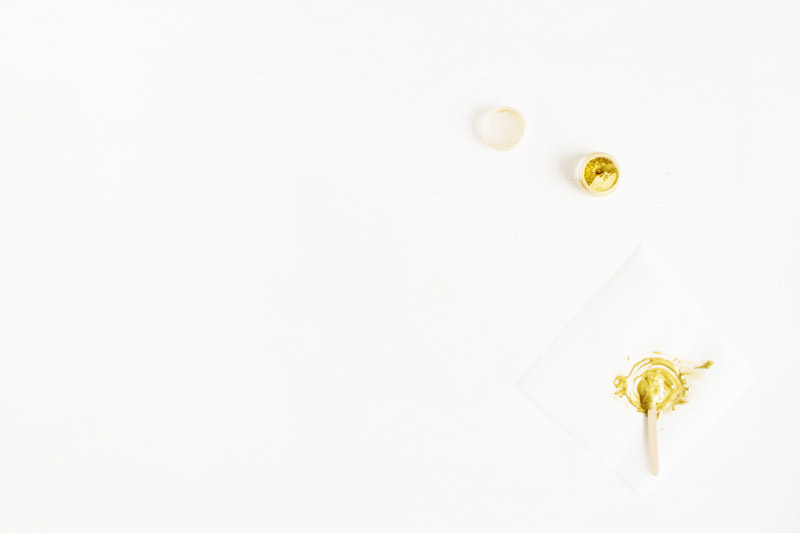
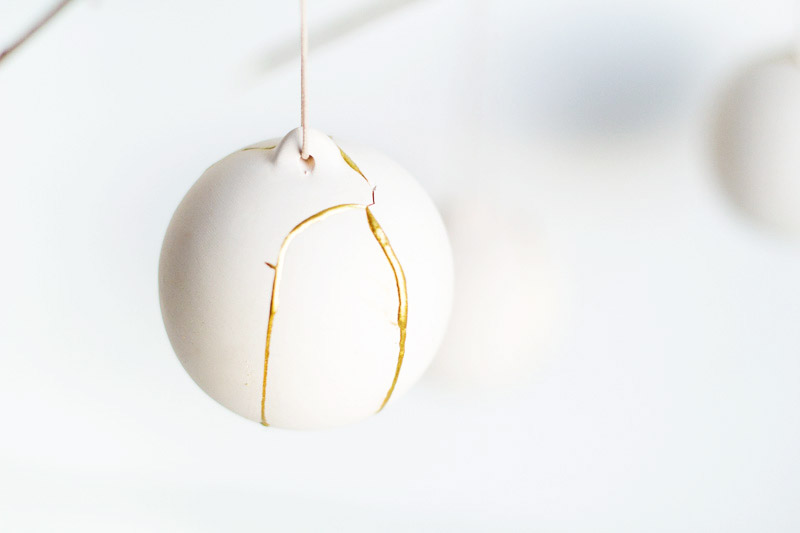
Mix the glue and gold powder using the instructions provided in the kit and spread along the join of the cracked bauble. Press the pieces together and leave for 10 minutes to dry. Brush the tacky glue with excess gold dust to make them really shine!
These baubles are currently hanging on my desk and really getting me in the mood for the holidays. I can’t wait!


This is such a beautiful, minimalistic, DIY! I love it!
I agree with Monique, these are so simple, yet completely beautiful. Love these for the holiday season!
g.
Oh my gosh I love this idea so much! The gold, the white, the beautiful ancient art behind it all. Heart eyes. x
Wooow! Those are incredibly pretty! Great idea!
This is so gorgeous, maybe put a few of these ornaments on a few branches and use it for a winter decoration!
Kinkx
Thanks for this post!The marketing strategy has been changing due to improved technology across the world.There are many ways to get proper business and marketing policy in the relevant industry.
Where did you purchase the baubles?