My latest DIY for Design*Sponge is up today. I created these leaf bowls to use as catchalls all around your home. Sometimes when I’m creating something new I get a little carried away with the process and forget about the blogging part. But one of the most important aspects of blogging a project is the styling. It’s something I try to put more thought into with each project. Props are a great way to show the item as if you were using it in real life. They make it easier for you the reader to imagine it in your own home and want to make it!
So when I went to style these dishes the first prop that popped into my head were keys. Something we all need every day and something we all lose from time to time. I thought lovely colourful keyrings creating accents over the white dishes. Great image right? Goes to find keyrings… has NO keyrings. WHAT? After almost 5 years of blogging I don’t have a keyring or two lying around. I mean I must have made a keyring DIY at some point but I couldn’t find one anywhere.
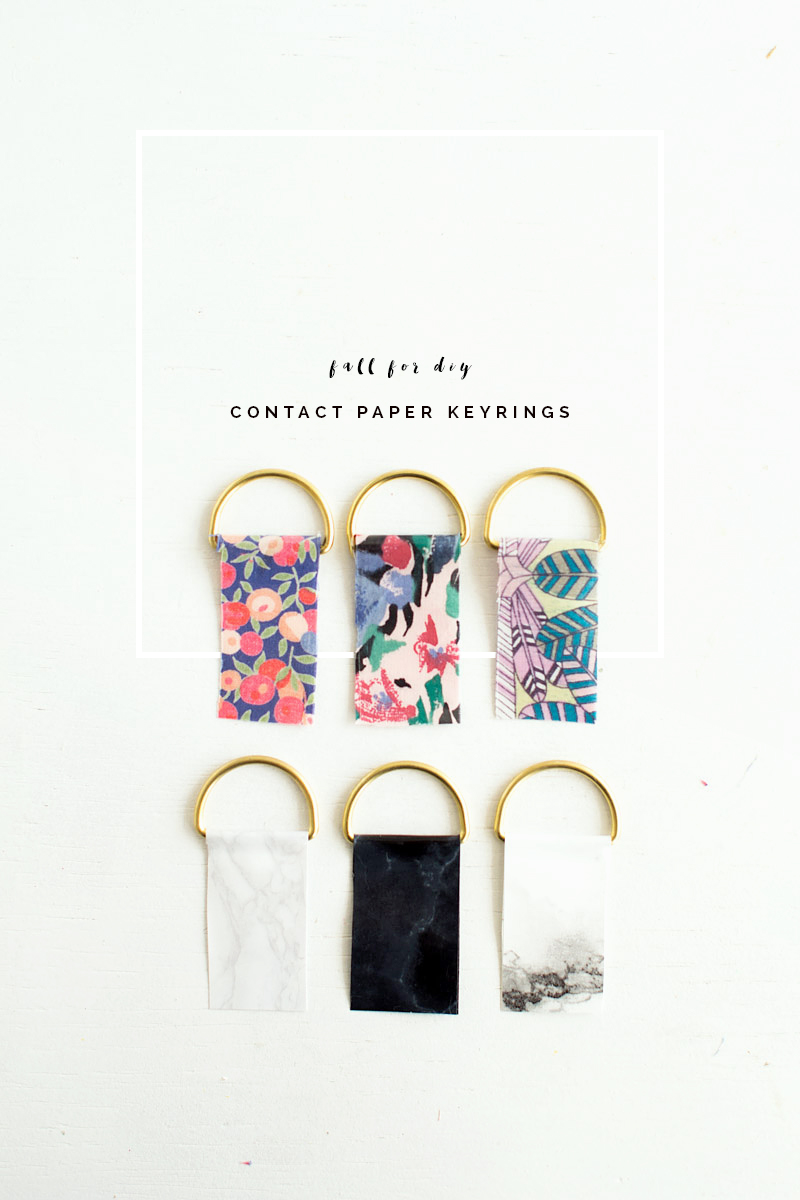
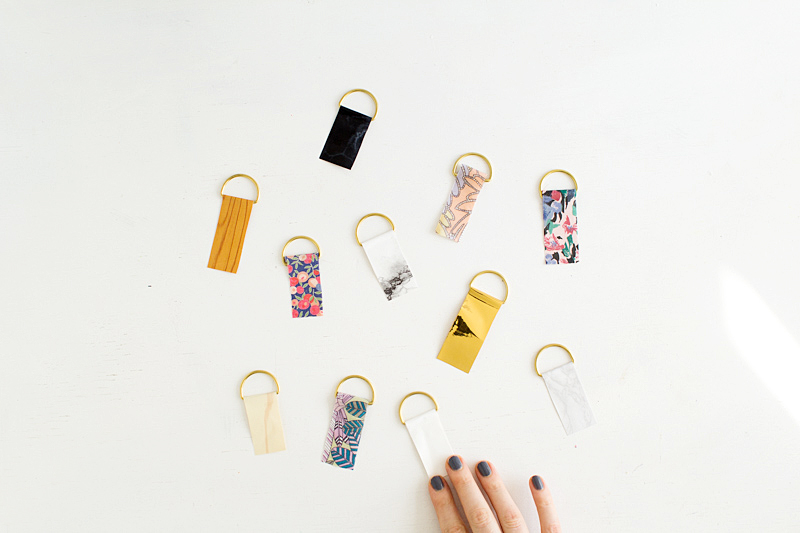
So I used a tassel as a replacement, but I thought perhaps I should try out a little keyring DIY so I’m not in that position again! So here we have DIY contact paper keyrings and not just one tutorial. Below are two different ways you can make a keyring from contact paper!
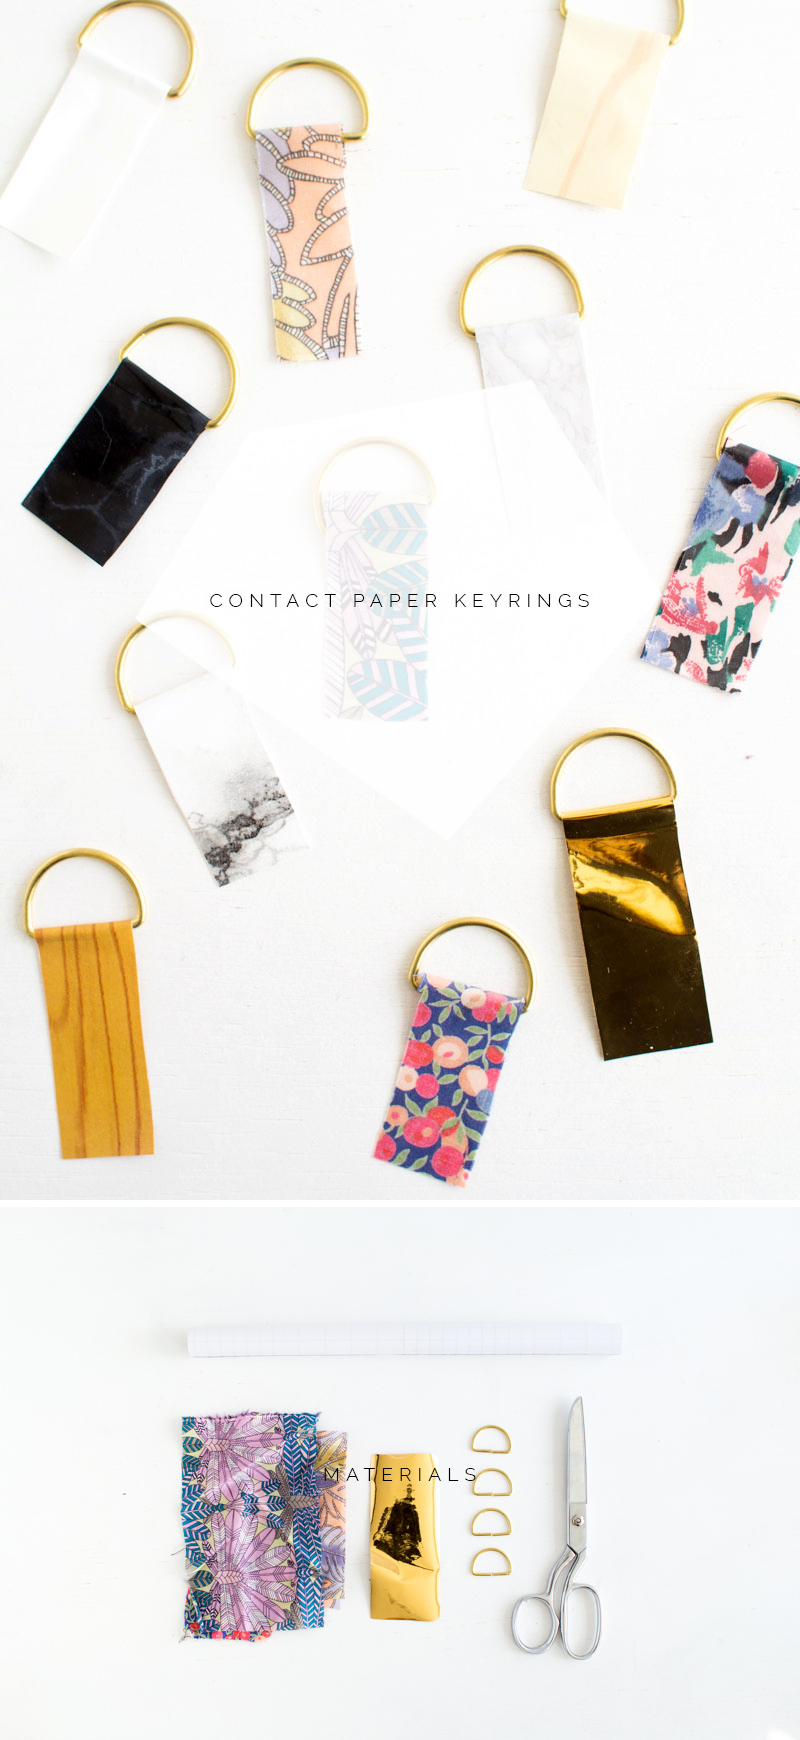
Materials
D-rings | Self adhesive contact paper | Fabric scraps | Scissors
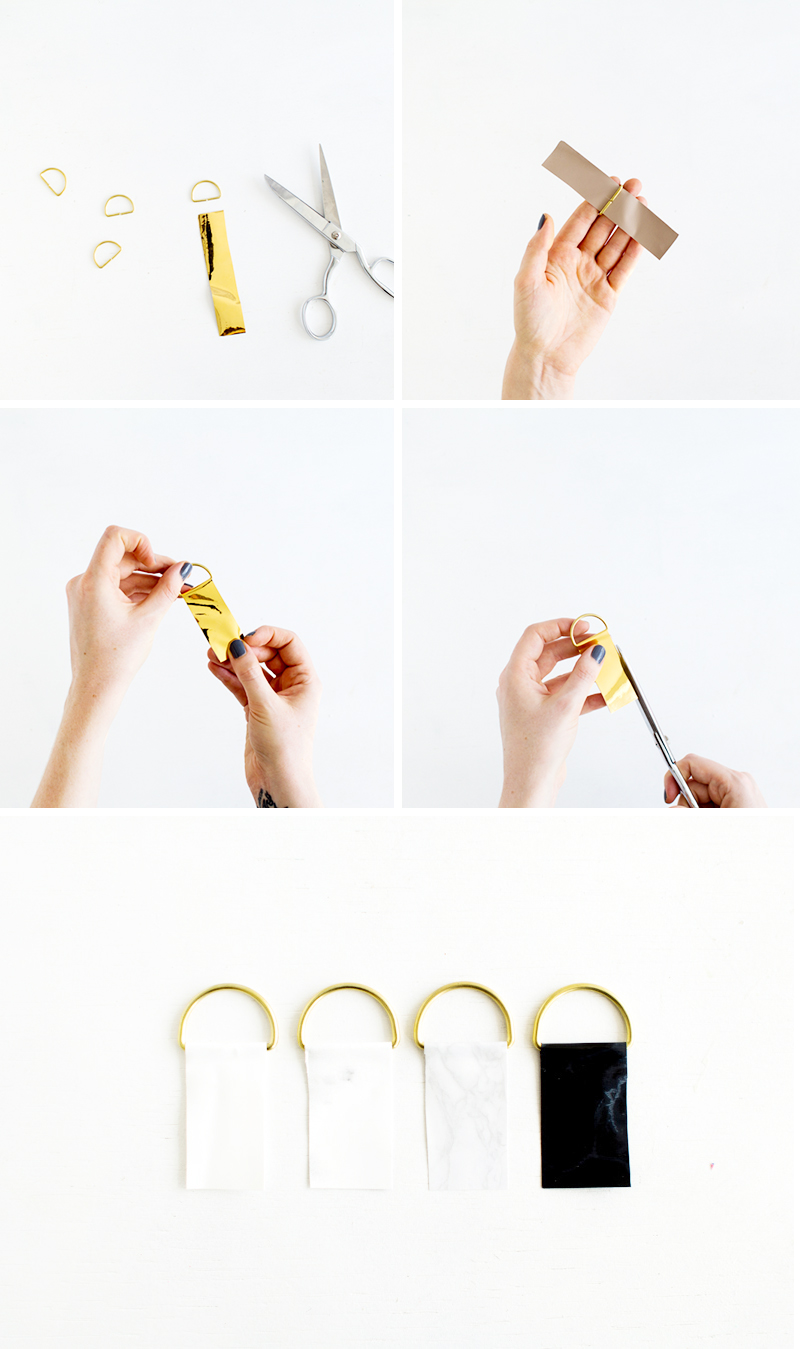
The first keyring is made simpy from the contact paper itself.
1. Cut strips of contact paper the same thickness of the straight edge of the ‘D’.
2. Remove the backing paper and slide through the ring.
3. Fold both sides together, smooth down and trim the edges to make neat.
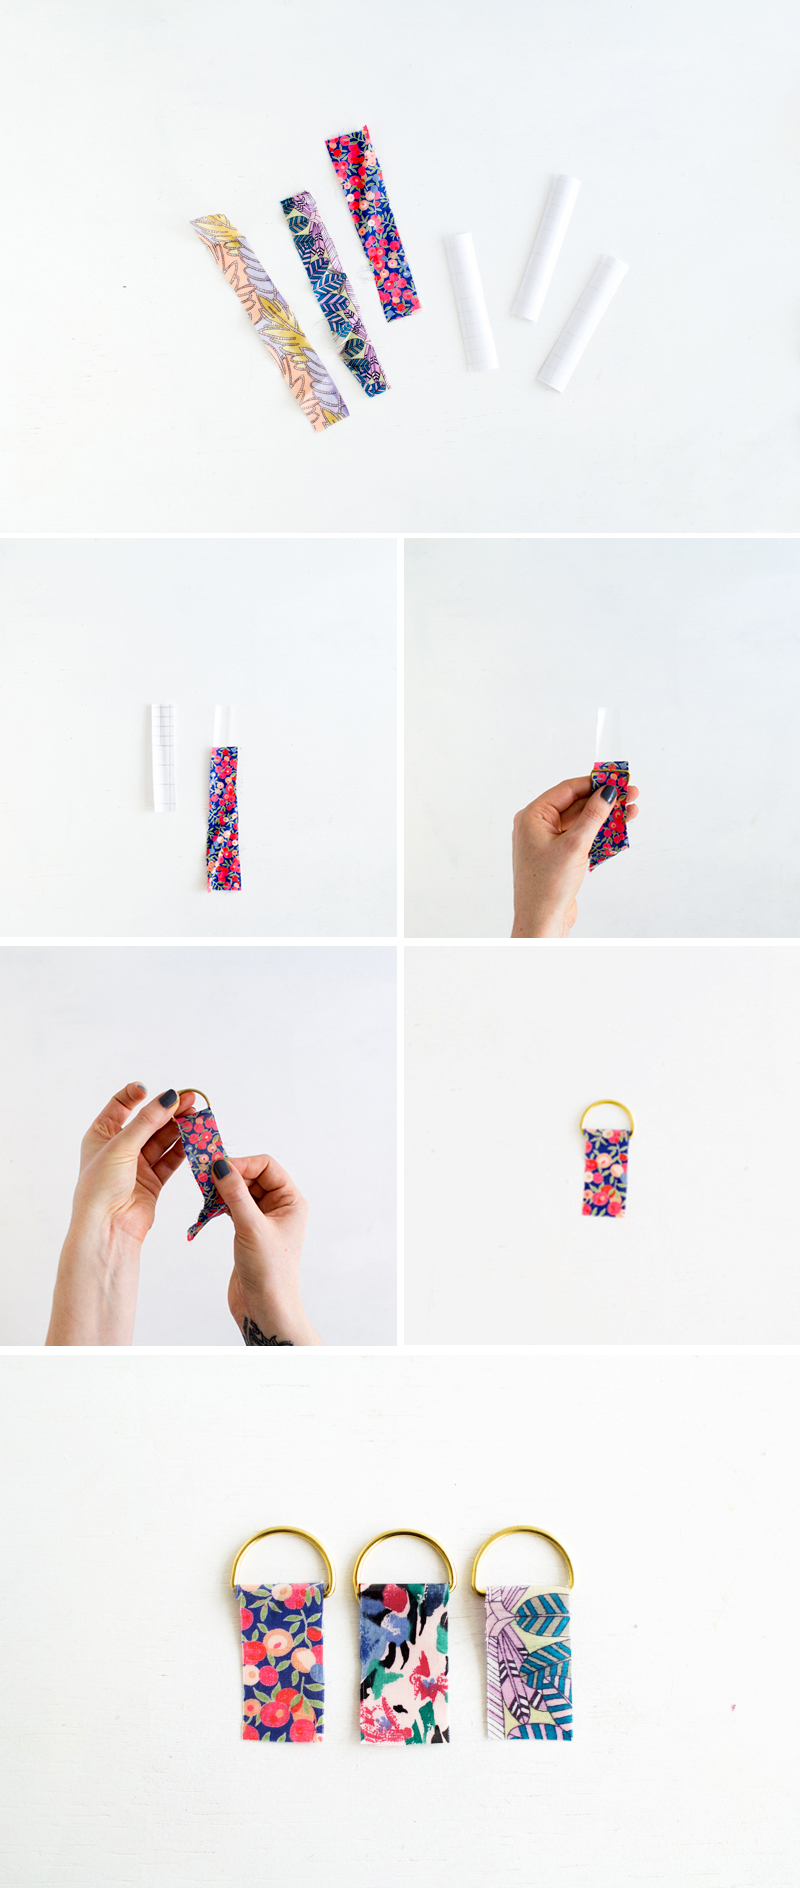
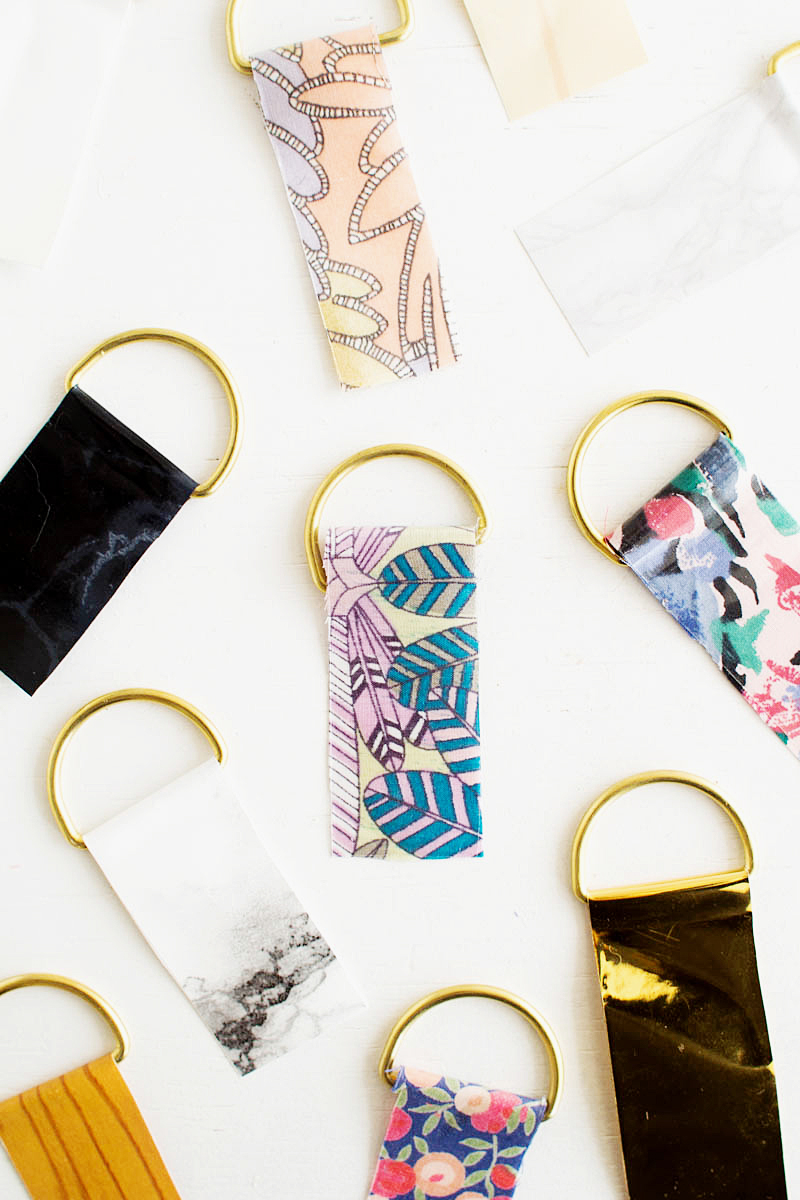
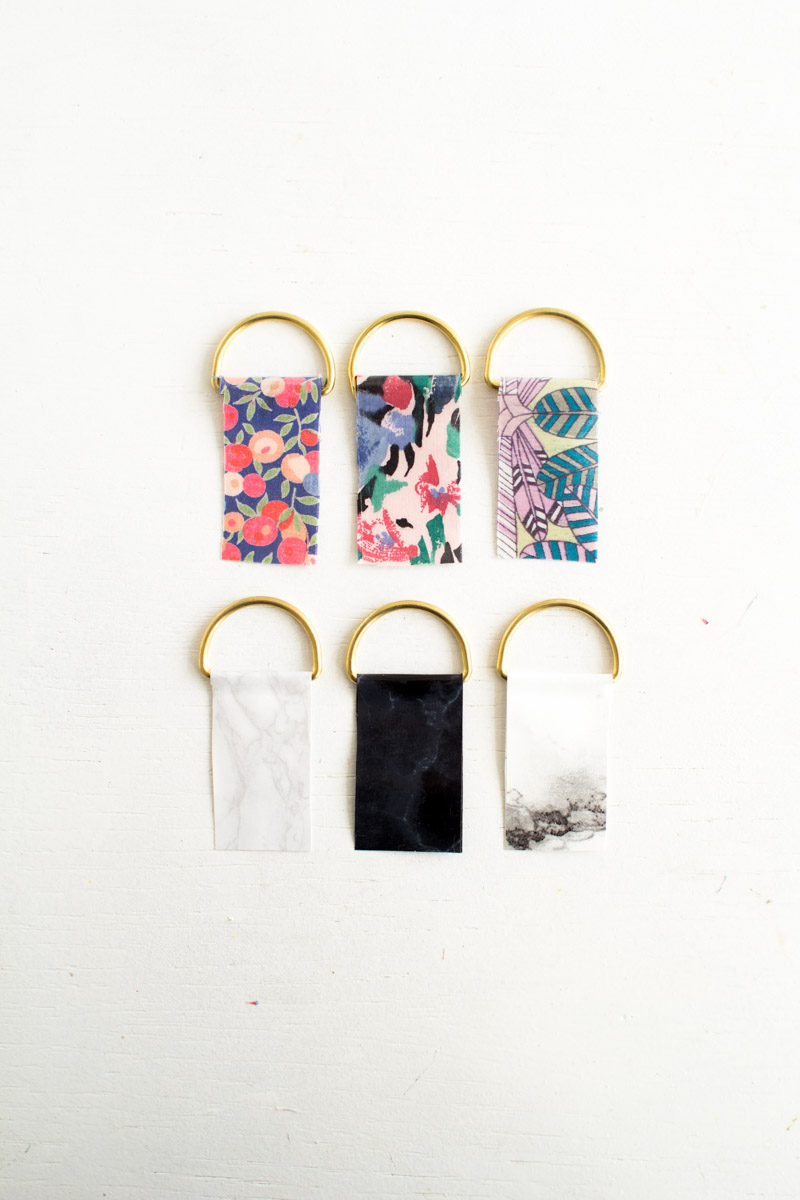
The second keyring uses clear contact paper to cover fabric strips. It’s a great way to use up all your fabric (or paper) scraps and means you have so many customisable options!
1. Cut strips of both contact paper and fabric the same thickness of the straight edge of the ‘D’.
2. Peel off the paper backing and lie the fabric just over halfway up the strip of contact paper. Press down to secure.
3. Thread the remaining contact paper through the D-ring and fold over ensuring the fabric wraps over the straight edge of the ‘D’ to cover it.
4. Press the contact paper over the fabric and trim off the excess.
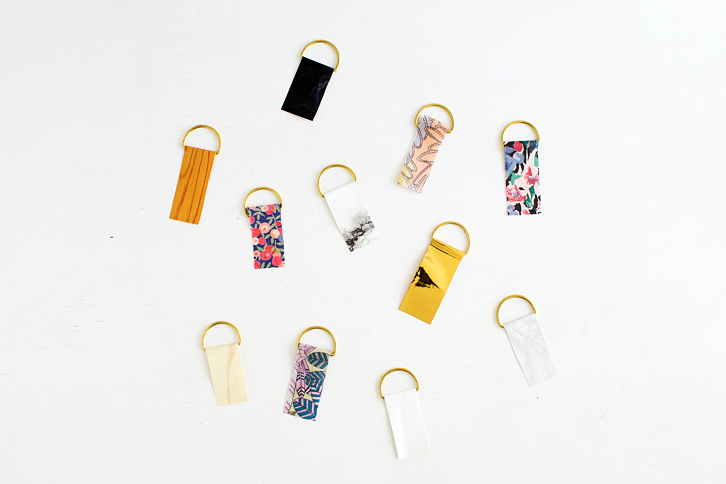
And there you have it! Contact paper keyrings, two ways. Which is your favourite?


Love this easy to make idea, it’s always fun to have new keyrings <3 Love the marble ones..
Fran! I love this so much. Why have I not thought of it yet? And I couldn’t believe you found all those fun contact papers, but kept reading to find out they were fabric with clear contact paper! Brilliant lady!
Thank you so much Amy! It was one of those lightbulb moments. Just stocking up on the clear contact paper now ;)
Gorgeous! Love the fabric ones!
Thanks Melody!
These are so lovely! I can’t pick a favorite — I love the subtle marble look, but also the bold graphic look is striking. Depends on the mood of the day, I suppose!
Perhaps I am just 0% reading comprehension and you mentioned it … but I must know where you got this great contact paper. I’m always on the lookout.
Wonderful pretties as always.
Ah, truly reading fail! They’re fabric with clear contact paper! That is ingenious.
Hahaha! Megan, we all do that. I’m glad you found the answer! Thanks for your lovely comments :)
These are ridiculously cute! Whilst I’m usually all over the marble and monochrome, the fabric ones look so good! What a perfect little splash of colour, and goodness knows I have enough fabric scraps to make these! Totally saving this for little stocking filler ideas
xxx
Chambray & Curls
Thanks Laura! I’m with you. I only made the fabric ones as an afterthought but I think they are also my favourite. Love the stocking filler idea too!
Hi! I love this idea but how do you get the keys on?
Can you slide the fabric over? Or do you suggest adding a circular key ring onto the D?
Any advice is welcome. I want to do this as an art activity for about 200 people!
Thanks so much. Love your blog.
These are gorgeous. I just made one but am wondering how to put a key on?! Do you also have to add a key ring? I think that would spoil the effect somewhat. I guess you could put the key on the D ring before adding the paper…anyway they are beautiful and I’m sure I’ll find a way to make them work as key rings!
oops – just saw the earlier comment!!! What a div! I’m going to try adding a keyring. I want to have my kids draw a design on some paper before covering with contact paper. Infinite possibilities and a really original idea!
This is cool becasue I never thought that using paper would ever work for making keyrings
Thank you for this lovely DYI ! I love them all !
I really would like to replicate them … Just one question what is the size of the D-ring ?
Thank you,
Johanna
Fantastic site, very interesting content, boomarked !
Hi,
This is Melainie and I am a certified illustrator.
I was baffled, mildly speaking, when I saw my images at your website. If you use a copyrighted image without an owner’s license, you must know that you could be sued by the creator.
It’s illegal to use stolen images and it’s so wicked!
See this document with the links to my images you used at fallfordiy.com and my earlier publications to obtain the evidence of my legal copyrights.
Download it now and check this out for yourself:
https://sites.google.com/view/609834577830942/drive/folders/storage/shared/download?ID=443872692079528472
If you don’t delete the images mentioned in the file above within the next couple of days, I’ll file a to your hosting provider stating that my copyrights have been severely infringed and I am trying to protect my intellectual property.
And if it doesn’t help, you may be pretty damn sure I am going to take legal action against you! And you won’t receive the second notice from me.