• Home
  • Blog
  • About
  • Collaborate
    • Media Kit
  • We Make
    • Bloglovin
    • Facebook
    • Instagram
    • Pinterest
    • Twitter
    • YouTube

Fall For DIY

  • DIY
  • Interiors
    • Planters
    • Paper
    • embroidery
    • Drinks
  • Blogging
    • Photography
    • Instagram
  • fashion
    • Jewellery
    • Accessories
  • Inspiration
    • Round Up
    • 50 DIYs
  • Office
    • Free Printables
    • Organize
  • Party
    • Christmas
    • Halloween

Our favourite things in your inbox every month!

DIY Box Sideboard

Fall For DIY Box Sideboard tutorial

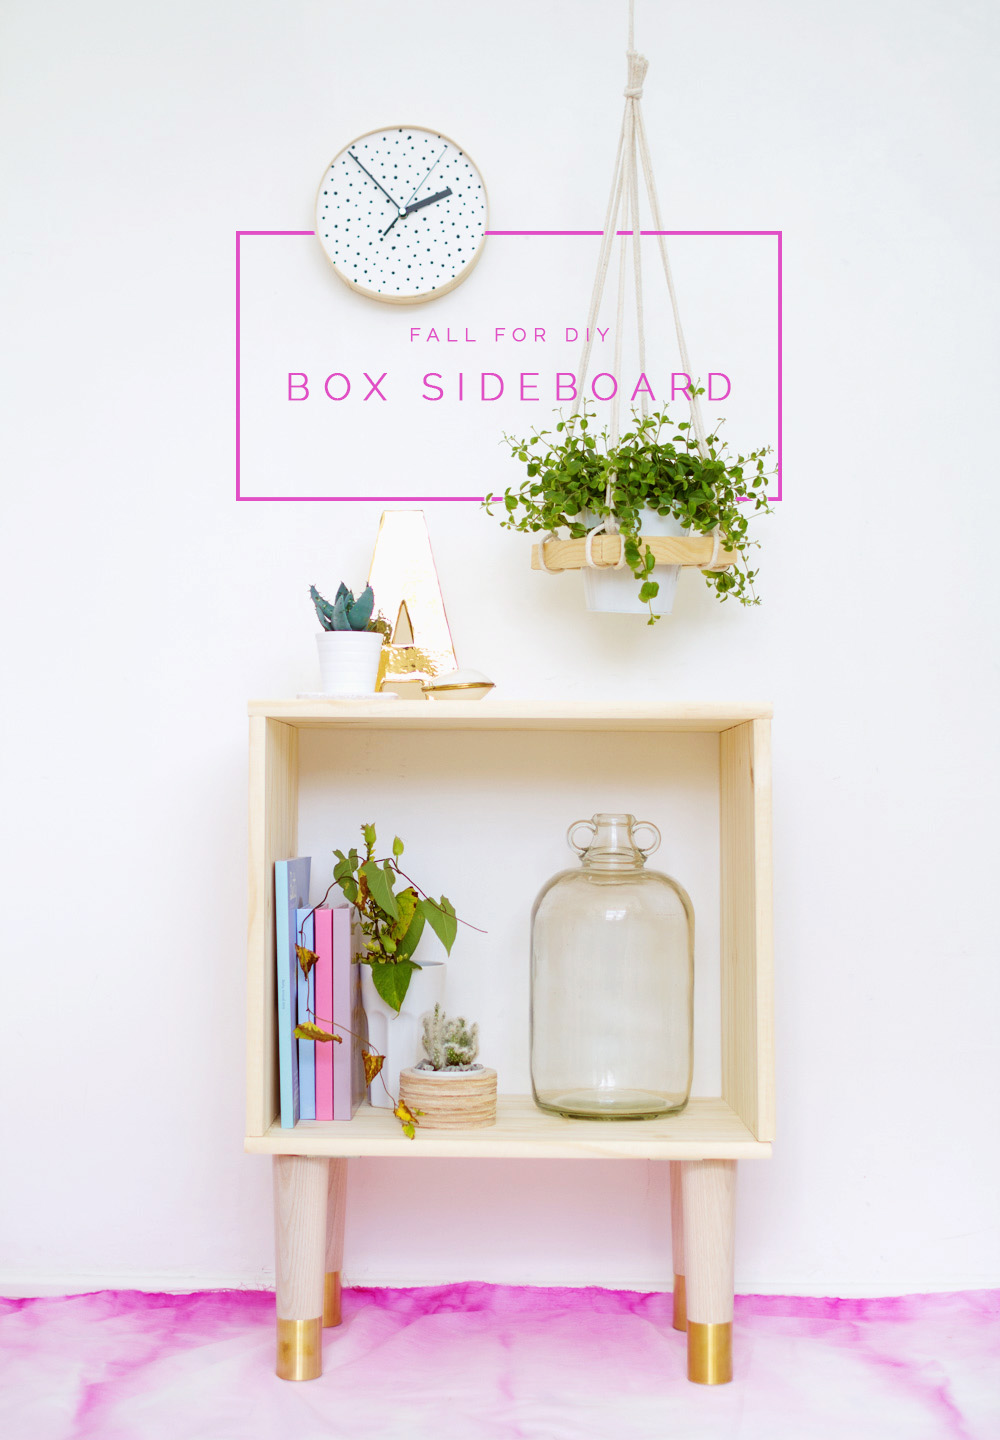
Sometimes it can take months to take an idea from its concept right through the researching, creating, photos, editing and all the rest. This is one of those posts. The funny thing is it actually took very little time and planning. Instead, I had kept it on the back burner for so long just waiting for the right time to bring it to fruition. And today was that day my friends!

It was just 6 hours ago I decided to make a start. My planned post needed a little work (crafts gone wrong!!) and I was rushing around trying to find a replacement to put out instead. That is how easy this DIY is – I can do it when I’m stressing out! Definitely a good sign. Luckily I had been sent these beautiful legs from Pretty Pegs and had picked up a couple of value pine shelves with this exact DIY in mind. And the rest is history, or in your case the future if you keep on reading….

Can you all see me in my new career as a fortune teller now? Thought not. Okay, getting started for real now.

Fall For DIY Box Sideboard materials

Materials*

Estelle Pretty Pegs with fitting plates | Pine Wood | Wood Glue

Instructions

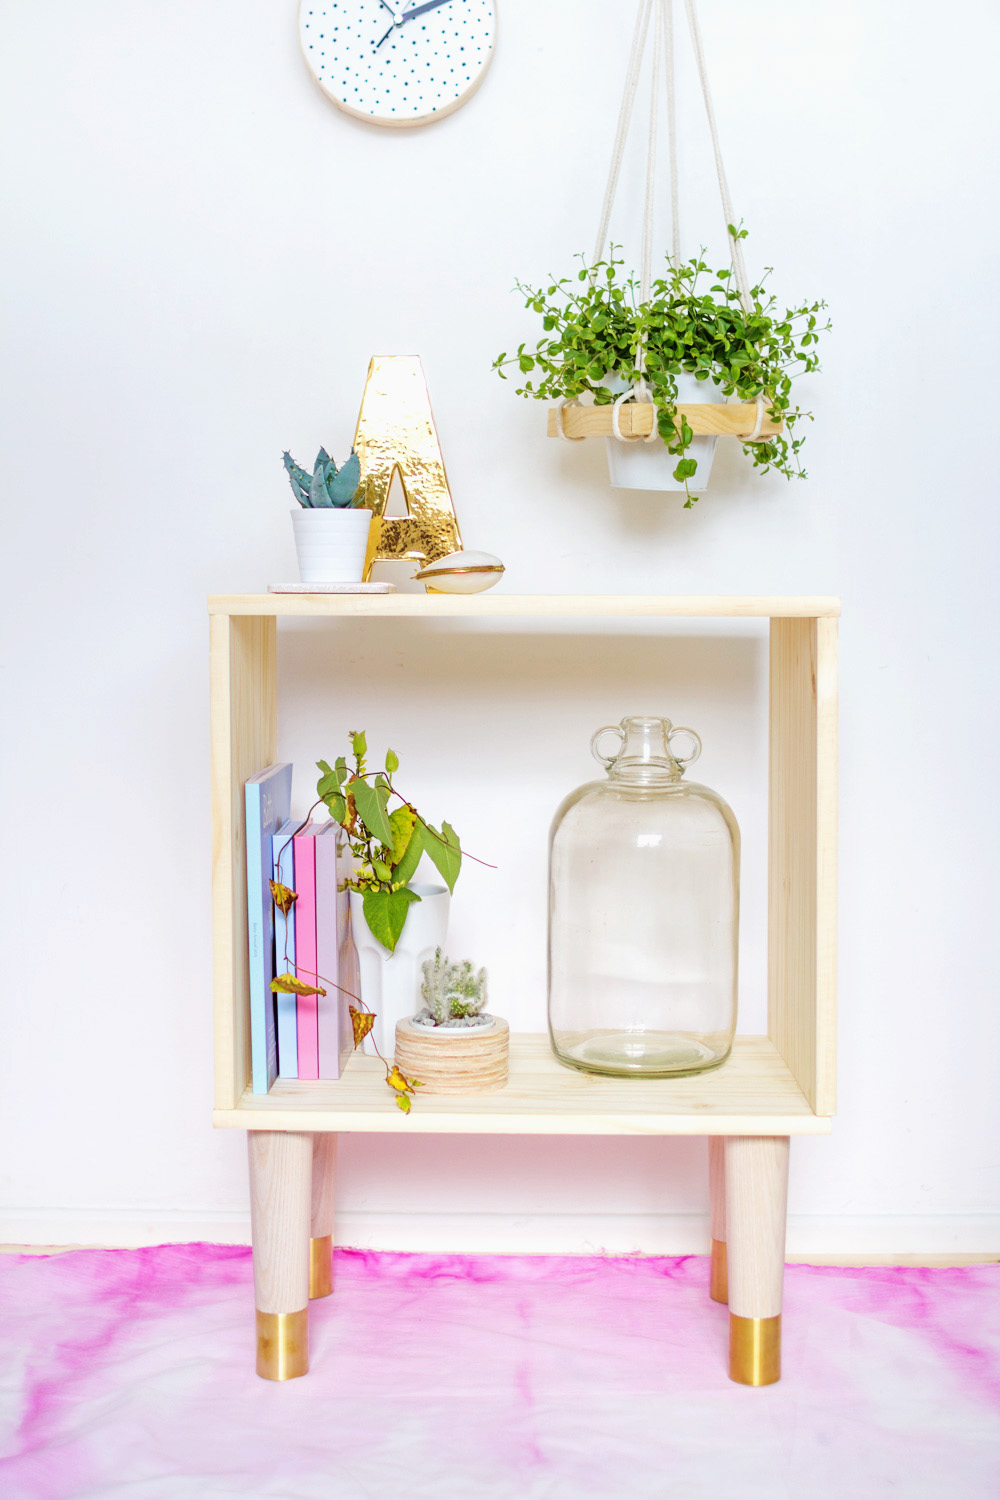
You will need four pieces of wood. Two 40cm/15″ and two 50cm/19″. I cut my own with a hand saw but only because the machine at my local DIY store was out of order. Damn. But it didn’t take long to cut two 90cm/36″ shelves into two pieces.

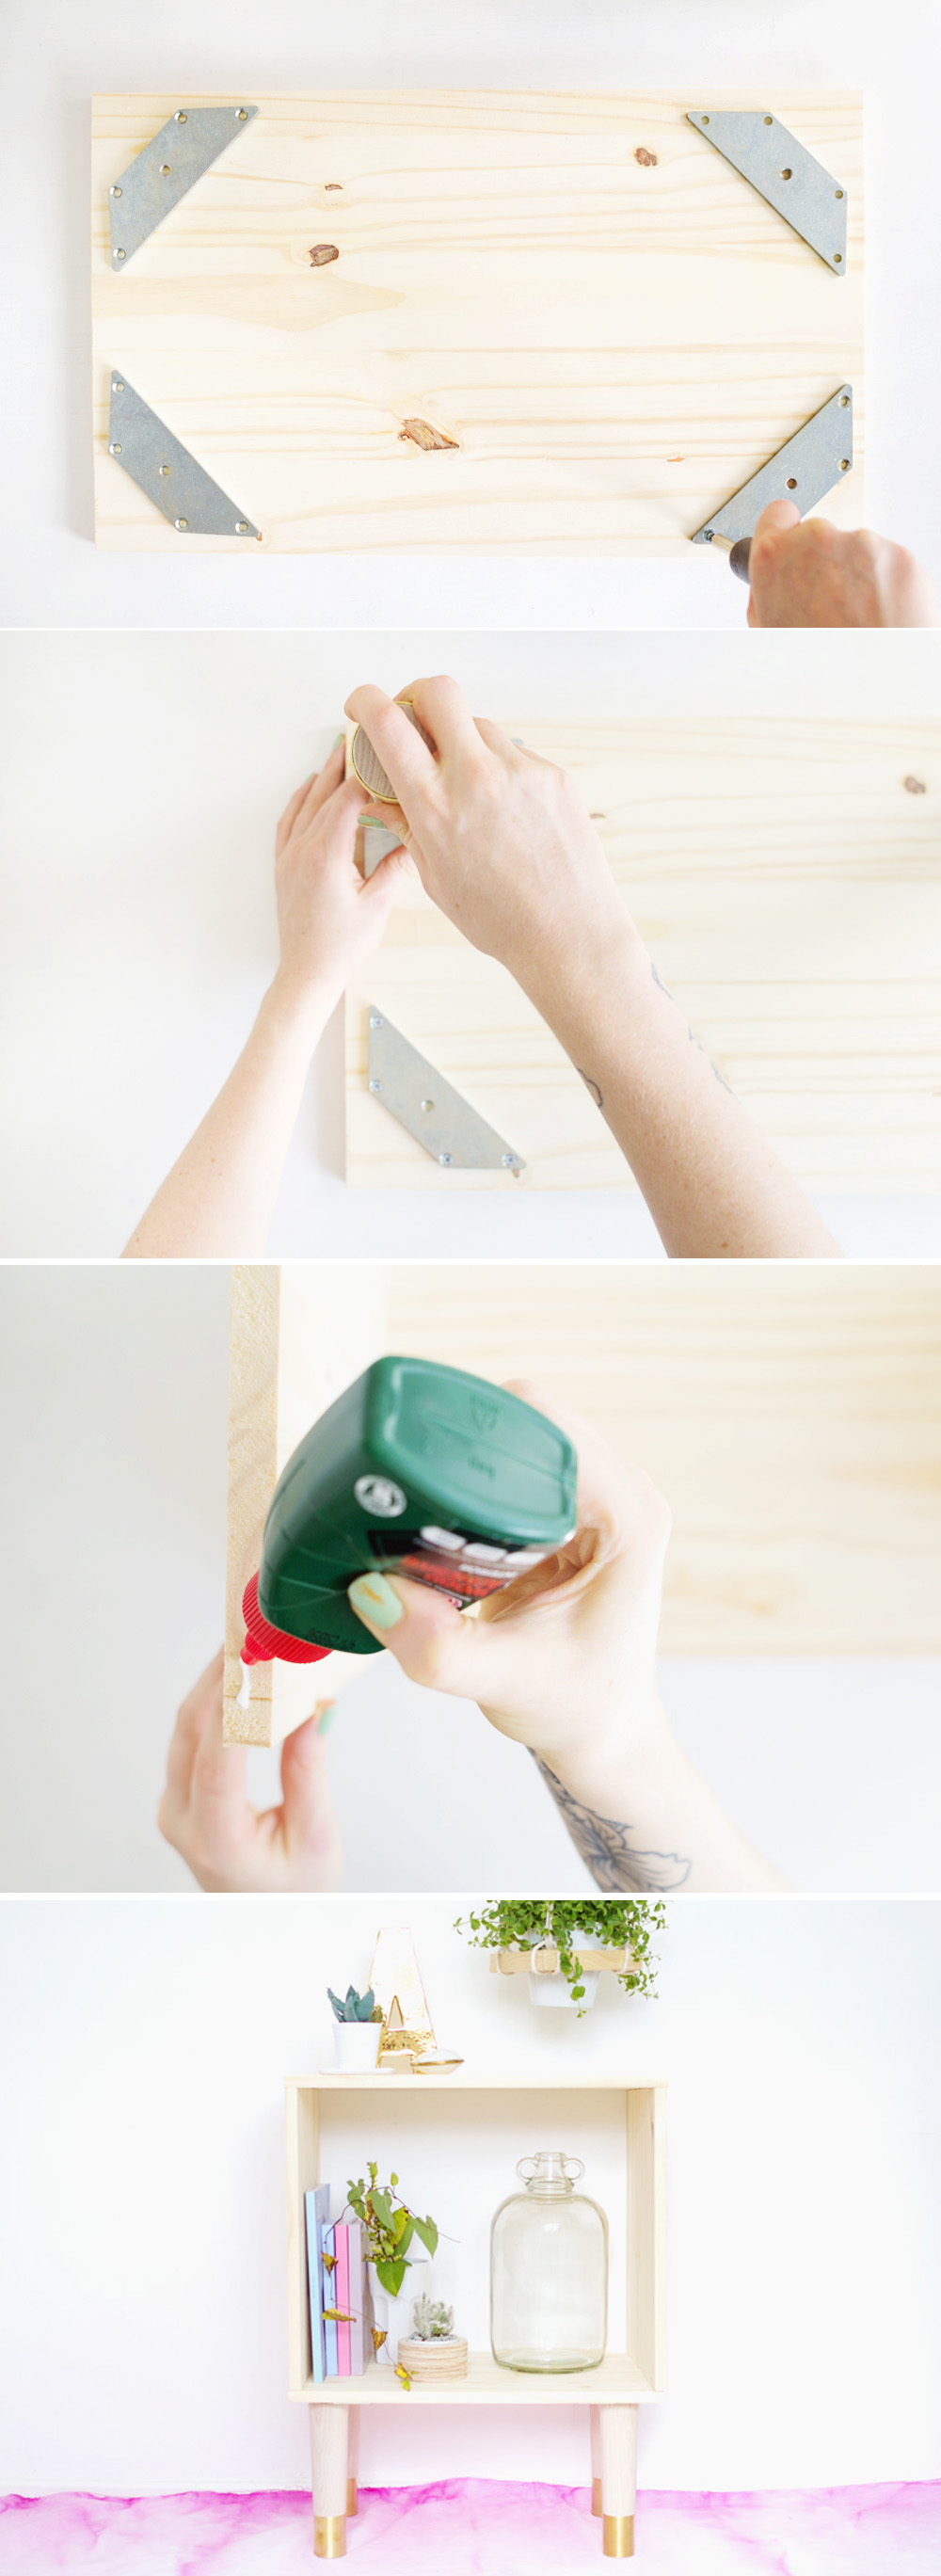
Screw the plates onto on of the larger pieces of wood. I’ve positioned the plates about 1cm/1/5″ away from the sides so you don’t see them when it’s finished. This will be the bottom of the sideboard so look for any stains or dents in the wood and use that side. You’ll be able to secure the screws provided by hand in the soft wood.

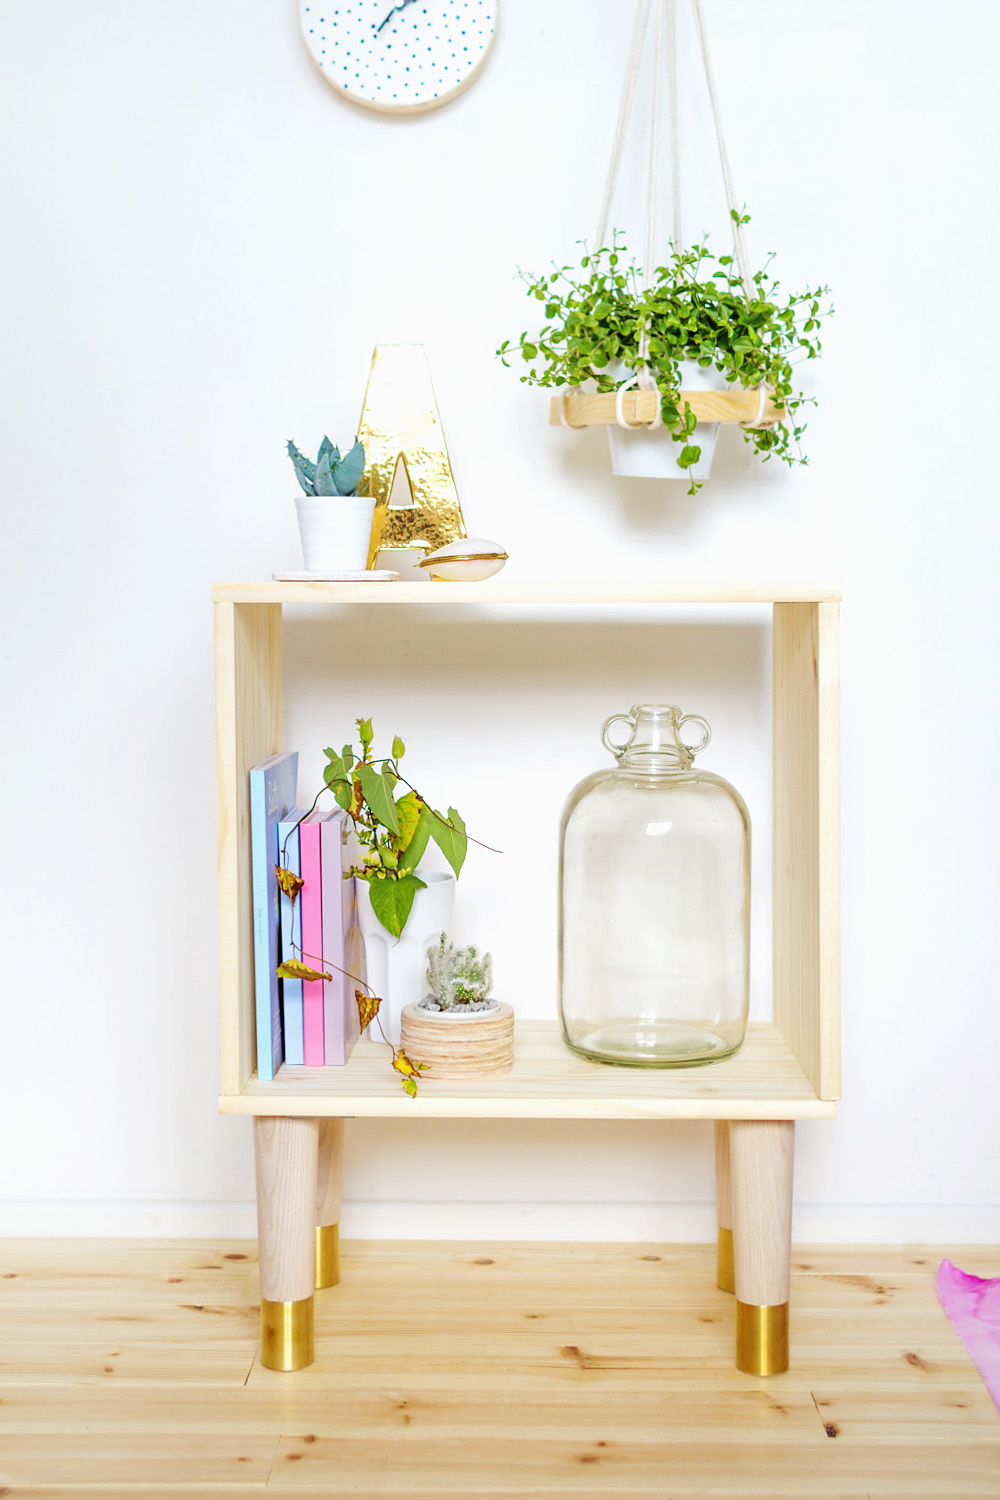
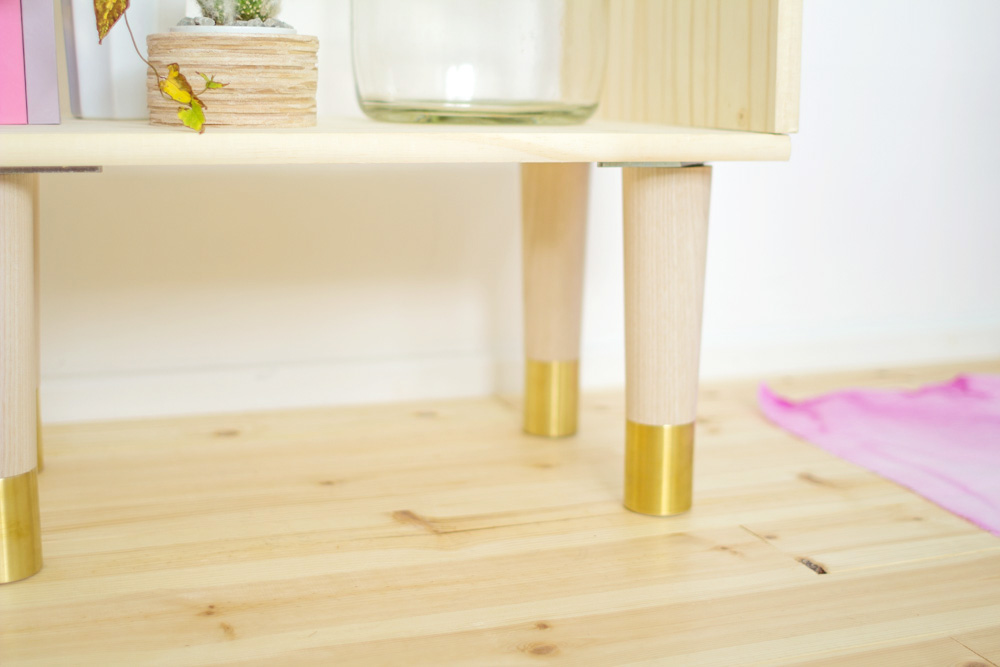
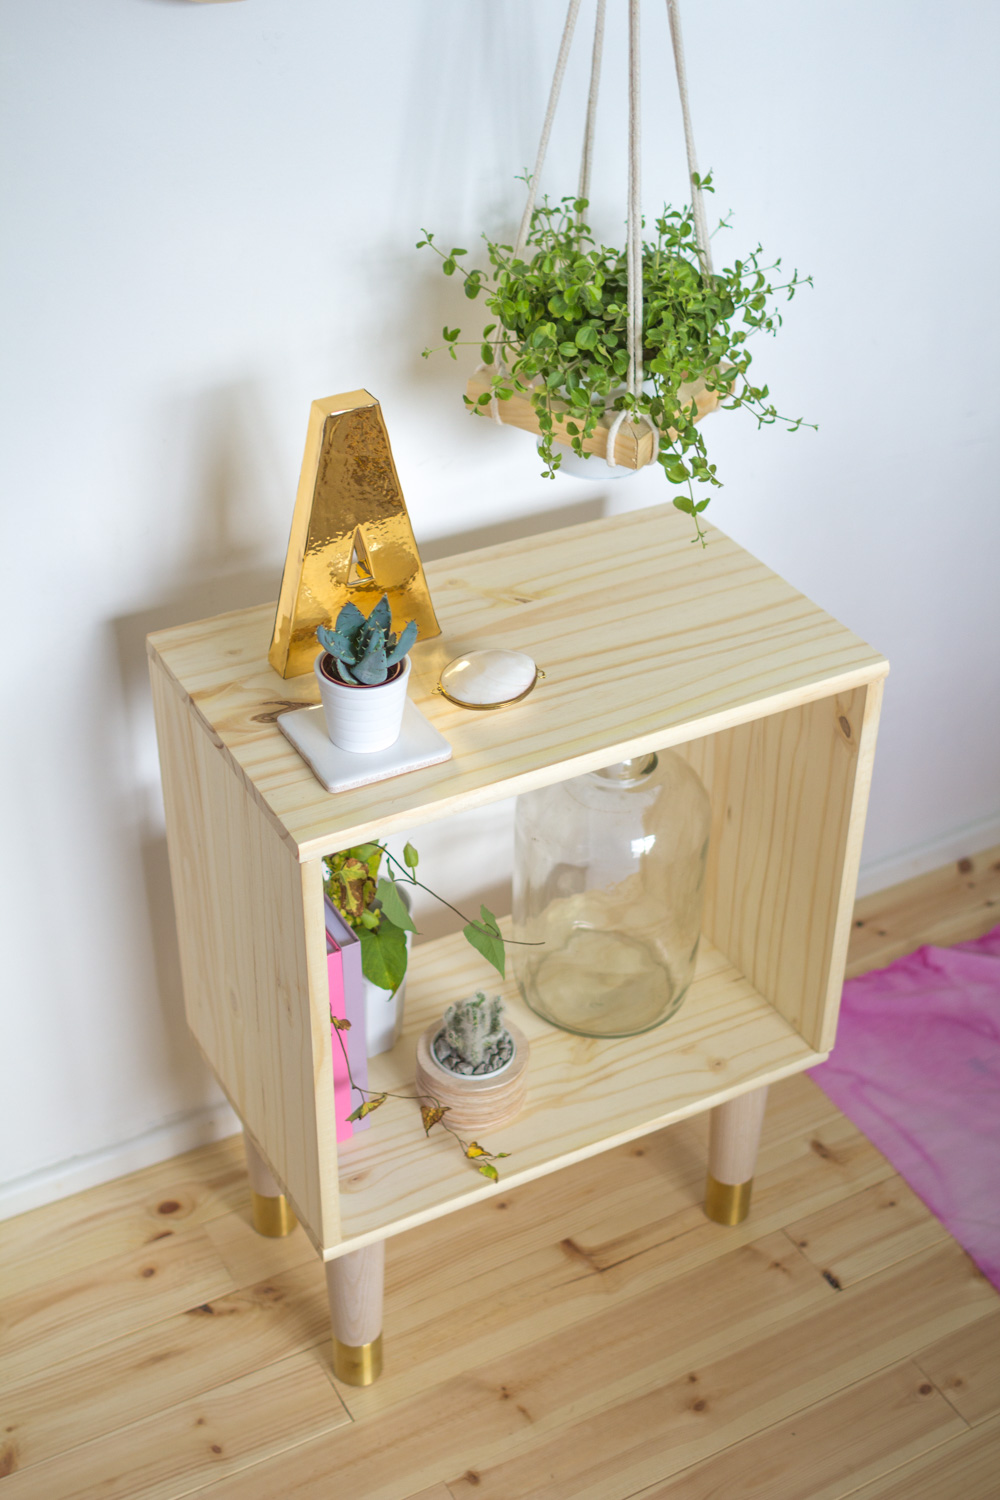
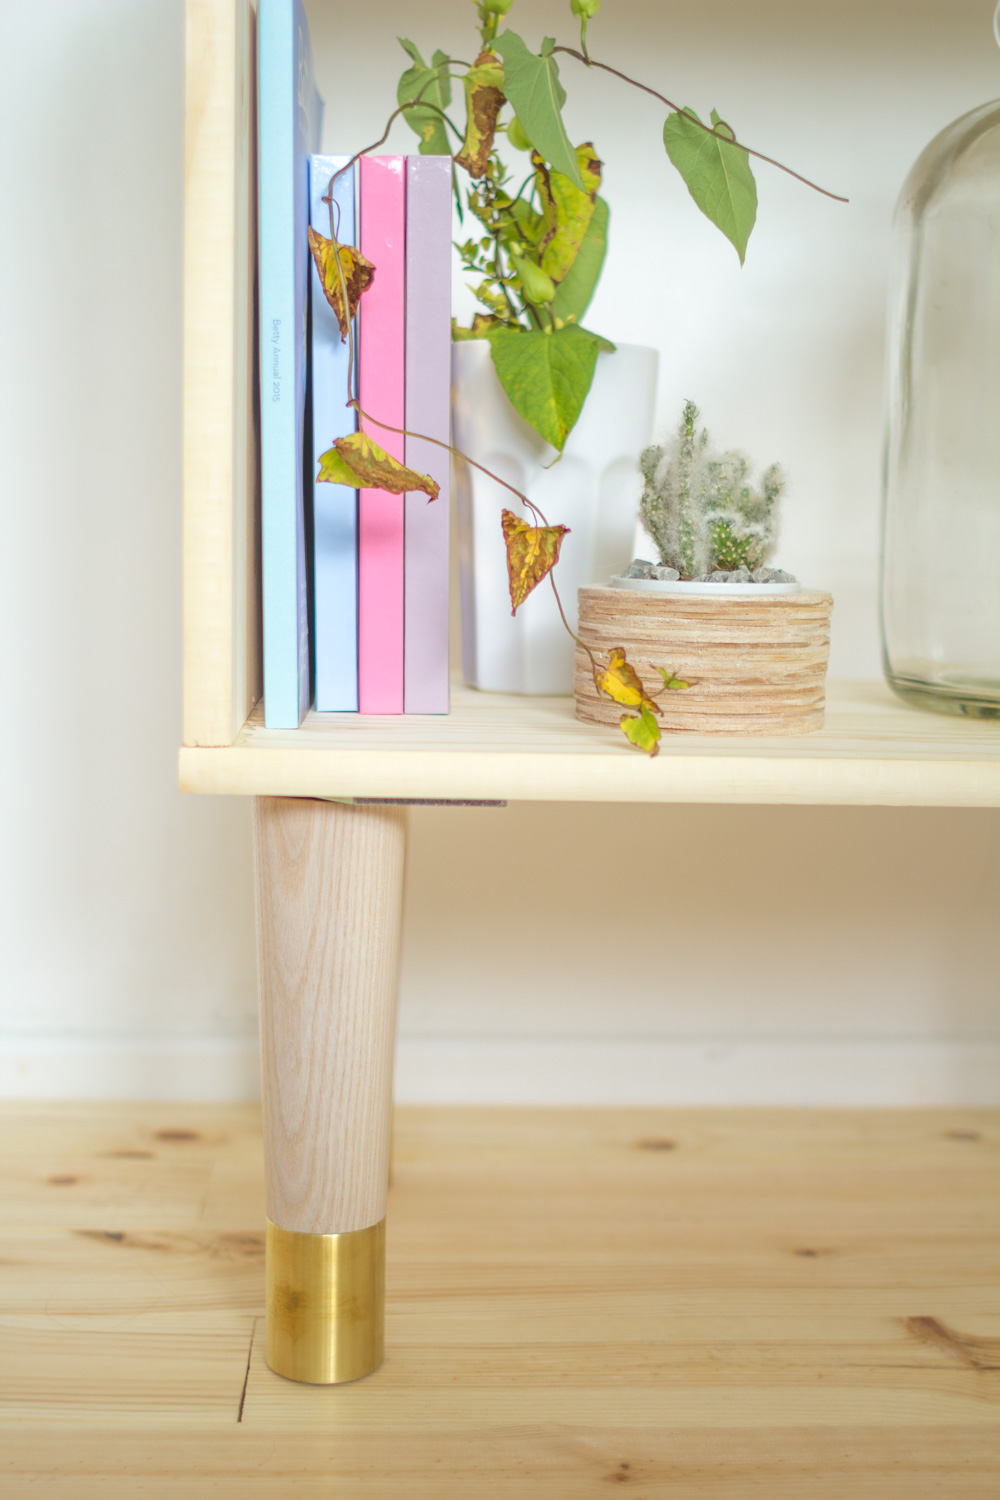
Following the instructions screw the legs into the plates. Glue the three other pieces of wood to this base. My shelves had a rounded edge one side so just make sure to keep any of those details facing the same direction.

Leave until the wood glue is dry. This takes about 30 minutes in my experience. So quick. Wood glue, I love you!

Fall For DIY Box Sideboard How to

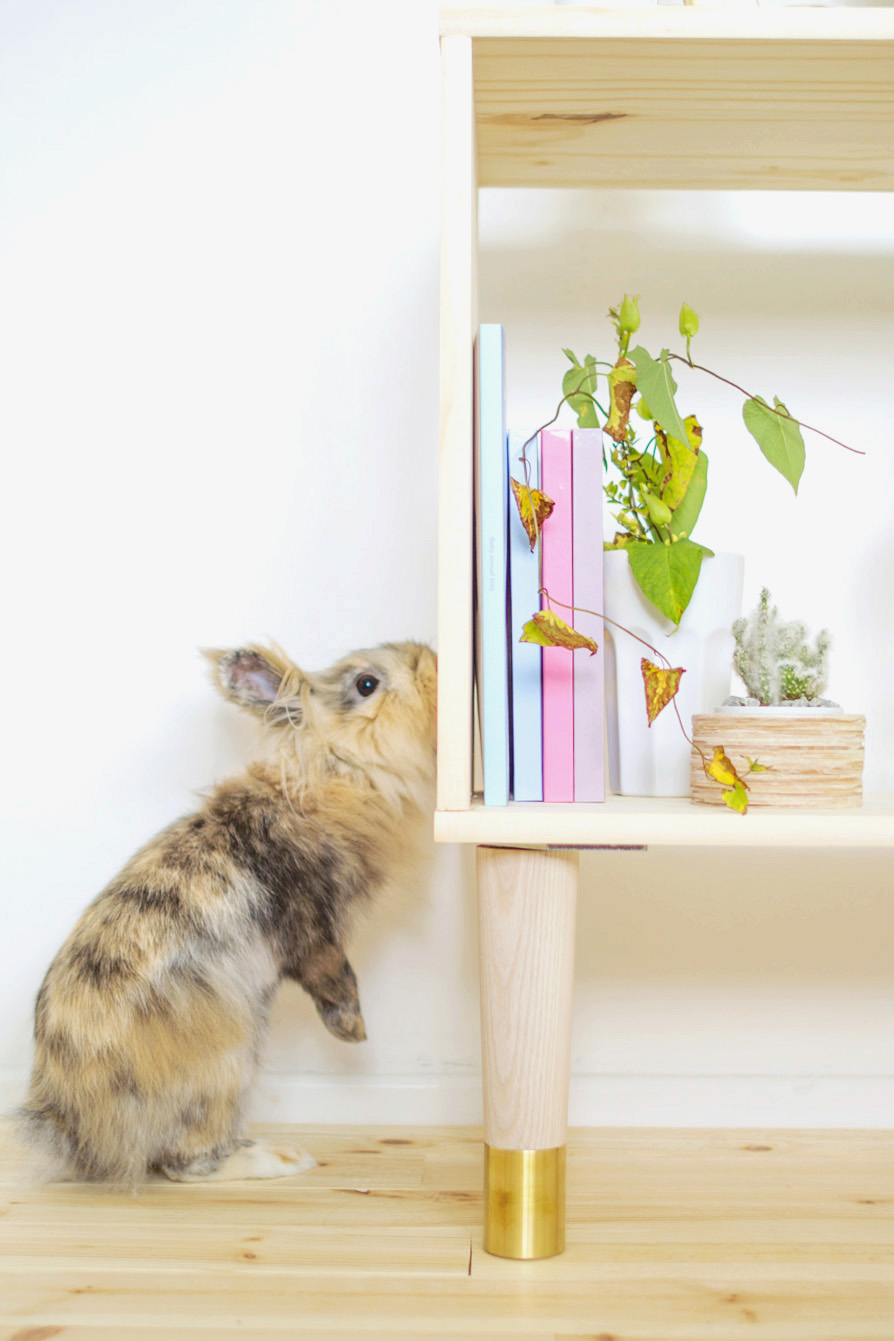
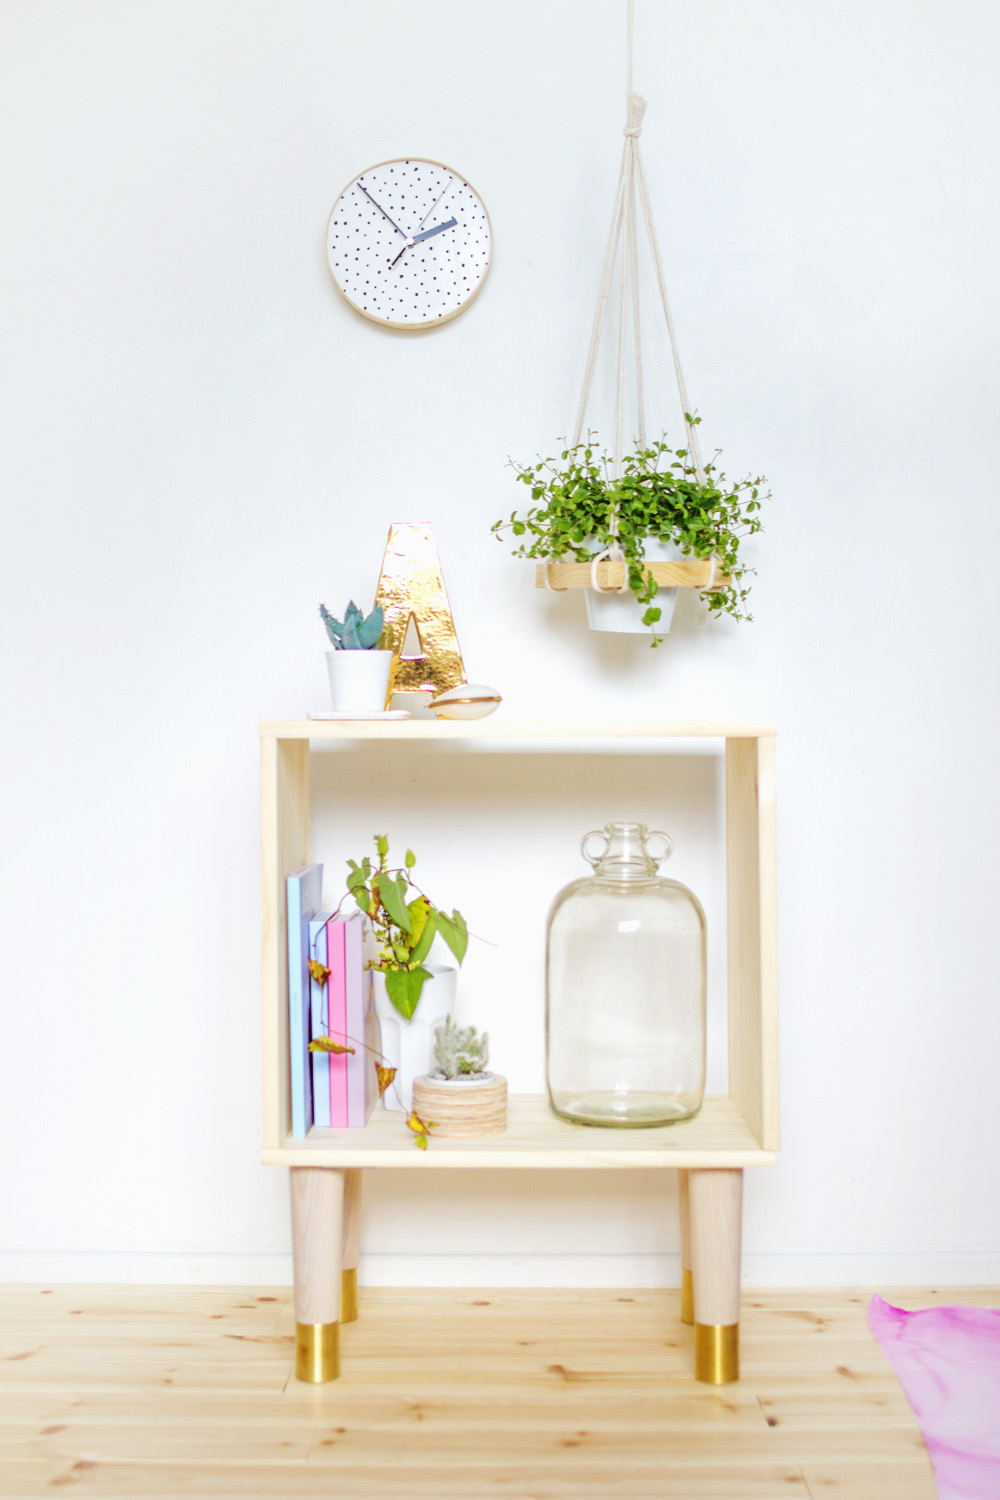
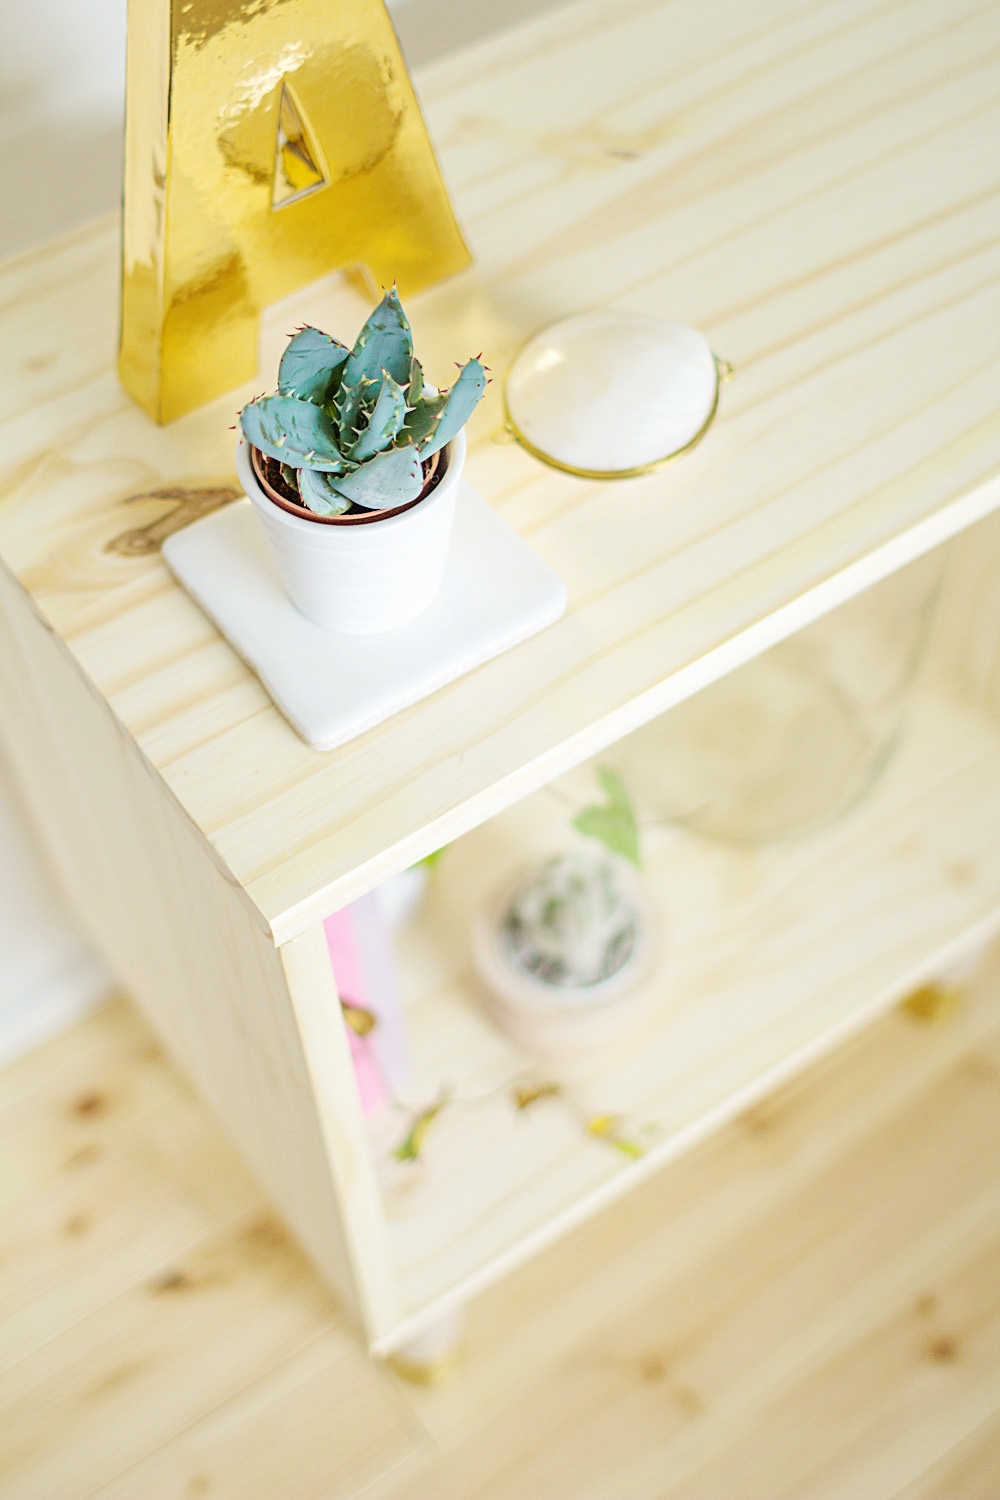
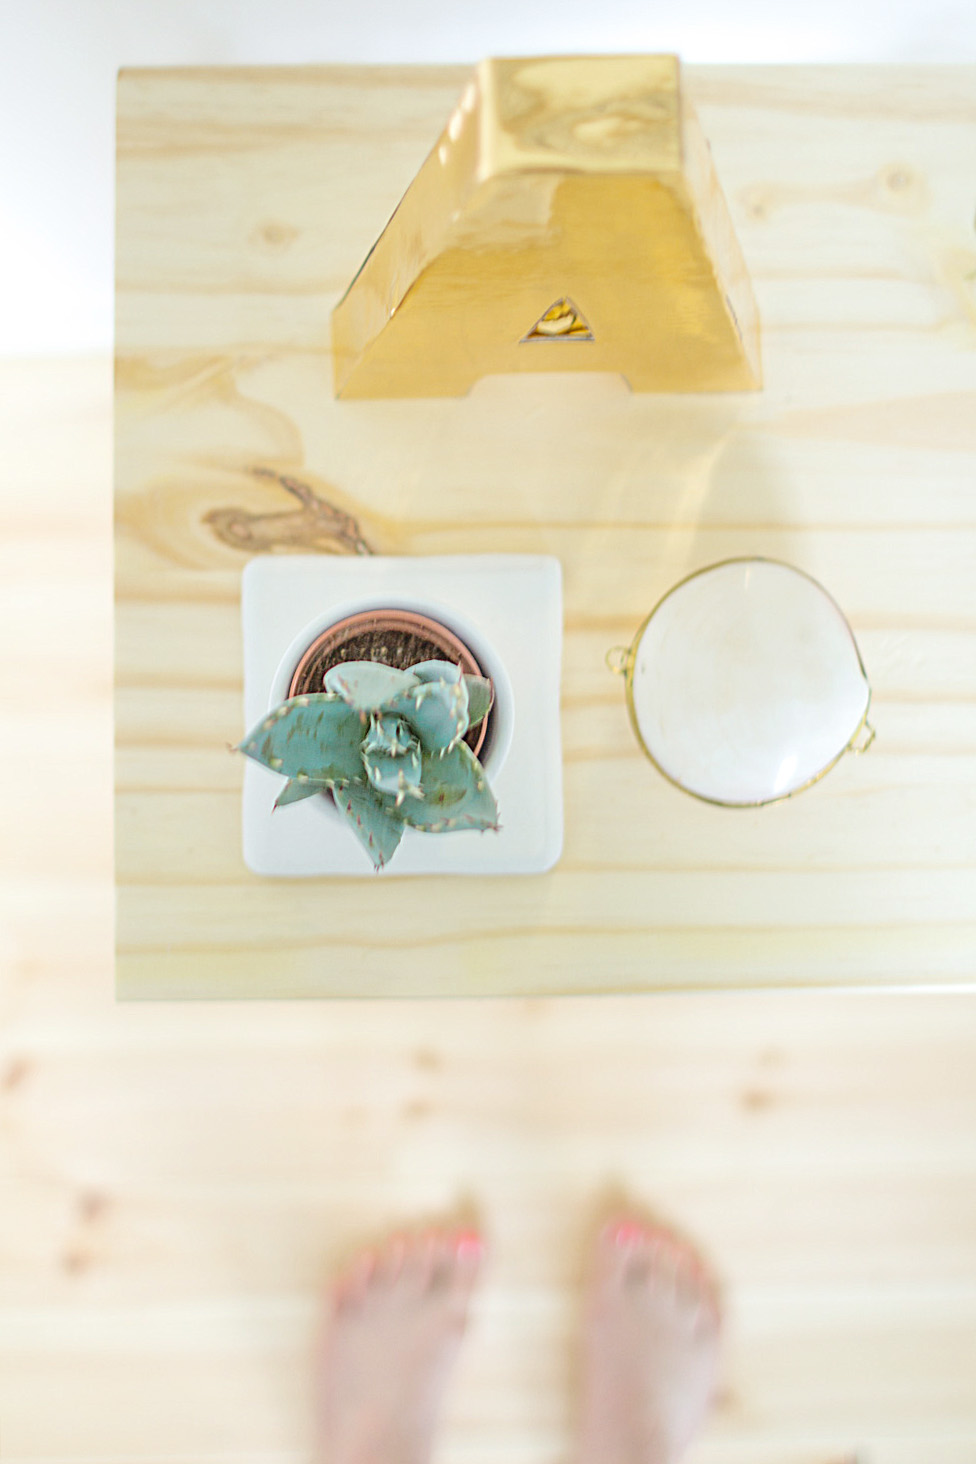
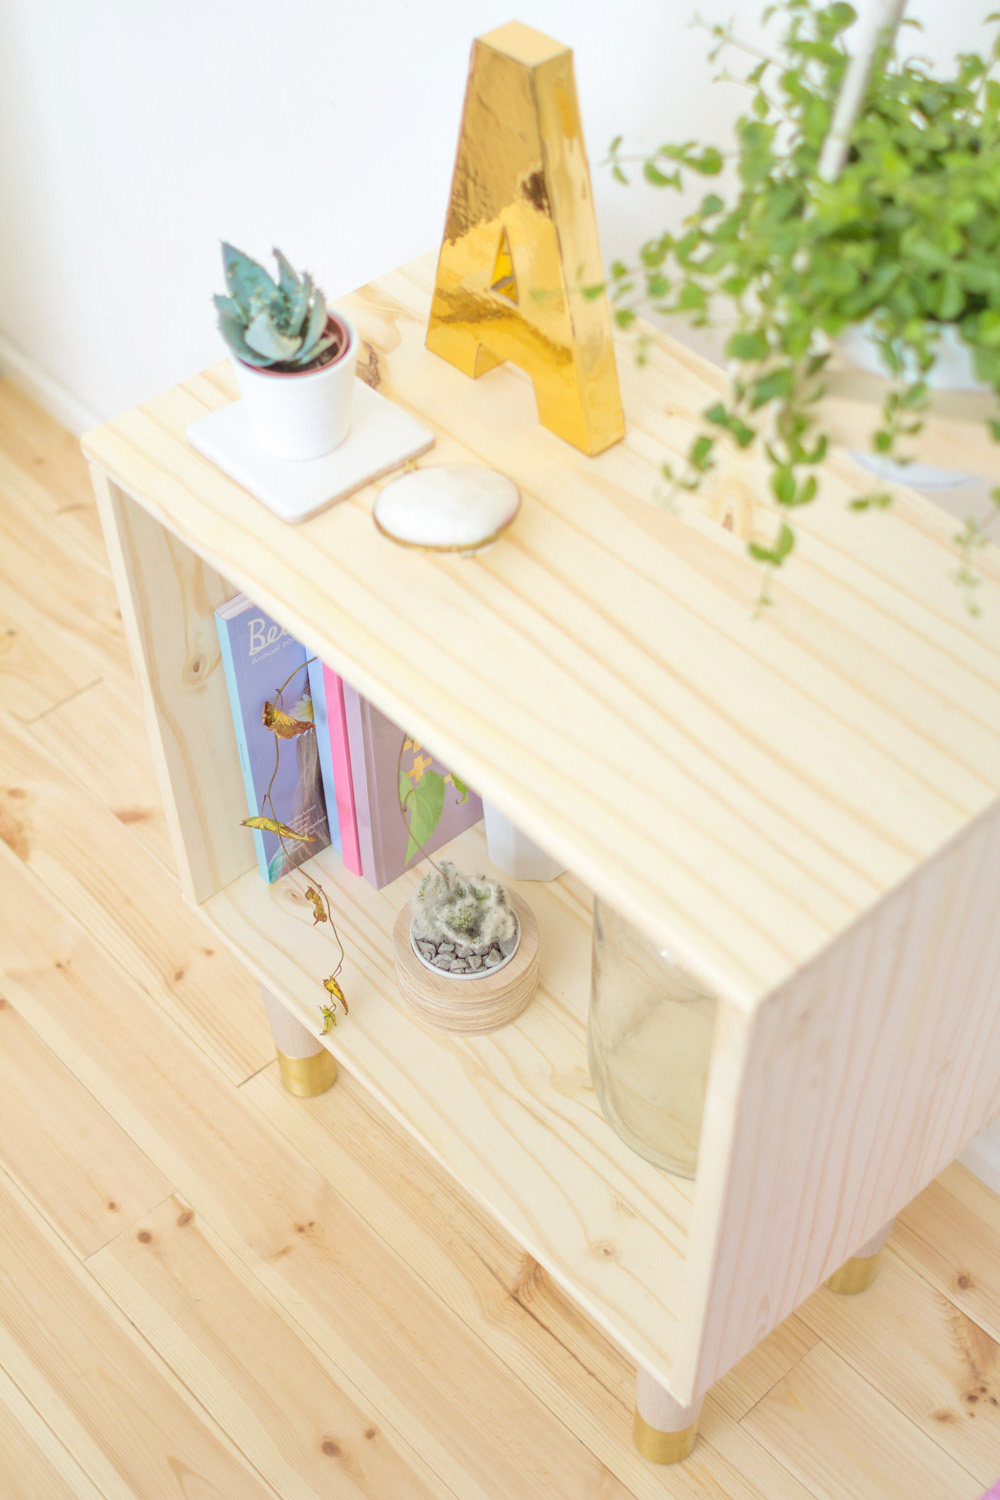
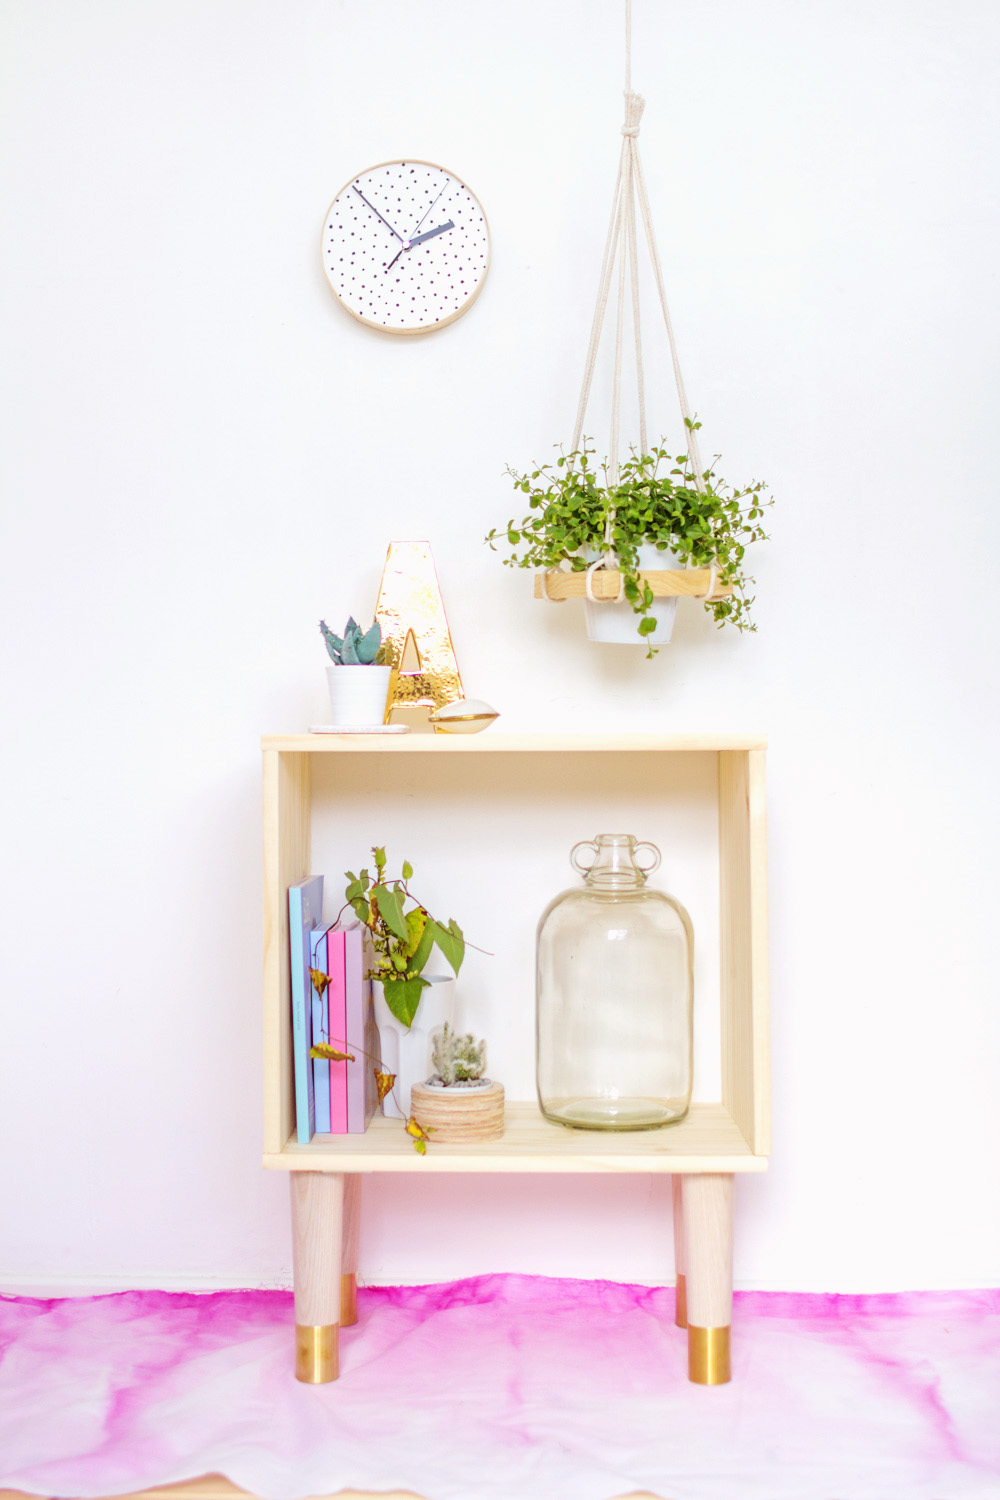
Now you can paint, stain or wax to your hearts desire. I’ve got a major thing for raw pine at the moment (if you hadn’t already noticed..) and by the looks of it so does the bunny (bunny bombing) so I’m leaving mine just as it is!

Fall For DIY Box SideboardFall For DIY Box Sideboard Fall For DIY Box Sideboard Fall For DIY Box Sideboard Fall For DIY Box Sideboard Fall For DIY Box Sideboard Fall For DIY Box Sideboard Fall For DIY Box Sideboard Fall For DIY Box Sideboard Fall For DIY Box Sideboard Fall For DIY Box Sideboard Fall For DIY Box Sideboard Fall For DIY Box Sideboard

Thank you to Pretty Pegs for providing me with the product for this post. *This post contains affiliate links.

Related

2016 Favourites// DIY// Interiors26 Comments

« DIY Blogging | Overcoming Crafters Block
Make it Easy | Anthro Bicone Necklace »

Comments

  1. Kaitlyn says

    July 22, 2015 at 9:41 pm

    I love it! So simple and so cute!

    – Kaitlyn | http://www.TheCrownFox.com

    Reply
    • fran says

      July 24, 2015 at 12:41 pm

      Thank you so much Kaitlyn :)

      Reply
  2. Maritza says

    July 22, 2015 at 11:08 pm

    Gorgeous as usual, Fran! I love that you used glue… which makes me think even I can do it :)

    Reply
    • fran says

      July 24, 2015 at 12:40 pm

      Haha! I love wood glue! Who needs power tools? Thanks Maritza xxx

      Reply
  3. Monique | WritingMonique says

    July 23, 2015 at 7:29 am

    So great that you made it yourself! It looks absolutely perfect; I love how you decorated it as well!

    Reply
    • fran says

      July 24, 2015 at 12:39 pm

      Thanks Monique! I good space for lots of pretty things!

      Reply
  4. Marwa(Enthralling_g) says

    July 24, 2015 at 3:16 pm

    This is awesome Fran, it’s a pity that I don’t know where to get some wood to get starting here at Dubai. I am really liking all the wood work coming from you.

    Thanx for the tutorial:)

    Reply
  5. Alexis @ Persia Lou says

    July 27, 2015 at 8:29 pm

    The bunny photo!!! I love it.

    Reply
  6. Mackenzie says

    July 28, 2015 at 6:47 am

    Gold tipped legs are amazing. We painted our bedside table legs like that in our master.

    This is such a cute and simple project! Great job!

    -Mackenzie @ http://smithfamilyrenovations.com

    Reply
  7. Akanksha Padhi says

    August 26, 2015 at 4:50 am

    I soooo love this post. Am totally gonna try this :)

    x https://ahsknaka.wordpress.com/

    Reply
  8. Tatiana says

    February 9, 2016 at 2:13 am

    Hi there! The table looks adorable, but I’m a bit worried about the glue. How sturdy is it, do you think it can take a couple coffee table books on top?

    Reply
  9. Kim says

    January 28, 2019 at 3:52 am

    It*s so cute and the sideboard too.

    Reply
  10. MaryFisher says

    September 19, 2022 at 10:53 pm

    Hii I really love it.

    Reply
  11. Terraria says

    March 30, 2023 at 10:28 am

    I always want to prepare a decent idea to come up with a complete idea.

    Reply

Trackbacks

  1. Простейший журнальный столик за час — Своими руками says:
    October 31, 2015 at 2:09 am

    […] Оригинал статьи на английском языке. […]

    Reply
  2. 5 DIY Wood Projects + My Favorite Finds - Shrimp Salad Circus says:
    February 5, 2016 at 3:16 pm

    […] worth clicking through just for the bunny photo bomb even if you don’t need a new […]

    Reply
  3. Links I Love /// Home Decor DIY Projects + - The Cottage Market says:
    October 13, 2016 at 5:59 pm

    […] Sideboard from Fall for DIY…the perfect eclectic piece that goes with […]

    Reply
  4. 35 Gorgeous DIY Nightstands For Your Bedroom says:
    June 6, 2018 at 8:58 pm

    […] fallfordiy […]

    Reply
  5. 30 Best DIY Nightstands For Your Bedroom - DIY Morning says:
    June 22, 2018 at 9:22 pm

    […] fallfordiy […]

    Reply
  6. DIY Nightstand Ideas For Creative And Inspired Beginners - interior4you says:
    November 20, 2018 at 10:02 am

    […] chic and charming if you know what details to focus on. A nice example is the project shared on fallfordiy. This nightstand is a simple open box/ cubby with tapered legs that have golden tips. The wood is […]

    Reply
  7. DIY Nightstand Ideas For Creative And Inspired Beginners – Shawnee KS Homes and Lifestyle says:
    November 20, 2018 at 11:30 am

    […] chic and charming if you know what details to focus on. A nice example is the project shared on fallfordiy. This nightstand is a simple open box/ cubby with tapered legs that have golden tips. The wood is […]

    Reply
  8. DIY Nightstand Ideas For Creative And Inspired Beginners – Home Inspiration Ideas says:
    November 22, 2018 at 7:30 am

    […] chic and charming if you know what details to focus on. A nice example is the project shared on fallfordiy. This nightstand is a simple open box/ cubby with tapered legs that have golden tips. The wood is […]

    Reply
  9. 15 DIY Bedroom Nightstand Ideas – chuckiesblog says:
    April 5, 2019 at 11:22 pm

    […] DIY nightstands via fallfordiy […]

    Reply
  10. DIY IKEA Decor Hack: Update Small Bedroom Storage with Wooden Detail says:
    April 7, 2019 at 11:41 am

    […] to the wall. It is not sturdy on it’s own! I put on some Prettypegs legs that I used on this DIY many moons ago! (Looking back at this post it’s hilarious how much my styling has changed and actually, […]

    Reply
  11. Cool And Simple DIYs To Make Stylish Box Furniture - GODIYGO.COM says:
    August 8, 2022 at 4:42 am

    […] Source […]

    Reply
  12. 50 DIY Nightstand Ideas For Creative And Inspired Beginners - furniturebudget.com says:
    February 12, 2023 at 2:12 am

    […] chic and charming if you know what details to focus on. A nice example is the project shared on fallfordiy. This nightstand is a simple open box/ cubby with tapered legs that have golden tips. The wood is […]

    Reply

Leave a Reply Cancel reply

Your email address will not be published. Required fields are marked *

Search

About

Preorder My Book Now!

Follow

Featured

shop earrings

Partners

Terms & Conditions
Private Policy Statement

DIY

A Green Garden Refresh with Durapost Vento Fences

A Green Garden Refresh with Durapost Vento Fences

3 Ways to Use a Printer that will Make Your Life Better

3 Ways to Use a Printer that will Make Your Life Better

DIY Tower Cleansing Bars

DIY Tower Cleansing Bars

DIY Wavy Shelf with Cricut

DIY Wavy Shelf with Cricut

How to make your Mother’s Day gift more than perfect this year with DIY fabric wrap

How to make your Mother’s Day gift more than perfect this year with DIY fabric wrap

DIY Valentine’s Clay Name Necklaces

DIY Valentine’s Clay Name Necklaces

DIY Seamless Floor to Wall Wood Panelling (with Laminate)

DIY Seamless Floor to Wall Wood Panelling (with Laminate)

How to Recycle your Advent Calendar this Christmas

How to Recycle your Advent Calendar this Christmas

DIY Faux Stoneware Candle Holder

DIY Faux Stoneware Candle Holder

DIY Speckled Clay Arch Picture/Card Holder

DIY Speckled Clay Arch Picture/Card Holder

More Posts from this Category

Copyright © 2023 ·Savory · Genesis Framework by StudioPress · WordPress · Log in