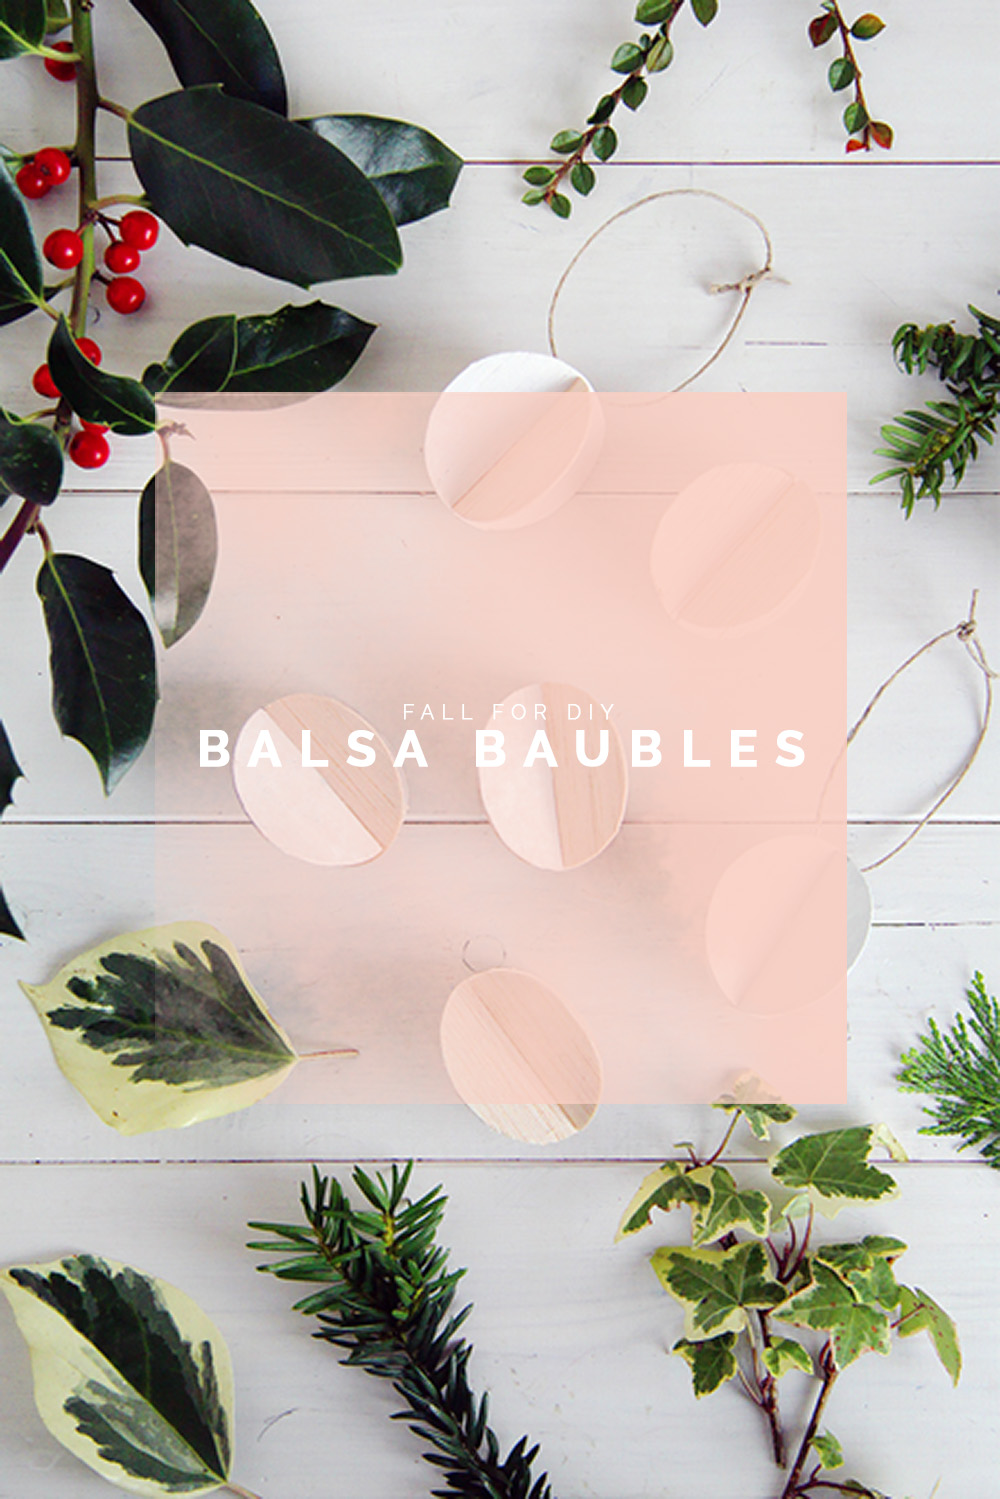
Finally! Christmas is well and truly here. It’s now the time that I can reasonably start putting up decorations, wrapping presents and planning menus totally guilt free. And don’t get me started on the music! Each year I spent the beginning of December trying to convince the tall one that we should buy our tree early. I will use all of my charm and guile to persuade him until he finally gives in about the time he wanted to go get the tree in the first place…. talk about tradition.
This year I’ve come up with a back up plan. I have a mini tree at my desk to keep get me in the festive mood while I’m working. And what do you need on a mini tree? Mini decorations of course! The best way to test out your ideas is on a model scale. It’s like playing Christmas before getting to do it for real. Double Christmas? Yes please!
Materials:
- Balsa Wood
- Pencil / Pen / Paint
- Cord
- Craft Knife
- Circular Object

Instructions:
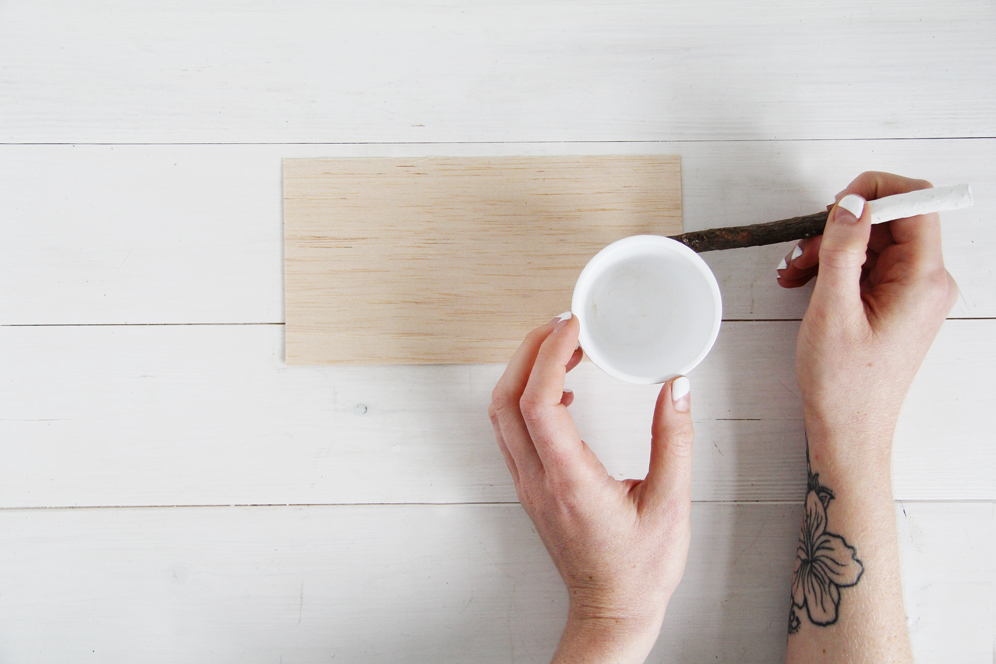
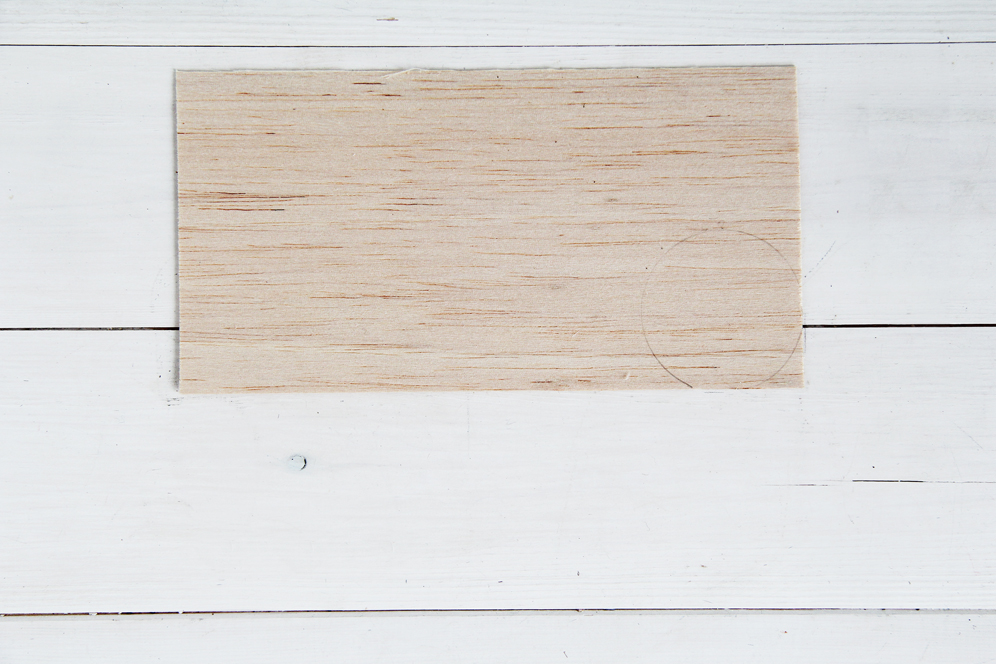
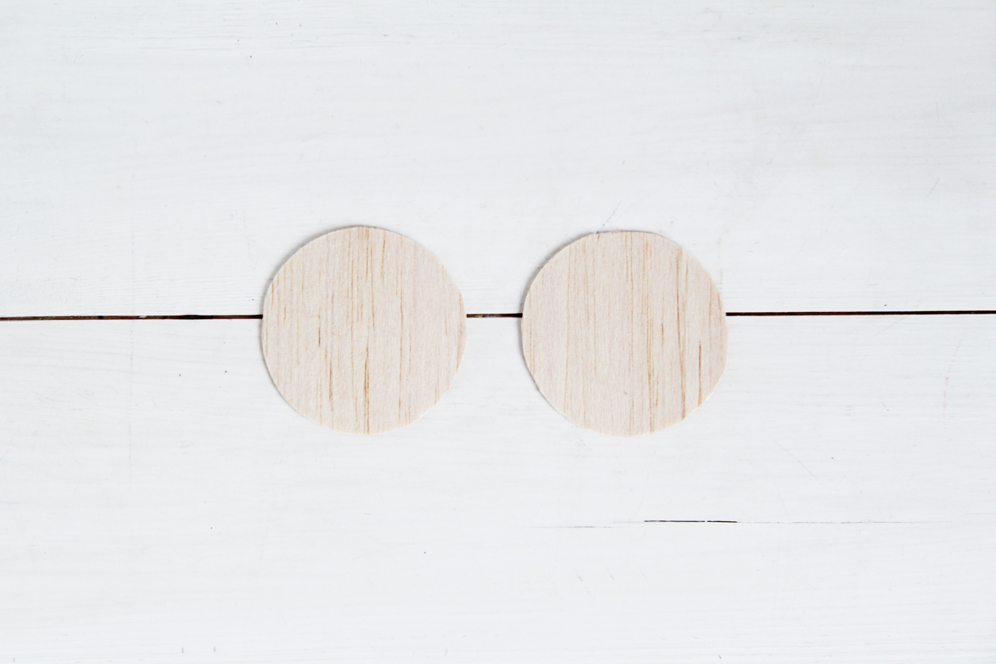
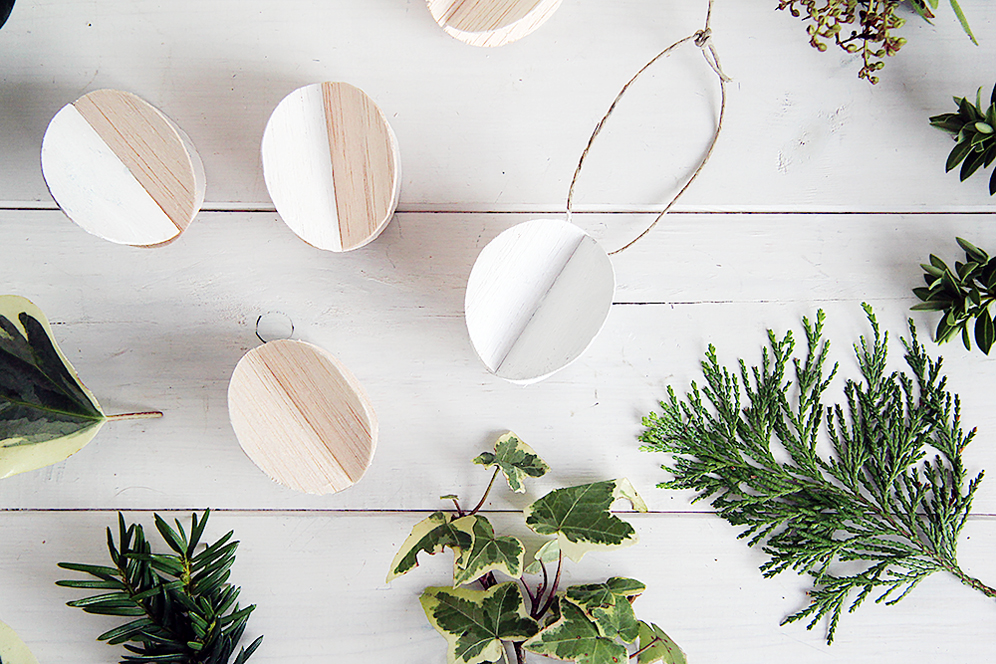
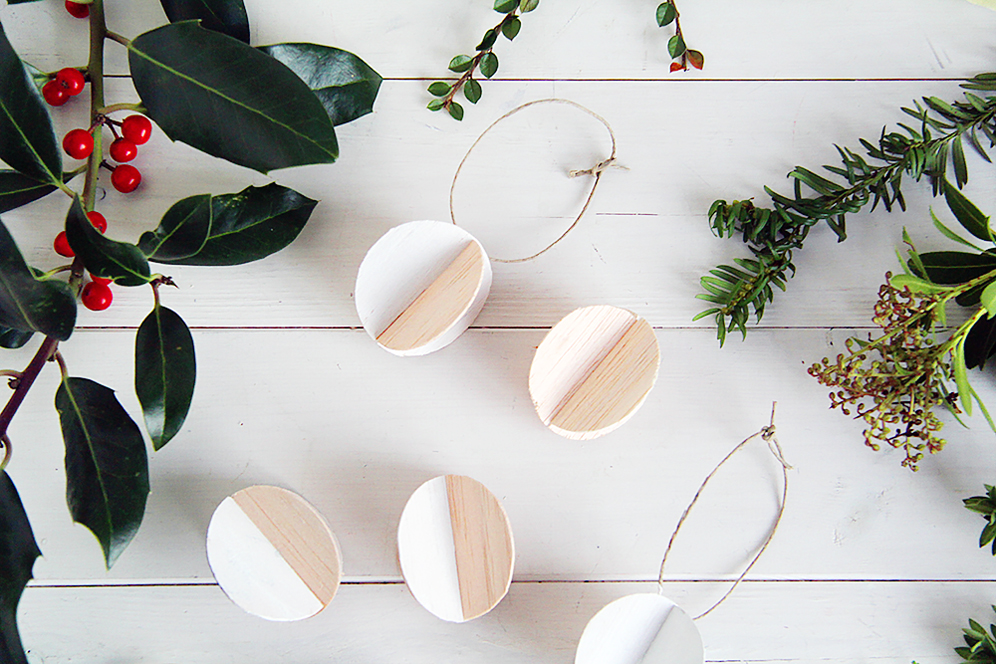
1. Draw around your circular object in the corner of the wood using a light pencil marking. Try to keep the line evenly around the circle.
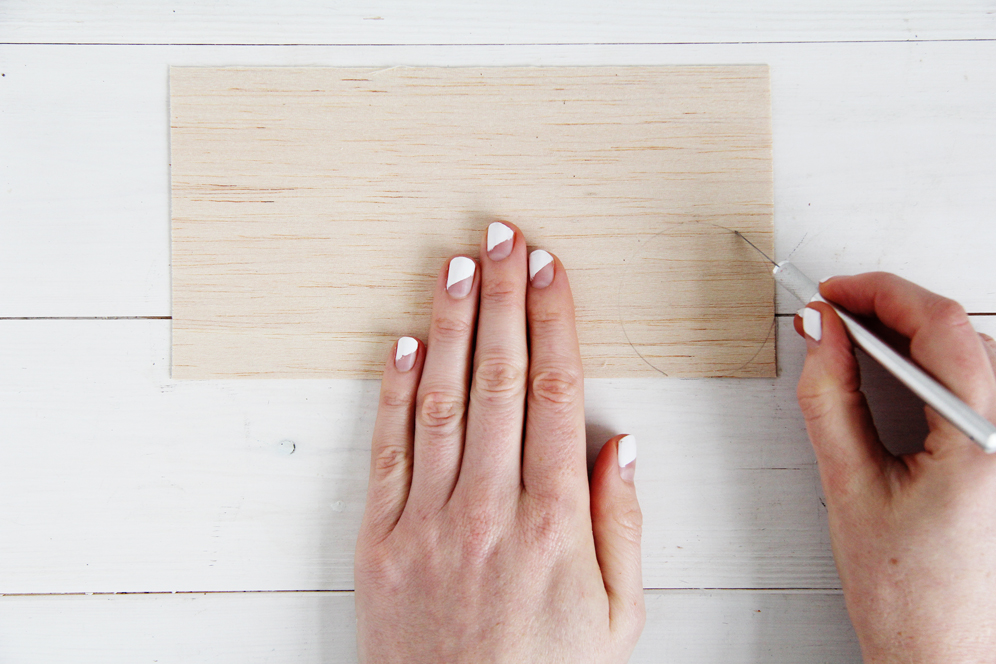
2. Use the craft knife to slowly cut around the circle. Ensure there is a clean cut around the whole of the circle.
3. Make two of these circles.
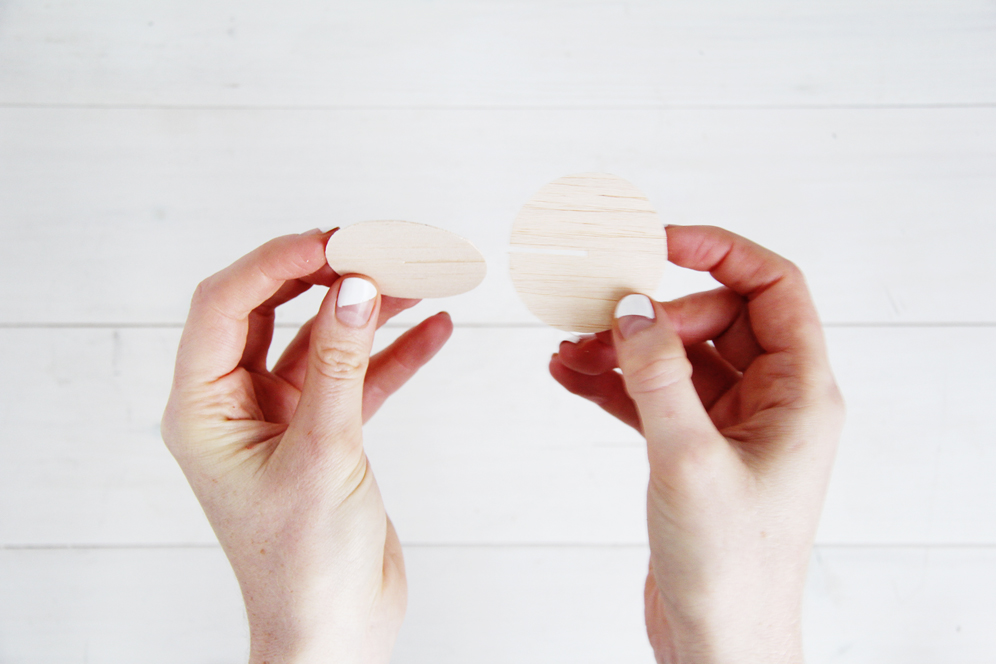
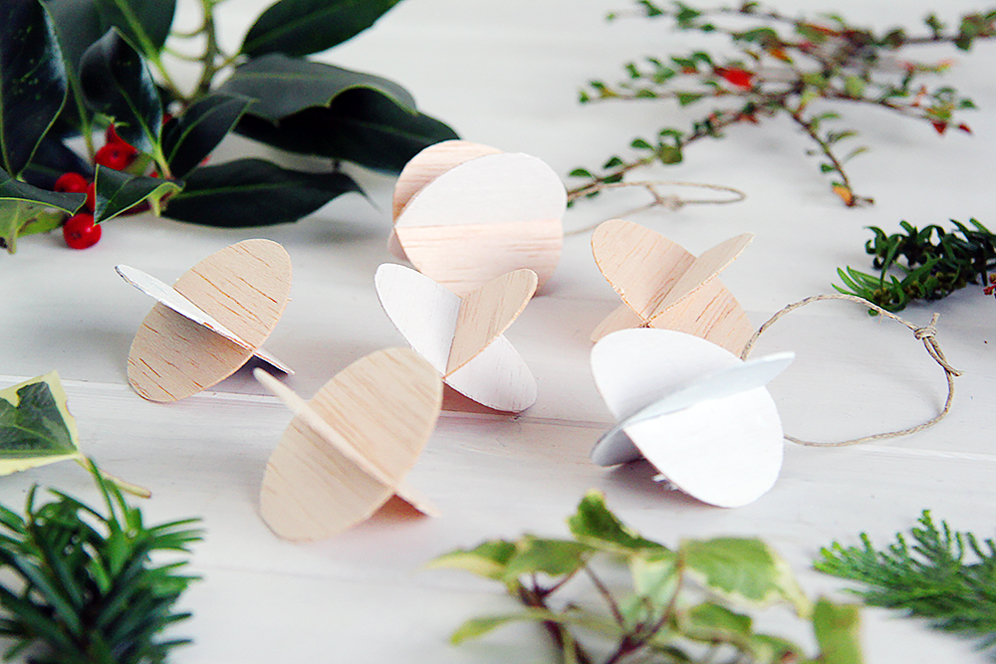
4. Cut two slits into the middle of the circle. Make sure the slits are no thicker than the thickness of the wood.

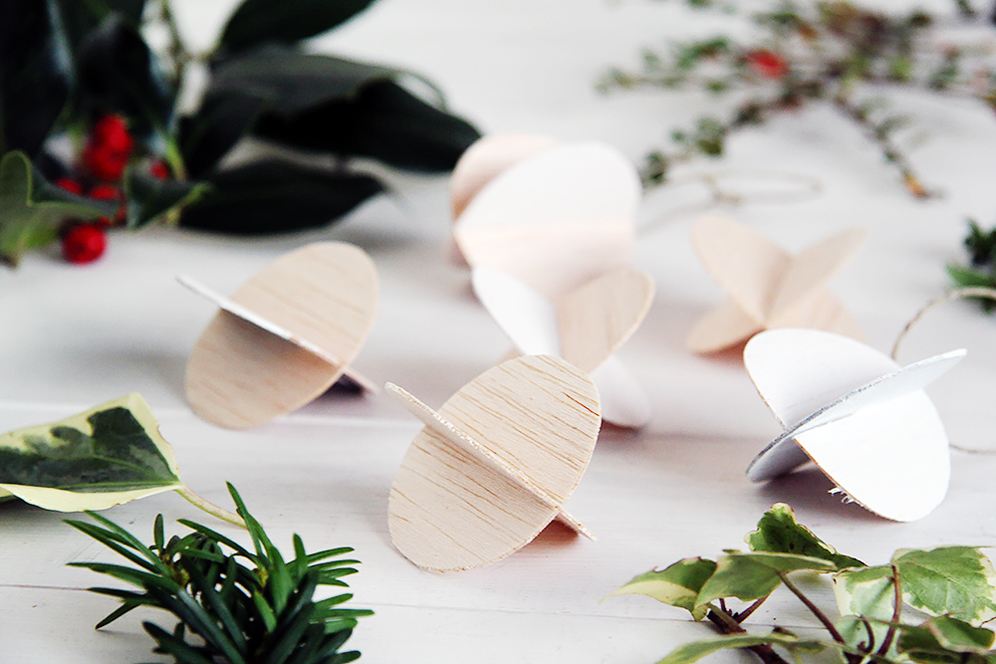
5. Hold the circles so that the slits are facing one another and are turned 90 degrees to each other.
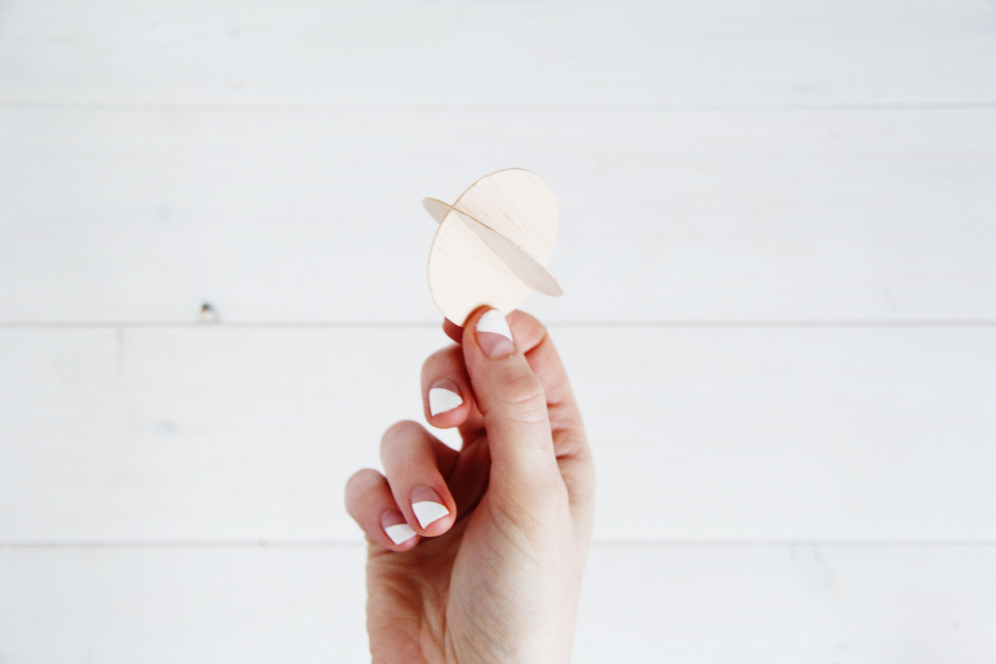
6. Slot the slits together until you’ve pushed them as far as they can go. The edges should be lined up at the joins.
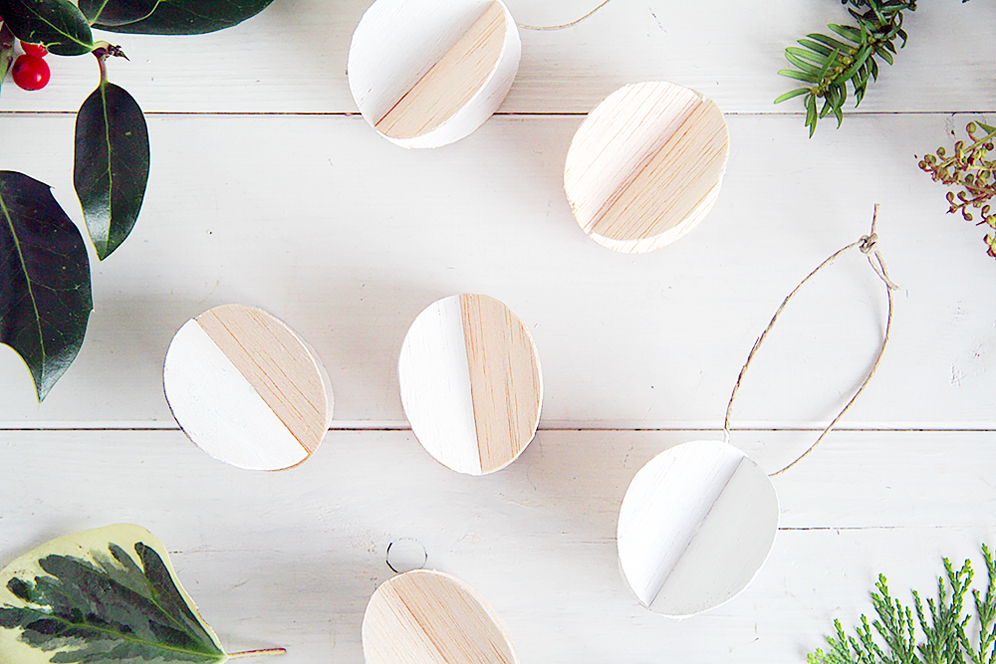
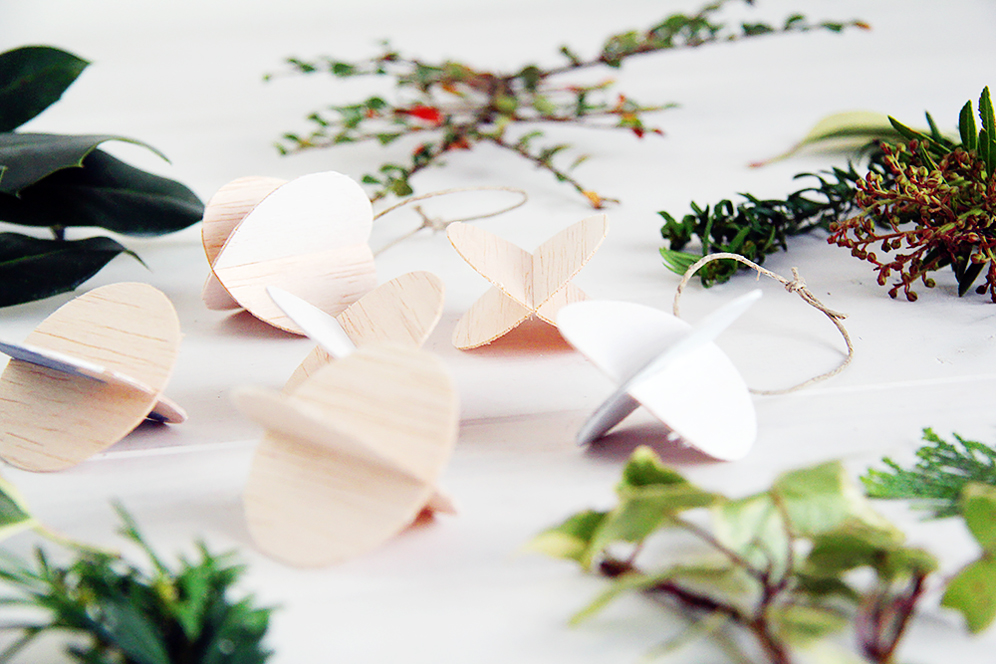
7. Paint, draw and decorate the wood in anyway you choose. I’ve kept mine simple and painted some sides of the wood with white paint which helps to vary the look of the baubles without adding too many fussy details.
8. Using a sharp object push a hole through one edge of the wood and tie on a loop of cord.
All I need now is my full size tree and we can start doing this for real. Wish me luck!


These decorating tips are really simple, even a clumsy person like me can easily follow them.