I’ve decided my office needs a makeover. Actually, I decided this about a year ago after moving into our flat but it’s taken me this long to do something about it. So in the spirit of DIY blogging (and because I’ve seen lots of other bloggers do it recently) I’m doing a room makeover! Spring is the time for cleaning and apparently Autumn the time for change… Makes sense.
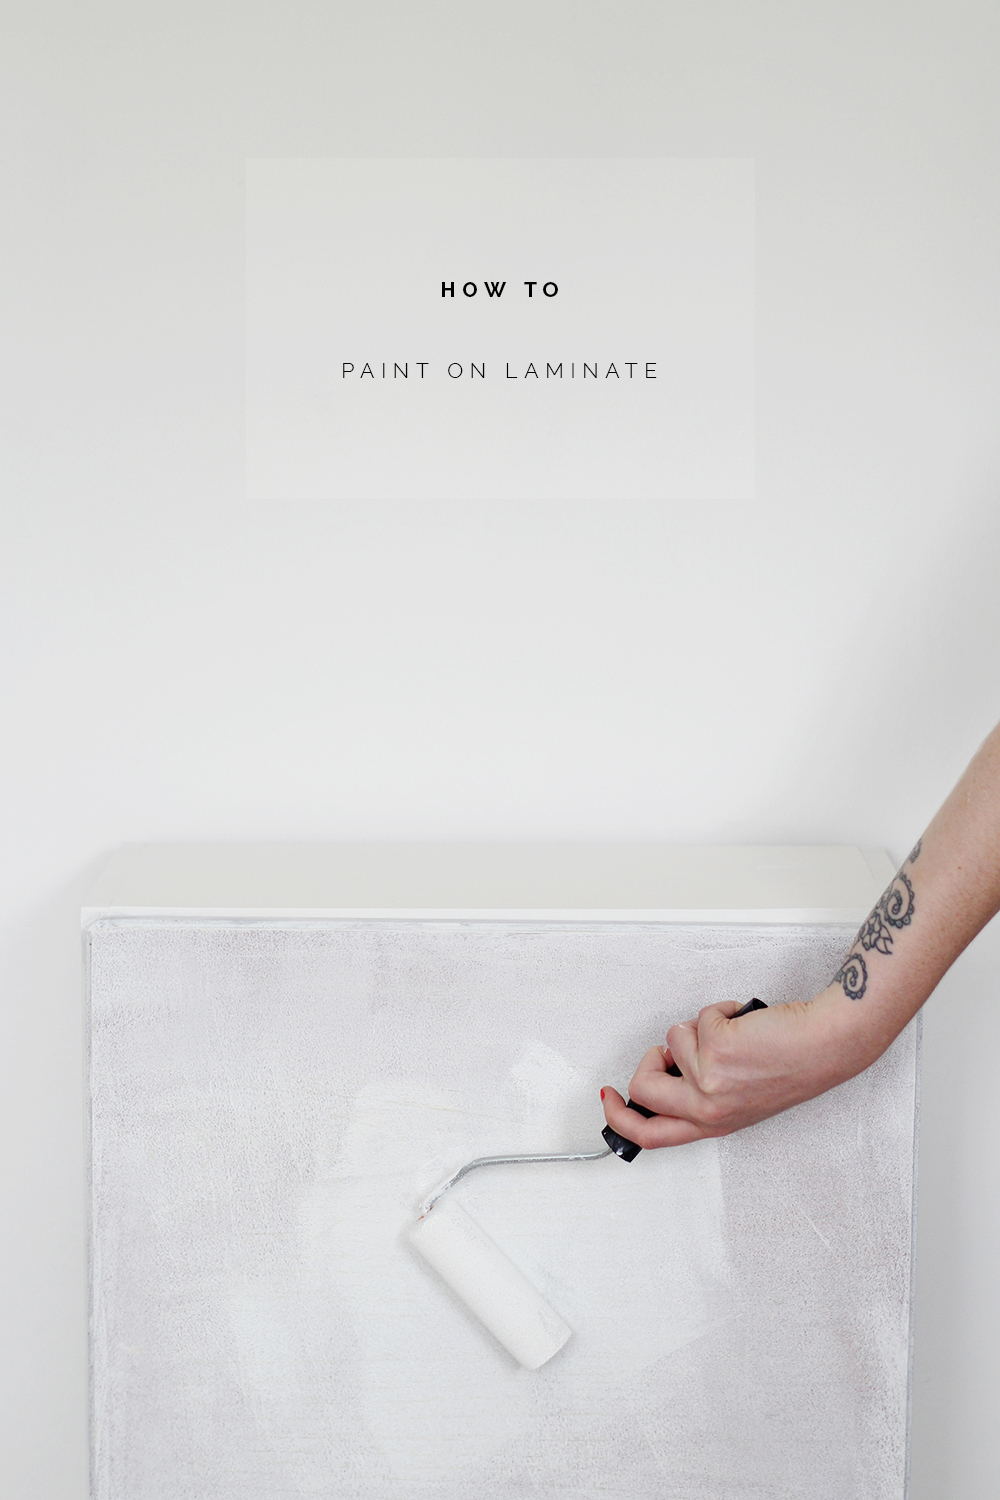
I’ve taken photos of my office as it is, which I can say is particularly messy at the moment. Moving furniture and sorting means every surface is covered with exploding boxes and bags. I’m almost too ashamed to share it with you but I’ll swallow my pride and give you a glimpse… but only once the whole thing is done so that I can quickly redeem myself! One of the bigger jobs is painting my miss matched (not in a good way) donated/found/acquired furniture, most of which has a laminated or varnished surface. This is a little trickier to paint onto, but totally do-able. Here’s how to paint laminate furniture.
*Before we go any further I just want to note that this is not a sponsored post… (although at times it might seem like one.)
Materials:
- Cream Cleaner
- Primer paint
- Gloss paint
- Paint Roller Set and Brush
- Painters Tape
- White spirit (for cleaning)
- Optional: Sandpaper, filler
*I’ve done the hard work for you and found links so you can easily buy the materials I’ve used if you like. Click on the materials above to go straight to them. They are affiliate links so if you choose to buy I make a tiny bit of dollar to put towards new projects!
I had to fill a couple of holes in this cupboard. This is pretty easy to do. Fill the hole with a filler and then sweep a piece of thin card over the top to create a flat surface.
Instructions:
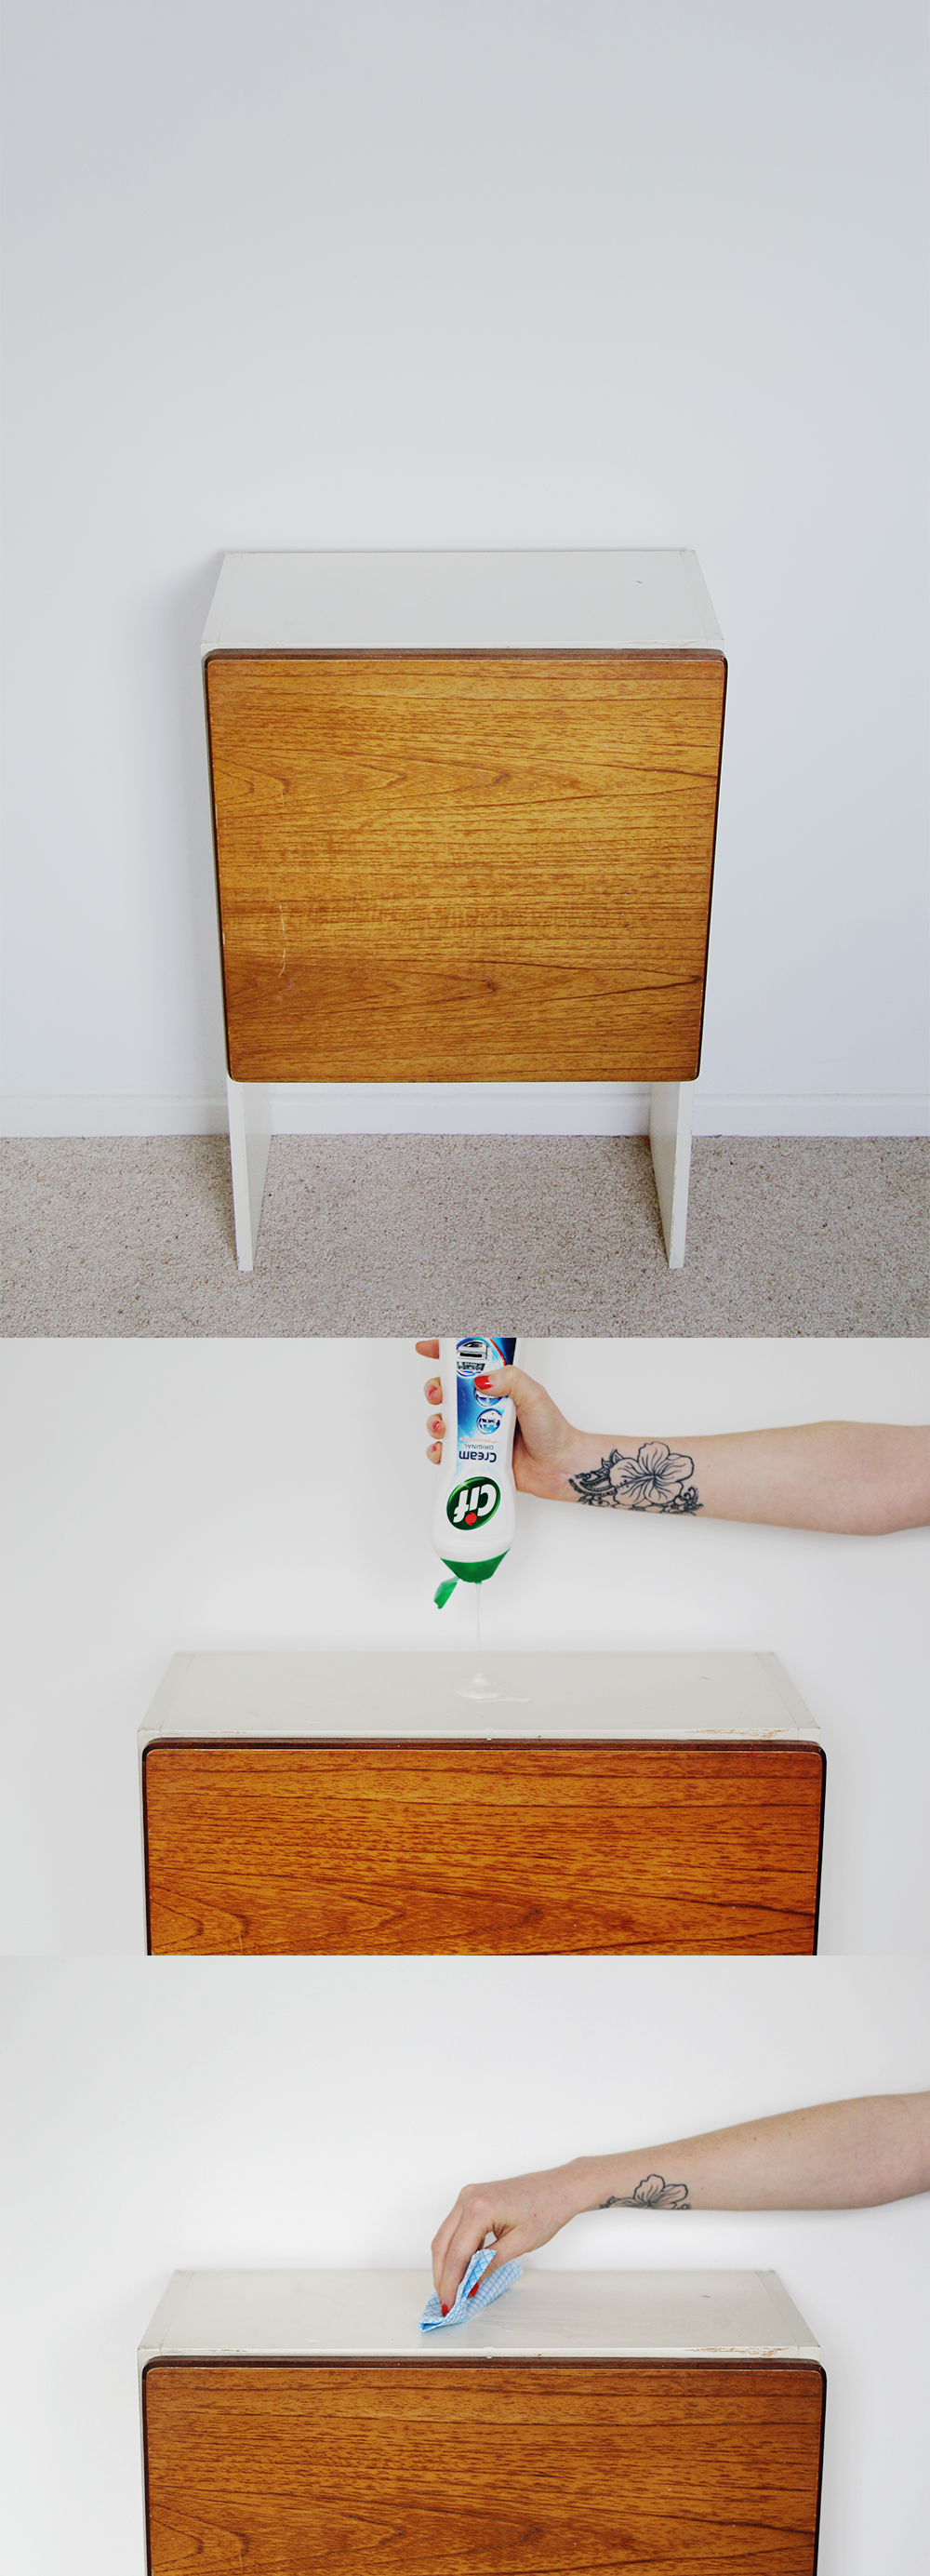
1. Cover the area you want to paint with cream cleaner. Rub into the surface using a cloth and leave for half an hour.
2. Wipe the cleaner back off and leave to dry.
3. Start painting with your primer. I will usually put 2 coats onto the lighter areas and 3 coats onto any darker parts. Leave the paint to fully dry between coats and then sand any drips smooth.
4. Go over the corners and tricky parts with a paint brush.
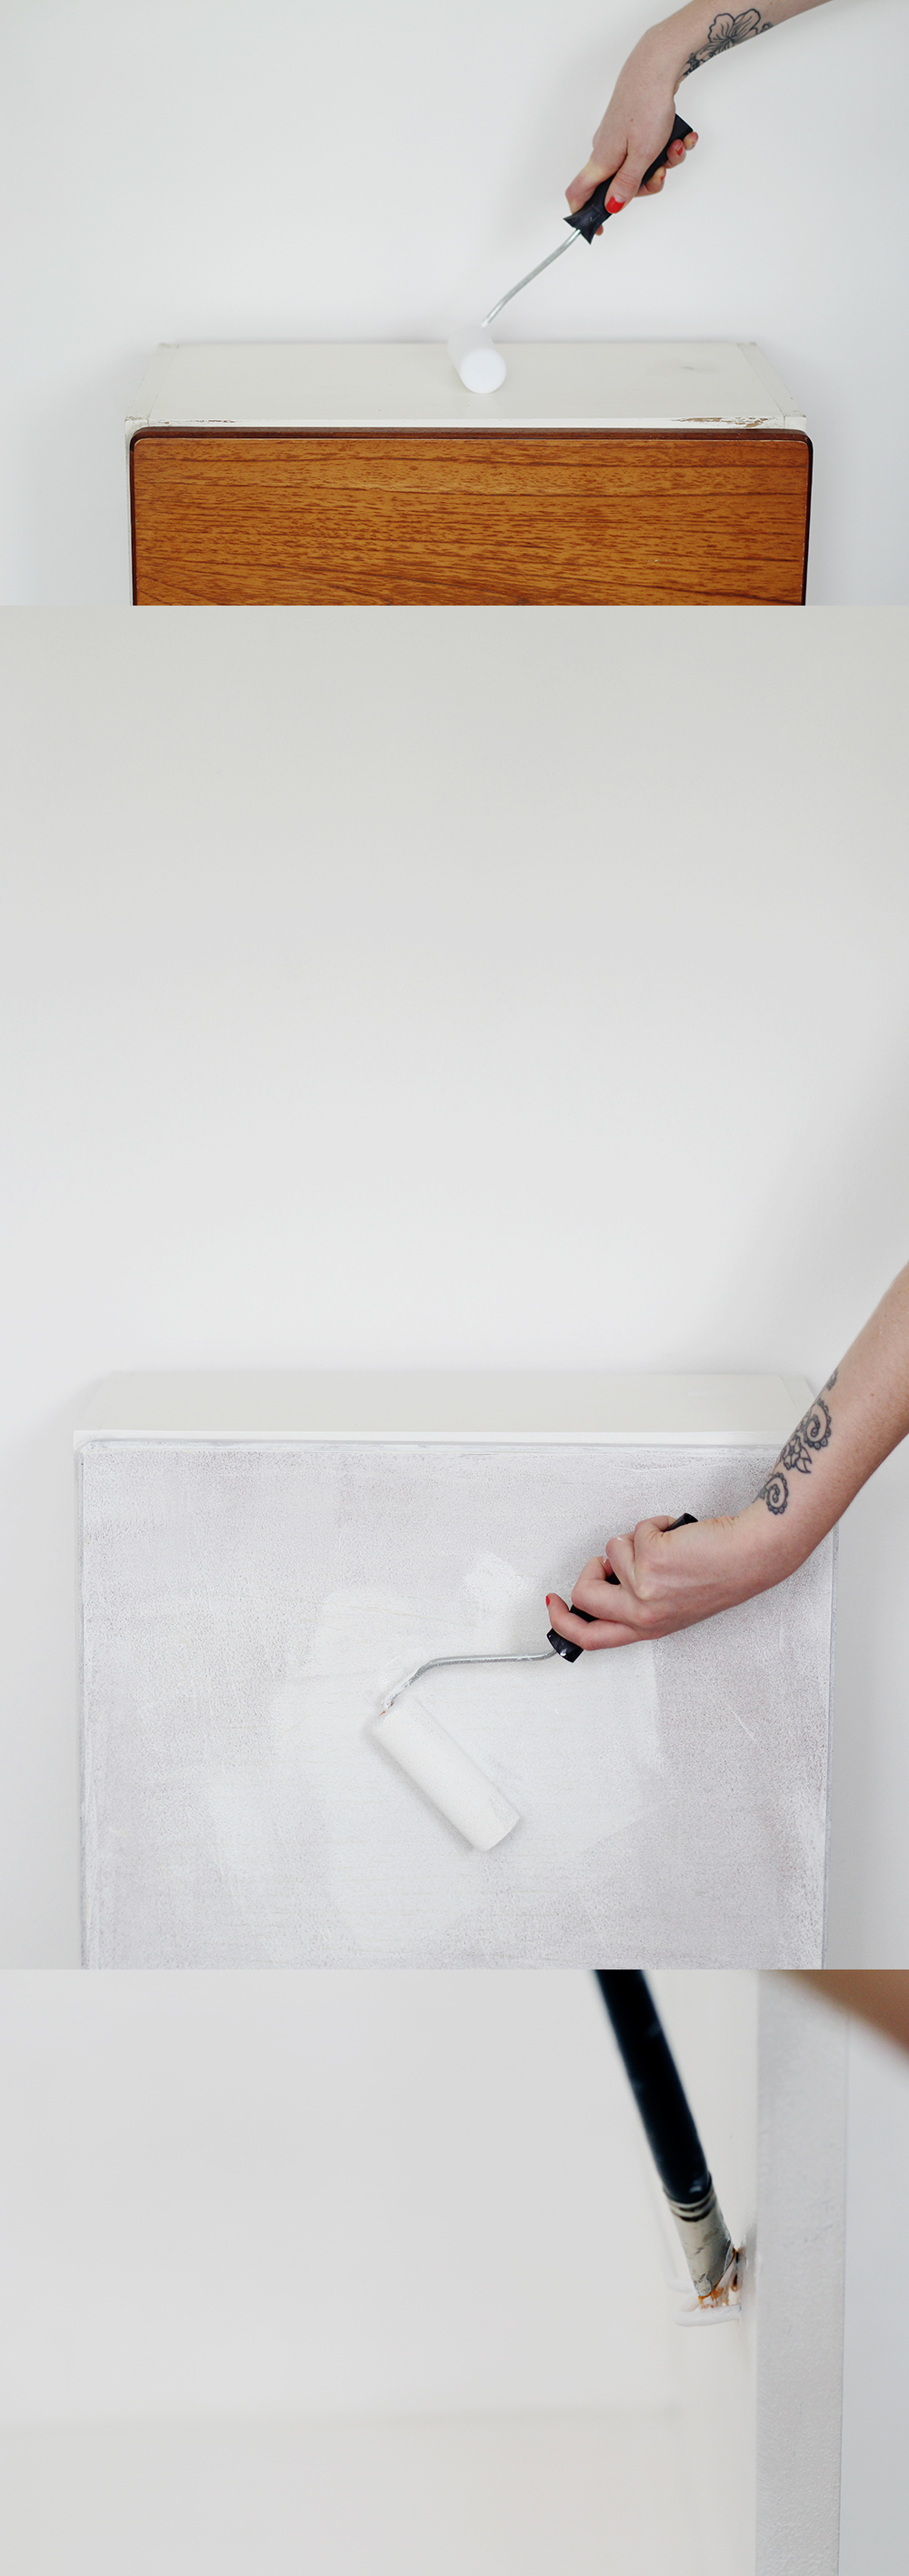
5. When you’ve finished priming go over once with your top coat. I always go for a gloss to give it a shine, but you could choose matt if you prefer.


Thanks so much for this tutorial, Francesca. I have a ratty old coffee table I’ve been dying to paint forever and you’ve inspired me to finally tackle it.
Do it. I actually found it quite cathartic, building up the layers and slowly seeing the transformation. I want to see the outcome!
Black Forest Hardwood Floors, LLC is dedicated to Exceptional Craftsmanship, our Workmanship is guaranteed. We provide the Highest Quality Service and Products available in the Hardwood Flooring Industry.
We are Dedicated to Exceptional Craftsmanship. We use the highest quality and longest lasting finishes and employ a State of the Art Dust Collection System. Discover the difference!We were very happy with your cleanliness, craftsmanship and listening to what our needs were and meeting them on time! God bless you and your crew; we highly recommend your work!I LOVE MY NEW FLOORS!!!!We have had wonderful experiences working with Steve of Black Forest Hardwood floors. Steve does amazing work.
Regarding the cream you are using prior to priming laminate surfaces, could you give me a name(s)?
What if the “wallpaper type” stuff is peeling off your laminate… Then what??
Thank you for the idea! I read some simple painting tips not too long ago to update my home and make it cozier, and it worked the best. Now I am preparing for new projects to improve my home.
Browse furniture stores Dubai and get the best bedroom, living room, dining room and office furniture with FSH Furniture today
https://www.jacklistens.page/ is the official website to take the JackListens com survey. The management of Jack In The Box is conducting this survey to get the customer’s feedback to improve their services. The survey winner will get a validation code to redeem Tacos for free.