• Home
  • Blog
  • About
  • Collaborate
    • Media Kit
  • We Make
    • Bloglovin
    • Facebook
    • Instagram
    • Pinterest
    • Twitter
    • YouTube

Fall For DIY

  • DIY
  • Interiors
    • Planters
    • Paper
    • embroidery
    • Drinks
  • Blogging
    • Photography
    • Instagram
  • fashion
    • Jewellery
    • Accessories
  • Inspiration
    • Round Up
    • 50 DIYs
  • Office
    • Free Printables
    • Organize
  • Party
    • Christmas
    • Halloween

Our favourite things in your inbox every month!

DIY Polished Concrete Quartz Necklace

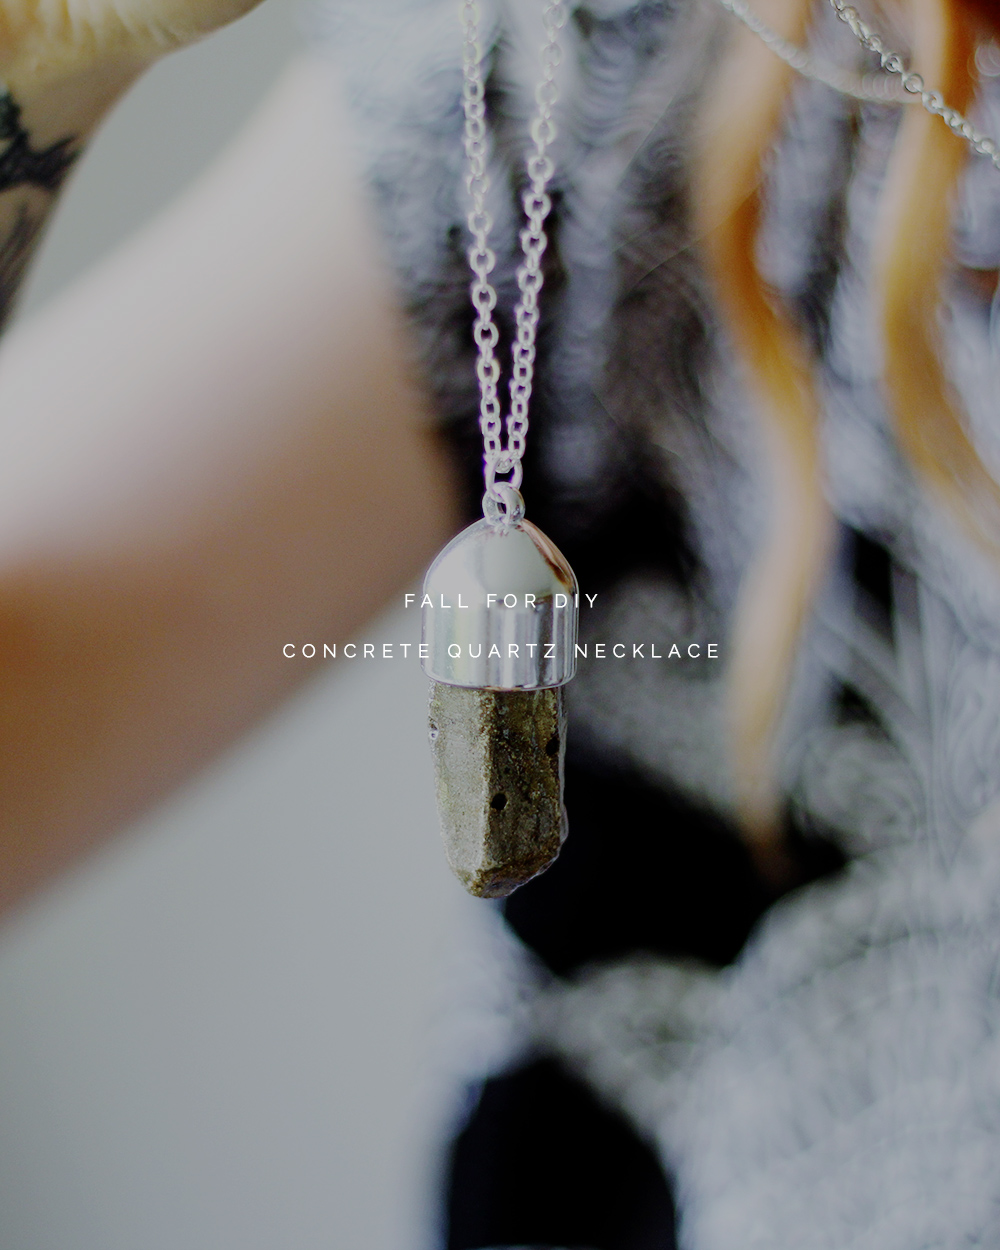
There comes a point with many trends. That moment that creeps up on you. The moment you’ve seen a material/shape/pattern so many times it becomes overkill and well, gets old. I’m not quite there with concrete yet, but I can feel it coming. I think I’ve seen it all but then, all of a sudden a new idea comes into my mind. Something I really want to try out but are reluctant to, because I’m afraid of boring you guys by doing the same thing as everyone else!

I have a lot of concrete left from my experiments with the hard stuff so I’ve been experimenting with gloss, varnish and paints, and planning some different concrete DIY’s for all of you who are sick of seeing concrete DIY’s! I hope it doesn’t make you too nauseous!
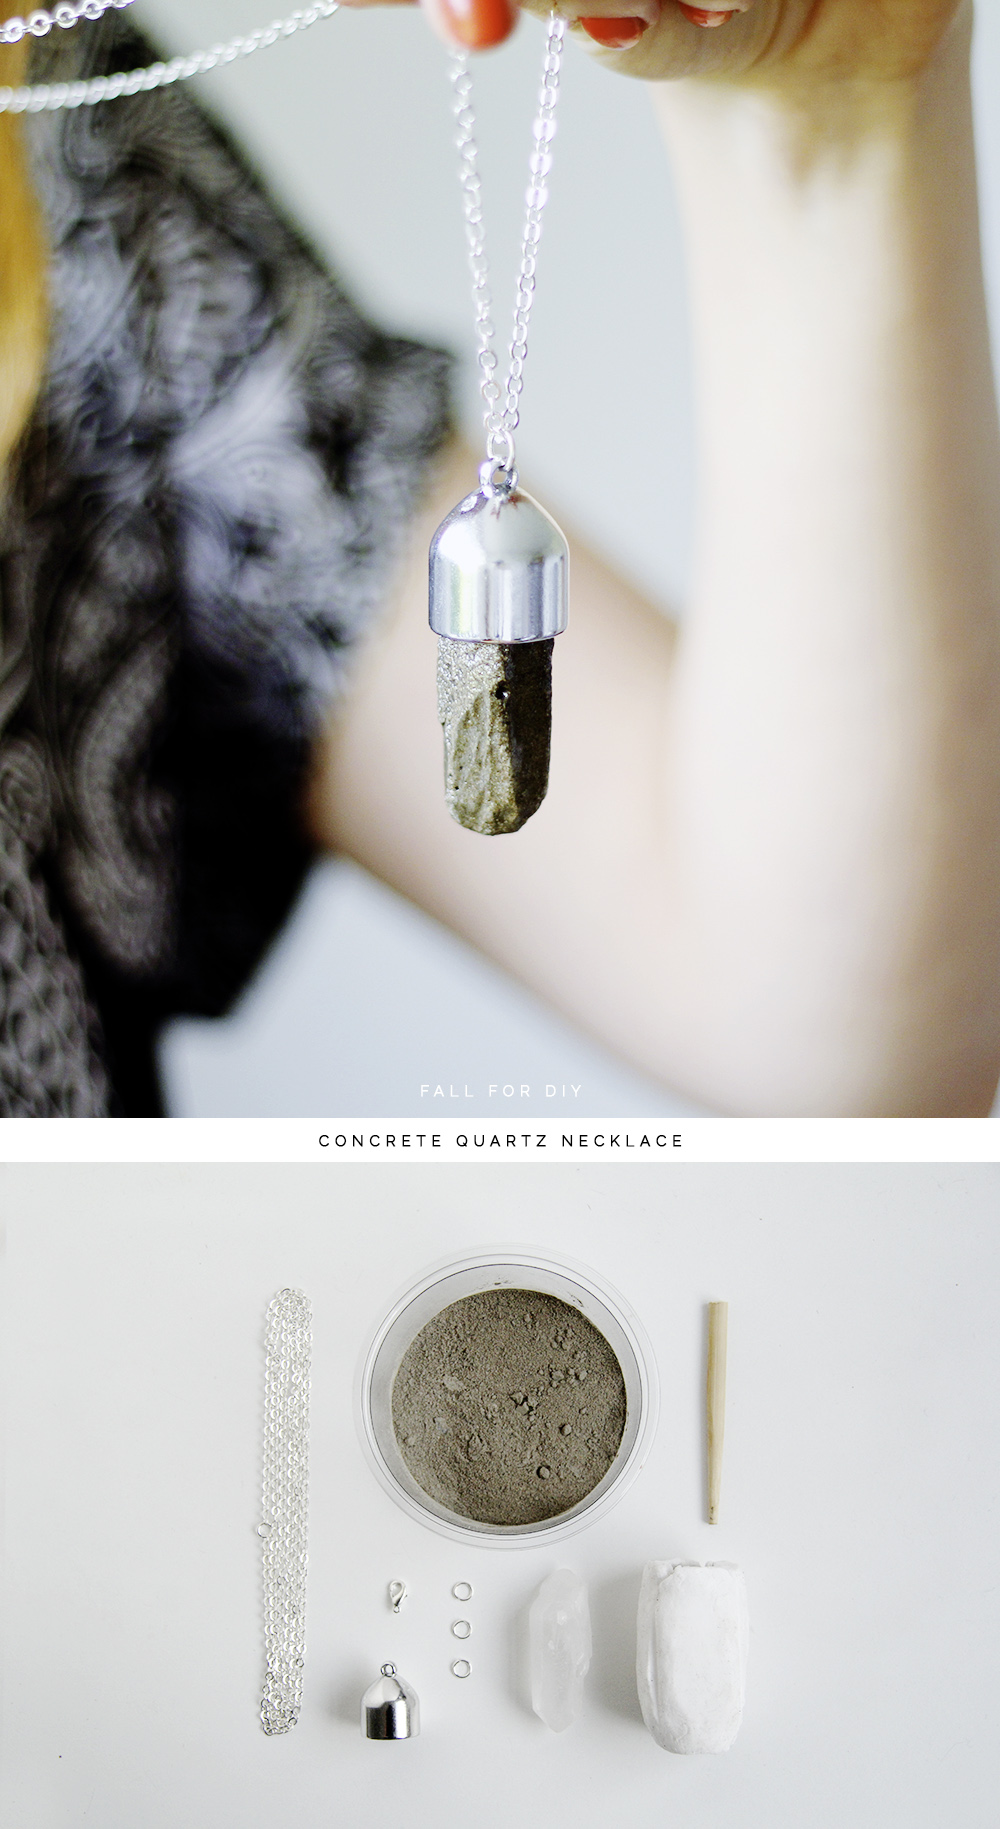
Materials:

Silicone mould of raw quartz (see how to make it here)

Concrete

Large Bead Cap

E6000 Glue

Chain

Jump Rings

Lobster Clasp

Instructions:

1. Make a silicone mould of a raw quartz stone that is around the same size as the bead cap.

2. Mix a small amount of concrete using the instructions on the package and pour into the silicone mould. Leave to dry for around 48 hours.

3. Remove from the mould and leave to air dry for another 24 hours. The longer you can wait for the concrete to dry, the harder and more robust the pendant will be. If you’re board of waiting why not check out some more of our DIYs to keep you busy.

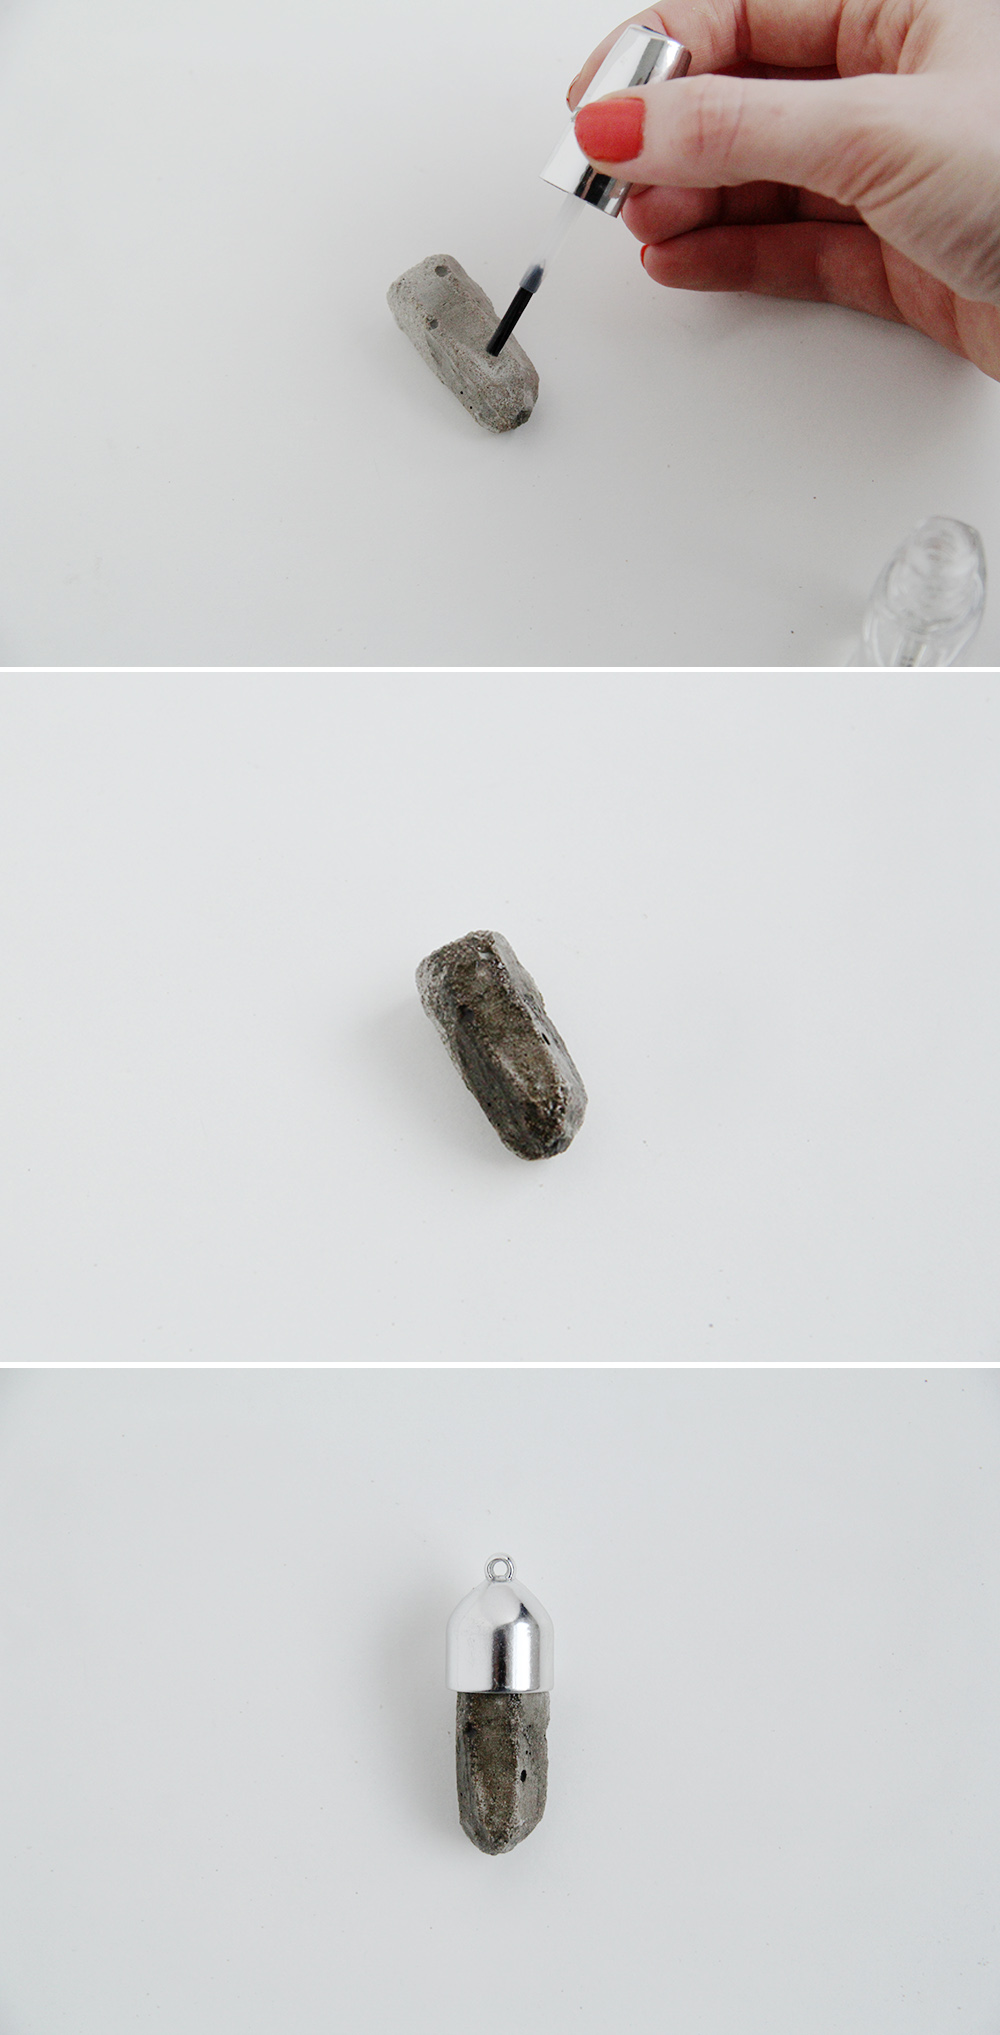
4. Using fine sand paper, sand the sides of the concrete quartz until it fits into the bead cap comfortably.

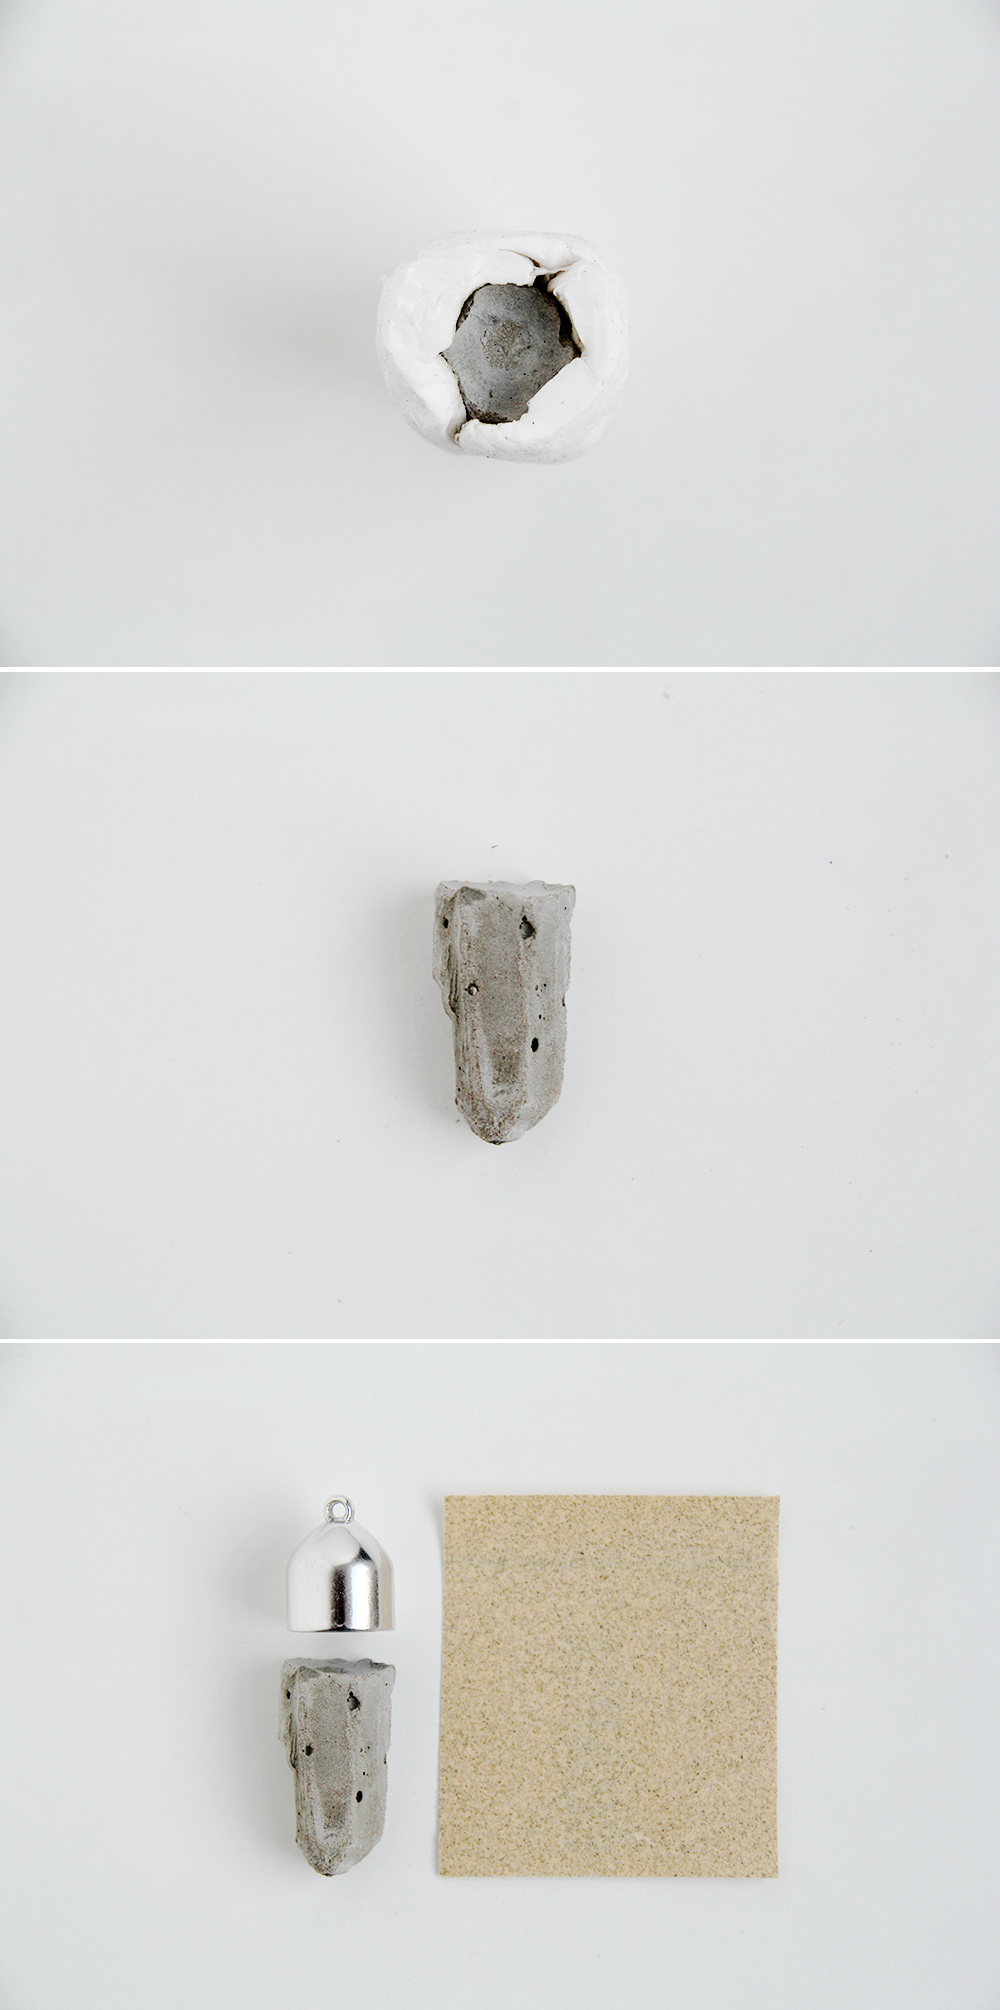
5. Cover the concrete with a few layers of clear nail varnish.

6. Glue into the bead cap using E6000 adhesive.

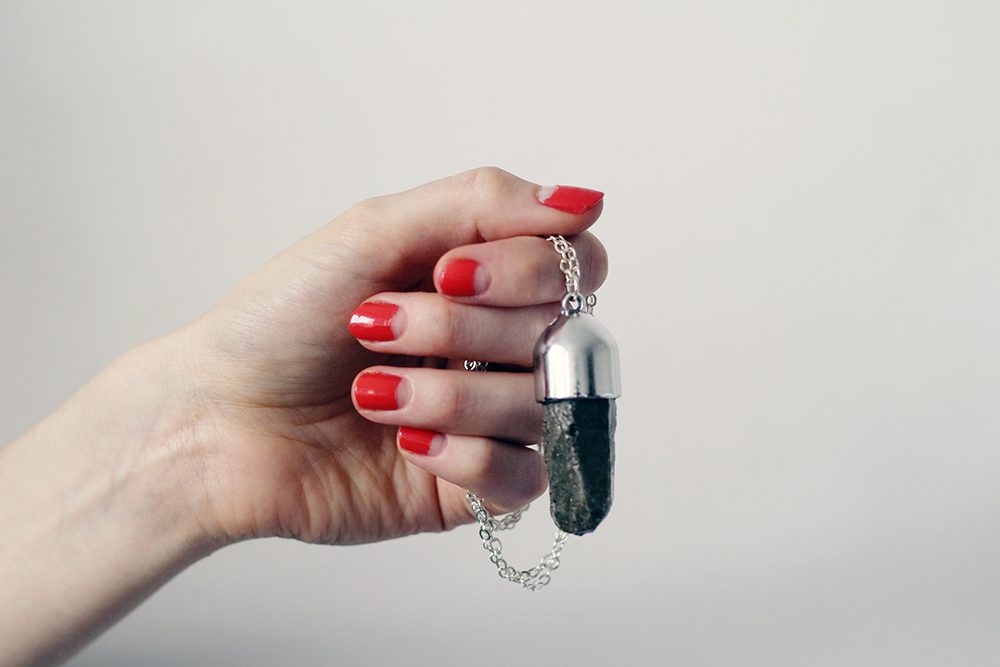
7. Attach onto a necklace chain using a jump ring.

Related

DIY// fashion// Jewellery

« Make it Easy: DIY Word Up Hair Grips
DIY Gemstone Necklaces »

Comments

  1. Elsa says

    June 30, 2014 at 12:34 pm

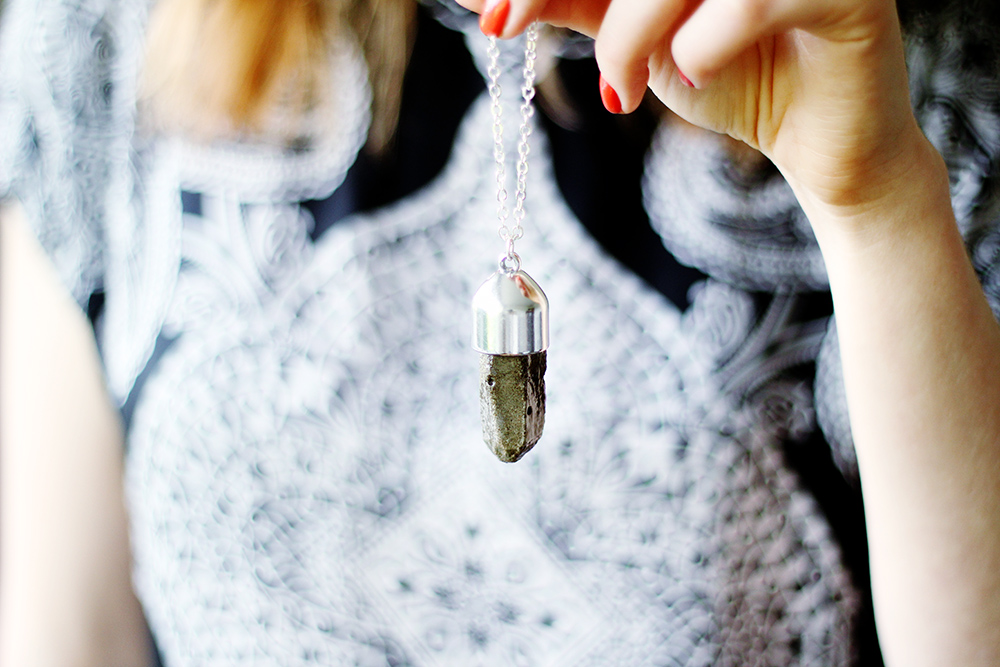
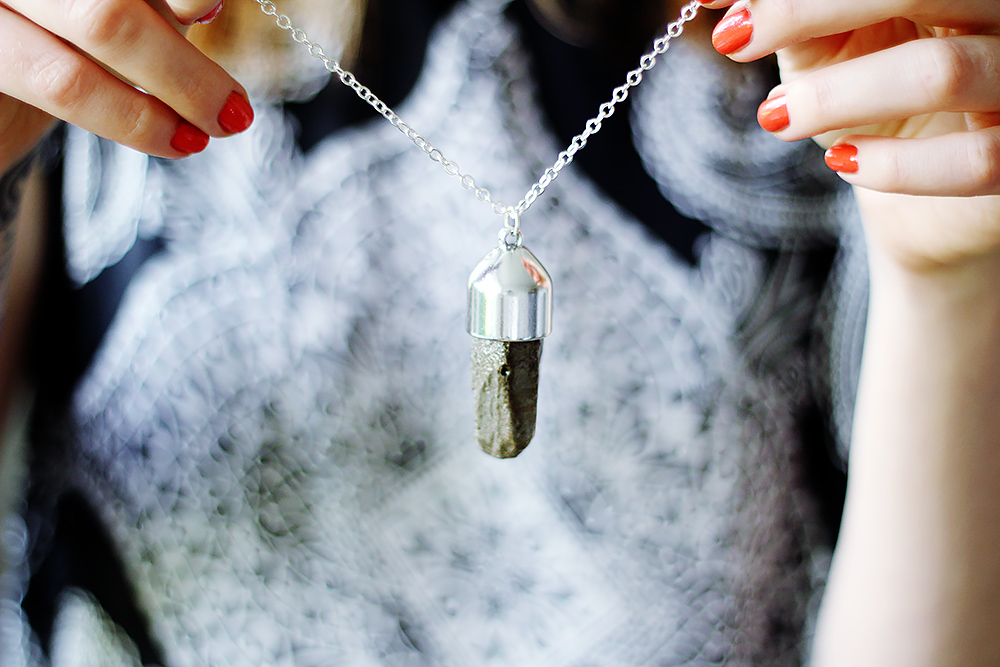
    Looks really good! And don’t worry about boring me :) I love to see what you make with concrete.

    • fran says

      July 1, 2014 at 10:40 pm

      haha! Thanks, it’s good to know!

  2. Nadja says

    June 30, 2014 at 9:11 pm

    cette idée est juste génial !

  3. onel says

    July 4, 2014 at 10:26 am

    Always beautiful necklace ideas from you, Fran! I’m amazed with this concrete necklace, so beautiful!

    • fran says

      July 9, 2014 at 10:50 pm

      oh you! Thanks Onel. That’s made my day :D x

  4. Eliza Bennett says

    November 14, 2019 at 10:20 am

    Great post!! I am very glad to read this post as you have shared very knowledgeable stuff I discovered this blog really helpful in order to enhance the knowledge and I will definitely share your post with my friends in order to enhance their knowledge!!

Trackbacks

  1. Feature Friday: Fun with cement! | Me Oh My! says:
    September 5, 2014 at 2:24 pm

    […] 3// Concrete quartz necklace by the uber talented Francesca over at fallfordiy.com […]

  2. All Things Cement | Darby Smart Blog! says:
    April 3, 2015 at 7:04 pm

    […] (via Fall for DIY) […]

  3. D.I.Y Concrete Jewelry – Craft Collector says:
    July 13, 2016 at 5:42 am

    […] 6. Faux Quartz Necklace : Fall for DIY […]

  4. What Is The Best Concrete For Small DIY Tasks? | Construction Materials Australia says:
    July 21, 2016 at 1:46 am

    […] a little bit different – a concrete quartz necklace. This one looks like one of the rough “real” quartz necklaces you can buy almost everywhere […]

Search

About

Preorder My New Book Easter

FESTIVE

Follow

Featured

shop earrings

Partners

Terms & Conditions
Private Policy Statement

DIY

DIY Easy Festive Stars

DIY Easy Christmas Star Decorations made using Card (with templates!)

Easily Add Machine Embroidered patches to Anything and Everything with Skitch

DIY Air Dry Clay Wavy Painted Bowl

Testing the LokLik Cutting Machine to Upcycle Old Clothes

How to Hack Your Bedroom for a Good Night’s Sleep

Folded Paper Christmas Decorations

7 Paper Christmas Decorations You Can Make Today

A Very Merry Christmas – Festive Trends 2023

DIY Bobbin Picture Memory Frame

Why I Replaced my Laminate Flooring with Vinyl (spoiler – because it’s AMAZING!)

A Green Garden Refresh with Durapost Vento Fences

More Posts from this Category

Copyright © 2025 ·Brand New Child Savory · Genesis Framework by StudioPress · WordPress · Log in