• Home
  • Blog
  • About
  • Collaborate
    • Media Kit
  • We Make
    • Bloglovin
    • Facebook
    • Instagram
    • Pinterest
    • Twitter
    • YouTube

Fall For DIY

  • DIY
  • Interiors
    • Planters
    • Paper
    • embroidery
    • Drinks
  • Blogging
    • Photography
    • Instagram
  • fashion
    • Jewellery
    • Accessories
  • Inspiration
    • Round Up
    • 50 DIYs
  • Office
    • Free Printables
    • Organize
  • Party
    • Christmas
    • Halloween

Our favourite things in your inbox every month!

How To | Wrap a Bead Pendant

Like all things fashion, jewellery has its trends. One day we’re all plaiting into chain, the next everything we own has studs on it. I am a self confessed trend addict. I love trying to get ahead of the trends and start making DIY’s based on them and I’ve noticed recently more wrapped pendants knocking around. I love how a year ago I wouldn’t give bead wrapping the time of day. The wrapping skills were redundant, but now I can bring them out of retirement. Ace!

Instructions:

1. Cut off a long section of wire. How much depends on the size of your bead. If you’re really unsure you can work with the wire from the coil so you only use what you need. Very economic!

2. Turn a loop at the end of your wire (If your working from the wire coil thread your bead on first!)

3. Thread the bead onto the wire (if you haven’t already done so) and bend the wire so the loop is at the top of the bead.

4. Pull the long end of the wire to cross over just under the loop.

5. Start wrapping. Keep the tension tight and the wire coils close together. Continue to wrap until you cover the wire threaded through the bead.

6. Cut off the excess wire and flatten to end against the bead.

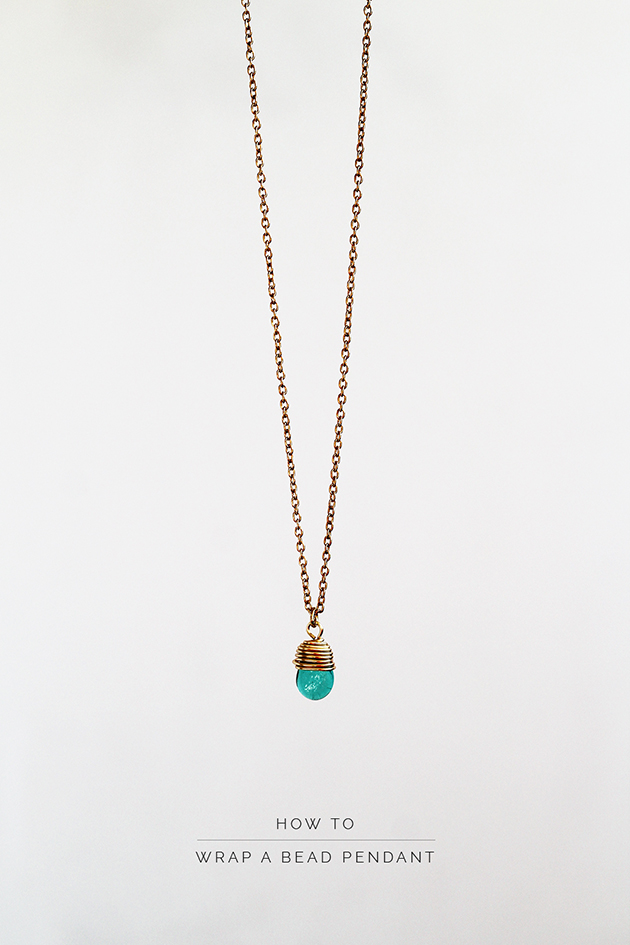
7. Attach to a necklace using a jump ring. Check out our ‘How To‘ page for more instructions for constructing jewellery.

Get wrapping!


Related

DIY// Jewellery5 Comments

« We Make Because We Dream in Colour
DIY Concrete & Rhinestone Perspex Bracelet »

Comments

  1. Lacqueerisa says

    March 10, 2014 at 4:45 am

    Love this tutorial! Thanks for sharing! I’ve always wondered how to do that :D Thank you so much! Can’t wait to try this out with some of my teardrops :)

    Reply
  2. Nueyer says

    March 10, 2014 at 2:03 pm

    Lovely pendant!!

    Reply
  3. eryena says

    March 11, 2014 at 1:57 am

    Lovely!!!
    thanks so much for the tutorial :D

    Reply
  4. Natalie Melchiorre says

    March 11, 2014 at 8:27 pm

    So simple, yet pretty! I used to be big into making beaded jewelry. This inspires me to get back into it! Just curious–is there any special technique to getting the cut end to lay flat against the bead? I don’t want it to snag my tops :)

    Reply
  5. Tanya caines says

    March 18, 2014 at 9:25 pm

    aw looks so pretty :)

    Reply

Leave a Reply Cancel reply

Your email address will not be published. Required fields are marked *

Search

About

Preorder My Book Now!

Follow

Featured

shop earrings

Partners

Terms & Conditions
Private Policy Statement

DIY

A Green Garden Refresh with Durapost Vento Fences

A Green Garden Refresh with Durapost Vento Fences

3 Ways to Use a Printer that will Make Your Life Better

3 Ways to Use a Printer that will Make Your Life Better

DIY Tower Cleansing Bars

DIY Tower Cleansing Bars

DIY Wavy Shelf with Cricut

DIY Wavy Shelf with Cricut

How to make your Mother’s Day gift more than perfect this year with DIY fabric wrap

How to make your Mother’s Day gift more than perfect this year with DIY fabric wrap

DIY Valentine’s Clay Name Necklaces

DIY Valentine’s Clay Name Necklaces

DIY Seamless Floor to Wall Wood Panelling (with Laminate)

DIY Seamless Floor to Wall Wood Panelling (with Laminate)

How to Recycle your Advent Calendar this Christmas

How to Recycle your Advent Calendar this Christmas

DIY Faux Stoneware Candle Holder

DIY Faux Stoneware Candle Holder

DIY Speckled Clay Arch Picture/Card Holder

DIY Speckled Clay Arch Picture/Card Holder

More Posts from this Category

Copyright © 2023 ·Savory · Genesis Framework by StudioPress · WordPress · Log in