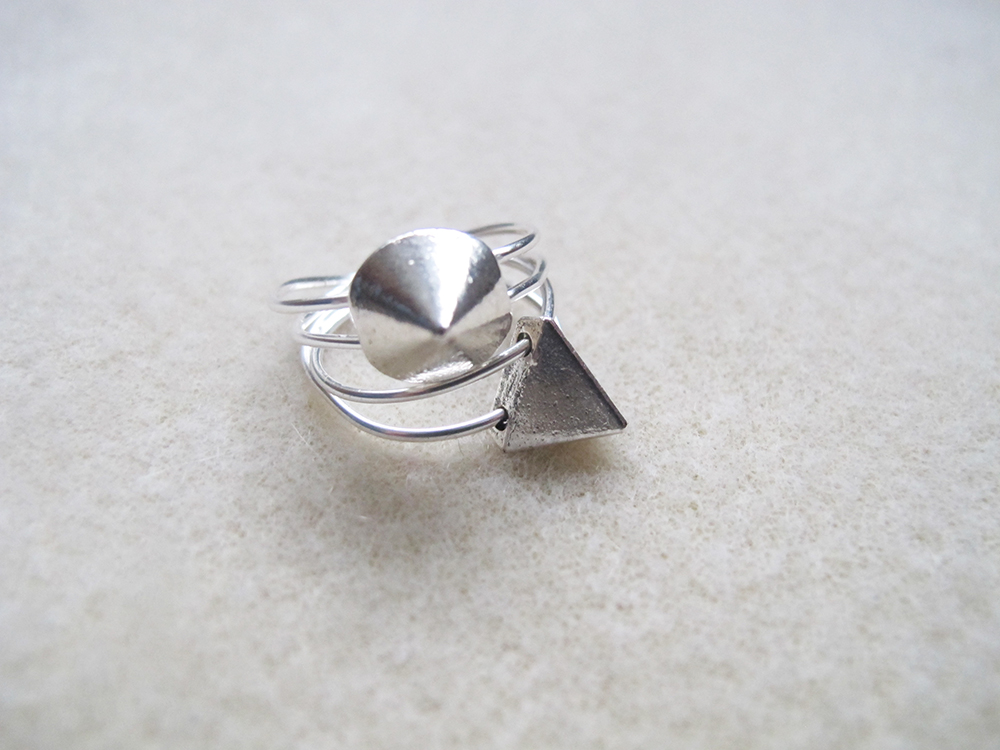
So, if you haven’t heard (from me…yesterday) I was one of the Etsy Christmas bloggers this year featured in their Advent Calendar countdown to Christmas! My DIY Marbled Christmas Crackers post was Day 2 of the countdown, and so to complete the post over the next 7 days I will be showing you a few ways to fill your crackers and make them even more special for the big day!
Here’s the first of the weeks DIY posts.
Instructions:
1. Thread the stud into the middle a piece of wire around 4″ long.
2. Wrap the wire around the ring mandrel starting from the stud in the middle. Bend each end of the wire around the back and carry on round to the front folding them over each other. Fold a little smaller than your ring size, as the wire will expand a little.
3. Cut the wires where they meet in the middle and pop the ends into the remaining holes in the stud.
Come back tomorrow for another quick and easy cracker filler post! Follow Fall For DIY on Bloglovin to make sure you don’t miss out. If you don’t have Bloglovin you can follow us on all the usual channels. Check out the buttons on the left over there to stay in touch.
See you tomorrow!


cool! they look so geometric floating on the silver wire
Thanks Erin! Everyone loves a bit of geo right?! ;)
I love your DIYs! Where did you buy the studs?
Thanks Ida.
Wow, this was almost a year ago. You’re testing my memory now ;)
I’ve found some similar studs here and here
xx
The best spa on Long Island is the Island Spa at the Hotel Rosecliff. The spa is located in the Island Suites, which is located in the center of Amagansett on the east end of Long Island. Additionally, best spa long island offers a wide variety of services including massage therapy, manicures and pedicures, facials, waxing and more. The hotel’s spa is open seven days a week from 6:30am – 9pm and offers a variety of packages including couples massage packages as well as individual packages. There are also special promotions throughout the year that include discounted spas packages for seniors and couples.