Before we get into this post I just want to make a quick note that this is a decorative rainbow piece. It is not suitable for younger children who might put it in their mouth.
This post is sponsored by Creative Rox who have a brand new, shiny website! I’ve wanted to try FIMO air dry clay for a while and this was the perfect project! I love when a good collaboration comes together. Pop over to see all the crafty goodness they have on the site and get 10% off with the code DIY10! Valid until the 30th September. Right let’s get to the post!
Before I had a kid I never realised what a huge industry children’s room decor was. I don’t know if this is a new phenomenon (thanks to Instagram/Pinterest) or something that has always been high on a parents priority list, but it’s very easy to get carried away! I swear I spend way more on Ollen than I do myself. So I’m trying to reign myself in and get back into the DIY swing of things.
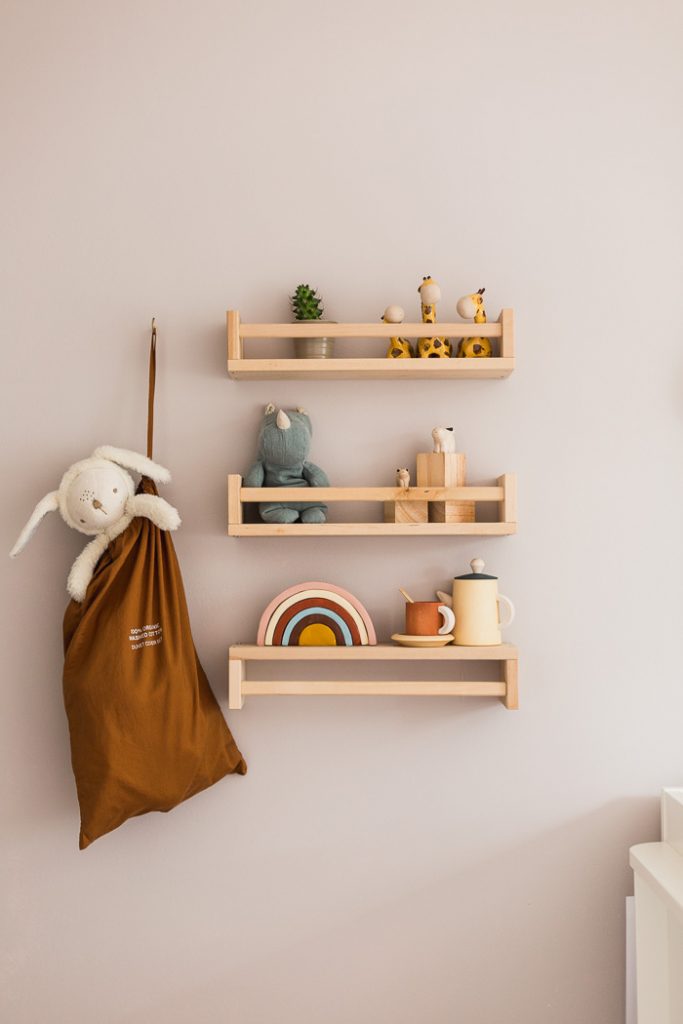
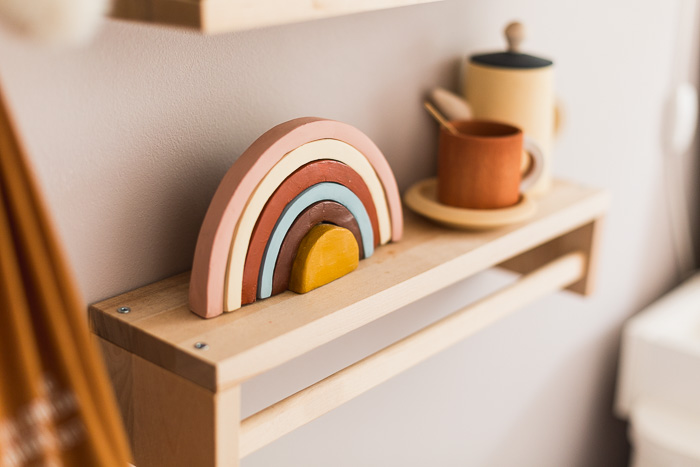
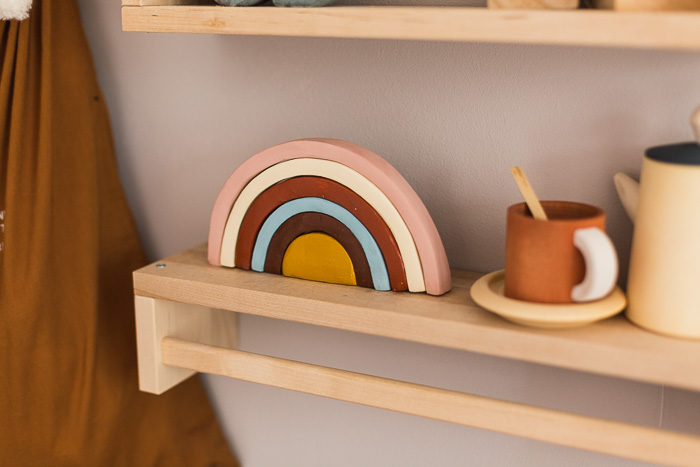
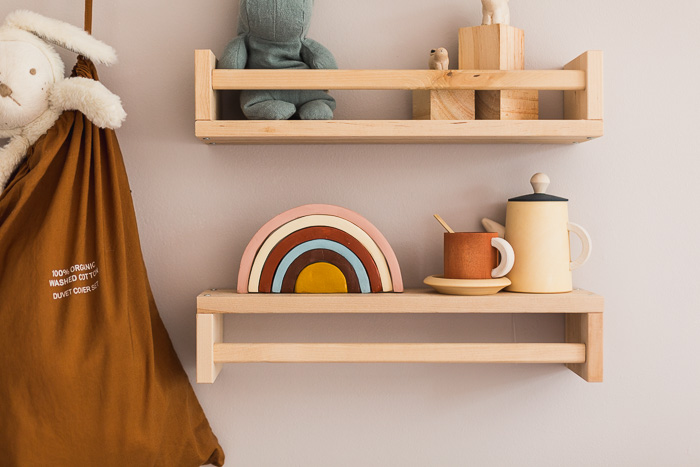
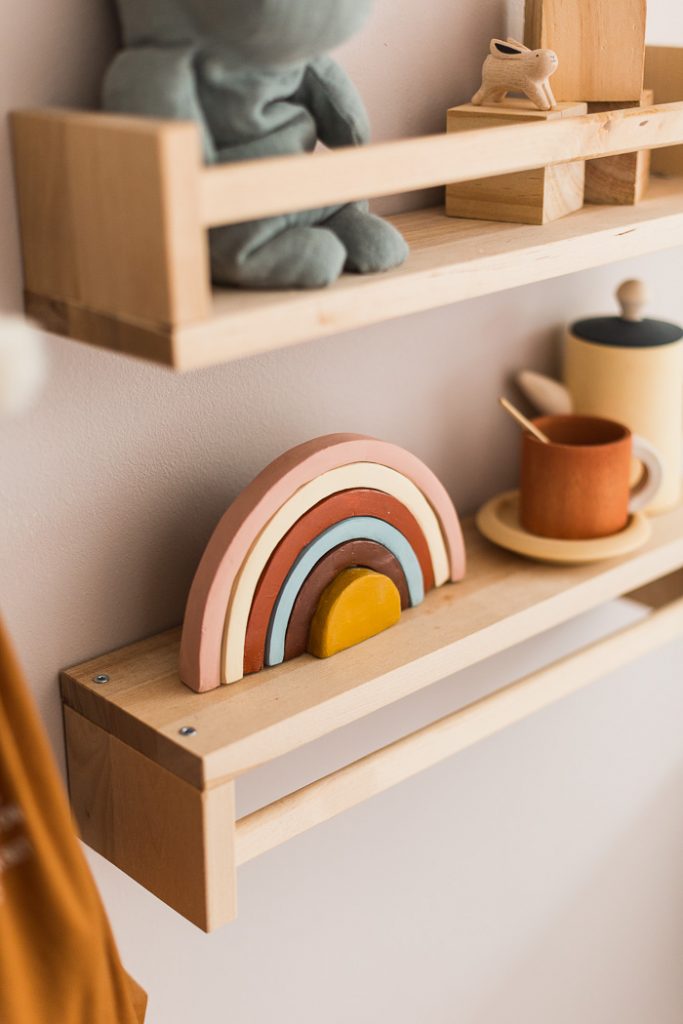
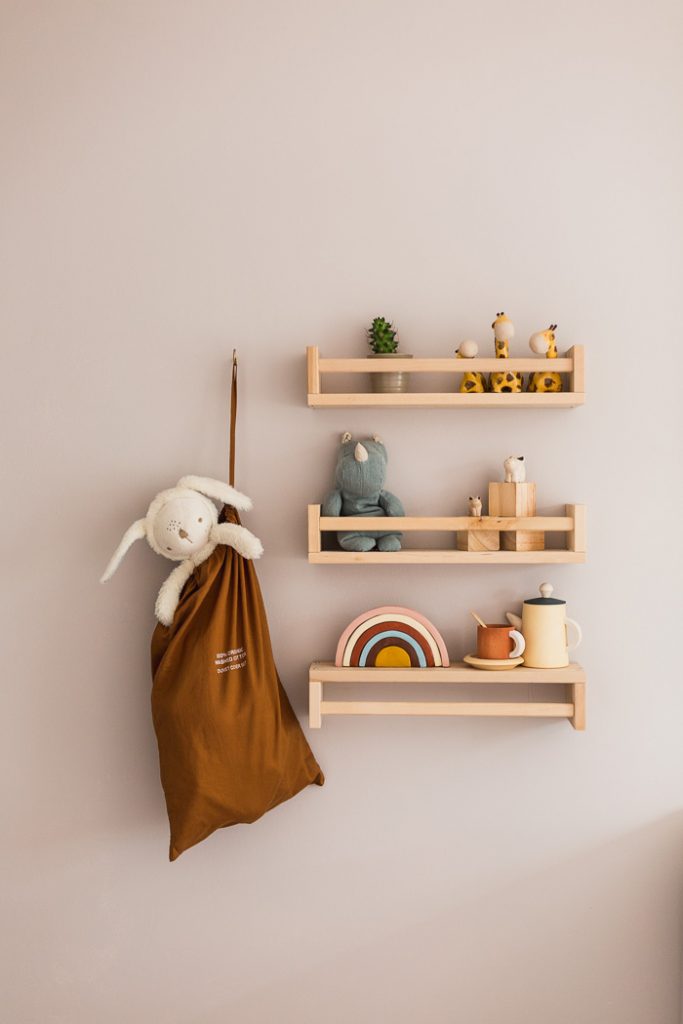
I love the wooden rainbows that have been gaining in popularity over the past year. They’re great for younger kids to play with but they can be quite expensive if you want one just to sit on a shelf or table. They look great as a decoration, so I’ve worked out a way to make my own from FIMO air dry clay.
The best thing about this tutorial is that you can easily customise the colours to any decor! Perfect for those kids who really know what they like!
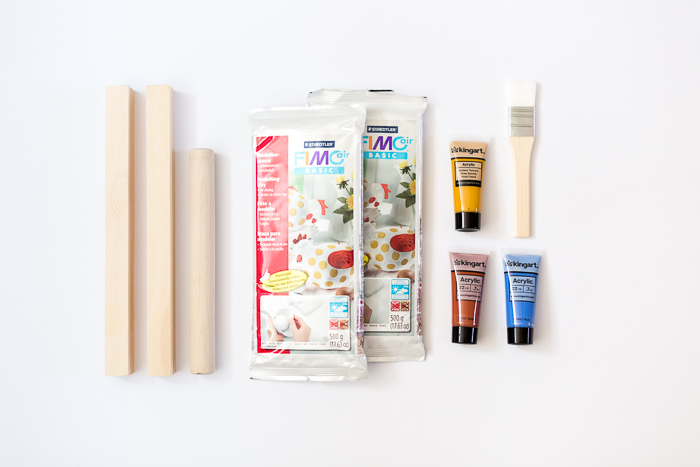
Materials:
- FIMO Air Dry Clay
- Cookie cutters
- Clay Roller
- 2 pieces of 1.5cm (½”) thick lengths of wood.
- Scalpel knife
- Ruler
- Thin plastic sheet/baking paper
- Electric detail sander
- Paint
- Paintbrushes
Instructions:
- Cut off around a quarter of the clay. Then roll it out using the two pieces of wood under each side of the rolling pin to get an even thickness.
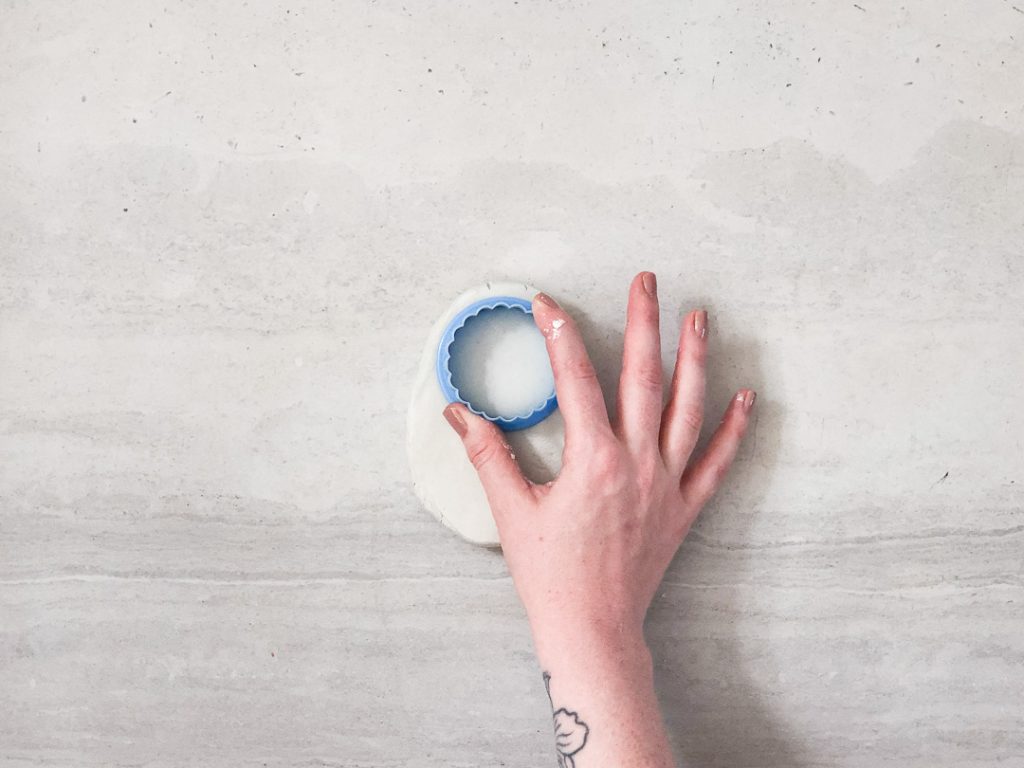
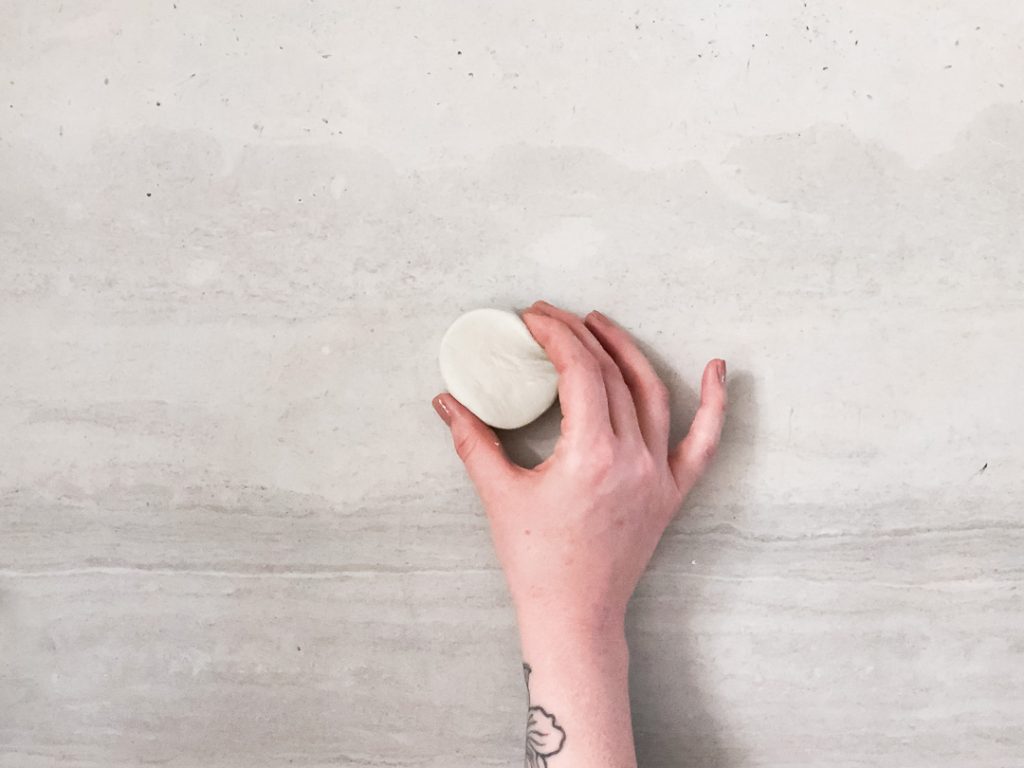
- Using a cookie cutter around 5cm in diameter cut out a circle of clay. Squeeze two edges together until you have a slight oblong shape. Smooth over each side with water.
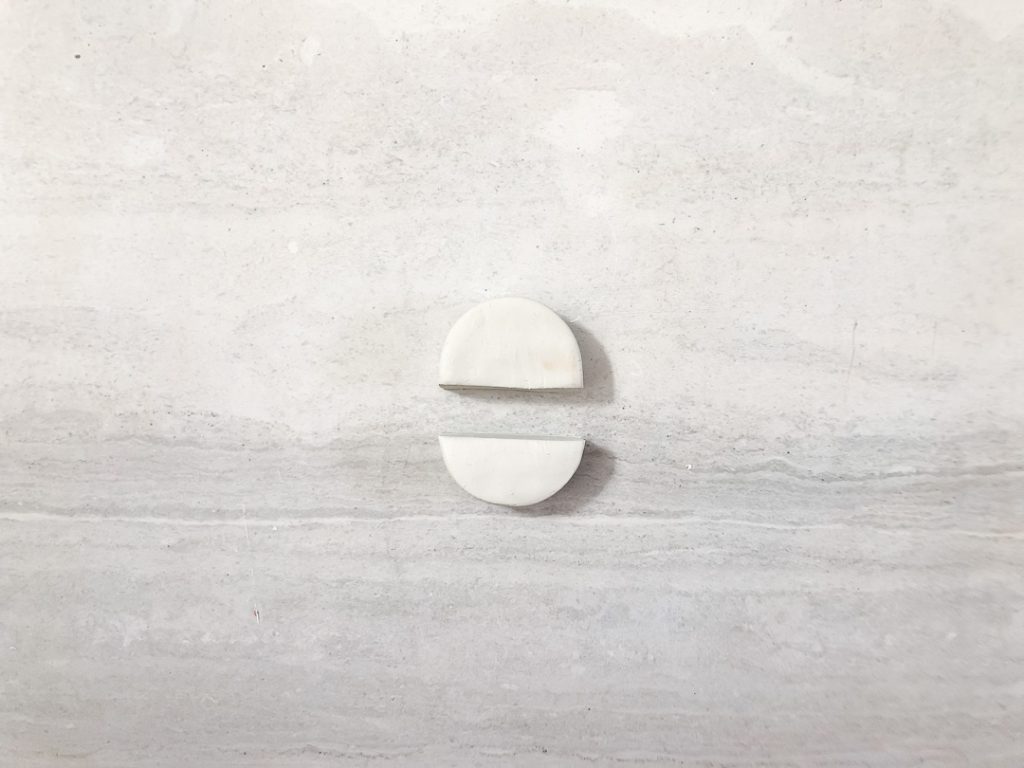
- Cut your oblong just below the half way line. This will be the centre of your rainbow.
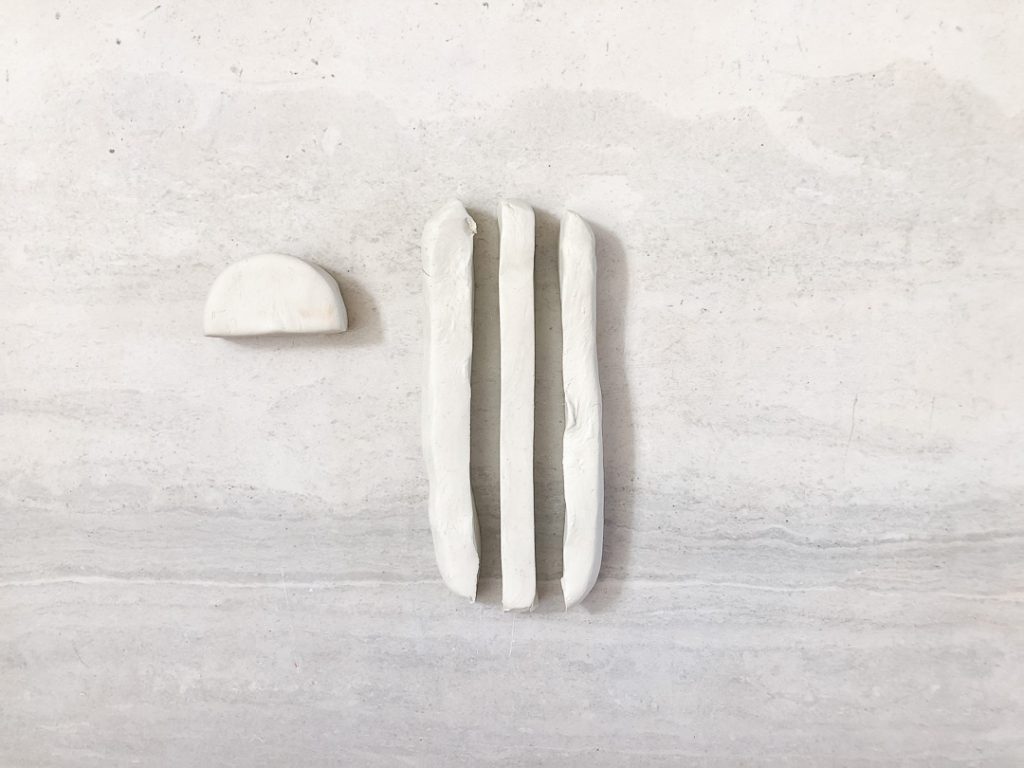
- Roll out more clay into long thin pieces. Using the scalpel knife and ruler cut a long piece 1cm thick.
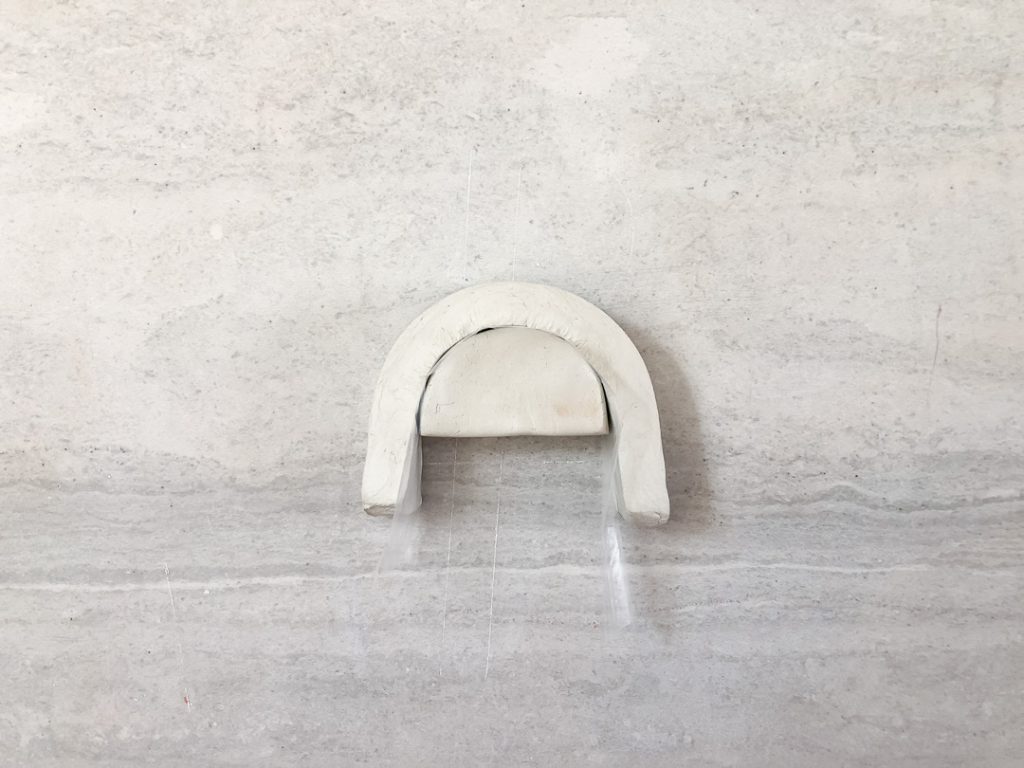
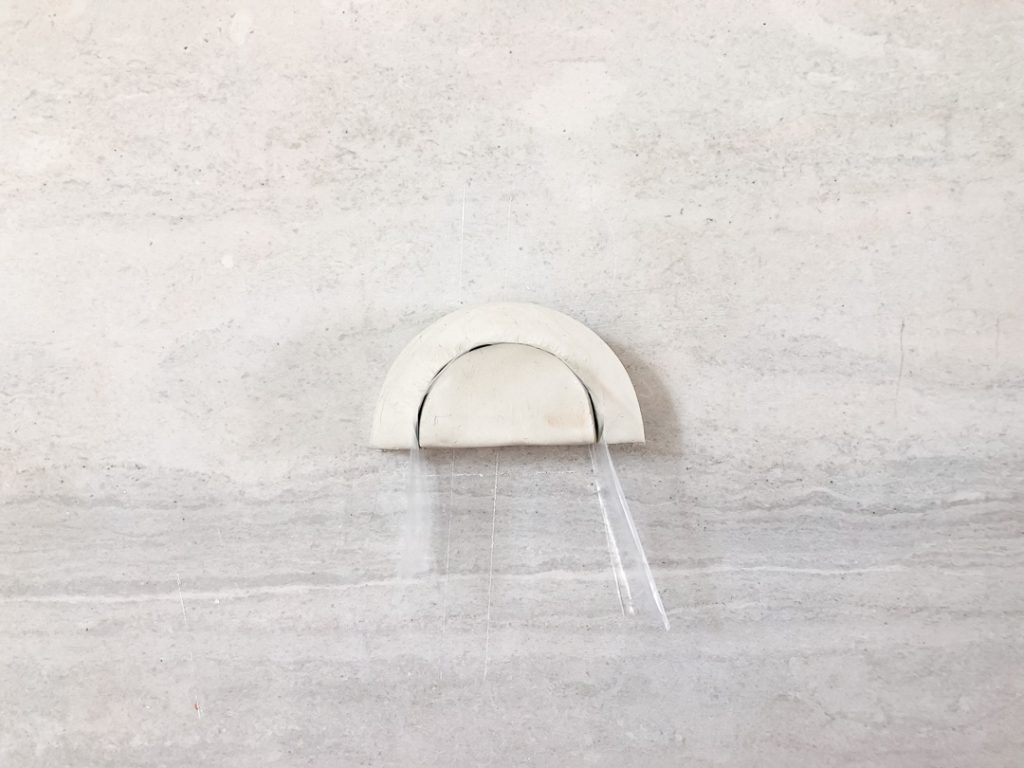
- Covering both the cut sides in either plastic sheet or baking paper wrap it gently around the arch of the half oblong piece. Cut off the excess clay so that the straight edges line up.
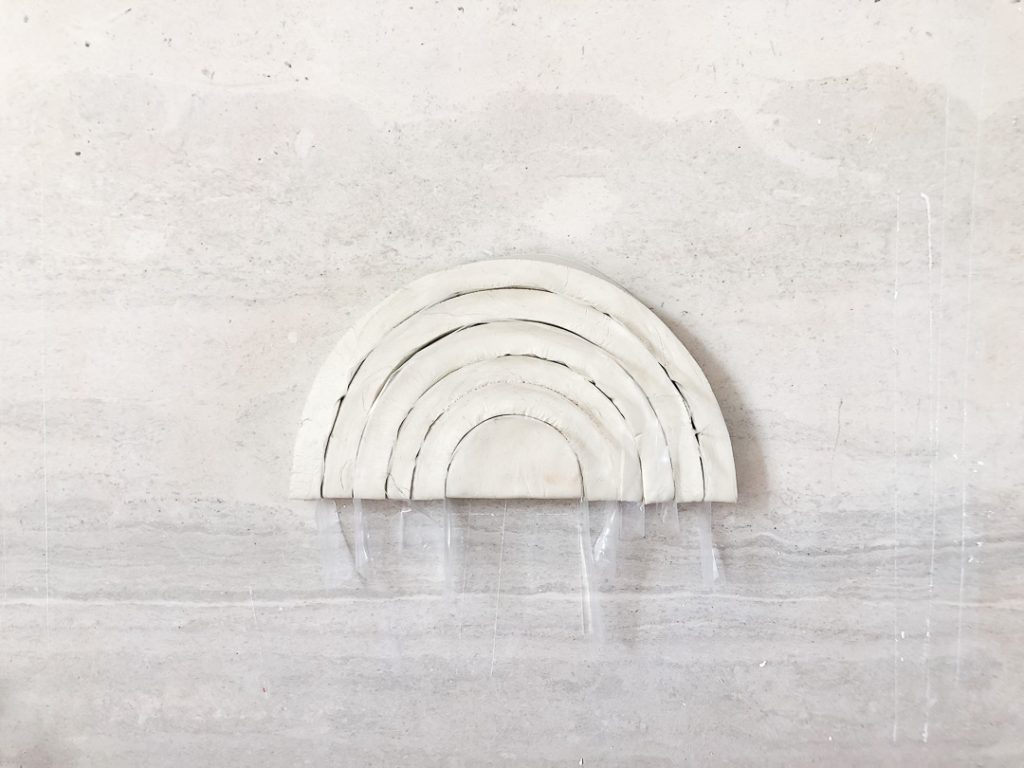
- Repeat the last two steps until you have five arches over the oblong. Leave these to dry and set for 48 hours.
- When they are fully set sand smooth using a detail electric sander. You can do this by hand using sandpaper but it takes longer.
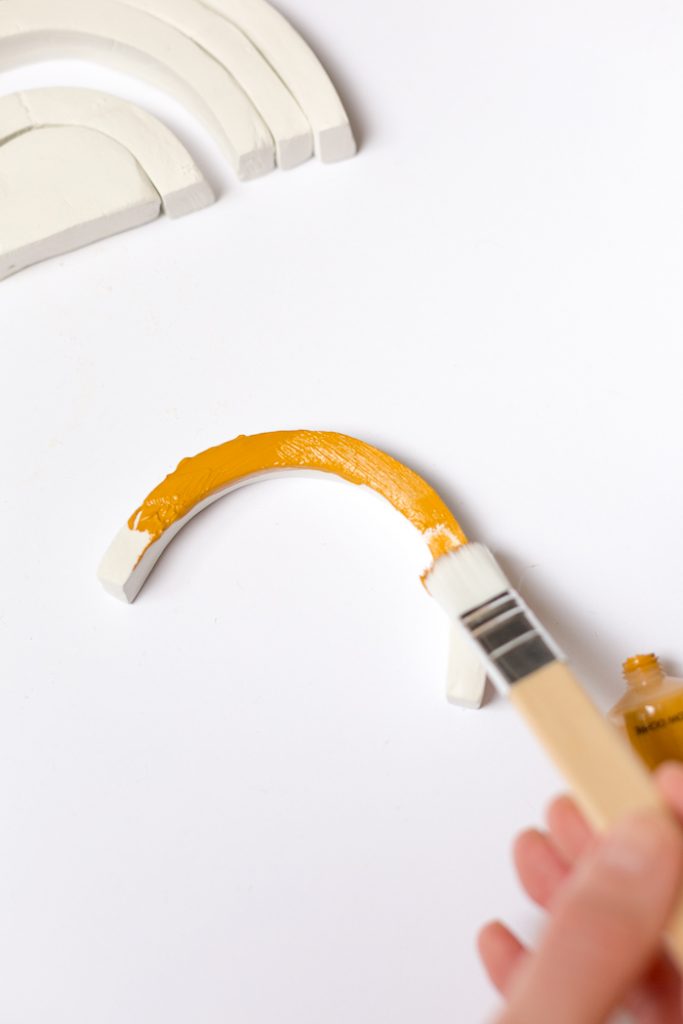
- Wipe off the clay dust with a daft cloth and paint each arch a different colour. I’ve used earthy tones.
Leave them to dry and your rainbow is ready! I’m really noticing my colour choices changing recently. Perhaps it’s the change in seasons, or perhaps I’m just growing up. What colour combination would you paint your rainbow?



Thanks for sharing this valuable information to our vision. You have posted a trust worthy blog keep sharing.
So cute! Can’t wait to make this!
Hello,
I absolutely love hour blog! Already made one of your diy’s :)
For this one, how did you connected the parts of the rainbow?
Thanks!!!
Hello! How much clay did you use and how much paint? What size of paint are those tubes? Thanks!
Significant piece of work, Thank You!!
nice blog Visit sexual spa
One of the oldest healing practices is massage. Visit best body massage Bangalore
Relax in isha b2b spa Bangalore’s best Spa Centre. It has been providing services since many years in india, to help people lead a comfortable and relaxing lifestyle.Visit b to b spa near me