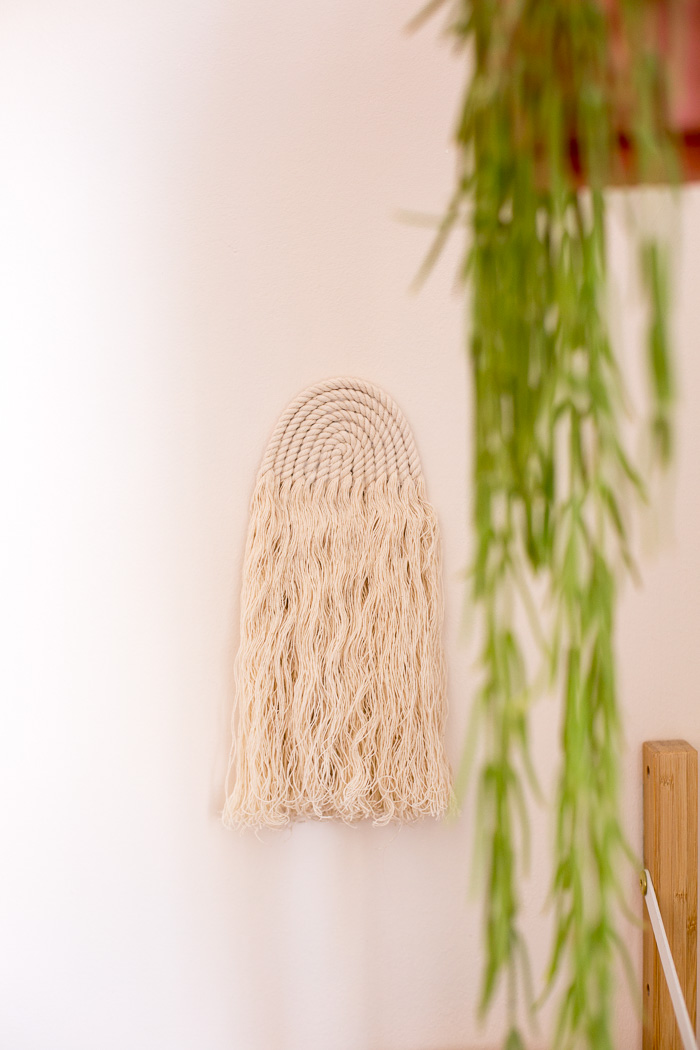

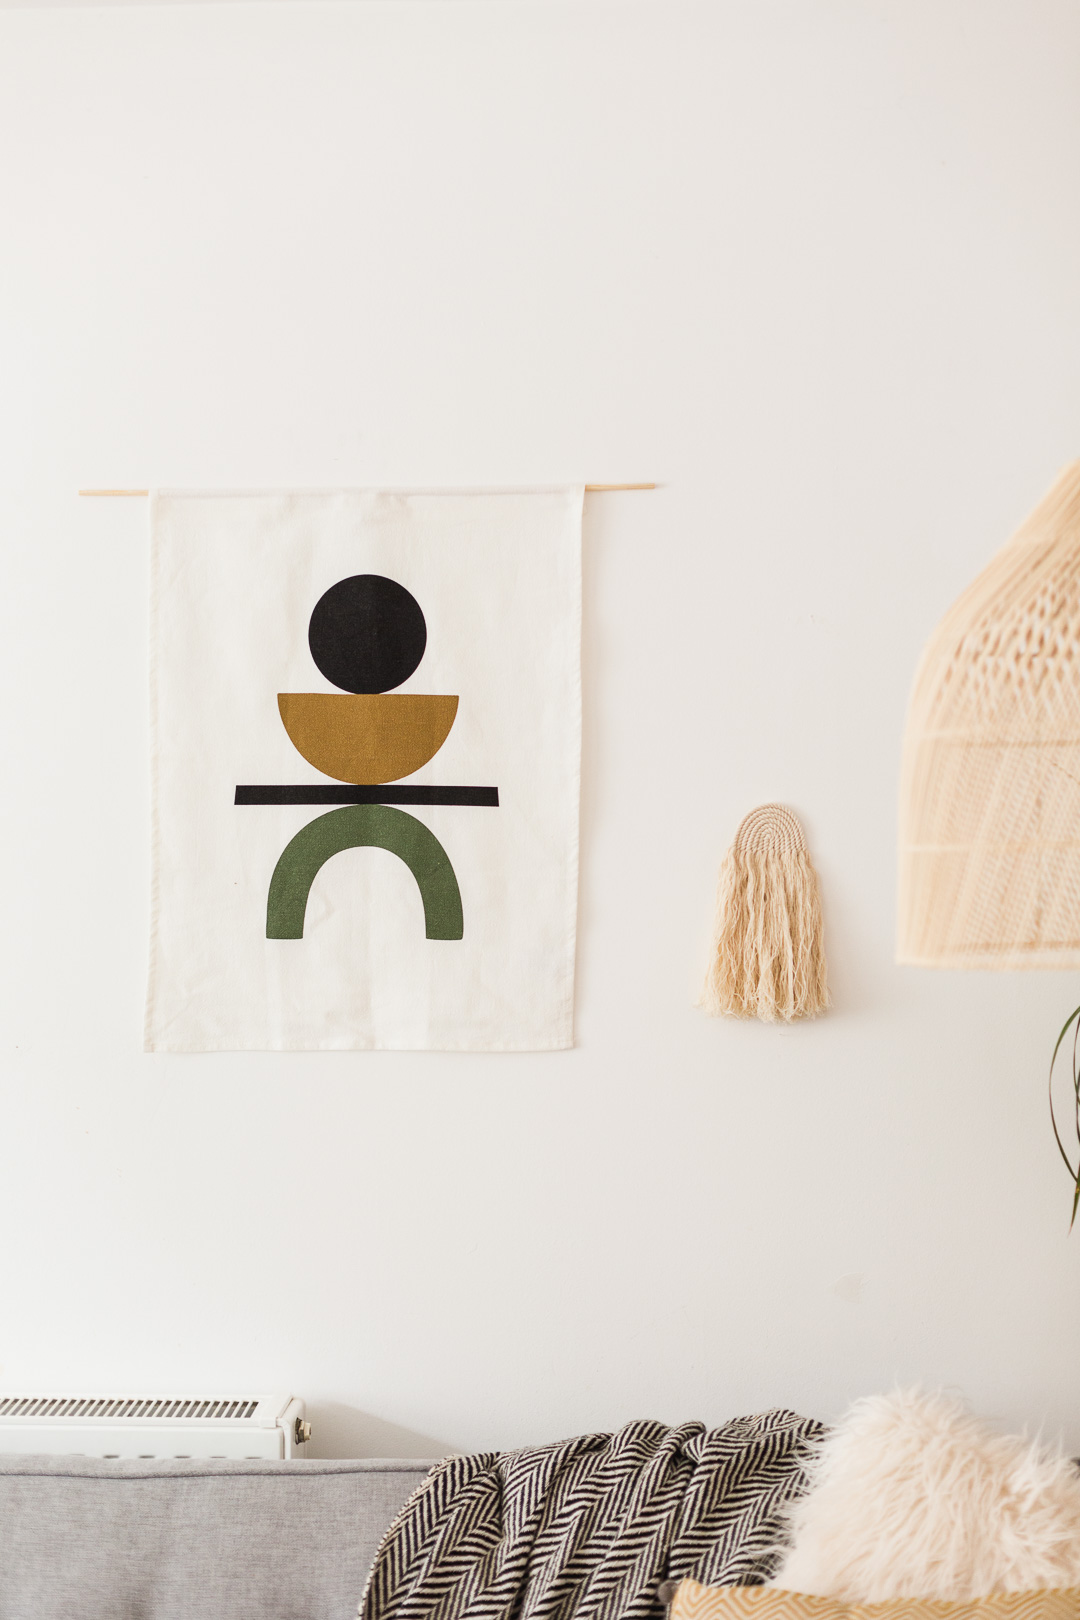
It’s my firm belief that no matter what your decor style is there’s always room for a rainbow wall hanging in your life! Don’t believe me? Stick with it for a minute. I’ve seen so many beautiful, colourful versions out there (check back in later this week for the roundup) but I realise not everyone wants to go big and bold with their colour choices. So I got to work creating something more minimal for those of you who like your rainbows a little more understated.
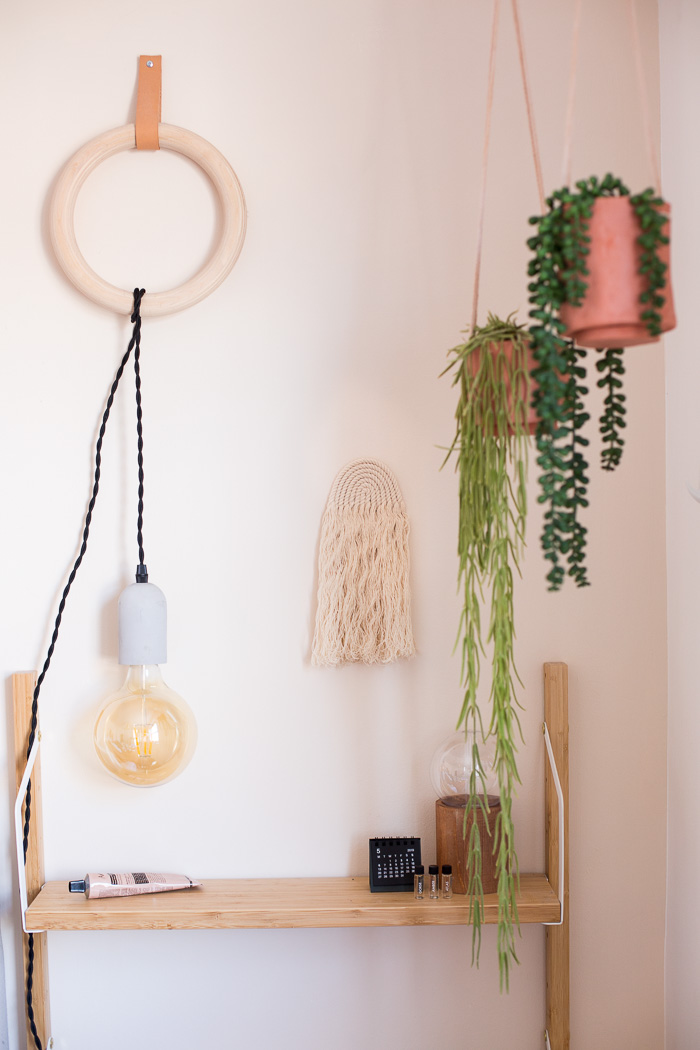

This smaller version fits into any space. In fact, I’ve styled this up in two different rooms to show you just how versatile it is. Ok, you got me. That’s a lie… I just ended up using this in two different spaces and thought I’d mix it up on this post and do something I don’t usually do. I’m showing you both versions!
I also want to make a larger version of this for Ollen’s bedroom. Yeah, I’m slightly obsessed with this at the moment! The fact is it’s so quick and easy to make there’s no reason why you can’t make them for every room in your house! If you want to, that is.
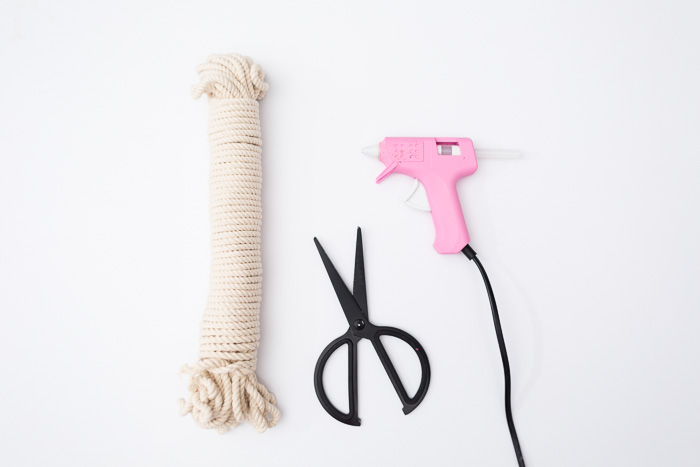
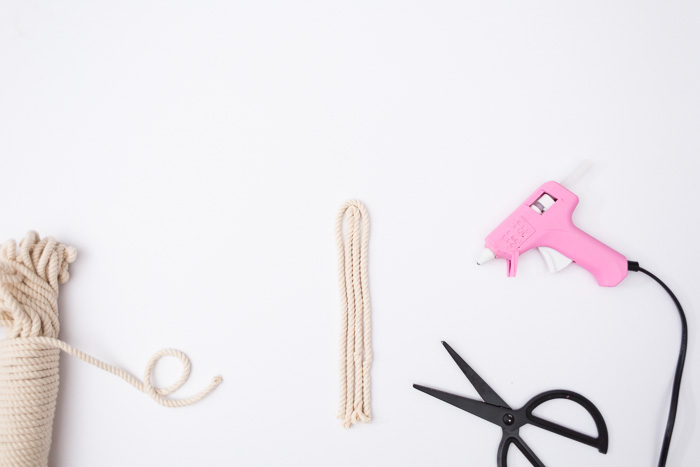
Materials:
+ Rope
+ Scissors
+ Hot glue gun
+ Hot glue sticks
+ Tangle brush
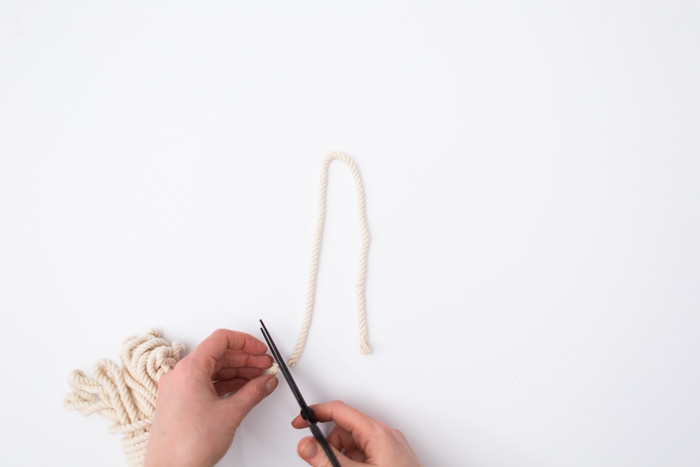
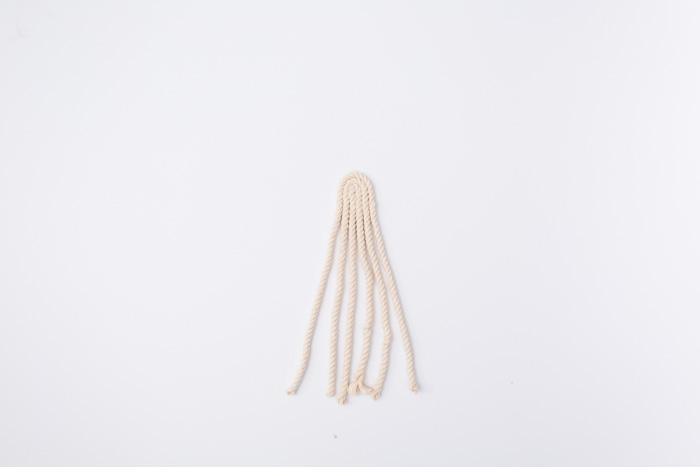
1. Cut a piece of rope around 30 cm long. Fold it in half and at the fold glue about 2 cm of the rope together.

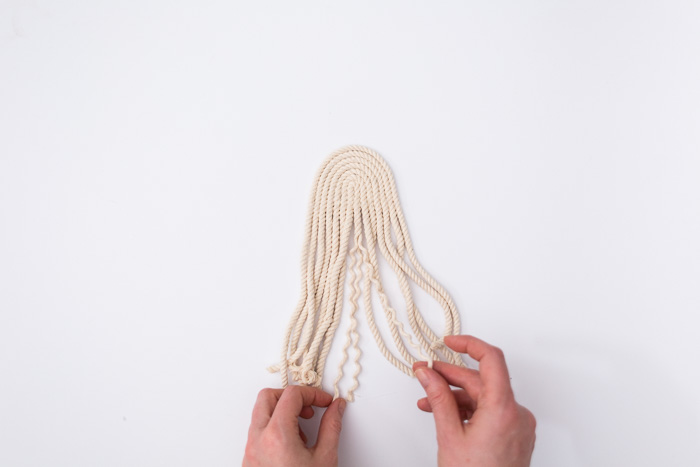
2. Run another piece of rope around this first piece, ensuring the ends of the rope line up. Cut to the right measurement. Glue this to the outside of the first piece of the rope. Make sure the glue line matches up with the first piece.
3. Keep repeating this process until you have a rainbow.

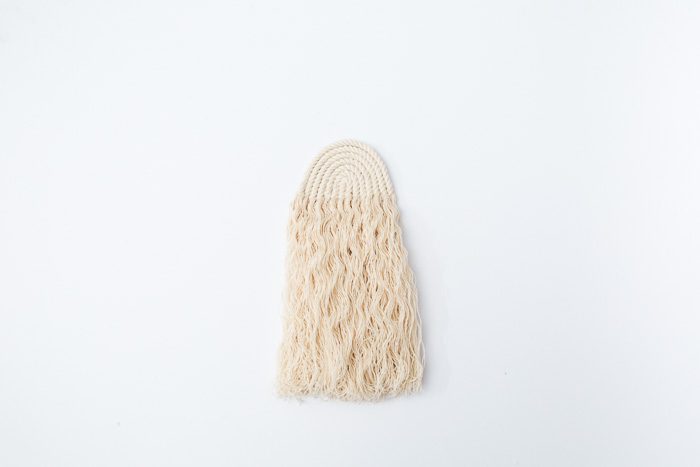
4. Unravel the section of rope that isn’t glued together and brush out.
Part of me wanted to stop after four rows and turn this into a cute keyring! All you’d need to do is thread a jump ring onto the gap between the ropes. Then you’d be ready to attach that to a keyring! Let me know if you try this please!
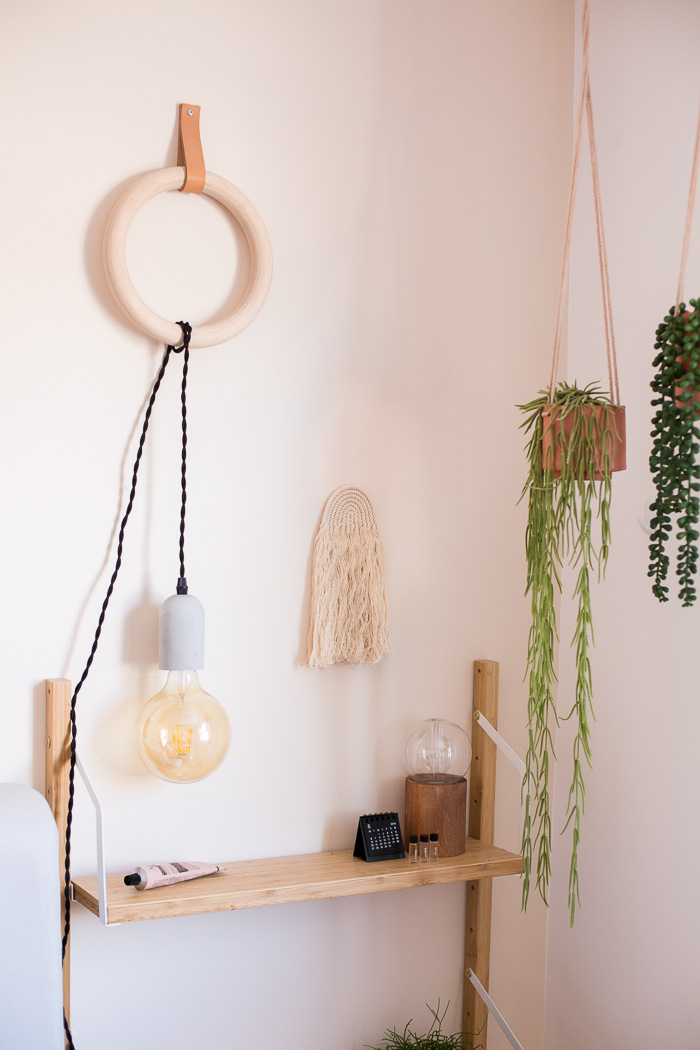


Where did you get your rope?
What kind of plants are those??
It is quite simple and lovely.
The numbers have to be different, but they don’t have to be numbers that you will eventually put into the boxes. As ai essay writer explain The number on the right of our rope is 10, and the number on the left is 8.
It’s obviously true that back rubs are reviving and discharge the poisons in the body. Visit price body female to male body spa near me
One of the oldest healing practices is massage. Visit late night spa in Bangalore
massage is a great way to relieve muscle pain, soreness, and tension. It doesn’t matter whether this pain was caused by physical or mental stress, the massage will work it out for you.Visit body to body massage near me