Guys, I’m falling back in love with clay! Ok, we never really fell out of love, but this is the first clay project I’ve (successfully) done since Ollen was born… over one year ago. And I call myself a craft blogger. The shame! Don’t worry though (because of course, you’re all panicking because it’s been a while since I’ve been on the clay) I have already got another clay project in the works for you. But let’s not get ahead of ourselves!
I have to thank the Make it Challenge ladies for asking me to join in with this Springs challenge. The material for this round was… if you haven’t already guessed… CLAY! This was the motivation I needed to spend a few hours enjoying the process and feeling creative again. If you need that little boost to get making with clay then why don’t you join in too? You can share your projects with us using #makeitchallenge. Or just head over there for some inspiration for your next project!
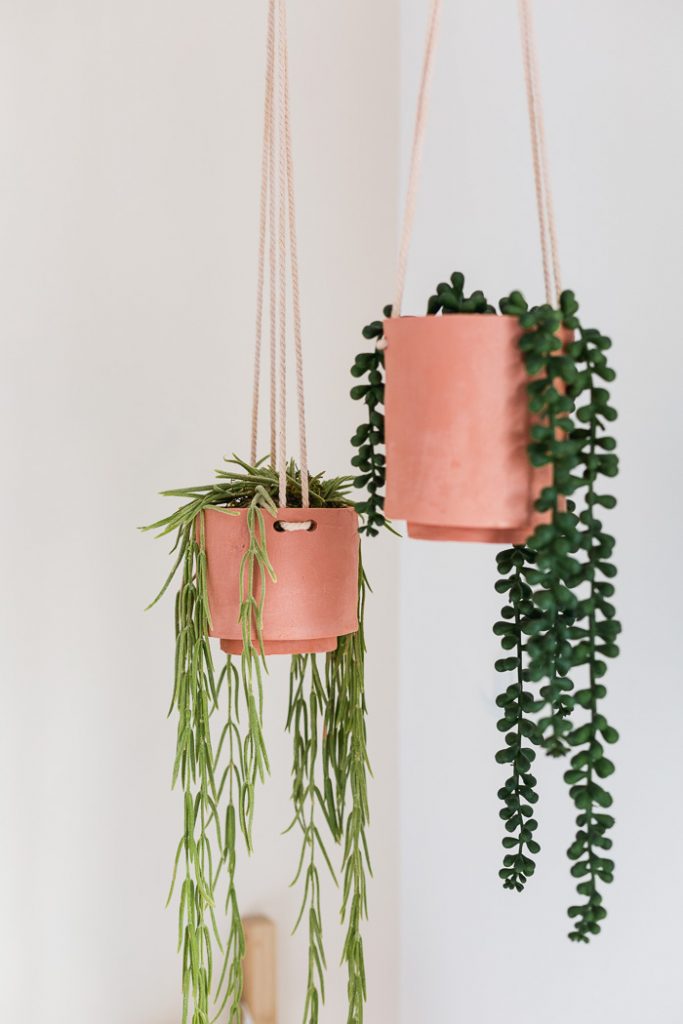
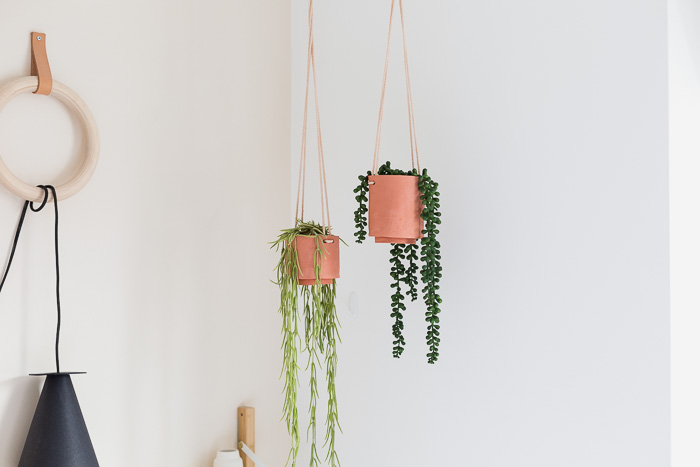
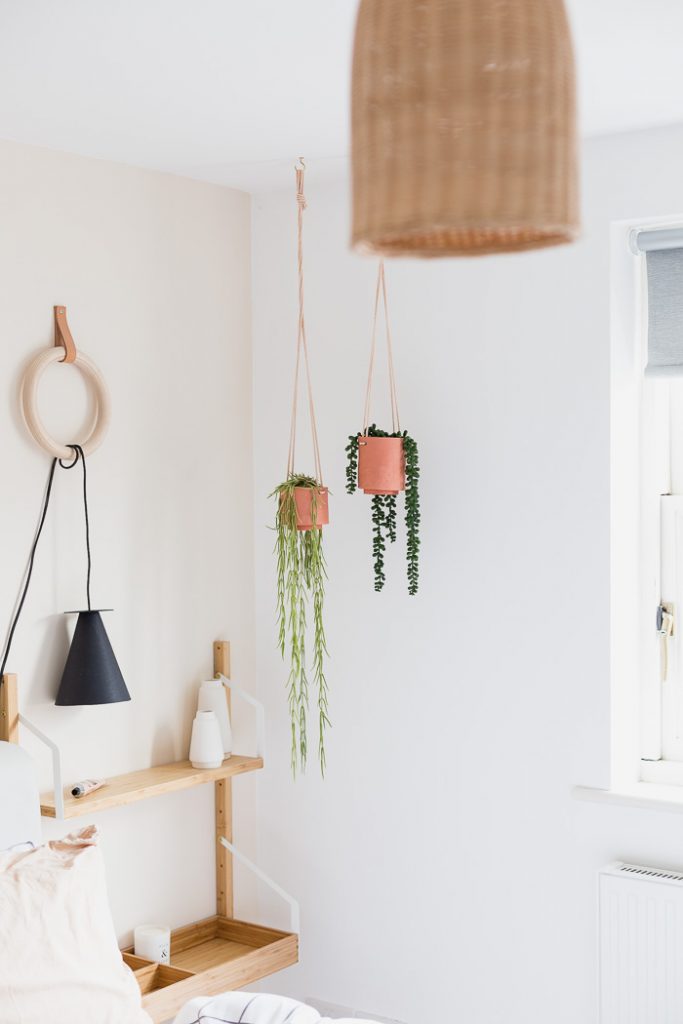
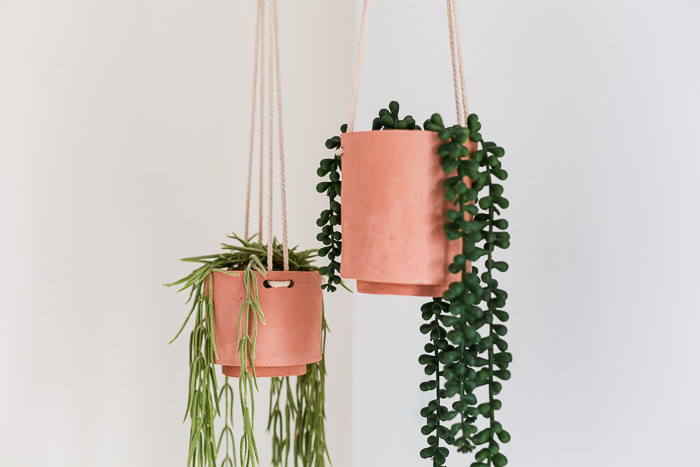
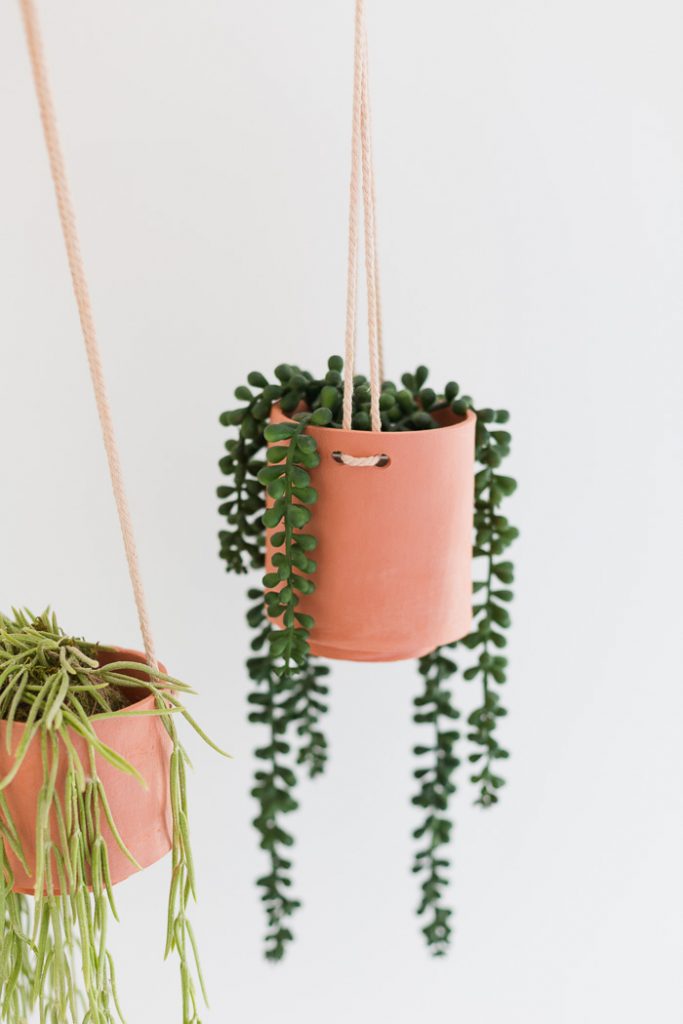
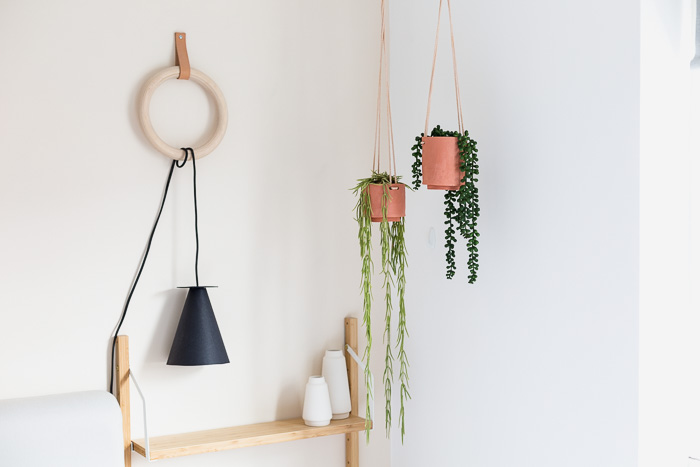
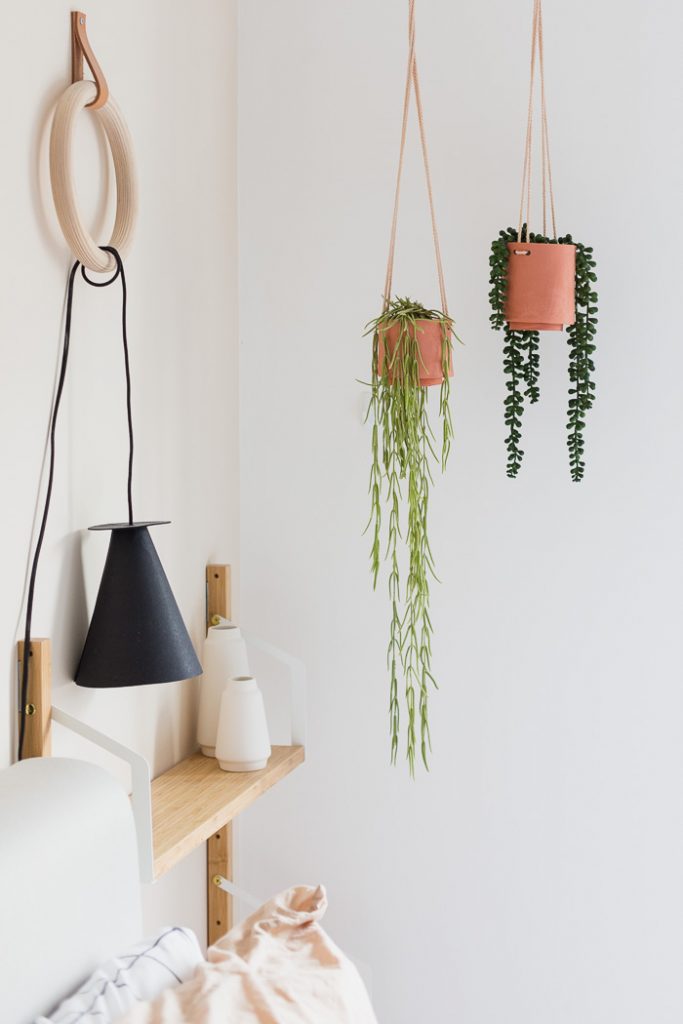
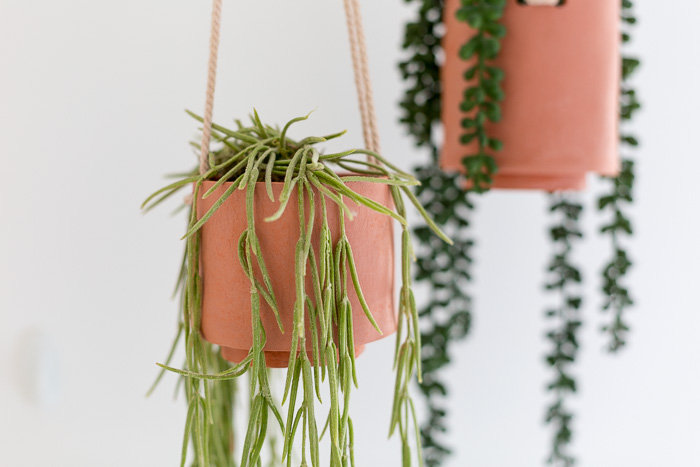
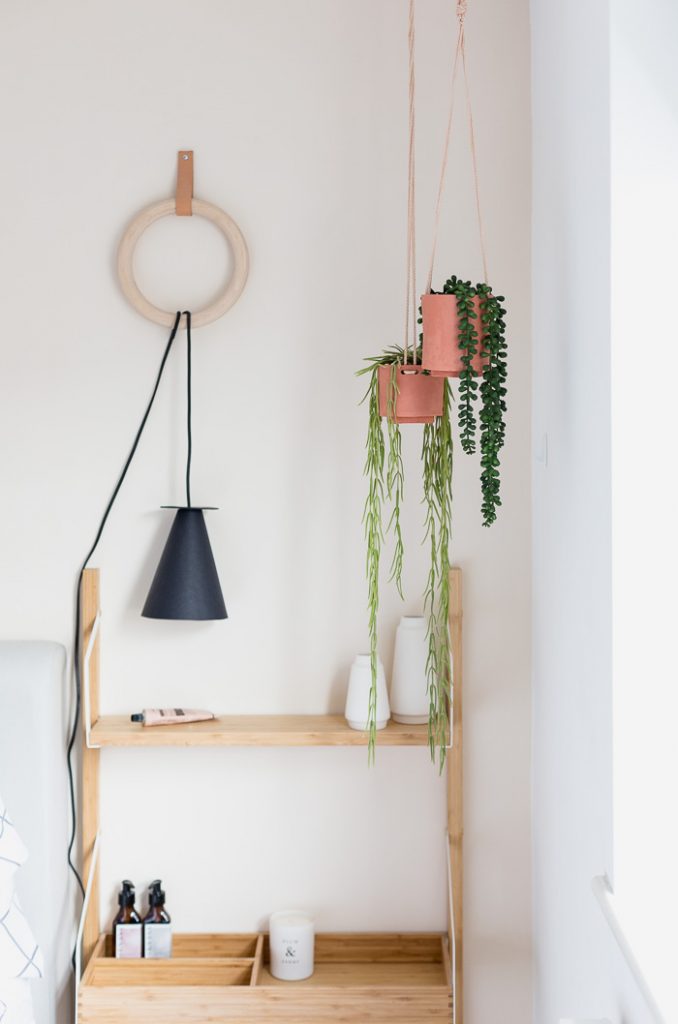
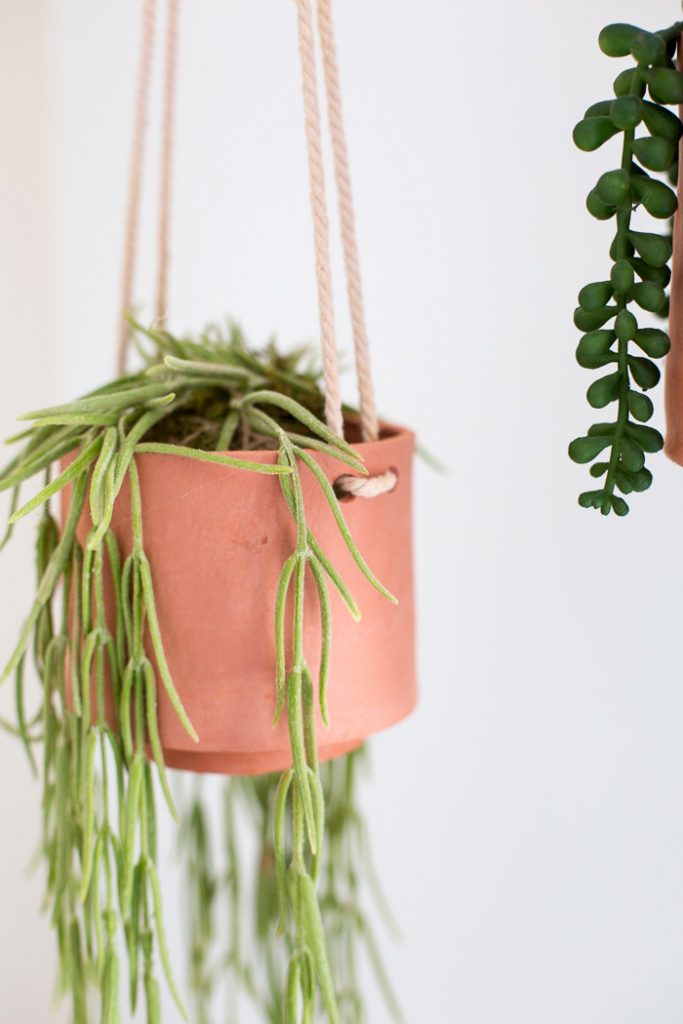
Terracotta is on just about every interior trend this year, but it can feel a little intimidating to add in large doses. These planters are a very easy way to update a corner of your room in a way that still makes a big impact! I’ve used these in a shady spot in my bedroom. Plants don’t last long in here, but I love the look of greenery in the bedroom. So I’ve used faux trailing plants that, firstly, do not need watering. Always a good thing with air dry clay. And secondly will not die. Kind of a win, win situation here. I love investing in really good quality faux plants for this reason. I’ve killed too many living ones!
Tutorial
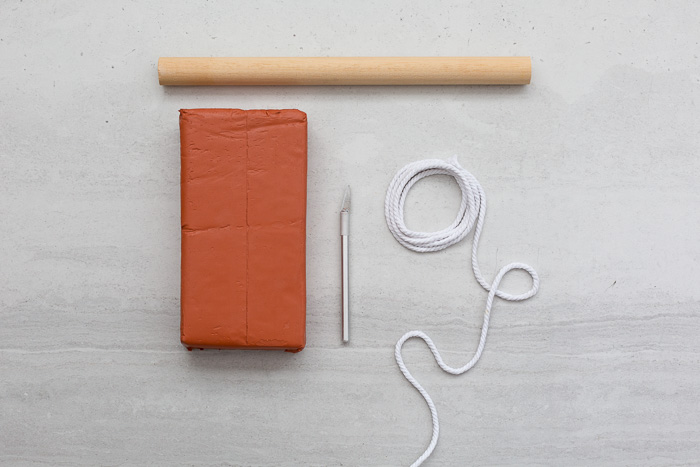
What you need (affiliate links included)
- Terracotta Air Dry Clay
- Cookie Cutters
- Clay tools
- Craft Knife
- Clay roller with board (or roller and wood strips)
- Rope
- Straw
- Artificial string of pearls plant
- Artificial hanging plant
- Artificial fern willow
I’m working on a tile, but it really helps to work on plastic or baking sheet.
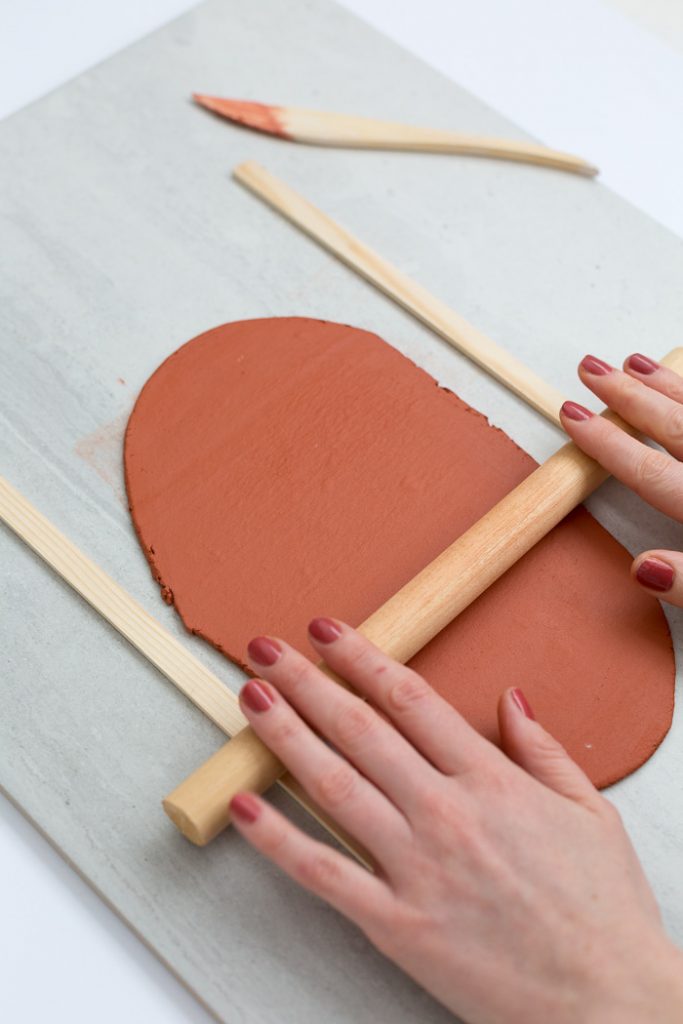
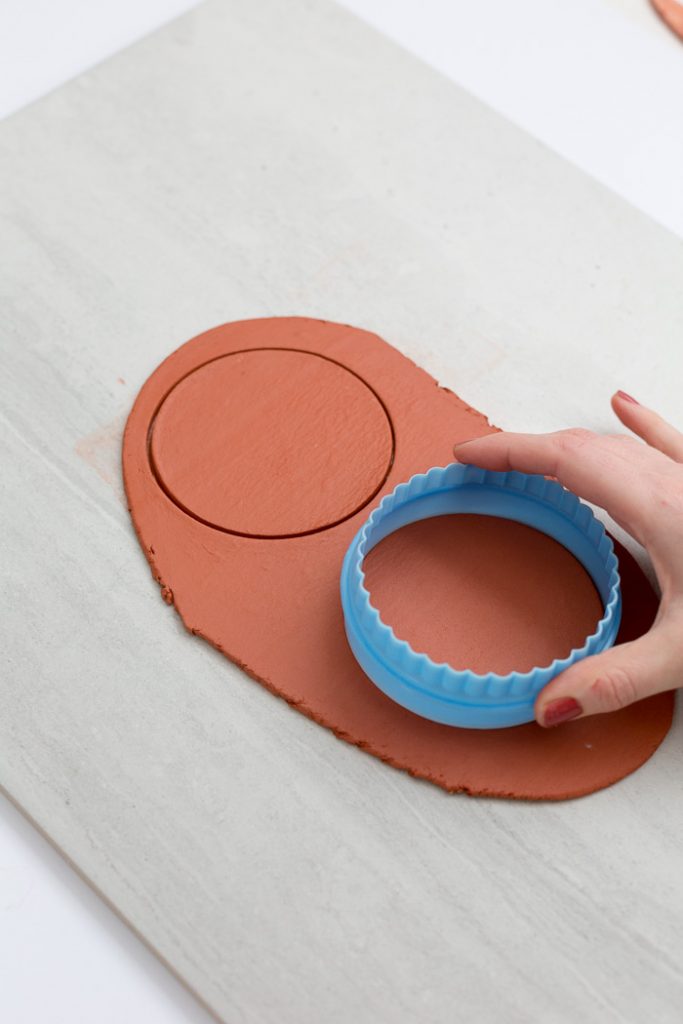
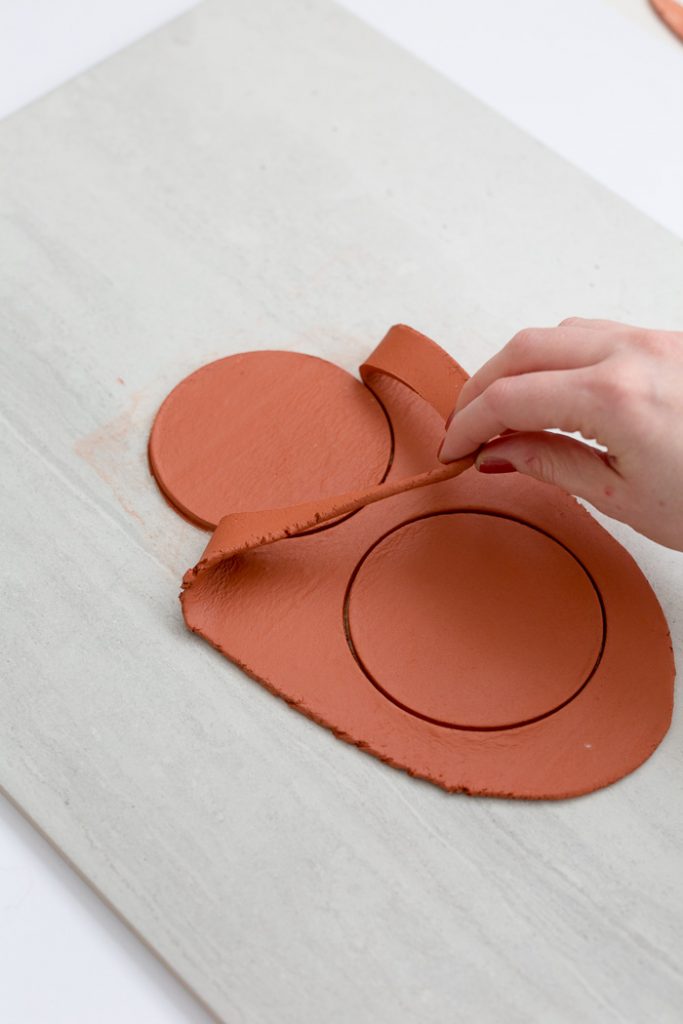
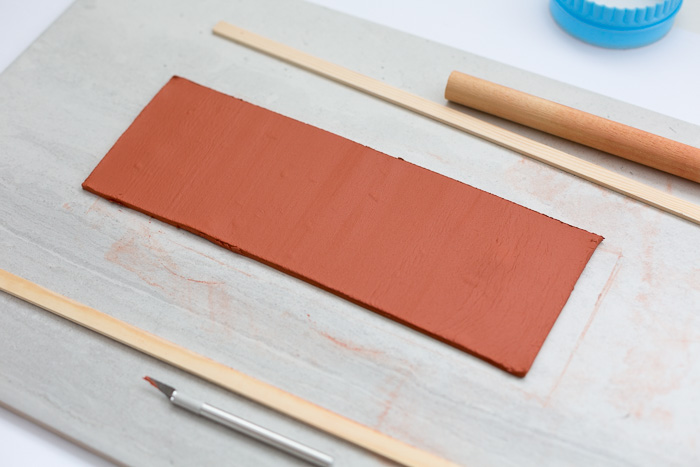
1. Roll out the clay using around 3mm wood strips to keep the thickness consistent. Use the largest cookie cutter to create the base of the planter (you can use different sizes too, which will make your pot smaller). Leave this piece to one side.
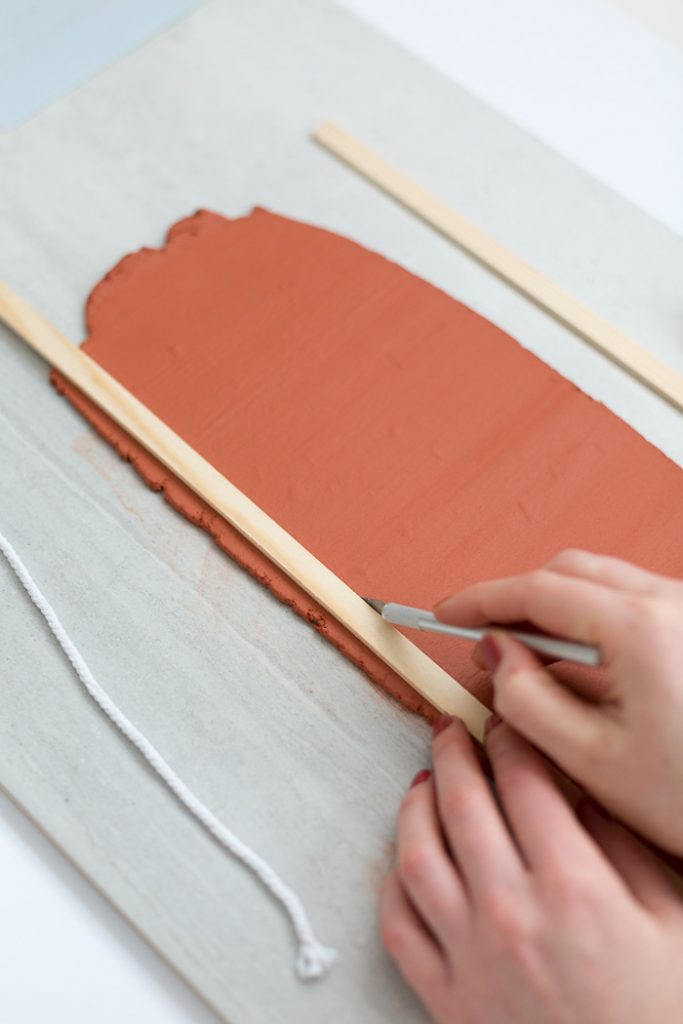
2. Roll out a longer piece of clay. This is going to make the sides of your pot so you need it to be long enough to go around the diameter of the circle we just made. Measure the diameter and cut out the length. You can make the planter taller or shorter here. I’ve made two different sizes but it’s up to you!
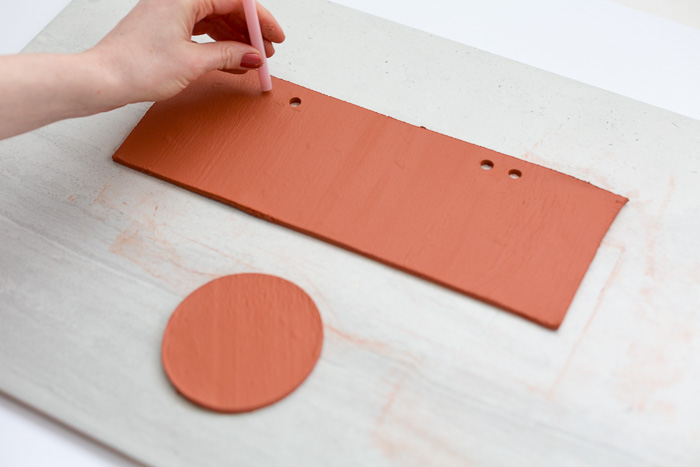
3. Measure 1/4 and 3/4 along the length of the rectangle and using the straw, create two holes either side of these points.
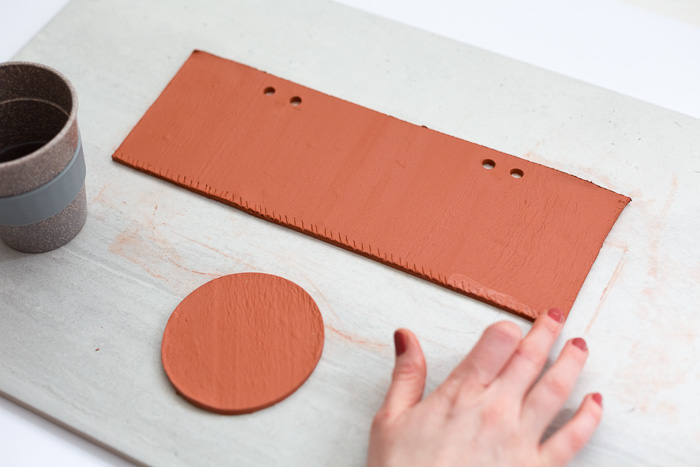
4. Score along the bottom edge of the rectangle, add water and wrap it around the outer edge of the circle.
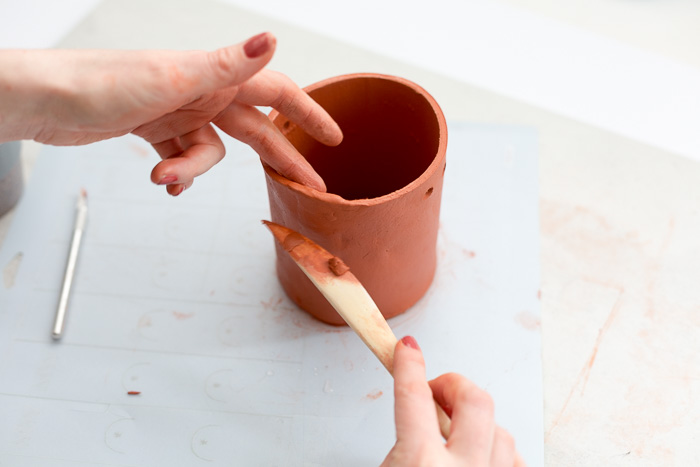
5. Smooth the join together (I like to add extra length for an overlap) and leave to dry and set.
6. Roll out a piece of clay around 1 cm thick and use a smaller cookie cutter to make a circle. Score along one side of this circle then leave to dry. If you’re confident with clay you could attach this to the bottom of the planter now.
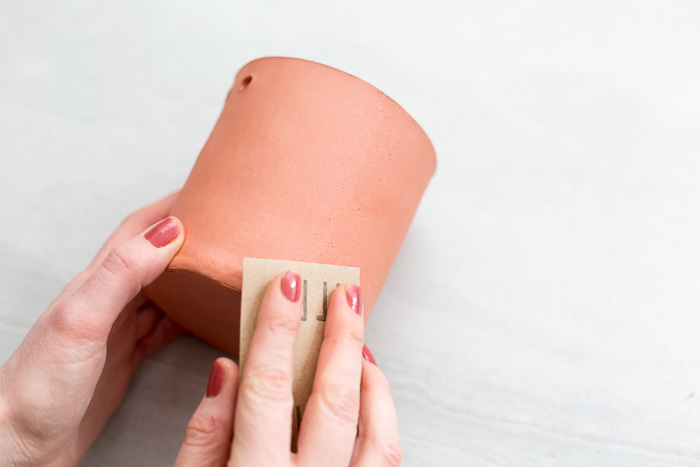
7. Once your pieces are dry sand them smooth and using a strong glue, attach the smaller circle to the bottom of the planter and leave to dry. This is a bit of a cheats way to do it, but way easier! I’m all for making life easy.
8. Cut two long pieces of rope and thread through the holes on the side. Tie into a knit at the top and hang from hooks.
I’m so happy with how these turned out! If you like them too can you let me know over on Instagram please! I’d love to hear if you’d like me to make more projects like this one. Thanks you guys!
Make sure you go and check out the rest of the clay projects! They are amazing!!
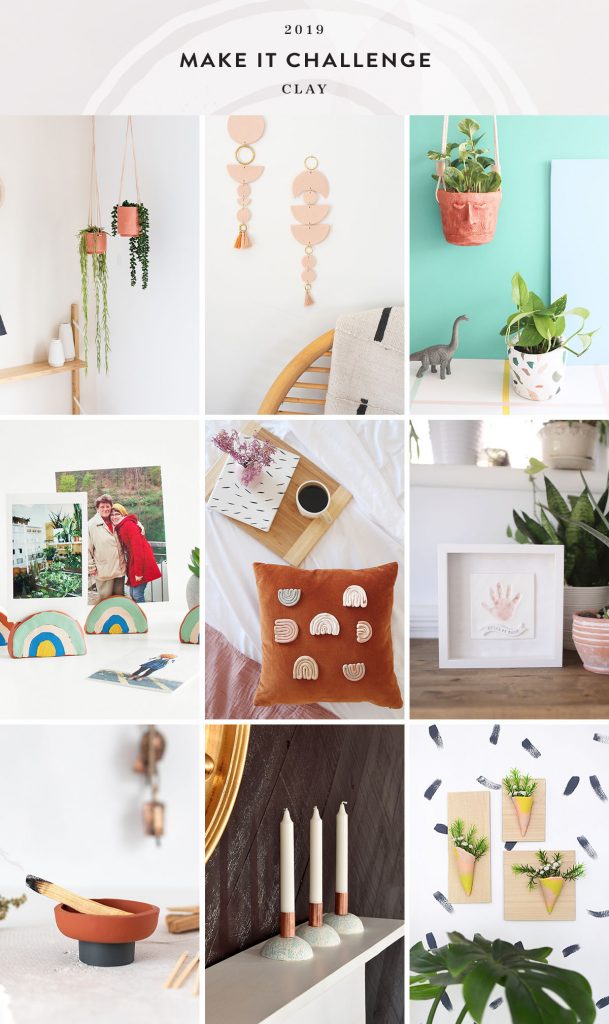
Spatial Dwelling | DIY Clay Planters
ctrl + curate | DIY Palo Santo Holder + Match Striker
Shrimp Salad Circus | DIY Baby Clay Handprint Keepsake Frame
Design Fixation | DIY Clay Candle Holders
Alice & Lois | DIY Clay Wall Hanging
Delineate Your Dwelling | Make Clay Vase Wall Hanging
Bliss Makes | Make Clay Beads To Decorate A Pillow
Idle Hands Awake | DIY Clay Rainbow Photo Holder






These look so professional Fran! These are next on my list to make. I’m also crazy impressed you found a nail polish color that matched!
I agreed with you. It’s look so much professional. I will also try it.
FRAN. You are just so good. I adore these pots and they are perfect looking! Also, where are your faux plants from because I need the lighter green one. Pinned.
Love it! You are so creative!
Ingrid | http://www.thatscandinavianfeeling.com
Great work, these look stunning! Thank you for sharing!
Wow, they look so beautiful and just like you’ve bought them somewhere! I didn’t know there was something like terracotta air dry clay…I have to get some of this stuff!
https://www.makeandmess.com/
These are so cool! They give off a ‘holiday villa’ vibe and I love it. I will be making some of my own for sure. Talk soon, Jamie.
Fran, you are a MASTER maker. These are seriously so gorgeous and professional-looking. And as always your photography makes me SWOON!
Wow, these pots look fantastic! Thank you for the inspiration, I will be making it myself for sure.
P. S. Can’t miss the bedside lamp – I loooove it! The solution of hanging it over the wooden ring – just perfect!
Love your art. Creative Indeed. I like Bonsai plant and it looks amazing in home. Thanks for your article.
I love working with clay so much, i had no idea you can get terracota air dry clay though! I have been working mainly with clay that needs to be fired so the waiting always kills me:) I really would like to try these planters, and they look so beautiful and sturdy, i would be scared that the air-dry clay would be more fragile? I have been wanting to by some hanging planters for some time so this is the perfect opportunity to make them instead!
Oh, the flower baskets made from baked clay, iron color, and design are all very beautiful, I love these bonsai baskets.
I like the way you decorate and arrange special things in your room, which is both neat and beautiful, giving a spacious space to the room.
IZSPA, is the heaven in form of spa we are best body massage service provider in Bangalore.We offer our customers massages like Female to Male,Body to Body Massage, Thai Massage Visit spa centres near me
nice blog Visit 24 hours massage centres in Bangalore
Skin well being requires sustenance sometimes. Standard spa treatment prompts the shining and sound skin. That is most likely the motivation behind why body spa is so well known among ladies.Visit body spa near me
Spa69 is top most Body To Body Massage service provider which is kept privacy of customer in a good manner to give best top most types massages by expert therapists.Visit body massage spa near me
==========
thanku sir share this website visit my website and all service available
I admit, I have not been on this web page in a long time… however it was another joy to see It is such an important topic and ignored by so many, even professionals. I thank you to help making people more aware of possible issues. Frank Roland Dietrich VA
Amazing post thanks for sharing
Informative post, thanks
Fabulous writing style, thanks for posting
“I can’t get enough of your blog! The quality of your content is consistently top-notch, and your passion for the subject matter shines through in every post. You’ve inspired me to delve deeper into this topic. Thank you for sharing your expertise!”