Thank you so much to Spoonflower who sponsored this post and made my fabric dreams come true!
If there’s one thing I’ve learnt being a mom, it’s that you can never have enough toy storage. No matter how hard you try to keep things organised, (toys hidden in a different room so that A, they don’t completely cover the floor and B, this kid might forget they exist and bringing them out will be like Christmas all over again) there’s always that moment when someone arrives at short notice (or really you just lost track of time). That is when you can NEVER have enough toy storage.
You see it’s not just toys you can hide in these little baskets. Clothes, paperwork, toiletries – just make sure you get to them before a child actually does and it’s fine. Otherwise that important document might just become tiny ripped up pieces of paper. No need for a shredder. I have Ollen.
I love using cute baskets, but when you’re trying to hide a multitude of sins (mostly against Kon Mari) or you just don’t want to look at another brightly coloured, flashing plastic object, it’s nice to have a way to close it off to the eyes. Lids are fine, but just another thing to lose, break and ultimately have to tidy.
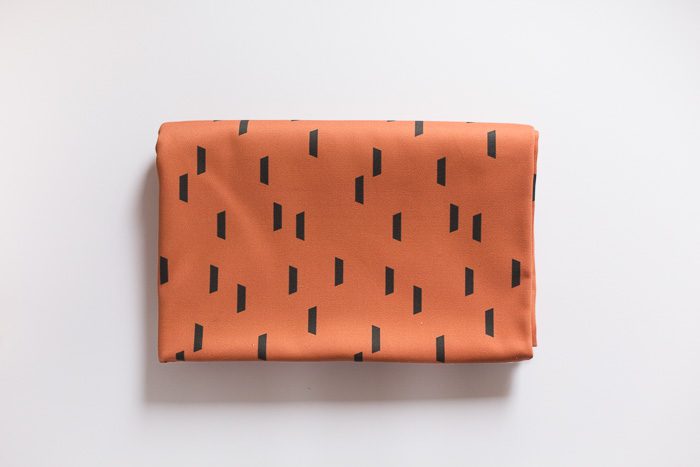
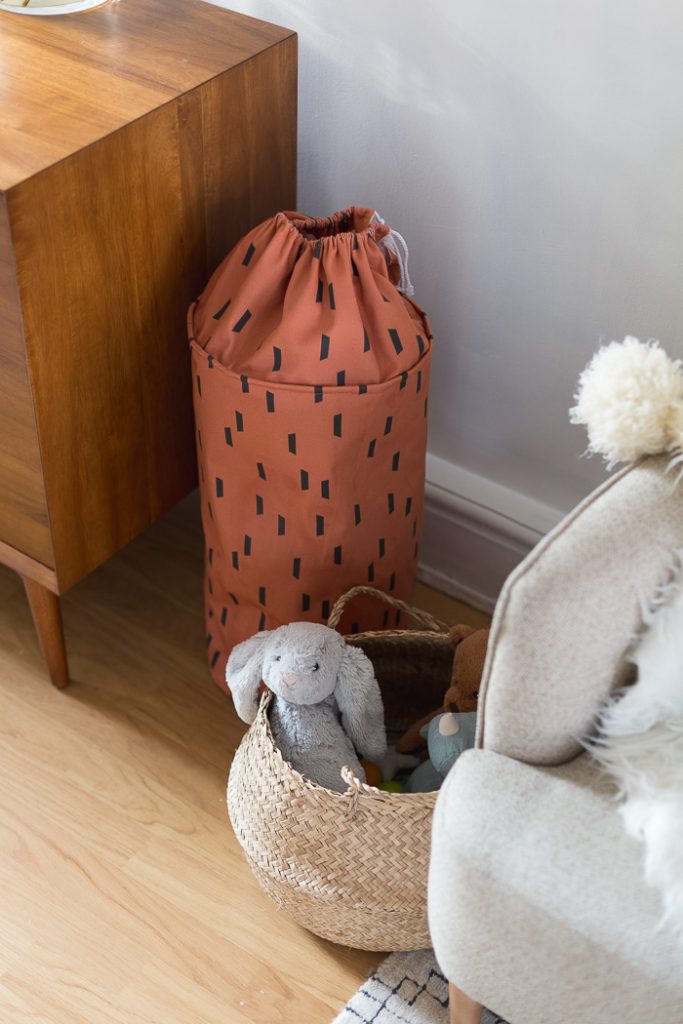
Instead of spending forever looking for the perfect storage in the perfect fabric I’ve just made my own! The fabric part is easily covered by Spoonflower. I used their Dogwood Demin to make this bucket. It’s great for applications like this one, when you need your fabric to do a lot for you. It needs to have stability (with a little help) and be malleable for the drawstring opening.
Then you need it to be cute and Spoonflower certainly have that part covered. You can order fabric in thousands of designs! I found this gorgeous rust colour with a simple print that I love for this bucket bag. In fact I have a little fabric left over and I’ll hopefully be making something cute with it soon!
To make the storage bag you will need:
- Fabric
- Fabric interfacing
- 2mm aluminium wire
- Cutting pliers
- Rope
- Cardboard
- Thread (and a sewing machine)
Cut your fabric into the following sized pieces:
+ 55 cm x 95 cm
+ 20 cm x 95 cm
+ 2 x circles with a diameter of 30 cm
Cut a circle of cardboard with a diameter of 28 cm.
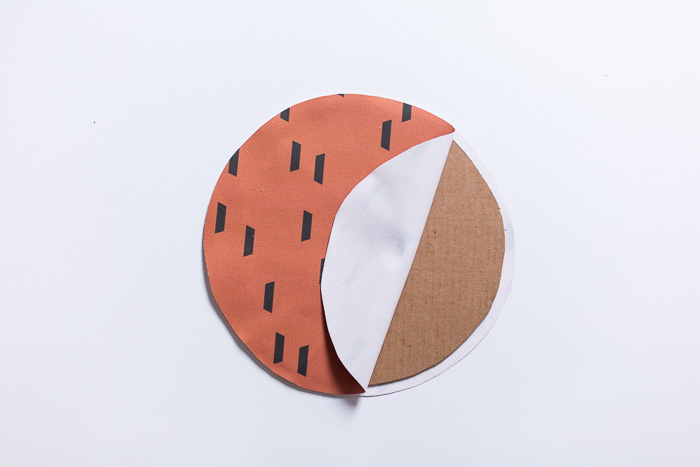
Sew the two circles together, wrong sides of the fabric facing with the cardboard piece in between. This will be the bottom of the bag. Put this aside for later.
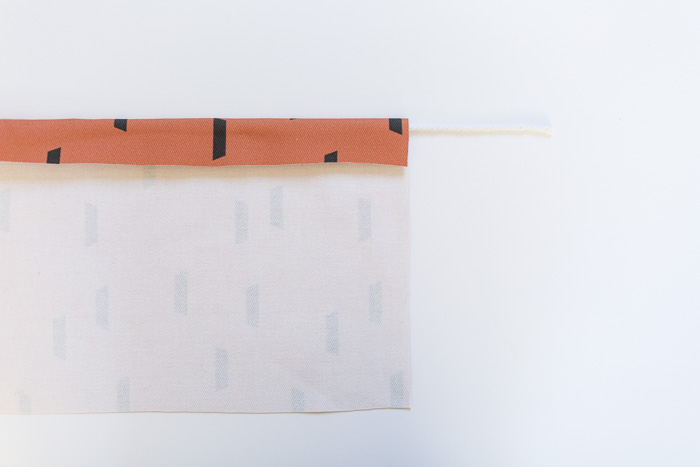
Take the fabric piece 20 cm x 95 cm fold an inch of fabric along the longer side. Cut a piece of rope measuring 120 cm, position this underneath the fold and sew down. Leave extra space for the rope to move and allow a gather at the opening of the bag.
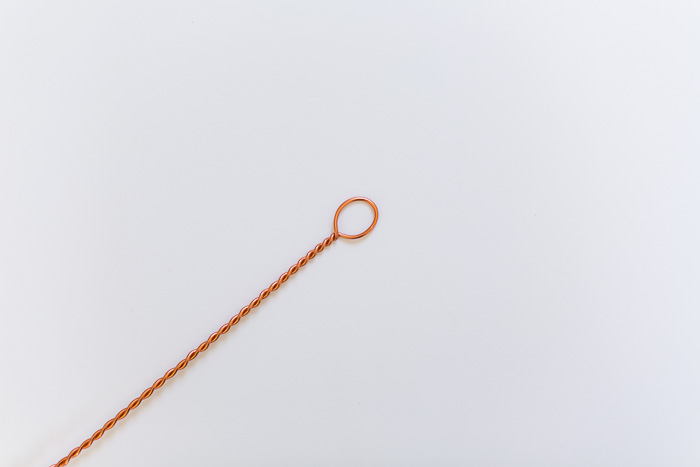
Cut a piece of wire 2 metres in length. Fold in half and twist. My favourite way to do this is by hooking the fold over something stable (like a door handle) and twisting the two lengths around each other. This is going the create the ‘ring’ at the top of the bag to hold it in place. For now we need to keep this straight though.
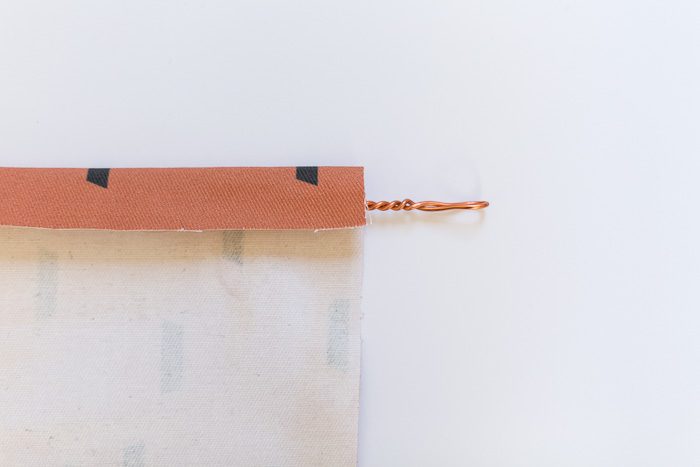
Take the piece of fabric 55 cm x 95 cm and iron on a sheet of fusible heavy weight fabric interfacing the same size. Once that is in place fold over an inch along the longest length. Position the twisted wire underneath the fold(like goswipe).
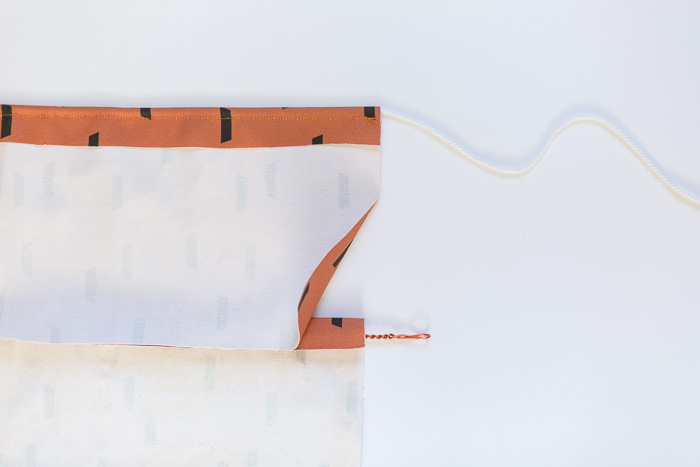
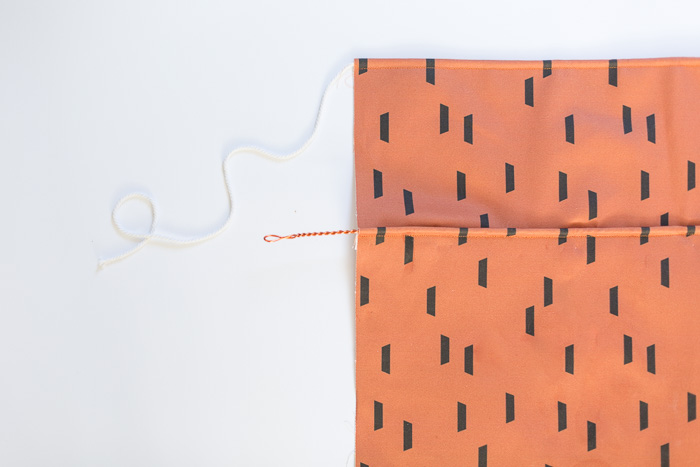
Lay the 20 cm x 95 cm piece of fabric over the top (right sides facing) so that the opposite side from the rope meets the folded side with the wire underneath. Pin this into place (you might want to use safety pins here) and sew the fabric together keeping the wire very close to the fold.
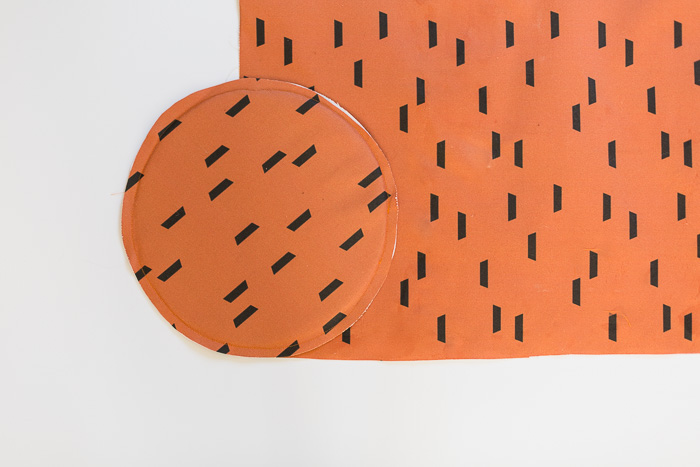
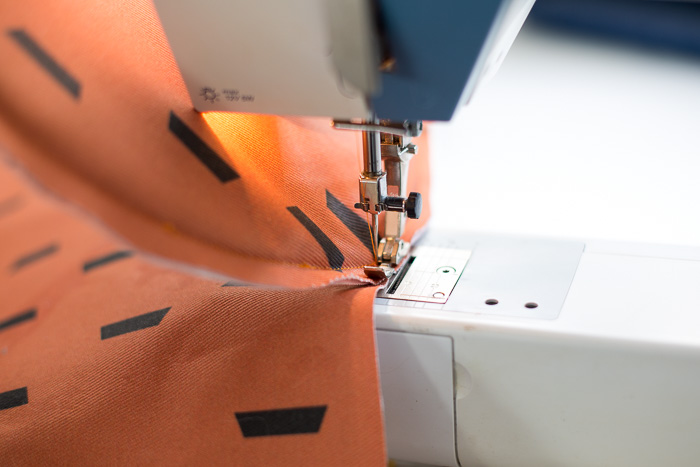
Sew the circle piece to the opposite long side of the larger piece of fabric. Start at one end and slowly work your way around the circle. I found the easiest way to do this is lift the circle piece as you sew – see the photo below for an example of how I do this.
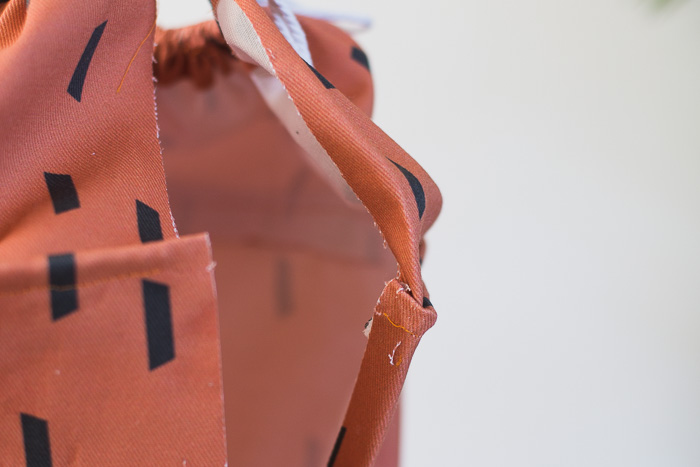
Now the bag is almost complete. Turn it inside out, then trim the wire down so it ends around 1cm inside the fabric. You’ll have to push the fabric back slightly to do this.
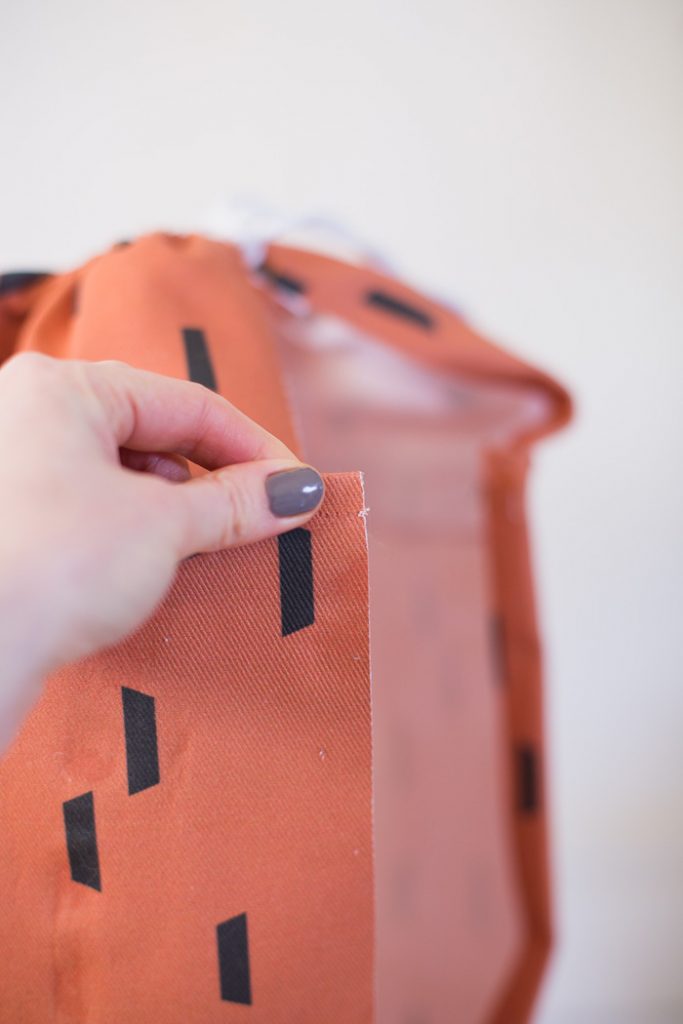
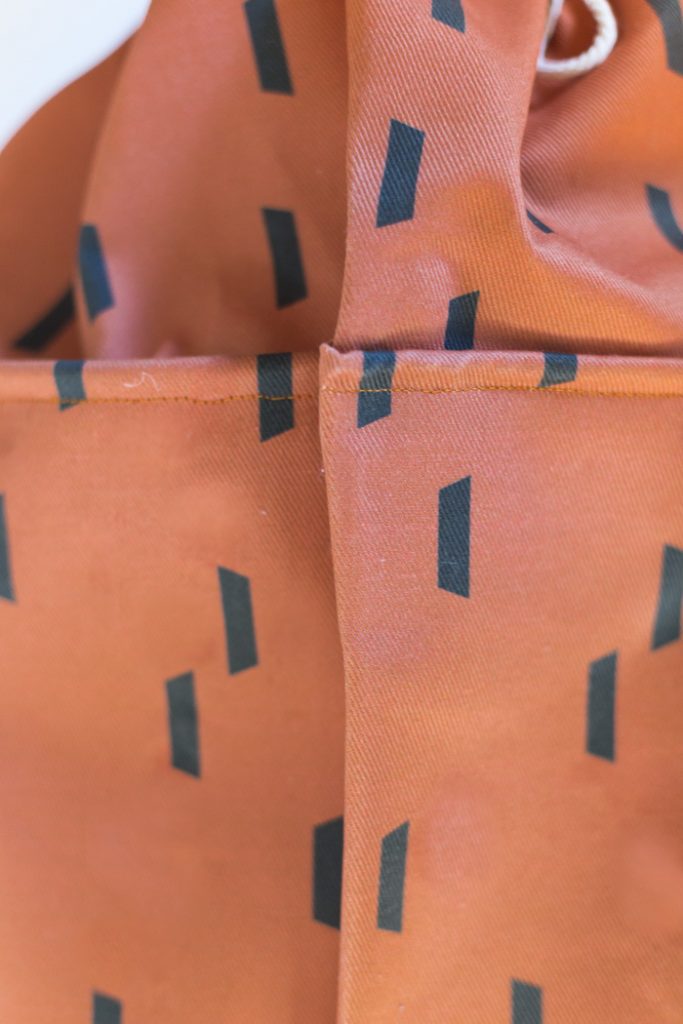
Fold over one side and press a seam along the edge. Using fabric glue, adhere the two edges together as shown below. Pin or tape this in place until the glue has fully dried.
Add a toggle over both strands of rope and tie the ends.
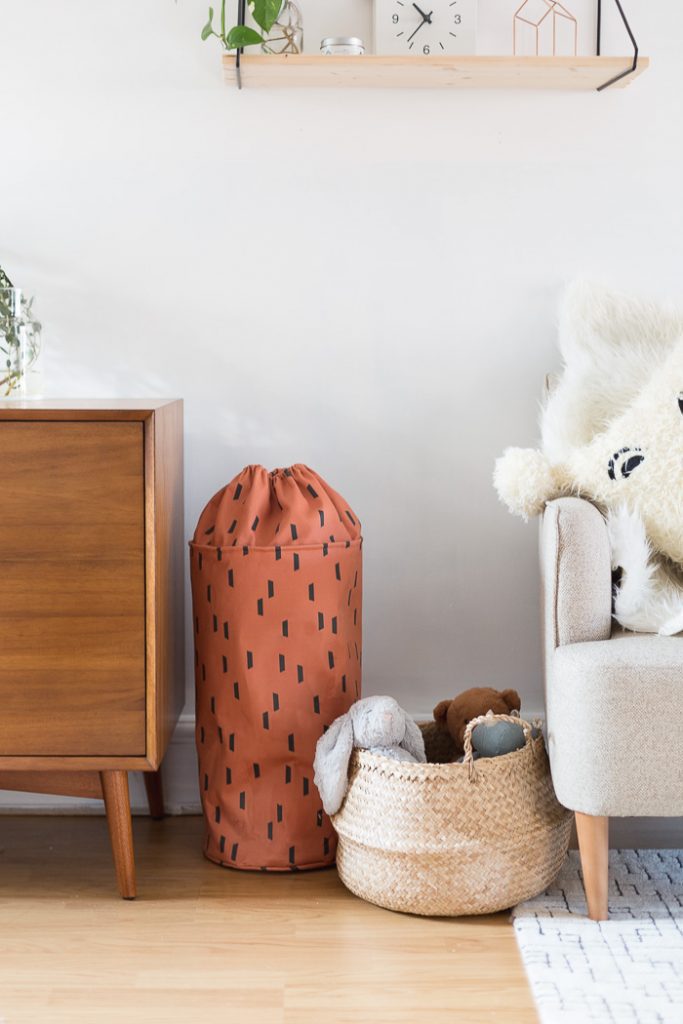
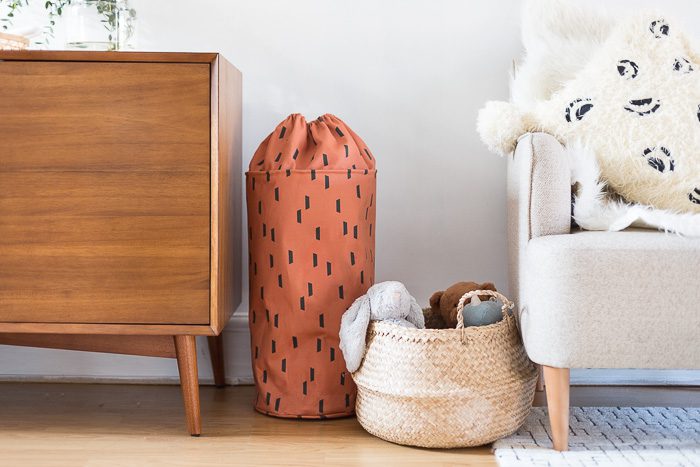
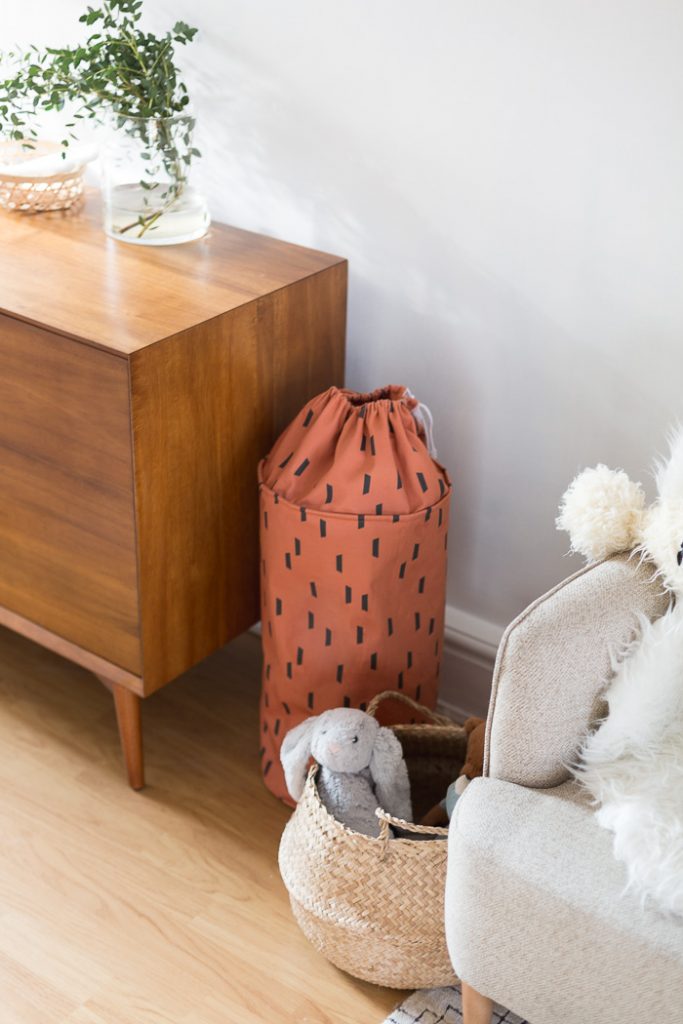
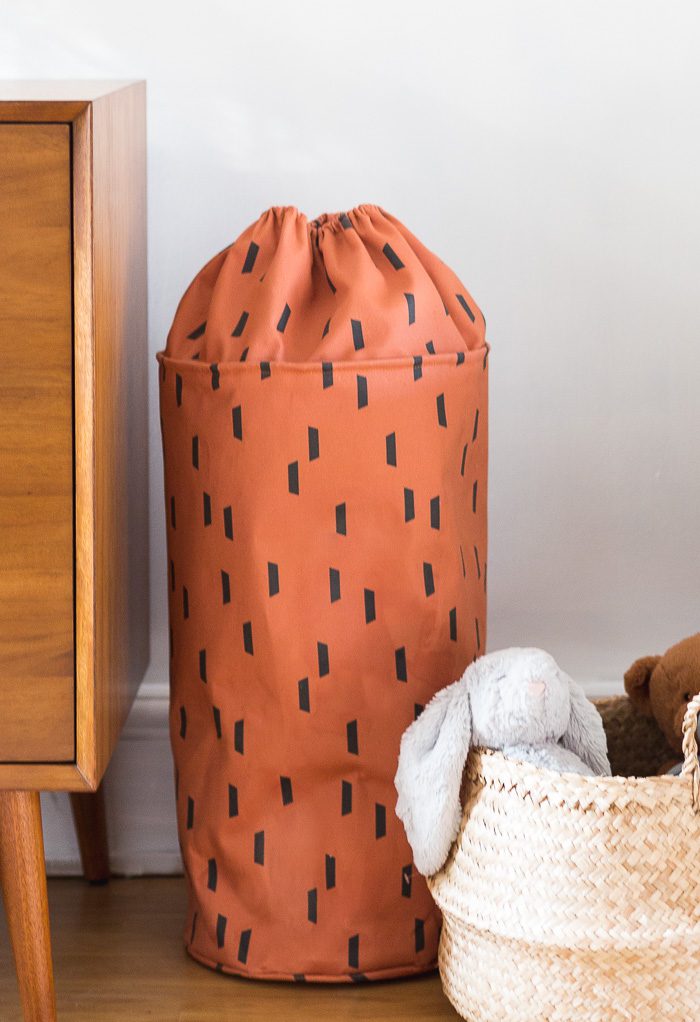
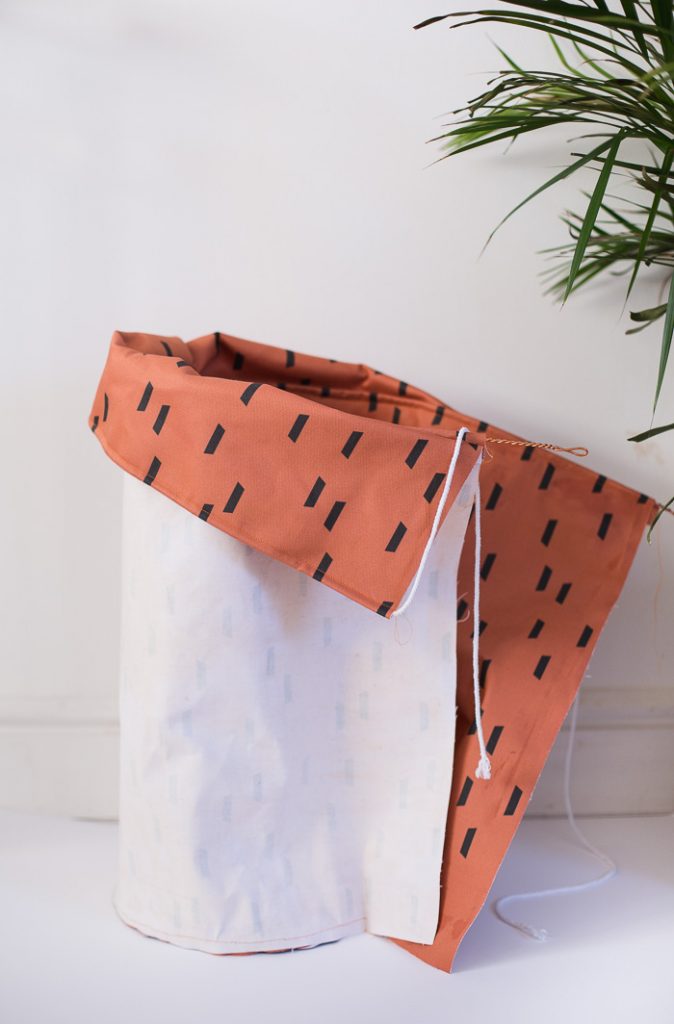
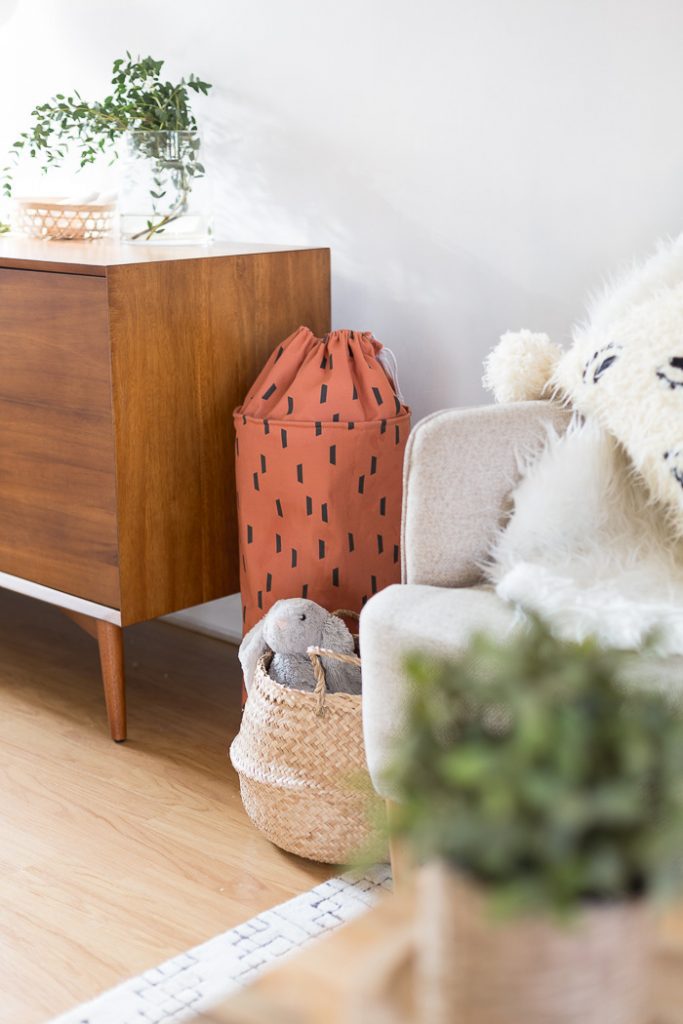
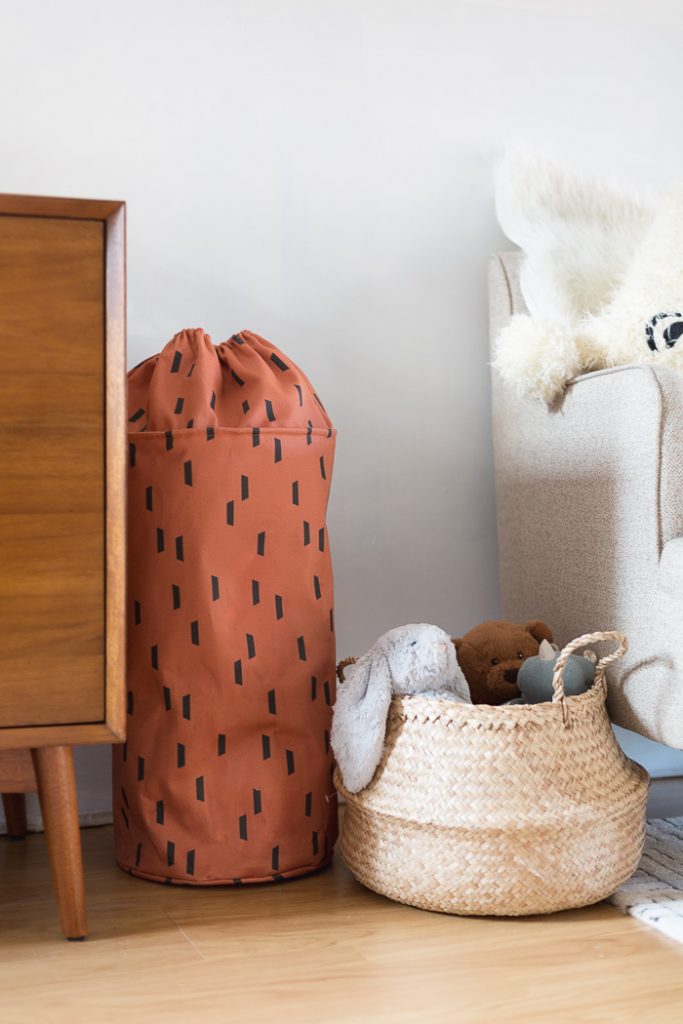
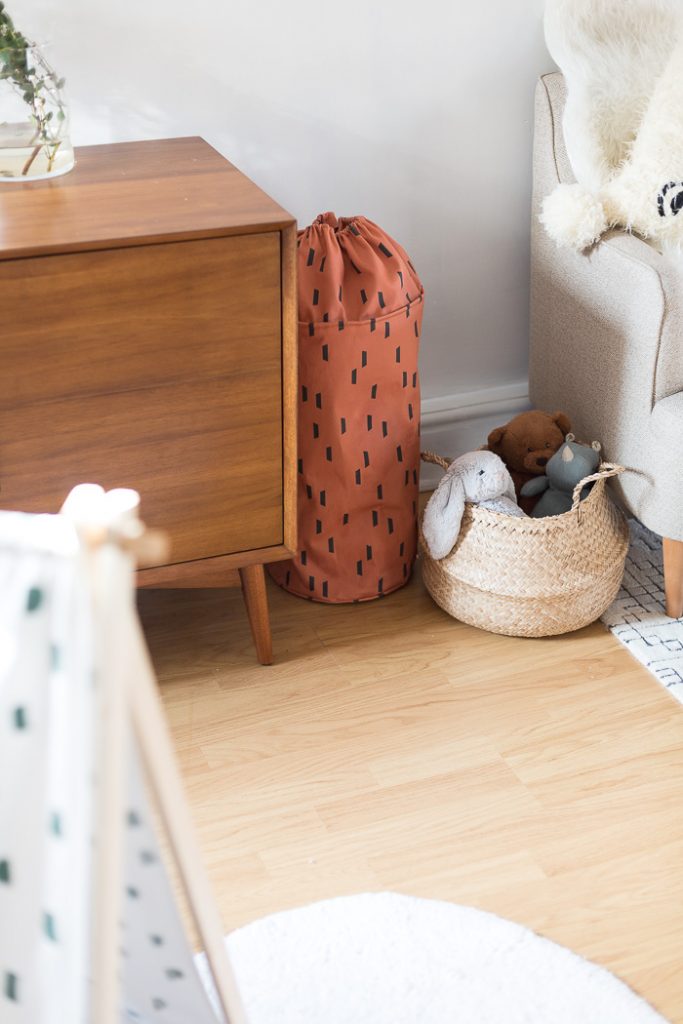
And your bag is complete! I really want to make some smaller versions of these to go under Ollen’s cot. The only thing to do now is decide which fabric to use next….






What a very clever project. I’m new to sewing but your instructions and photos make it seem like a project I could tackle if I go slow.
I found your blog from the spoonflower blog.
This denim bag is looking very nice and might be very useful as well for women who often go outside with their kids. This bag can help them to hold their basic goods easily as it can store around four to five kilograms easily. Now I need to contact essay generator online at https://studyclerk.com/essay-maker website to write me an essay about this topic because I got this assignment from college.
Keep it up! https://www.rushessay.com/fast-essay-writing.php
It’s obviously true that back rubs are reviving and discharge the poisons in the body. Yet, not just this back rubs additionally discharge endorphins in your cerebrum that you cheerful and make it simpler for you talk and cooperate with your accomplice. Visit spa centres near me
You have been looking for an amazing place to get your massage service, but have you checked out our site yet? Visit spa near to me
Skin well being requires sustenance sometimes. Standard spa treatment prompts the shining and sound skin. That is most likely the motivation behind why body spa is so well known among ladies.Visit erotic massage
Instead of being treated as a luxury spa treatment, the We people view their traditional Thai massage as an essential therapy to promote wellness. Visit body massage in Bangalore It is a practical way to relax the whole body that is in line with the main pillars and principles of Thai medicine.
Thanks for sharing the work. Preheat your hot glue gun and place a magnet on a flat surface with the magnet side facing up. Remove the paper wrapping from your crayons and break them into small pieces and also use https://gradeonfire.net/ site for quality work. Thank you!