A few weeks ago I was frantically searching for a simple, but interesting side table for this blog post I was in the middle of planning. It always seems to be the way that when I’m window shopping or on a self imposed shopping ban, I can easily find pretty much anything I may need and 5000 things that I love. But when I’m up against a deadline and NEED something, that one thing is nowhere to be found. It’s like the dating world of furniture. Can those Eames inspired chairs smell my desperation? Or are they just being really aloof?
That’s what happened with this table. Or didn’t happen with this table, as in I could not find a table anywhere. Just a simple side table. Four legs and a top. Doesn’t sound hard does it? Without wanting to take two hours out of my life to get to and from IKEA (and let’s face it, four more hours buying many, many things I (really don’t) need) I was stumped. But before I started driving to random shopping parks I remembered I had a studio with tools! Tools and wood. What more do I need?
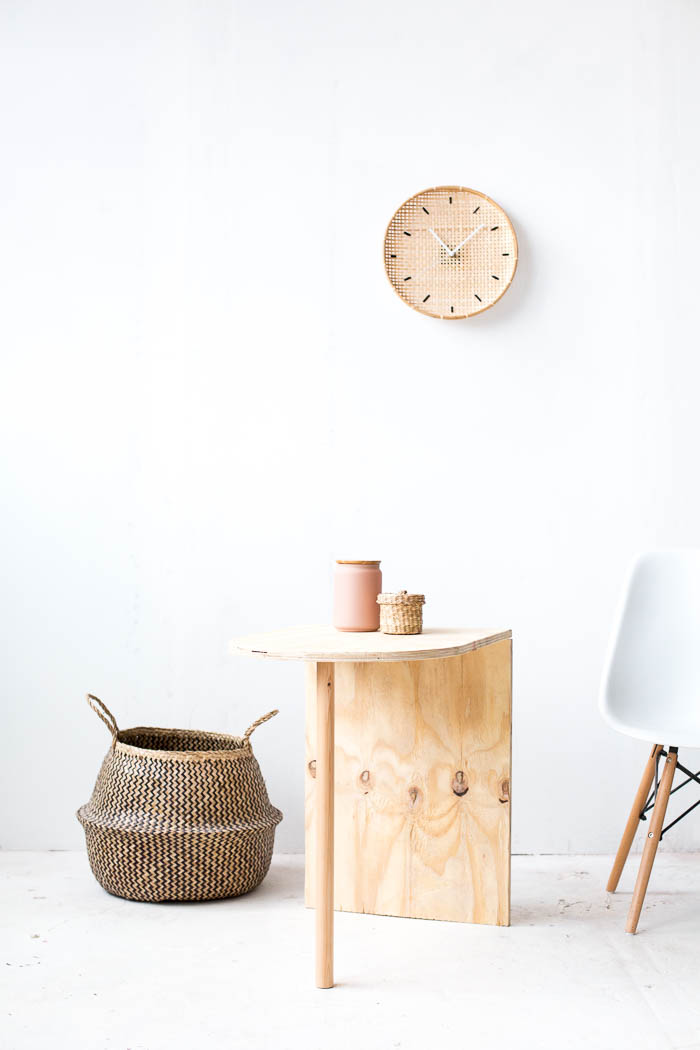
And so this guy was born. The tutorial for this is a little sparse. I started to make the table, then remembered I’m a blogger half way through and should probably be documenting the process. Yeah, I was feeling a little slow that day. But it was an easy make and I’m pretty sure you’ll be able to follow along. If you have any questions though let me know in the comments!

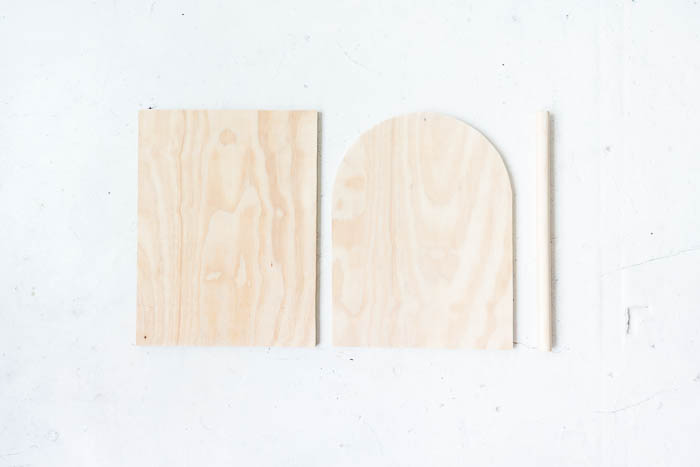
First of all I cut my wood into shape using a jigsaw. I created the half circle shape using a pencil tied to a piece of string half the width of the wood. Hold the pencil-less end in the centre of the wood and draw the semi-circle with the pencil. Follow this line with the jigsaw to cut it out.
I cut my wood based on the piece I had rather than any specific dimensions. This meant I could make less cuts. Just make sure both pieces are the same width. The length of the rectangle will be the height of the table and the length of the rounded piece, the depth. Cut a piece of 30mm dowel the same length as your rectangular piece. Here, all my pieces are the same length as this was easier and more economical.
Sand down all of the edges. A power sander comes in very useful here (and at many other times in life)!

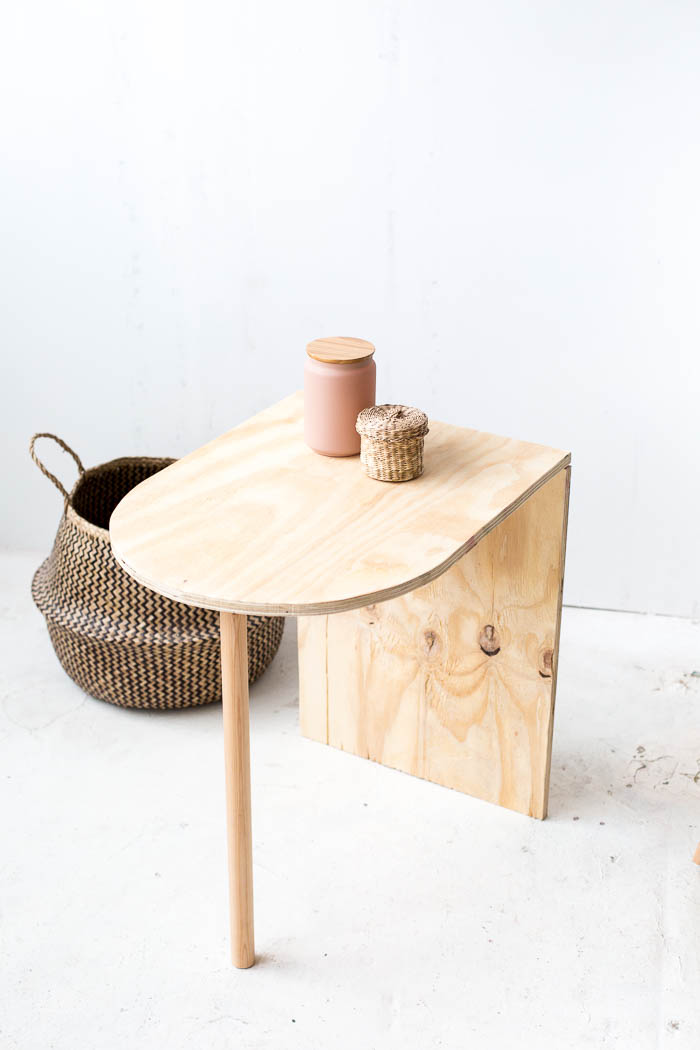
I didn’t want to see screws in the top of the table so I used brackets to attach the two pieces of wood together. These can be as large as you want and you can use many to secure the table. Just remember the screws need to be smaller than the thickness of the wood so they don’t poke through the top.
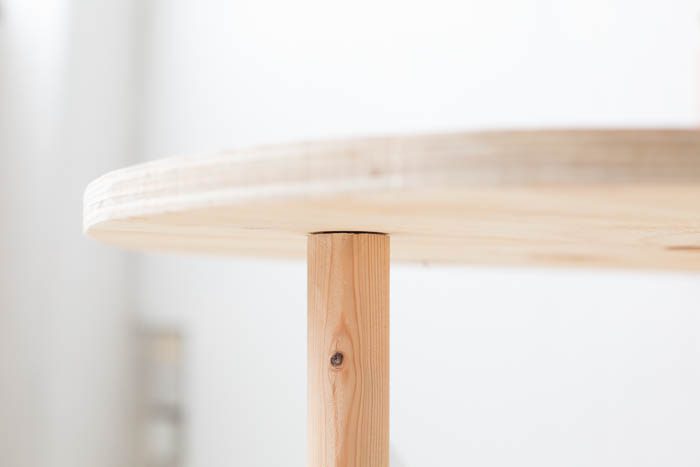
I then used parts from this leg mounting kit I had left from my sofa DIY to securely attach the leg. I used a 10mm drill bit to drill a hole into the underside of the table, being careful not to drill all the way through and then pushed a female converter into the hole. Don’t worry if this doesn’t go all the way in.
Then I drilled with a 7mm drill bit into the dowel and screwed the hanger bolt almost all the way into this hole, leaving just a little of the bolt to screw into the female converter. When you do this the female converter will also screw further into the wood making it more secure.
I know that sounds really complicated! If I get any requests for this I can recreate it on a smaller scale and show you exactly how I did it. Just let me know in the comments if you want to see that.
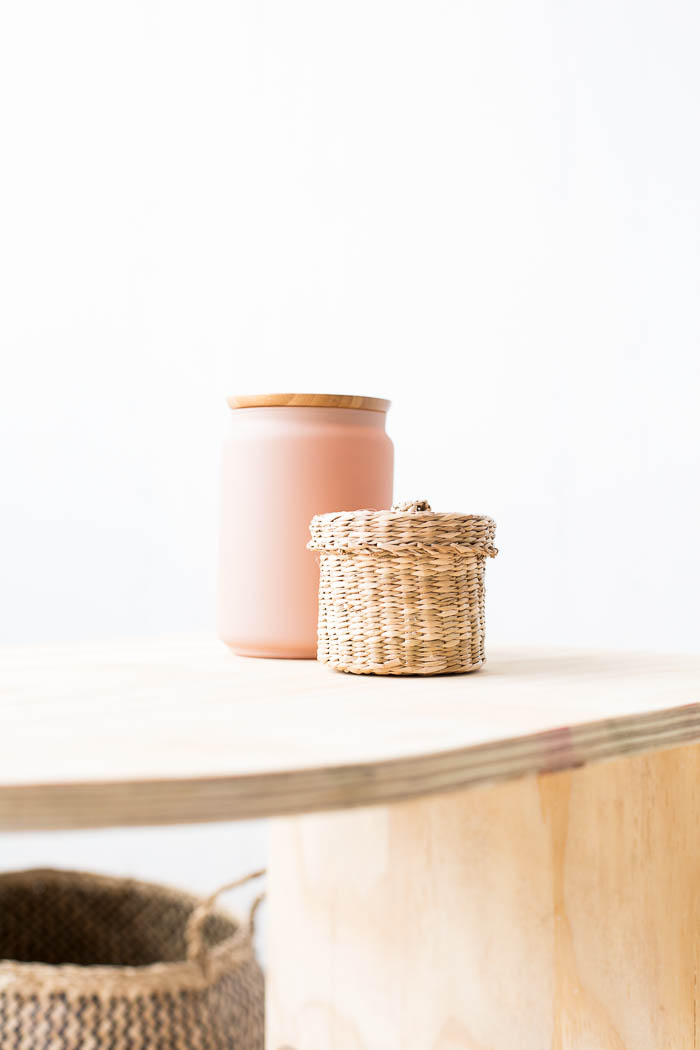
And the table is ready! You can leave it raw or treat it with a wood varnish/wax. I’ve found most treatments change the wood colour and I’d rather keep it raw and sand out any imperfections as they happen.


Wow this is amazing!
good idea
http://www.suzhoudress.com/t/homecoming-dresses-82.html
Excellent article, really enjoyed reading through this.
I design and construct handmade snooker tables so have similar experience with the sort of things you have mentioned here.
Thanks for sharing this :)
Hi! Do you find the table stable to actually use it to write or do things on top of it?
This looks great! Exactly what I’ve been looking to buy. Guess I have to make it! What kind of wood and thickness of wood did you use?
Thanks!
I read your rules, terms and conditions. After that i ordering the jersey but when i received this jersey it was very loose for me. But now you are not return it. I will giving so last minute essay writing Because you break my trust and i will never buying from you anything.
IZSPA, is the heaven in form of spa we are best body massage service provider in Bangalore.We offer our customers massages like Female to Male,Body to Body Massage, Thai Massage and many more modern and traditional types massages provided by IZSPA in best prices.
Visit full body massage near me
One of the oldest healing practices is massage. Visit massage center near to me
Skin well being requires sustenance sometimes. Standard spa treatment prompts the shining and sound skin. Visit female to male spa near me
I feel this blog is so interesting to read because its information is so useful
It’s a great piece, I must say! Thanks for sharing this useful information. I really appreciate how well you write. Your post definitely caught my attention.