I’ve never been one to shy away from a challenge, especially when it comes to a little DIY. I’m not the sort of person to wait for someone else to complete a task for me. Basically, I’m just way too impatient and when I want something do I’d rather just get on with it. It’s why I have no fear of what might be traditionally seen as a man’s job.
Apart from knowing I can do most of these things better than half the men I know, I’m also damn stubborn. If someone tells me I can’t do something because I’m a woman, you know I am going to go out my way to prove them wrong.
But you don’t have to be as ambitious and headstrong as me to be successful with your home DIY. In fact, you don’t even have to leave your home. Thanks to Engelbert Strauss I’m going to show you how you can make a simple change that can create a huge impact on your home decor.
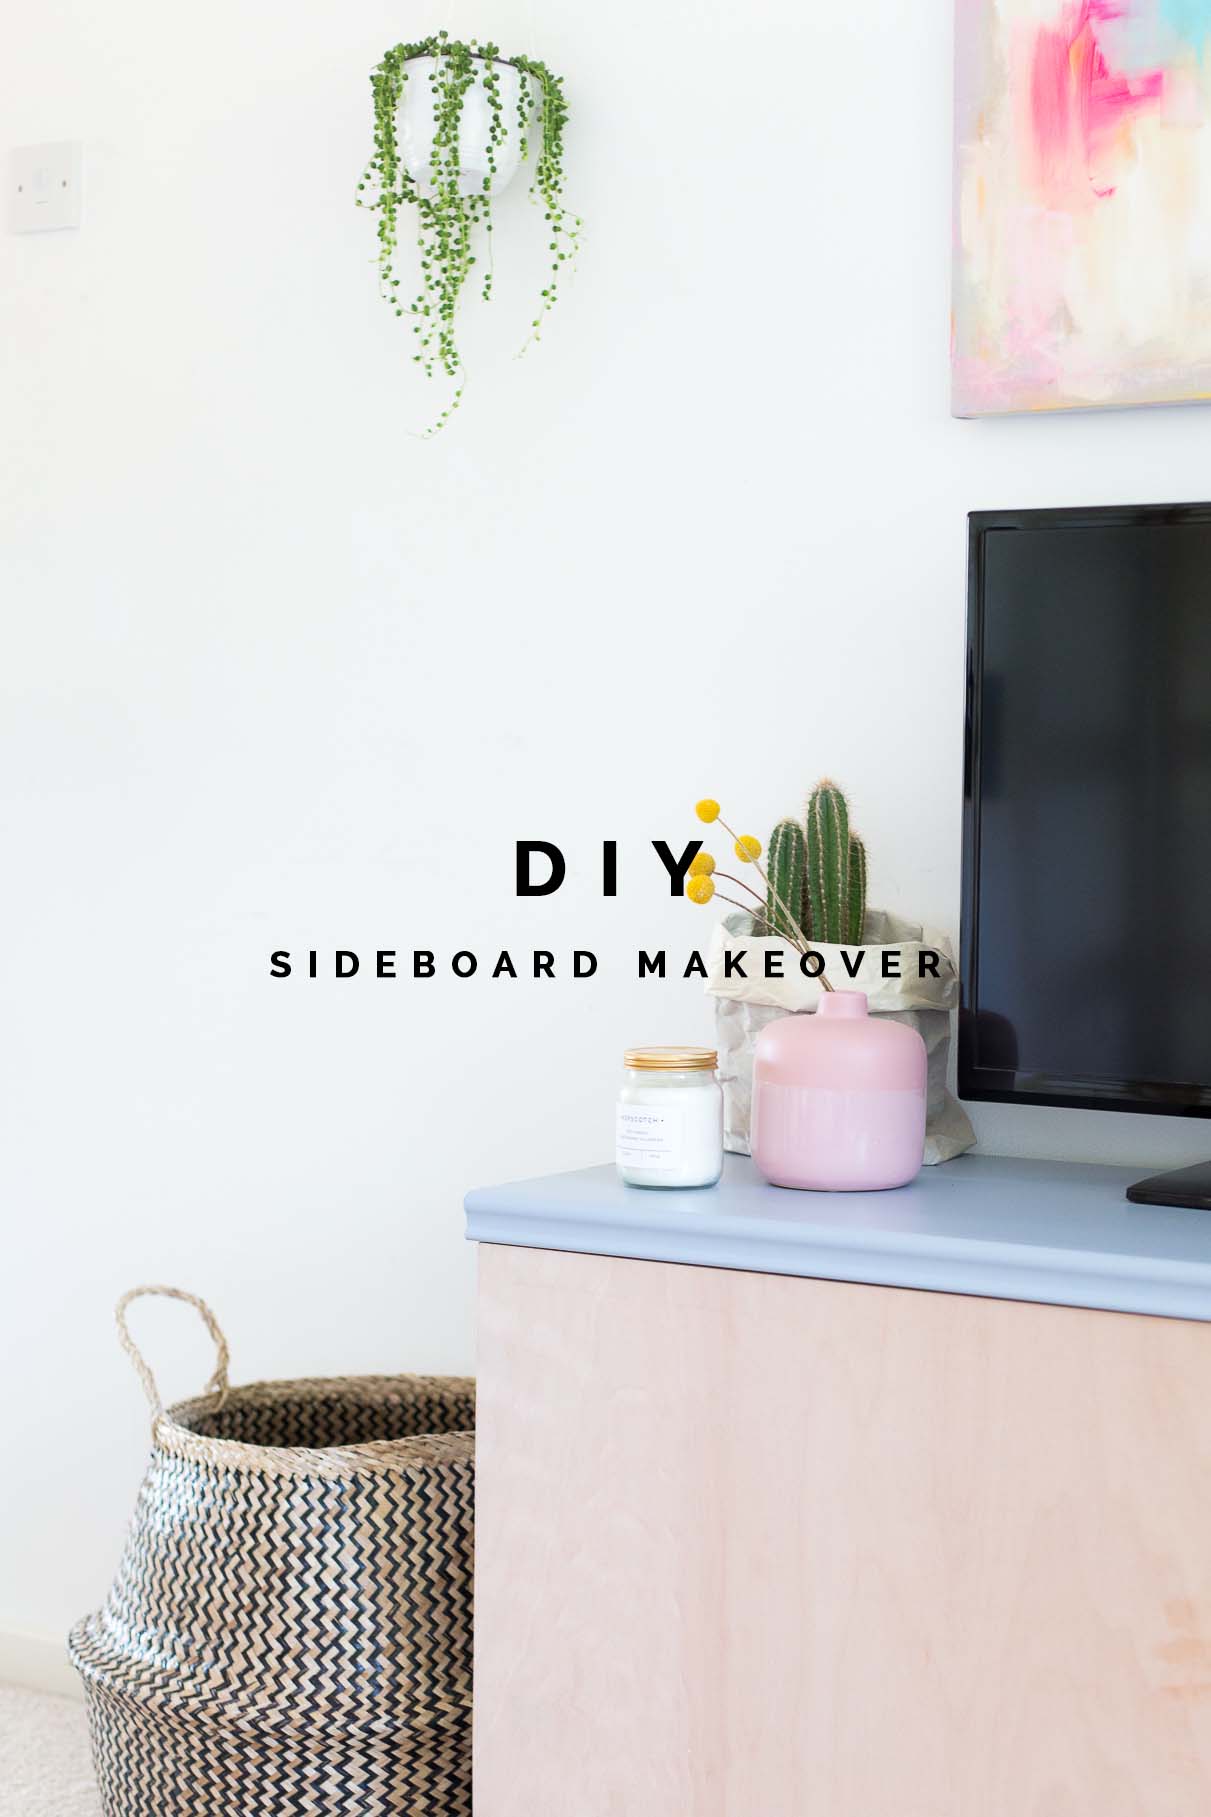
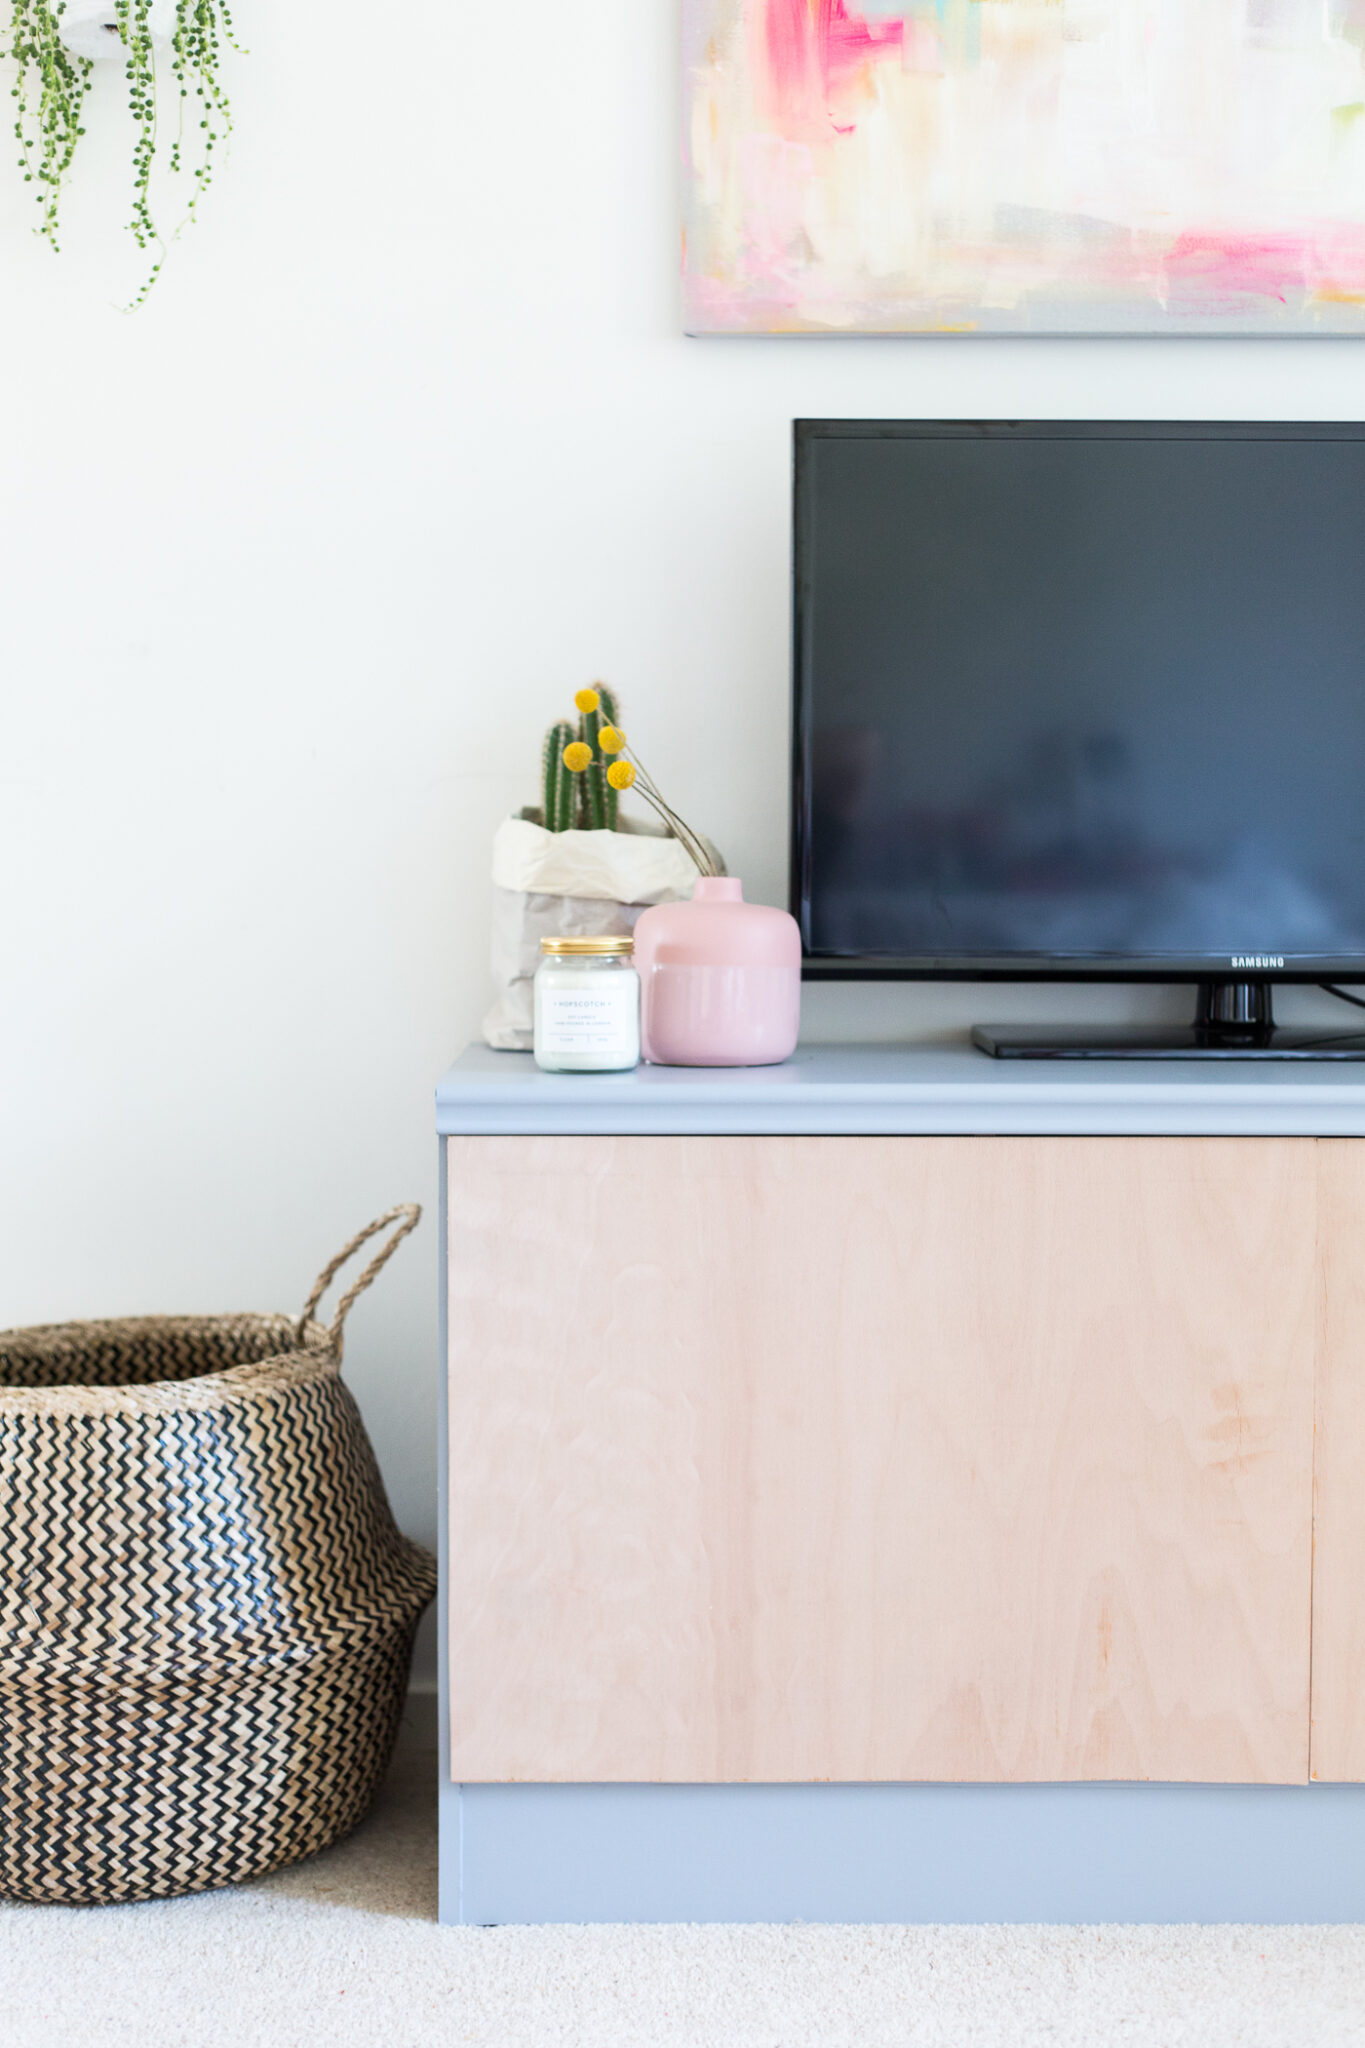
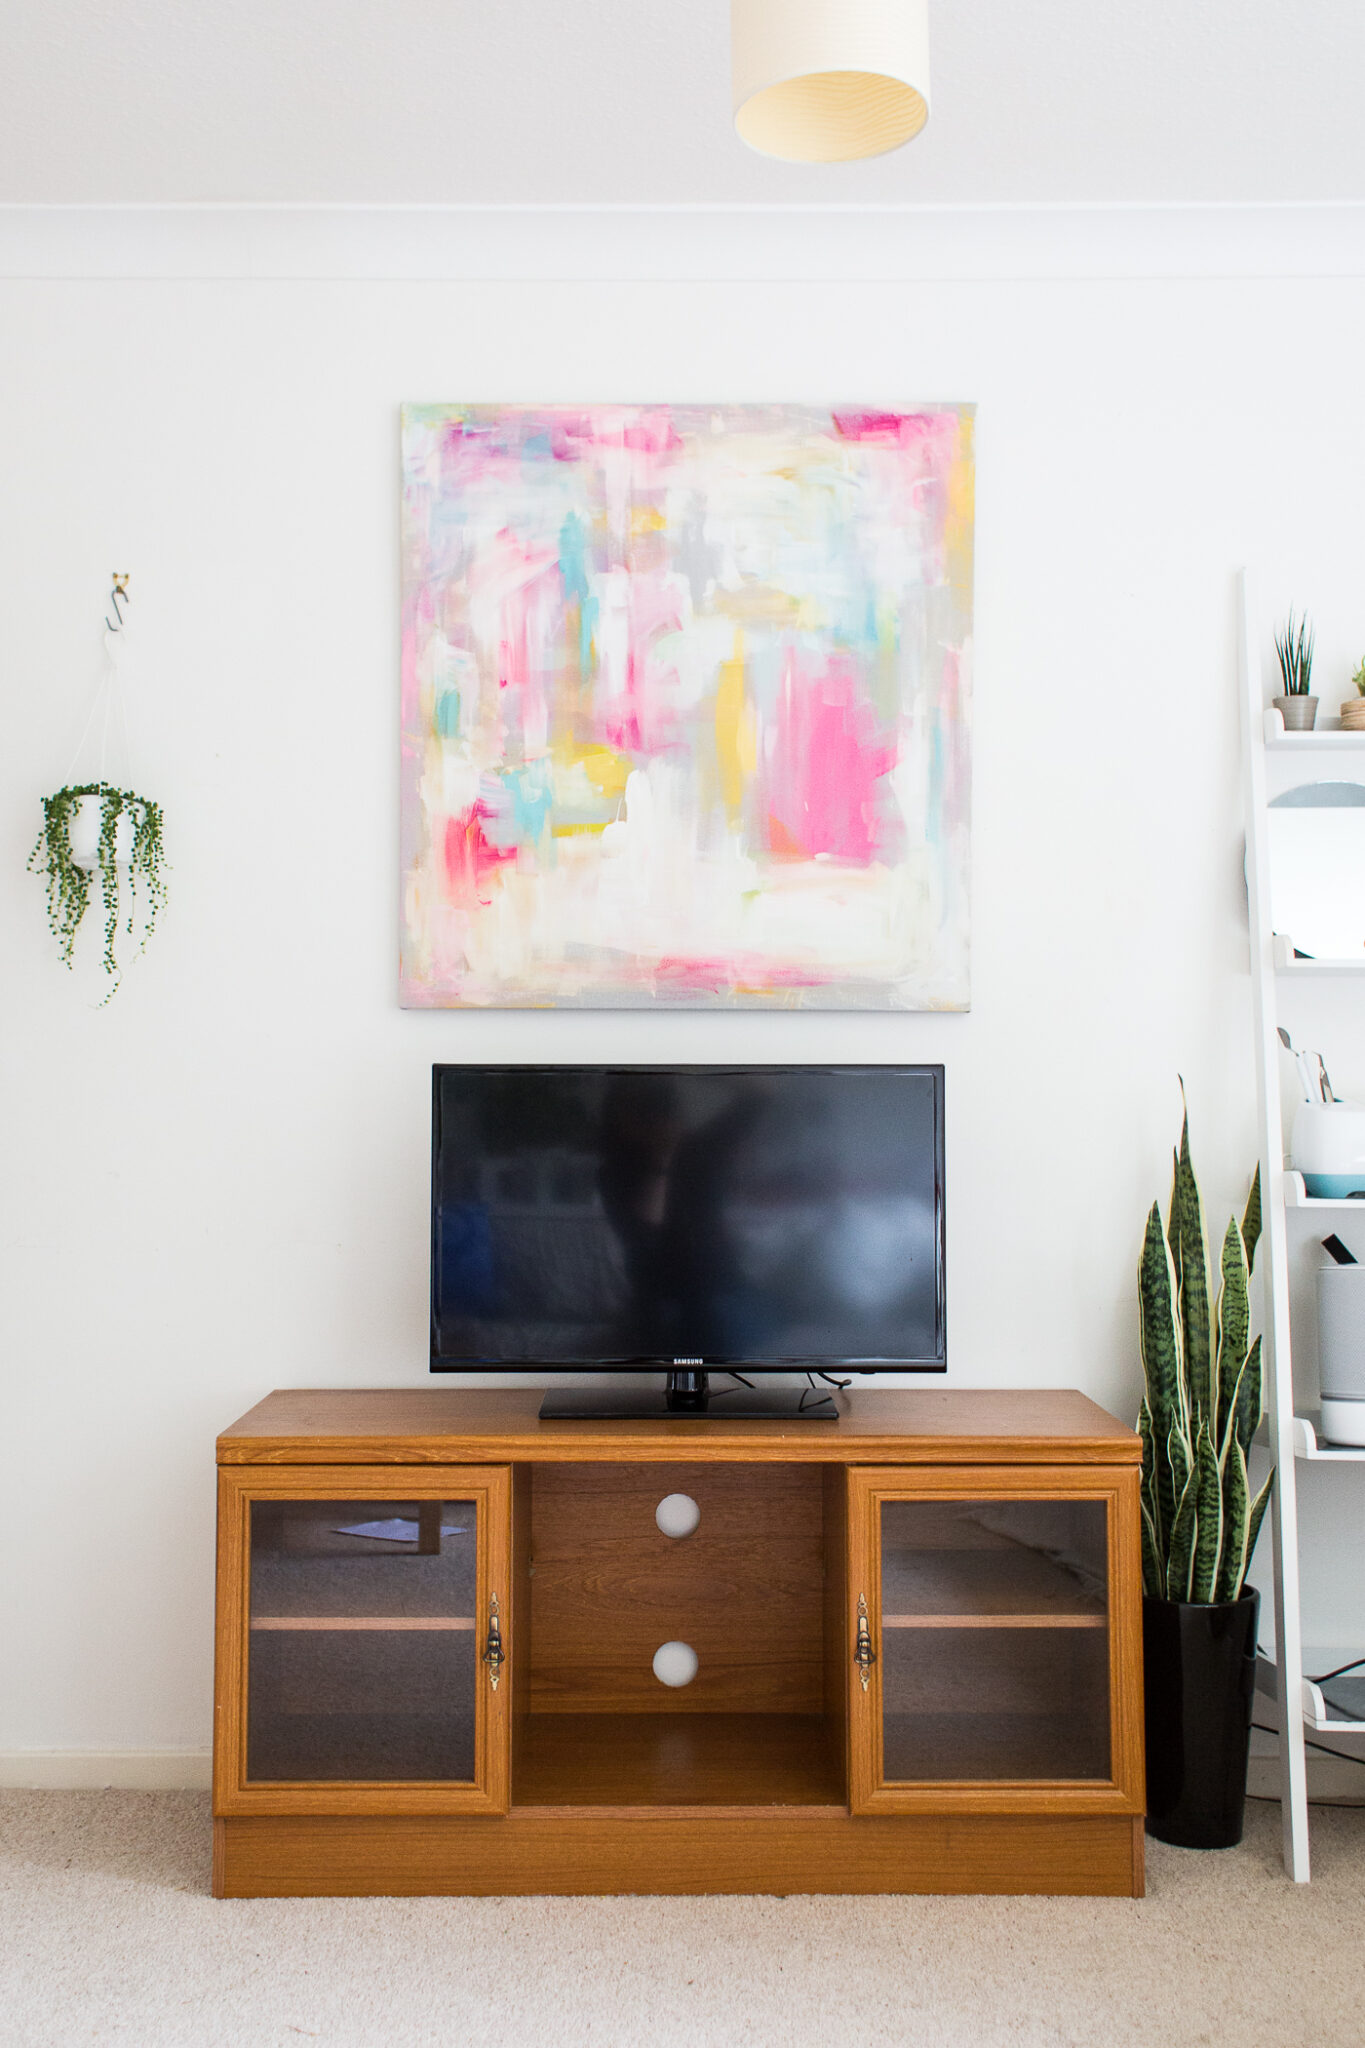
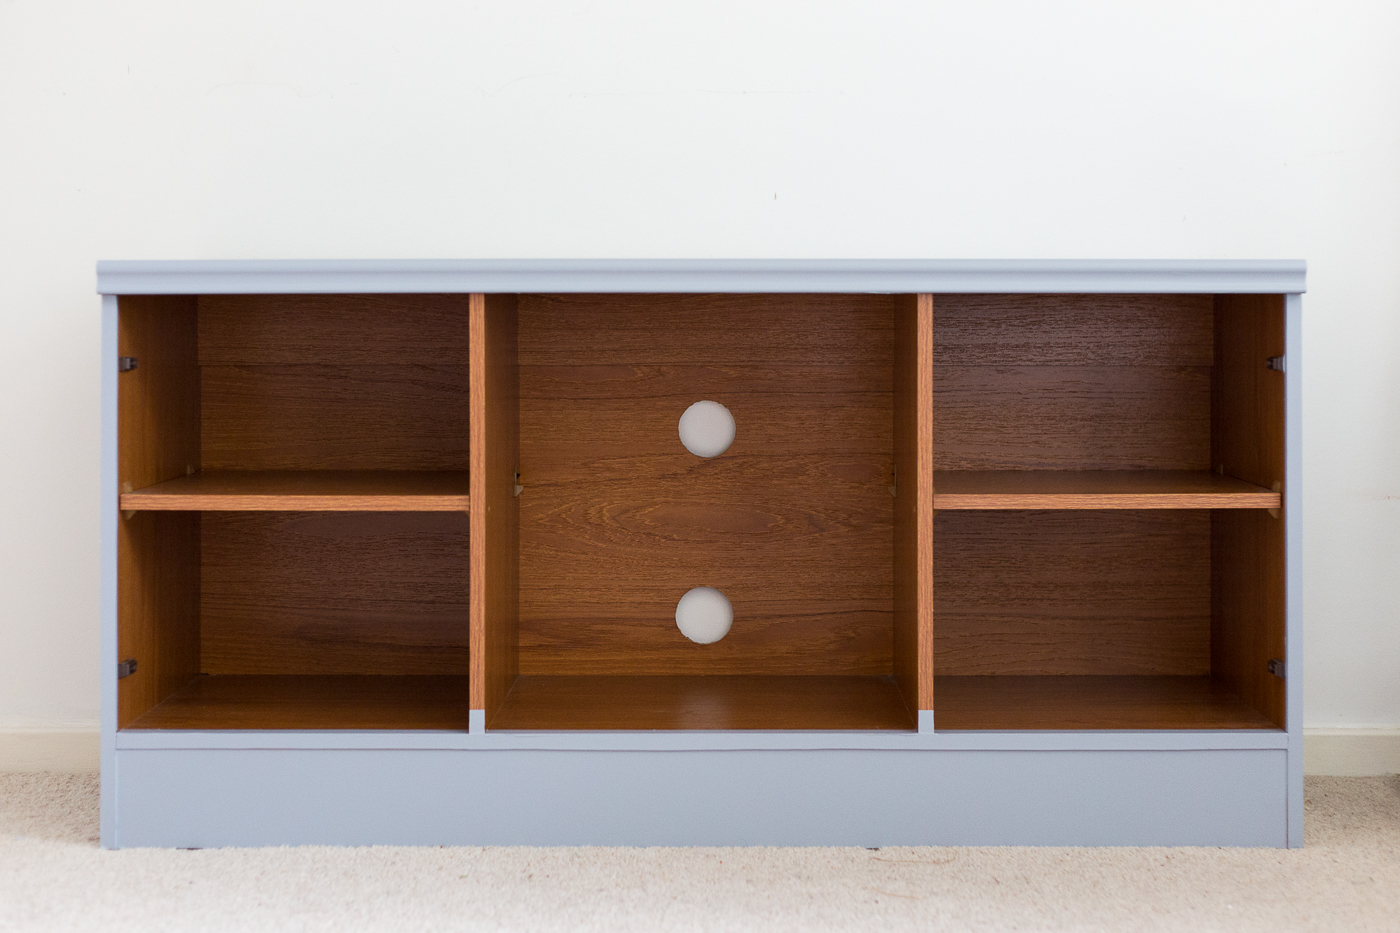
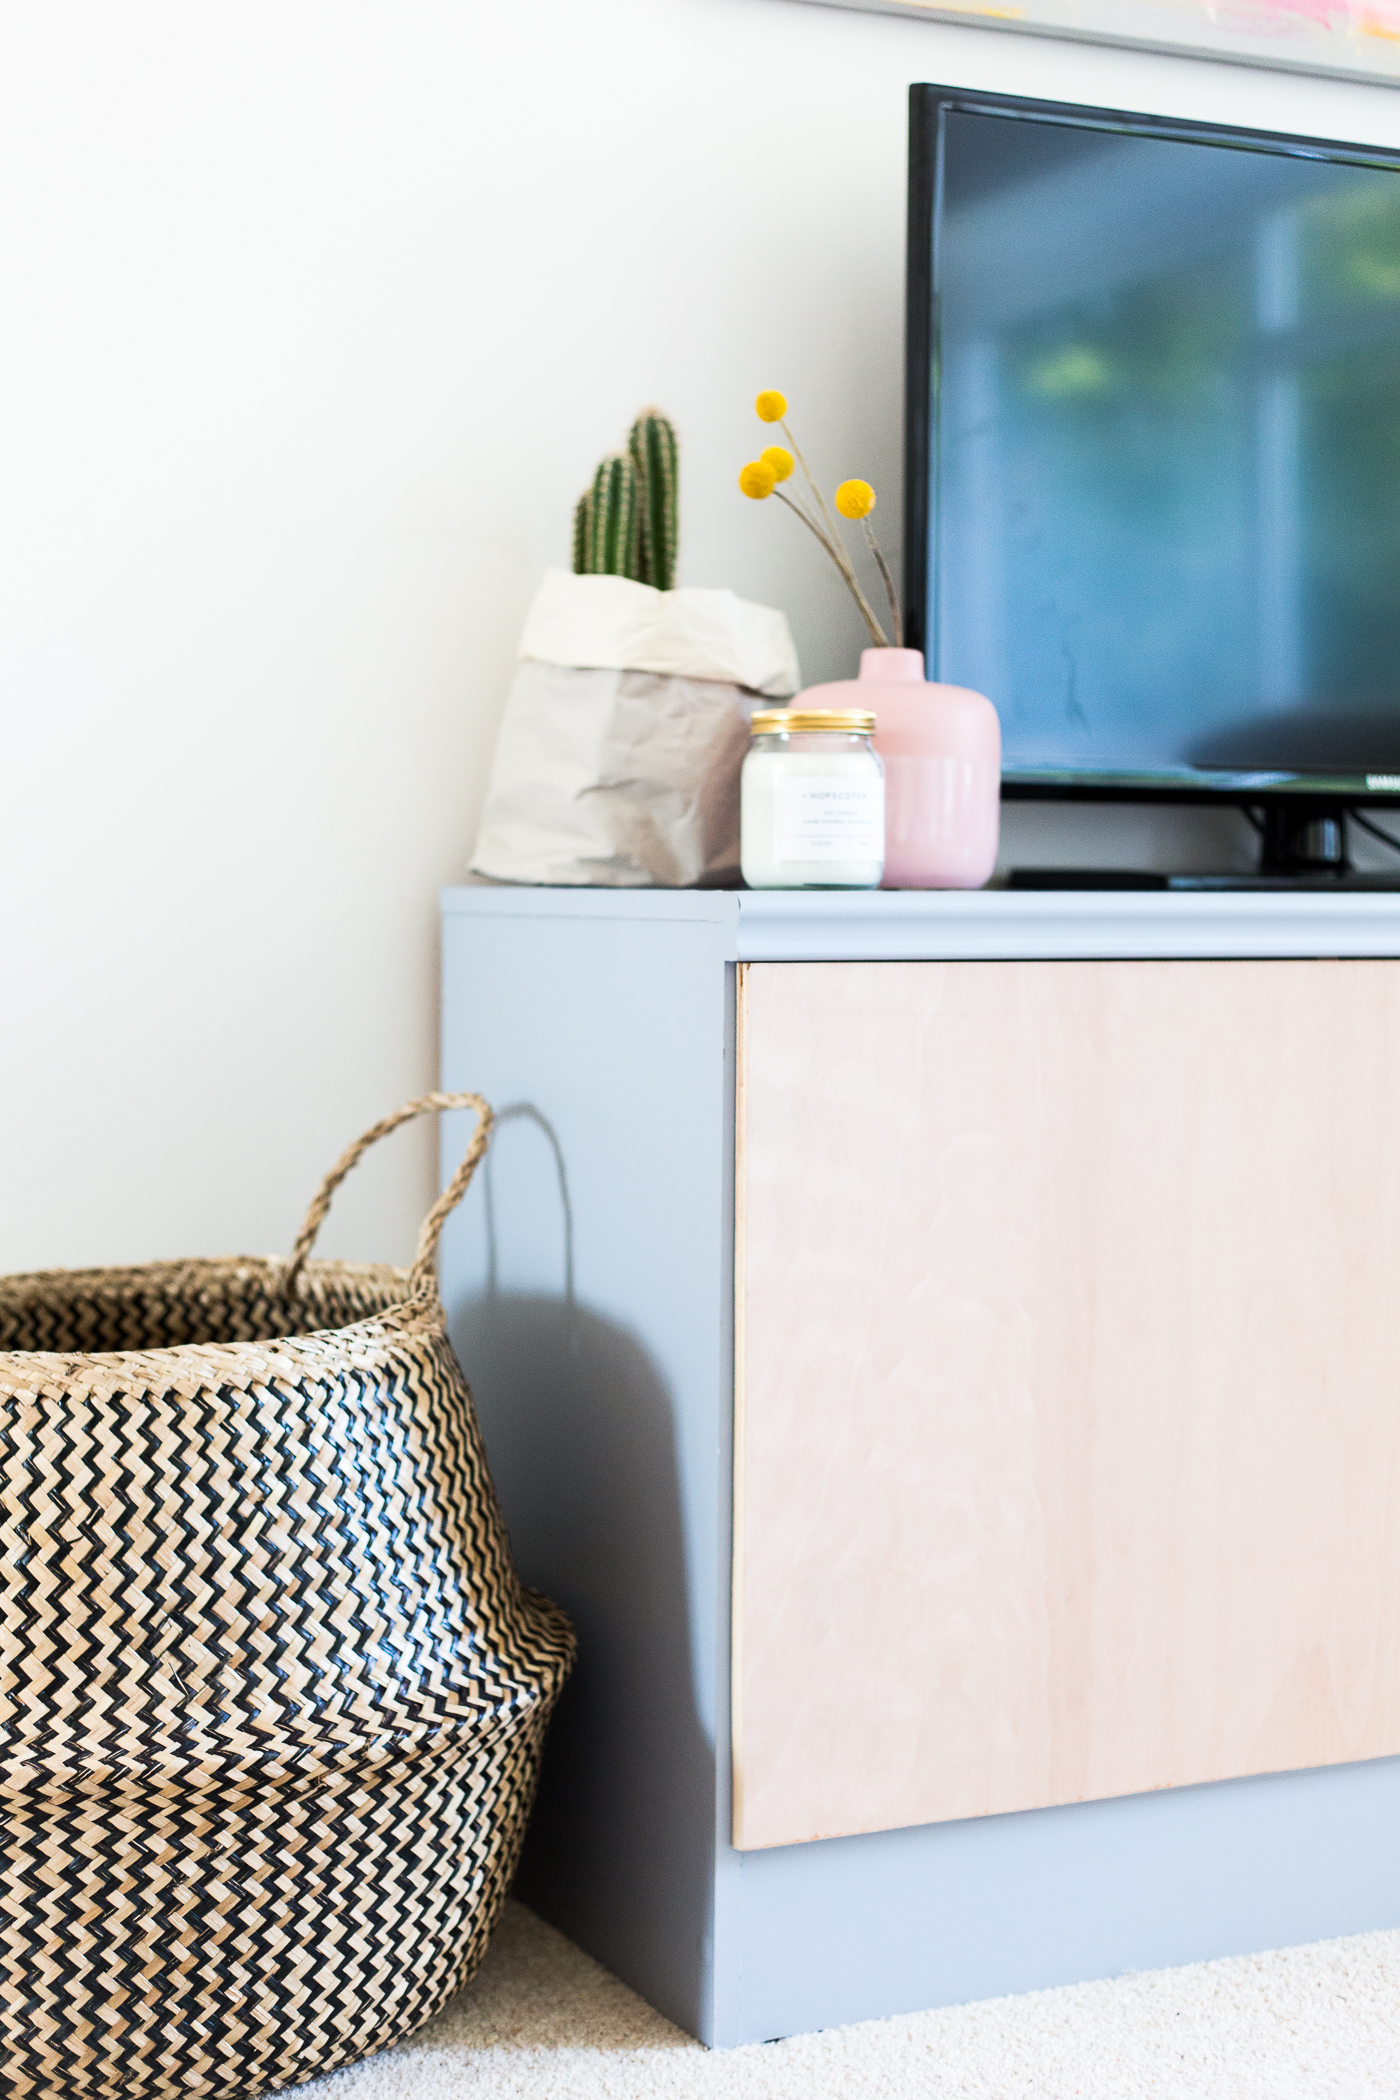
I was given this media sideboard and as soon as I saw it I had big plans. With a few tools and a little vinyl, I gave it a complete transformation. One that cost only around £25 and I couldn’t be happier with the outcome.
1. Firstly remove the doors and any additional hardware that might be in the way. You might be able to recycle these fixings later so don’t throw them away immediately.

2. Measure your vinyl to roughly a little larger than the surface you plan to cover. I have some tips for applying self-adhesive vinyl in this post but the most foolproof tool you can use is a squeegee. This will help you achieve a bubble and crease free surface with ease!
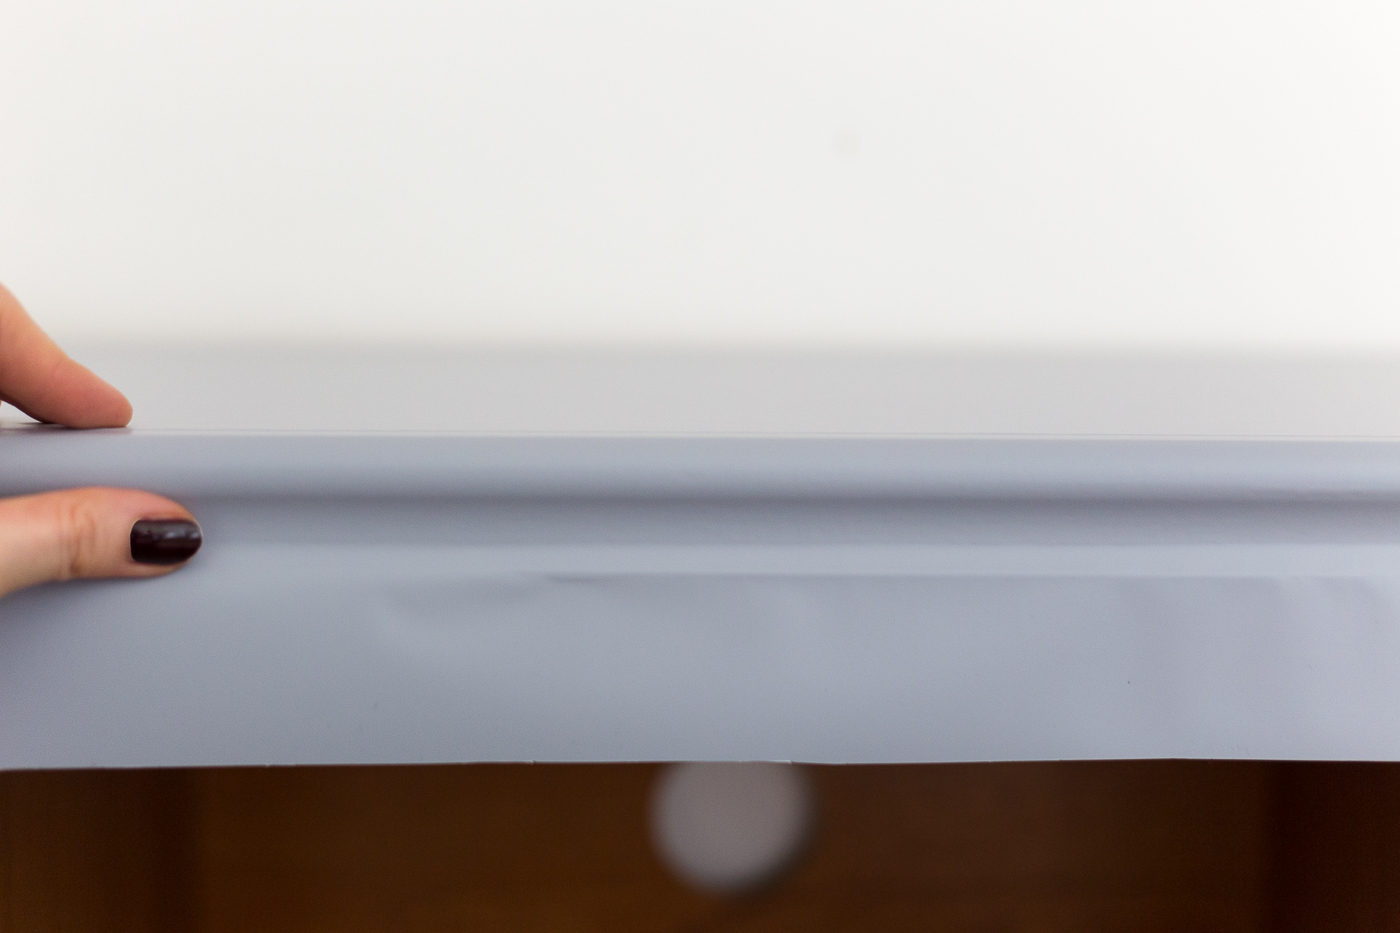
3. Starting at one end secure around an inch of vinyl to the surface and slowly peel off the backing as you smooth over with the squeegee. Continue this over the surface until you have the larger sections covered. I found that lifting the piece of furniture into different positions makes this step much easier. Borrow an extra pair of hands if it’s really heavy (and they can help with the vinyl too since they’re here already right!?)
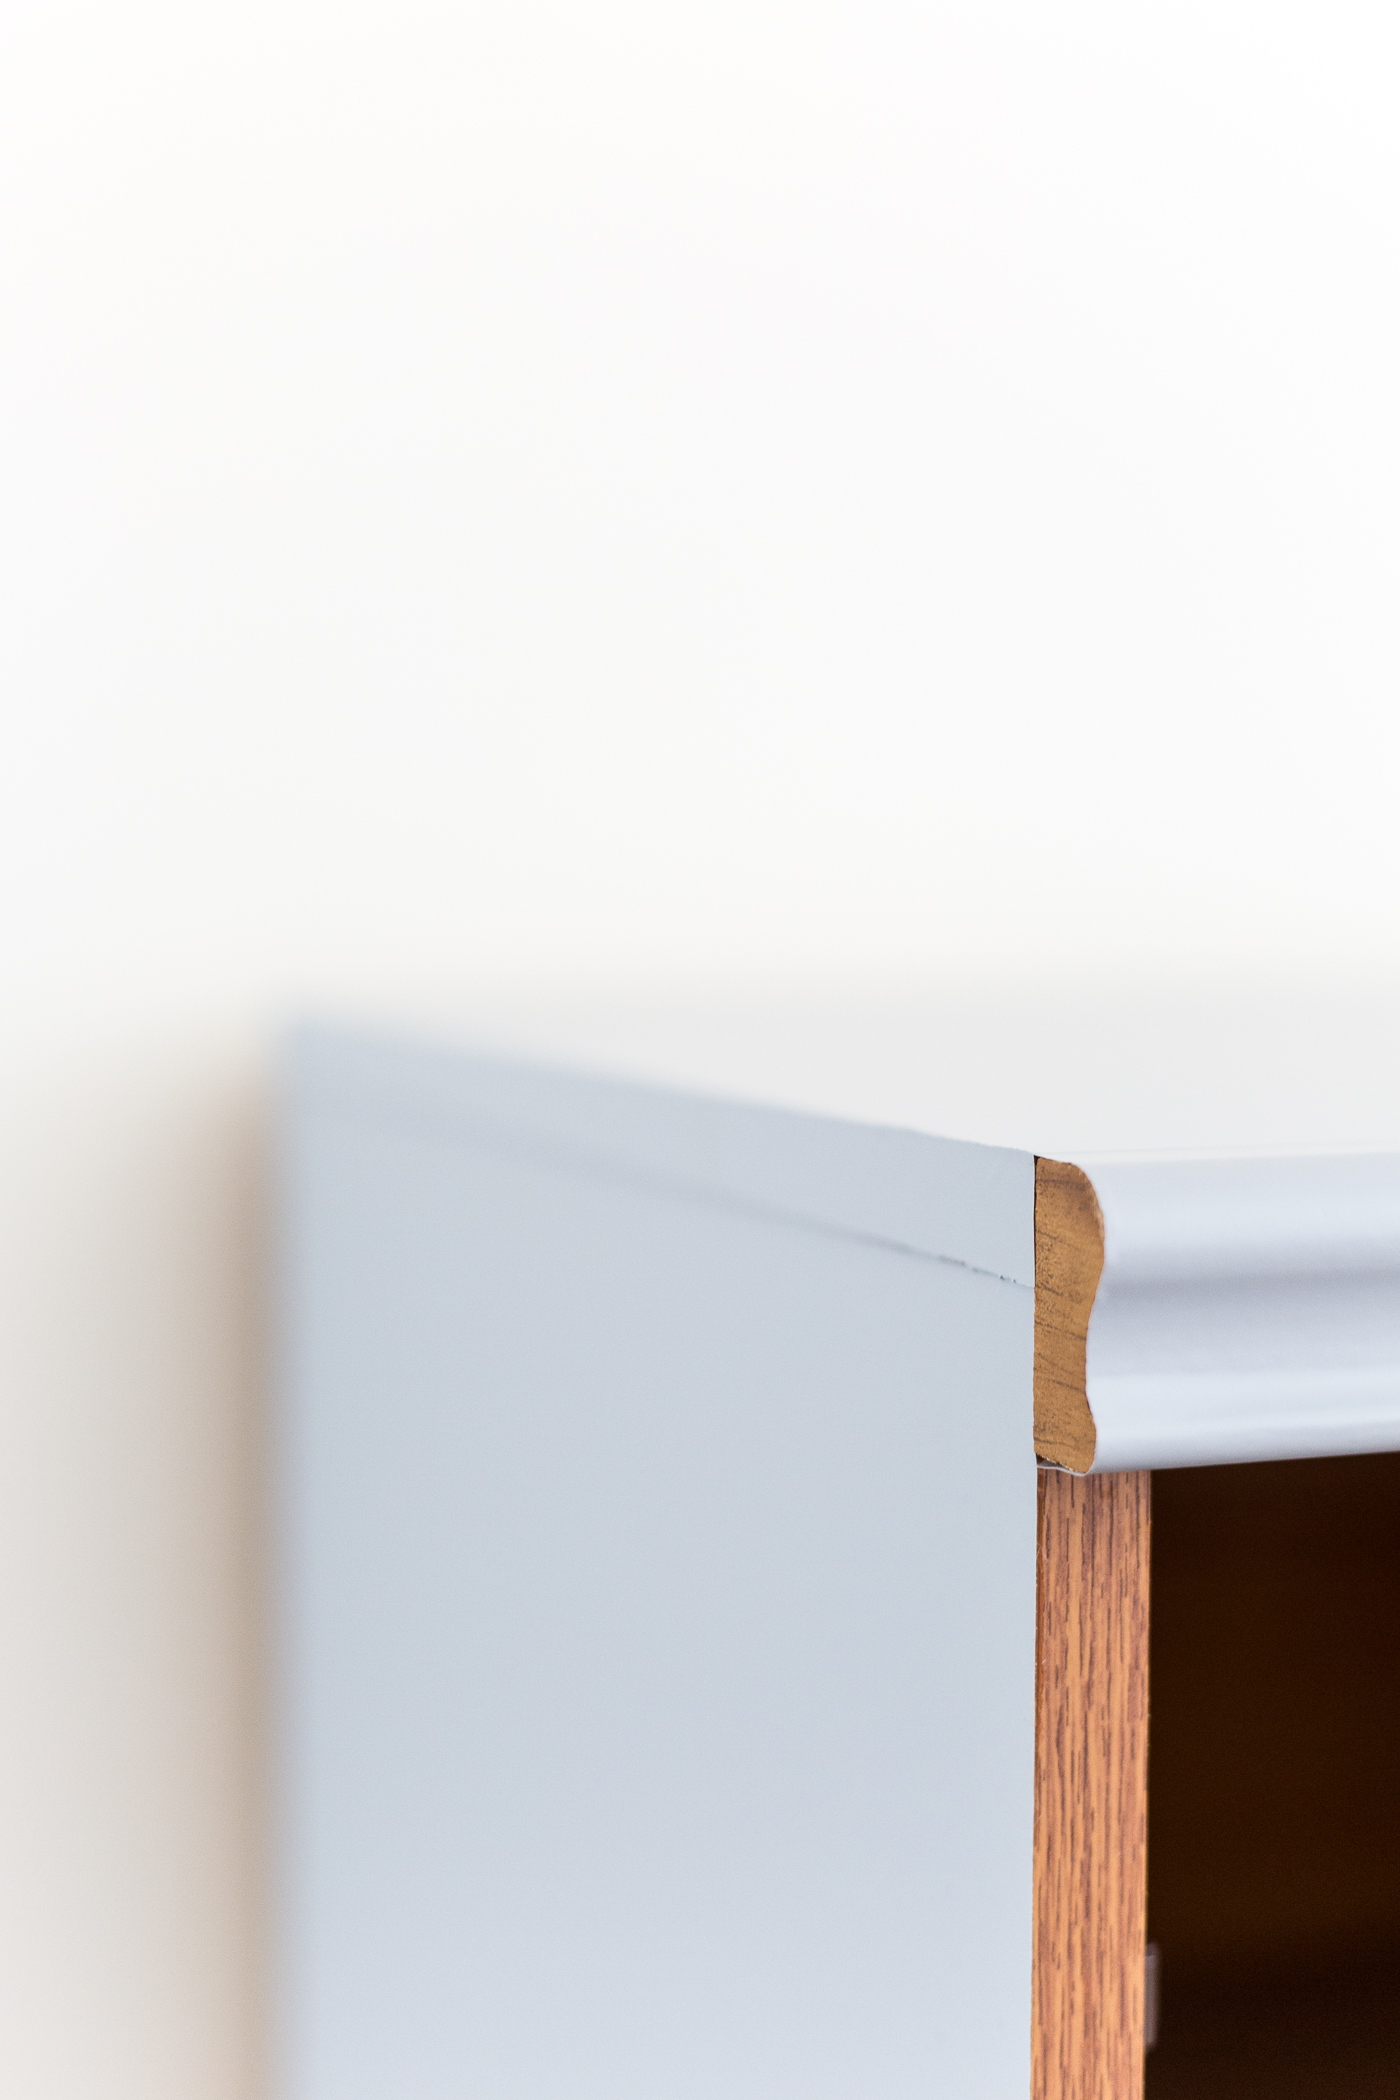
4. Cut the excess off with a retractable knife carefully working around any edges or more detailed areas.
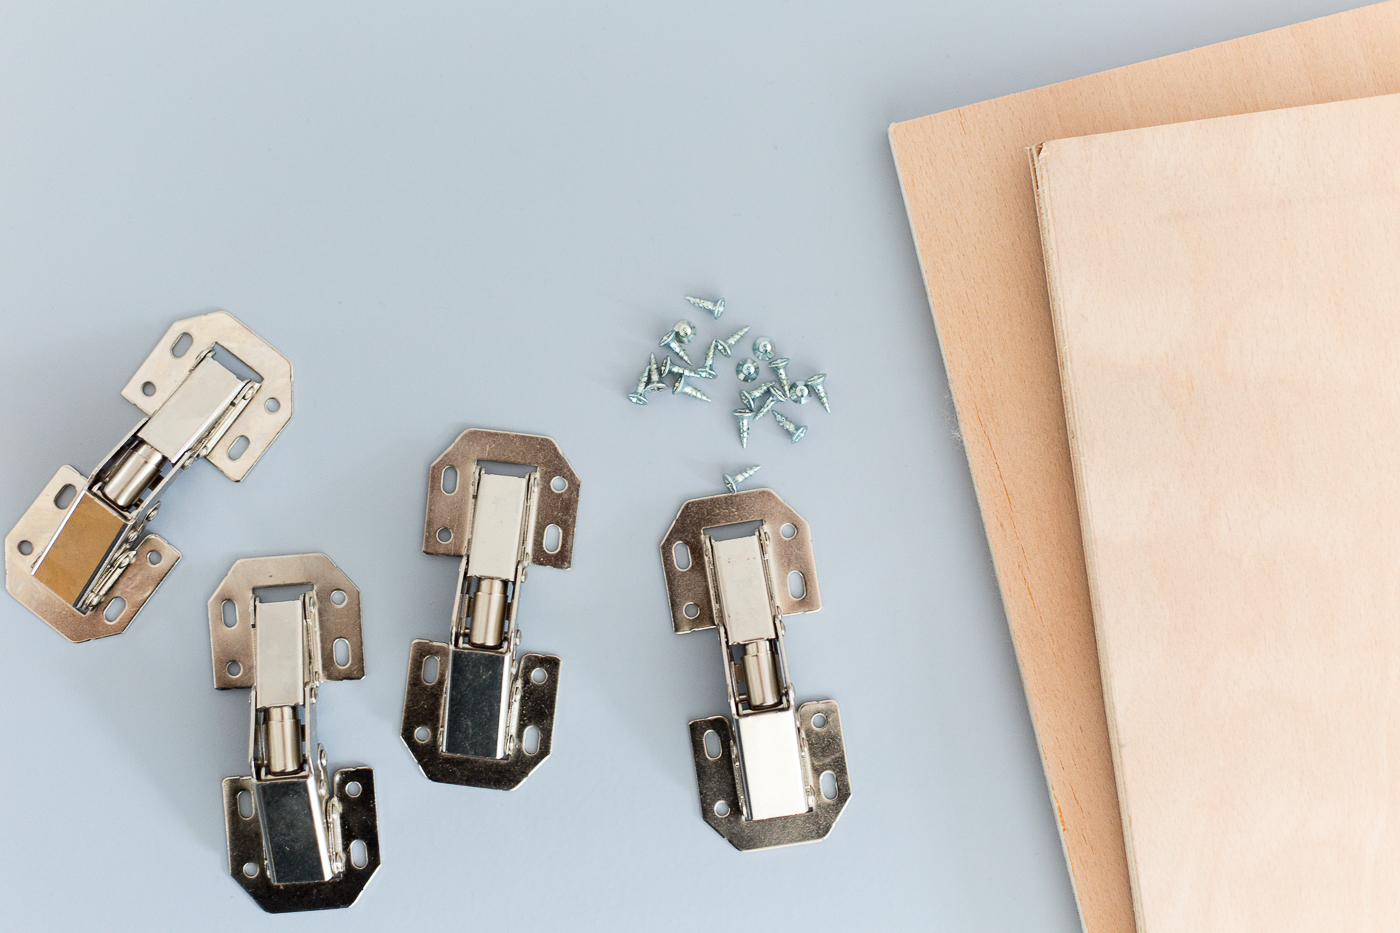
5. Measure the front of the sideboard to ascertain the size of the doors. I cut these from a piece of plywood using a jigsaw. These might look (and sound) pretty scary to use but it’s actually a really easy way to cut wood to shape. If you’re not confident, alternatively you can usually get the wood cut at your local DIY store.
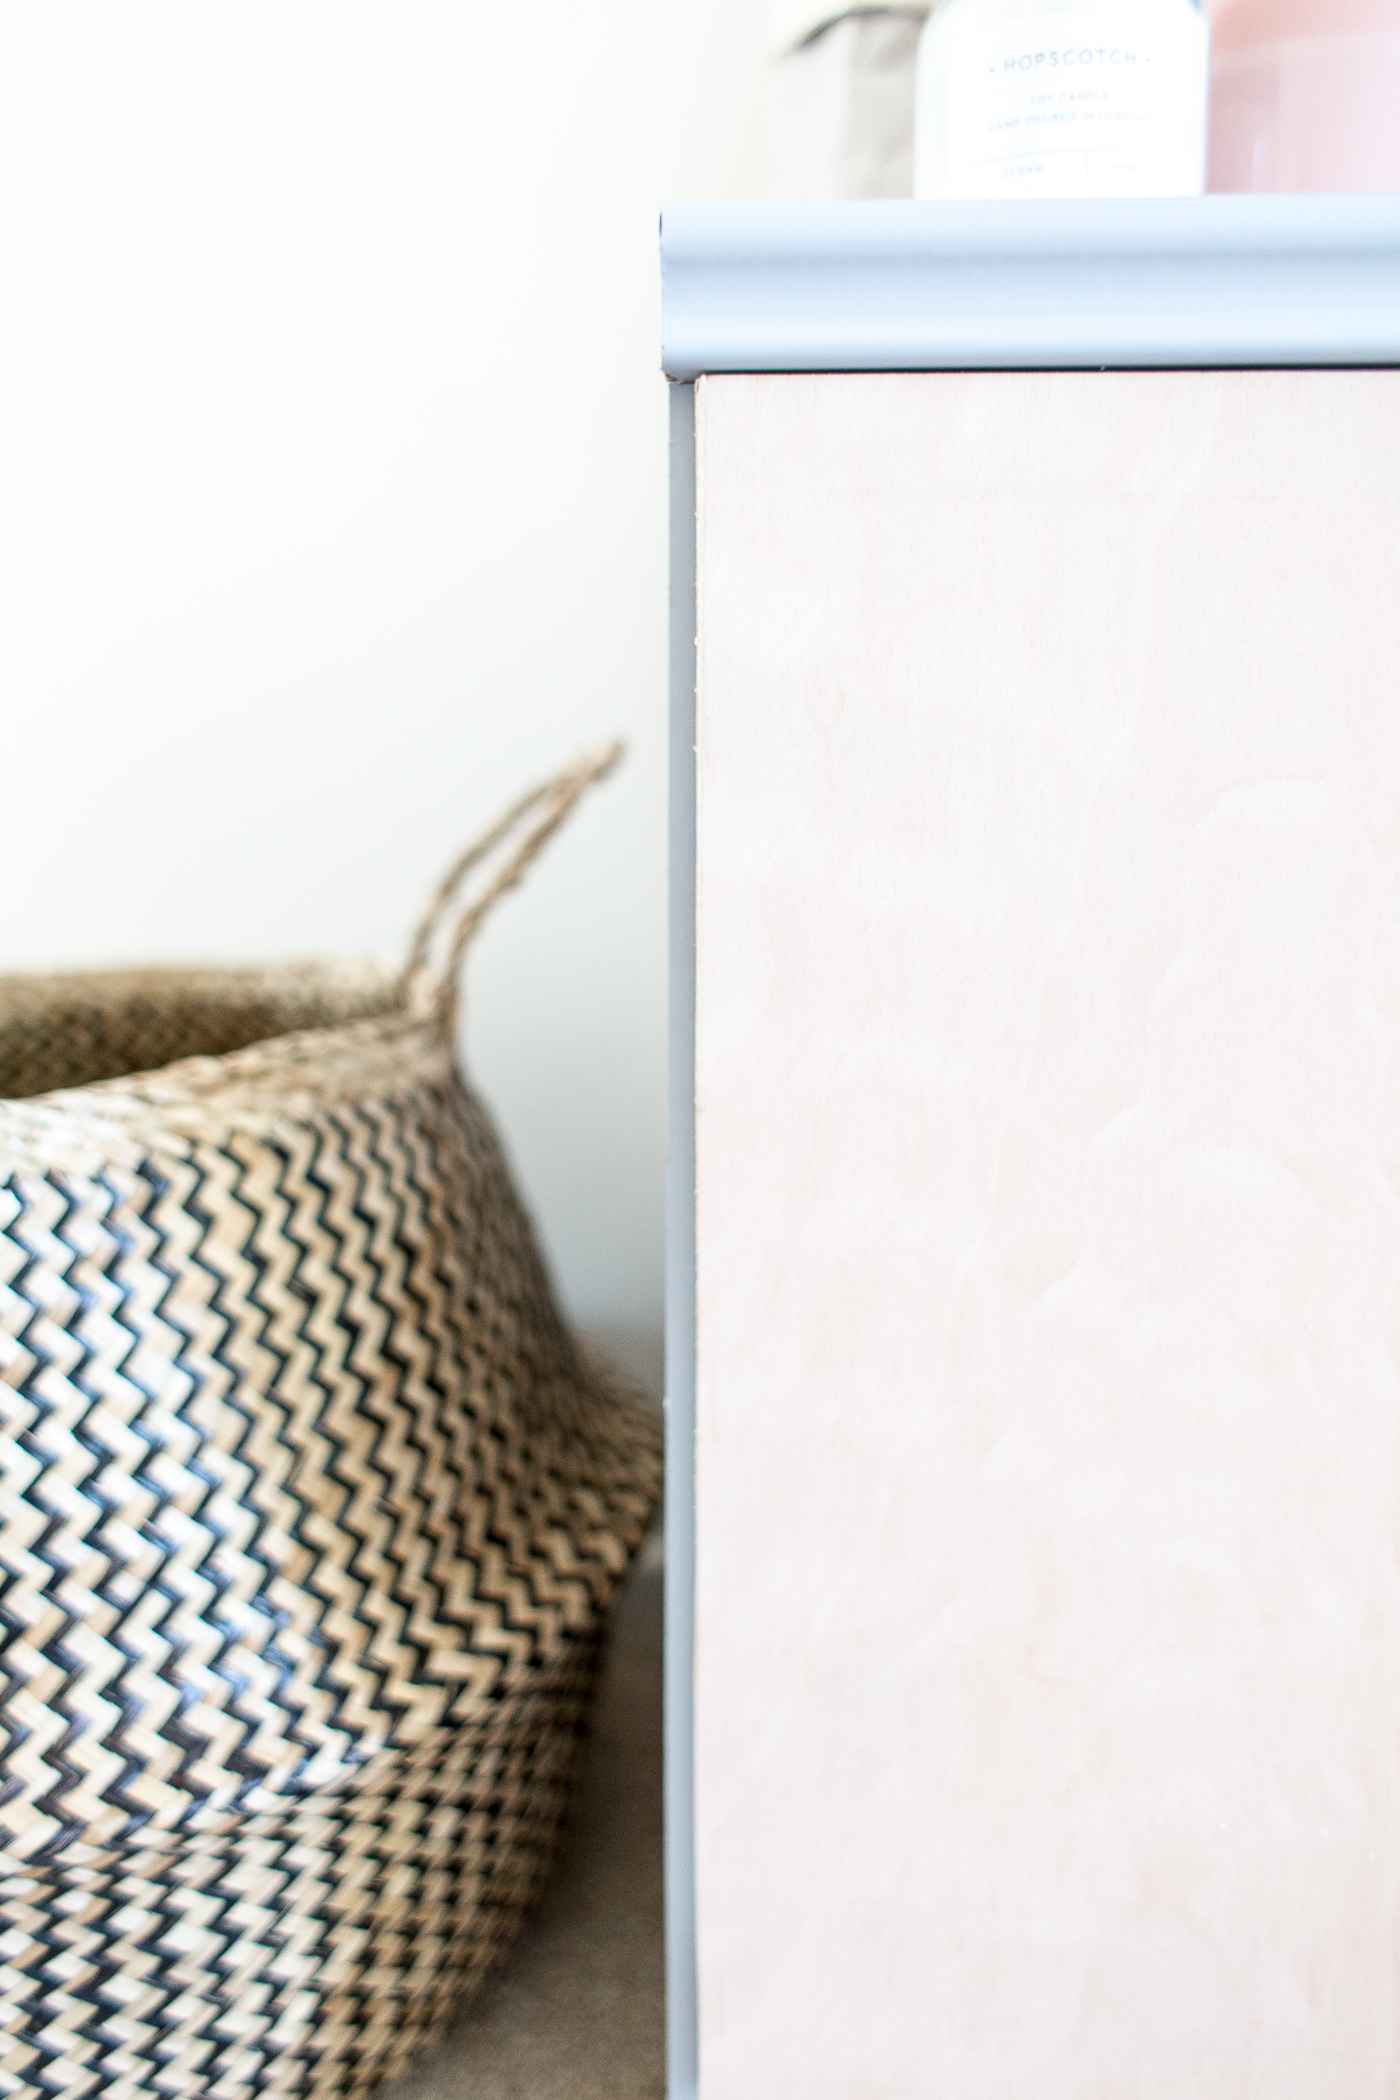
6. Sand down the edges and use a clear varnish over the wood to finish.
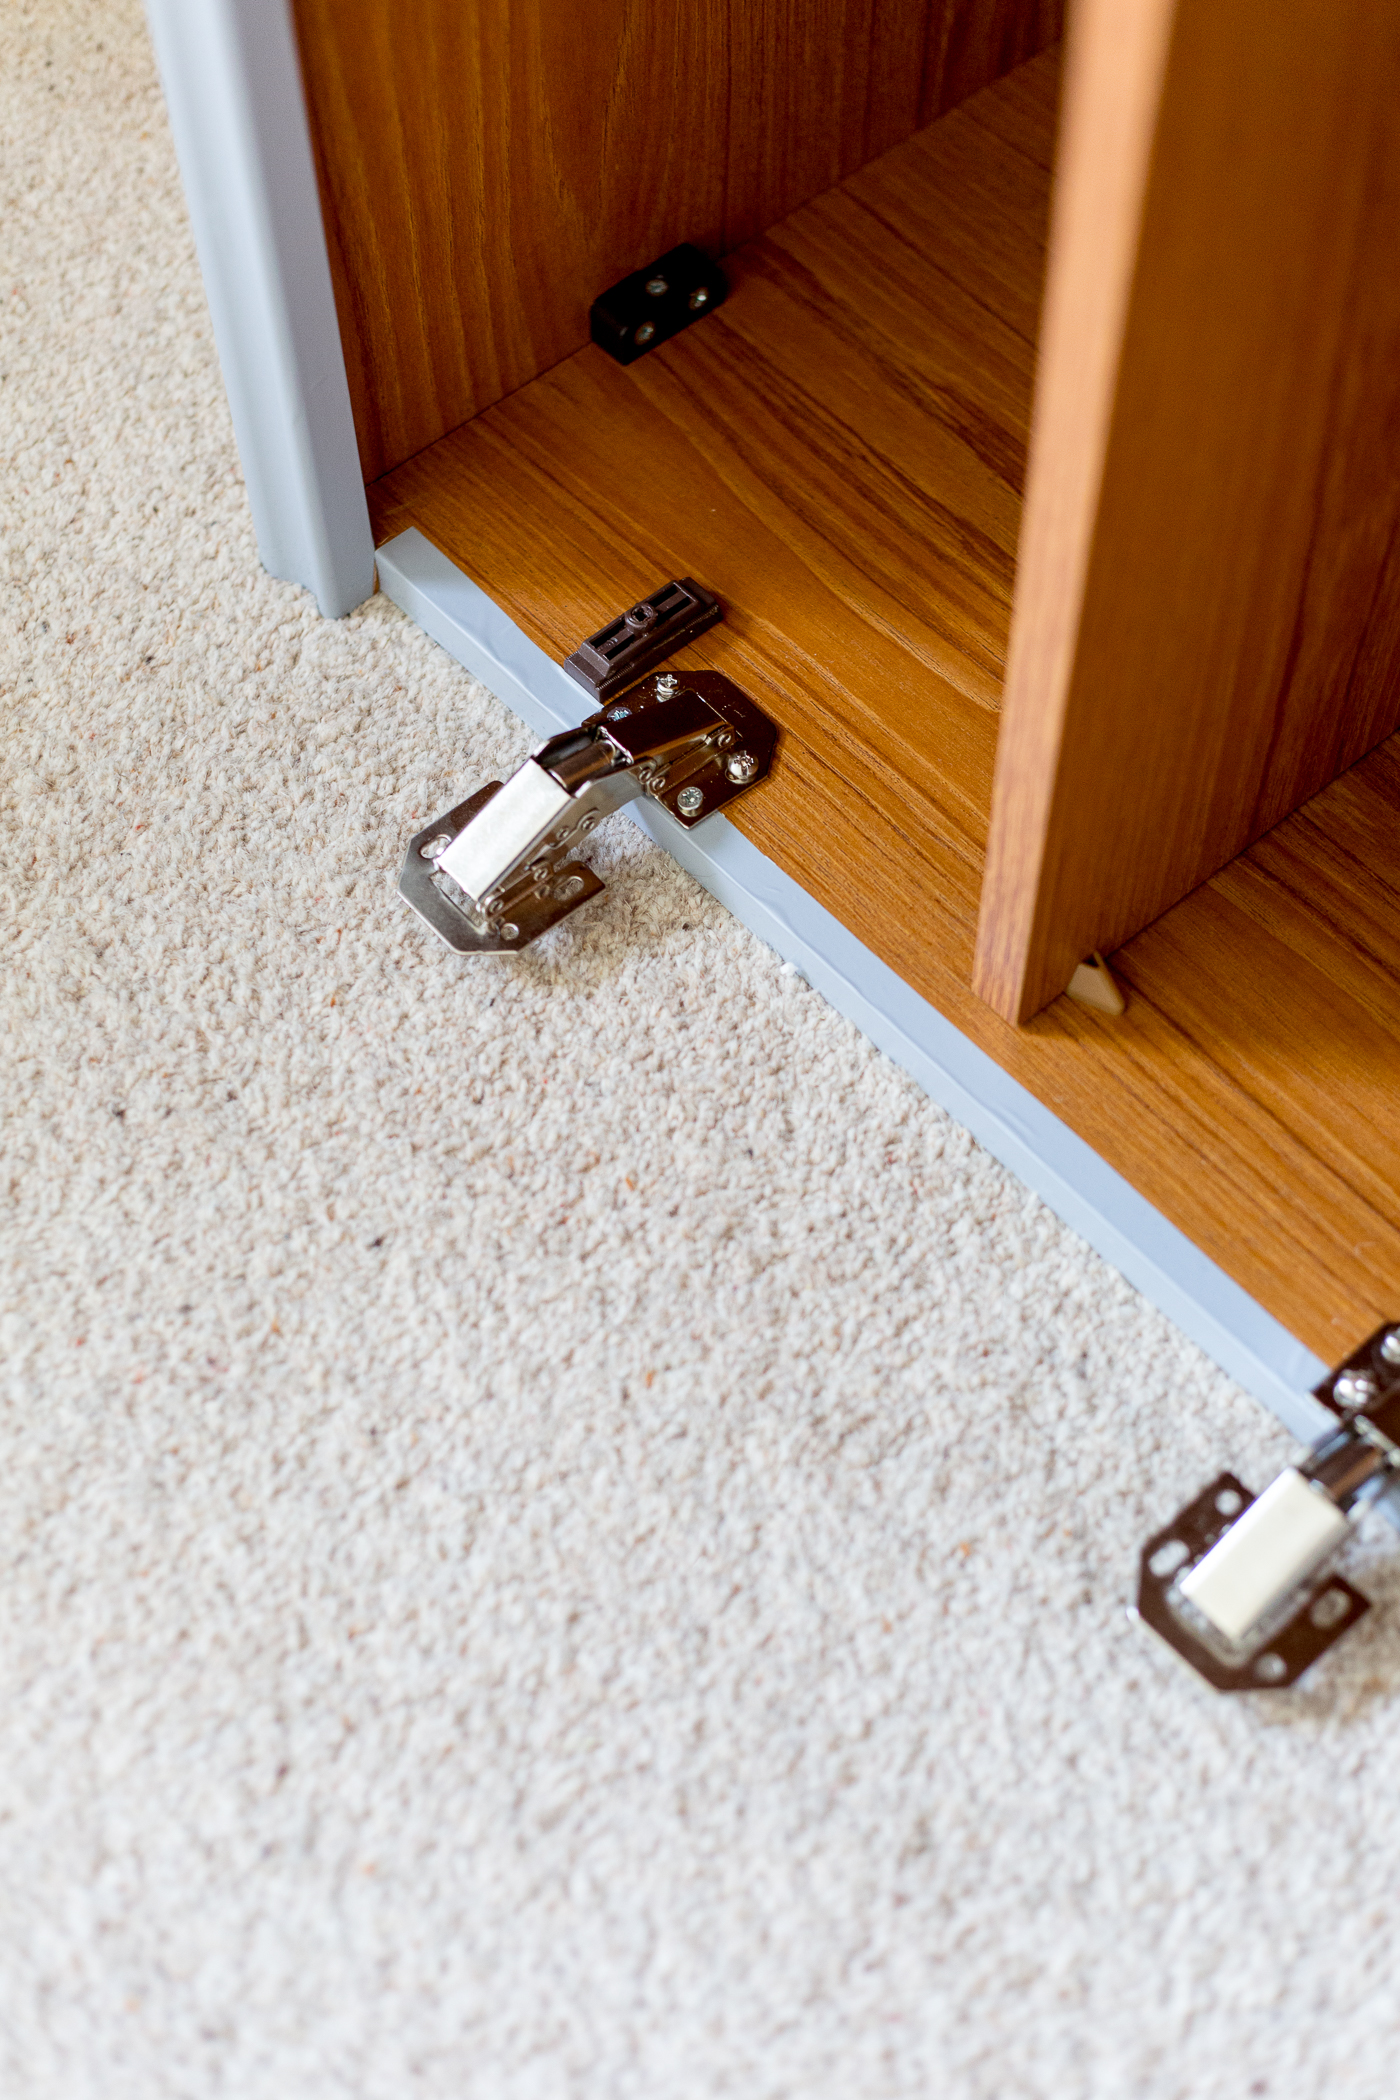

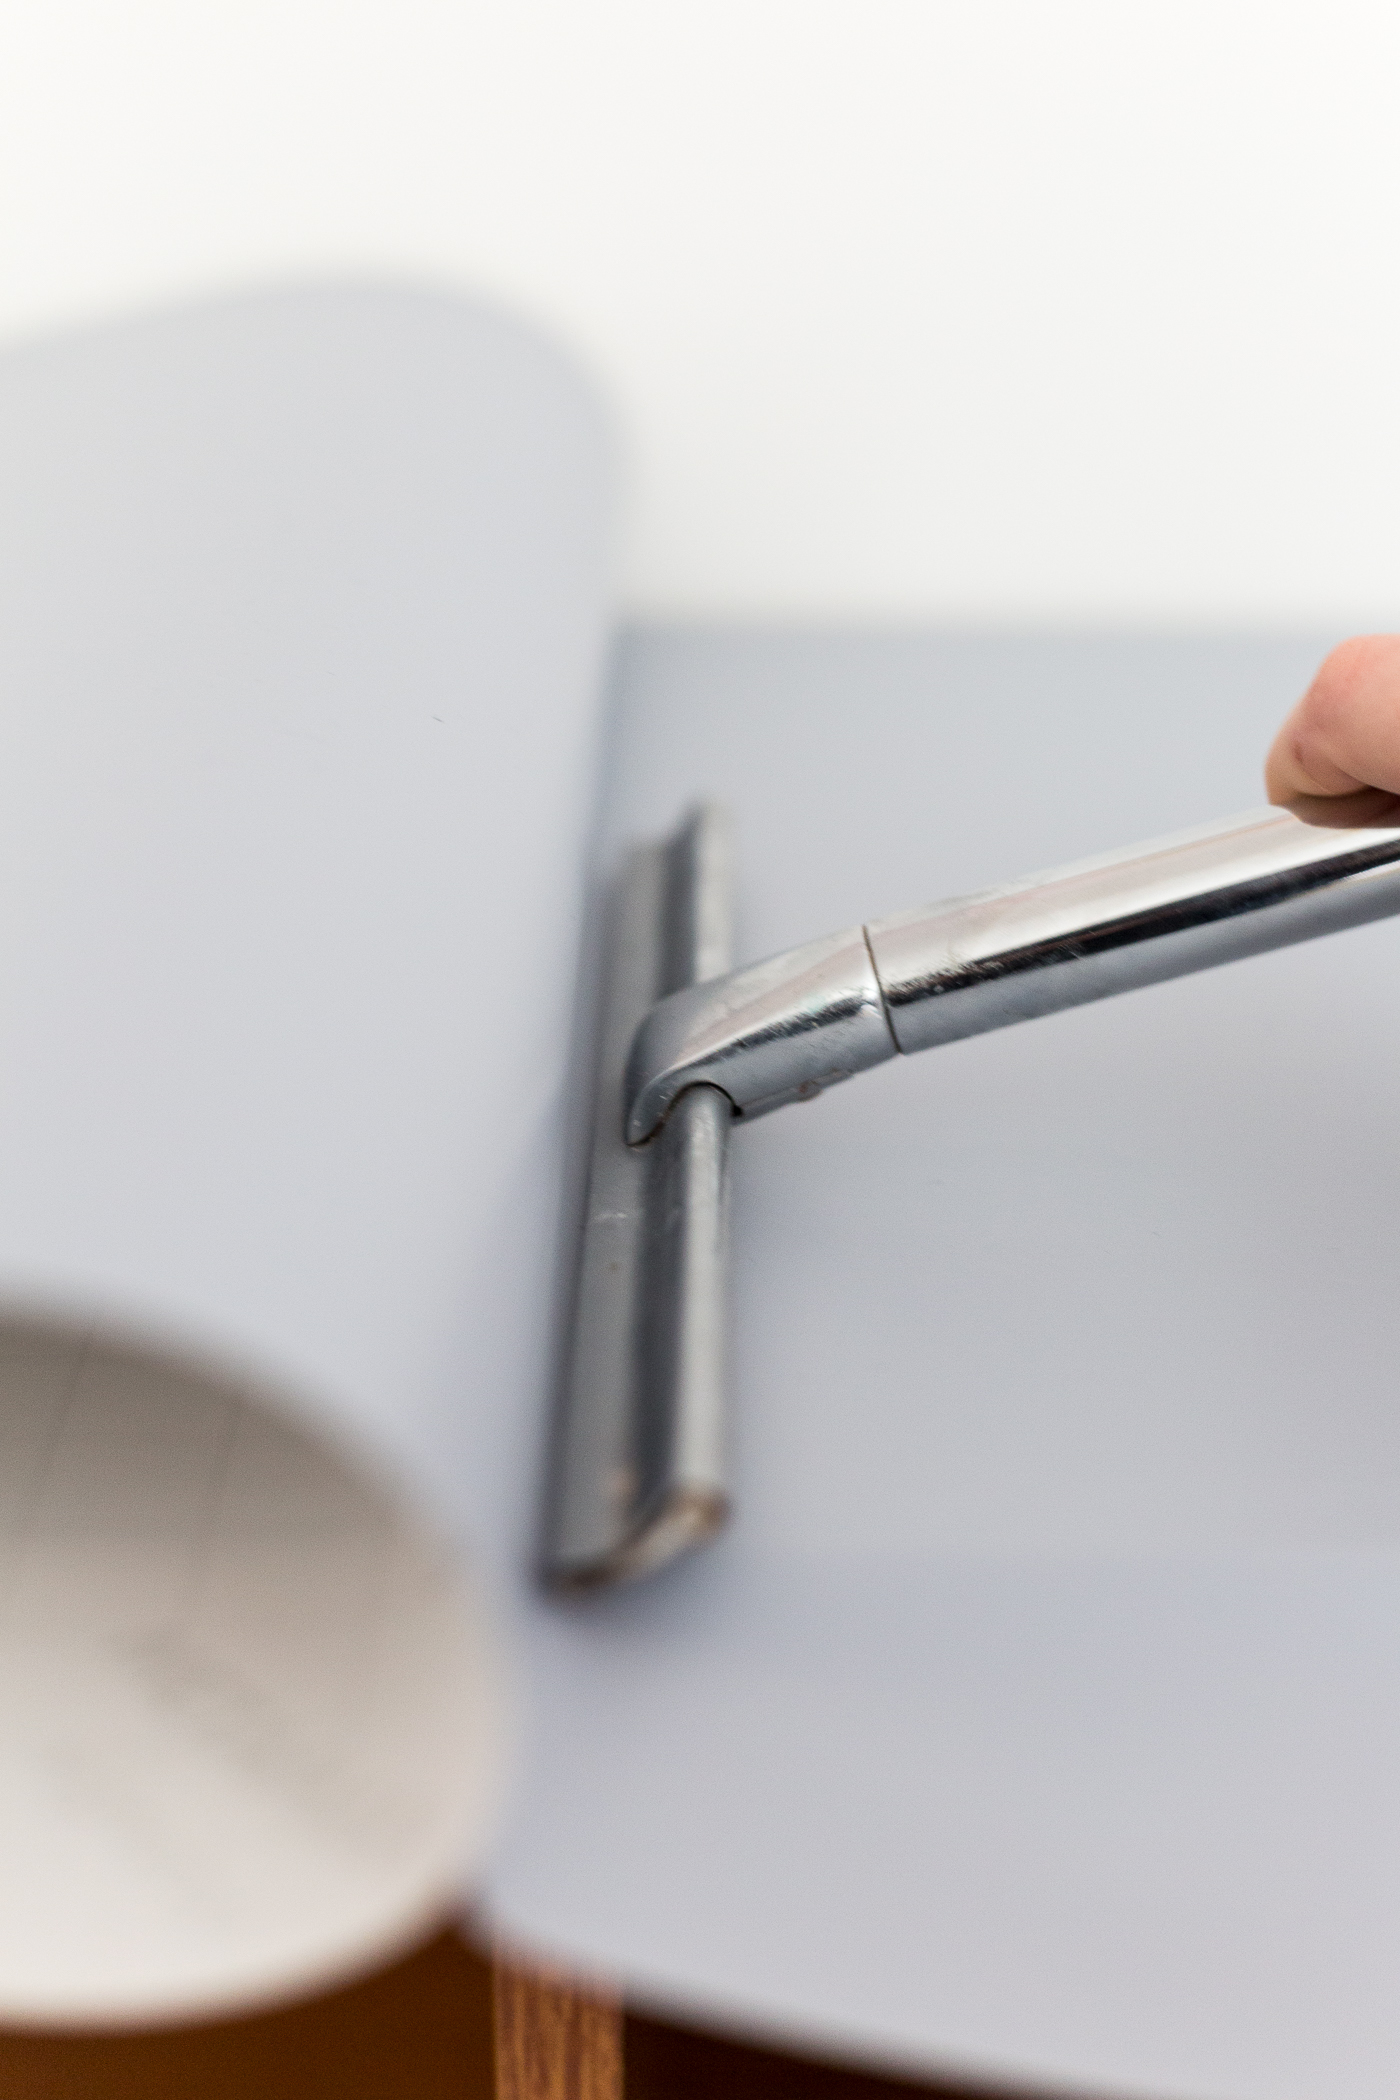
7. Place your sideboard on its side. Closing your hinges so the two sides are at a 90º right angle line them up on the inside of each cupboard edge. You want the side that will attach to the door to run flush with the front edge of the cupboard. With this in place, screw the other side into the side of the cabinet. After attaching both hinges push them both ‘open’ so they are now straight. Slide the door under the hinges so the inside is facing up. Loosely attach the doors to the hinges using the long holes on the hinge. These longer holes let you position the doors into place before tightening the screws and securing in place.
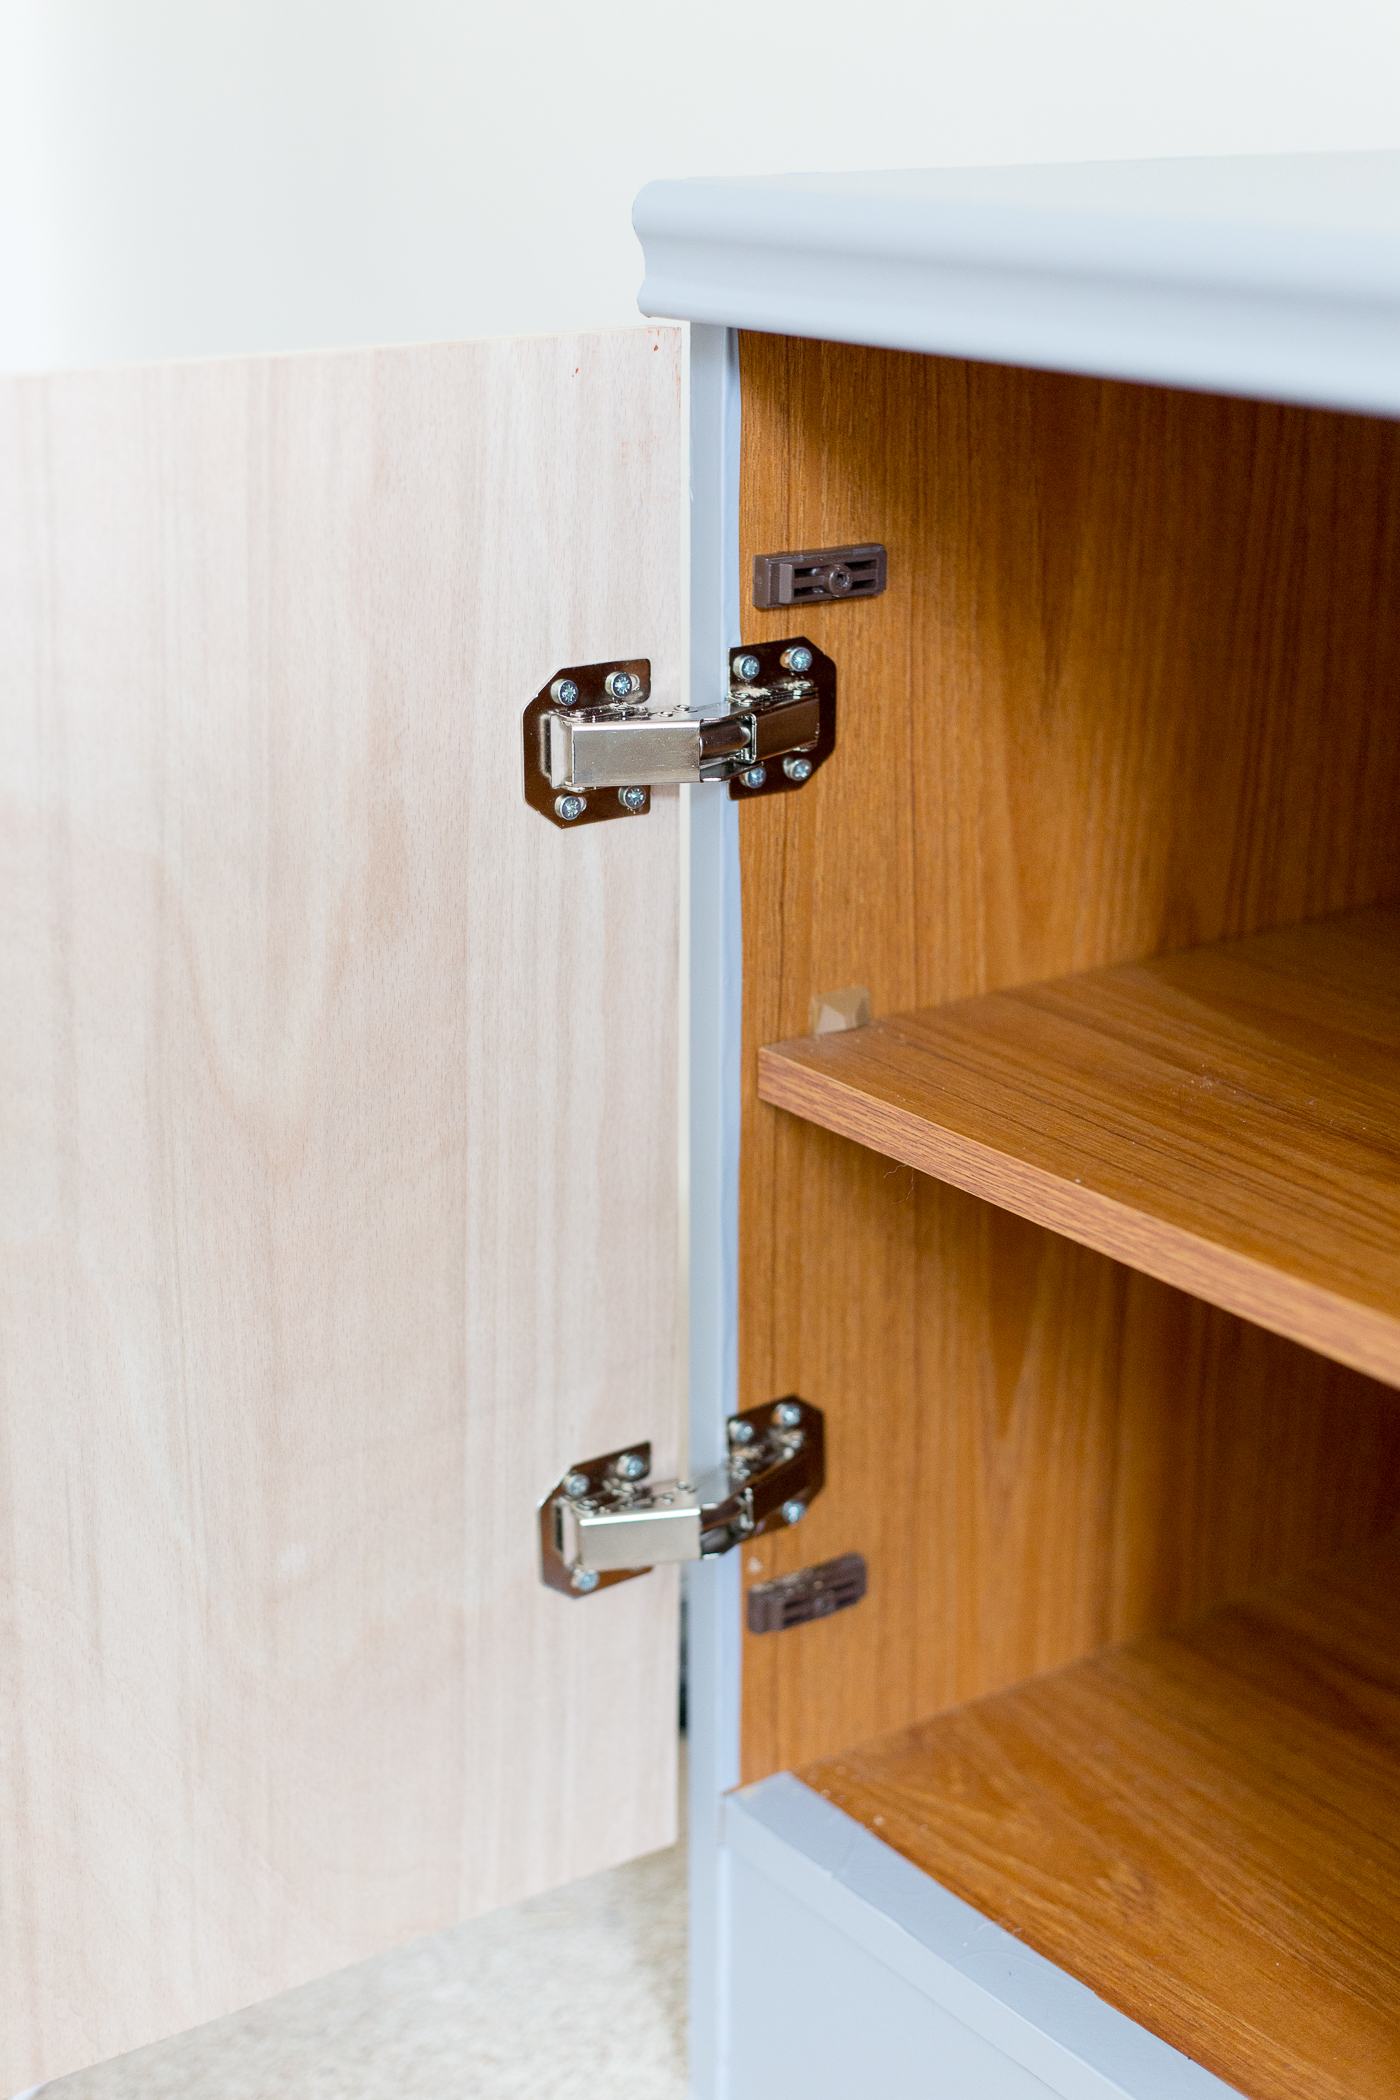

8. Place both doors onto the sideboard and open and close many times to get them into place. This might take some trial and error but it’s worth getting it right. Once you’re happy the doors are both in place tighten up all the screws and screw more in so the hinges are all secure.
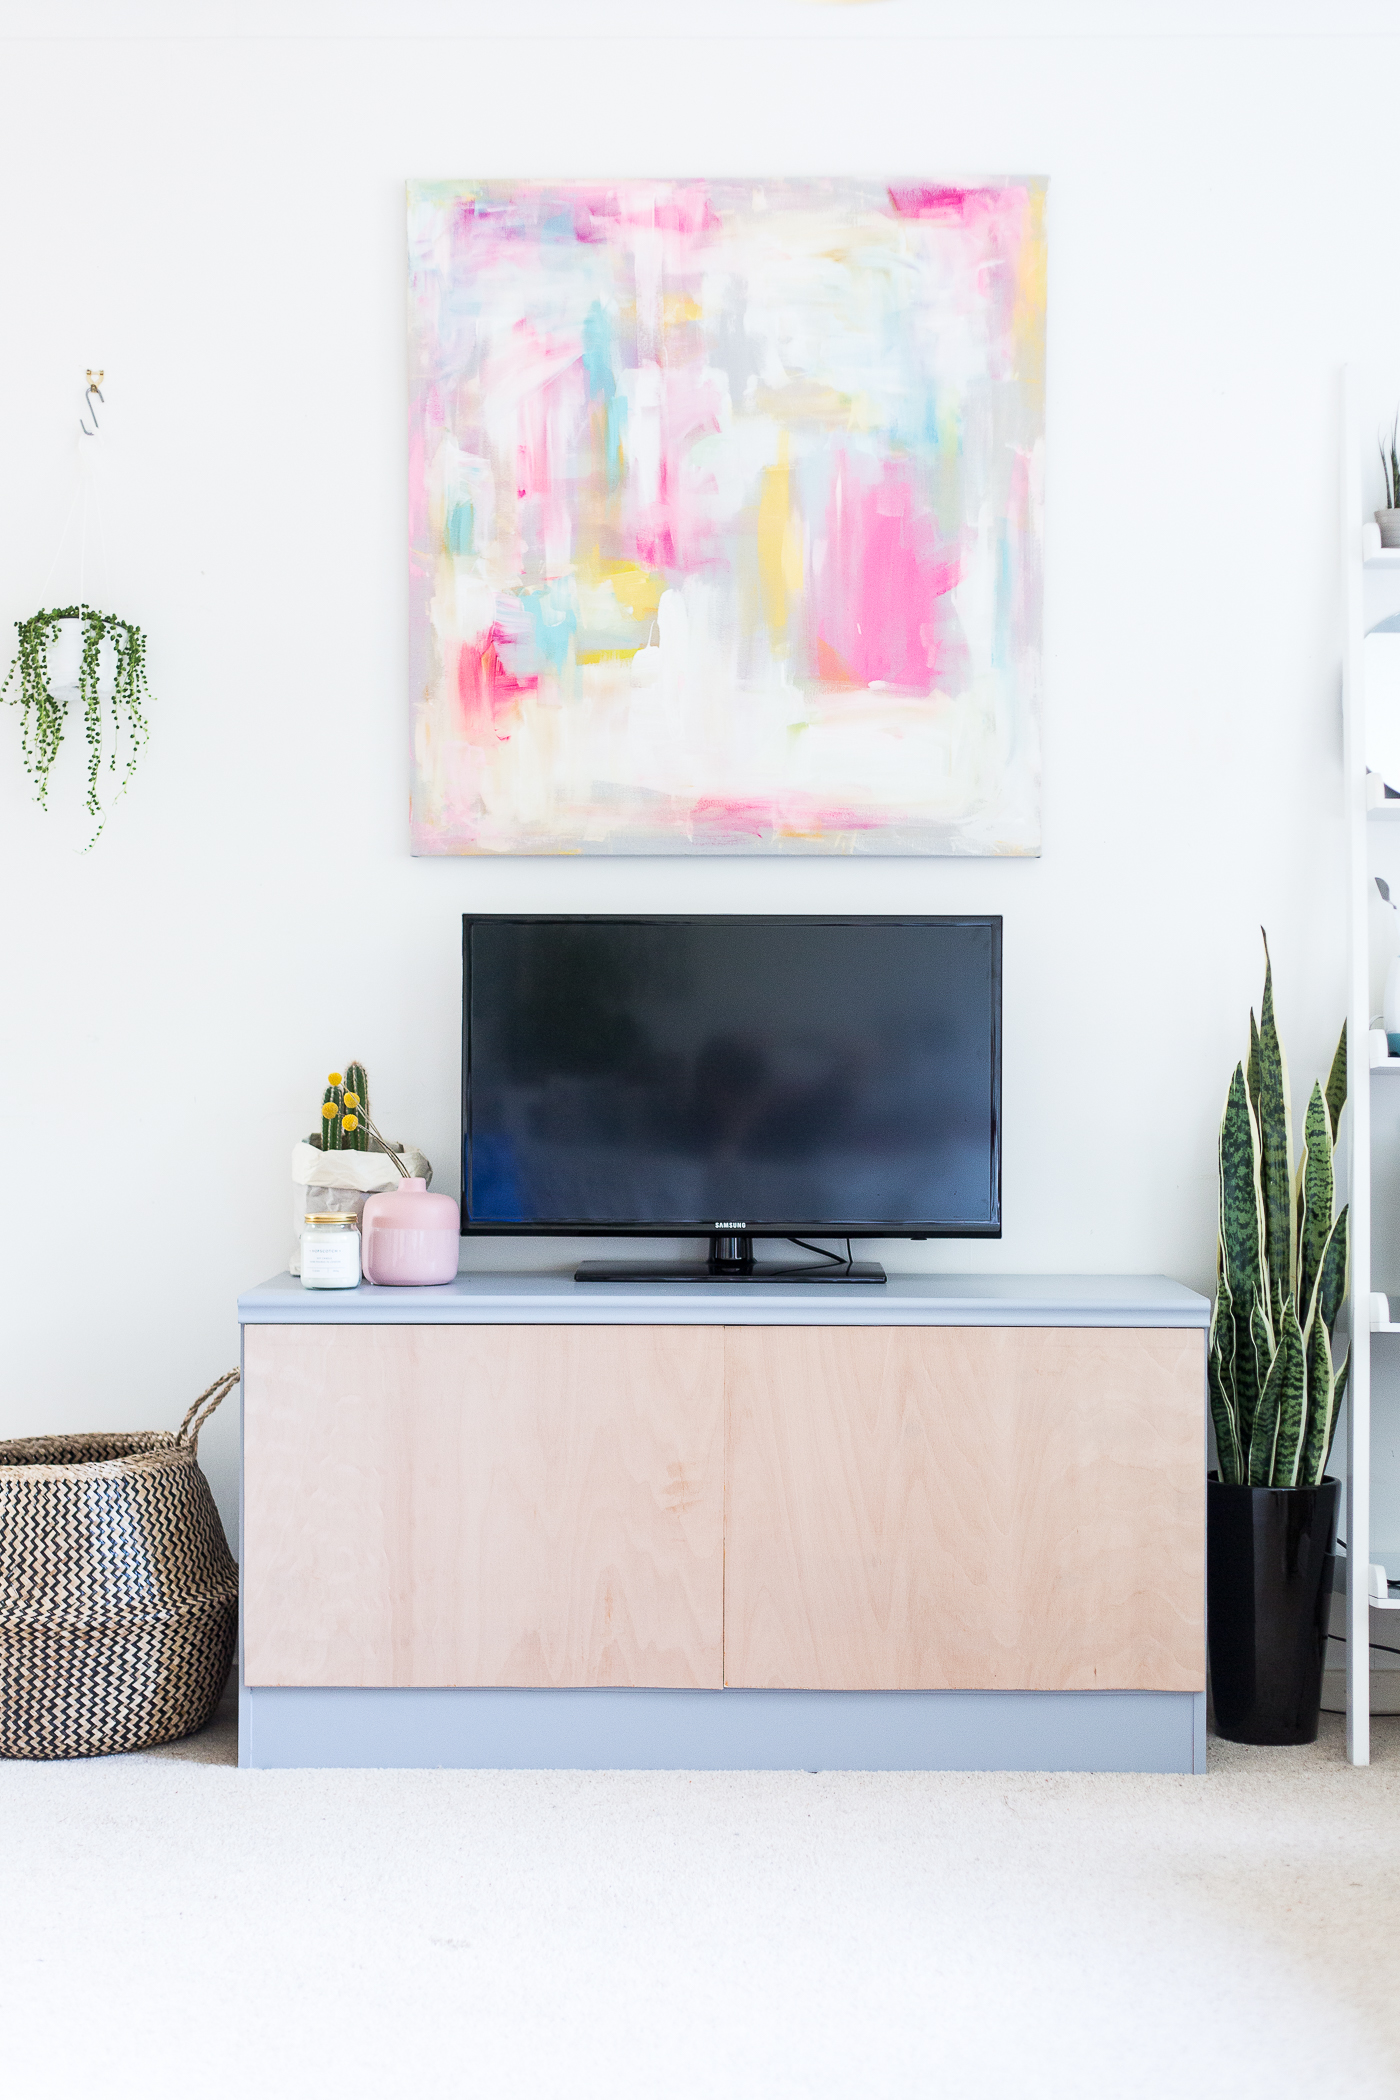
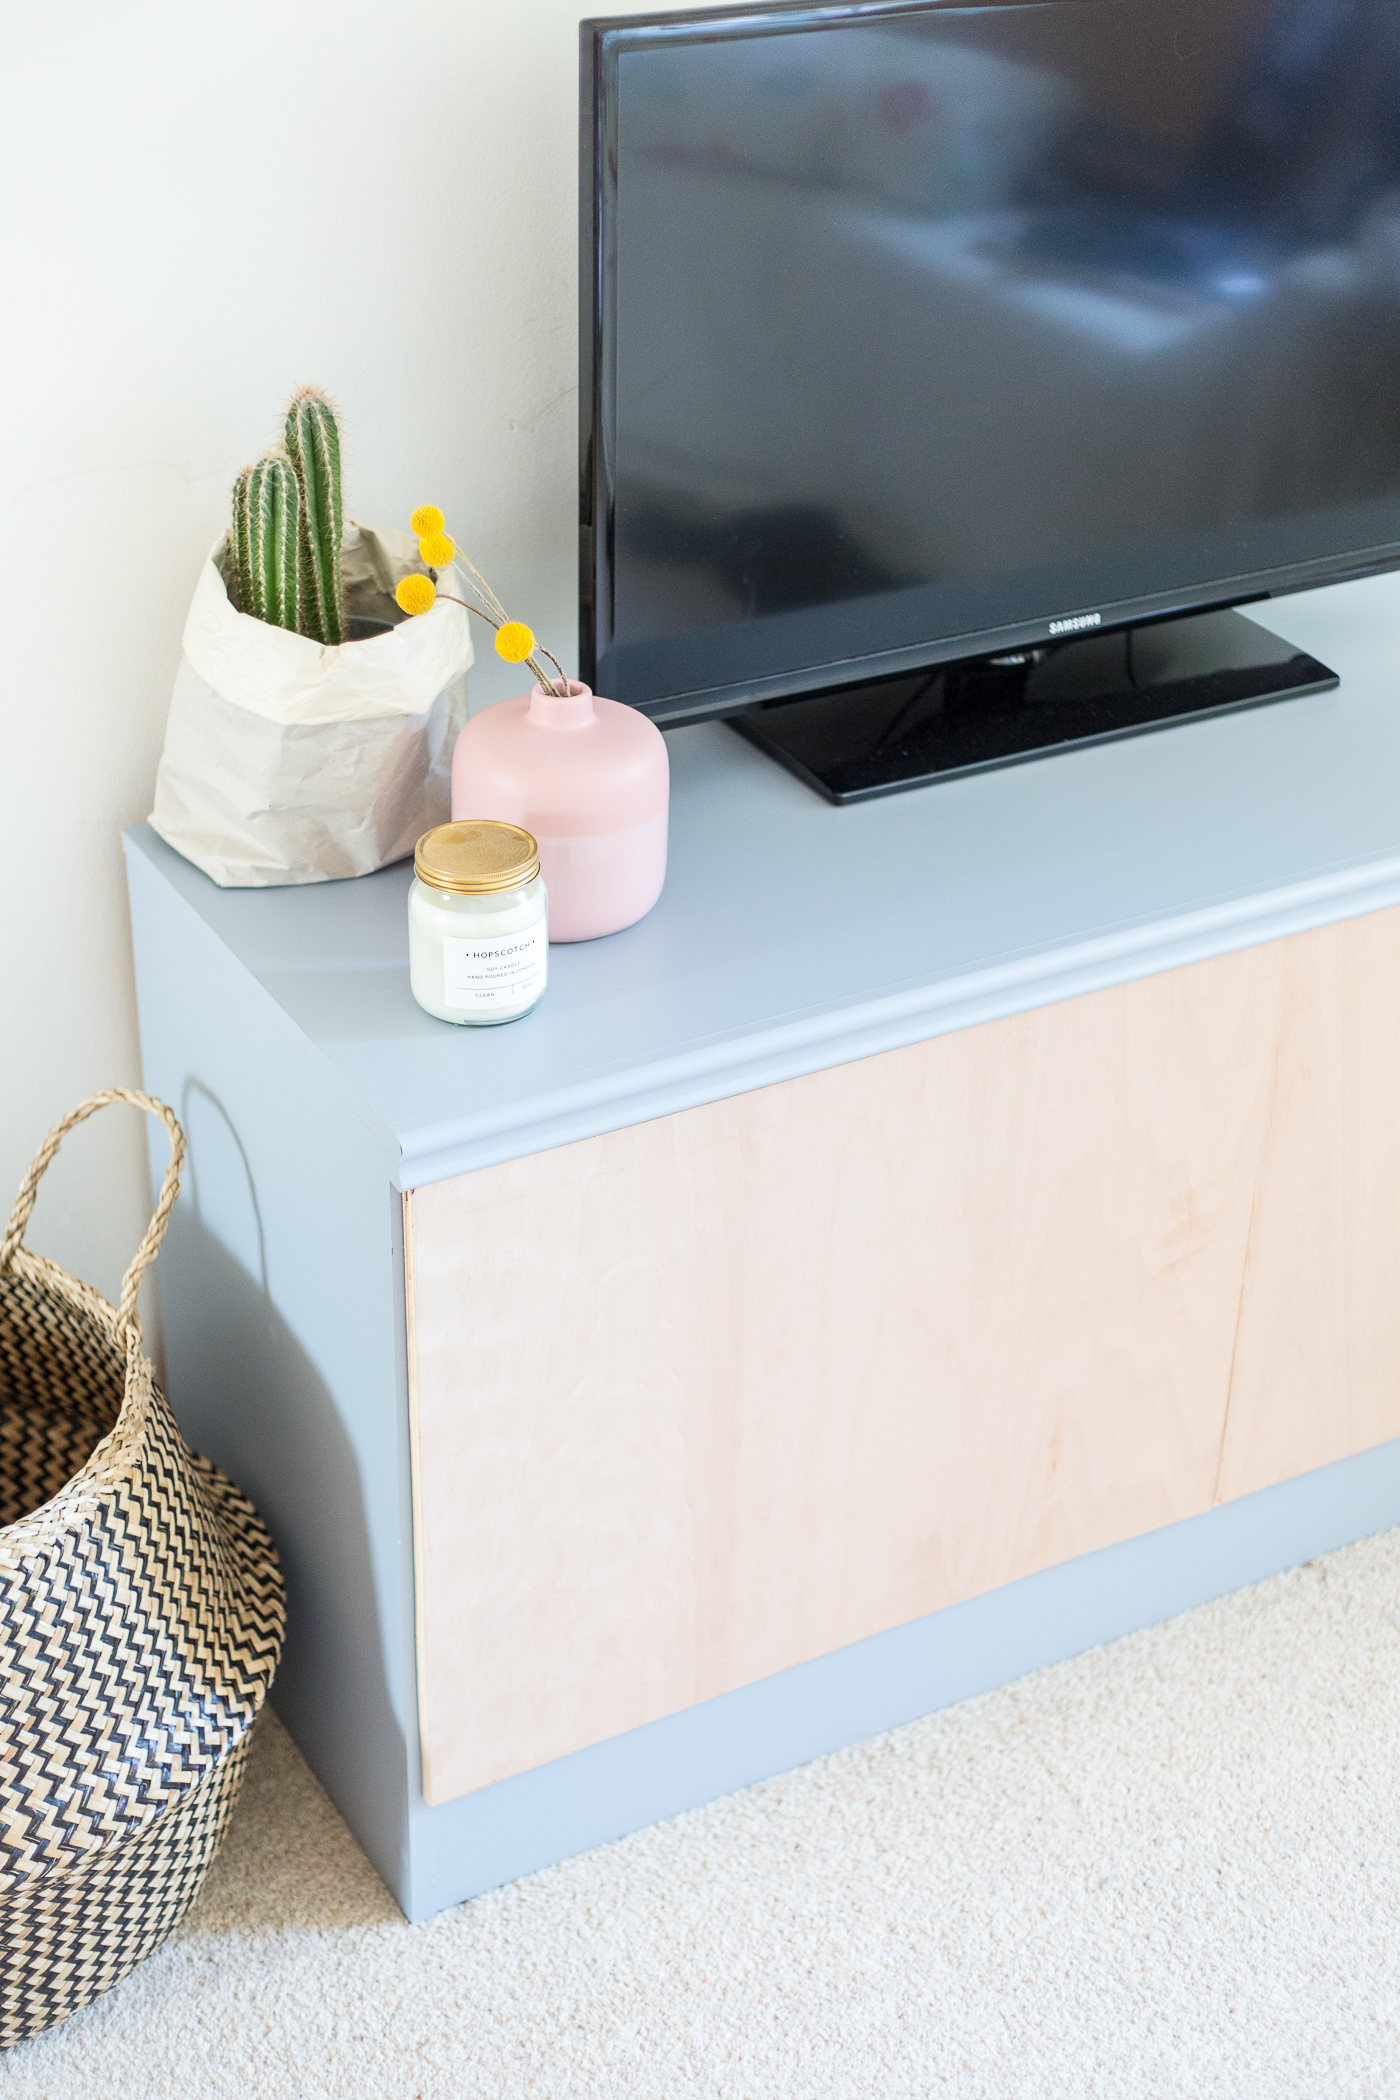
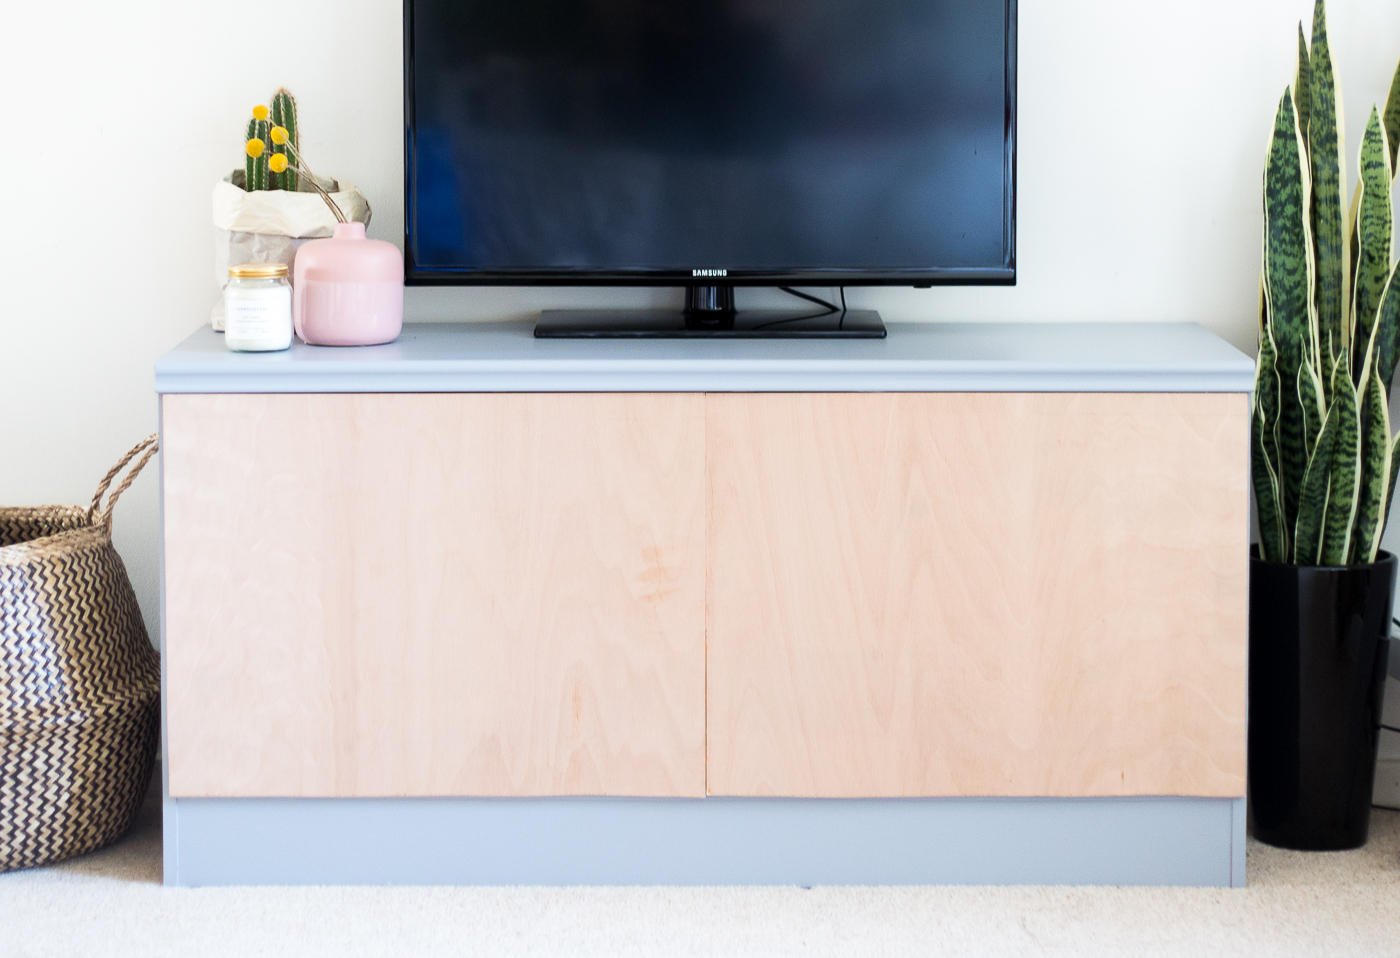
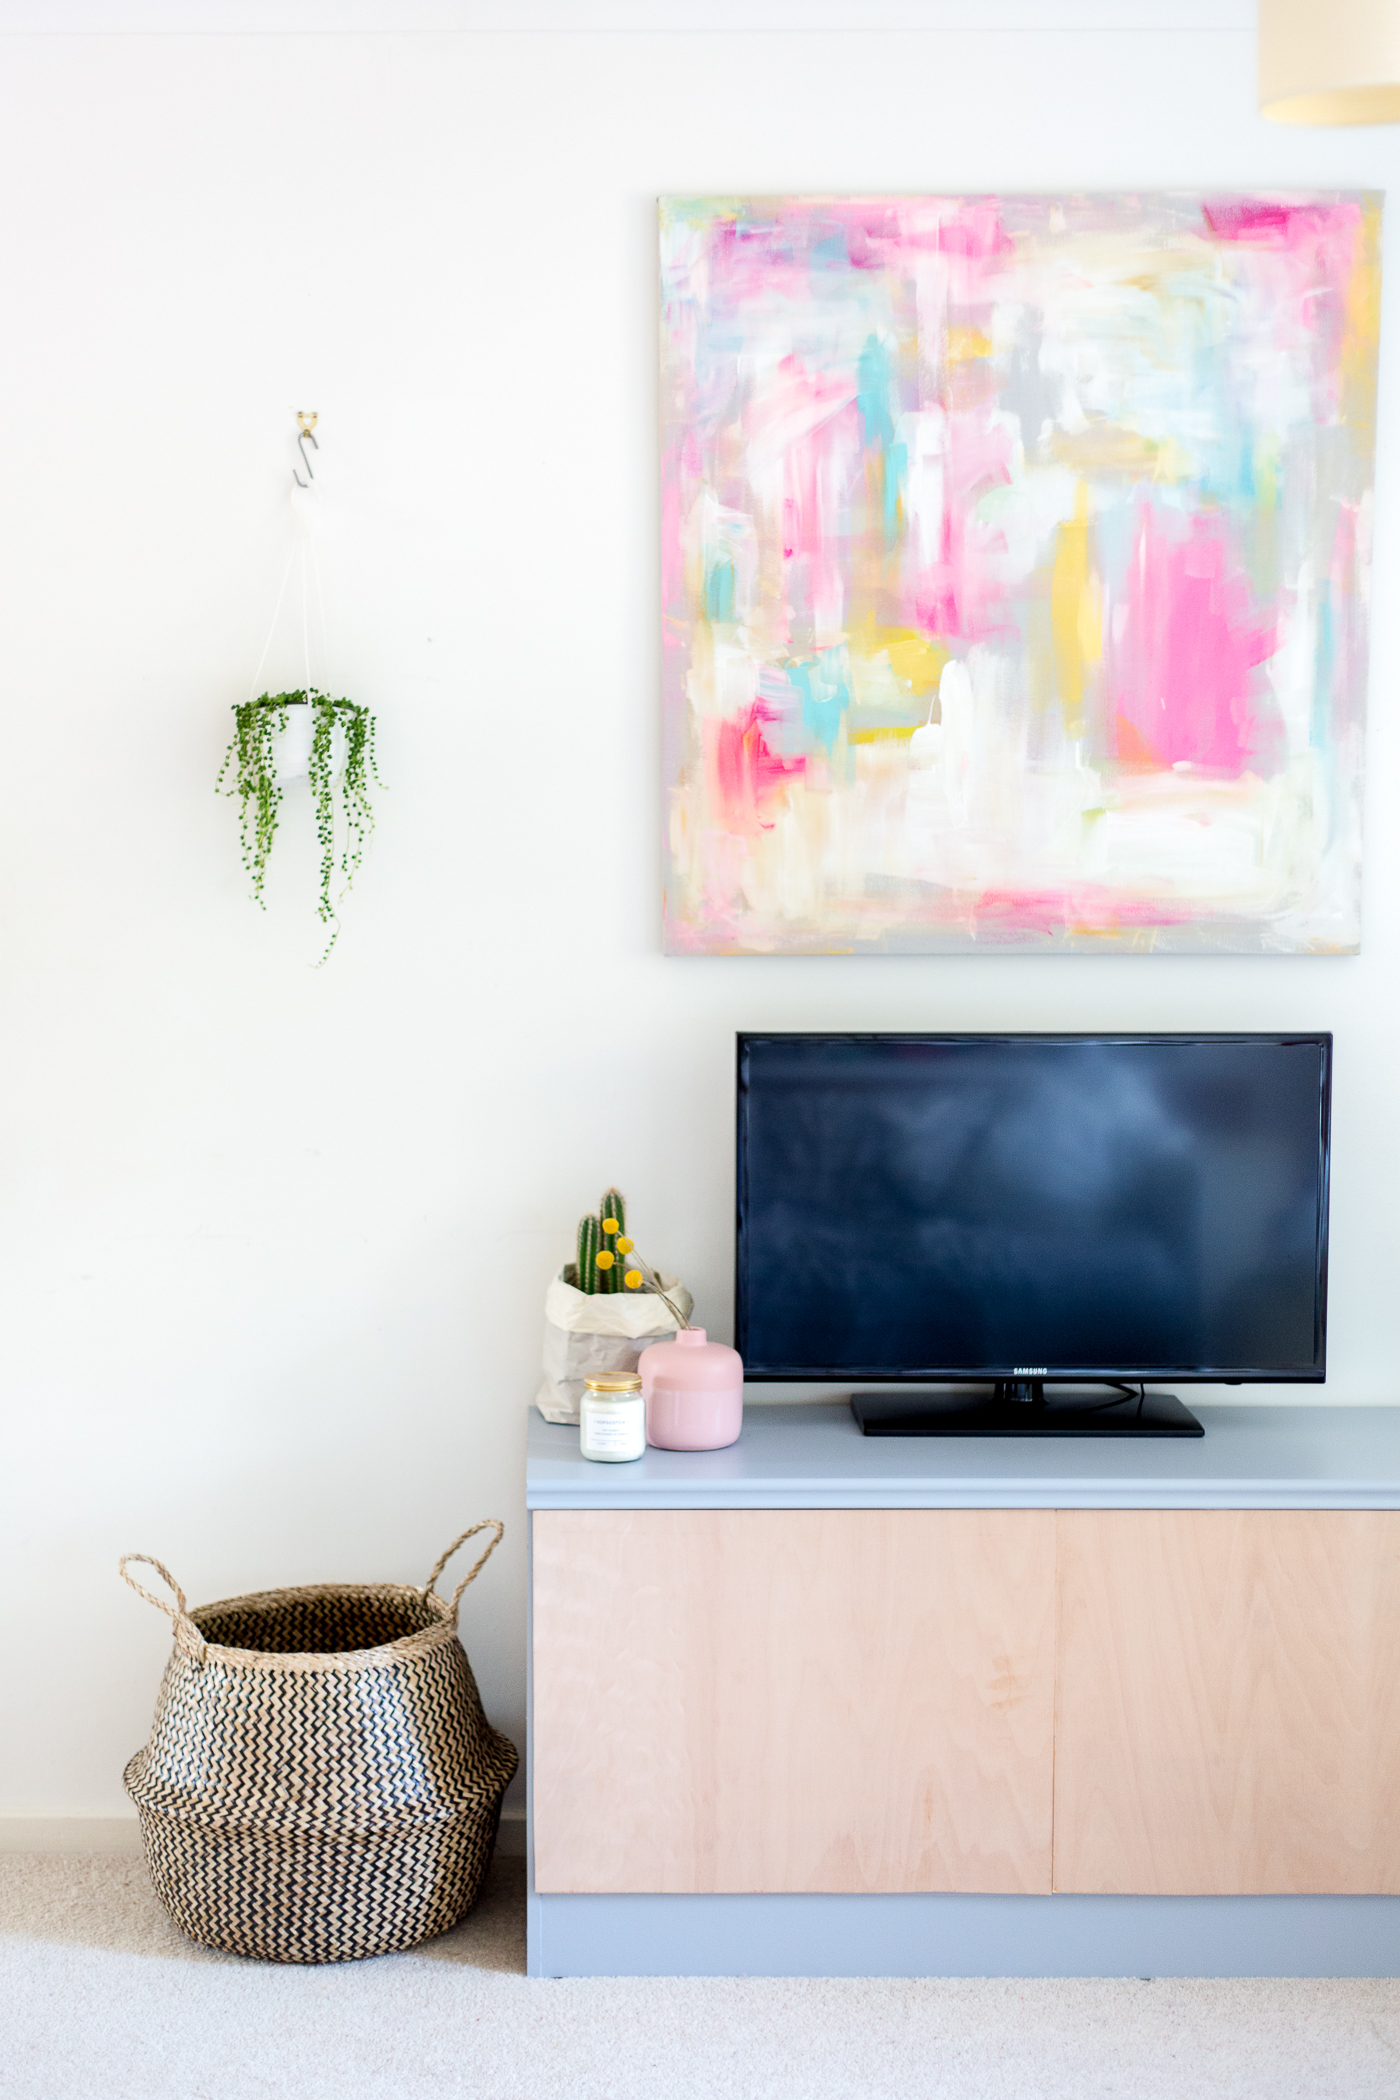
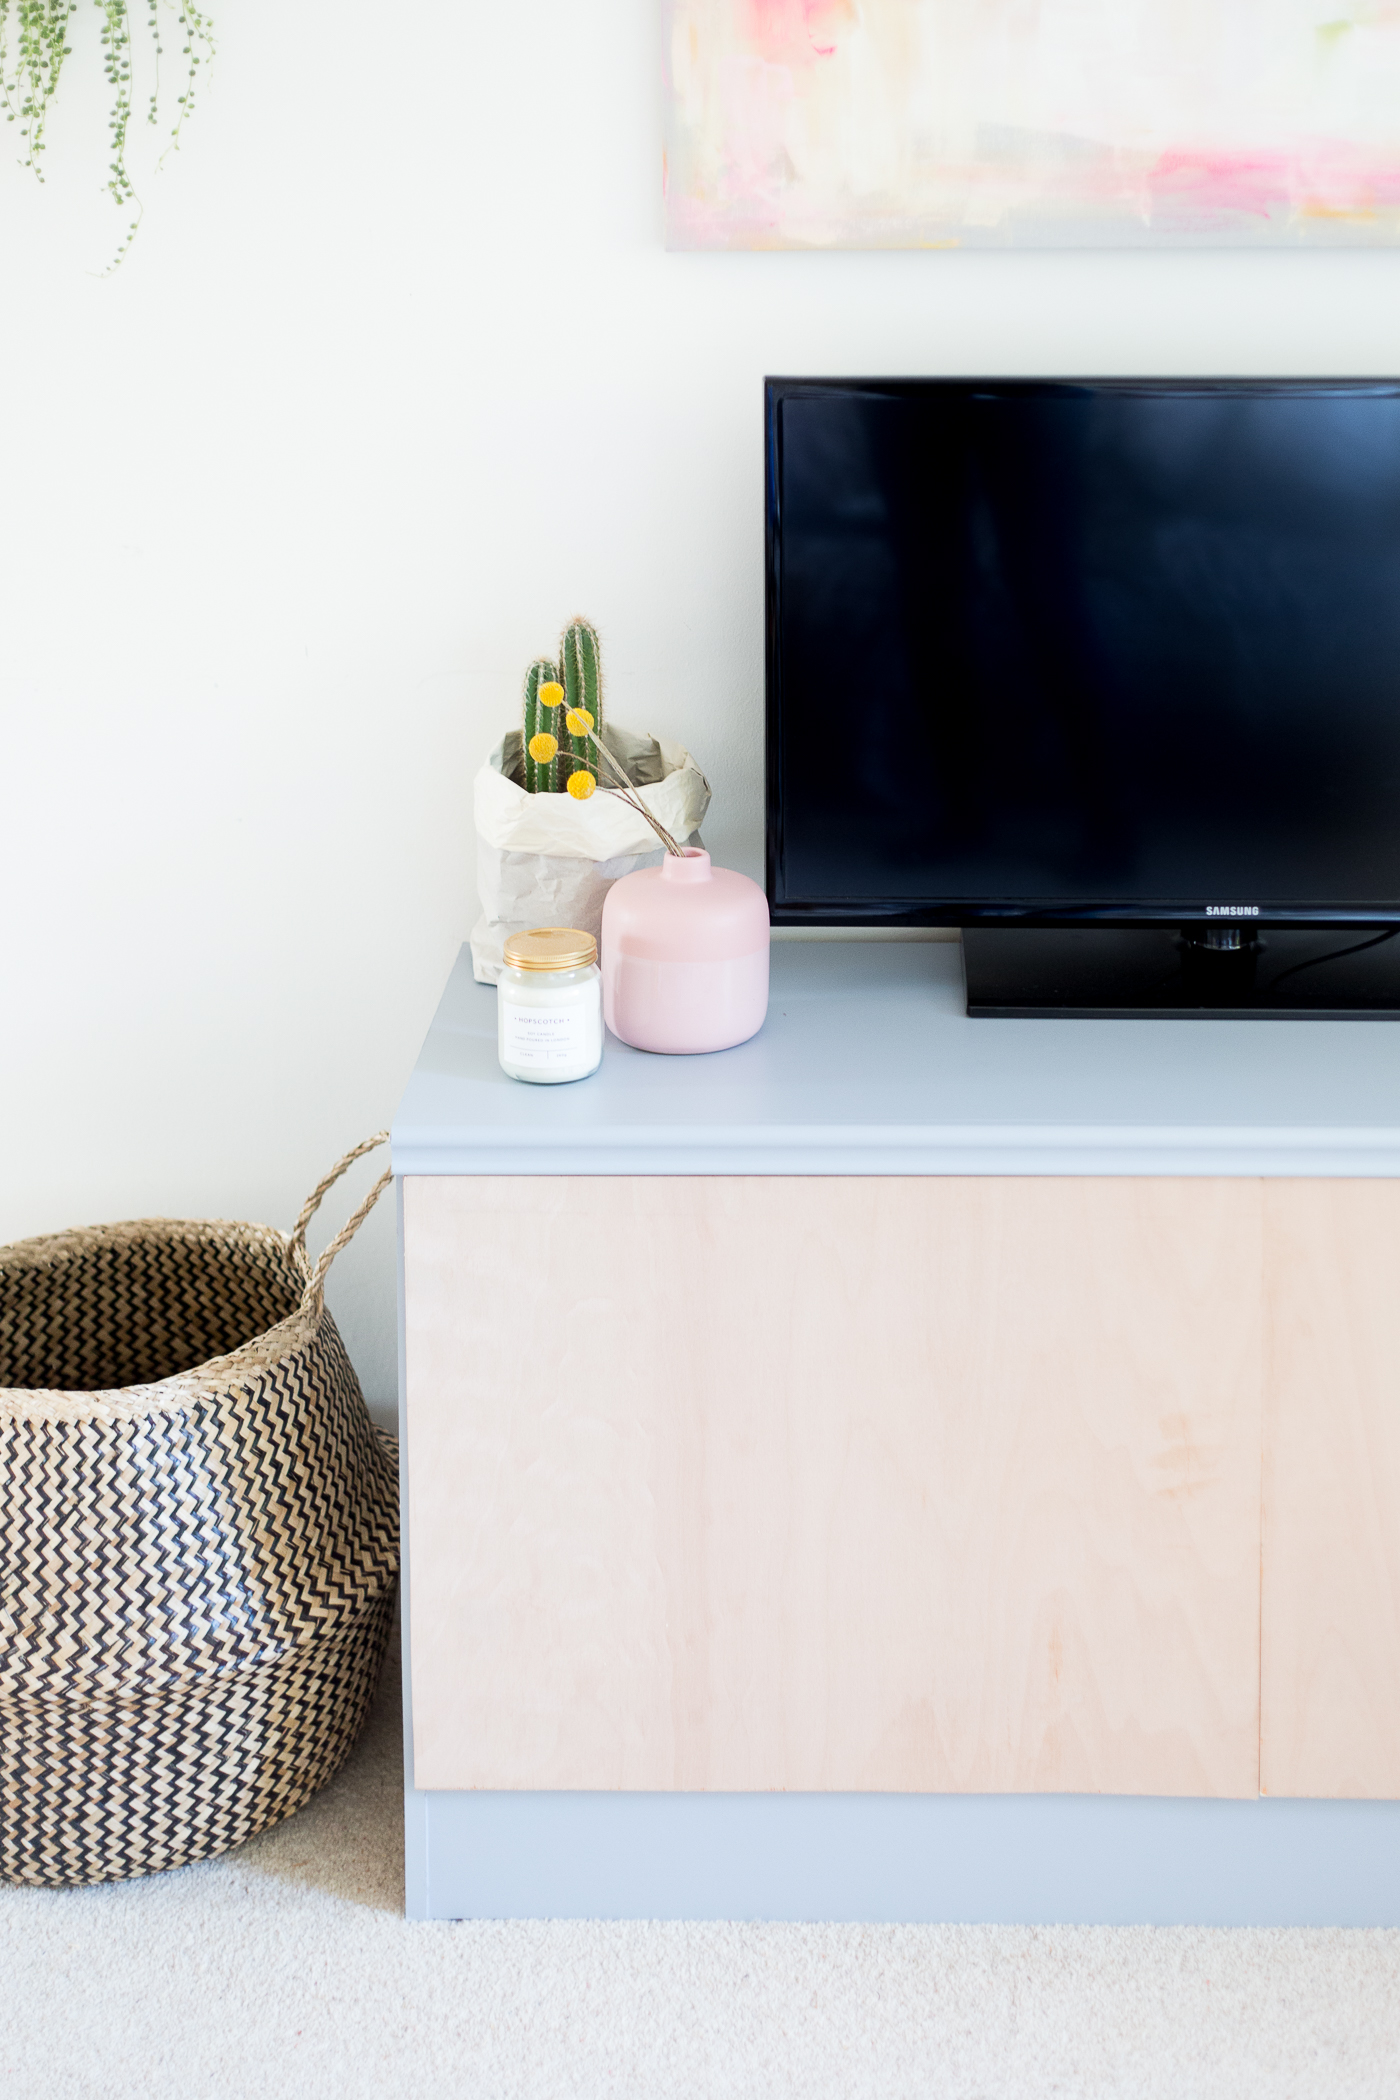

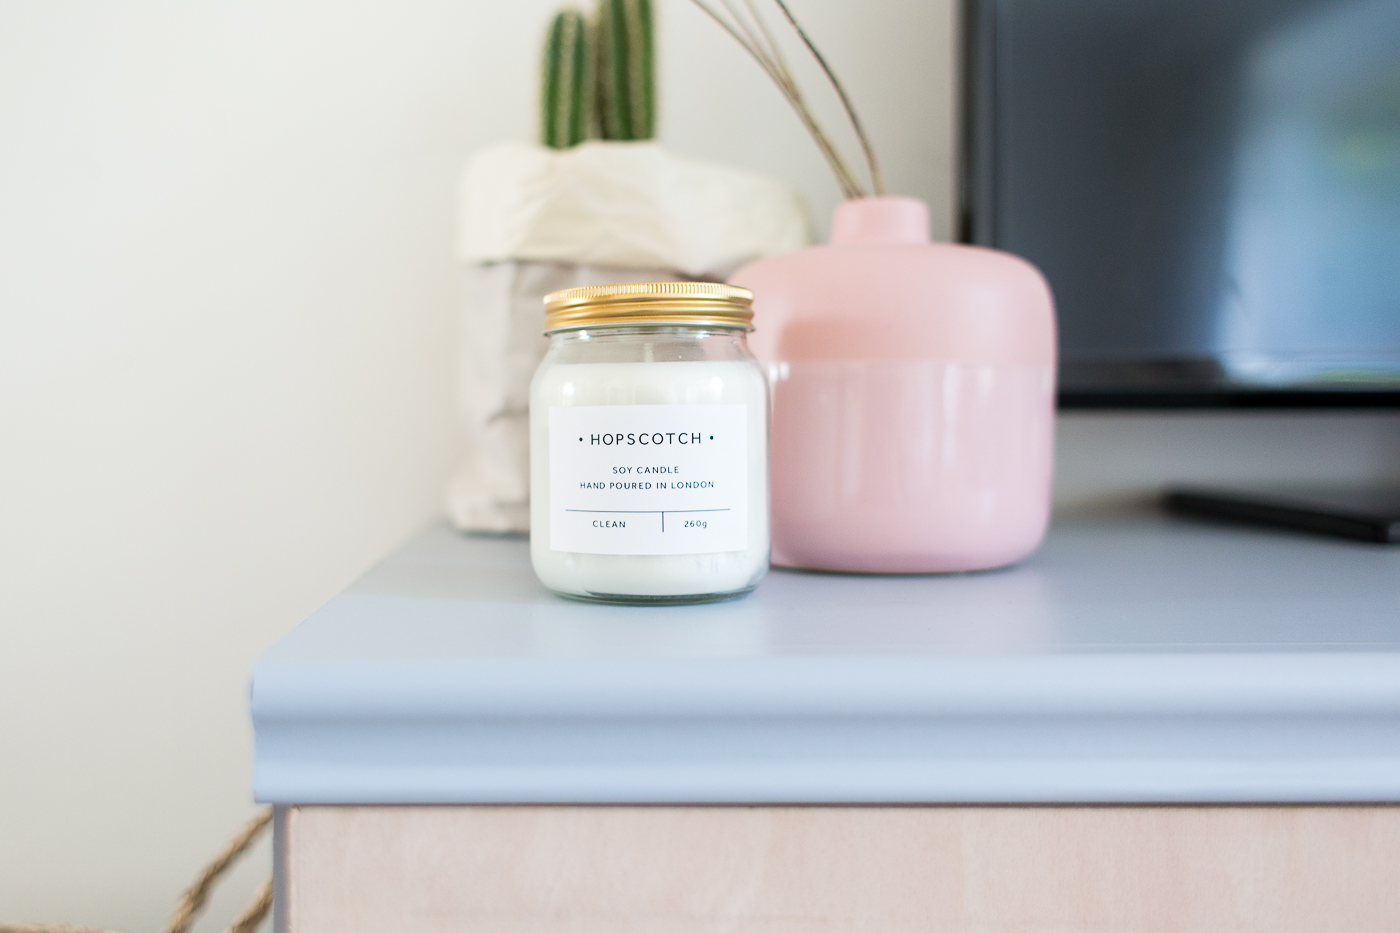
I’m in love with my new tv sideboard and now I don’t have those windows on the front I can actually keep more of my clutter inside. Which means the room around the sideboard is much tidier and more beautiful too!
*This post celebrating home DIY was sponsored post. All opinions/images/ideas are my own. Thank you for supporting the brands that support Fall For DIY.


I adore home DIY… It is looking great…..
http://jristicline.com/en/
So simple – love the colour you chose
– Natalie
http://www.workovereasy.com
This turned out really beautiful! I would have never know it was a DIY!
-Clarissa @ The View From Here
This would look great with acid orange shelves inside for a surprise pop of colour!
It’s so beautiful! Also who the heck told you that you can’t do something a man can do?? Go back to the 1950s whoever that person is! #womanboss
Hi, didn’t see any information where I could purchase the vinyl.
It’s obviously true that back rubs are reviving and discharge the poisons in the body. Yet, not just this back rubs additionally discharge endorphins in your cerebrum that you cheerful and make it simpler for you talk and cooperate with your accomplice. Since a back rub is additionally extremely cozy it fabricates a passionate associate between the accomplices getting the back rub.Visit massage center near to me
Are you looking for the best body to body massage services in Bangalore? Come visit our spa and we will make sure you leave with a smile on your face. Our masseuses are trained professionals who know how to give you exactly what you need.Visit body to body massage near me
Guinea pig like banana very much can guineapigs eat bananas and many more items visit to this website to know more about .