Hello! This is not exactly a new material here on Fall For DIY but Perspex is such a lovely material to work with so I thought I’d give the material its due. Not only does it look sleek and clean but it’s actually quite easy to manipulate and shape with some very basic tools. As much as I don’t like to admin it summer will be over soon and we’ll be back to candle lighting season (although I do light them all year round to be honest!)
I love having a range of scented, tea light and taper candles, but I do find it difficult to find modern candle holders that I love. I prefer something understated and simple – two qualities you rarely find in a candle stick.
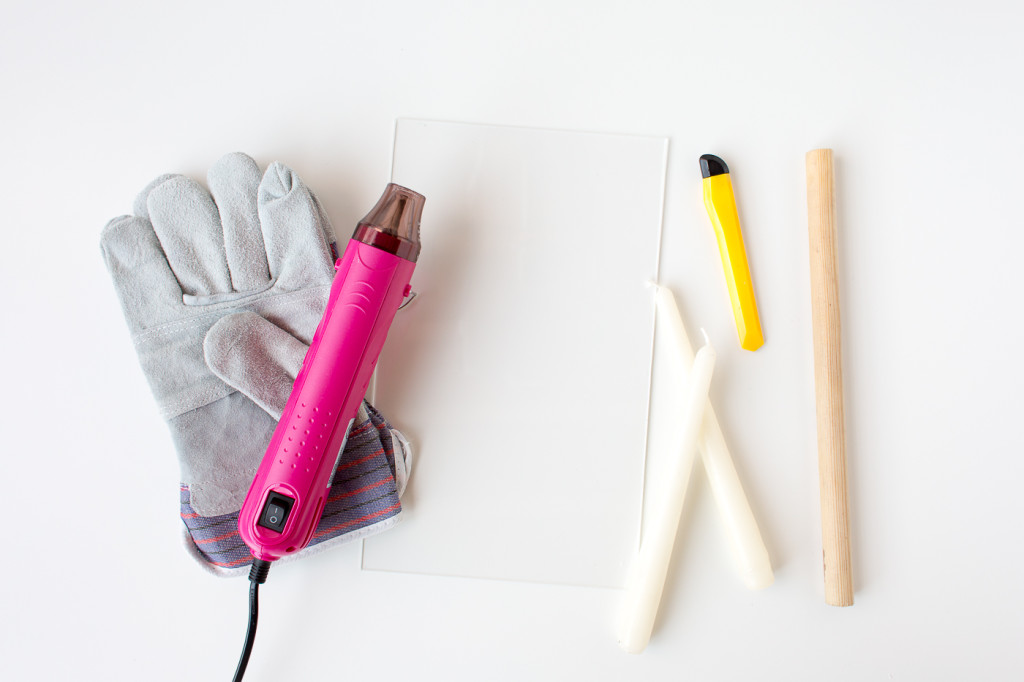
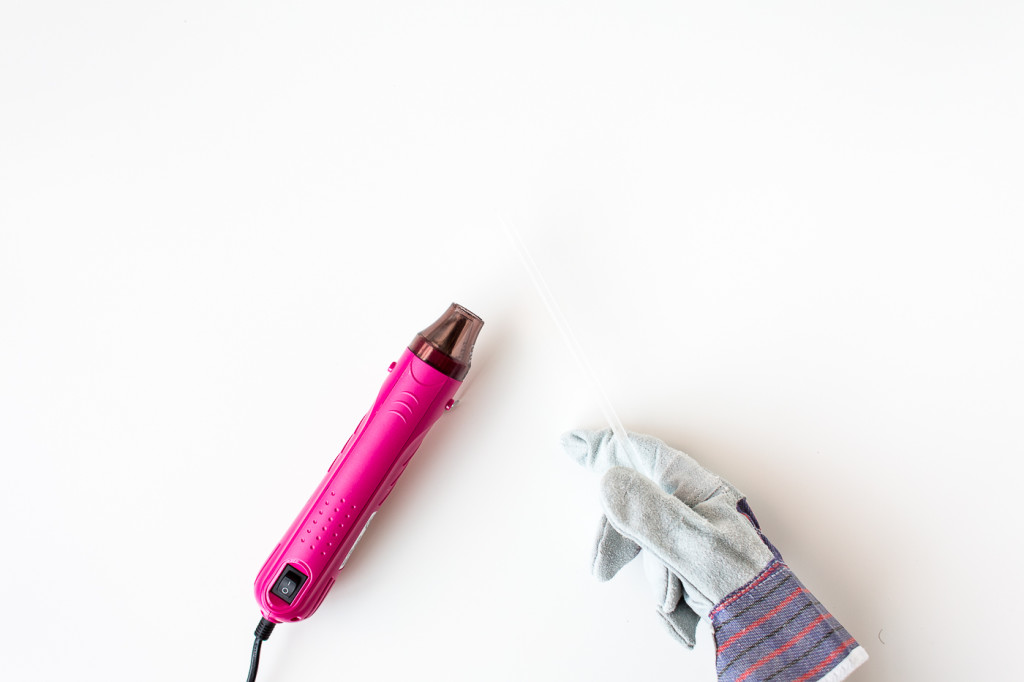
I first tried this tutorial without using the heatproof gloves. Bad idea. It’s a lot easier to manipulate the perspex with your hands but that stuff gets HOT! Bare hand is not an option! My gloves were about £2 from the local DIY store so you don’t have to get anything expensive and actually they have come in useful since making this project. So a good investment all round I think!
Materials
 2mm Perspex/acrylic | Candles | Wooden Dowel (slightly smaller than candle diameter)
Heat Gun | Heat Proof Gloves | Ruler | Retractable Knife
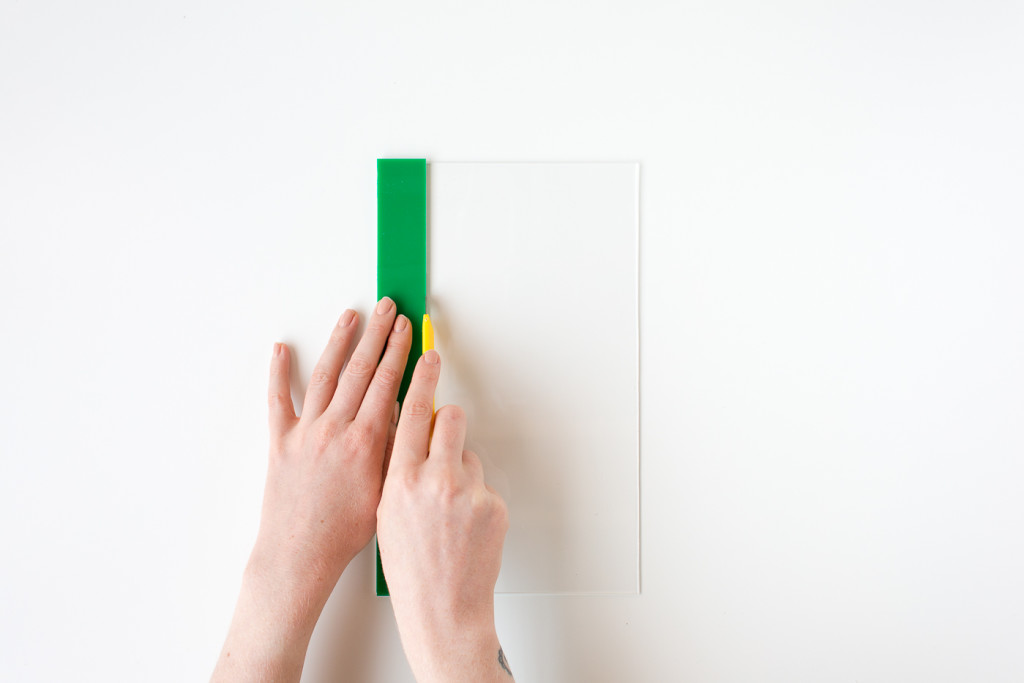
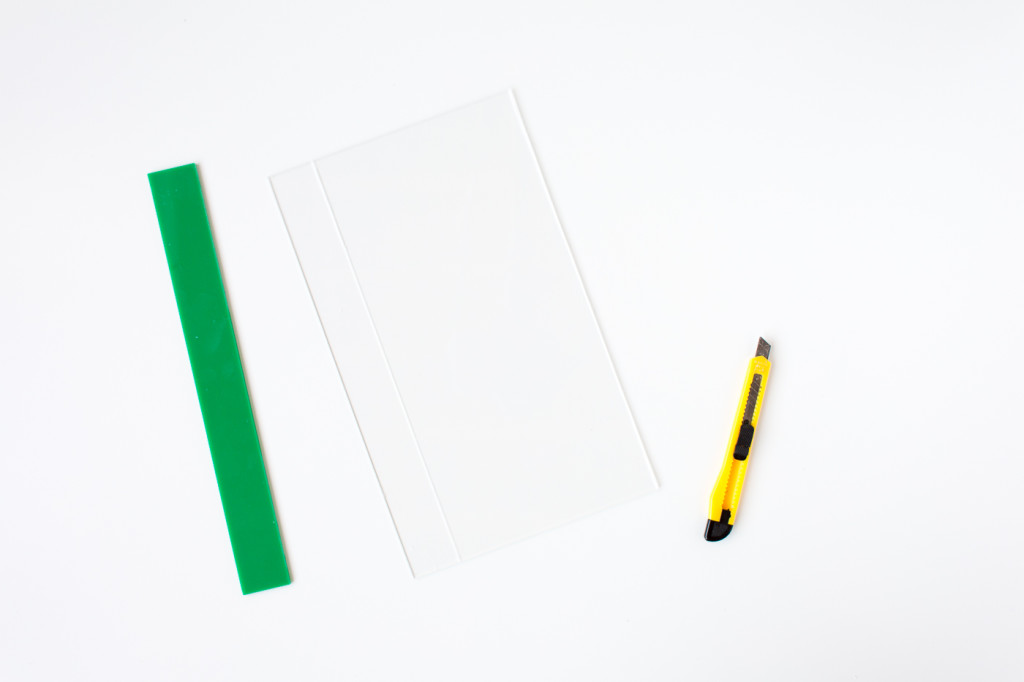
Using your ruler measure an inch into the clear perspex. Holding it in place score down the acrylic between 20-30 times with the knife. Make sure you go end to end each time to get a clean line.
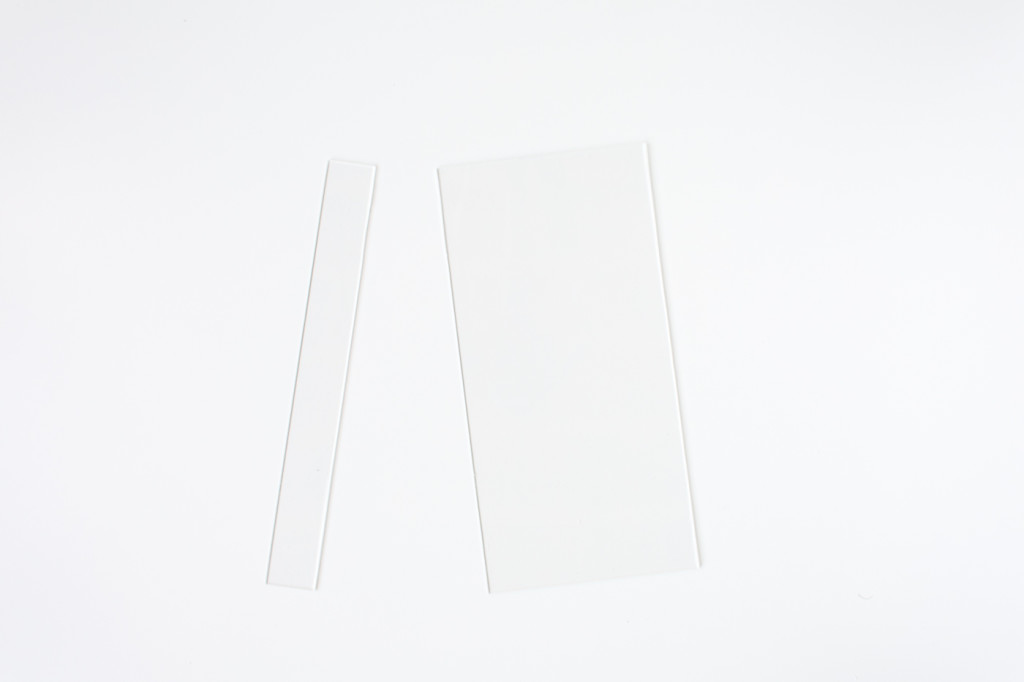
Once the line is scored place the perspex on the edge of a low table with the smaller strip protruding over the edge. With the gloves on use your knee (or a helpful assistant) to hold the perspex firmly on the table. Press both hands down onto the strip side and push down to snap the acrylic along the score line. You do need to use quite a bit of force but if it’s not budging score again until you can easily break it.
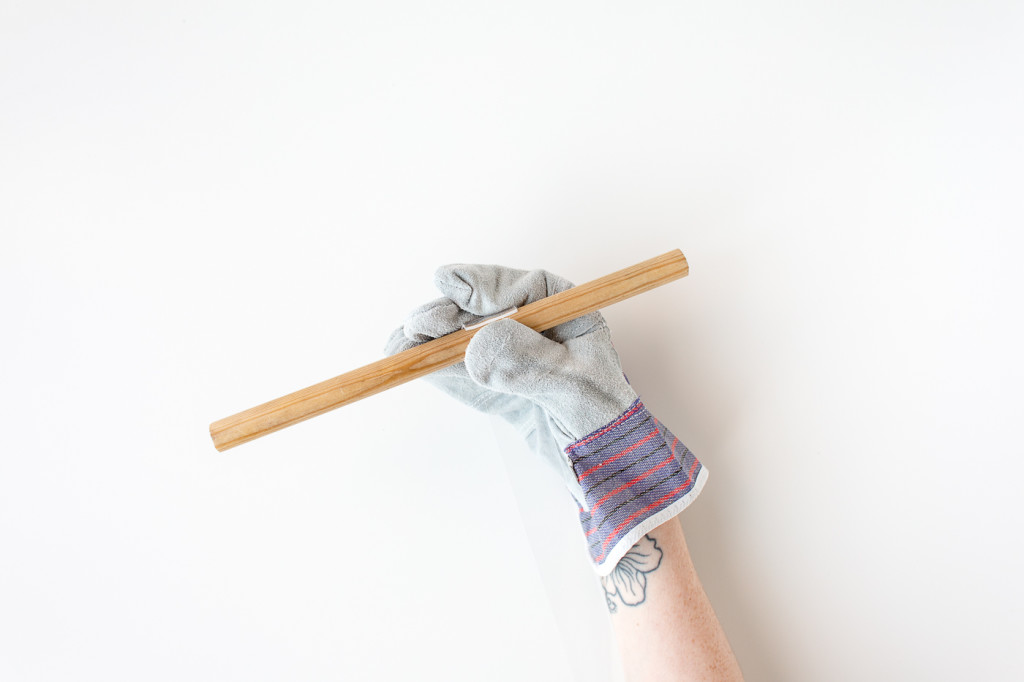
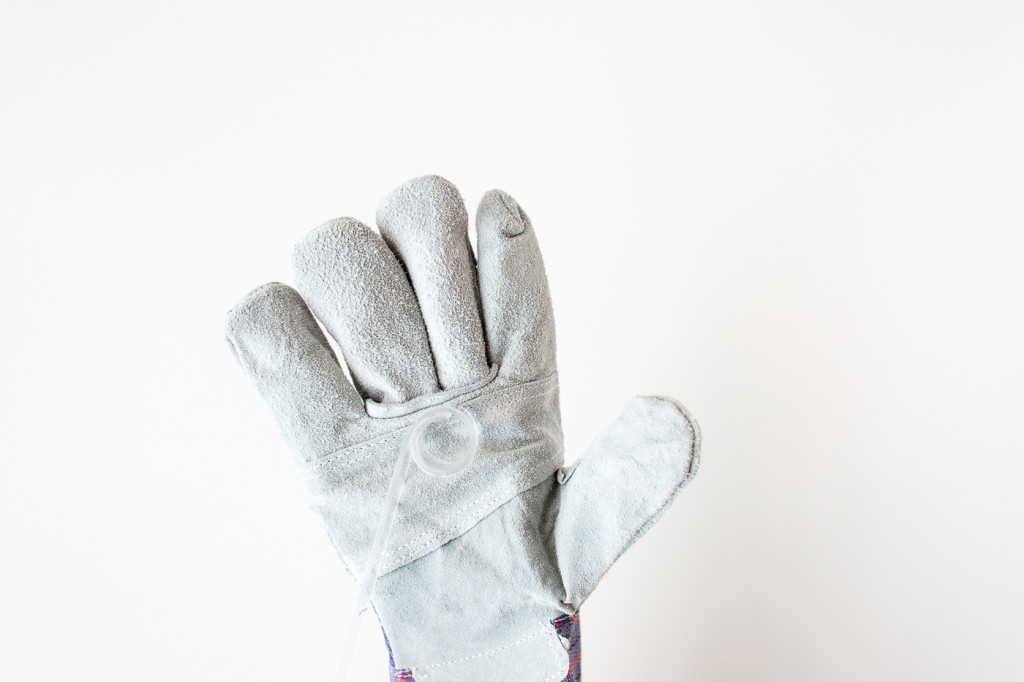
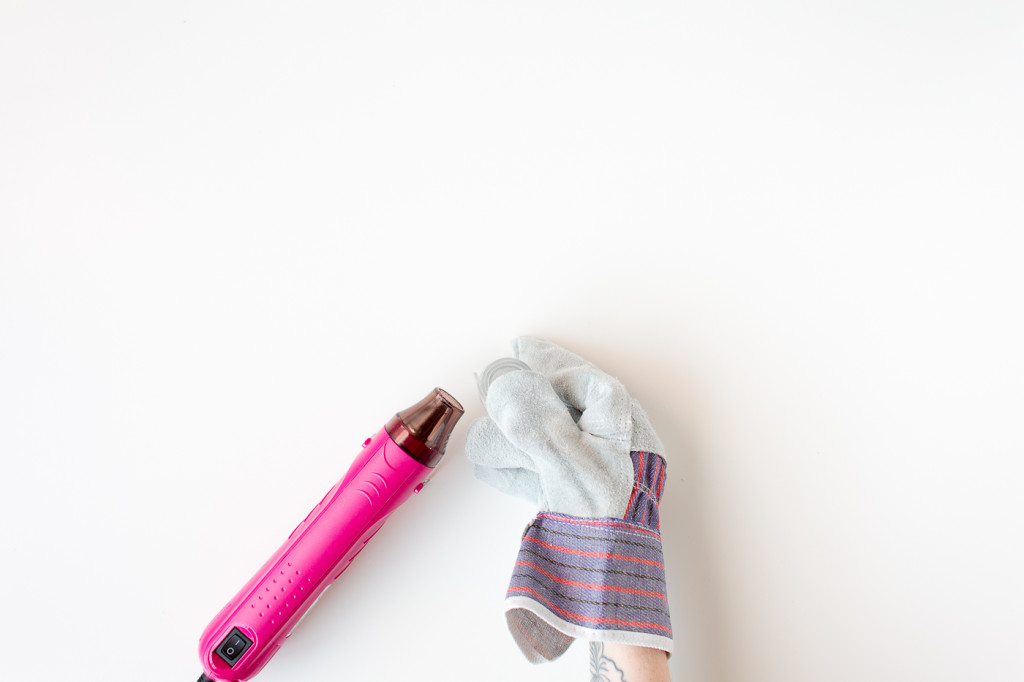
Once you have cut the perspex strip, heat the end using a heat gun. When the perspex begins to look soft wrap it around the dowel. Keep heating and wrapping until you have a smooth circle. If any part warps out of shape just reheat and re-wrap.
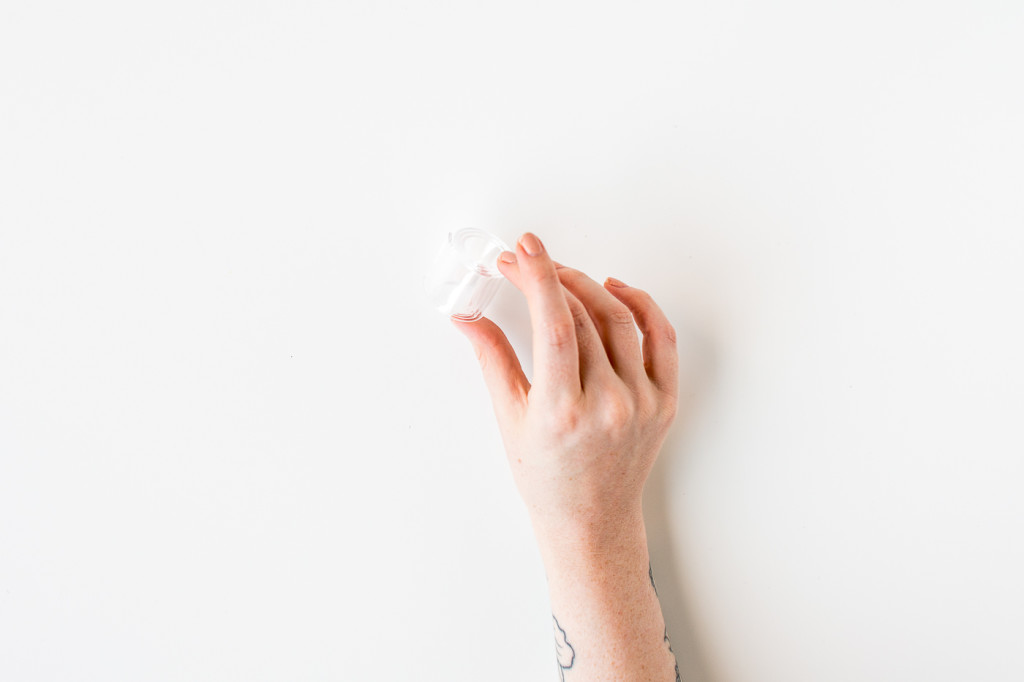
Continue wrapping until you can create a spiral. Now keep heating and wrapping the perspex strip around itself all the way to the end. Leave to cool and it’s ready for the candle!
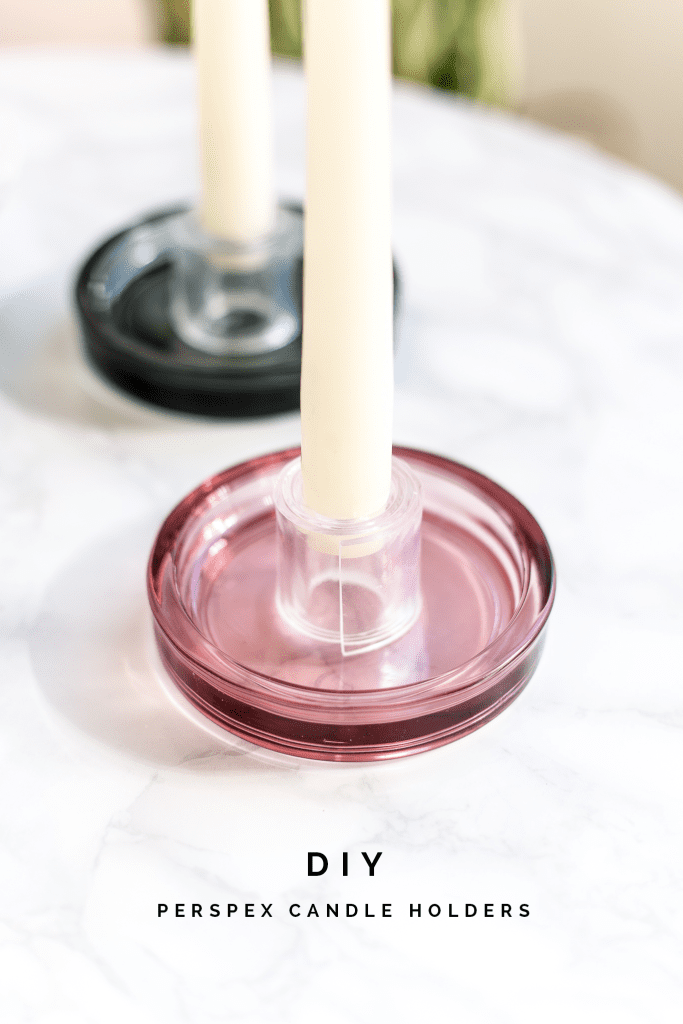
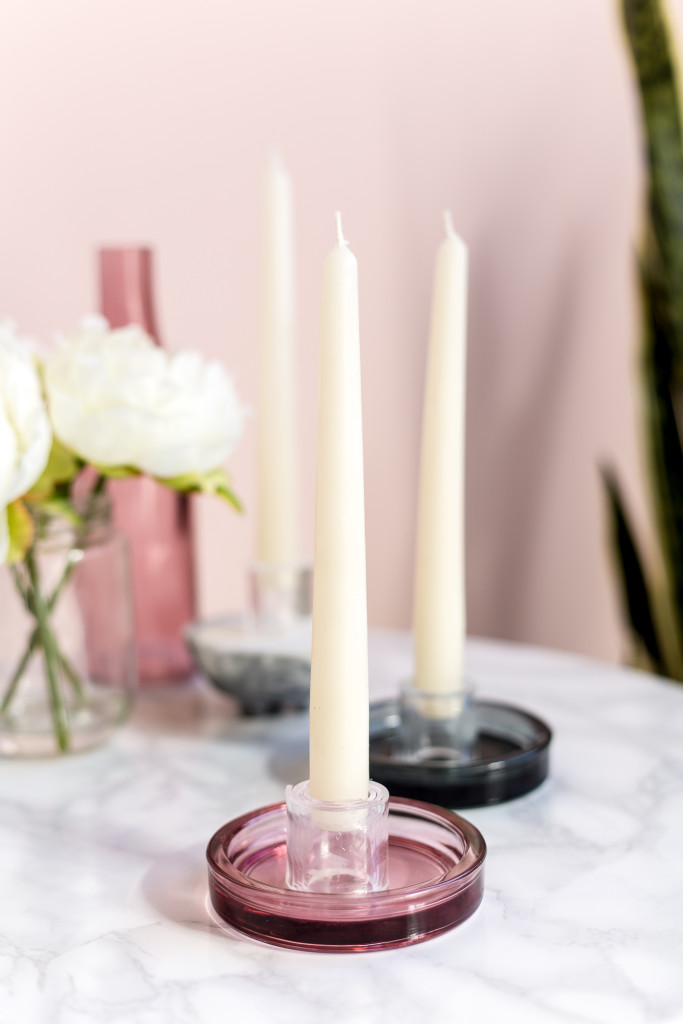
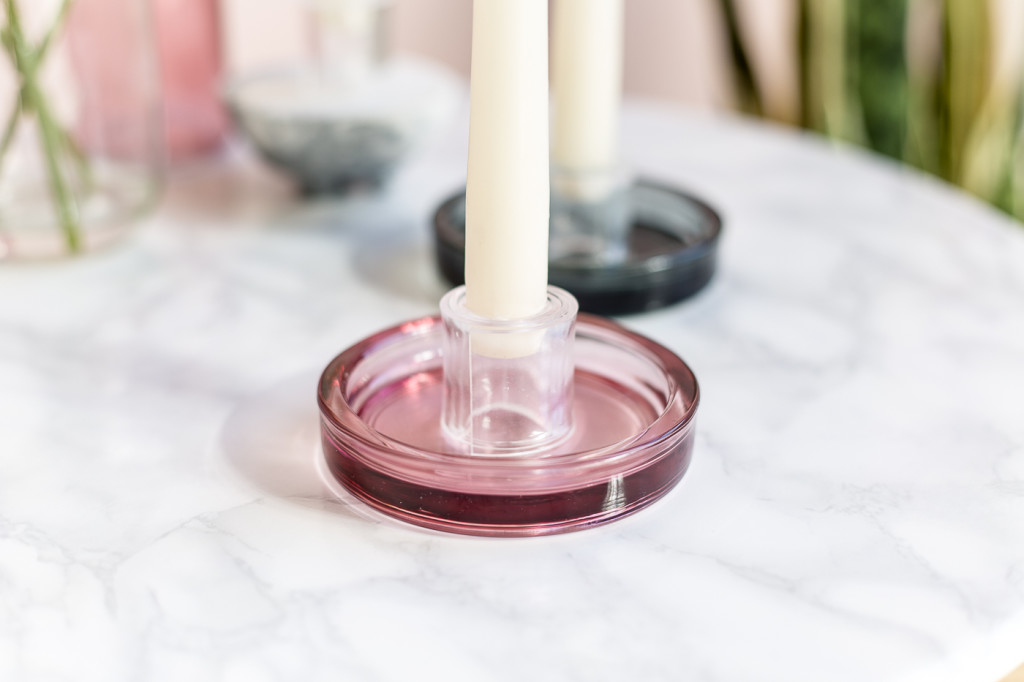
I’ve set my candle on these glass plant trays I got from IKEA. Just melt a little wax on the glass and press the perspex into them to keep them sturdy and avoid any accidents!
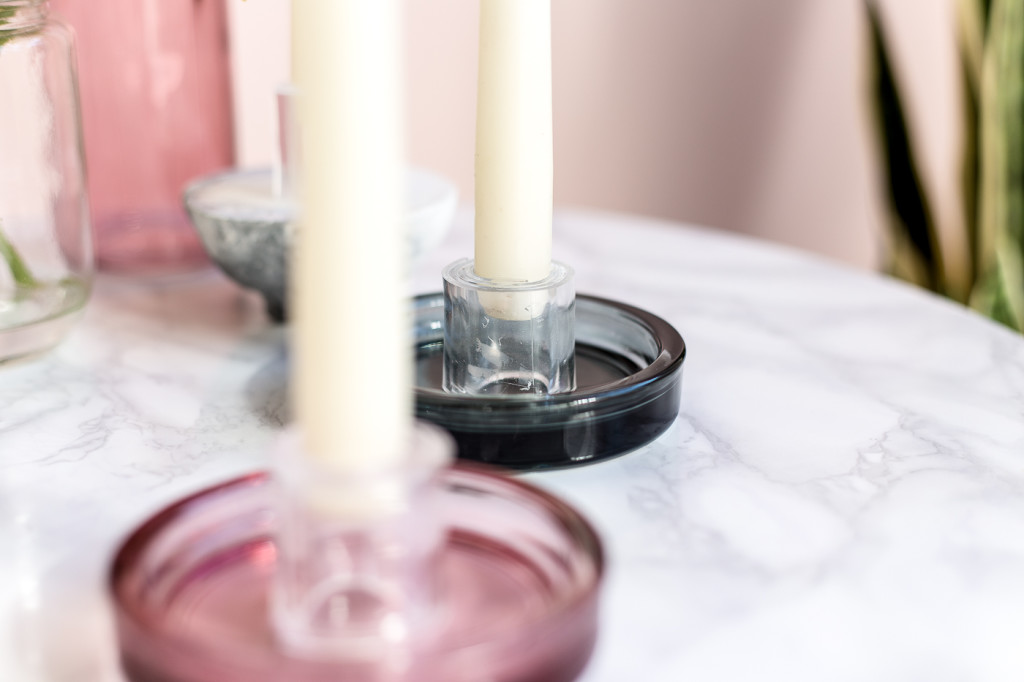
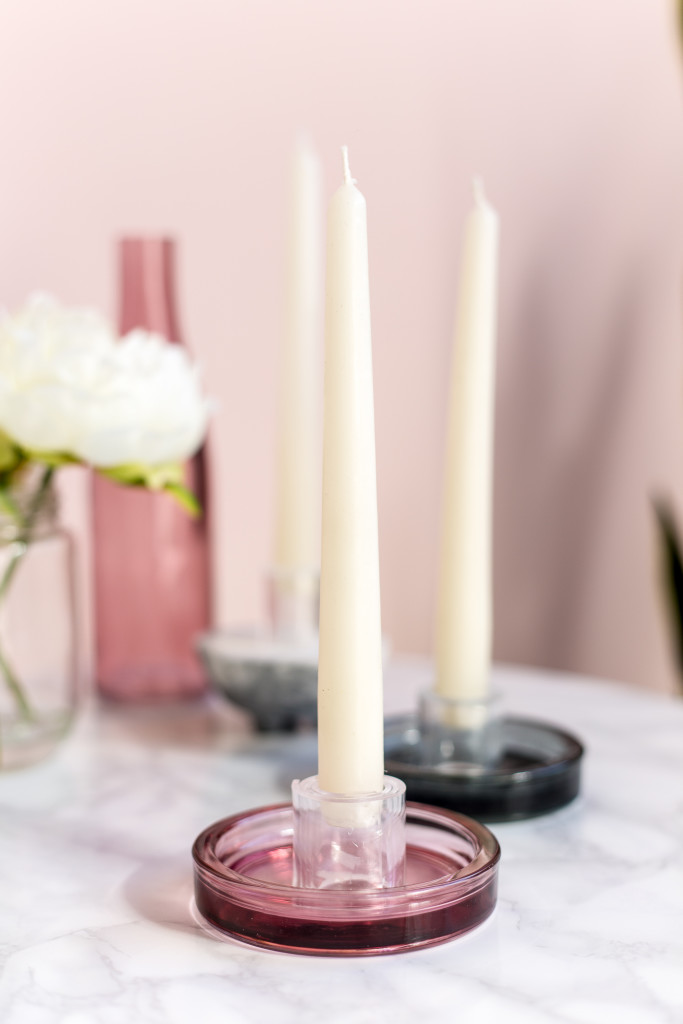
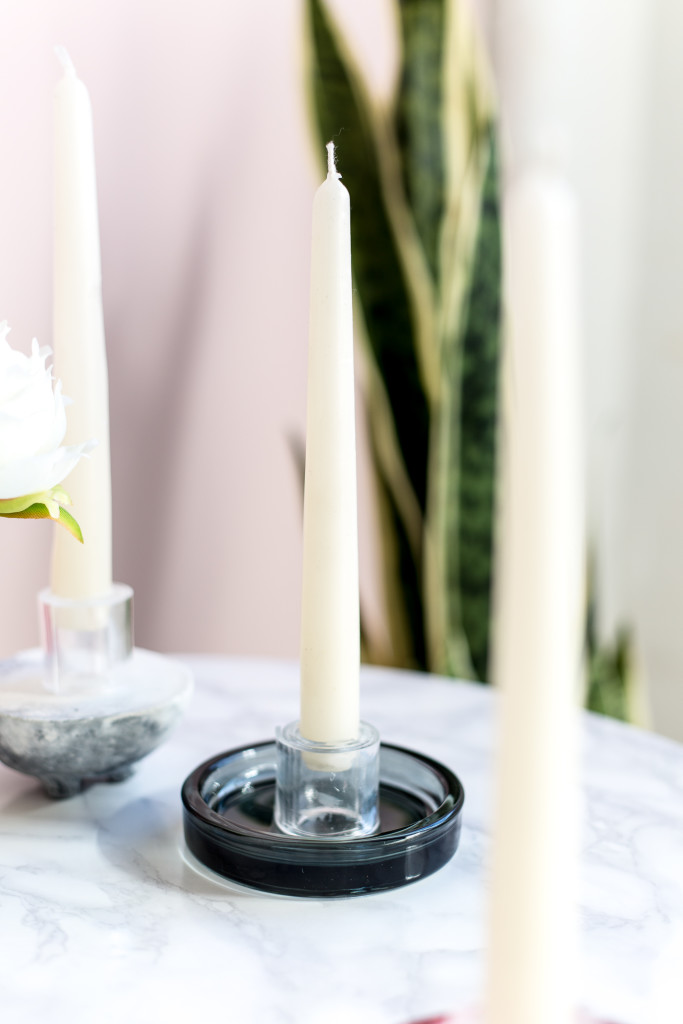
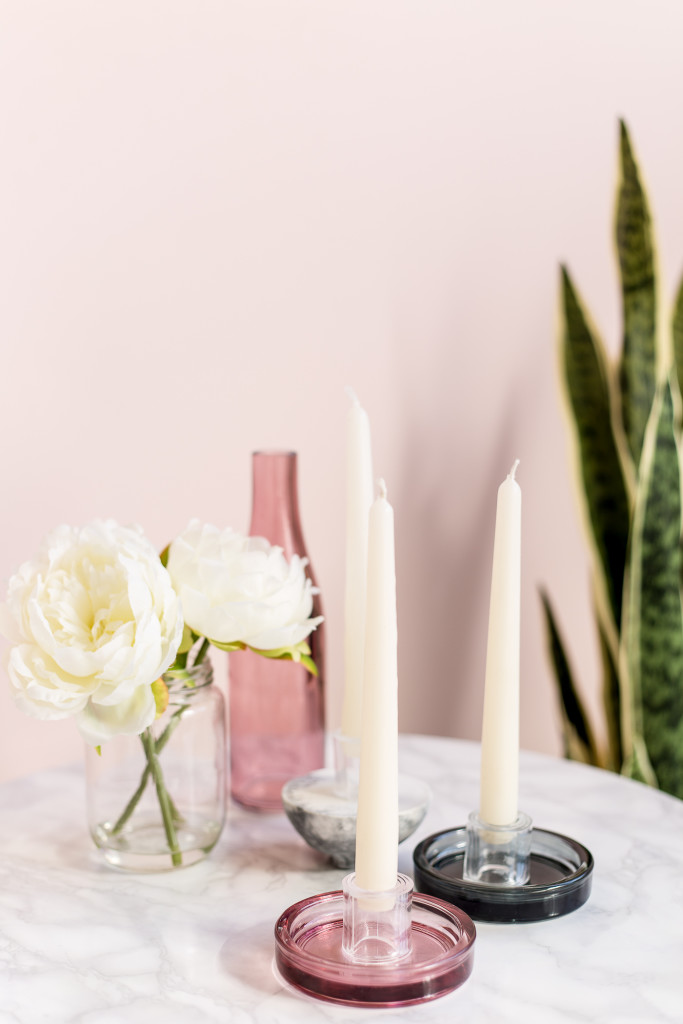
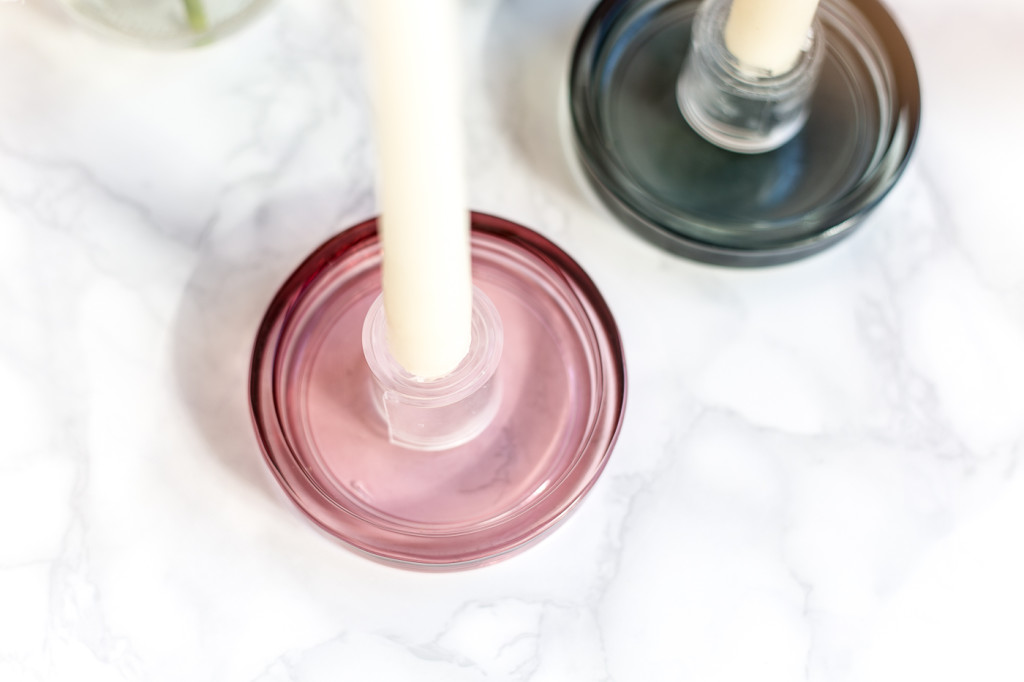
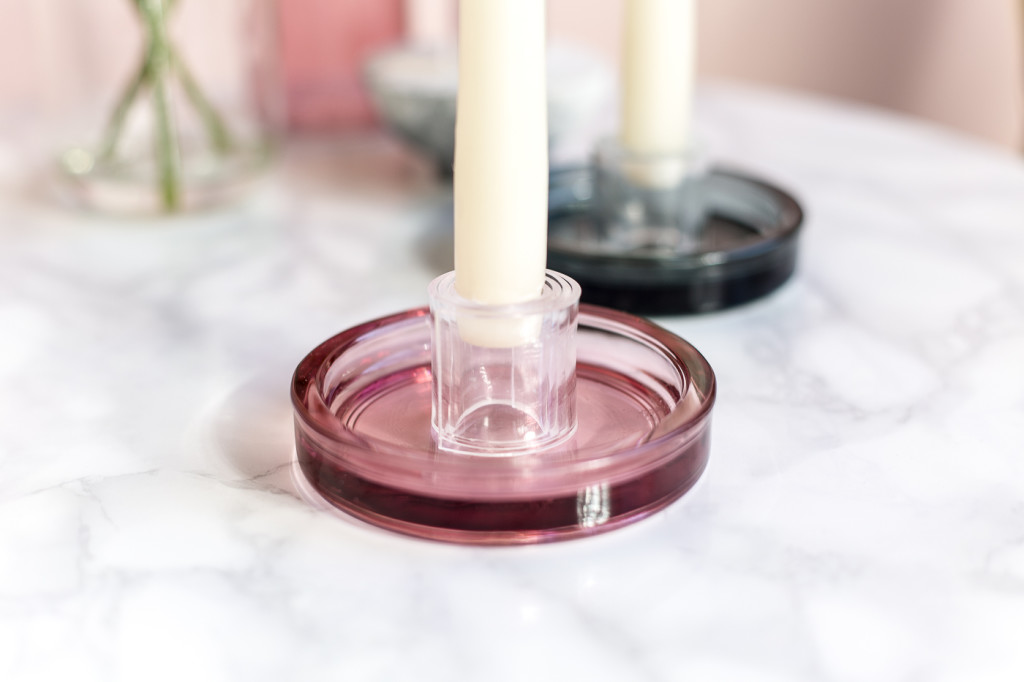
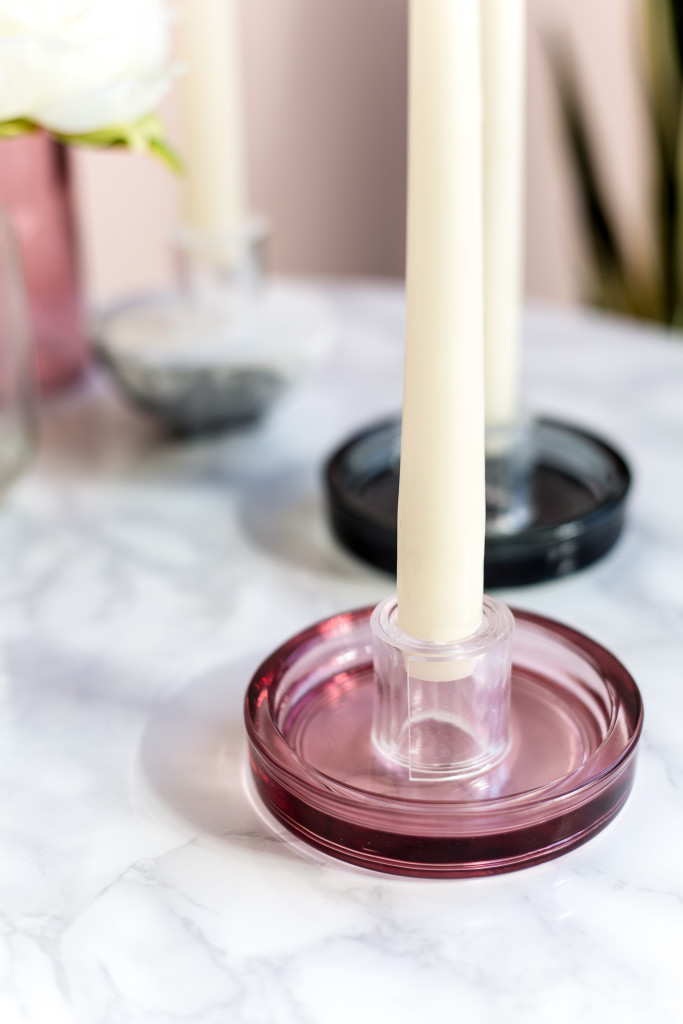


Love them! The darker coloured trays really set off the clear perspex too :)
Really cool idea, I love candle holders and can’t get enough of them. But I never tried to make them myself, maybe I’ll try with your tutorial.
Greetings from Berlin,
Kali
http://www.idimin.berlin/