Between me and Alex we can get through quite a bit of tableware at home. Like a clumsy comedy duo we have a problem with breakages. My problem seems to be my elbows. While I can keep my hands in check, when it comes to watching where the rest of my arms are and what they are about to knock over I have tunnel vision. The absolute worst example of this was elbowing a whole bottle of tequila we bought back from Mexico last year onto our kitchen floor! Tequila and glass everywhere. No margaritas for us…
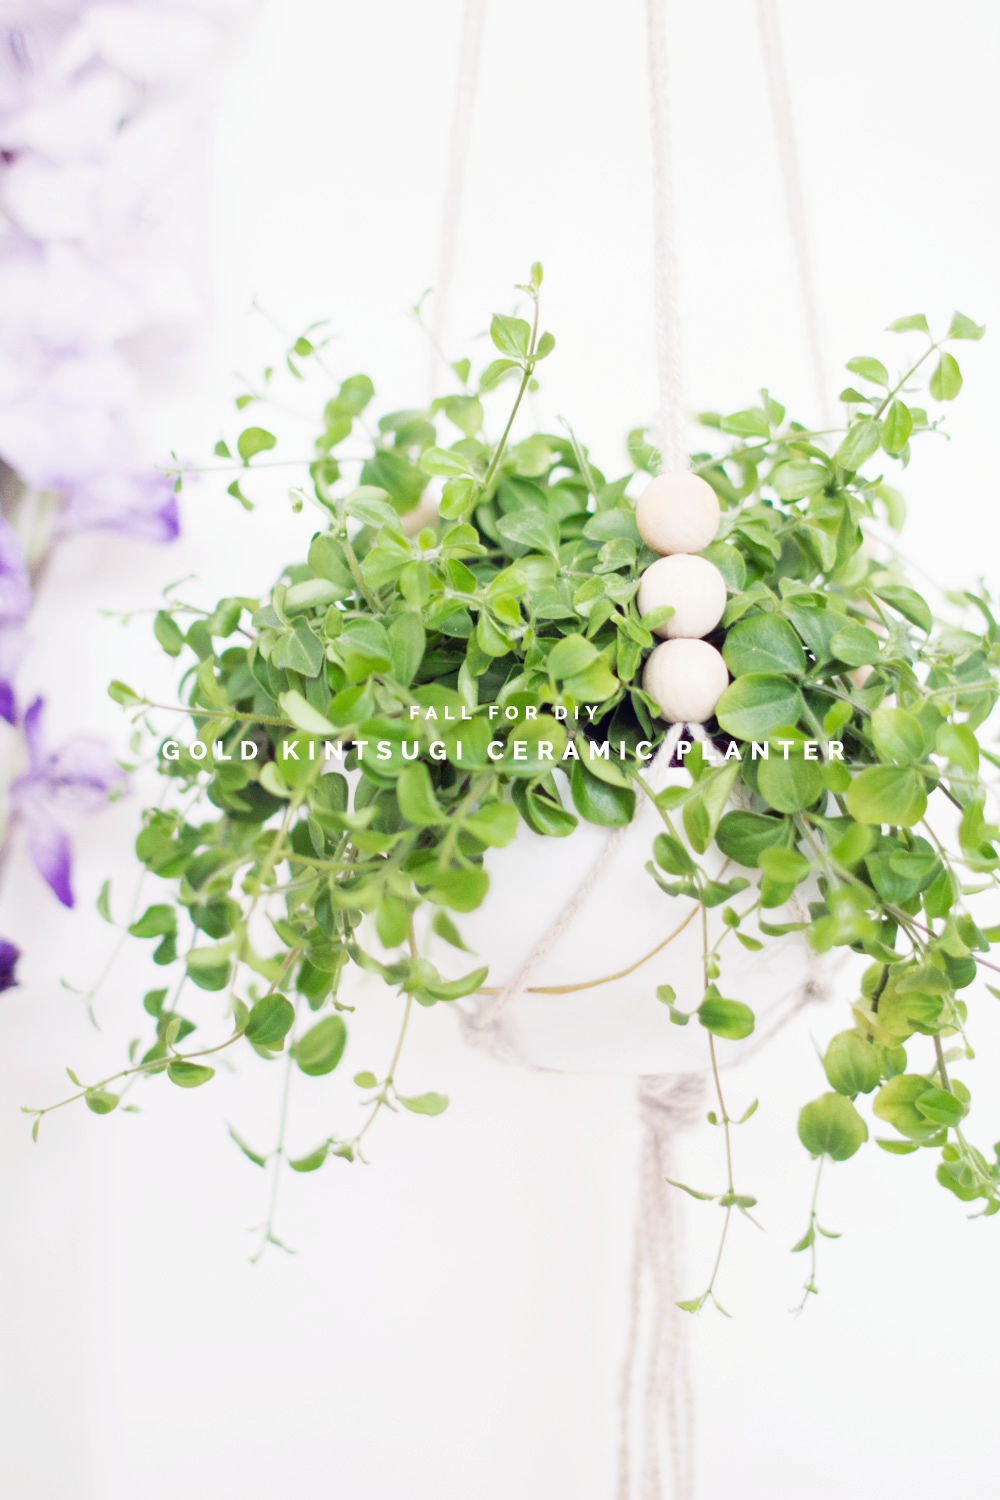
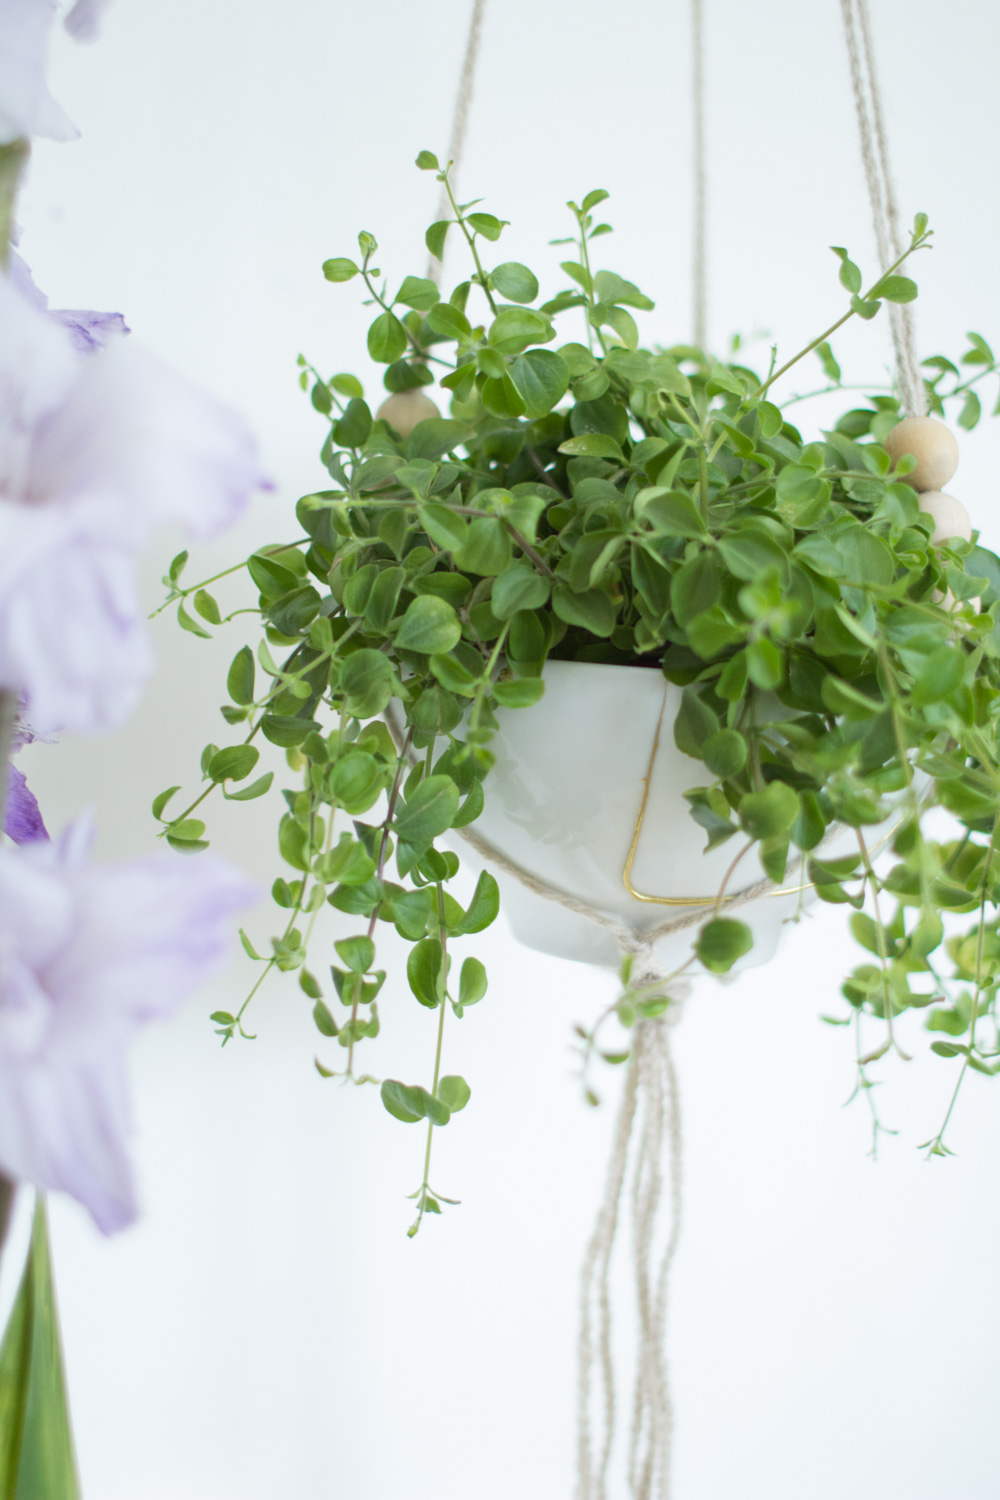
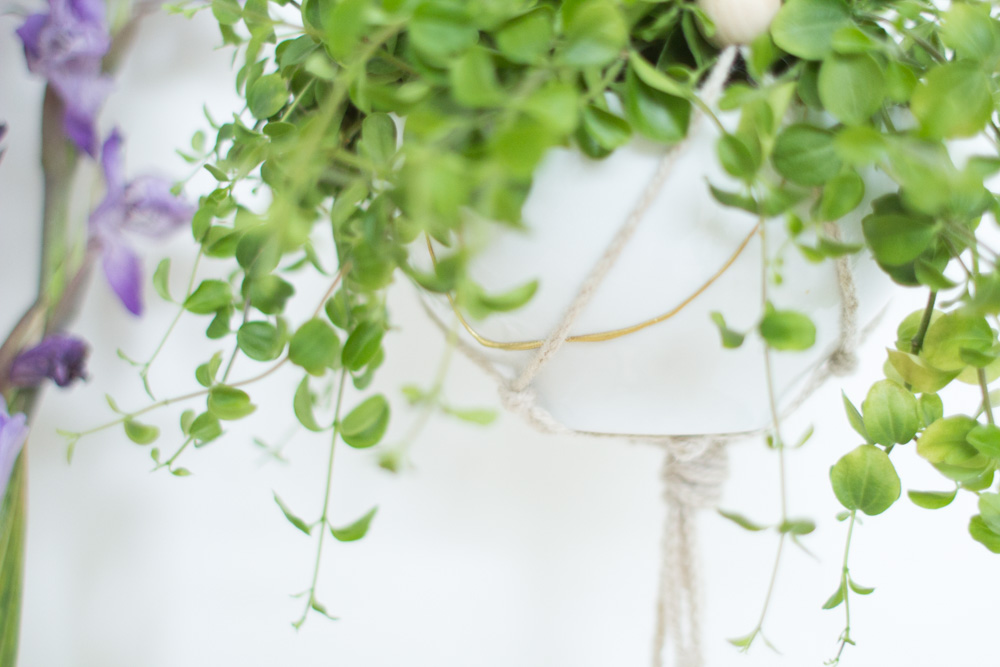
Apart from the tequila bottle, I’ve found a way to reuse a lot of the breakages and (in my opinion) make them so much better! These Kintsugi DIY repair kits from Mora Approved let you professionally fix your crockery in minutes and is so easy to use. You can put your broken pieces back together again with beautiful accents of gold running through the ceramics. In fact this piece looks so good I wish I’d broken it into a few more pieces before putting it back together again! I’m already looking for other items I may accidentally (ahem!) break so I can experiment more with the kit!
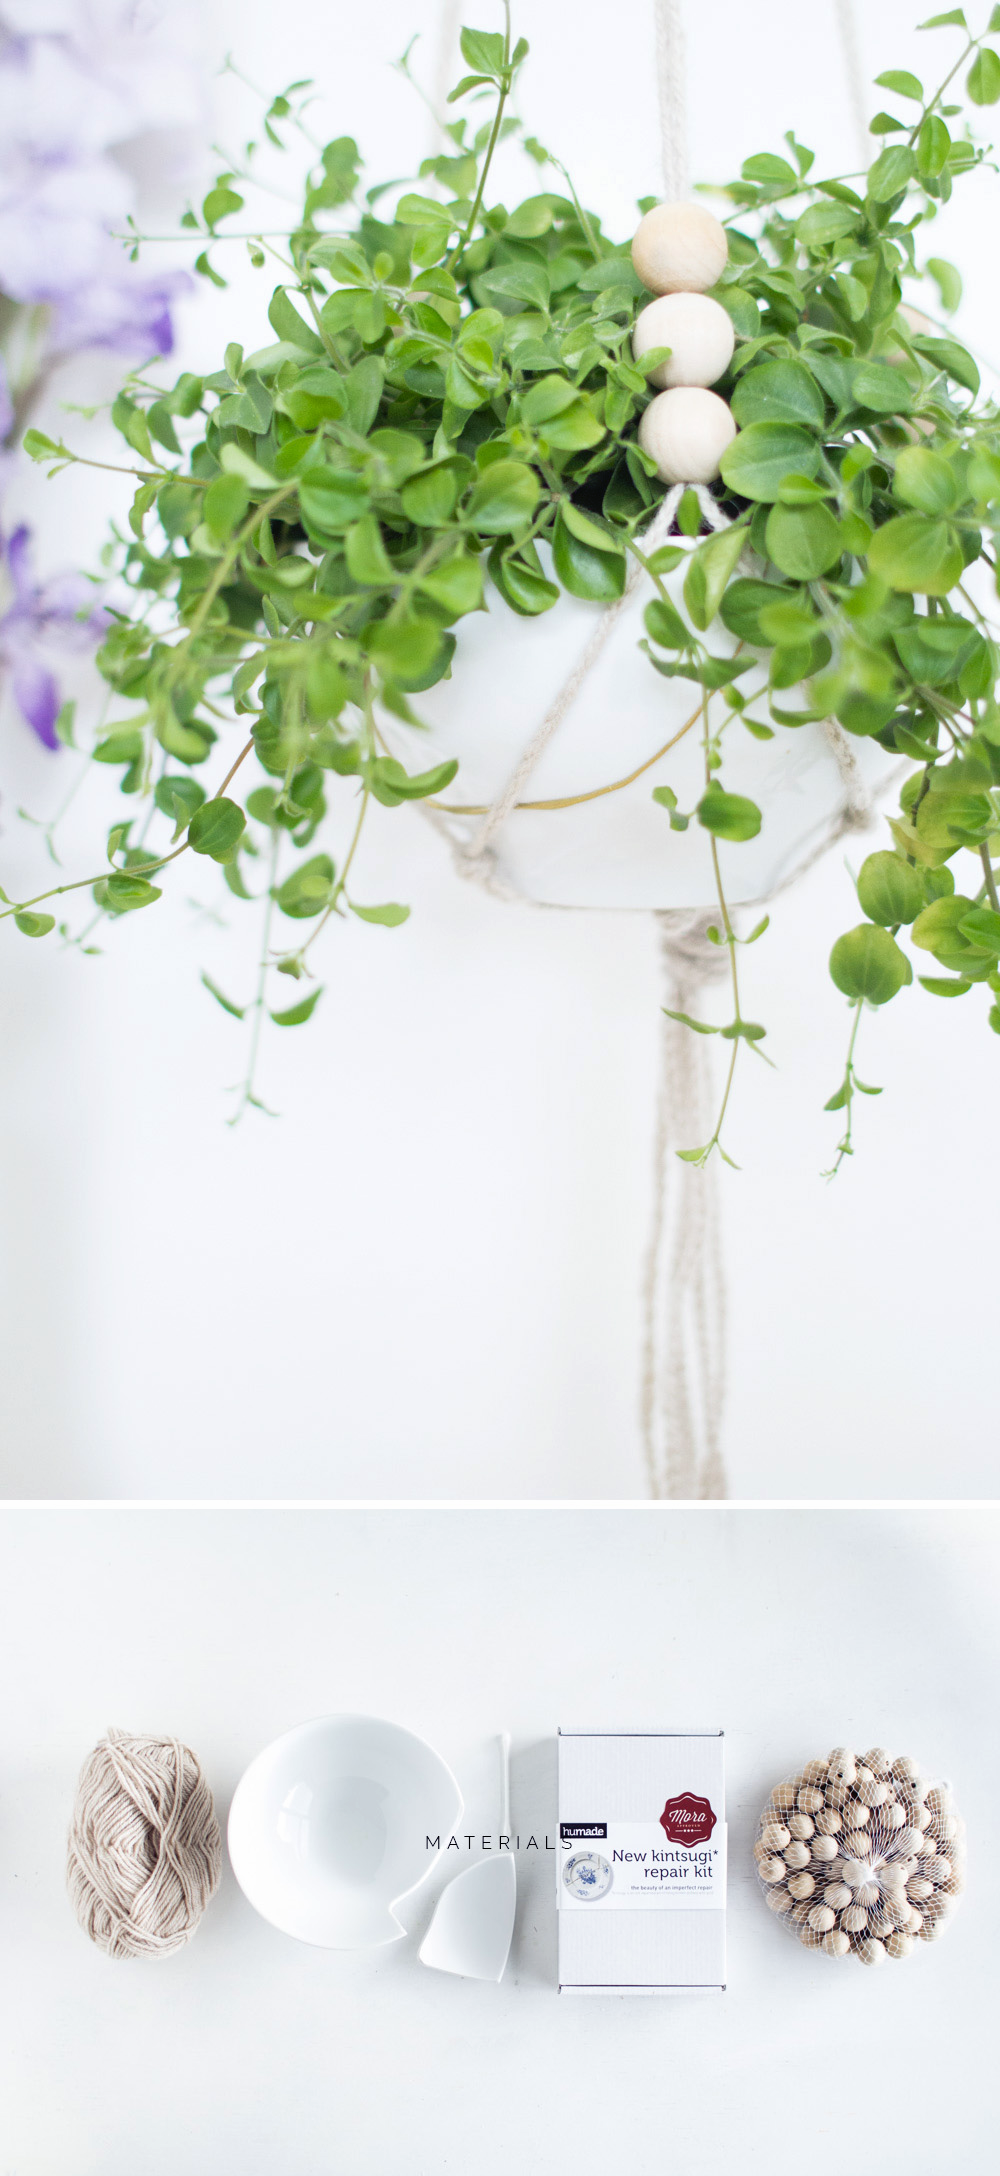
Materials
Kintsugi Repair Kit | Broken (or about to be broken) ceramics | Wool | Beads | Cotton tip
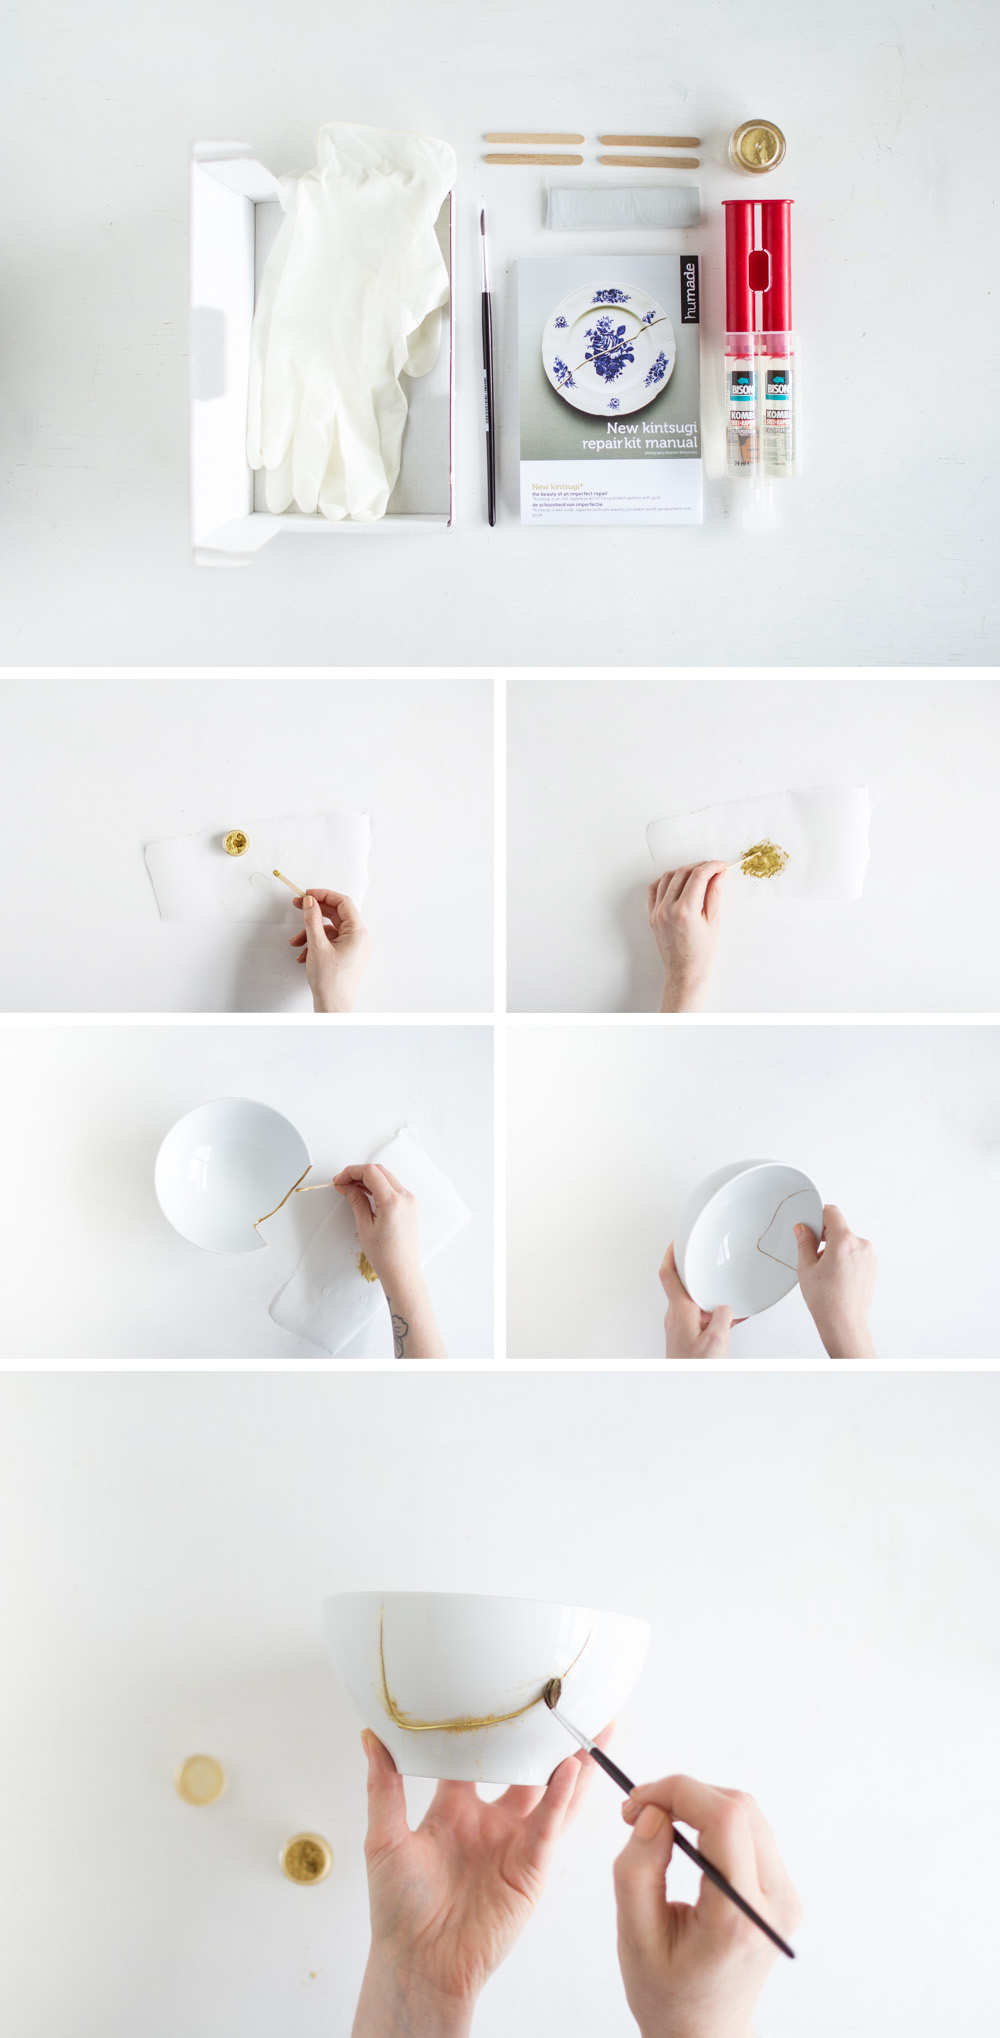
The Kintsugi kit comes with an instruction manual that walks you through the steps to repair you broken piece with this amazing gold shine. I’m repairing a bowl that Alex broke a couple of weeks ago. He tried to throw it away.. I had to put a stop to the madness!! Once you have completed the repair it’s time to start on the hanging macrame.
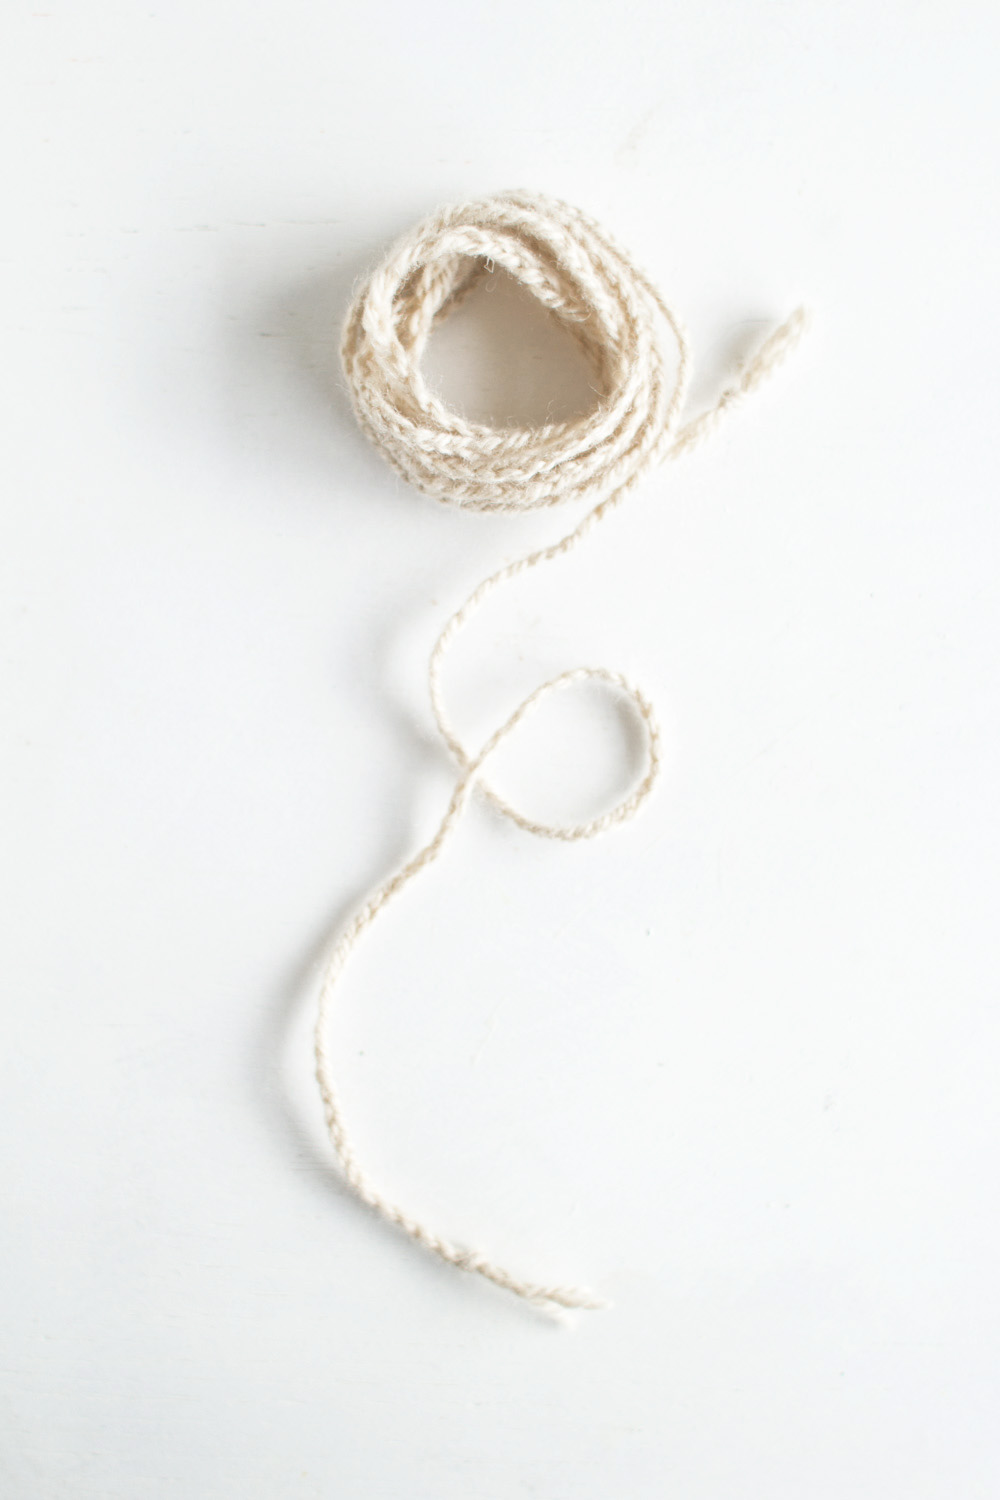
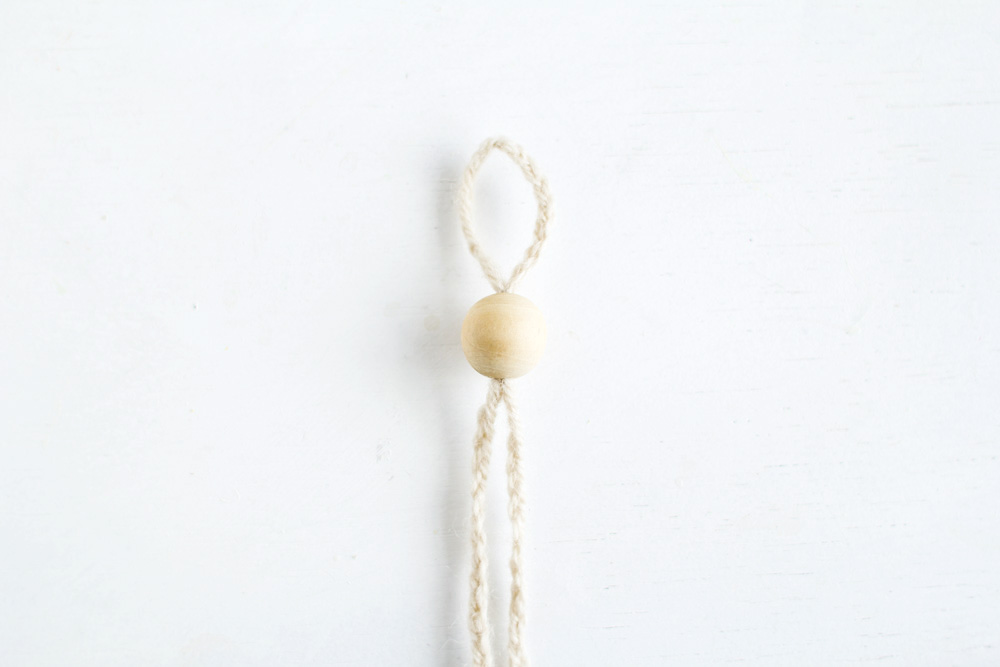
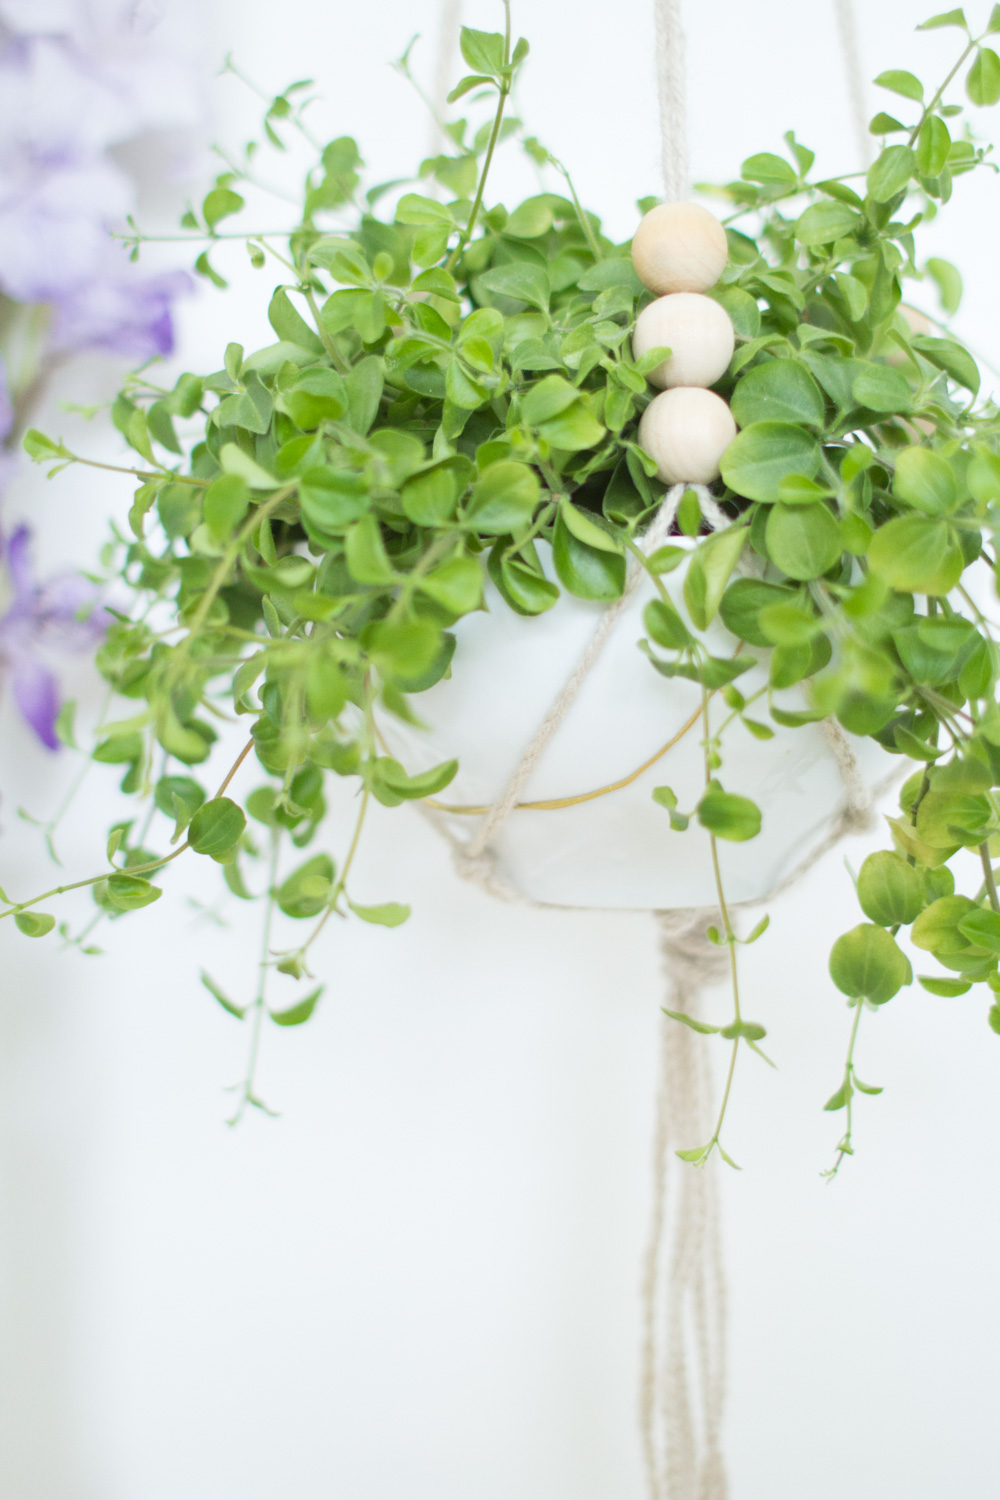
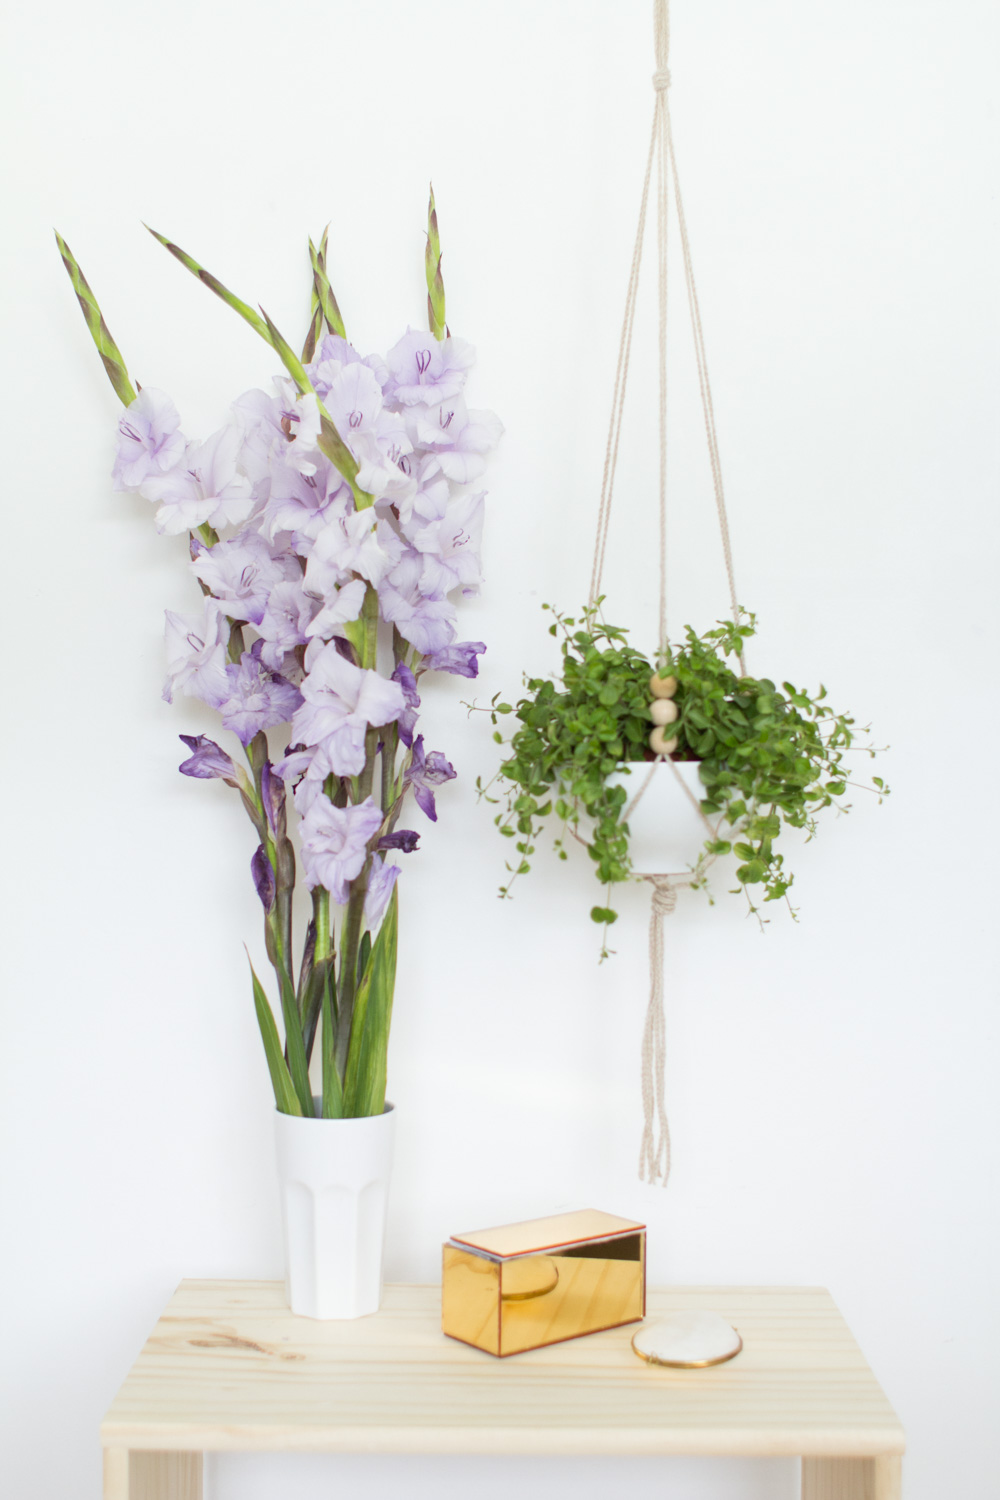
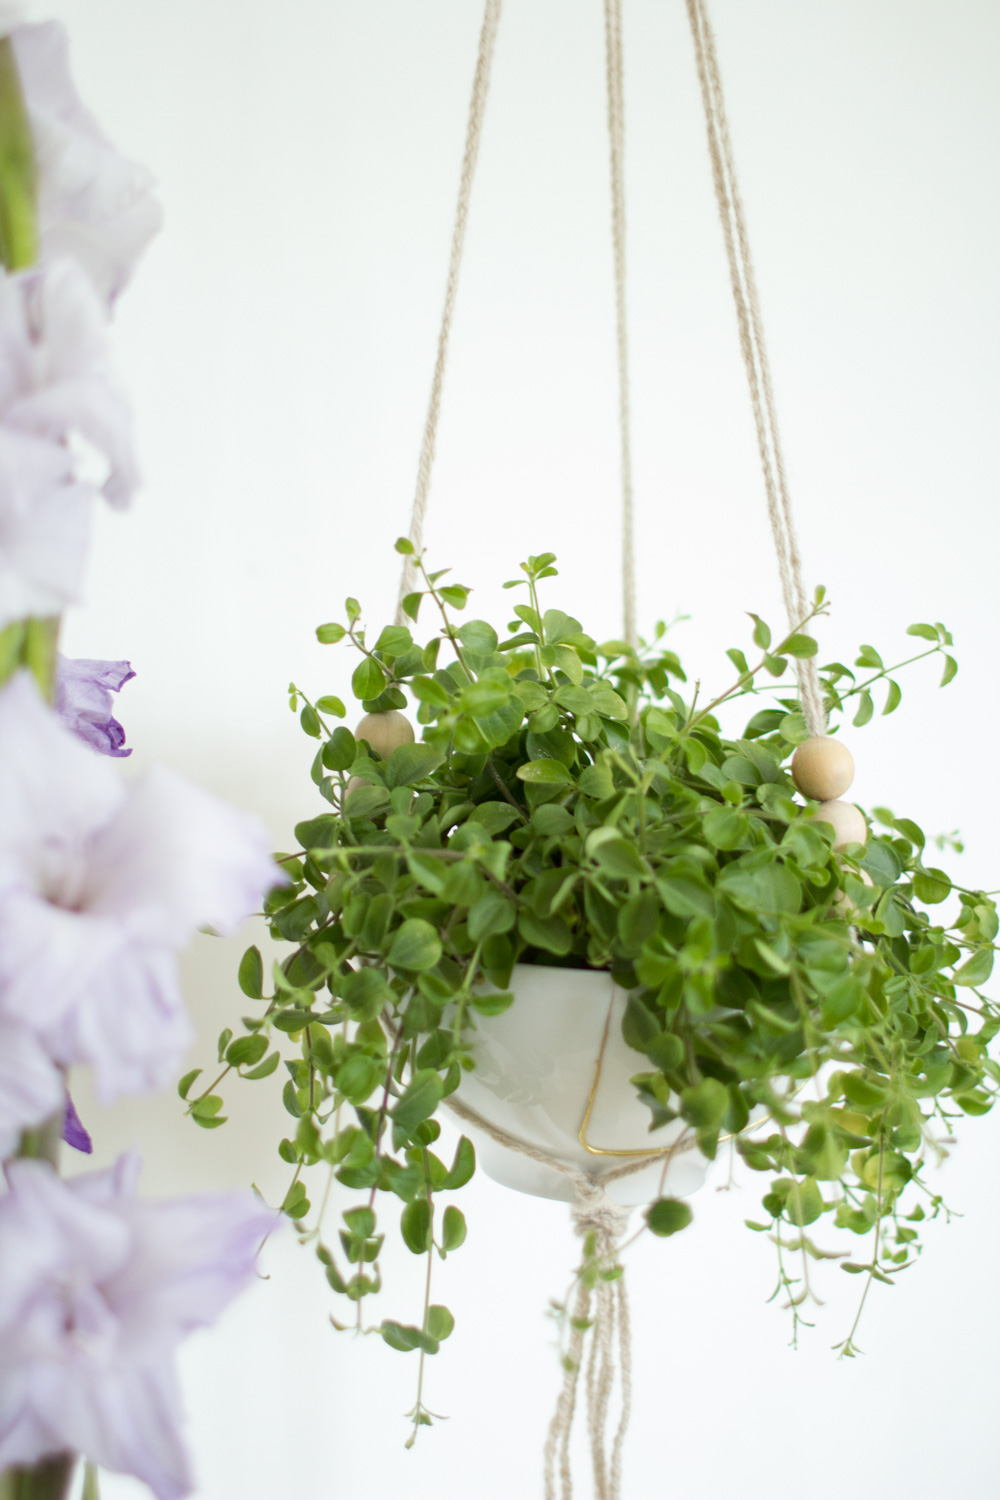
Braid three plaited strands, each around 2 meters in length. Fold each in half and thread the wooden beads on the folded end.
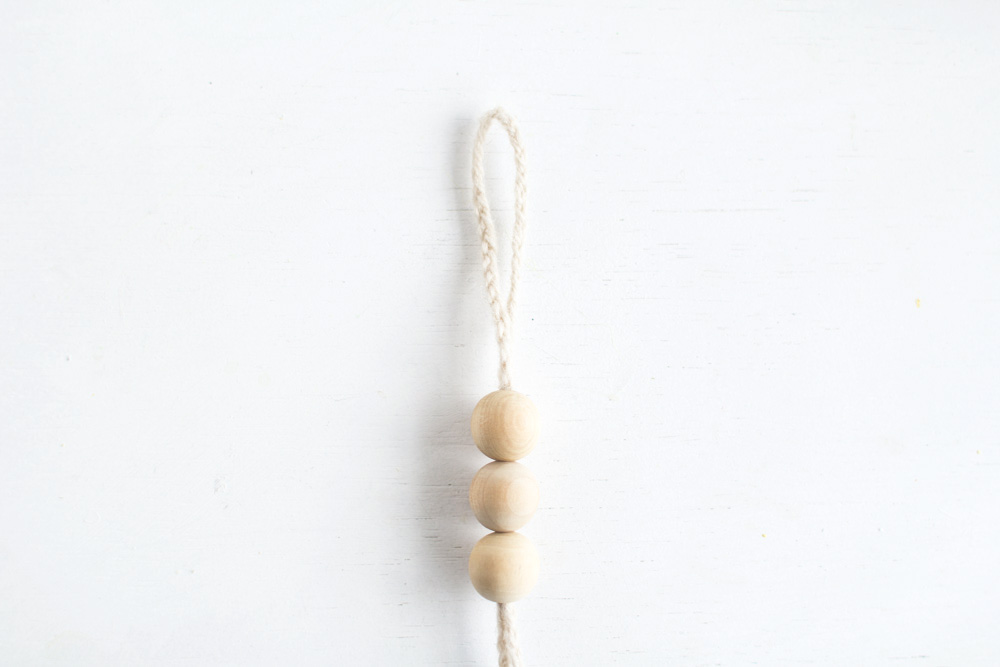
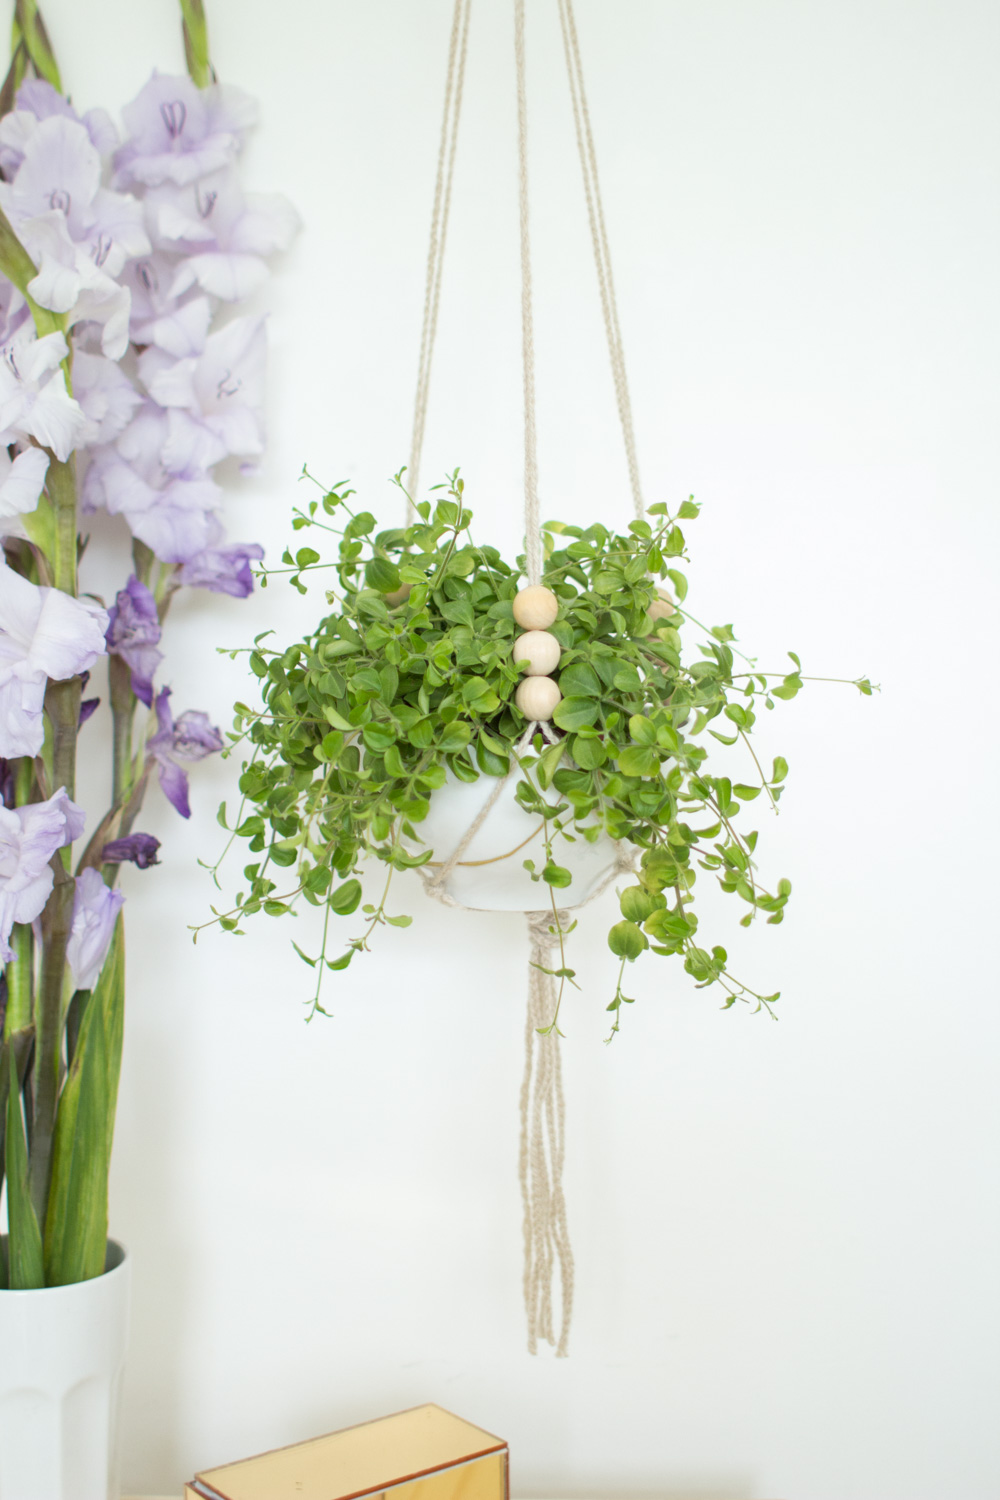
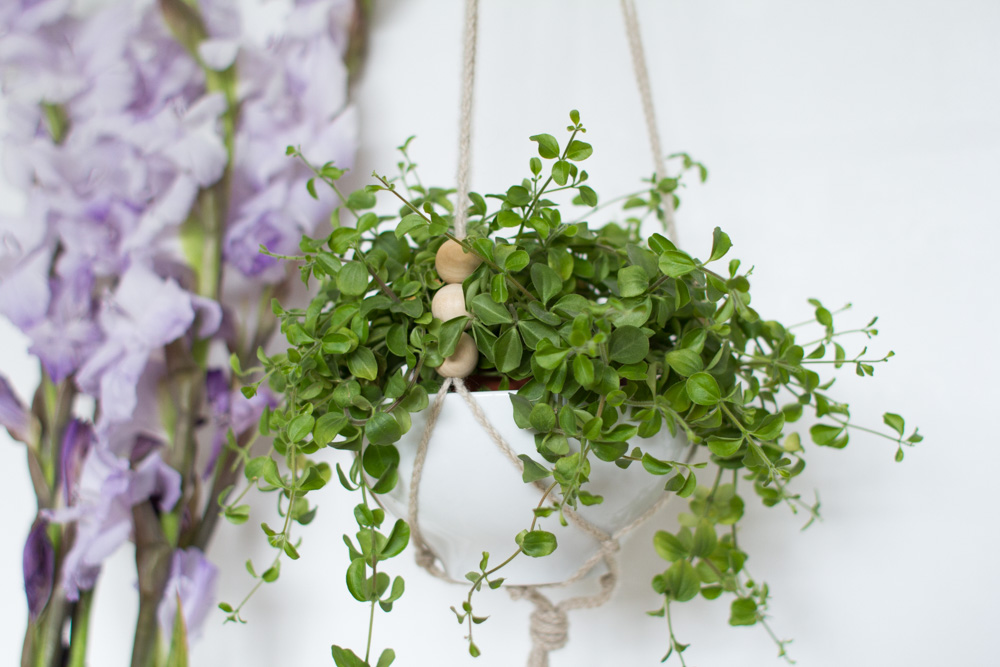
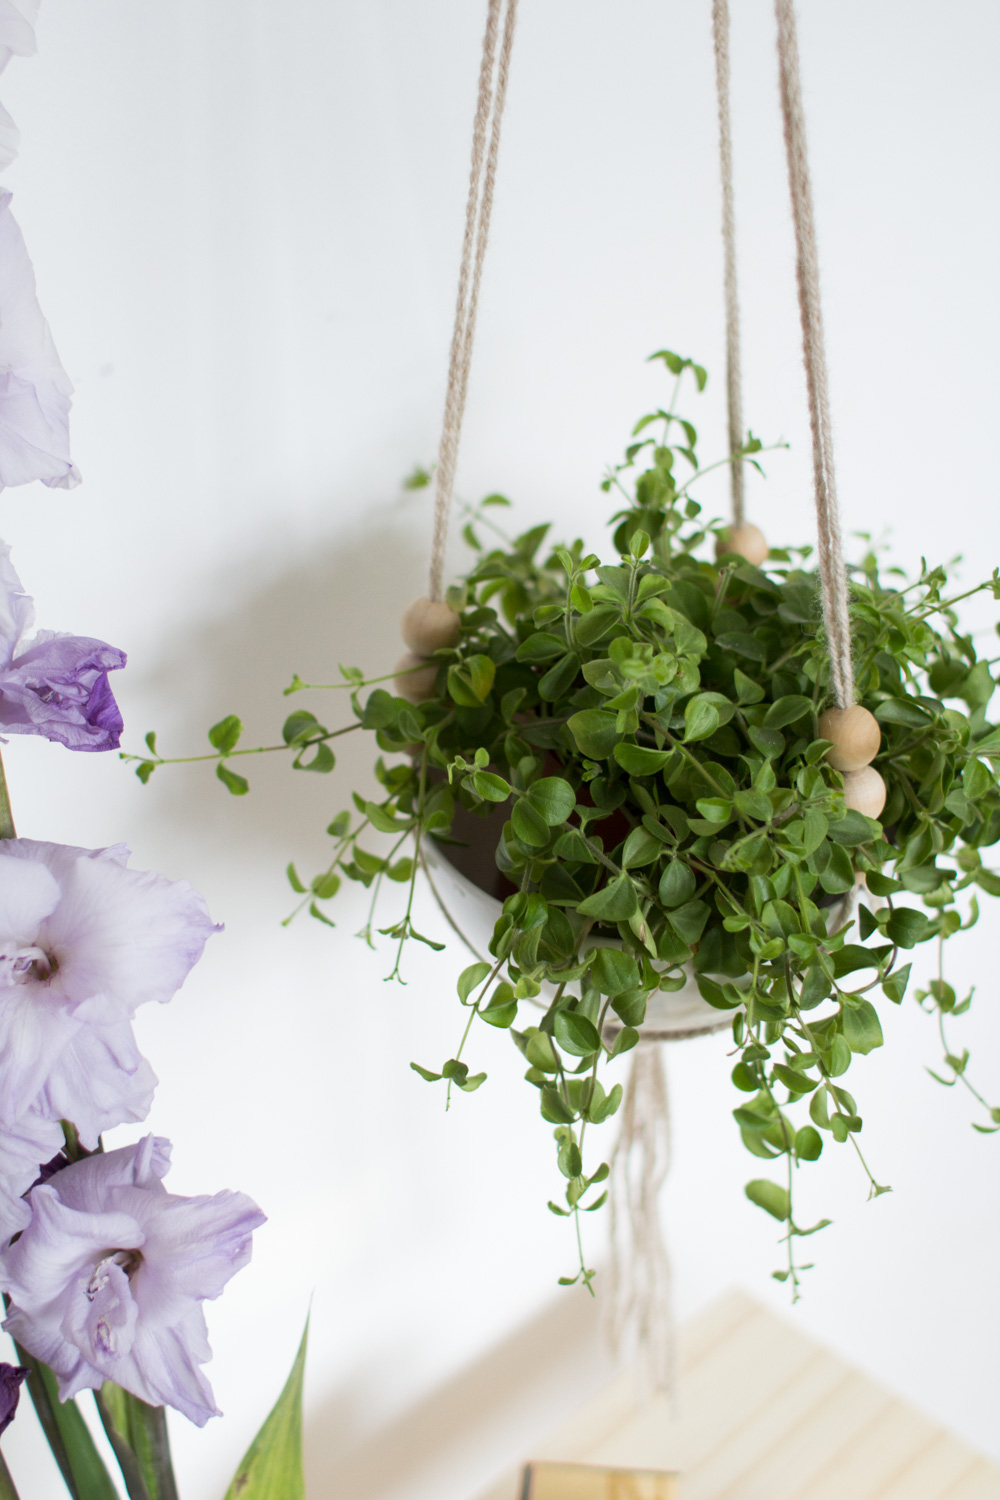
Once you have beads on all of the strands tie all three plaited strands together about 2 inches away from the fold. Now begin tieing the knots to create the cradle for your bowl. I used the same process as I did on my Hanging Egg Planter. Check that tutorial out for in-depth instructions.
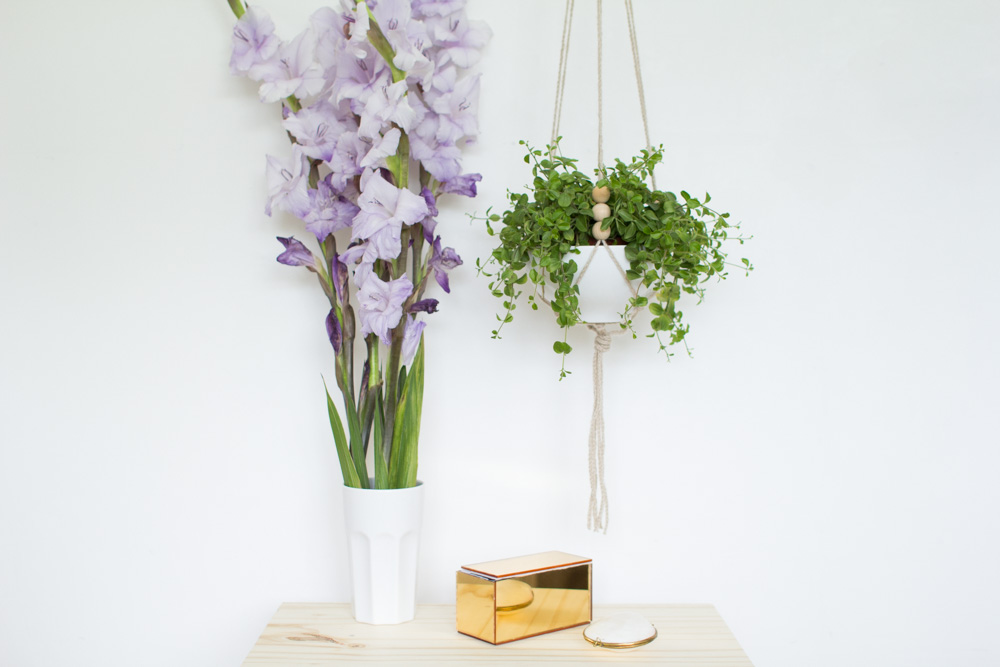
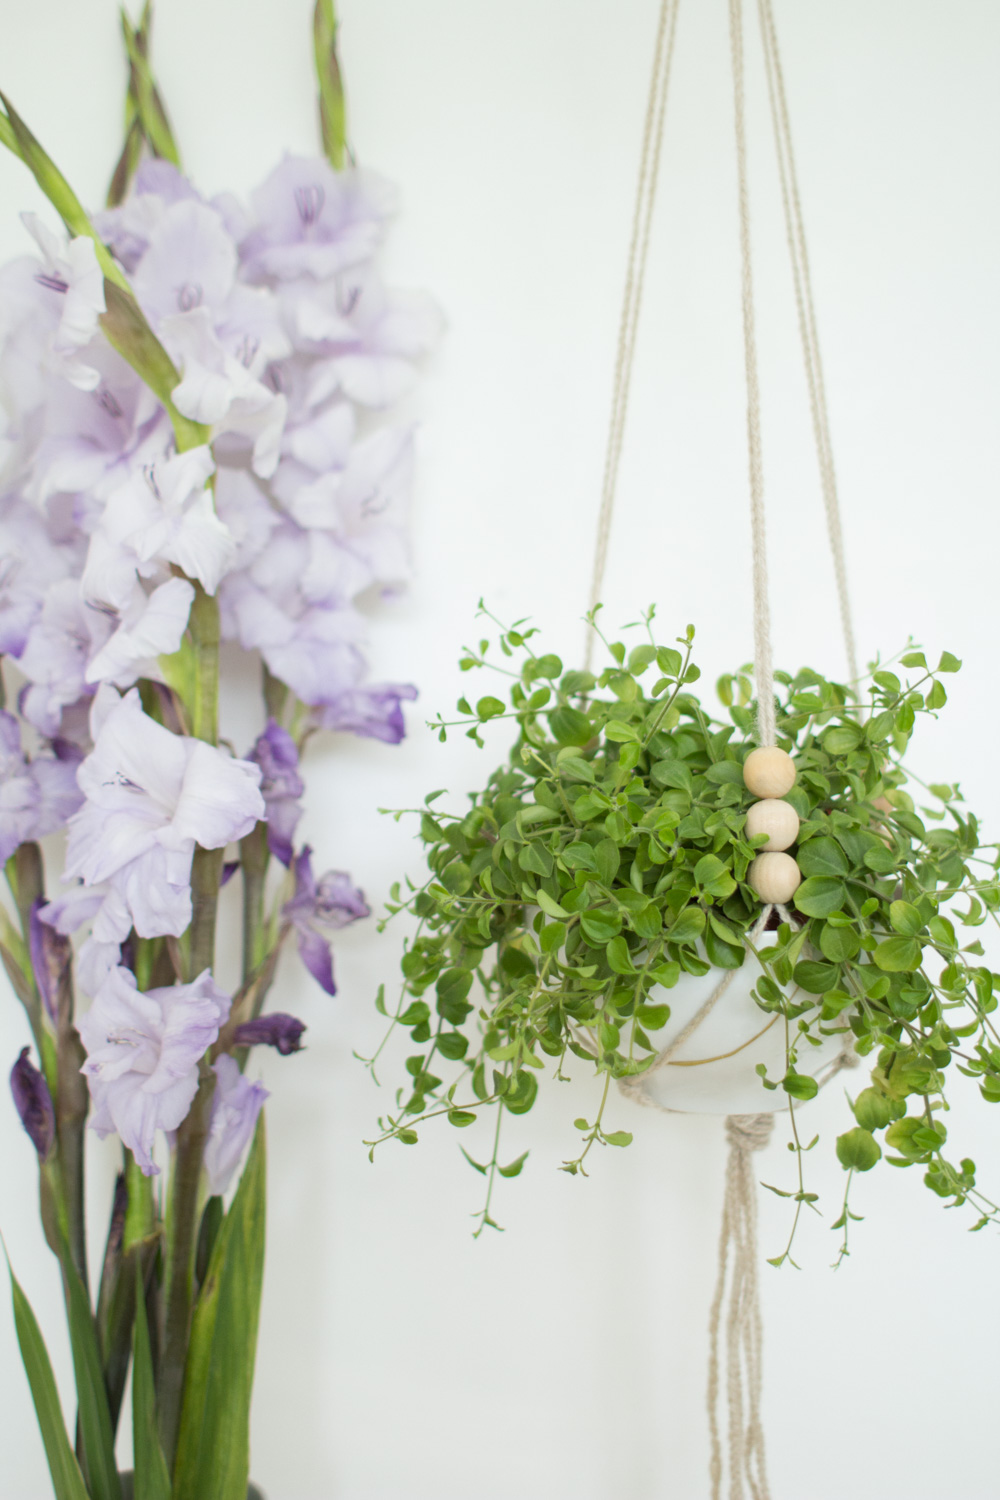
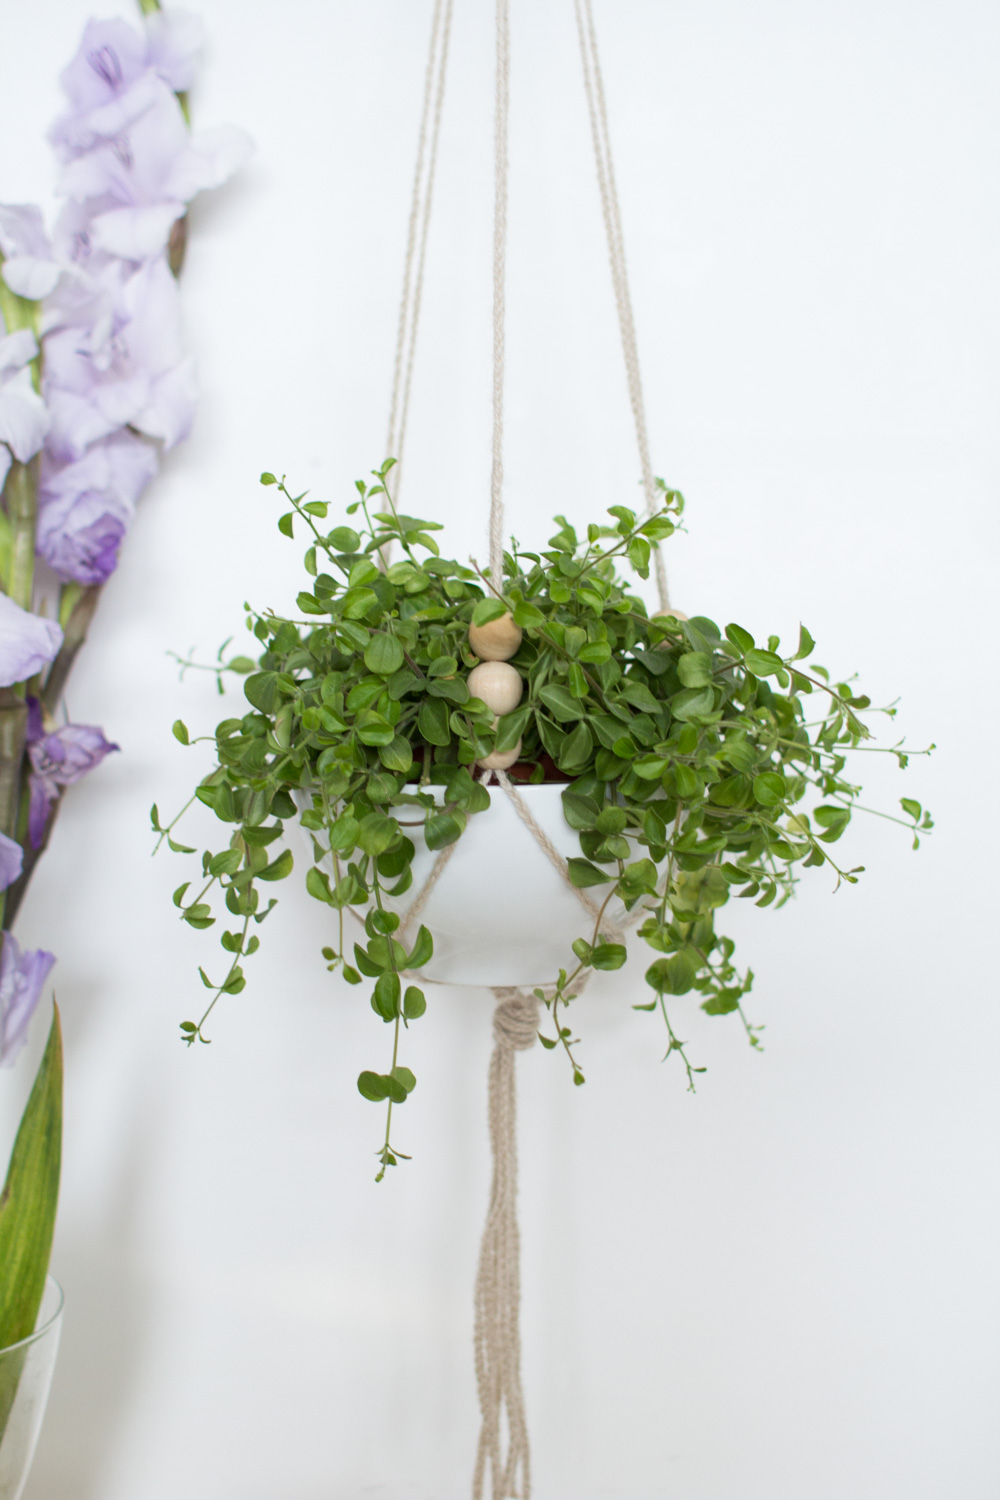
Now all that’s left to do is insert the bowl/new planter and decide which trailing plant you want to hang in there!
If you’re looking for planter DIY tutorials then check out my most popular ones right here!

This post was sponsored by Mora Approved but I genuinely love this product and all opinions are my own. Thanks for supporting the companies that support us! This post also contains affiliate links.


I really like this idea! It looks so cute, and quite simple to make :)
Not to minimize the lovely DIY, but what is the name of that plant? I love the delicate leaves!
haha! I totally get you – I do the same thing. I think it is a Peperomia, which is such a cute name! ;)
I love the idea of highlighting the breaks with gold – absolutely beautiful! We’re bad breakers in our house too! I’ve thought about using broken crockery for mosaics in the garden before but I love this for reclaiming a broken bowl or pot!
Hannah x
http://crafternooncabaretclub.com
Thanks Hannah! Us breakers need to stick together… (sorry) ;D
Hi! I tried to do this but I am totally lost. How do you “Hold them together and fold in half. Tie at knot at the folded end to create a loop and attach this to your hook.” from your egg tutorial when the beads are on ?
Thank you!
Hey Magda! These things can be so difficult to describe sometimes! What you basically want to do is make a loop in the middle of all your cords and tie them together at the same time. So if you move the beads down each cord towards the ends (in equal amounts) and just tie up the middle. I’m not sure how to write these instructions to make it clearer. Do you have periscope? Maybe if I made a video it would help? Thanks hun x
Such a good story We have recently read! I like such articles which worth reading
them twice. it is brimming with practical information on the subject, just
like this one https://ateliertheater.ch/roy-jones-jr/. Thanks a million to the
author for such an outstanding piece!