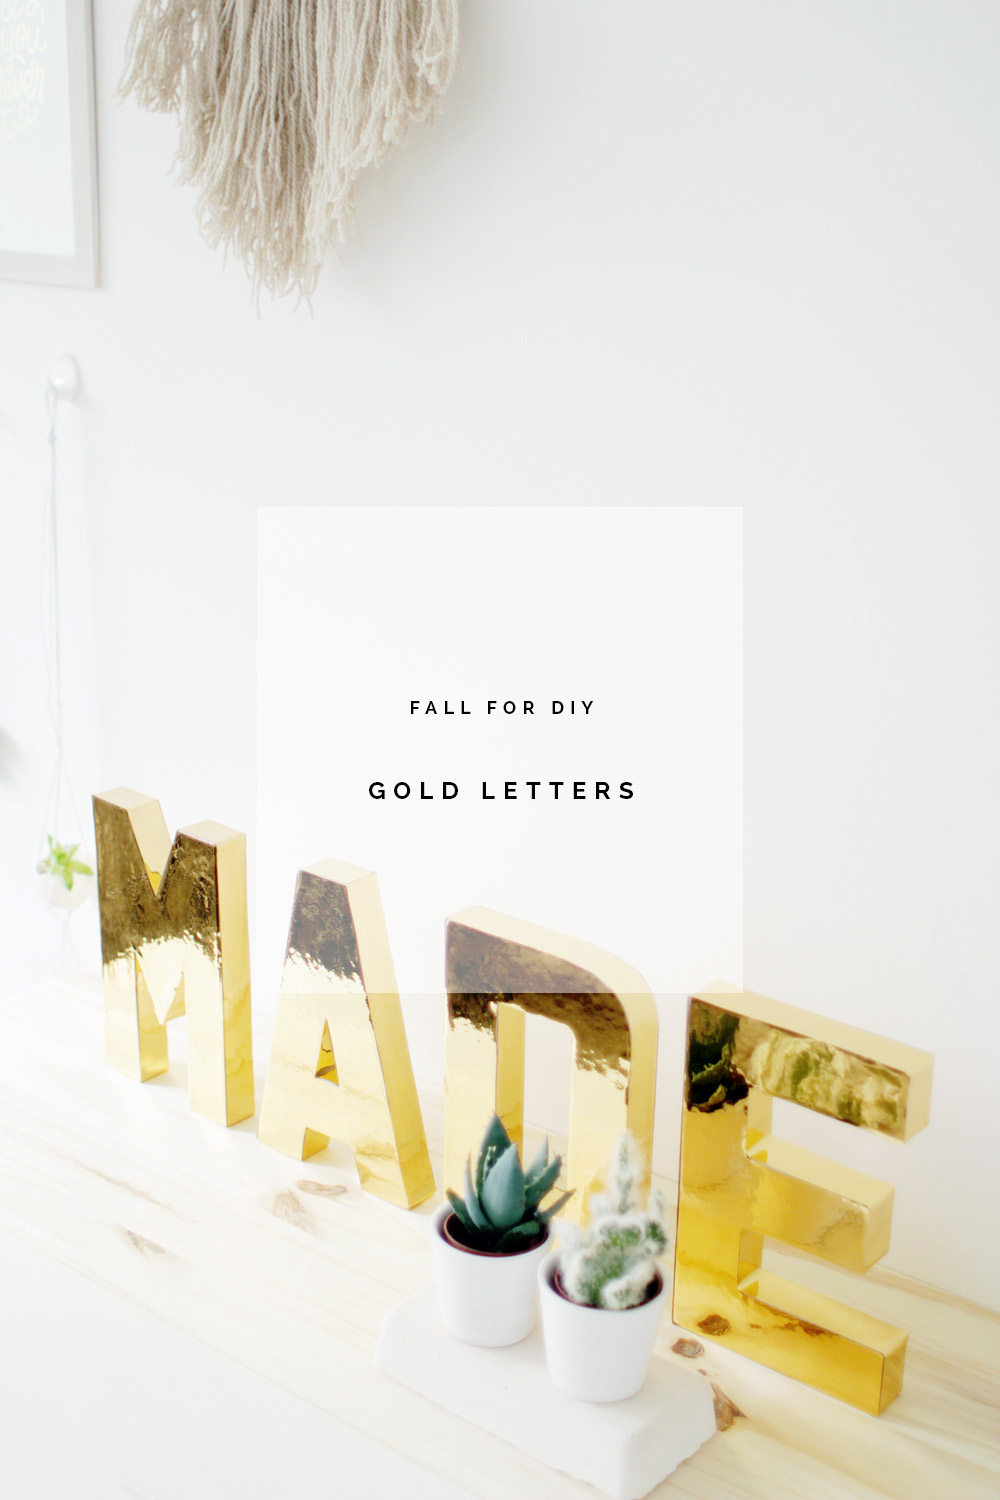
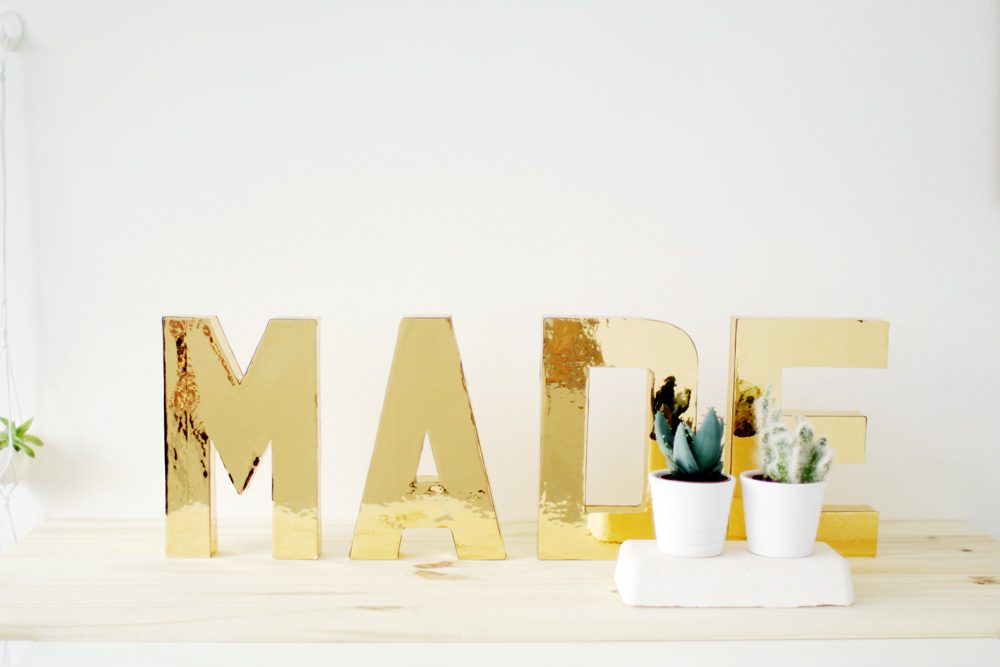
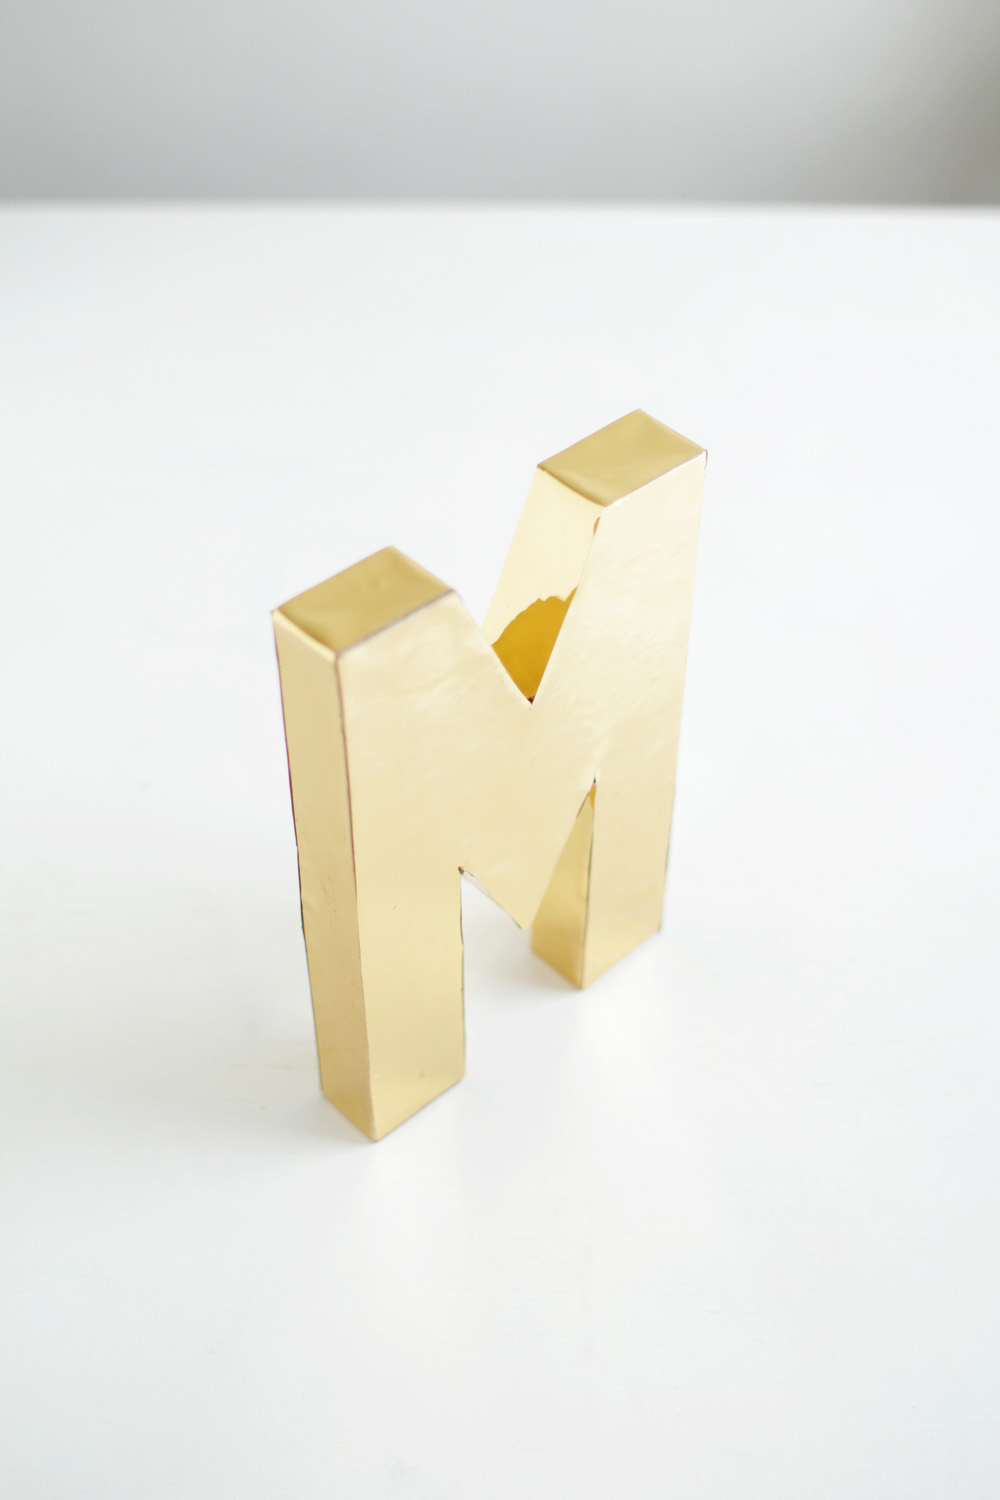
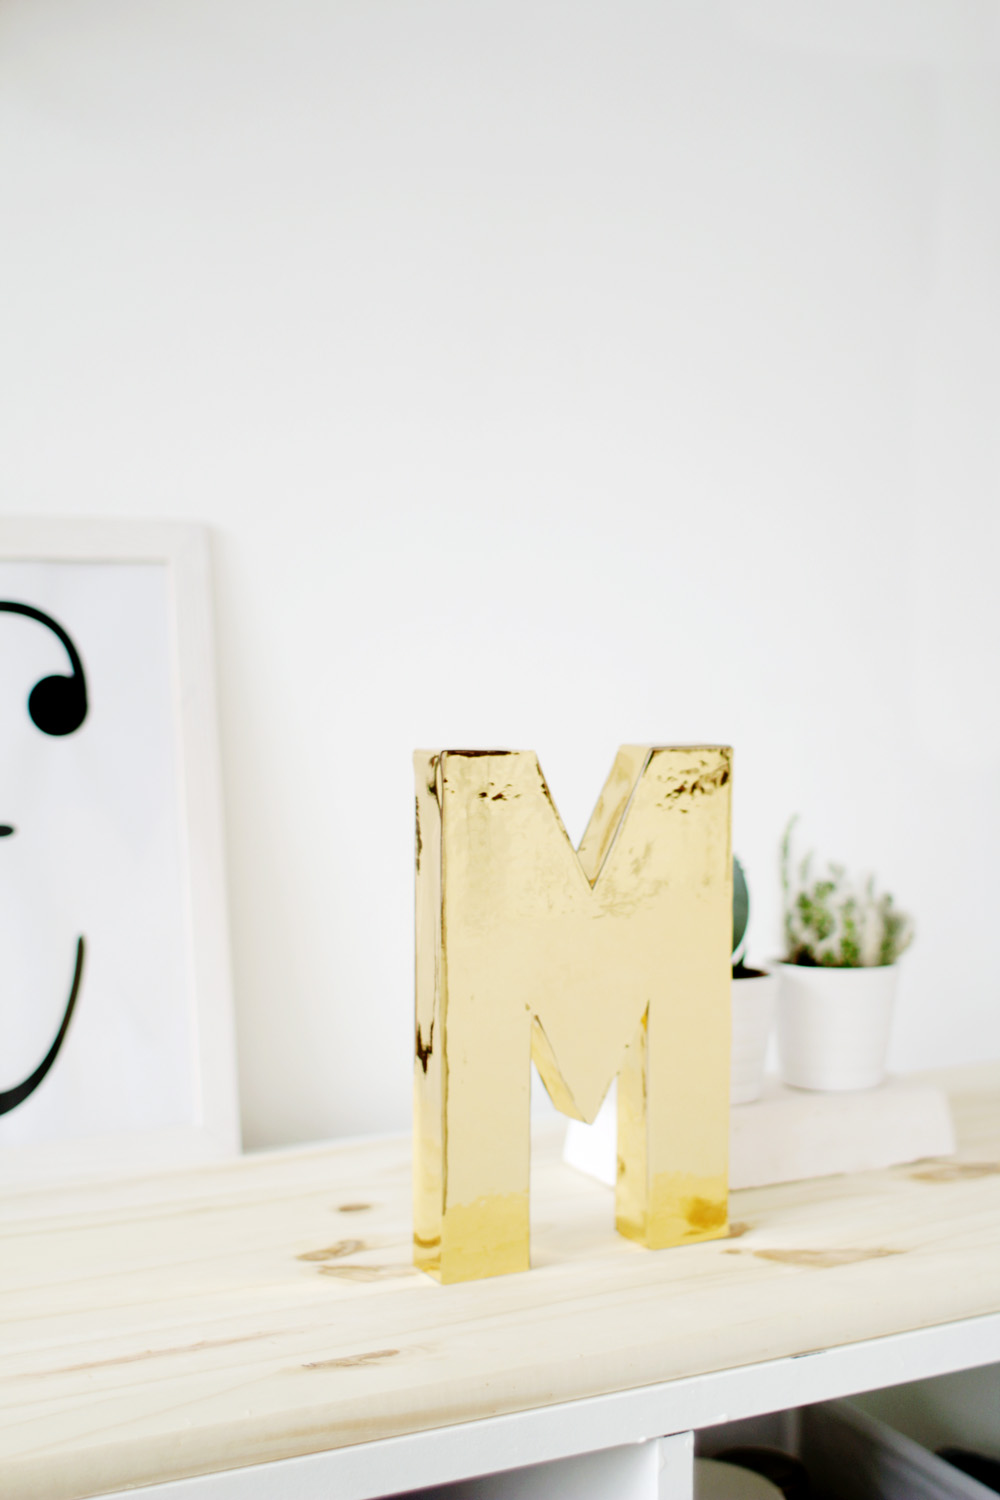
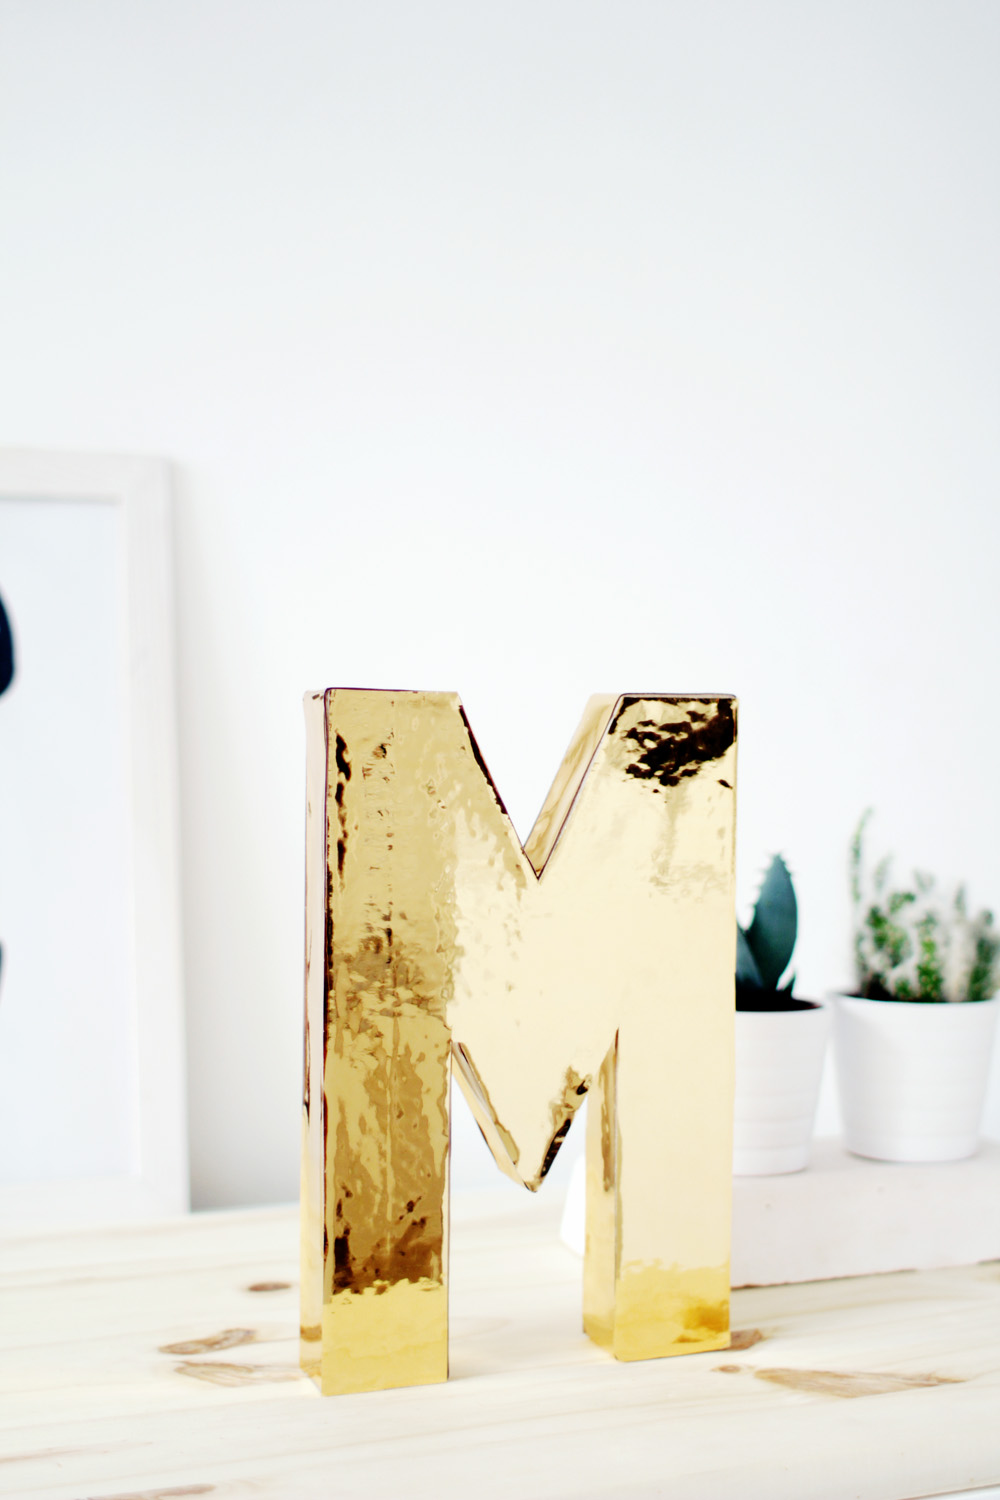
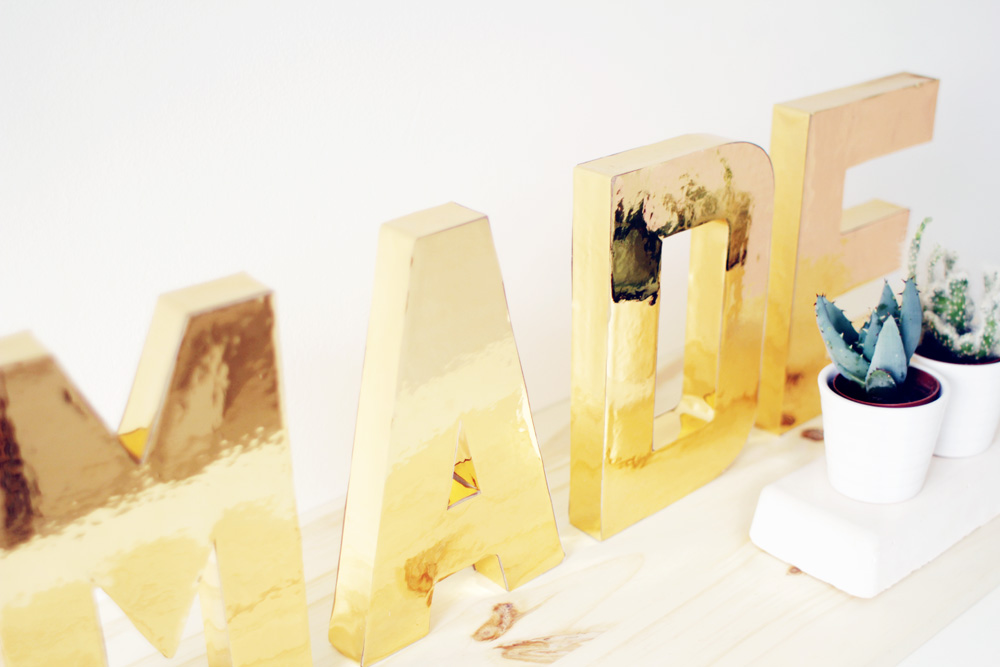
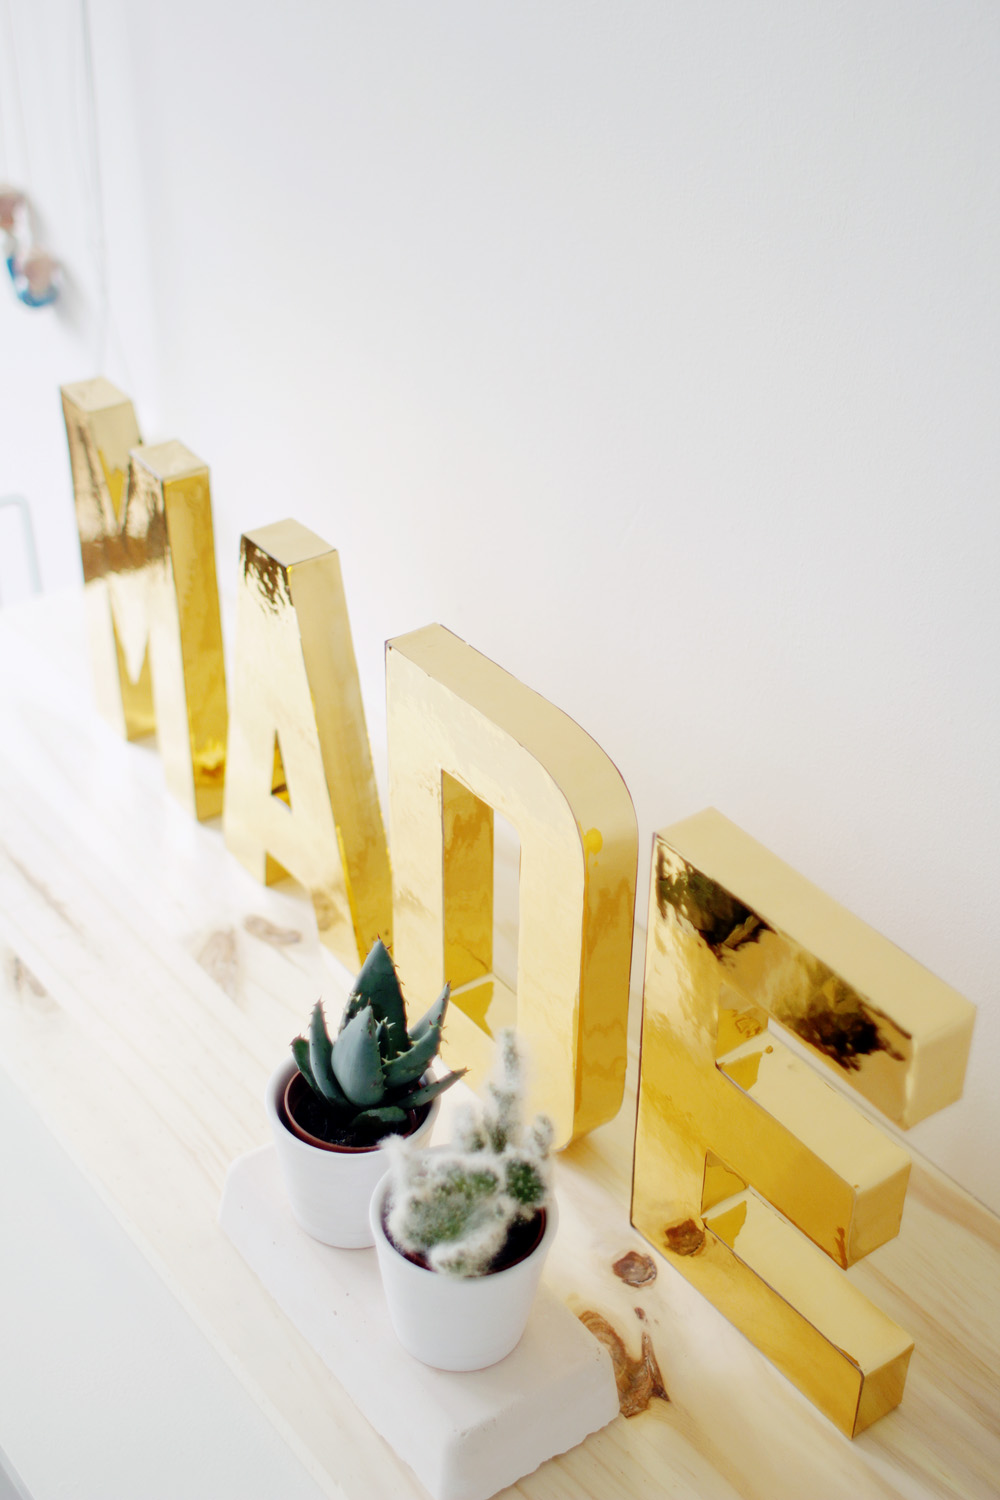
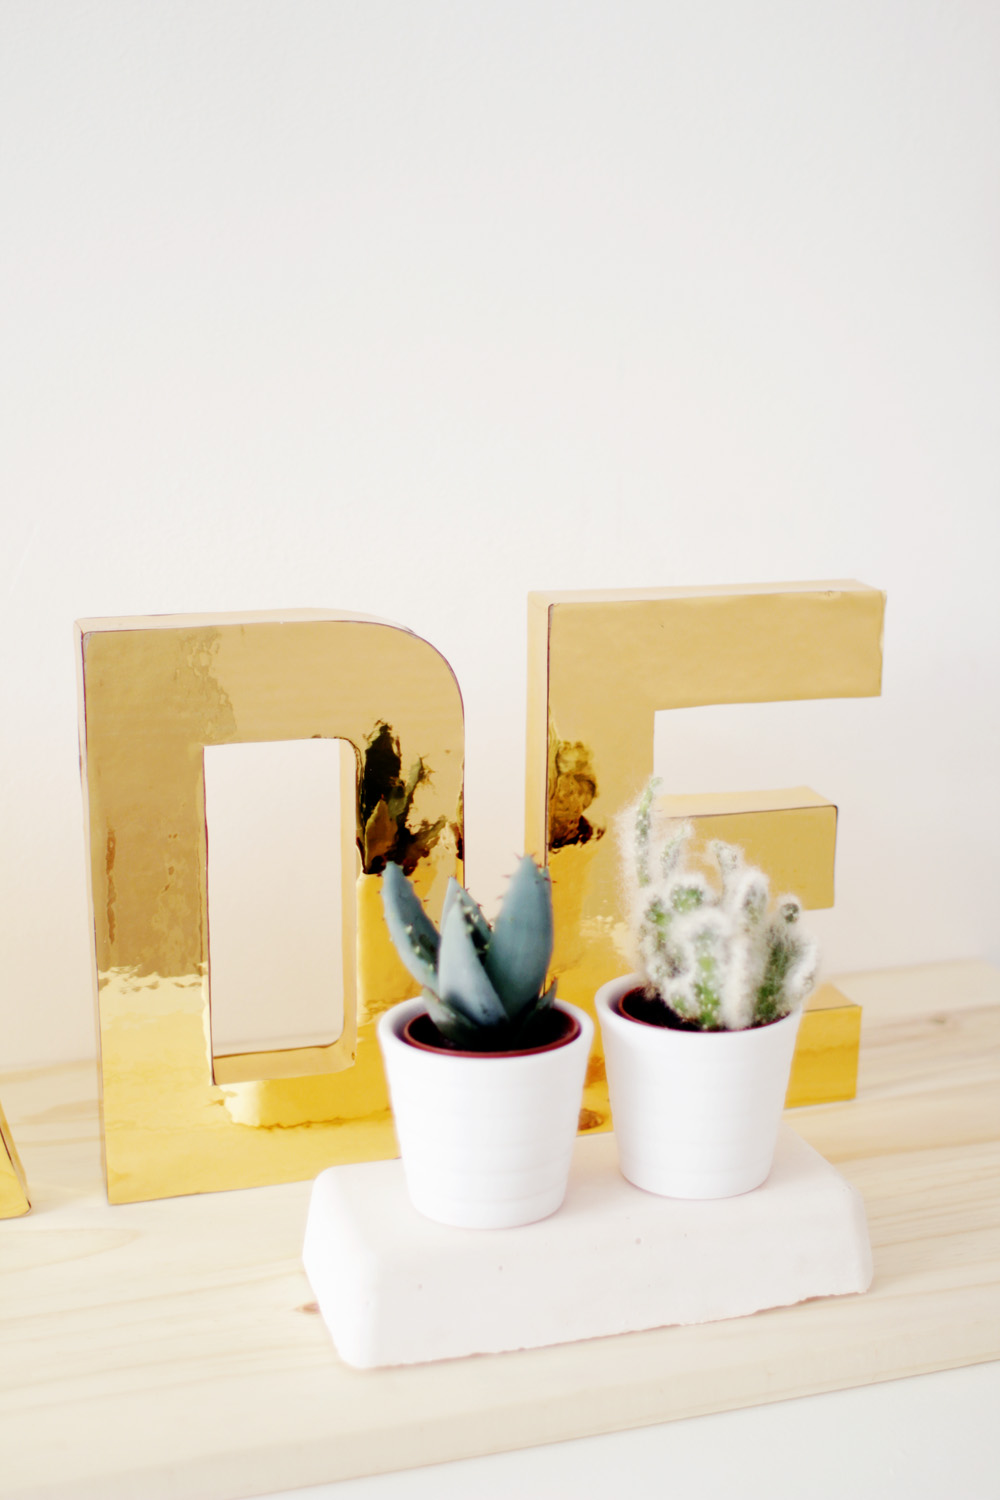
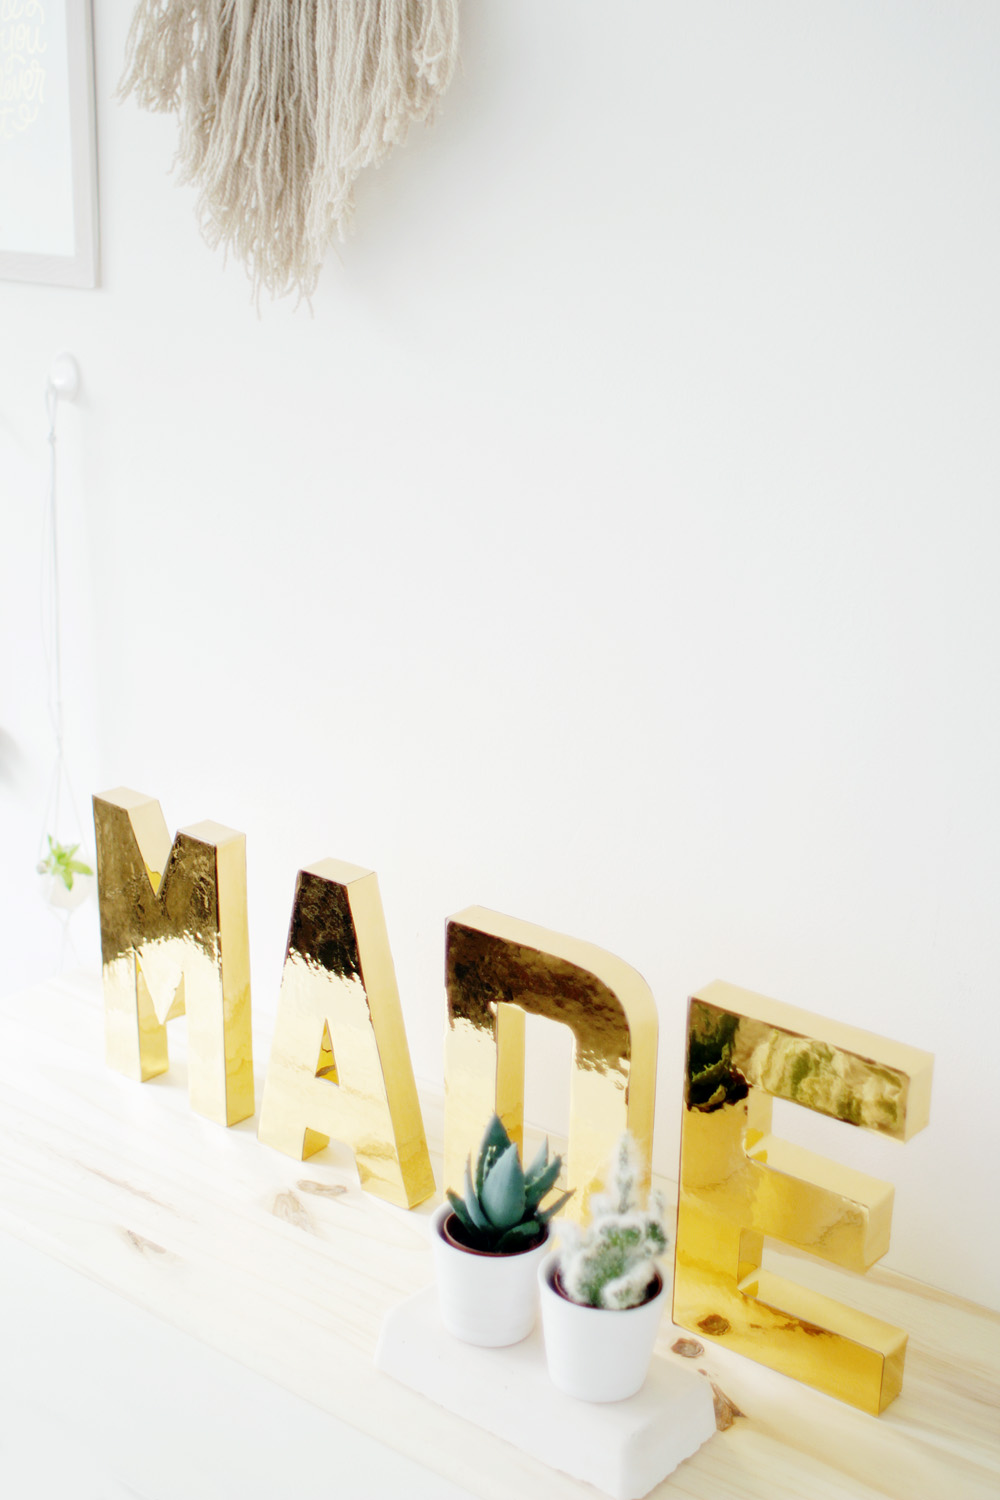
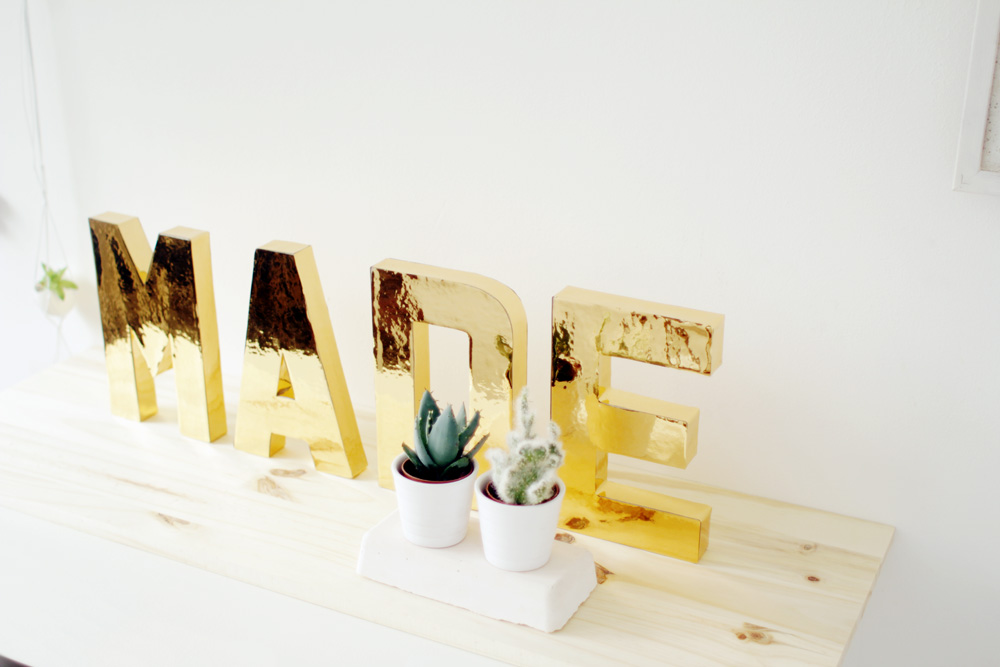
I know, I know. I’ve lured you here on false pretences. I hold my hands up – I have not found a way to DIY solid gold letters at home. If I had I’d be in Hawaii by now. Instead I’ve found the next best thing. Fake solid gold letters. After a long obsession with this oh so shiny gold contact paper (since this post) I finally decided on the first project I wanted to use it for. And it got MADE!
I actually surprised myself with how easy this project was. I’ve had these letters waiting for a makeover for around a year. Why did it take me so long!?! I’m on a mission to complete all those projects just left by the wayside. If they all turn out as awesome as this I’ll never leave a project again (… ok, perhaps not as much)
Materials
Shiny Gold, Self-Adhesive Contact Paper | Cardboard Letters | Pencil | Ruler | Craft Knife
Optional
Sticky Fixers | Cord | Bead Reamer
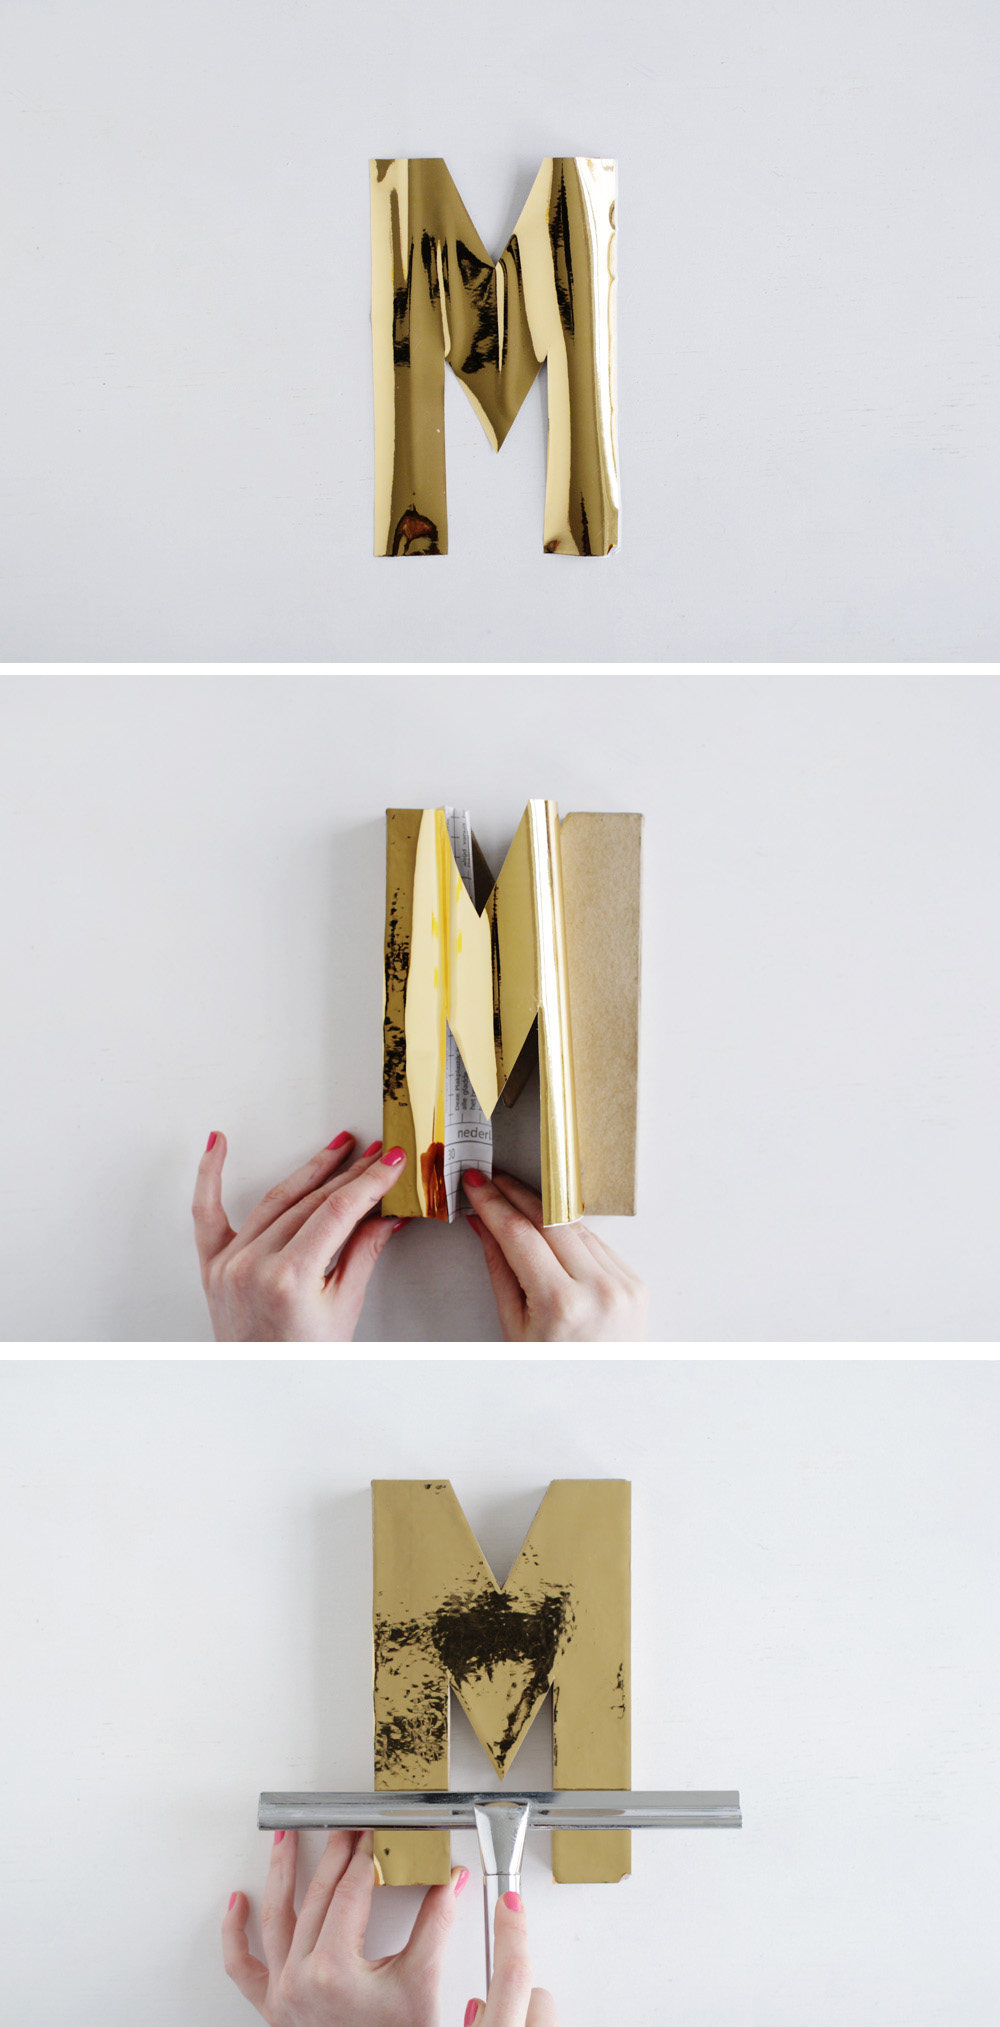
Roll out the contact paper shiny side down and secure in place with heavy objects at the corners. Using the pencil draw around the cardboard letter onto the back of the contact paper. (I’d suggest starting in the corner to get the most out of the roll)
Using the craft knife cut out the letter shape. Go slightly in from the line. Just a millimeter or two to make up for the excess that was added by the pencil.
When you’ve cut out the shape peel off the backing paper at one edge and line up with the shape of the letter. Lining up on a longer edge will help you find the correct position. Remove the rest of the paper and run a squeegee over the surface to remove any air bubbles.
Repeat these steps for the other side of the letter.
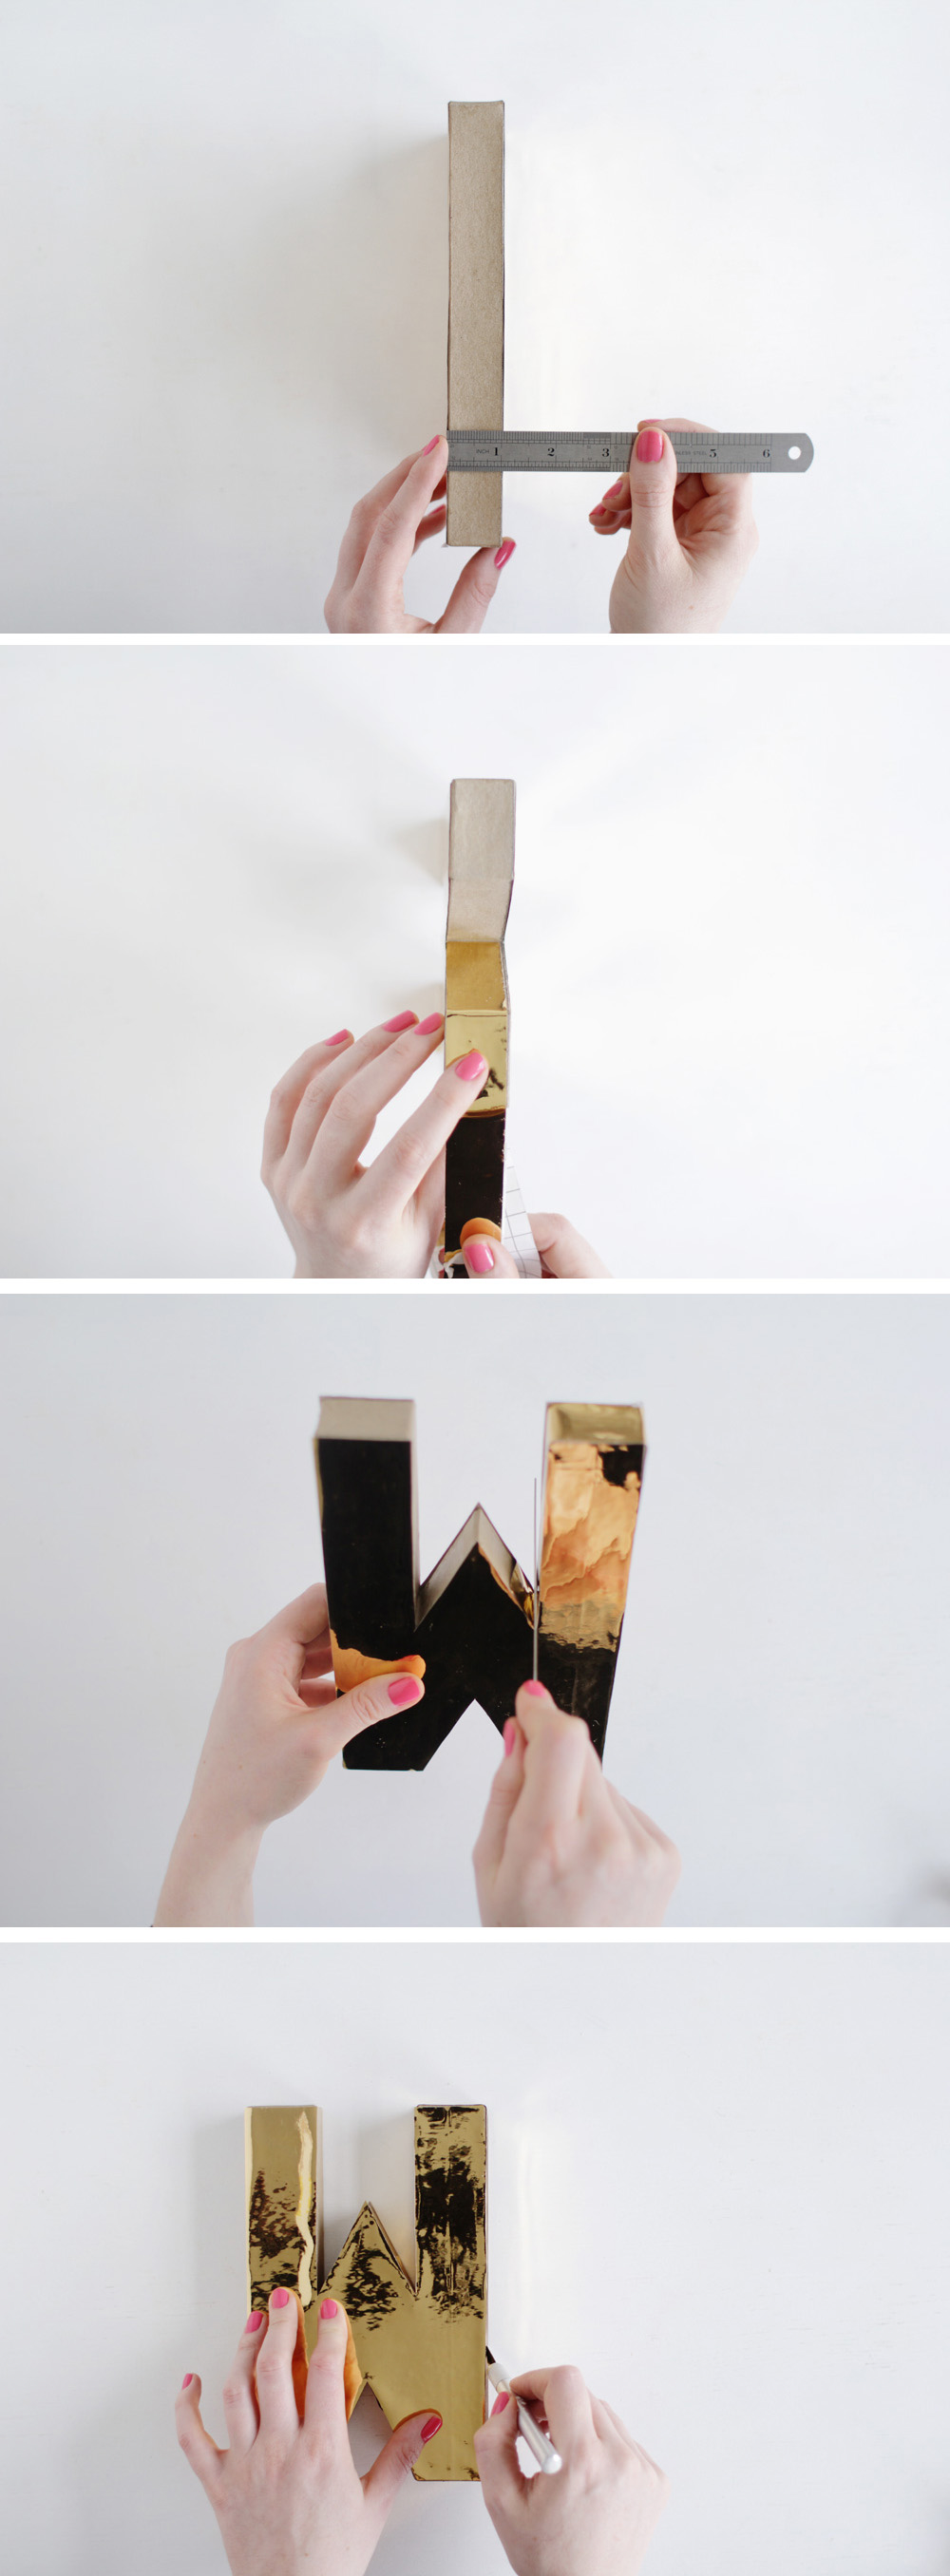
Measure the depth of the letter and cut strips of contact paper at this thickness. Starting at a corner press the sticky side of the paper down and run around the whole letter pressing firmly and removing air bubbles as you go. It the strip starts to go off course you can peel it back and set it right a couple of times without it losing its stickiness.
Use a thin ruler to press the paper into corners and difficult to reach spots. One the letter is entirely covered trim off any excess with the knife. All that’s left to decide is how to display your letter.
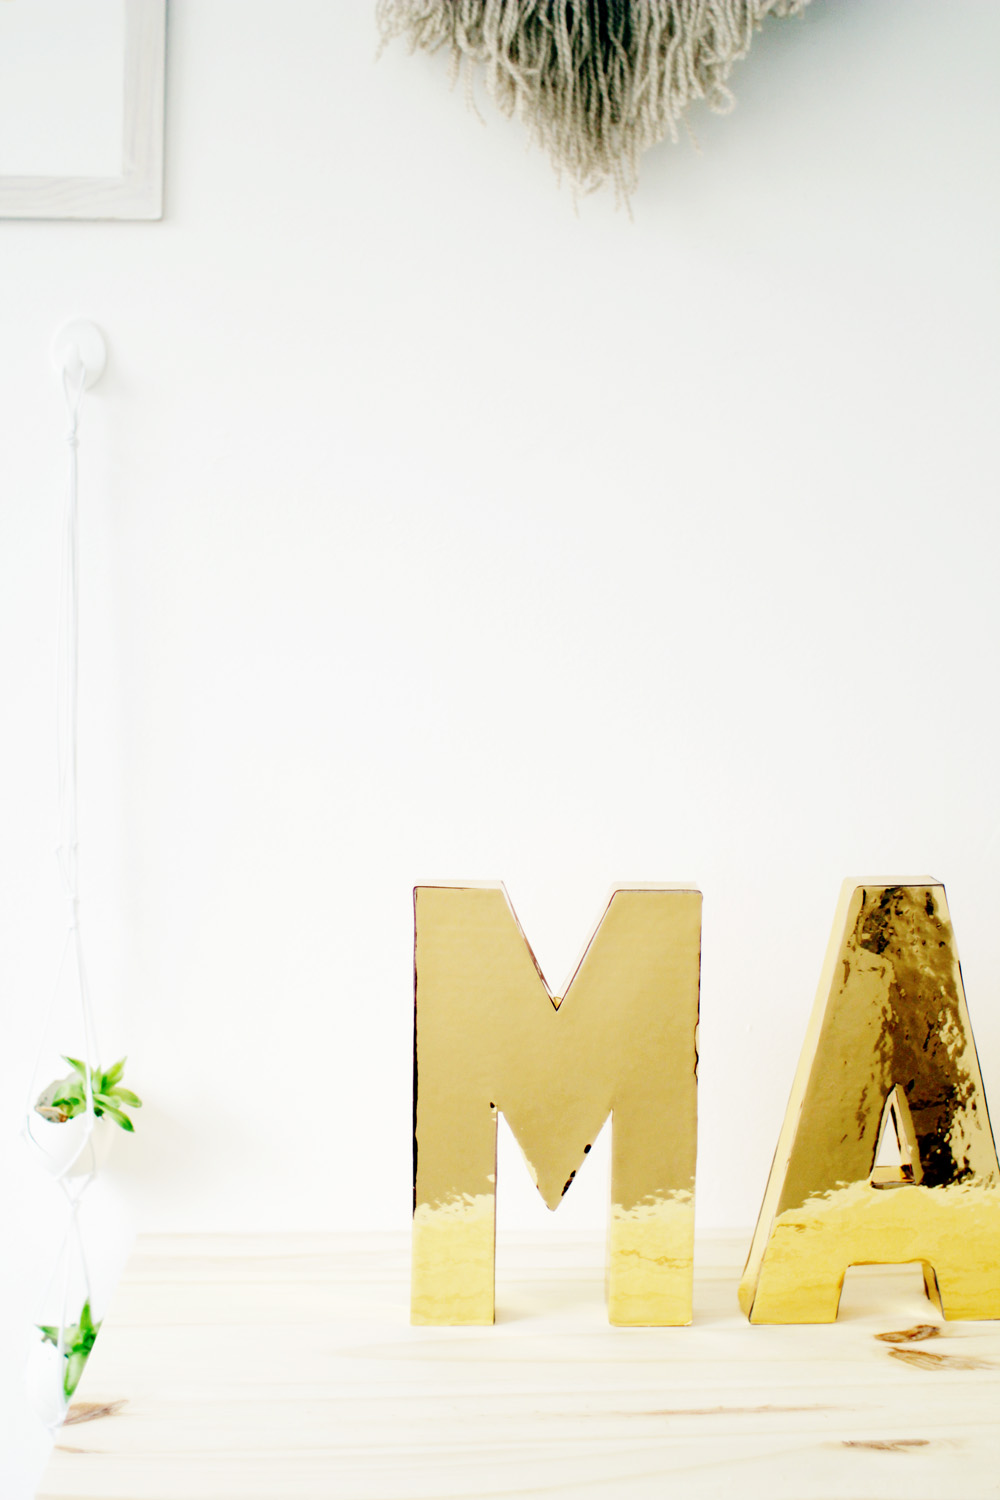
Use sticky fixers to create fixed book ends or attach to your walls. You can create a shiny, shiny banner by using the bead reamer to poke holes in the sides of the letters and string them up. Or just dot them around to create reflective vignettes all around your home.
I’m thinking about putting these on the wall above my bed. Then it’s always made… no? Not how that works? Damn.




genius idea, I love it!
So impressive- love the use of the squeegee xx
So. SHINY! Love it. Your “bed made” comment made me laugh out loud–if only it were that easy, right?
BEAUTIFUL!!
Wow! They look absolutely gorgeous; so fancy! Love it!
Wow those are amazing! I’m in for everything gold! Pinning this it’s a great inspiration!
So simple and I would have never guessed that is how you made these! Love it.
Oh contact paper, isn’t it a magical thing!? This would look SO good for weddings or parties, I love it
xxx
Chambray & Curls
The first look at this gold letters makes me nervous, but when I scroll down how easy this is to make. It’s sophisticated and beautiful. Good job Fran.
Wow these are so good and I thought it was going to be more complicated to make!
ISOSCELLΔ | isoscella.blogspot.co.uk
They are so adorable. I always want to make one but sadly i cant get the things needed over here. You did a wonderful job!
Very elegant and beautiful!! thanks
These diy gold letters are perfect. So cute and simple. My daughters would love these in their rooms