One of my goals this year is to take a pottery class. I’m so enjoying all the beautiful glazing that keeps popping up in my IG and Pinterest feeds recently. I’ve been won over. And whilst I love trying my hand at anything (and everything) I have a really strong urge to delve into one skill. I want to learn everything about one materials and discover the smaller more subtle techniques that can propel your work into something pretty special.
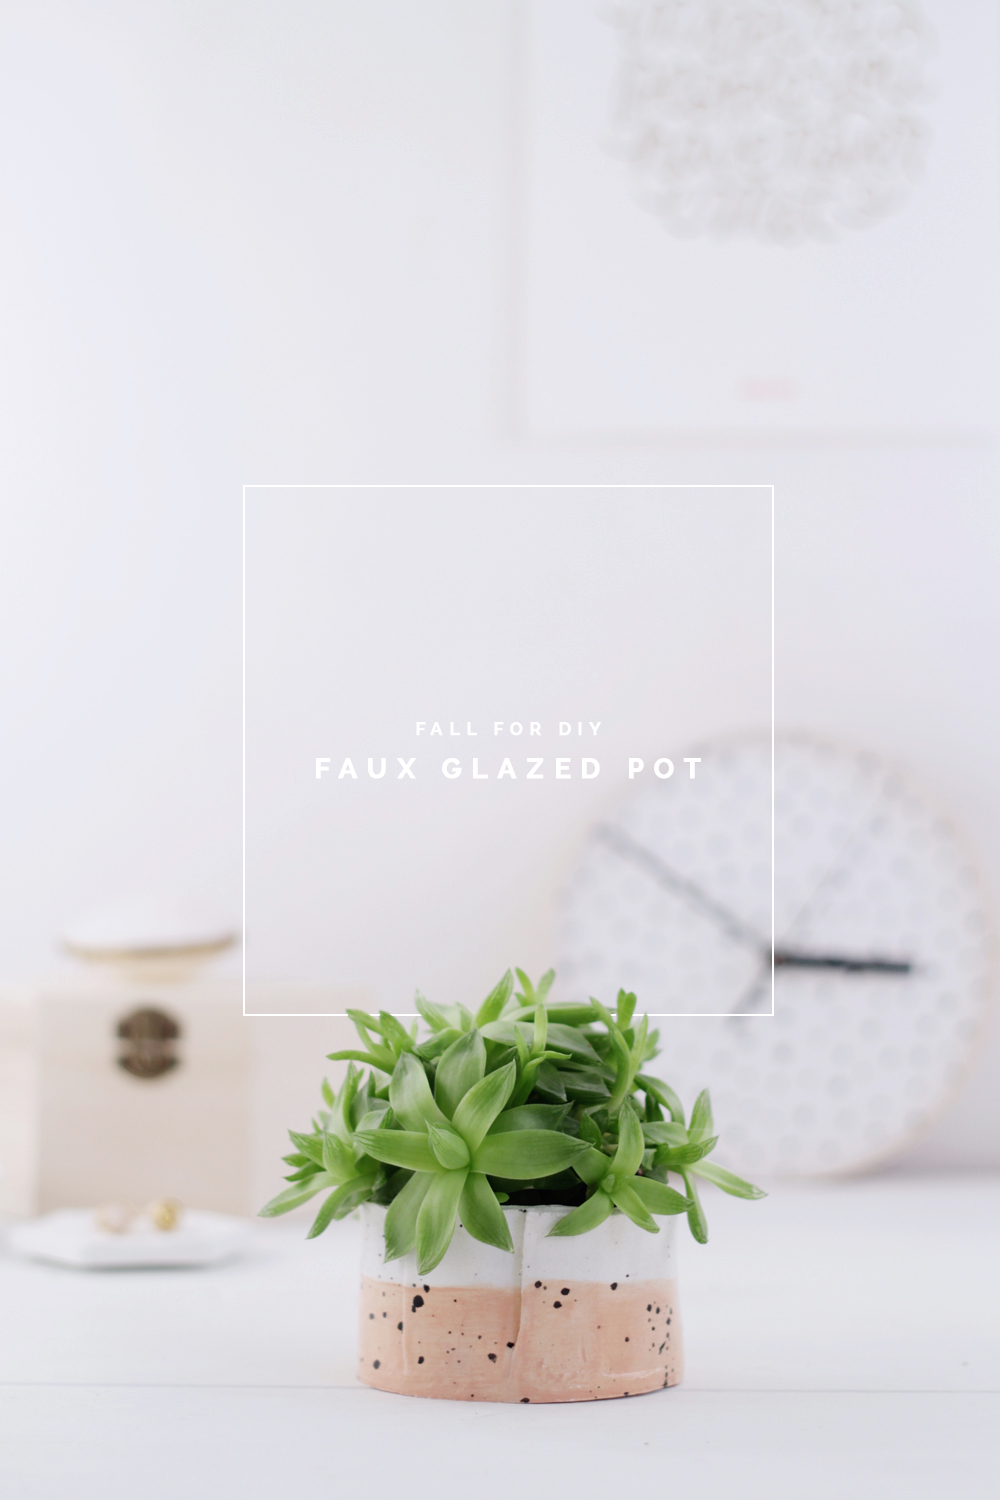
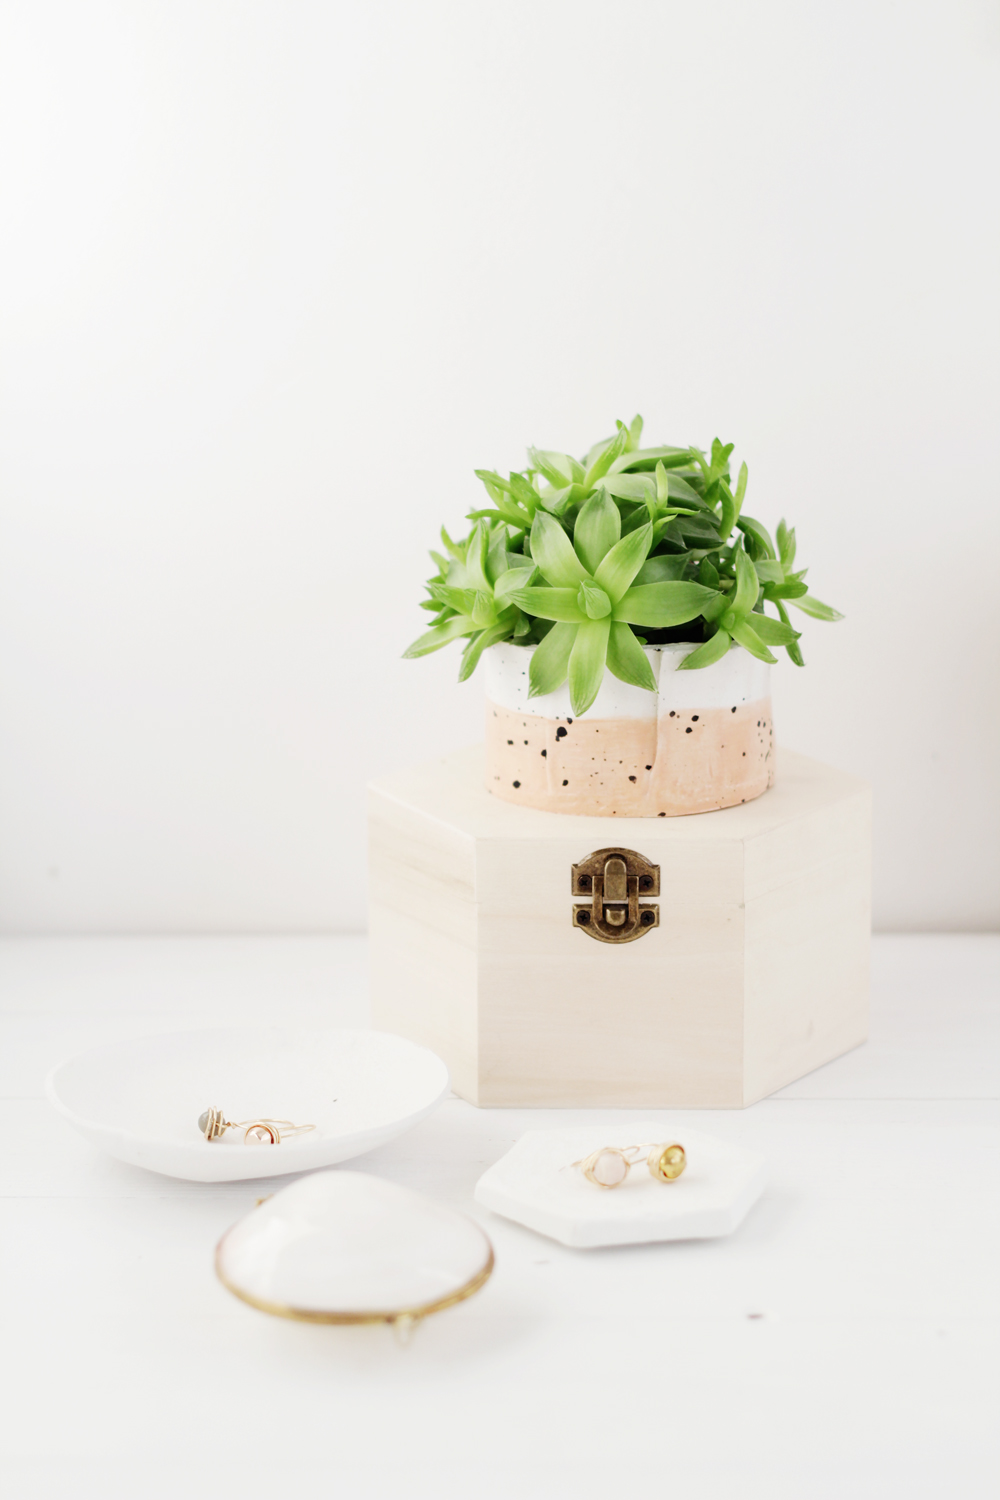
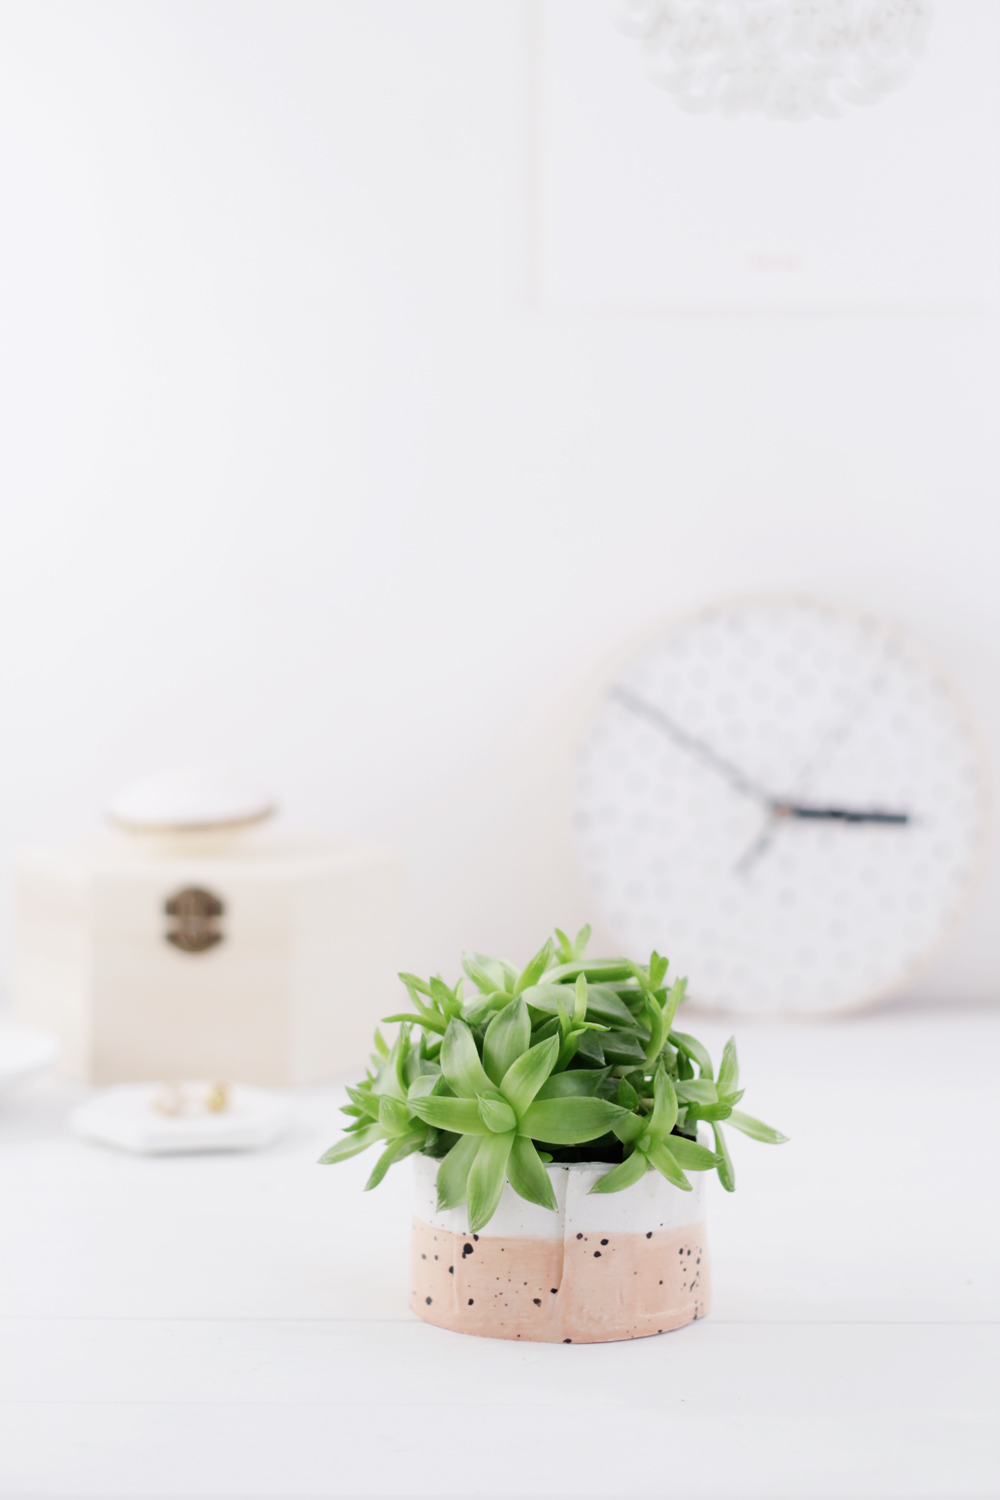
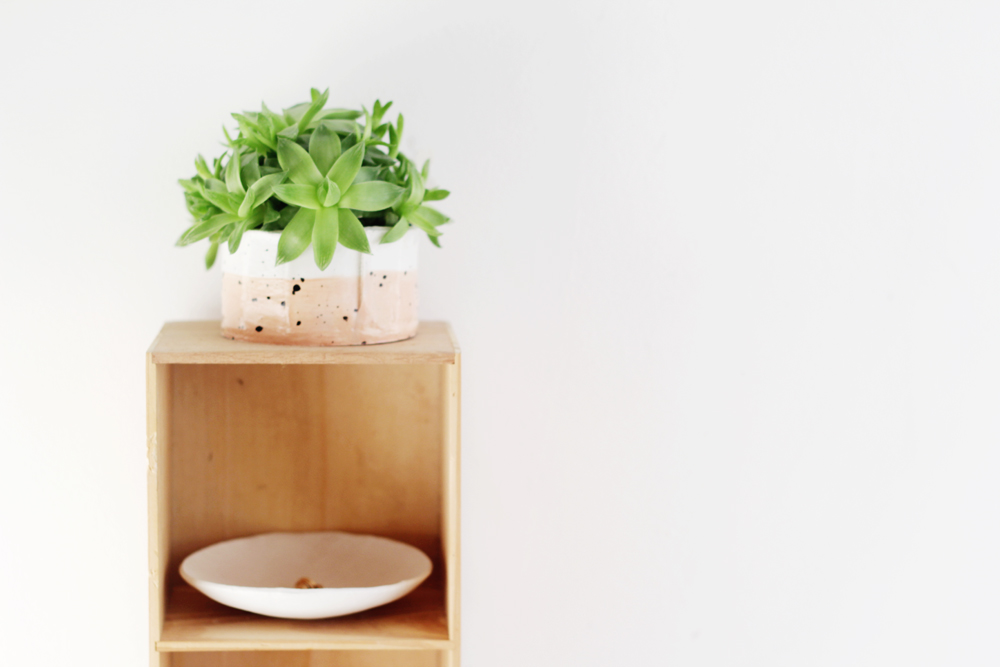
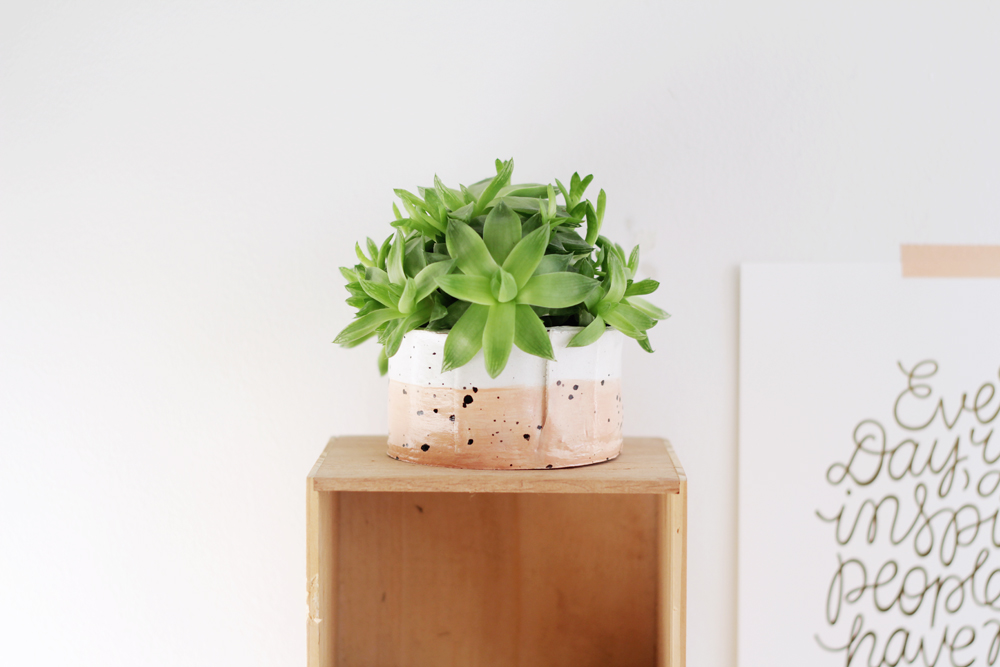
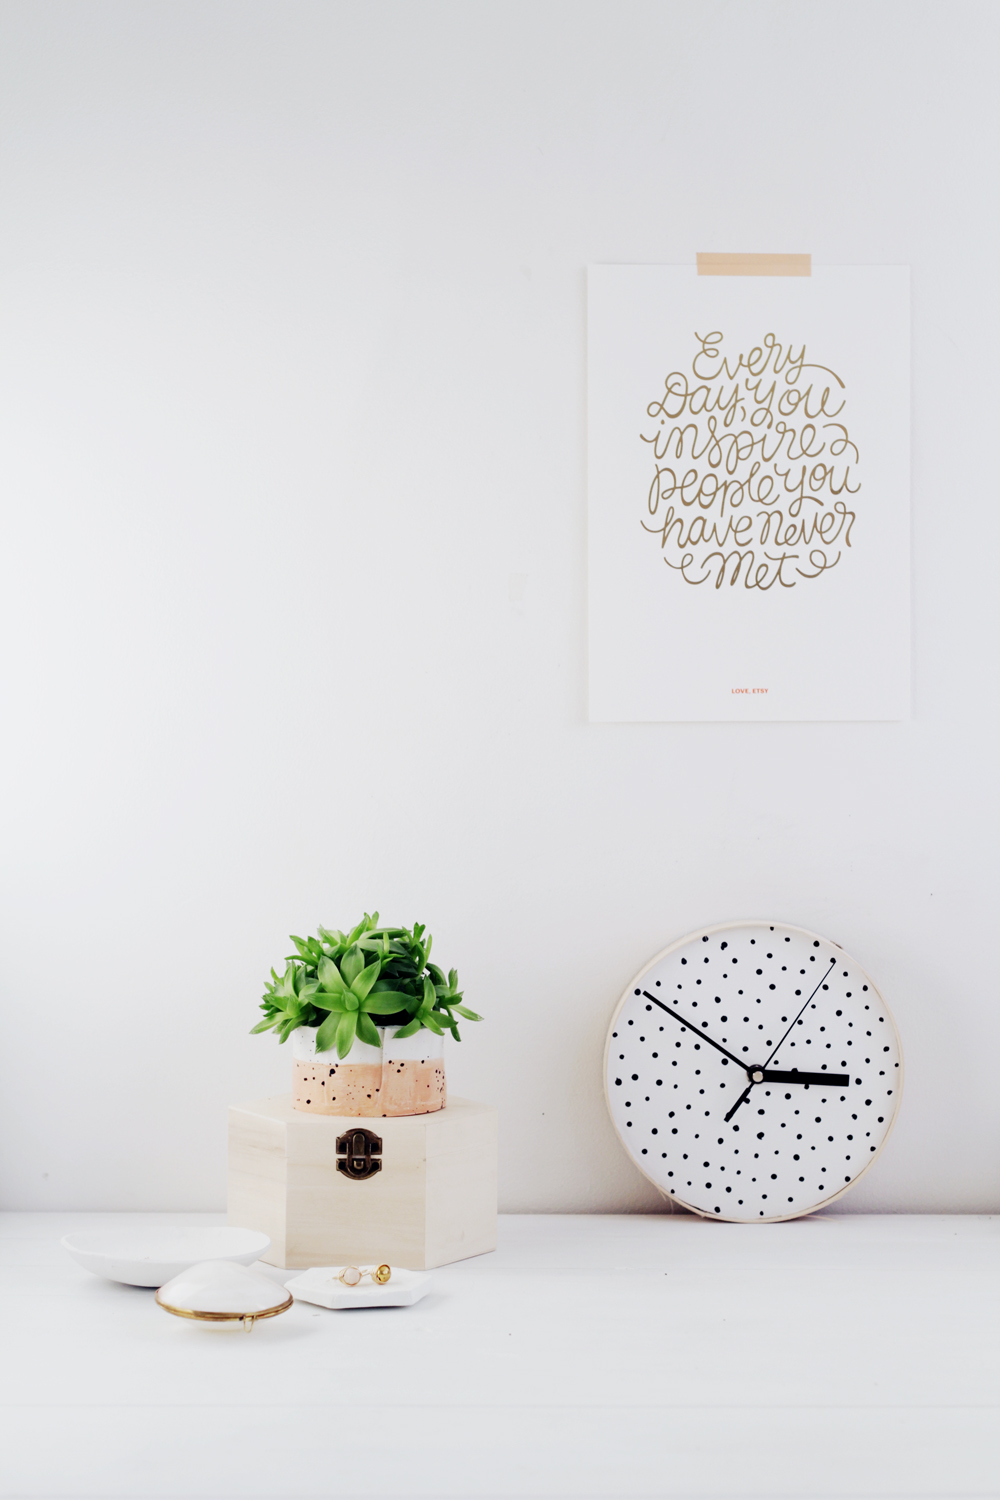
So I’ve got my eye on a class and a friend has offered to run a little beginner workshop in her studio (how lucky am I!?) to get to grips with smaller pieces. This year I’m definitely getting my hands dirty! But I’m way too impatient to wait (I want it now!) so I made this faux glazed pot to tide me over until then – no kiln necessary! Don’t believe me? Read on…
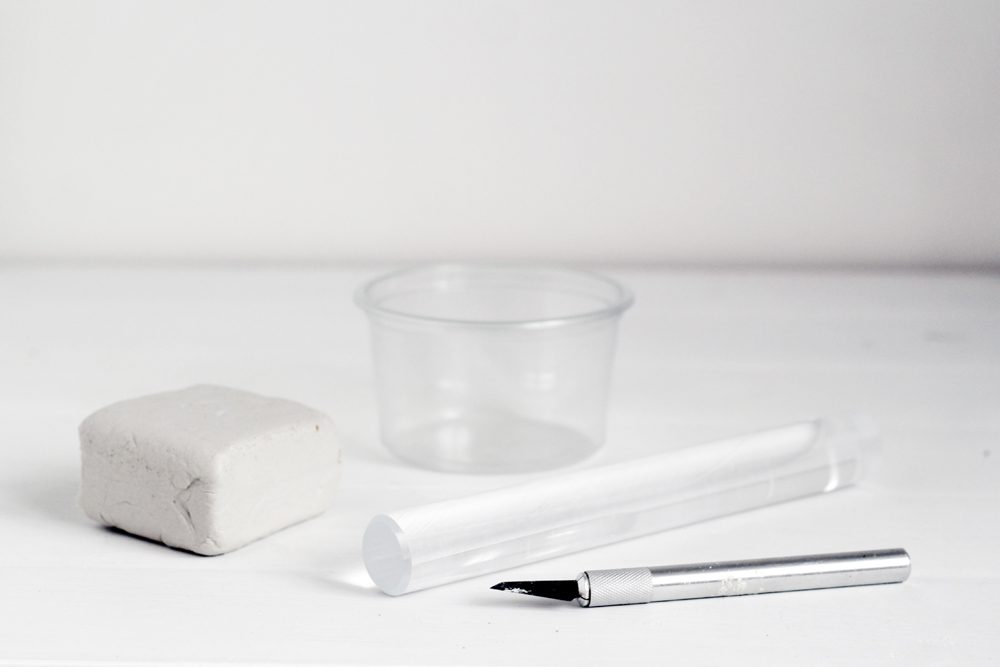
Materials to make your pot (more for the ‘glaze’ later)
Air dry clay / Roller / Plastic container / Craft knife
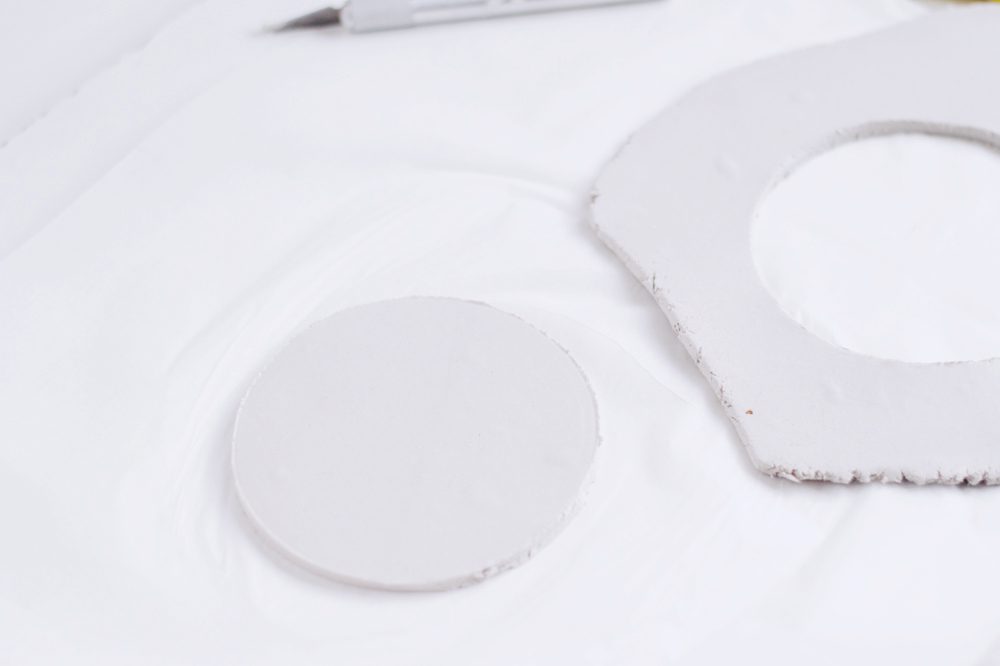
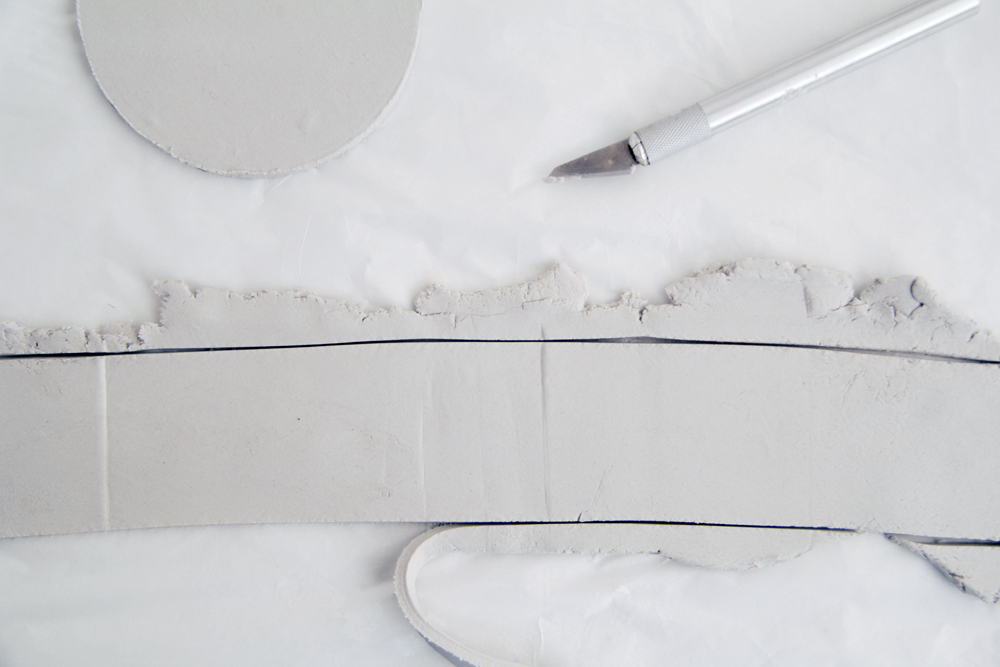
I like to work on a layer of grease proof paper. This makes life much easier! Roll out a chunk of clay until smooth and the cut around your plastic container using the craft knife. This gives you the base of the pot. Re-roll the clay into a long even strip that is long enough to go all the way around you base and cut off the raw edges. I like to do this quite roughly to give the pot an extra handmade vibe.
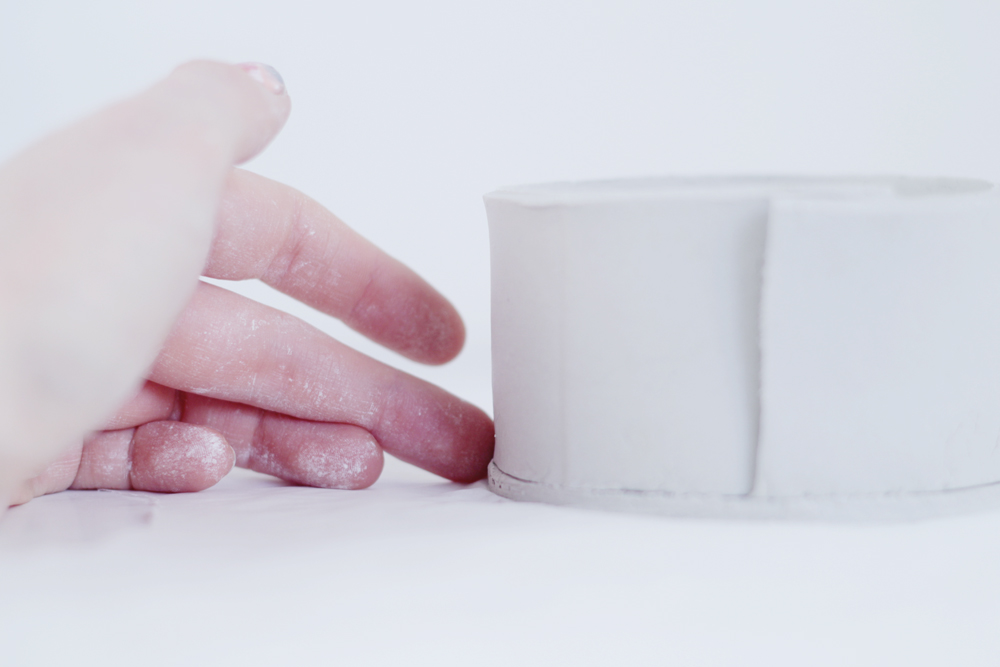
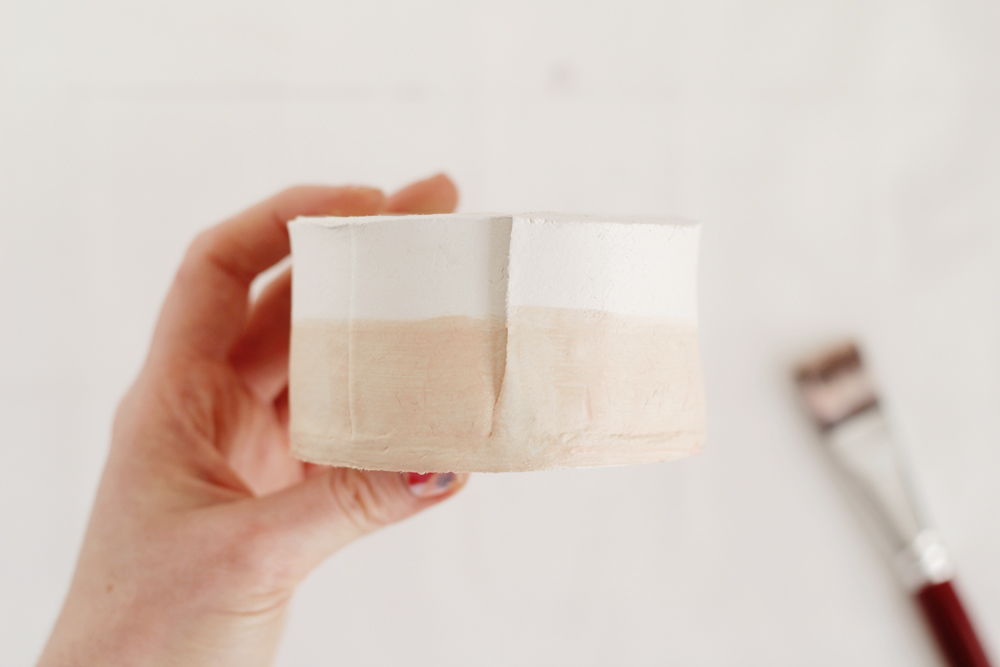
Position the strip around the pot. I’ve overlapped my ends here – just because I really like that aesthetic – but you can cut off the excess to create a seamless join. Using water smooth all the joins together.
Now your pot is ready to dry. Leave for 24/48 hours until hard turning over once the sides have dried out to help the bottom get air. I love the pot just as it is now but I love it even more glazed!
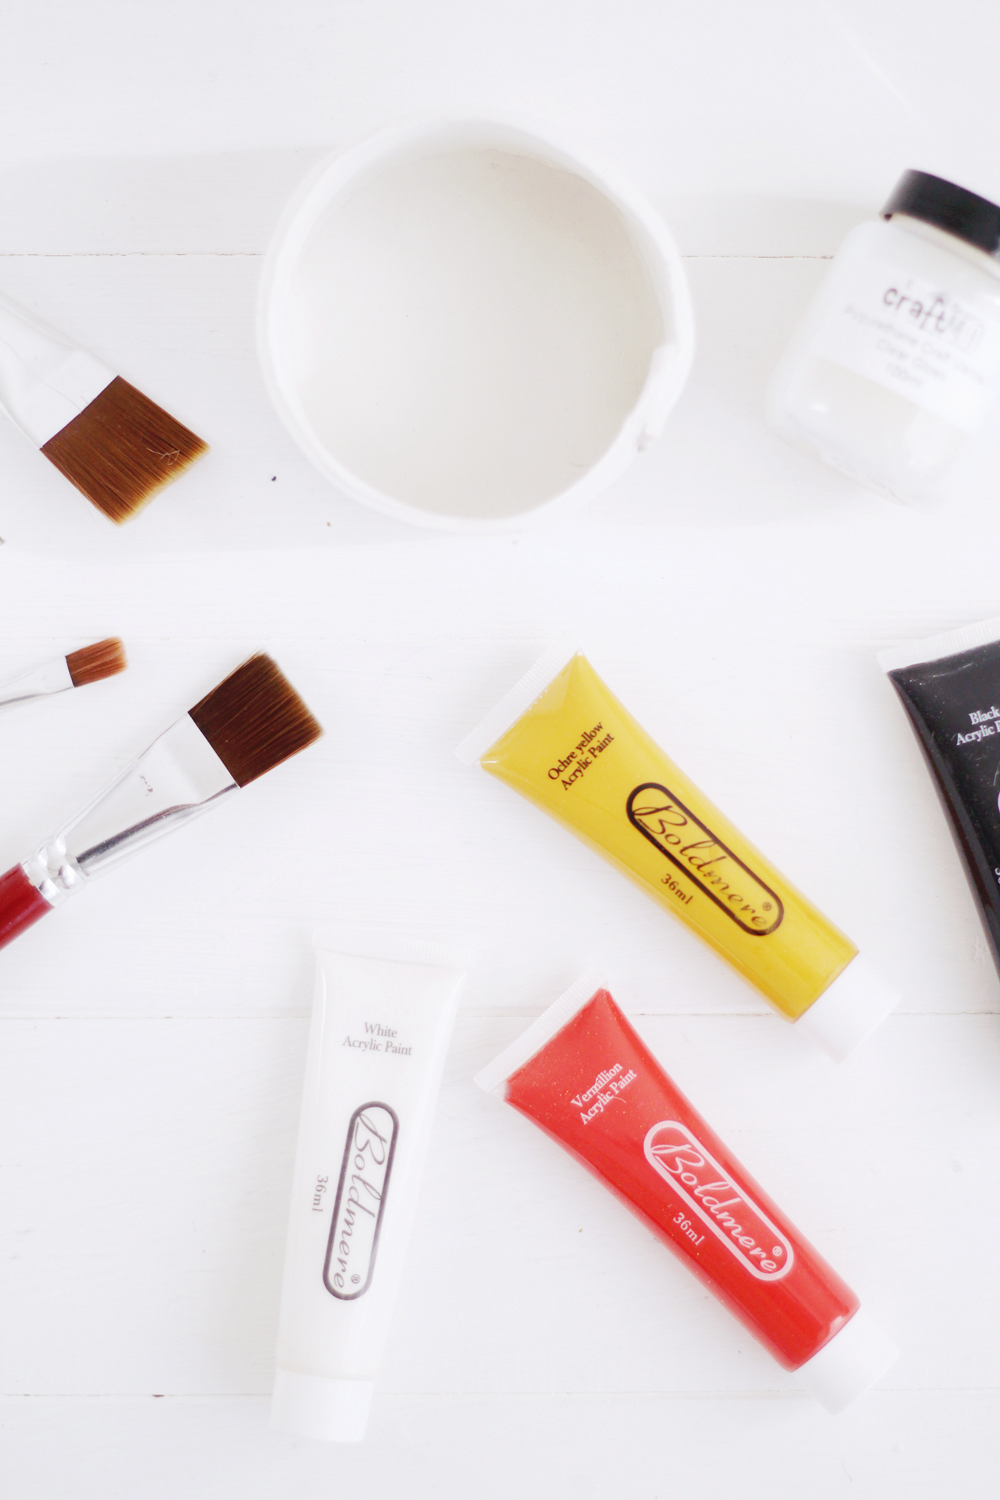
Materials
Paint brushes / Acrylic paint / Polyurethane Varnish Gloss
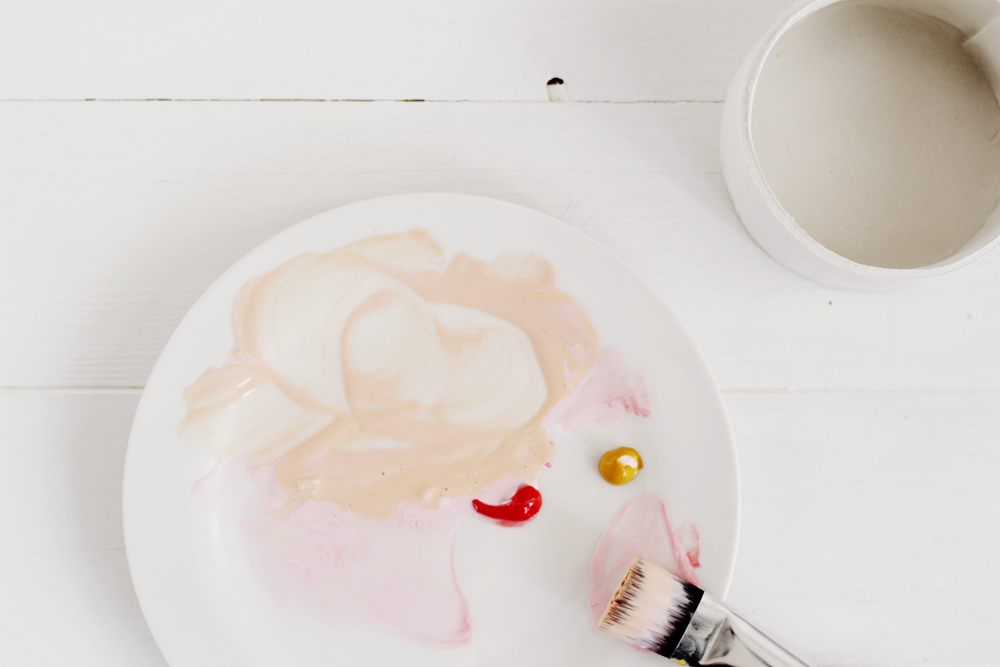
Mix up your paint with a little water so give a smooth consistency the paint the bottom half of the pot. Again, I’m not too precious about making this even. Paint a few layers until you’re happy with the consistency and leave to dry.
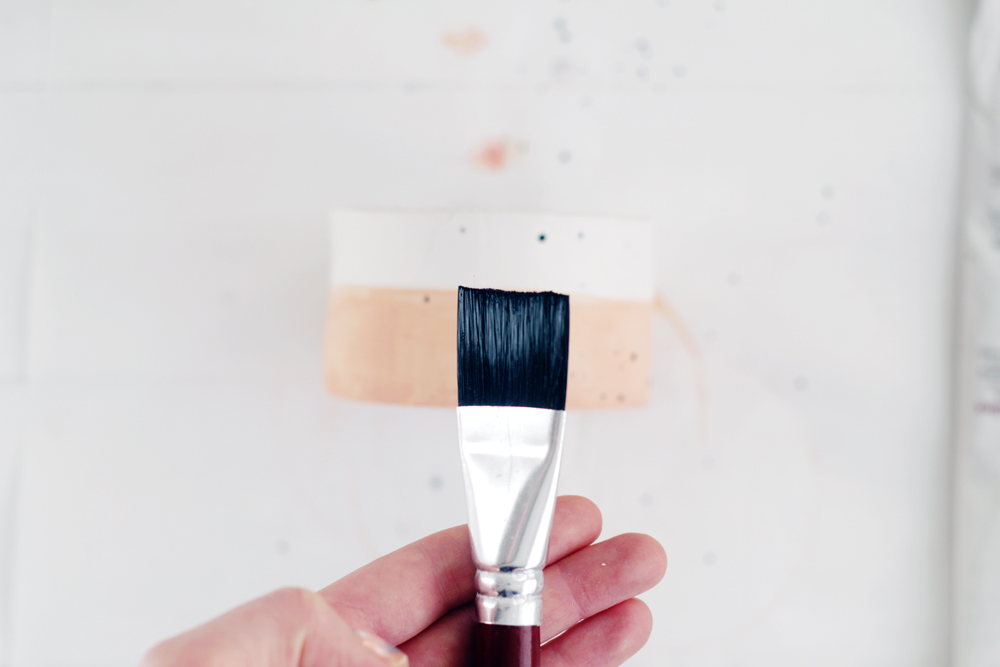
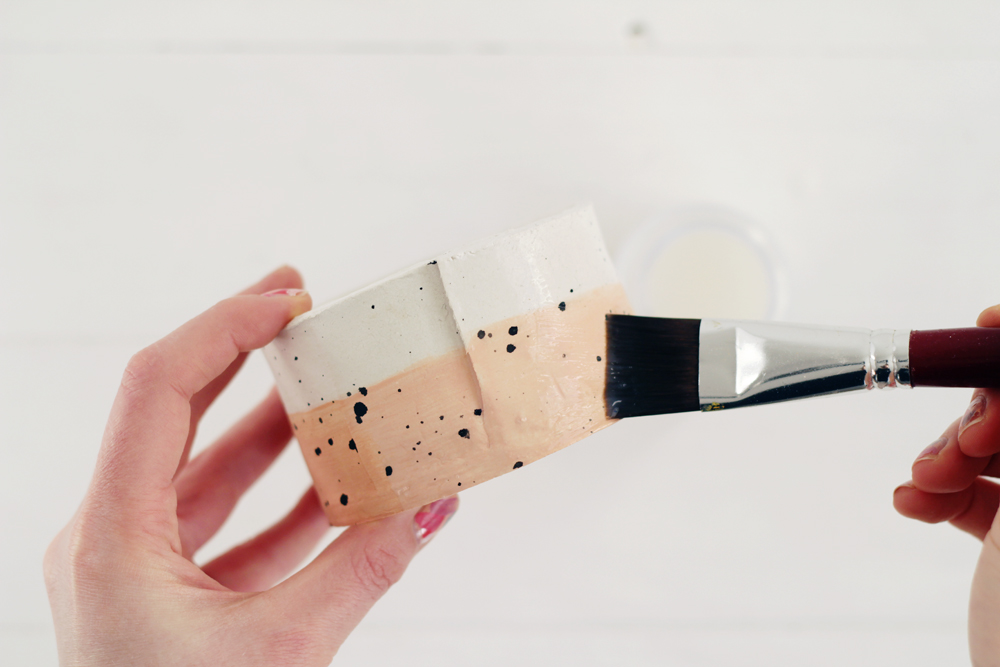
Mix a blob of black acrylic with a couple of drop of water and flick onto the pot. I suggest you just full on, go outside to do this. I did it inside and then spent the next half an hour cleaning paint off everything… it went far!
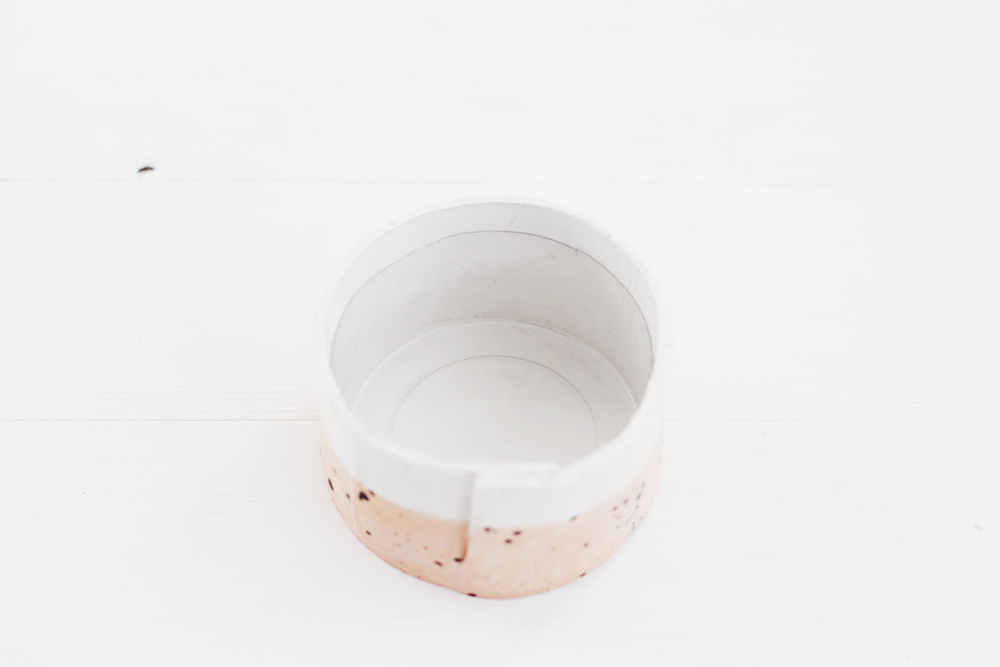
Once that’s dry paint on several thin layers of the gloss. This dries super quick so just keep on painting those laters until you have a lovely glossy finish.
Your post is now ready to use for dry items, but I wanted to plant my little succ into it as it was outgrowing it’s previous home. I cut the top off my plastic container and just slipped it inside the pot to protect the clay from moisture. Succulents are the best plants for this as they only need a little watering and you’re less likely to erode your pot. I put a few stones at the bottom and just planted it right in there!
This project has definitely whet my appetite for working and building more with clay. I can’t wait to get my hands on the real thing!
If you’re looking for planter DIY tutorials then check out my most popular ones right here!






These look so lovely! :)
this is so cute <3
https://aspoonfulofnature.wordpress.com/
Great job Fran. Everything you create is so pretty.
Fran you just have toke my heart with it.. so beautiful
Love this! Great inspiration for when I have my pottery month :)
I need to get me a lot of that air dry clay! love the outcome!
What brand of clay did you (Francesca) use?
Is it okay if I use crayola brand air dry clay, or do you have a brand of air dry clay that you prefer I should use.
What brand of clay did you (Francesca) use?
Is it okay if I use crayola brand air dry clay, or do you have a brand of air dry clay that you prefer I should use.
-Tori
I prefer Crayola over two others.
Hey Tori,
I usually use DAS but I think this should work with whatever you can find :D
Fall for diy is one of the best place to get your fashion brands here. i am happy to find here the perfect and full knowledge about my products thanks lot.
Great job done. This looks so lovely. I need to get me a lot of that air dry clay! love the outcome!
thanks for this post google