When me and Alex were looking for our first home to rent together we had a check list of important and perhaps not so important aspects we wanted our perfect little home to have. A kitchen that could fit a table and both of us cooking together on a Sunday morning, big windows with lots of light, clean decor, a shower the boy can almost fit under and a garden. We didn’t get the last but we managed to tick everything else off the list. We’re lucky that the walls are freshly painted white – a blank canvas to work with. But renting also means not having the luxury to do anything with them! That is until now…
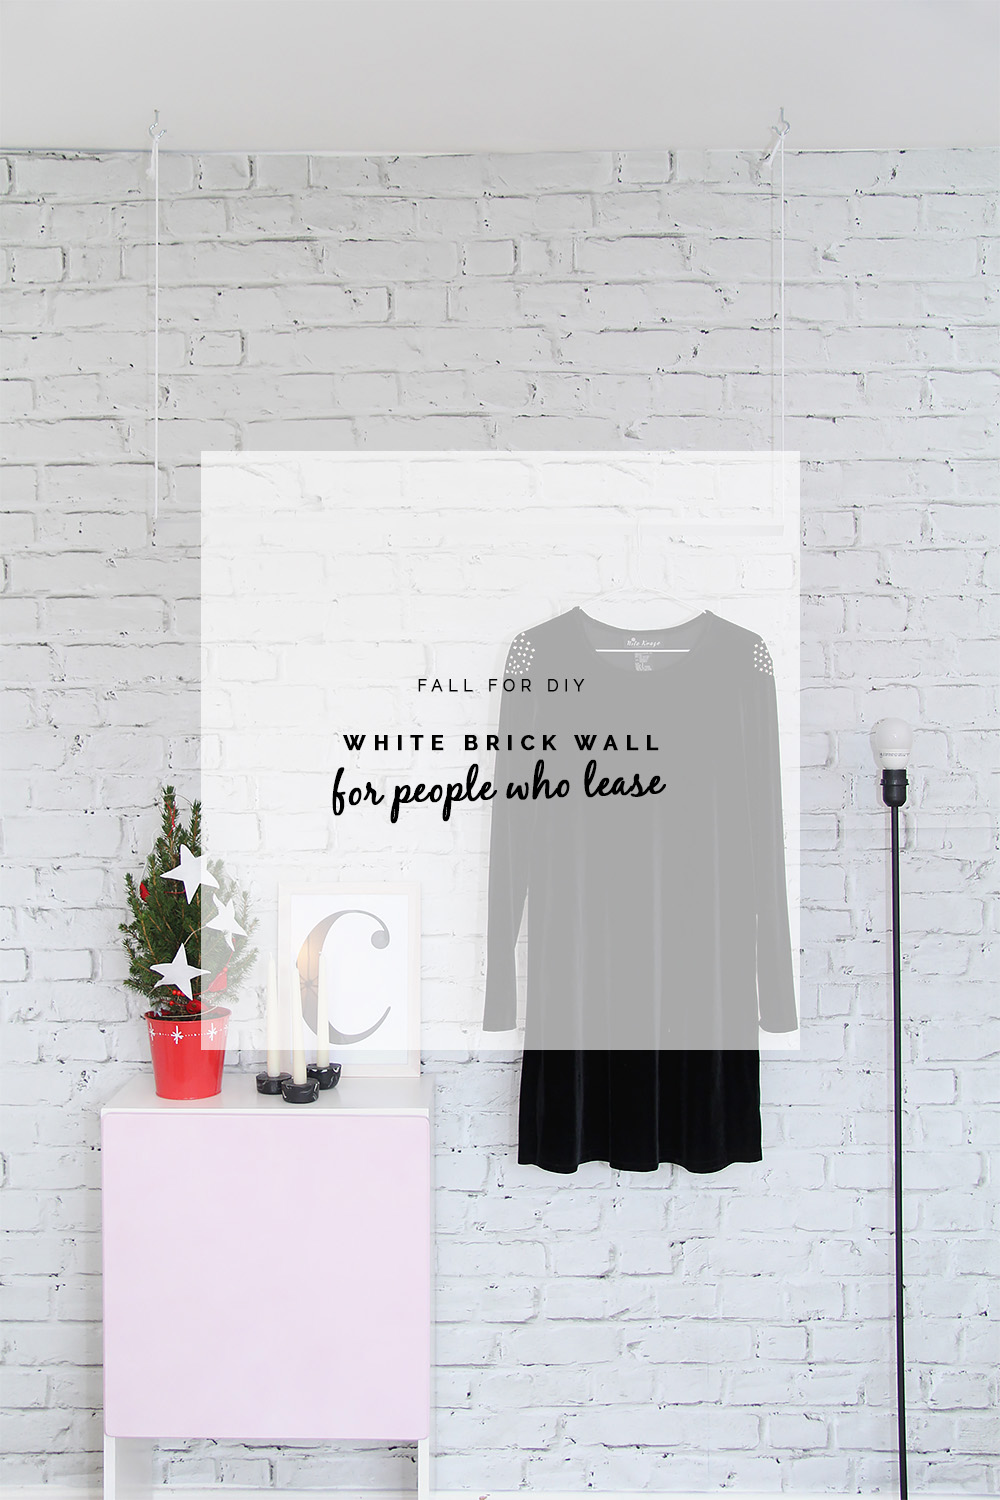
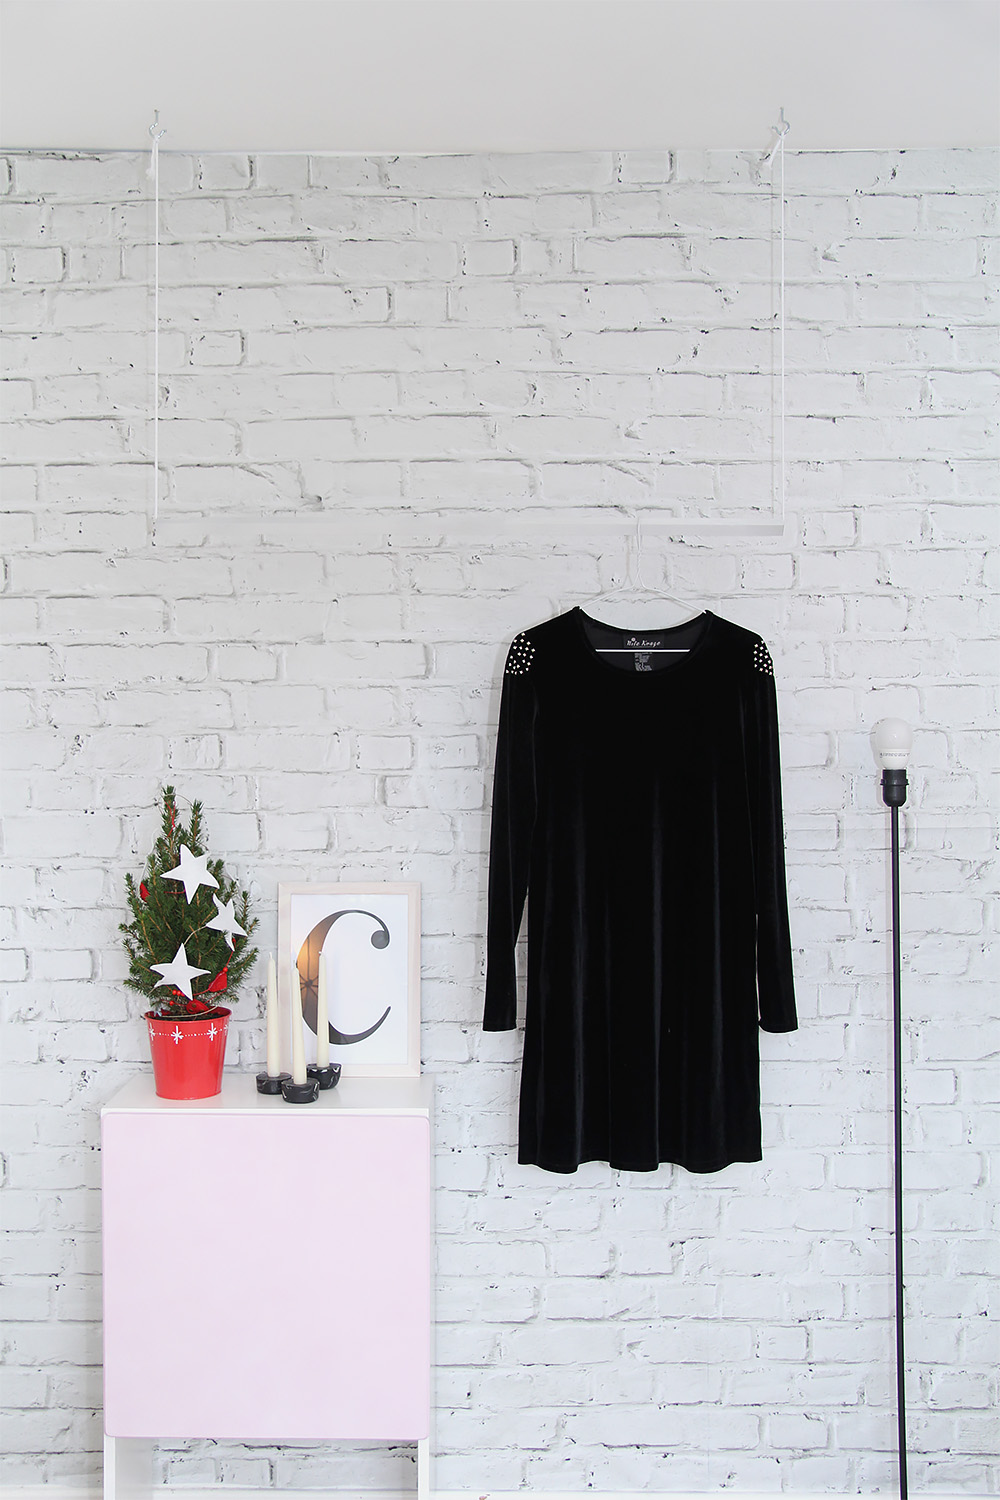
I’ve always loved the look of white painted brick. It gives you that minimal effect but with warmth and texture and adds an interesting feature to the room without being overbearing or dictating the rest of the decor. So when I saw this wall mural over on 1Wall I realised this was an easy and temporary solution that was perfect for a renter and a quick way to add a new interesting backdrop for my new fashion posts, something I’m always on the lookout for!
The only obstacle I had would be removing the mural once we’re ready to move on so I found this temporary wall paper paste you can make from just one kitchen ingredient(!) that will peel off as quickly as you can put it up (much quicker actually). Perfect for leaving the wall intact and taking the wall mural to your new place as well!
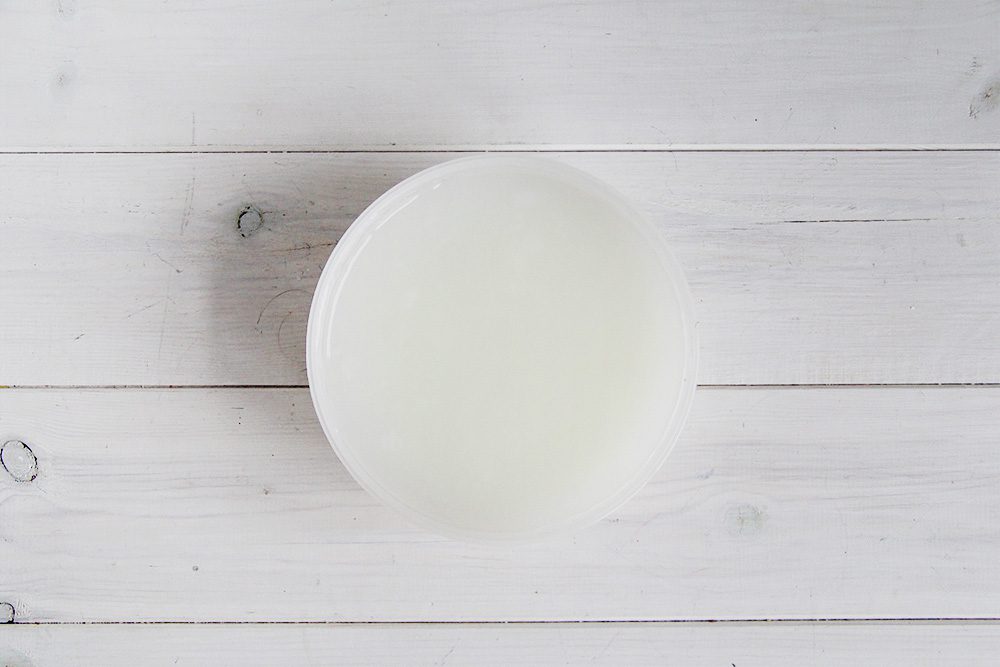
How to Make Temporary Wallpaper Paste:
- 2 tbsp Corn Flour
- 2 Cups Water
Instructions:
- Boil the water up in a saucepan.
- Mix the cornflour with a few tablespoons of water to create a paste.
- Once the water in the pan is boiling pour the paste in an mix together.
- Take off the heat and leave to cool. After about an hour the paste should be ready to use.
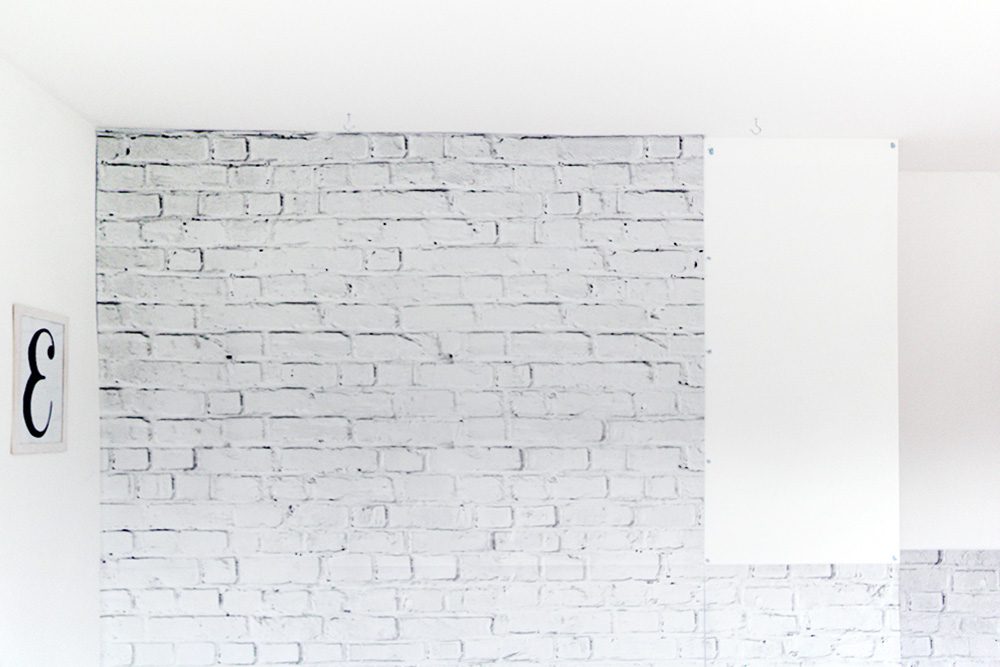
I’ve got to say, doing this on my own I found it a little easier to bluetac the pieces into place (as it suggests in the instructions) and then paste sections of each piece to the wall. The idea of pasting the piece as a whole then attempting to place that on the wall without my whole head getting stuck to it was a little daunting as a solo decorator so I forgo the instructions and started to roller my cornflour mix straight onto the wall. I then pressed the panels back down smoothing out any kinks and leaving to dry for a couple of hours. Then go back and finish the other half. Once that was dry I cut around the edges with a scalpel knife and seal them down with the cornflour mixture.
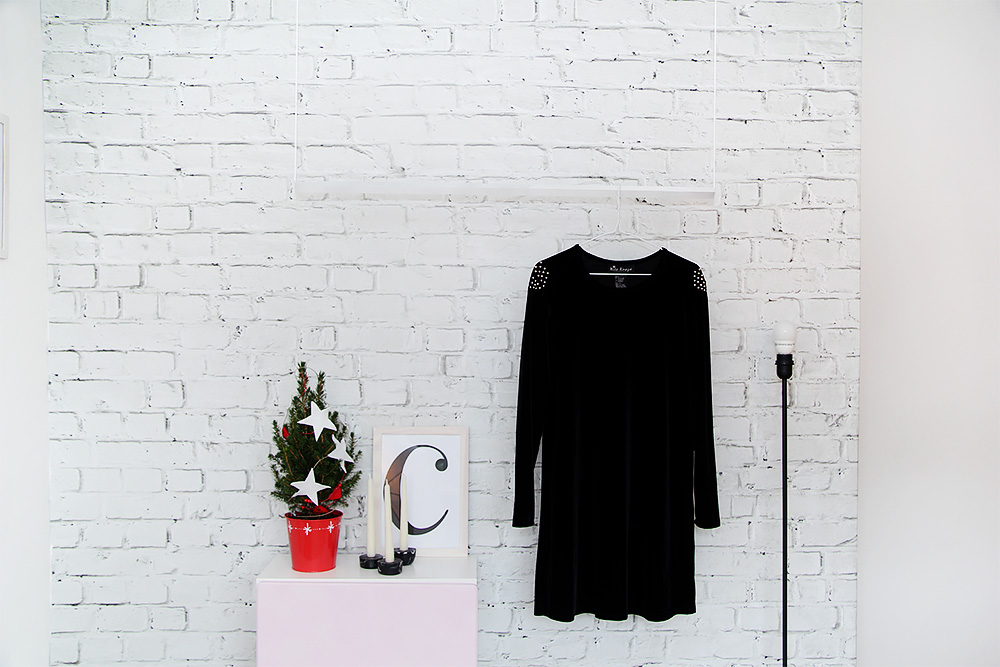
Now you’re the proud owner of a white brick feature wall!
I’m also delighted to be able to share with you guys a 15% discount on your 1Wall Mural using the code ’nuffnang15’ when you purchase directly from 1Wall before January 1st 2015! And if white brick is not your thing check out the massive range they have including another of my favourites – a stunning white wooden panel wall mural (yes, you guys know how much I like the white wood look!) Perfect for Christmas!
** This was a sponsored post. You don’t see many of them around here unless I really love the product I’m writing about. I’ve tried this product out and given my honest opinion. I’m a fan!




This is gorgeous Fran! I would never have known it was a mural if you hadn’t said! I love the white brick look x
Totally in love with this idea!! I go on about my longing for a white brick wall all the time haha. Perfect backdrop for lots of lovely posts too. Thats pretty much how my mind works these days x
Wow that is so cool! *swoons*
xoxo Sydney
indie-and-co.com
I cannot believe that’s not a real white brick wall. I’ve REALLY wanted one to use as a backdrop! This is beautiful!
I might just try this! It turned out really well. Although please, “me and …” sounds awful. It’s “Alex and I.” You would never say “when me was looking” so you know “me” is wrong here. Sorry for correcting you, but it does take away from your great site and ideas.
I love the look but cringe at your grammar – it is “Alex and I” not “Me and Alex”. The other person always goes first and the subject pronoun is “I”, “me” is an object pronoun.
Hey Sheila,
Thanks for commenting. This is a subject that has been brought up before. I understand that your suggested sentence is the correct grammar to use, but I like to inject some of my personality into my writing. That’s the benefit of a blog. We don’t need to follow grammatical rules to the T. In real life I would never say Alex and I etc.. I know that makes me wrong, but I’m ok with it. I want my writing to reflect my true voice and for me that means getting it wrong sometimes, as I often do.
Fran
This looks amazing! Just wondering – have you tried taking it off yet? Does it really come off without damaging the walls?
Hello! I love love love this post. I’ve been researching how to do a faux brick wall for quite some time now and this post keeps popping up. I know this is and older post but I have a few questions and i would be so grateful for your feedback. How many murals did you have to buy to cover your wall? I saw that you put it up in 4 sections, does it come in pieces like that? I have 10 foot ceilings so i would need to buy more than one to be able to reach floor to ceiling.
Thank you
-Katie
Wow, amazing wall! I have completely fallen in love with this wall design and will also try it. Keep sharing such kind of ideas!