The thing about this tutorial is it seems a bit self explanatory really. Can I actually get away with a skills tutorial on dipped pencils!? It seems a bit patronising and I know you guys can figure out how to dip a pencil into a can of paint… not rocket science here is it? But then I started thinking about all the stupid mistakes I make on a daily basis. How I’ve expected something to be easy and overlooked a key component that changes the outcome. Hopefully in this new series, Simple Skills I will make all the mistakes for you and at the same time show different outcomes of different techniques.
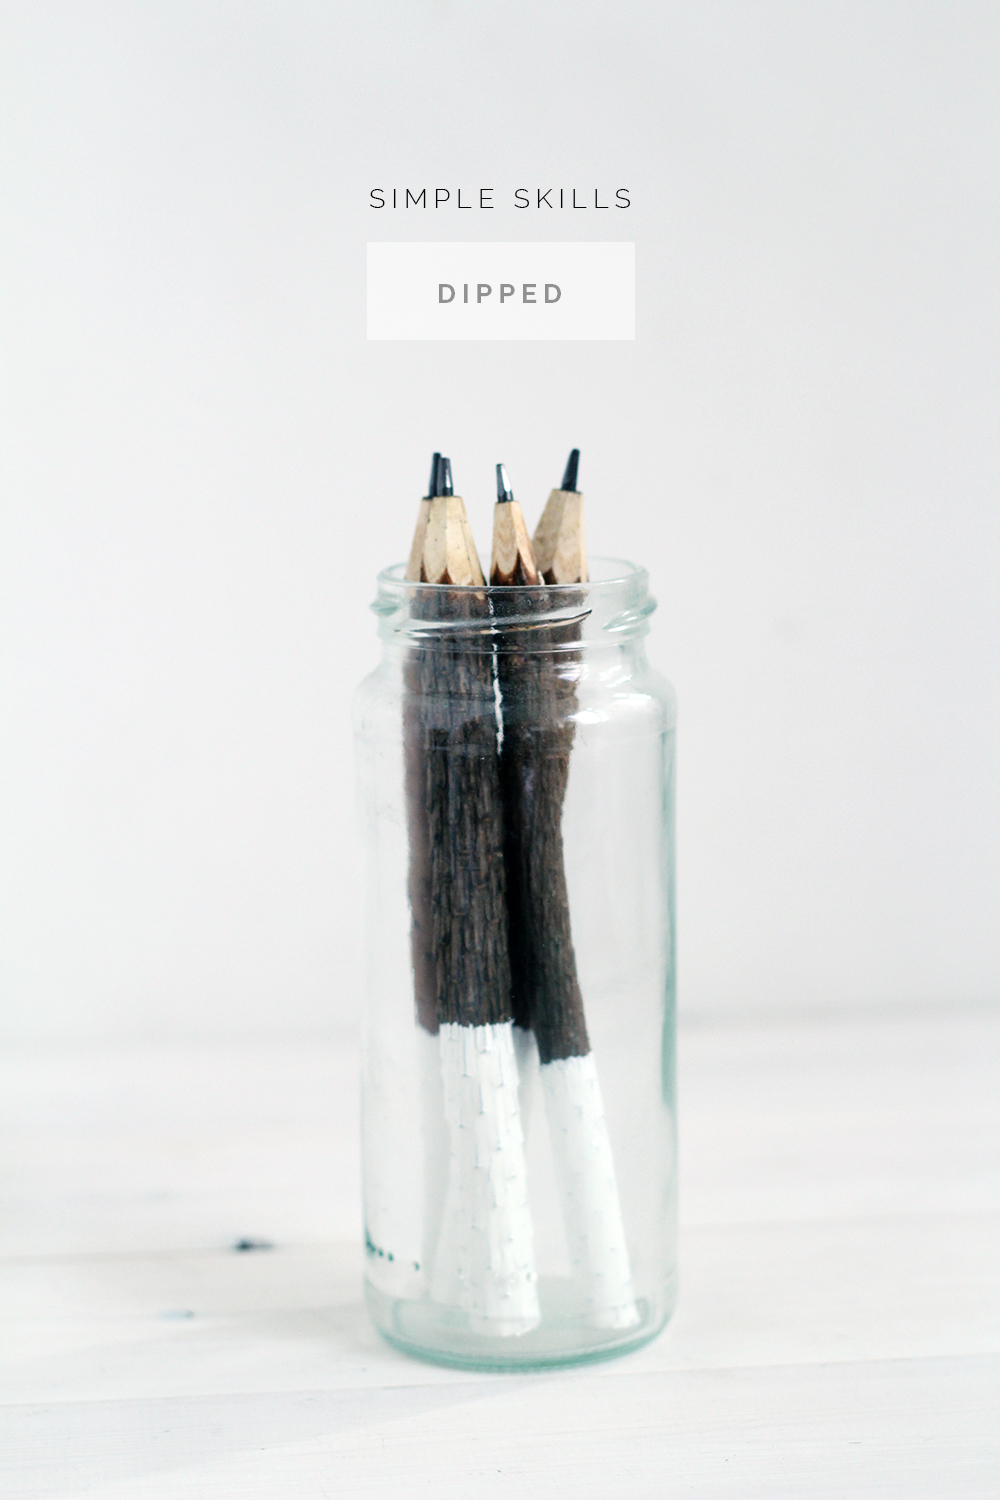
So this DIY is looking at the effects of dipping. There’s a difference between dipped and taped off. The end result is similar but with subtle differences that can change the overall finish. If you want clean, uniform lines then taping is the way forward, but if you want something a little random and irregular go for a ‘free’ dip which will result in a more natural effect and thicker paint.
Materials:
Tips:
- Pour/keep the paint in a tall container that is large enough to dip the object into. Don’t pour the paint all the way to the top as it will pour over the top when you dip.
- Ensure the dipped object is clean and debris free. You don’t really want bits flaking off into the paint or chipping off once the paint is dry.
- Dip object into paint. Think about where you’d like the line to fall and if you want it horizontal or slanted and angle the object accordingly.
- Hold the object above the paint for a few minutes to leave the excess paint to drip off.
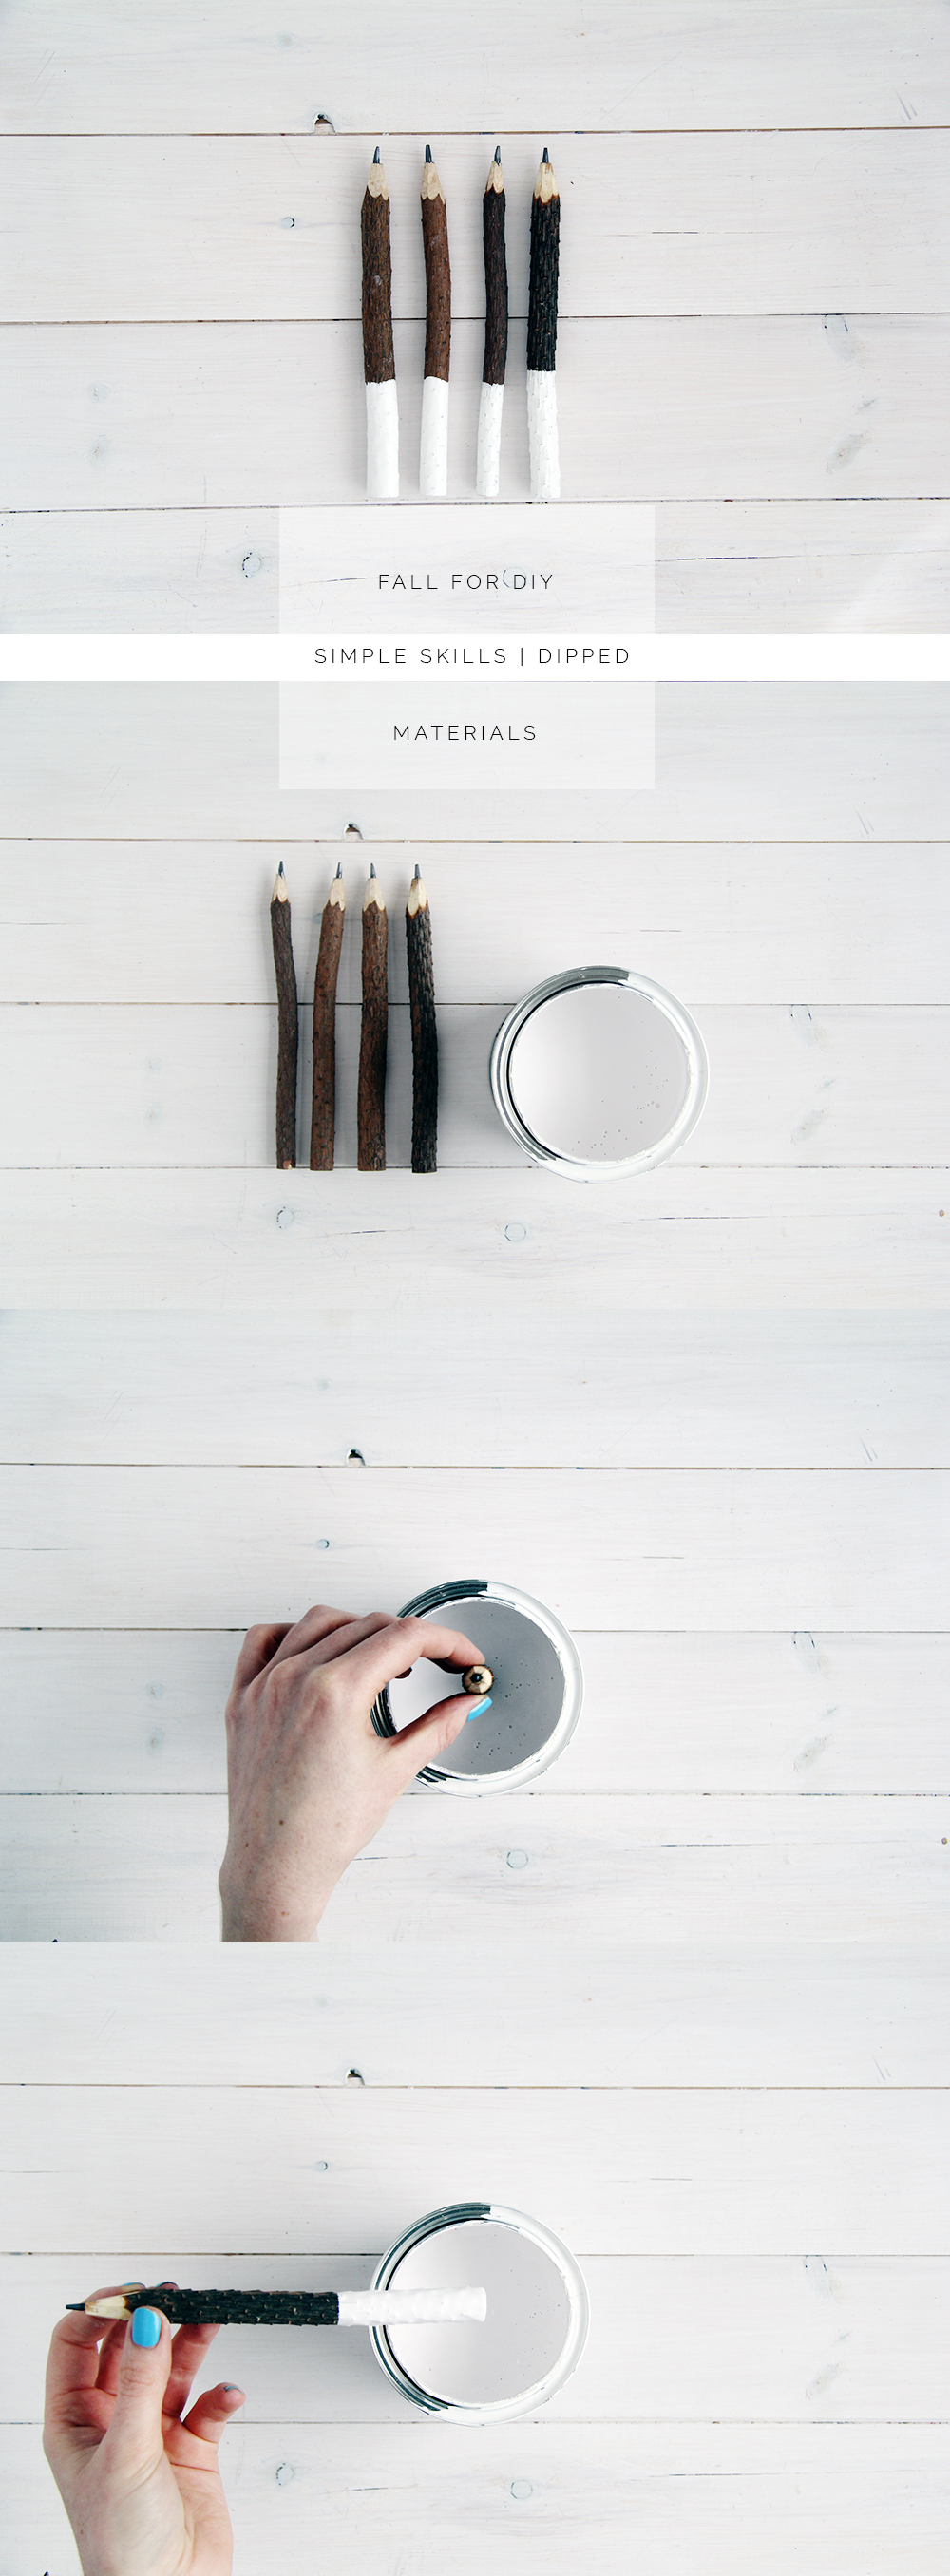
- Leave the paint to dry and the excess paint to drip off. Keep turning the object as it dries so that you’re not left with drip marks.


Considering this is an easier DIY, your photos were still wonderful so I looked at every step haha.
xo
Tiffy
CuteLA.com
Agree with Tiffy… your photos are always wonderful!
I’m guilty of taping and painting because of my impatience… waiting for things to drip dry makes me crazy! But it really does make such a difference, there’s something so charming about pieces that are actually dipped.
Thank you Colleen!
I also love a bit of taping. It is quicker and gives a neater line which I think looks amazing on the right project. This is one of the reasons I wanted to do this series really. Even if it’s just to highlight the differences between techniques so we get it right first time. There’s nothing worse than a project going wrong and having to start all over again!!
Thanks :) xxx