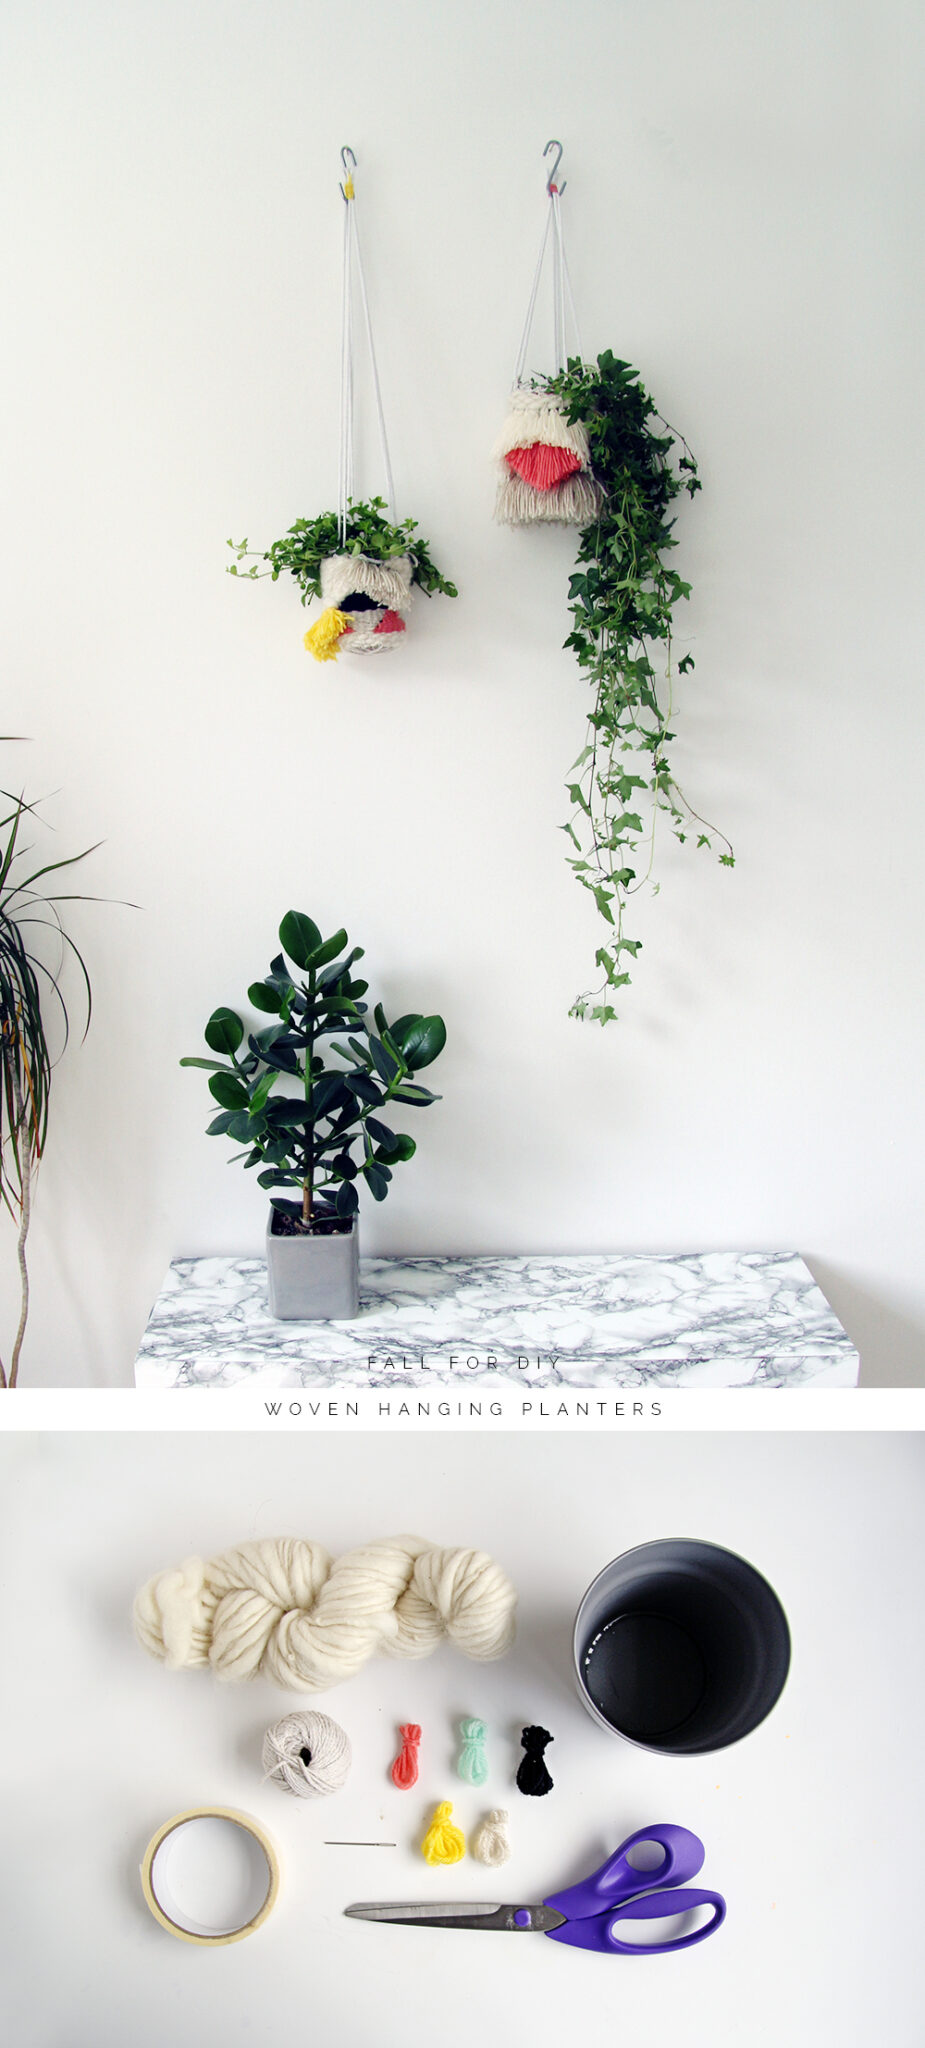
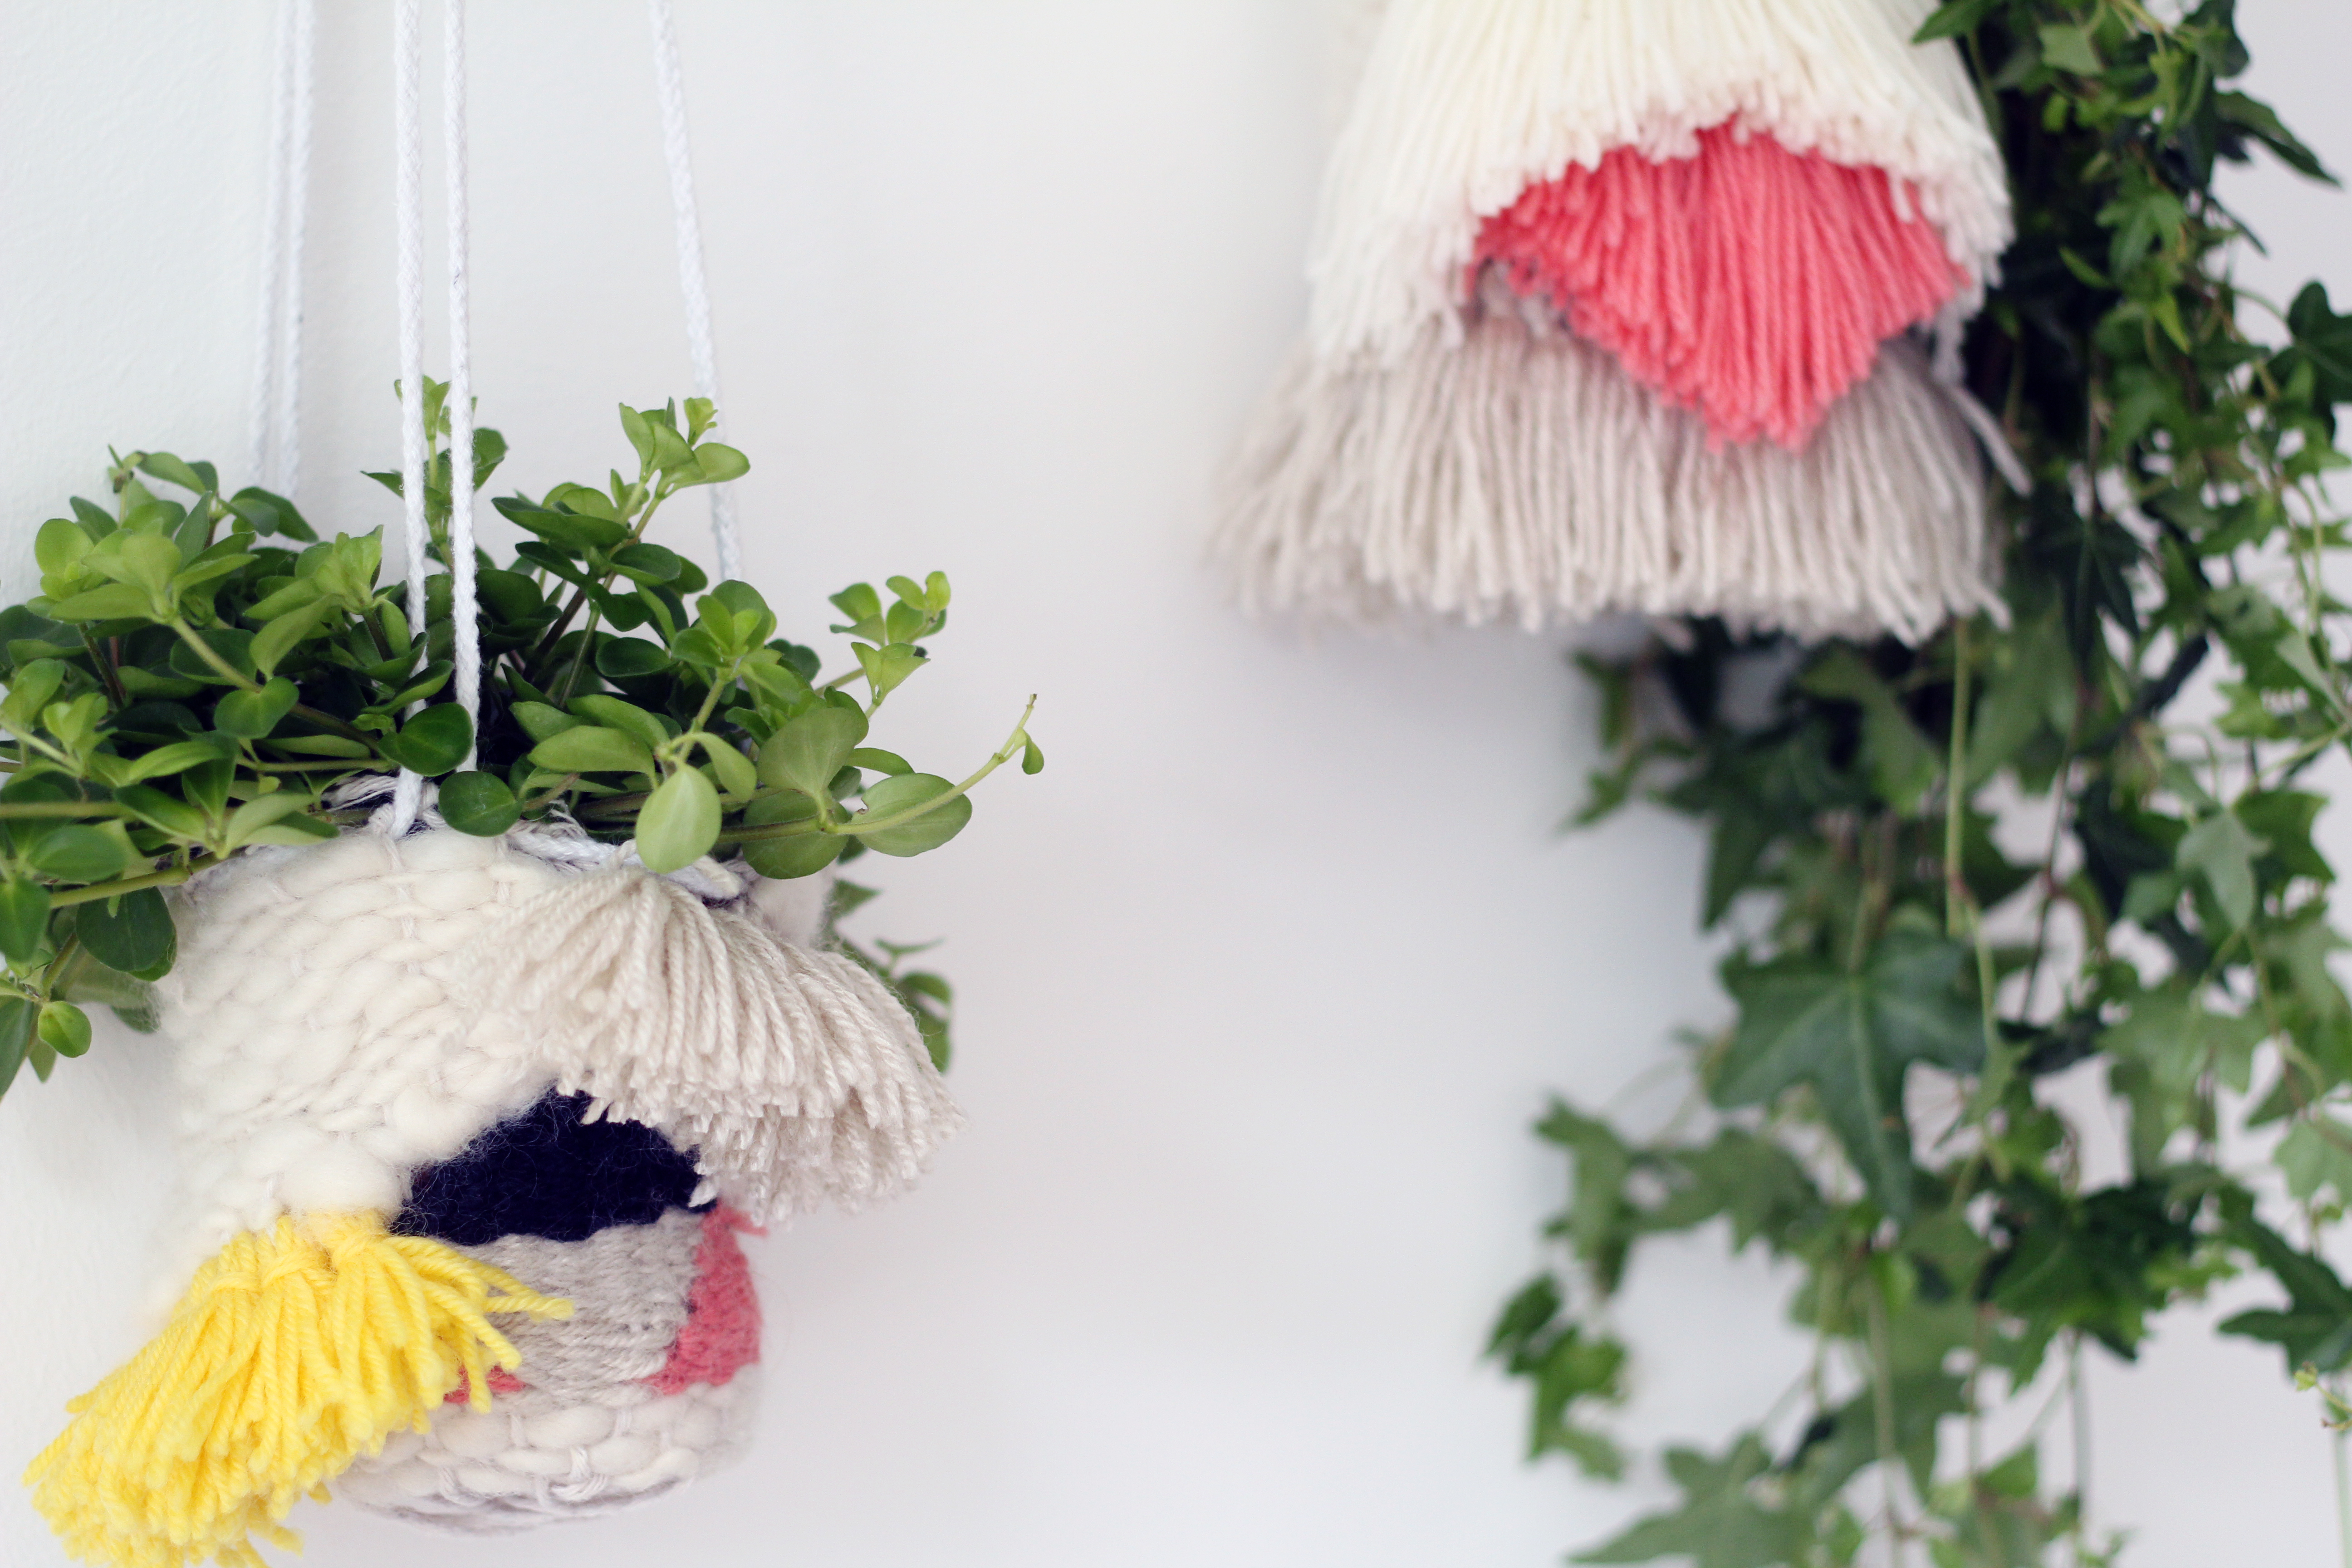
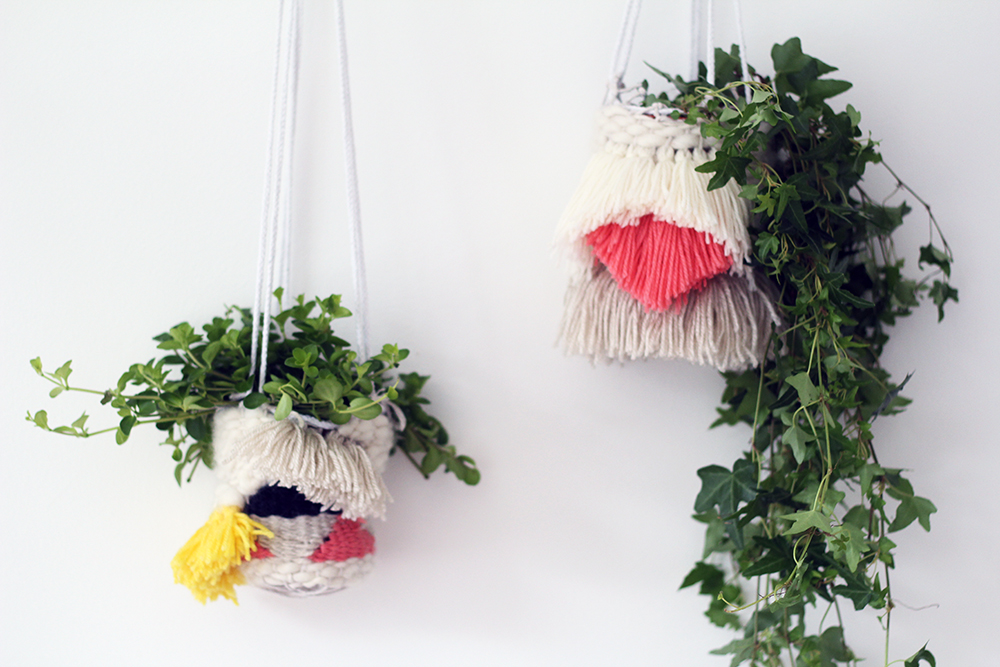
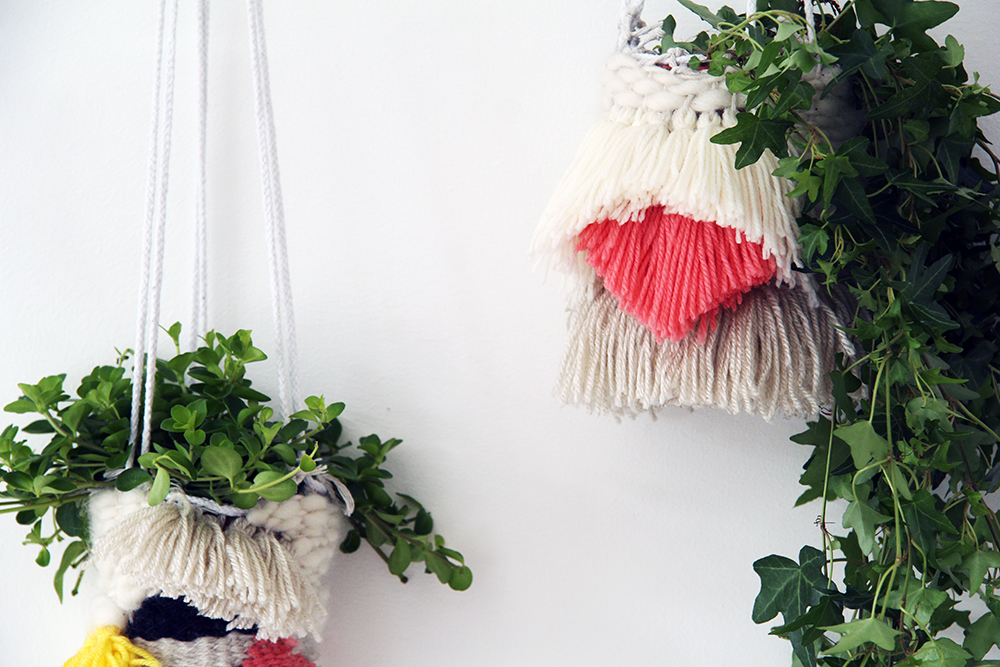
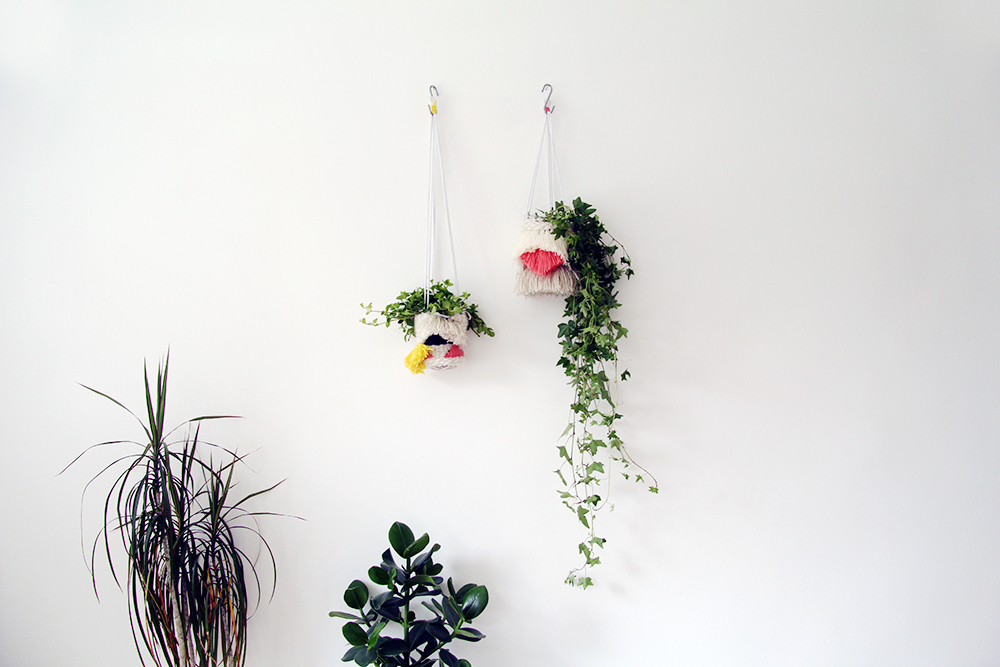
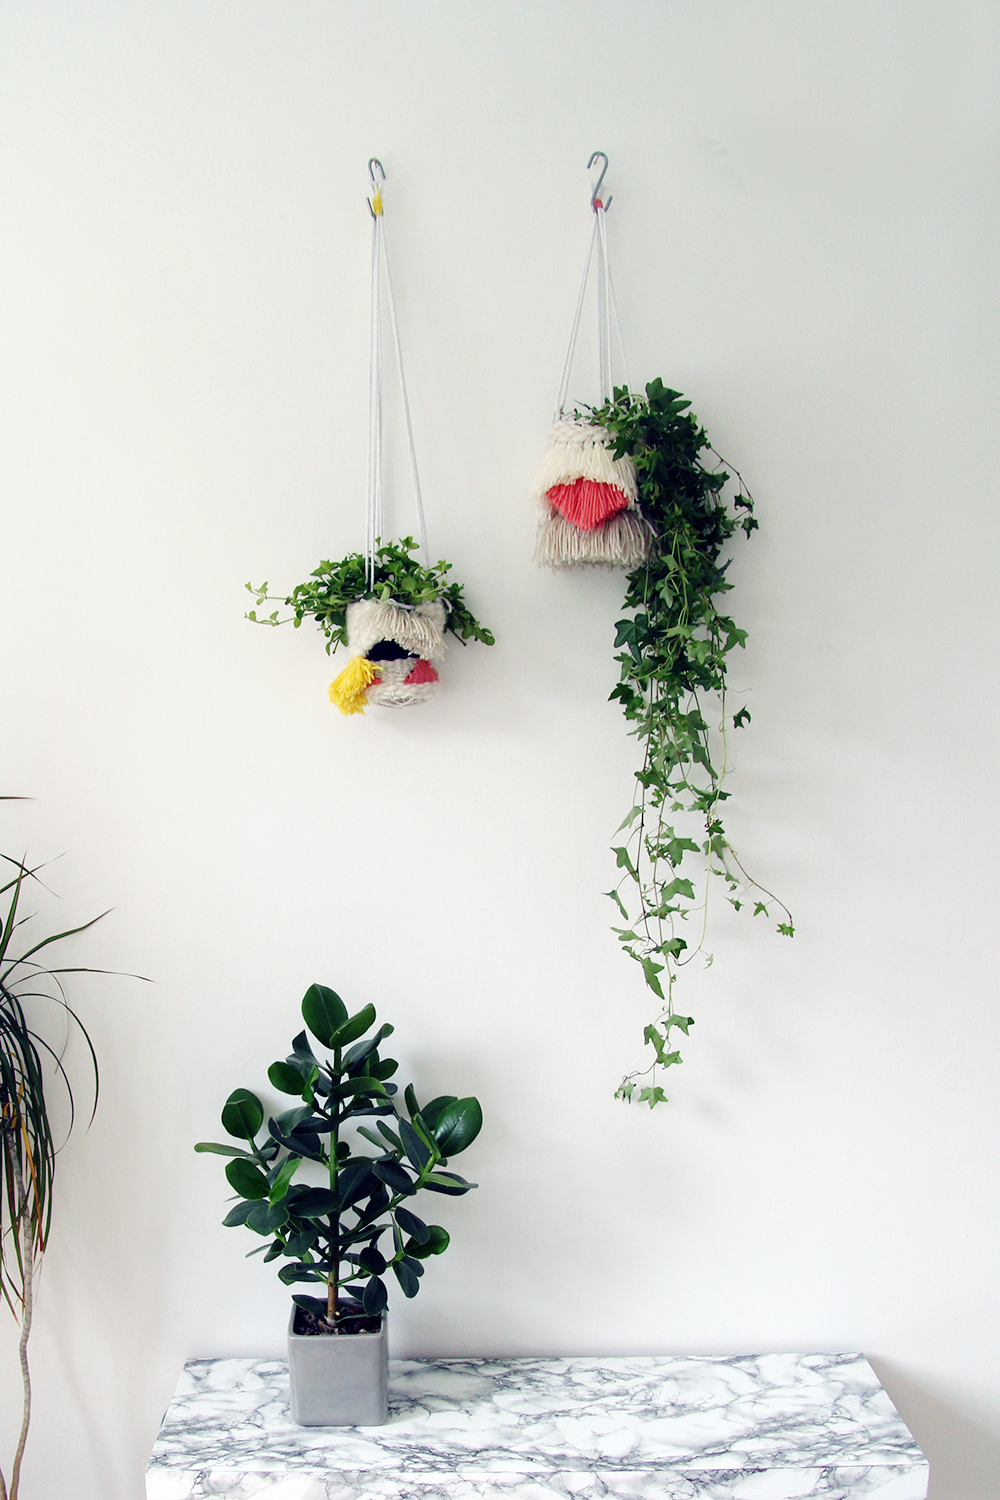
I think it’s pretty easy to see where my inspiration for these woven hanging planters came from. Take one hanging planter, mix with a woven wall hanging and you’ve got yourself an indoor garden party! Patterns and form influences from 1960’s fibre art and my ever growing collection of wool and yarn took over, and without any real planning this happened. I’m definitely going to make some larger versions of these, but I couldn’t wait any longer to share them with you. I’m too impatient like that. So keep an eye on my Instagram feed for more woven green goodness.
Materials
Wool and yarns | Plant pot | Masking tape | Tapestry/darning needle | Scrap paper
Instructions
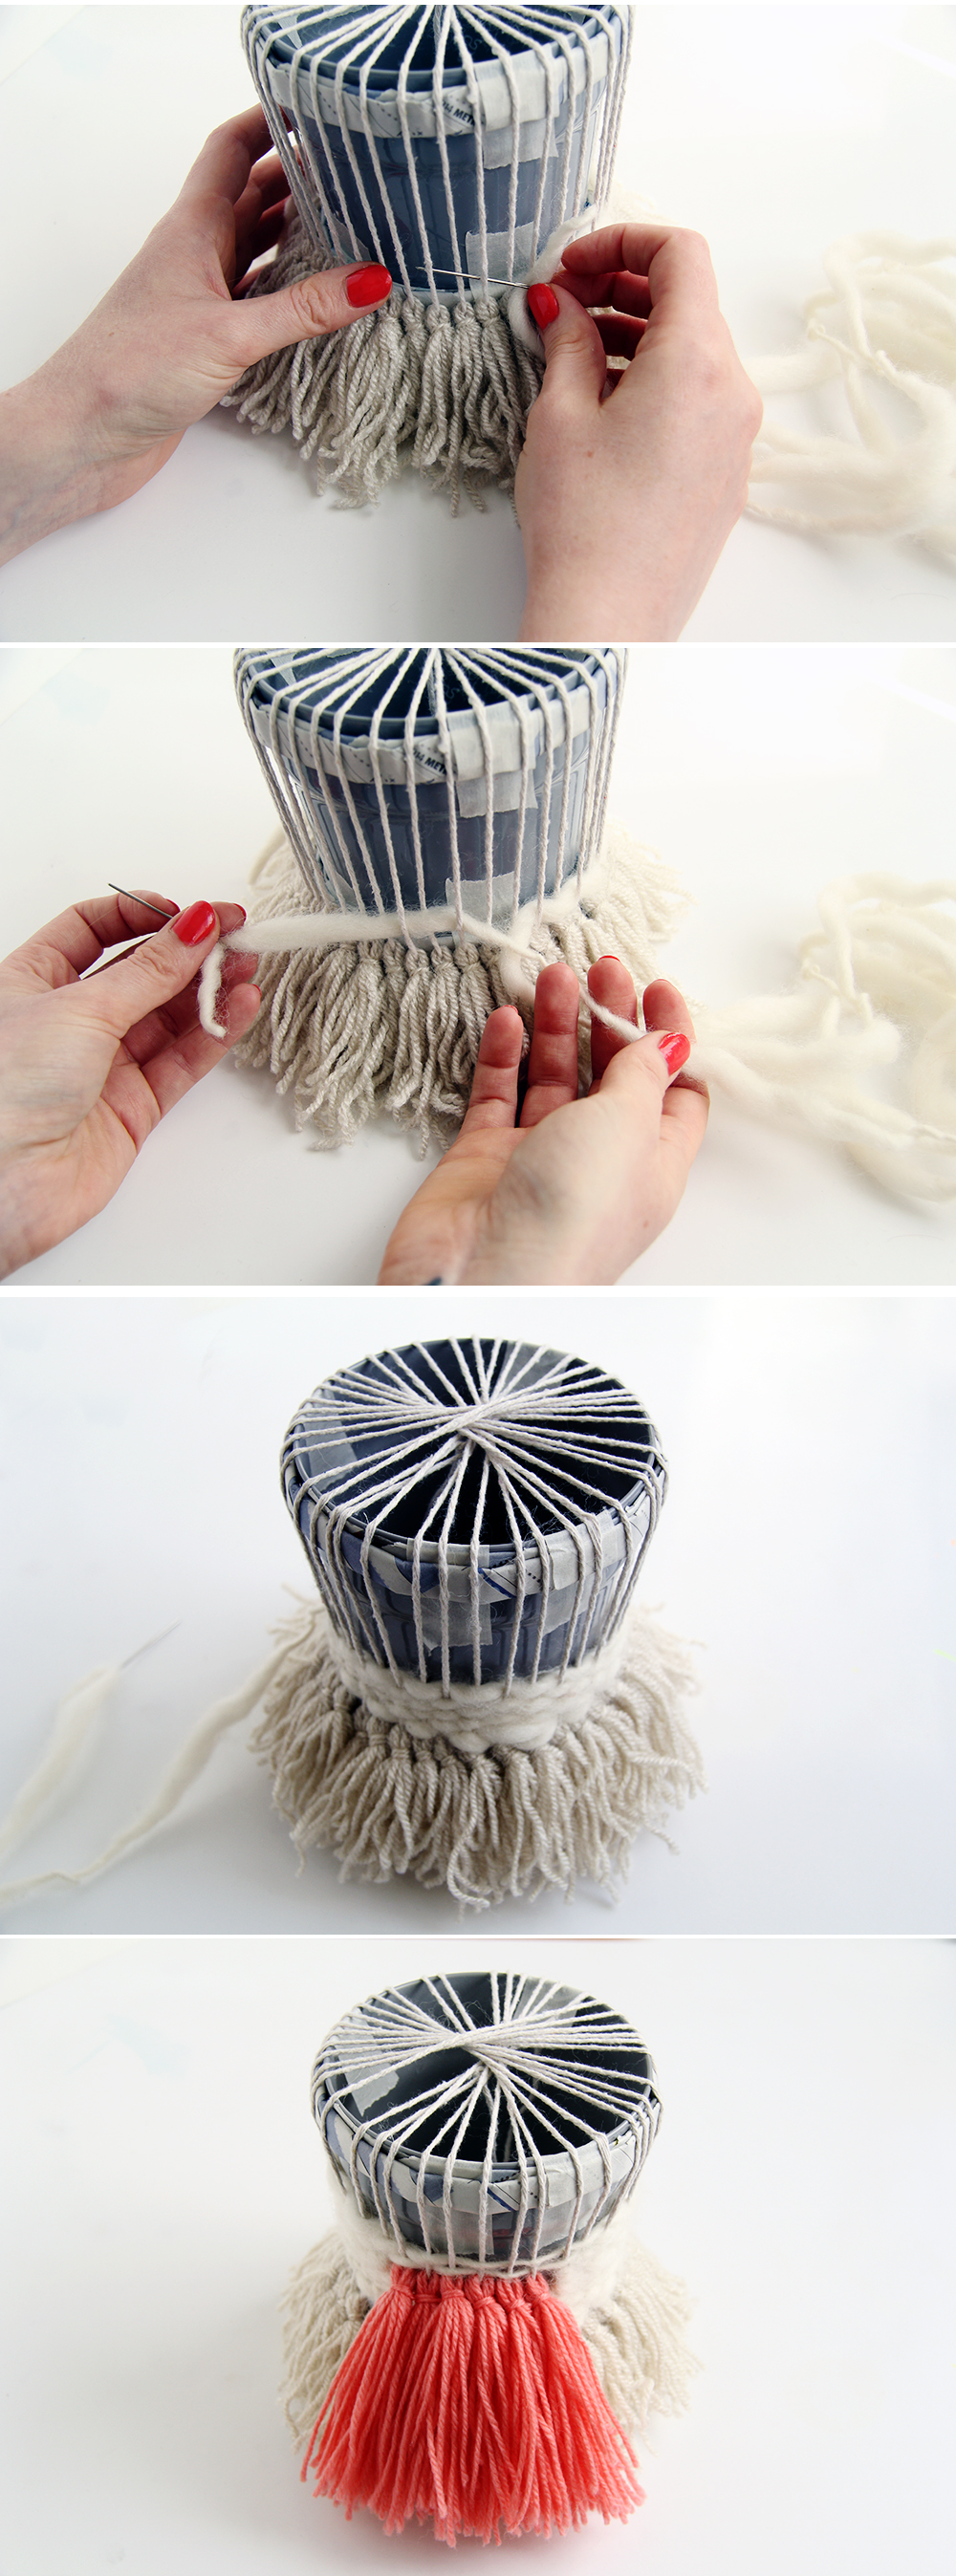
1. Fold your scrap paper into thin, bulky strips.
2. Wrap these around the top and bottom of your plant pot and use masking tape to secure in place.
3. Choose you loom cord an tie around the pot. Wrap the cord around the pot moving around 1 cm / 1/4″ in the same direction each time in a sort of spiral. This will make your loom.
4. To quickly make tassels wrap your yarn around your hand many times to make lots of loops. Carefully take them all off your hand keeping the loops in place and cut along one side to give you threads of an equal length.
5. Thread a few of these onto one of the loom cords and fasten in place with another piece of yarn.
6. Build up tassels to create features and patterns.
7. In between the tassels weave a complementary or contrasting colour/weight yarn in and out of the loom cords. It helps to use a needle with a large eye when you’re using thicker threads.
8. Build up the piece. Play around with pattern, shape and colour to create modern tribal motifs.
9. When you finish weaving cut off the cords in the middle of the pot where they meet. Then tie the cords together two at a time.
10. Using these cords make macrame style knots all around the weave. Make sure these knot are really secure as you’ll be hanging the planters from them.
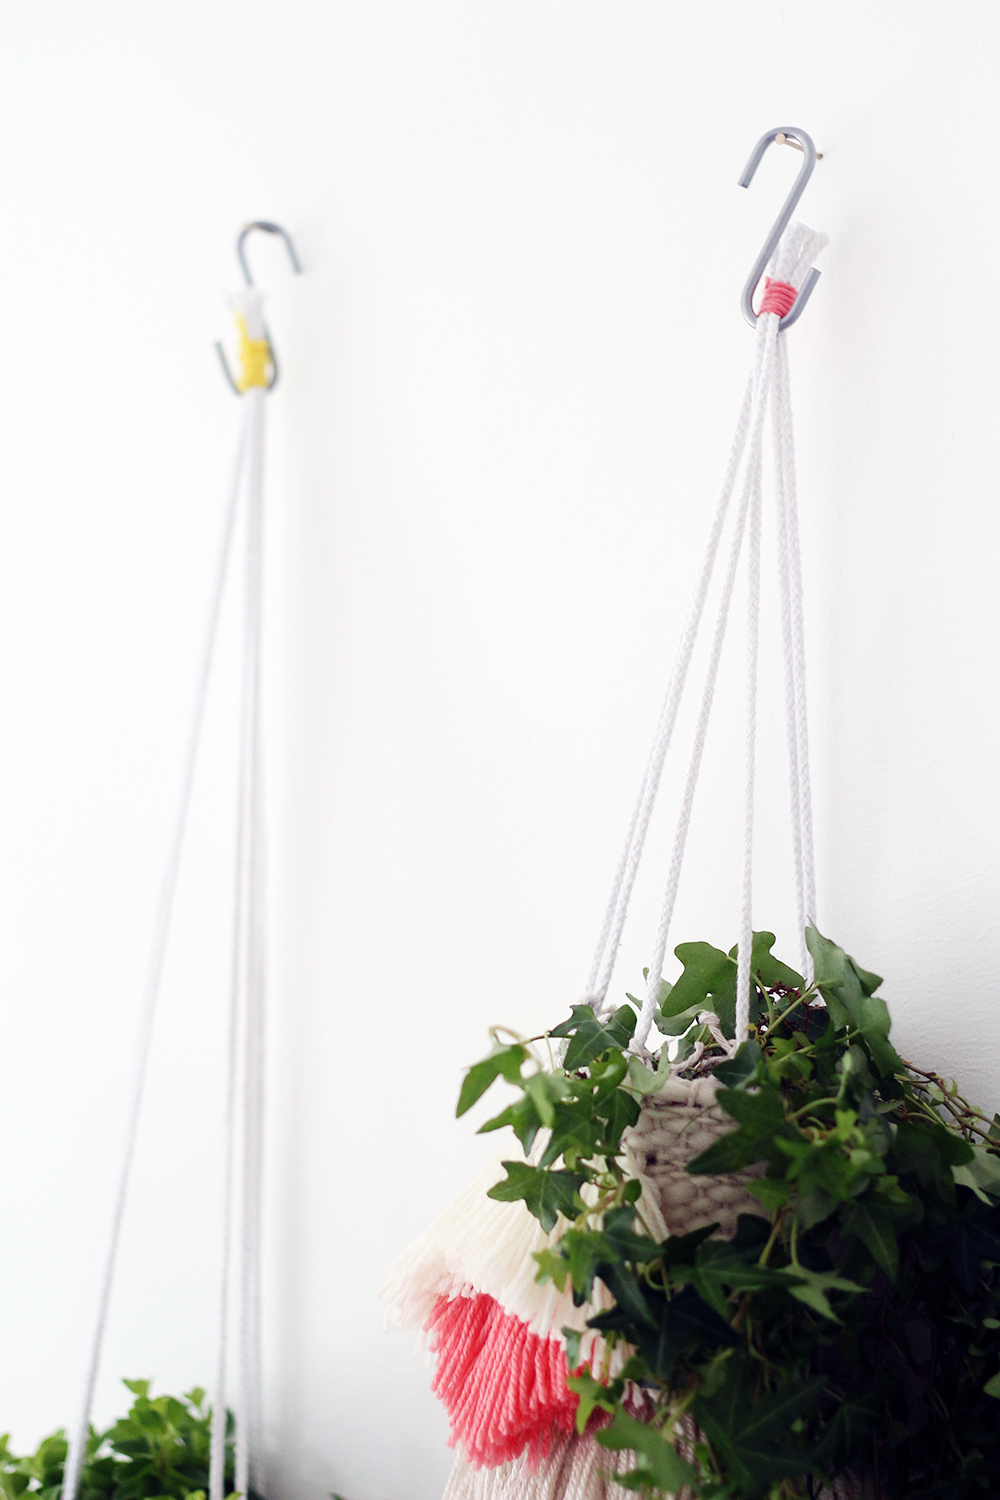
11. Cut three lengths of hanging (thicker) cord around double the length you want the planter to hang. Weave each of these through a third of the macrame knots. You will end up with three sets of two cords all the same length coming from the planter.
12. Tie on and wrap piece of cord around the top of these cords to keep them secure and to hang them.
If you’re looking for planter DIY tutorials then check out my most popular ones right here!
So what do you think? Will you be making them?













These are really creative! I love that you could weave in any scraps…I will definitely be making these :)
Wonderful! Thanks Taylor x
Any tips for getting the threads to stay in place? Mine are sliding all over the place trying to weave the bottom and I’m still deciding if I should just start over completely or keep going
This is brilliant!
These. Are. The. Bomb. Love!
Ha! Thanks Alyssa. You just made my day :D
Hi Fran, your woven plant hangers are retro fab. Your directions made it look easy. I’ll definitely be trying this one. Thanks for the inspiration, Megan
WoW!!! These are absolutely amazing!!!
Just finished making one of these and my new baby fern is now hanging in my room! Thanks!
Hi Fran
Just came across your post with a link from Frankie magazine. Wow this is a very impressive DIY and beautiful instructions and pictures.
What a gorgeous creation.
Very inspiring. Now to check our the rest of your blog x
Hi Fran,
I feel so lucky to have came across your blog! I love DIY projects and everything from your blog is so beautiful and inspiring. It has opened up my quest to get creative and make some stuff from your site! I thought you should know!
Thank you :)
I would love to have a mini garden at home. My apartment is really small hence these hanging planters are perfect to utilize the vertical space. Thanks for sharing!
– Novie
http://naturallypretty.info
I would love to have a mini garden at home. My apartment is really small hence these hanging planters are perfect to utilize the vertical space. Thanks for sharing!
– Novie
Thanks.