• Home
  • Blog
  • About
  • Collaborate
    • Media Kit
  • We Make
    • Bloglovin
    • Facebook
    • Instagram
    • Pinterest
    • Twitter
    • YouTube

Fall For DIY

  • DIY
  • Interiors
    • Planters
    • Paper
    • embroidery
    • Drinks
  • Blogging
    • Photography
    • Instagram
  • fashion
    • Jewellery
    • Accessories
  • Inspiration
    • Round Up
    • 50 DIYs
  • Office
    • Free Printables
    • Organize
  • Party
    • Christmas
    • Halloween

Our favourite things in your inbox every month!

DIY Paper Bag Clutch

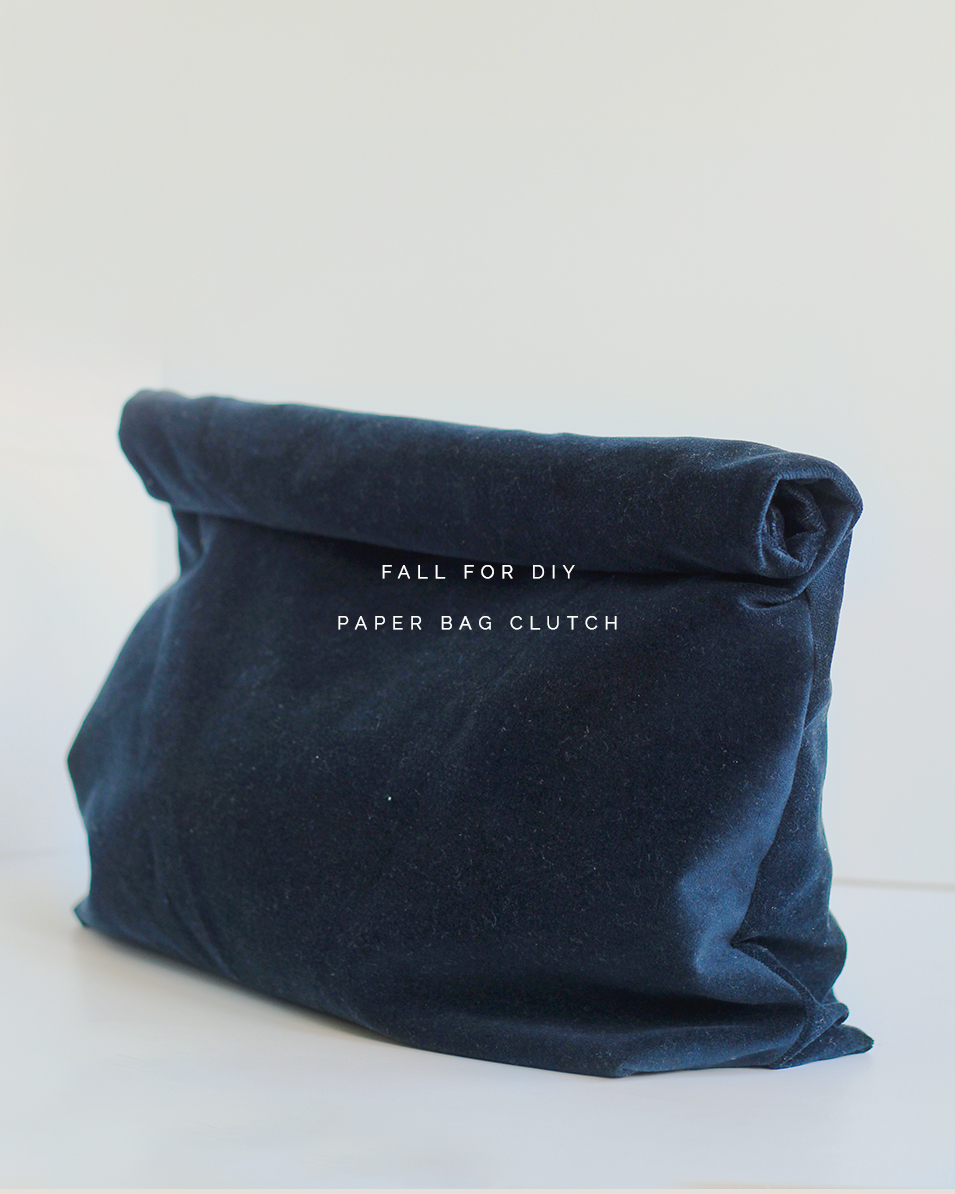
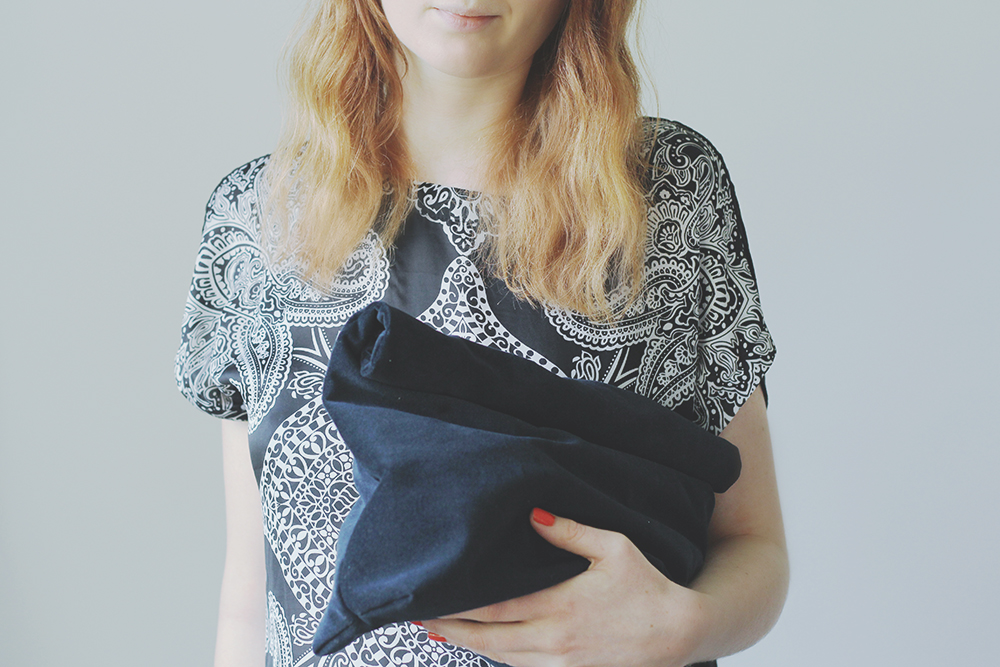
I’ve got a confession to make. I had an ulterior motive for my How To tutorial this week. It was my attempt at easing myself into this clutch tutorial. I’ve been meaning to share this DIY with you for a long time now. I’ve made this bag in leather and I love it so much I wanted a softer version for the summer. I think this bag would look fantastic in lighter colours, but I wasn’t quite brave enough… this time. It’s also a great way to use up off cuts of old fabrics (you know this is high on my agenda at the moment). I’ve got a great leopard print I’m just itching to make into my next clutch. Which fabric will you use?
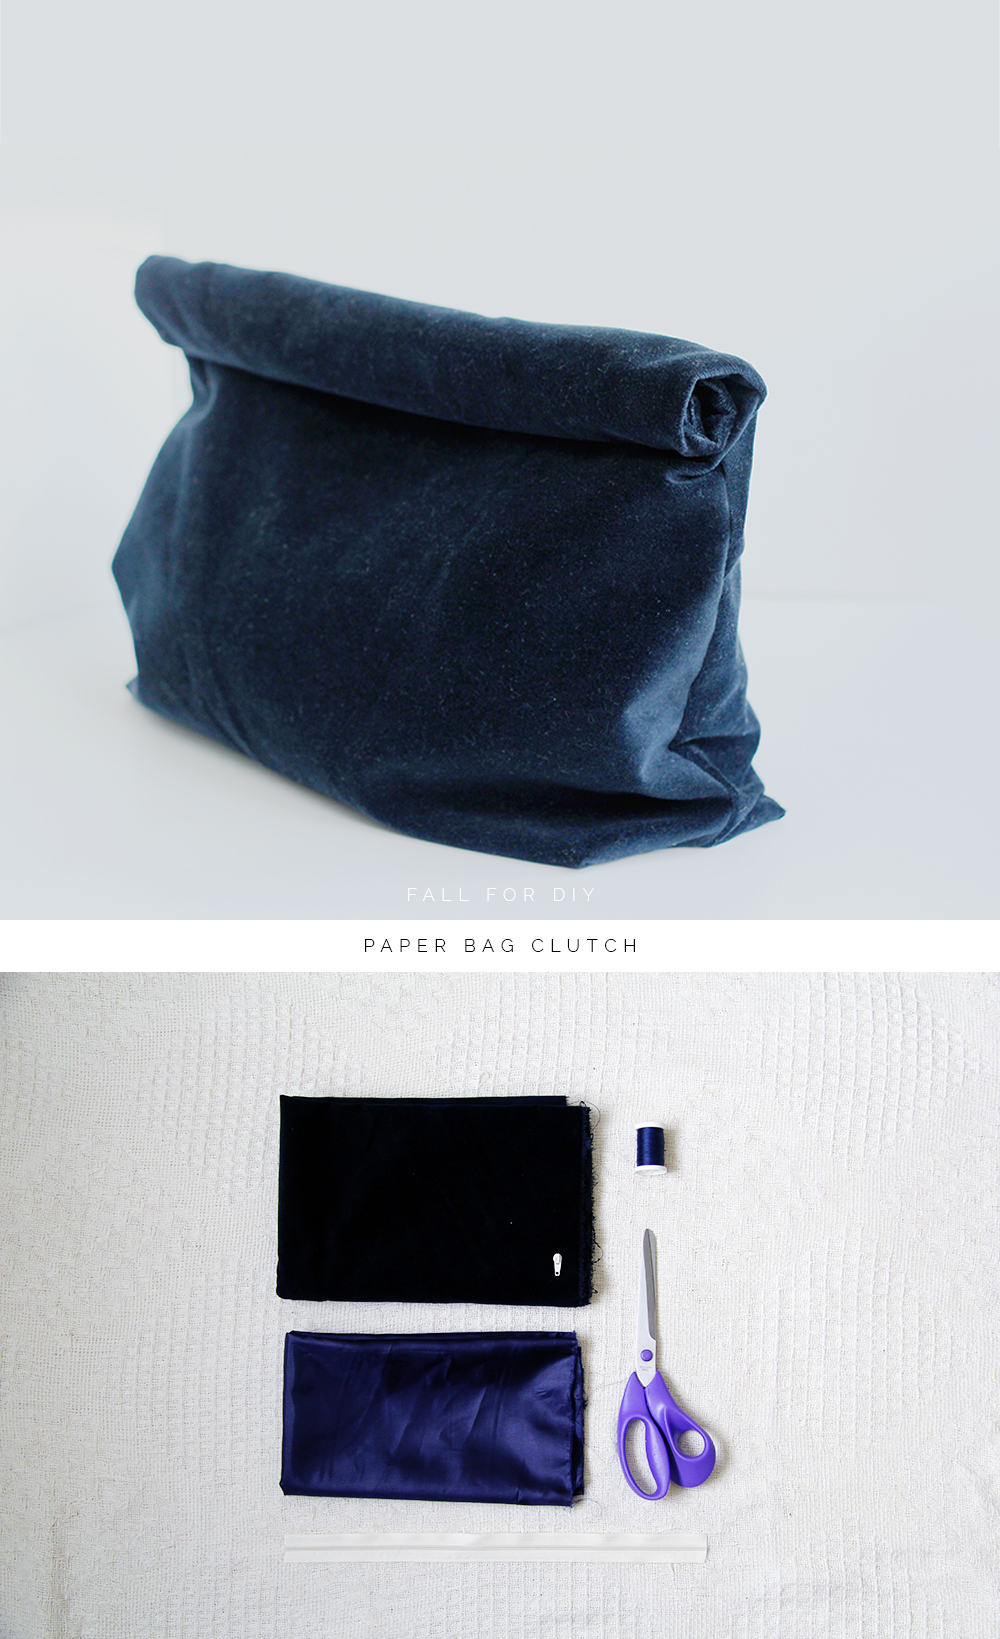
Materials:

1/2 metre of suede fabric

1/2 metre of satin lining fabric

Zipper

Thread

Instructions:

1. Cut a template in the shape shown below. The top side length will be just a little bigger than the final length of the bag. Measure the bottom length 10cm/4″ longer than the top about 1/2m/20″ down and cut out.

2. Cut two pieces of your outer fabric and two pieces of lining fabric using this template.

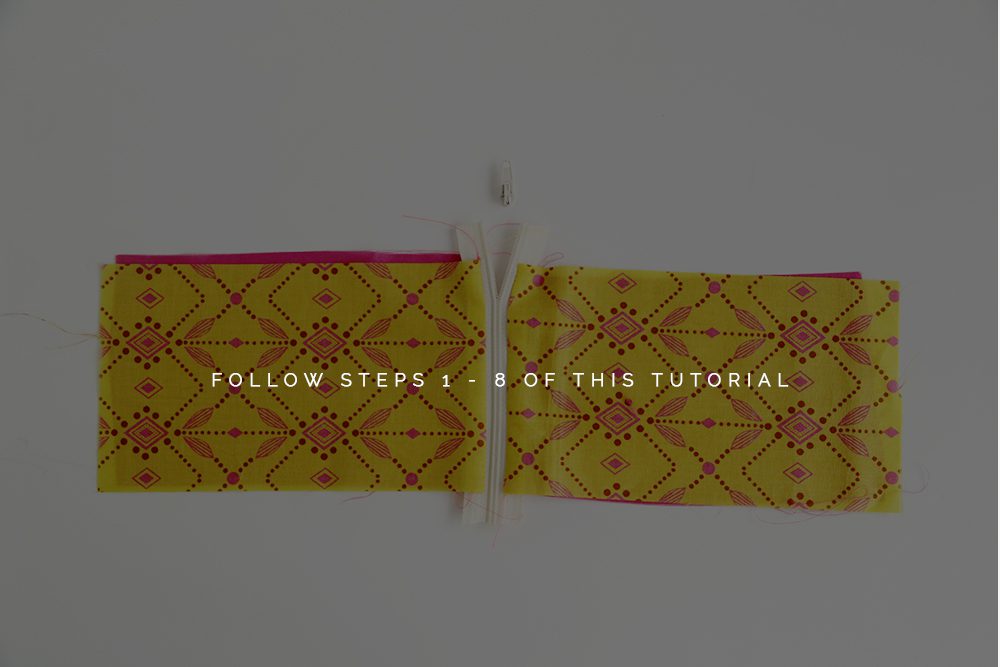
3. Follow the instructions (from step 3 – 8) of my How to Make All the Zipper Pouches tutorial

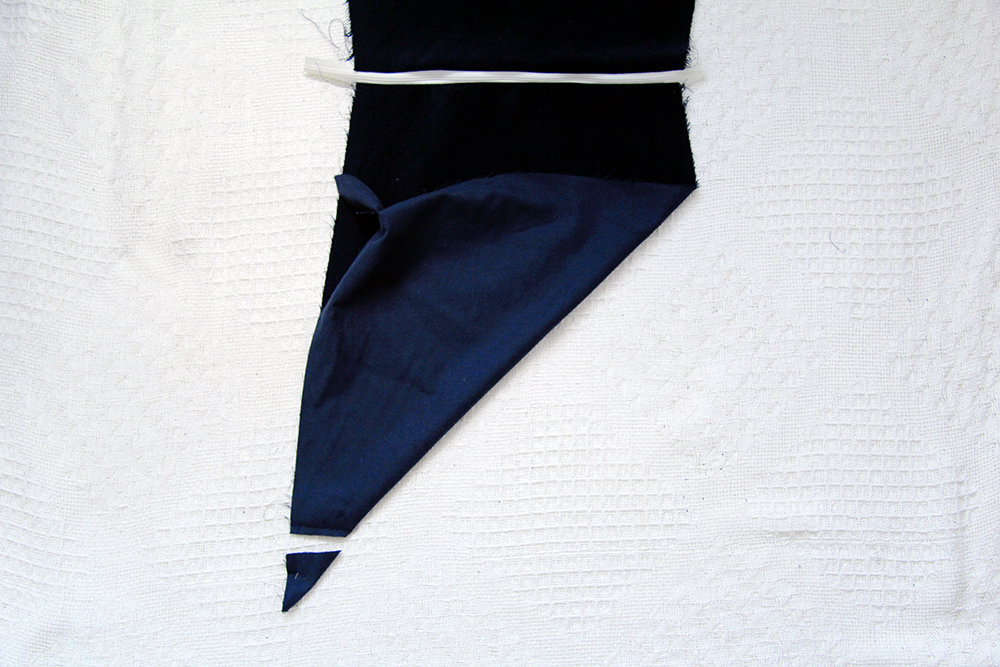
4. To create the gusset lay out the bag flat and bring the bottom right hand corner up and across the rest of the fabric so the sides are lined up on the left hand side starting from the bottom corner. Pin in place and sew about 4cm / 1 1/2″ from the corner parallel to the zipper. Do the same on the other side and then trim off the corners. Do this for all four layers of fabric.

5. Follow the rest of the How to Make All the Zipper Pouches tutorial pinning the edges of the fabric a little more carefully to make sure the sides line up. Make sure you pin the fabric right sides together so that there is a lip around the edge to sew along. Remember so to sew all the way around the lining so you can pull the bag inside out/right way around.

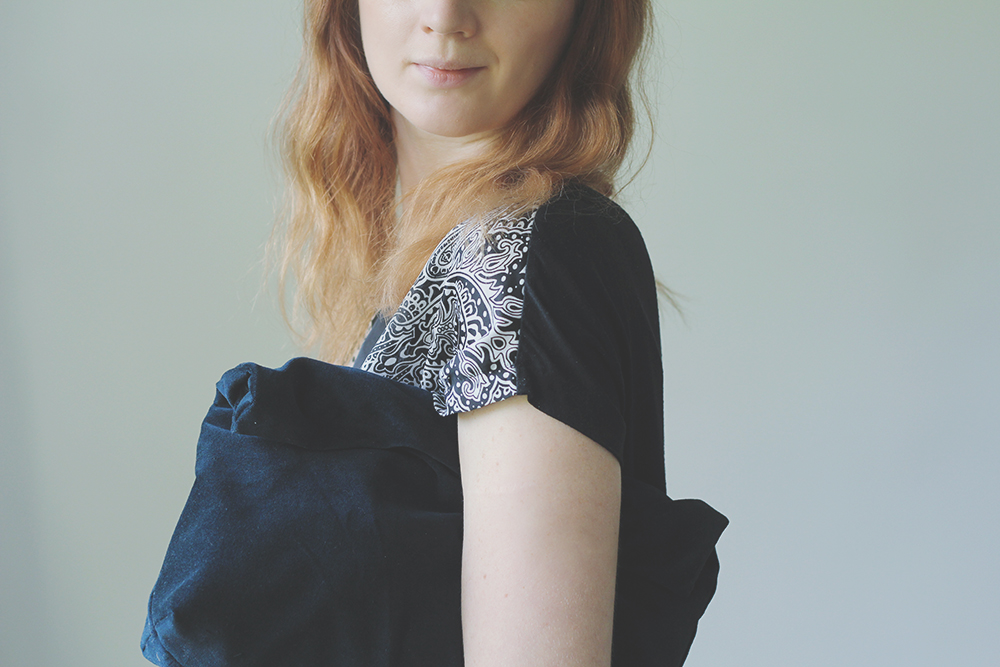
6. Once you’ve completed the bag you can add extra security by attaching a magnetic bag clasp. Roll the top down and mark on both side where you’d like to attach the clasp (test this out with the items you would normally carry in you bag to see what looks best) and glue the clasp into place.


Related

Accessories// DIY// fashion12 Comments

« DIY Wedding Head Dress
Make it Easy: Crystal Embellished Loafers »

Comments

  1. Kate says

    June 11, 2014 at 5:33 pm

    So cute. I pinned this to my DIY board.

    Reply
  2. Anna-Rosa says

    June 12, 2014 at 1:12 pm

    Lovely!! I love paper-bag clutches!! ;)

    Reply
  3. onel says

    June 13, 2014 at 11:19 pm

    Nice! Love the sophisticated look!

    Reply
    • fran says

      June 17, 2014 at 4:07 pm

      Thanks Onel! xx

      Reply
  4. Carol says

    June 16, 2014 at 3:26 am

    Love it, want to add plastic coated wire down the sides (inside,between the lining and fabric) so that the top can actually be rolled down.

    Reply
    • fran says

      June 17, 2014 at 4:11 pm

      Very interesting Carol. I’d love to know how you get on if you do this! x

      Reply
  5. Beth says

    June 19, 2014 at 7:37 am

    Super cute!

    Reply
  6. saolai says

    August 31, 2015 at 3:17 pm

    i am not really understand the measurement. :(

    Reply
  7. proxy list says

    September 9, 2018 at 10:25 pm

    Hello,I read your blog named “YouTube” daily.Your story-telling style is awesome, keep up the good work! And you can look our website about proxy list.

    Reply
  8. Taglio capelli uomo says

    October 20, 2020 at 8:48 am

    Thanks for sharing, this is a fantastic post.Really thank you! Really Great.

    Reply

Trackbacks

  1. Bolsos de papel | B a la Moda D.I.Y en stylelovely.com says:
    July 4, 2014 at 8:11 am

    […] A continuación podéis ver un tutorial de A pair and a spare donde os enseña cómo haceros uno: Todos los pasos aquí. Para ver este otro, pasaros por este post. […]

    Reply
  2. Bricole DIY | Pearltrees says:
    January 18, 2015 at 1:18 pm

    […] DIY Paper Bag Clutch | Fall For DIY. I’ve got a confession to make. […]

    Reply

Leave a Reply Cancel reply

Your email address will not be published. Required fields are marked *

Search

About

Preorder My Book Now!

Follow

Featured

shop earrings

Partners

Terms & Conditions
Private Policy Statement

DIY

3 Ways to Use a Printer to Make Your Life Better

3 Ways to Use a Printer to Make Your Life Better

DIY Tower Cleansing Bars

DIY Tower Cleansing Bars

DIY Wavy Shelf with Cricut

DIY Wavy Shelf with Cricut

How to make your Mother’s Day gift more than perfect this year with DIY fabric wrap

How to make your Mother’s Day gift more than perfect this year with DIY fabric wrap

DIY Valentine’s Clay Name Necklaces

DIY Valentine’s Clay Name Necklaces

DIY Seamless Floor to Wall Wood Panelling (with Laminate)

DIY Seamless Floor to Wall Wood Panelling (with Laminate)

How to Recycle your Advent Calendar this Christmas

How to Recycle your Advent Calendar this Christmas

DIY Faux Stoneware Candle Holder

DIY Faux Stoneware Candle Holder

DIY Speckled Clay Arch Picture/Card Holder

DIY Speckled Clay Arch Picture/Card Holder

DIY Raffia Hanging Planter Kit

DIY Raffia Hanging Planter Kit

More Posts from this Category

Copyright © 2022 ·Savory · Genesis Framework by StudioPress · WordPress · Log in