When I first learnt how to make my own ear wires it was like a whole new world had opened up. Before this, I was limited to the supplies I had on hand. Jewellery making consisted of adding beads and charms to ready made earring and chains, but learning how to create the earring wire made me realise I could do so much more than that! So this one was a pretty important one for me I guess.
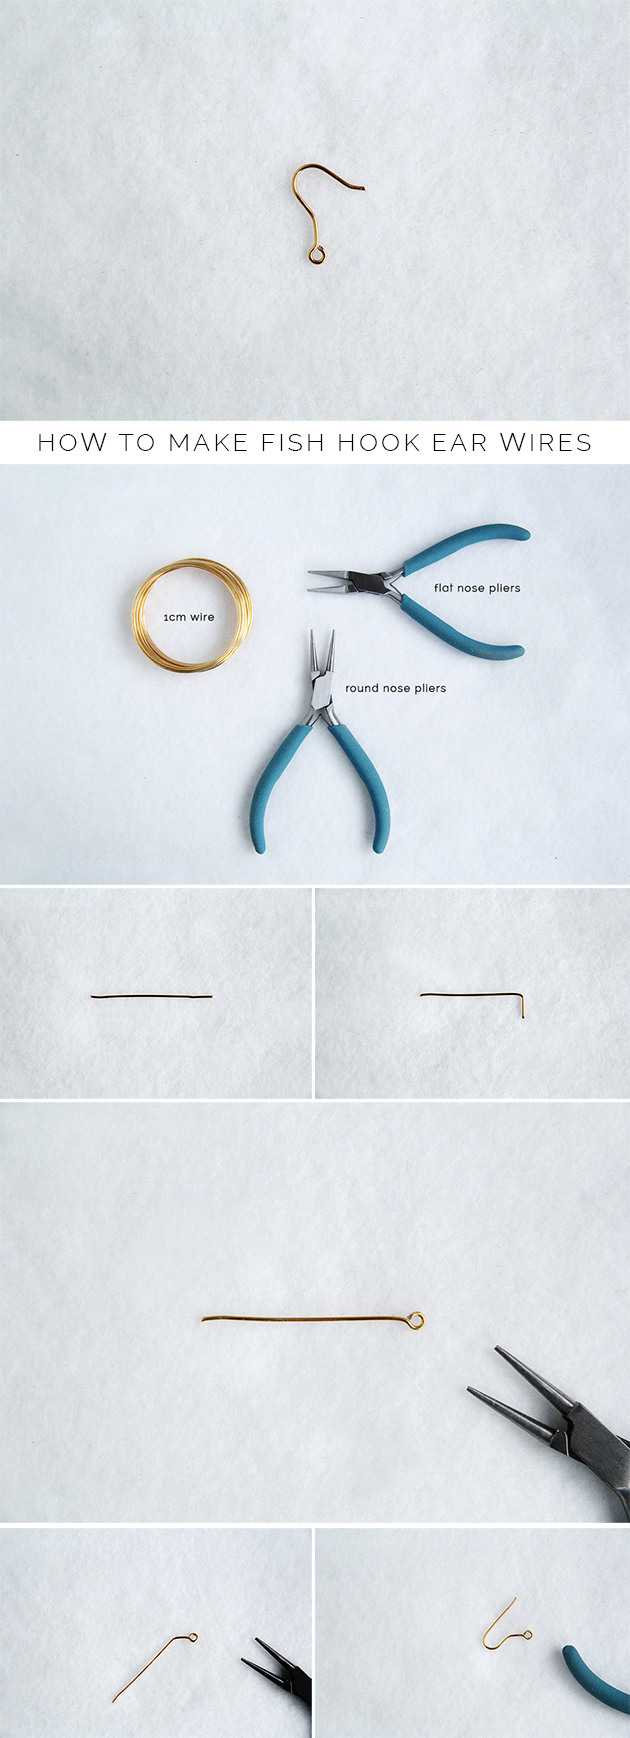
Note: Do not use 1cm thick wire!! I meant 1mm, sorry….
Instructions:
1. Cut off around two inches of wire.
2. Bend around 1cm of wire 90 degrees to the rest of the wire.
3. Use your round nose pliers to turn a loop in the bent wire. Check out this video to find out how.
4. Using your flat nose pliers hold the wire just under the loop. Bend the rest of the wire about 45 degrees.
5. Bend the wire around the handle end of your pliers to create the curved section that goes through your ear.
6. Cut the excess wire off and bend the end of the wire very slightly.
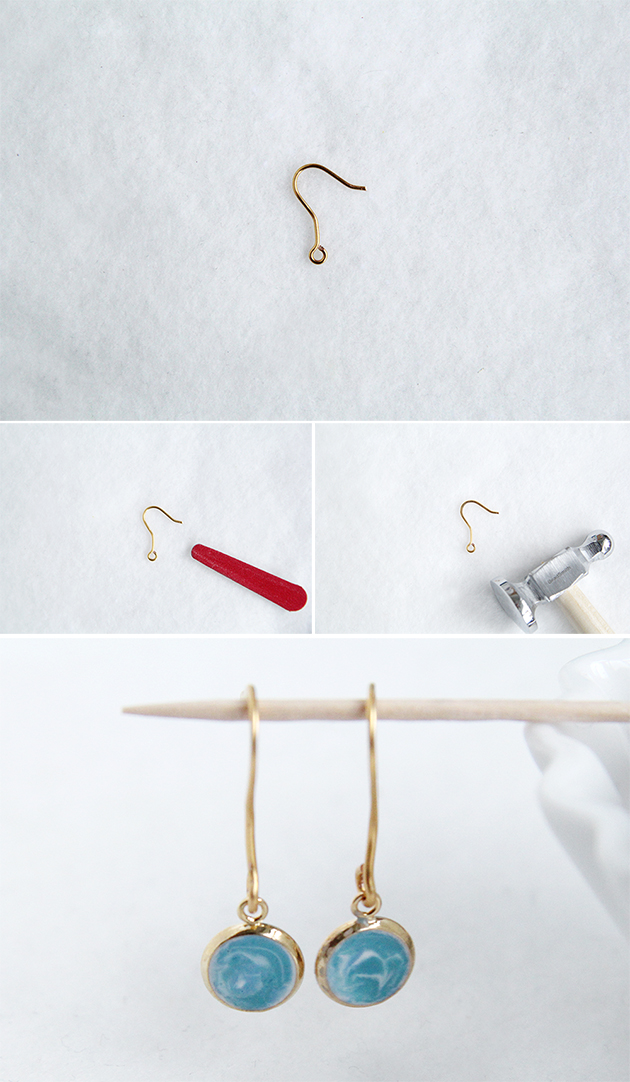
7. Use a nail file to smooth the end of the wire so there are no sharp edges.
8. Hammer the curved section (the part that goes in your ear) gently so it keeps its shape.
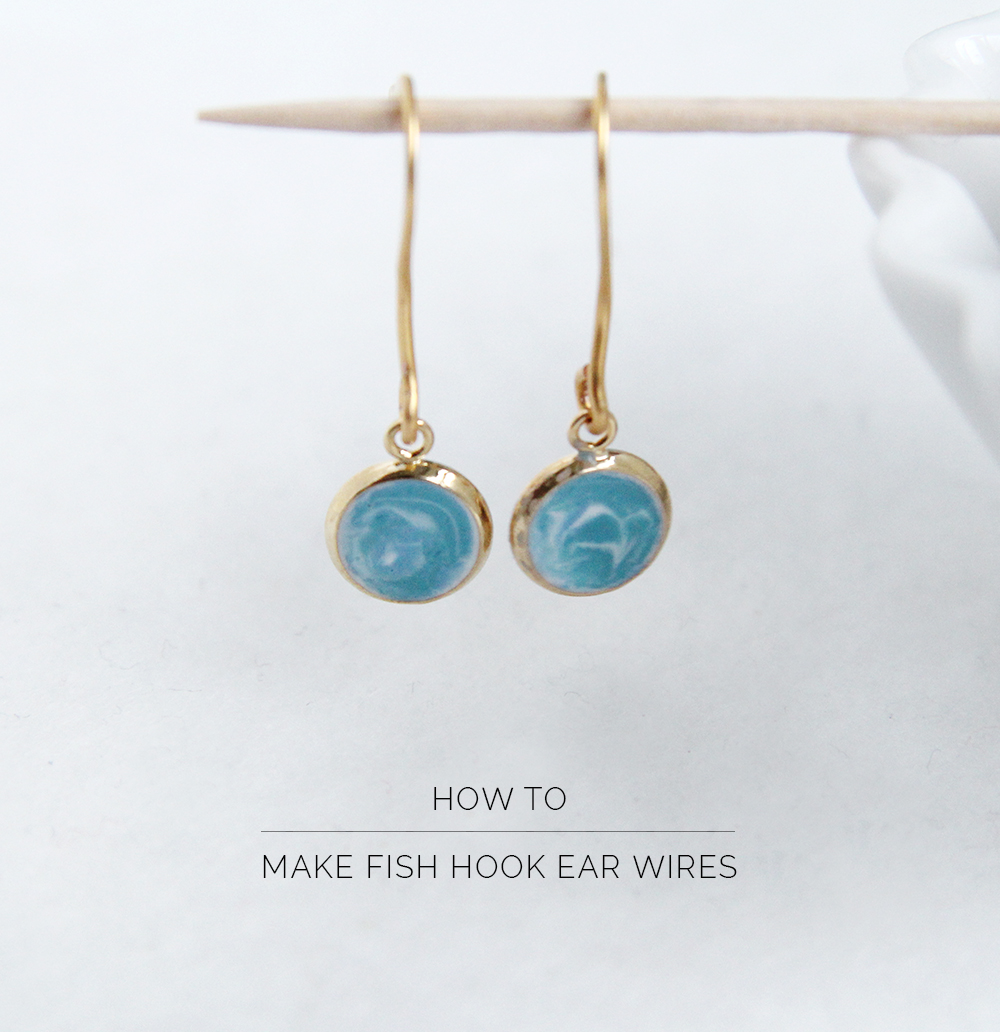
Now you’re ready to add your handmade pendant earrings like these I’ve made using this tutorial!


Wow, that’s so clever! Not having to rely on supplies you already have makes life so much more creative
Sydneymakesthings.blogspot.co.uk
I like this DIY ears much. However, my ears are so sensitive. That’s the reason why I only use silver jewelry.