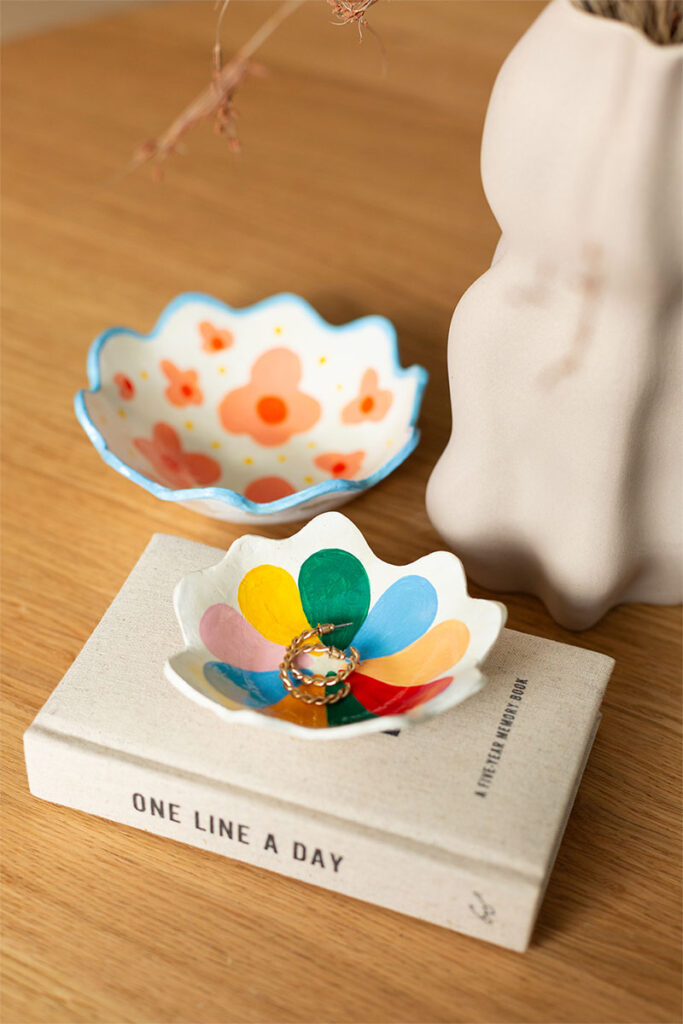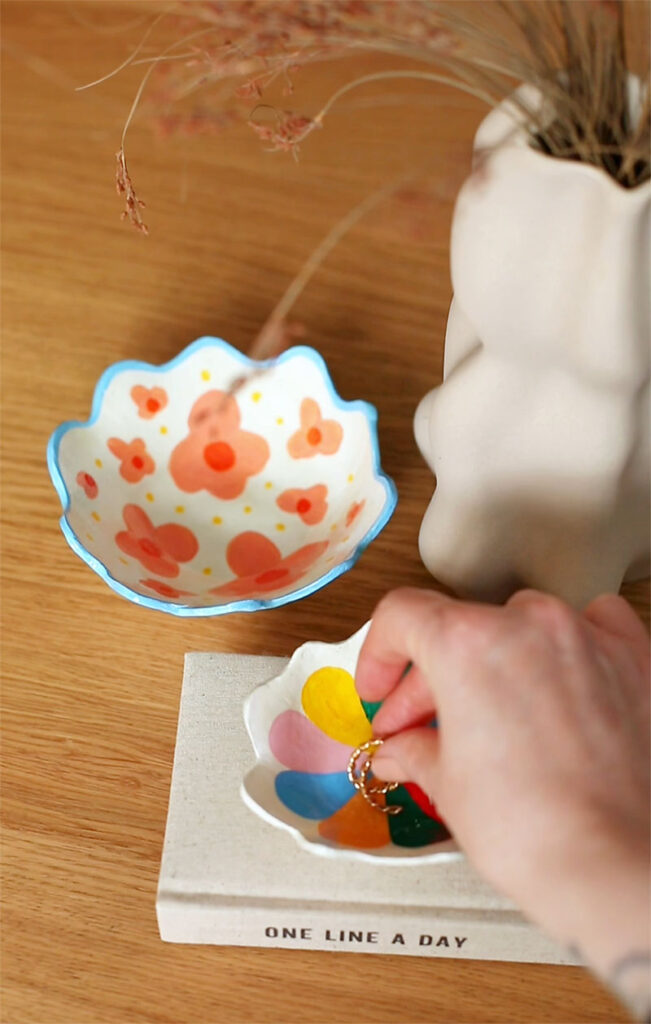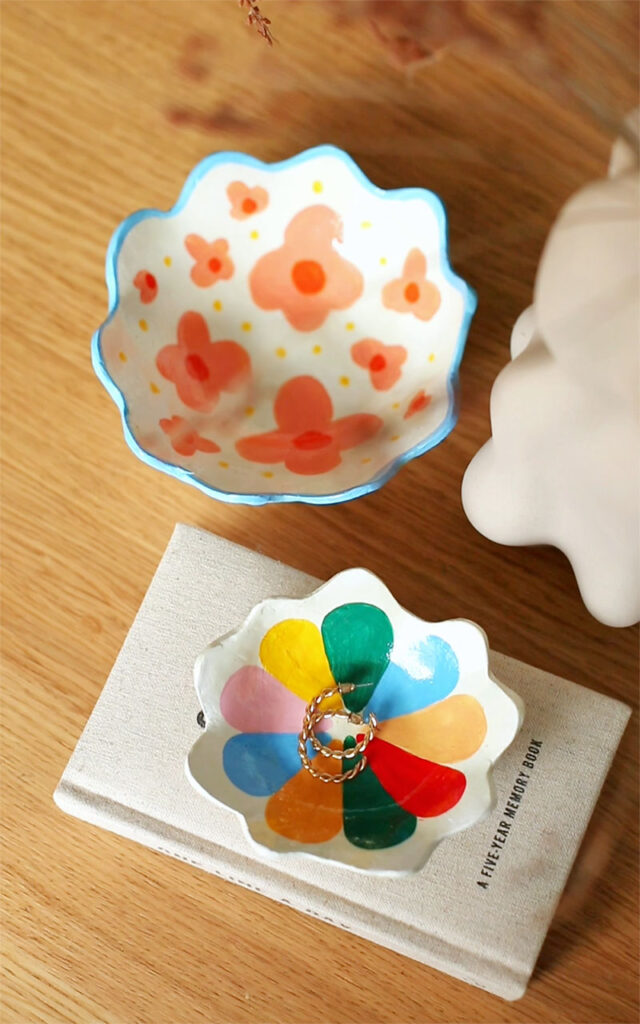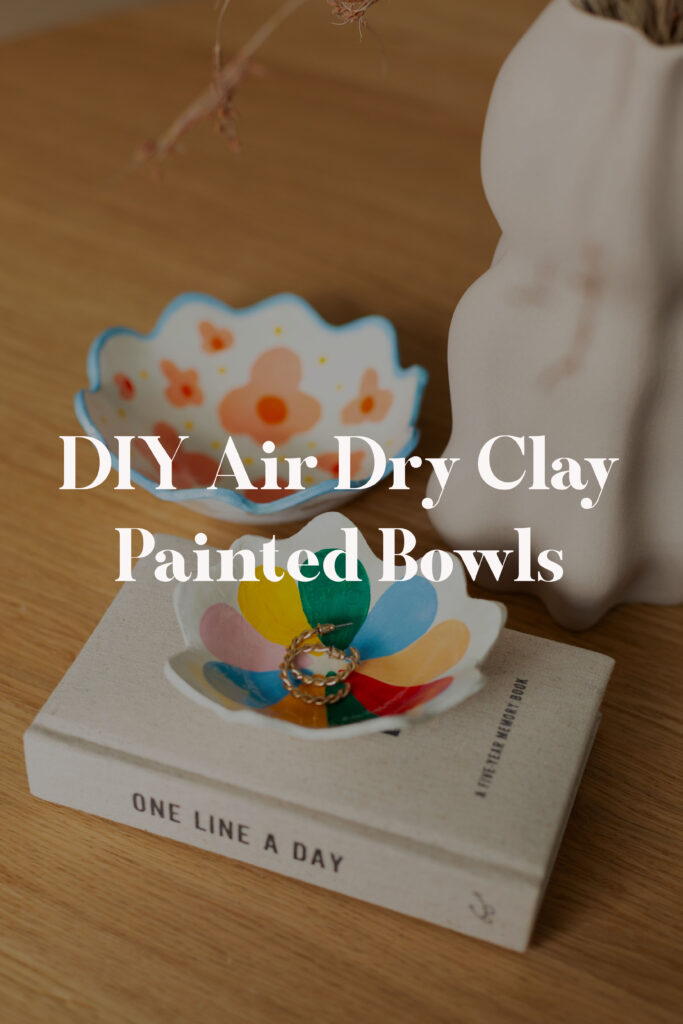
I have been itching to sink my teeth into a clay project for a while (nothing to do with the boxes of clay I have in leftover my craft cupboard!) and I wanted to see how I could use a wavy edge to add a little fun and whimsy to my decor with these DIY clay wavy bowls.
I’ve been playing a lot with colour in my home recently and I’ve really been enjoying putting colours together and seeing what works (and most of the time seeing what does not). I’m getting better at knowing what colours make me happy. Little projects like this are such a good way to develop your own tastes and discover your personal style without blowing the budget on room makeovers (only to have to live in a home you hate, trust me, I’ve been there!)
These DIY clay wavy bowls are easy and inexpensive to make and you can customise them to your own tastes or paint them just the same as I’ve done (I wont lie, I would be very flattered if you chose the latter). They look great on a coffee table or bedside table to collect little bits and bobs that otherwise get lost in the bottom of your bag or down the back of the sofa. Read on for the instructions!
Materials
- Air dry clay
- roller
- Craft knife
- Round bottom bowls
- Cling film
- Sand paper
- Acrylic paint
- Paint brushes
- Clear varnish (optional)
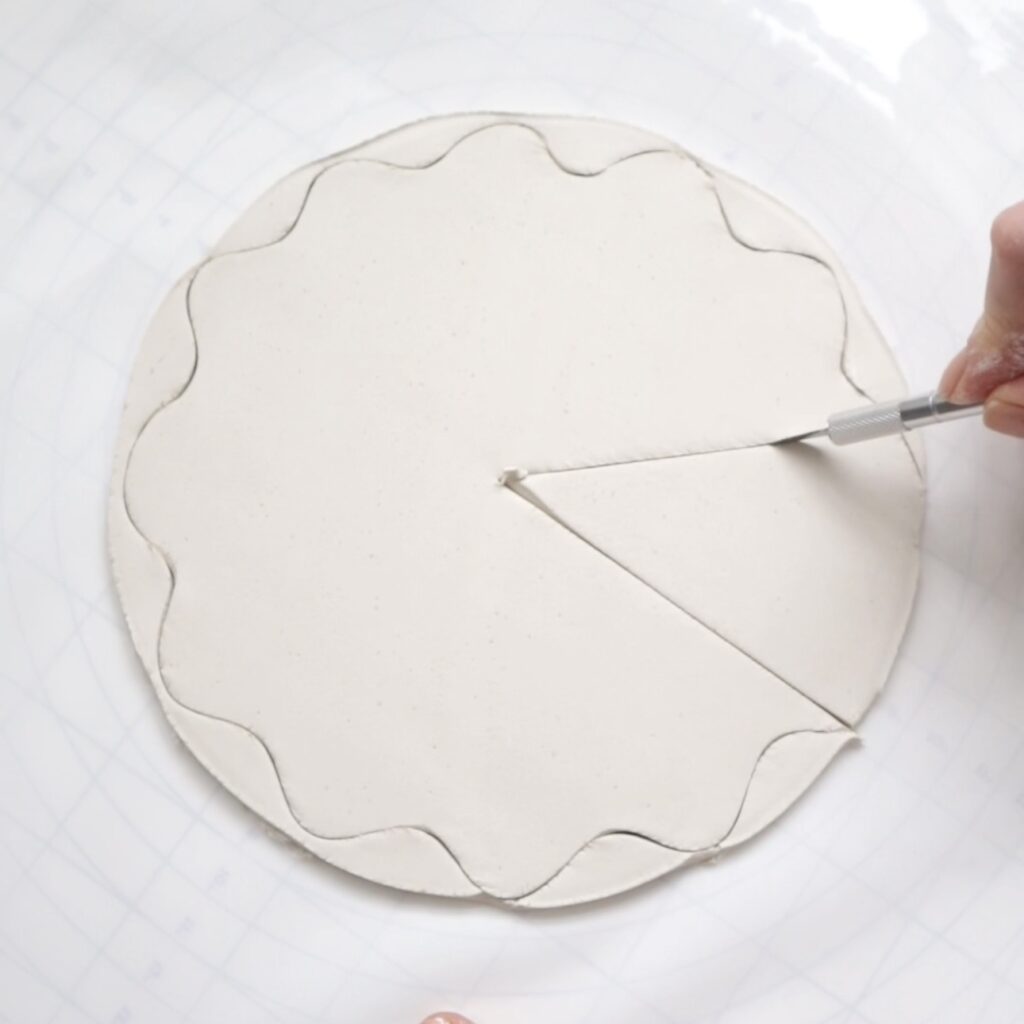
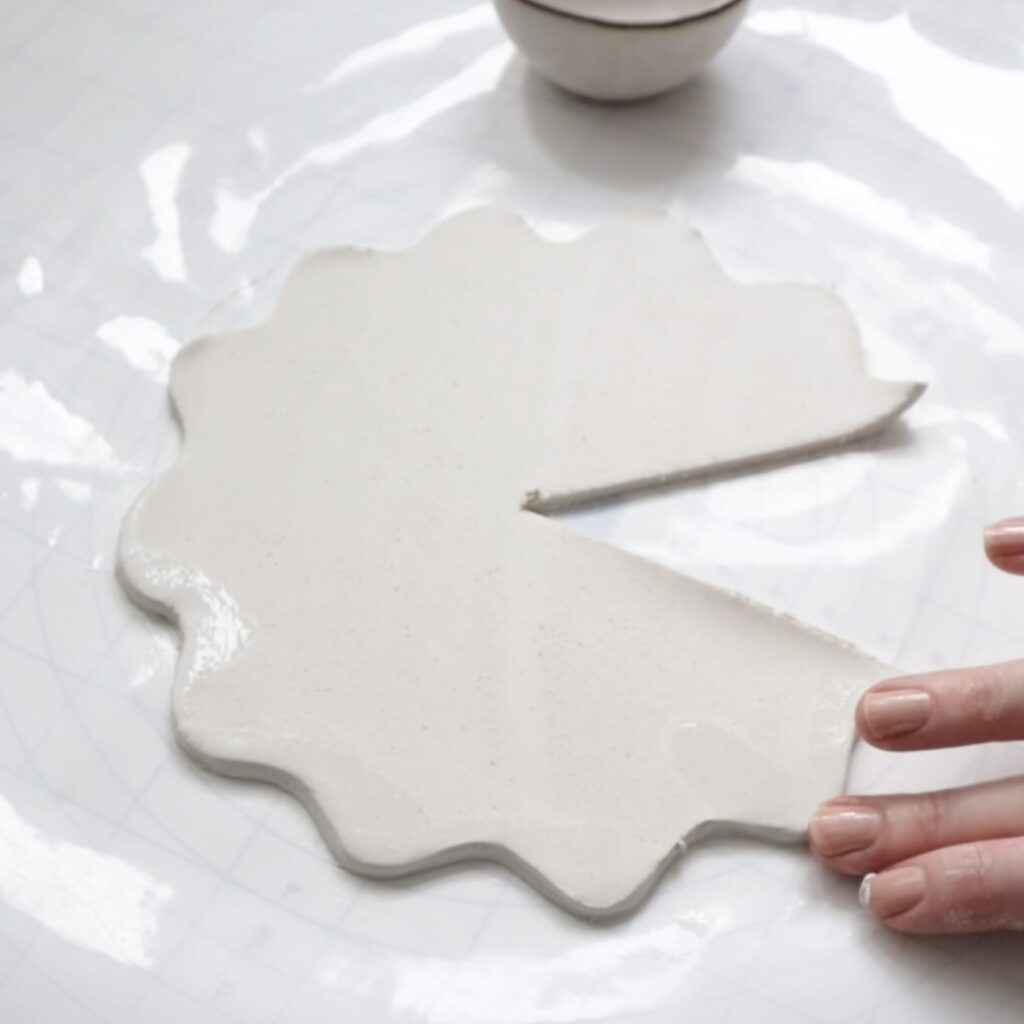
Cut off about 250g (1/4 block) of air dry clay and roll into a rough circle. I used a small side plate to cut a circle from the clay. Remove the excess clay and cut a wavy line around the outer edge with the craft knife. To make it easier to shape into a bowl cut out a triangular wedge which is about 1/6th of the circle.
Use water to smooth over the wavy edges and any cracks in to clay surface.
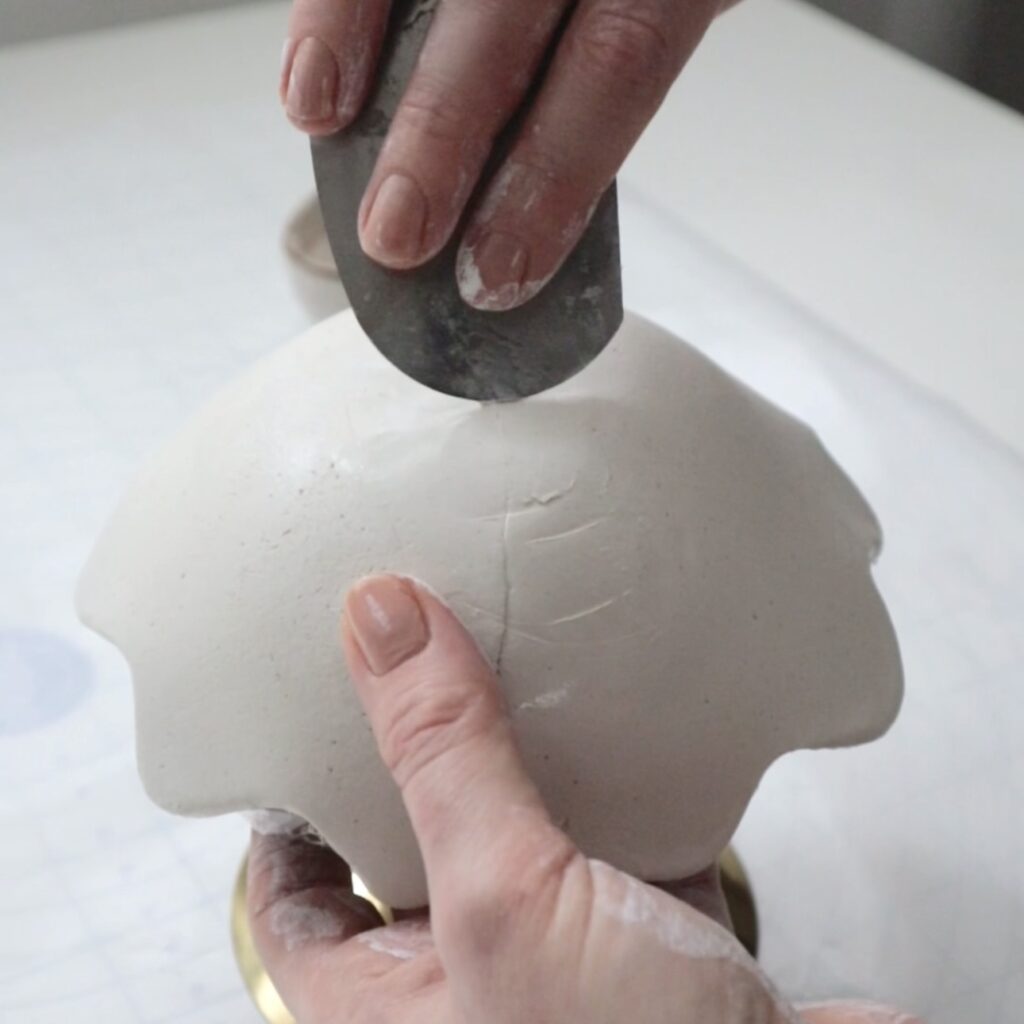
Lay the clay over the upturned bowl and overlay the edges to create a rounded shape. Cut off the overlapping clay and gently blend together using lots of water.
Leave the bowl to dry for several hours then turn upside down and remove the bowl and clingfilm. Blend the join on the inside of the bowl together with water and leave to dry until the clay is set.
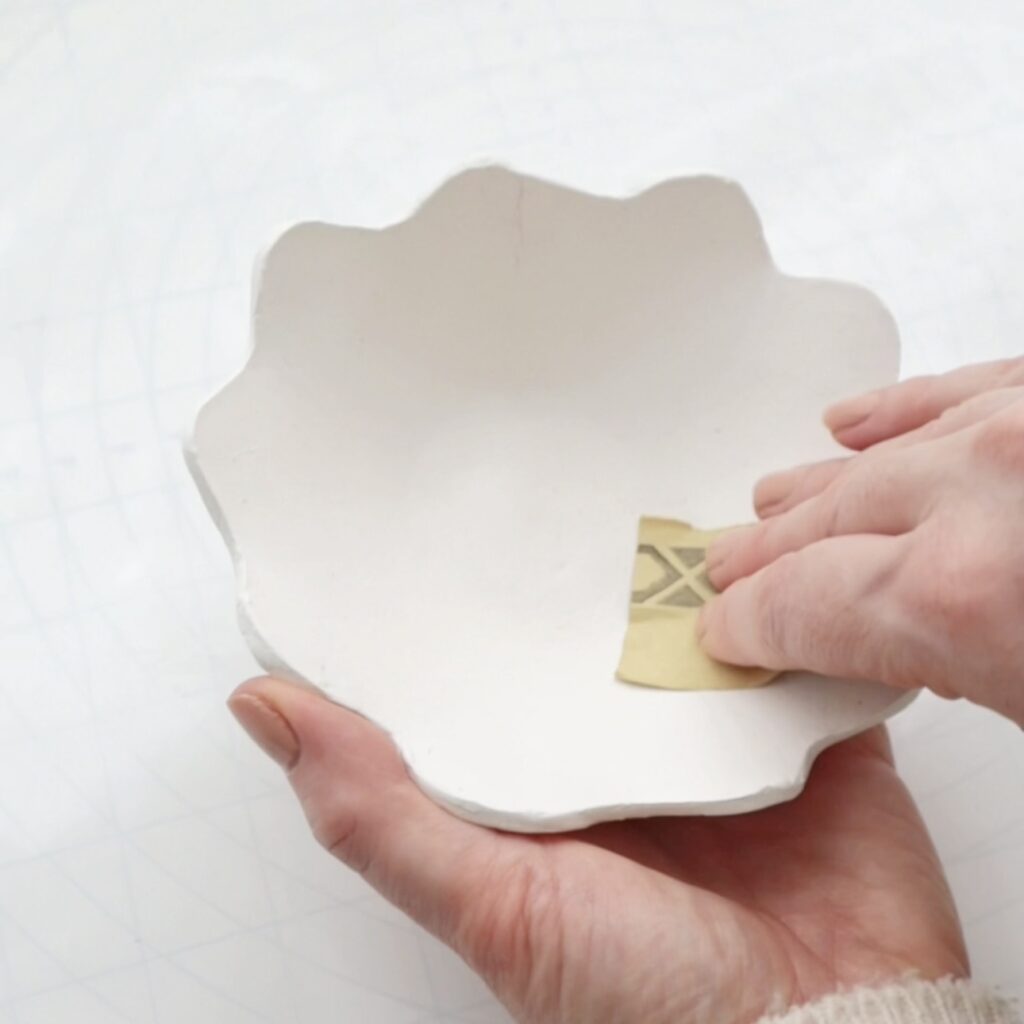
Using a fine grit sand paper smooth over the edges and surface of the bowl.
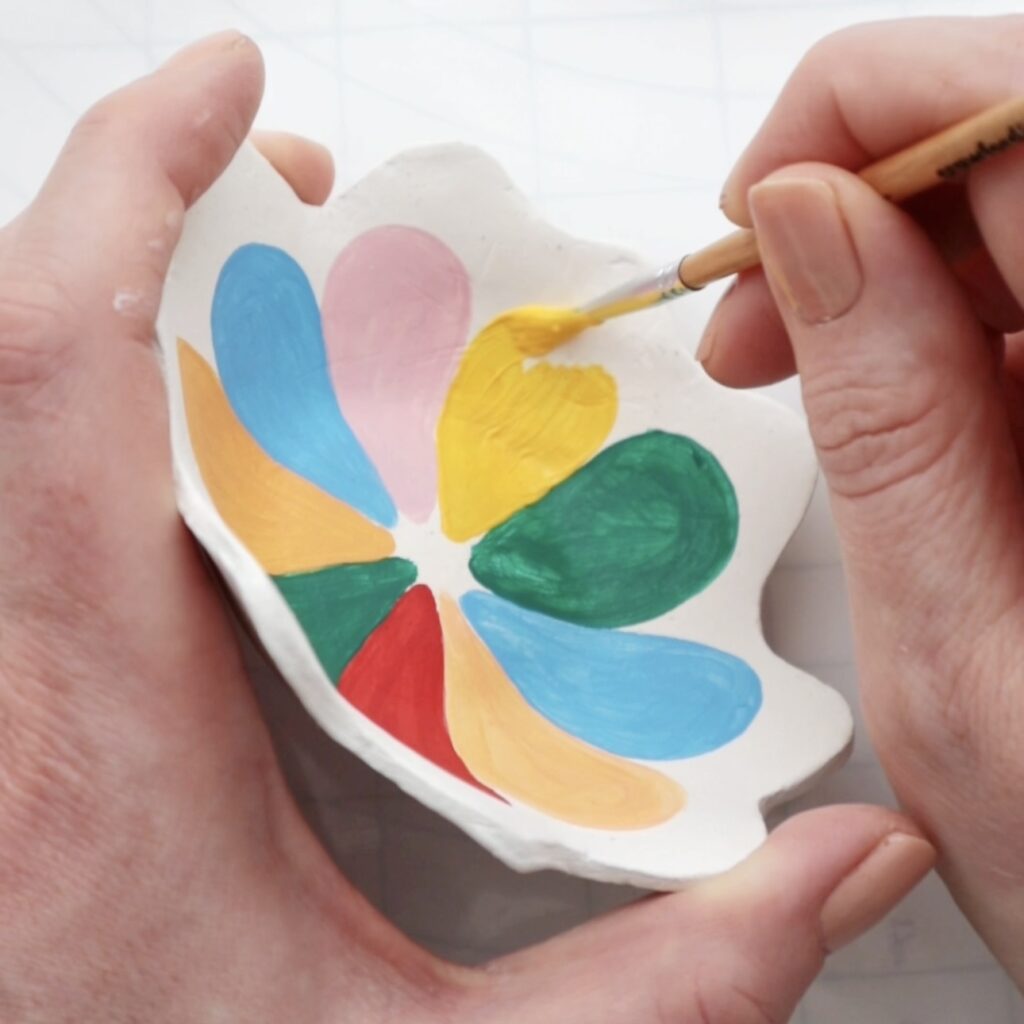
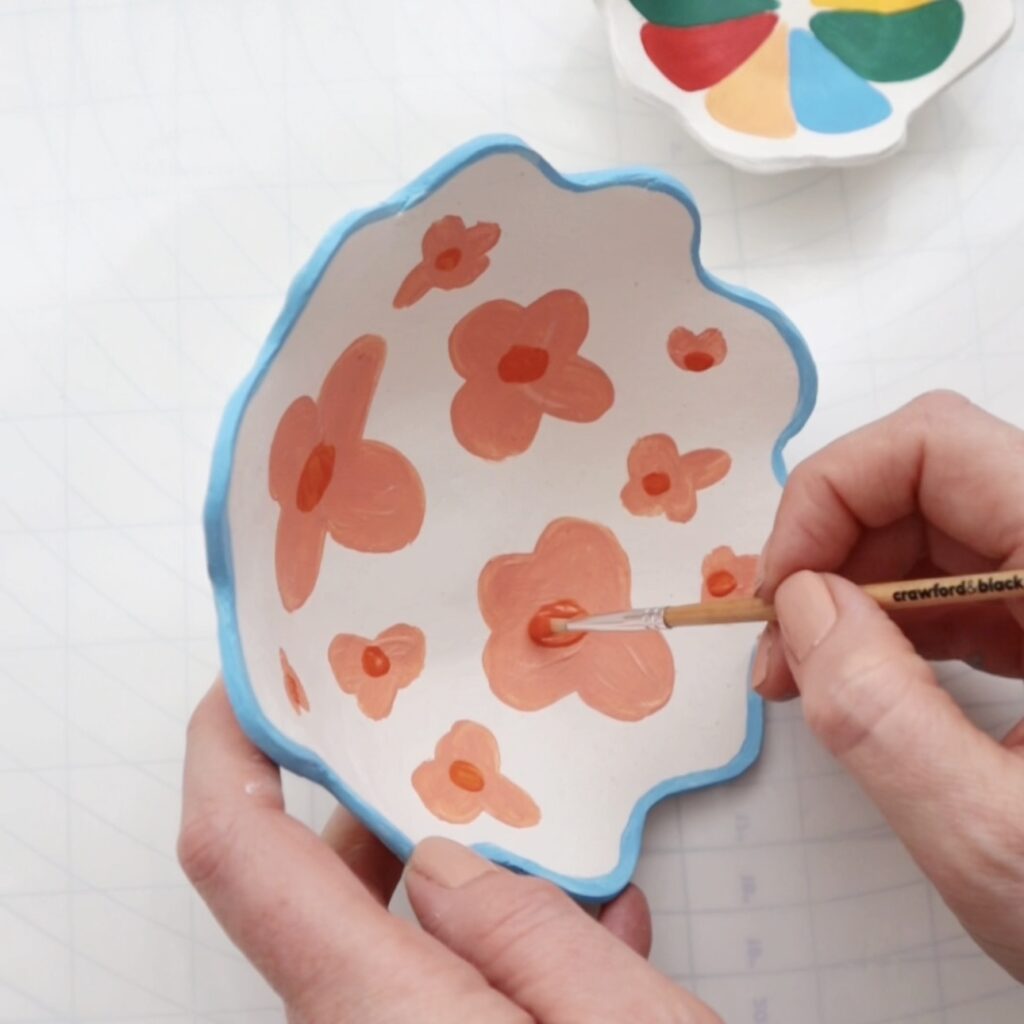
Now your bowl is ready to paint. You can draw out your design or just wing it like I did. Paint 2 – 3 layers of each colour to give to bowl a bold, finished look. When the paint is dry you can seal with a clear varnish. I used this one. Wait for the varnish to fully dry and your bowl is done!
