I’ve realised that one of the things I cannot live without in my 30’s is my printer. Stay with me here. I know printing out things from your computer seems very 1990’s, but the times of grainy, lined photo prints and the random paper eating while you’re trying to print out a bar chart for your geography homework have gone. Thankfully printers have moved on and now they are endlessly useful in our everyday lives.
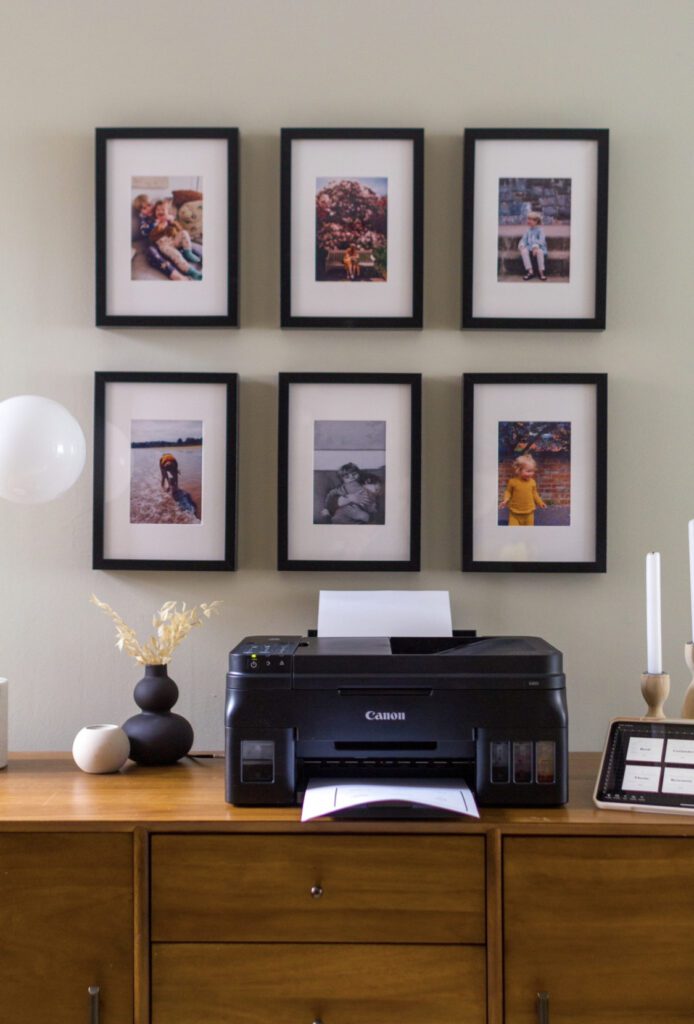
Having a great printer gives you unlimited opportunities to organise and decorate your home. I also use mine to entertain the kids, for making tons of different crafts, creating invitations, to print out photos, make personalised gifts and the list goes on. Having a reliable, good quality printer will keep on giving and giving! In this post I’m going to show you three ways I’m using the printer to improve my home and make life a little bit easier.
And I can do all of this from my phone and easily send it over to the printer via the canon app. It has literally never been this easy to use a printer. So if you’re getting flashbacks from
1. Family photo wall
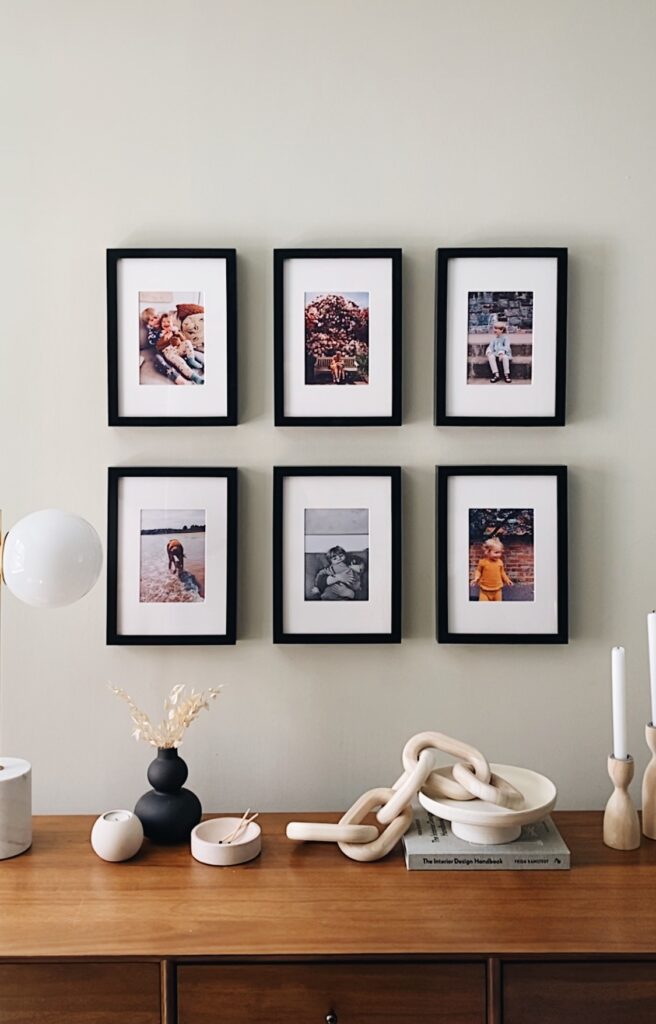
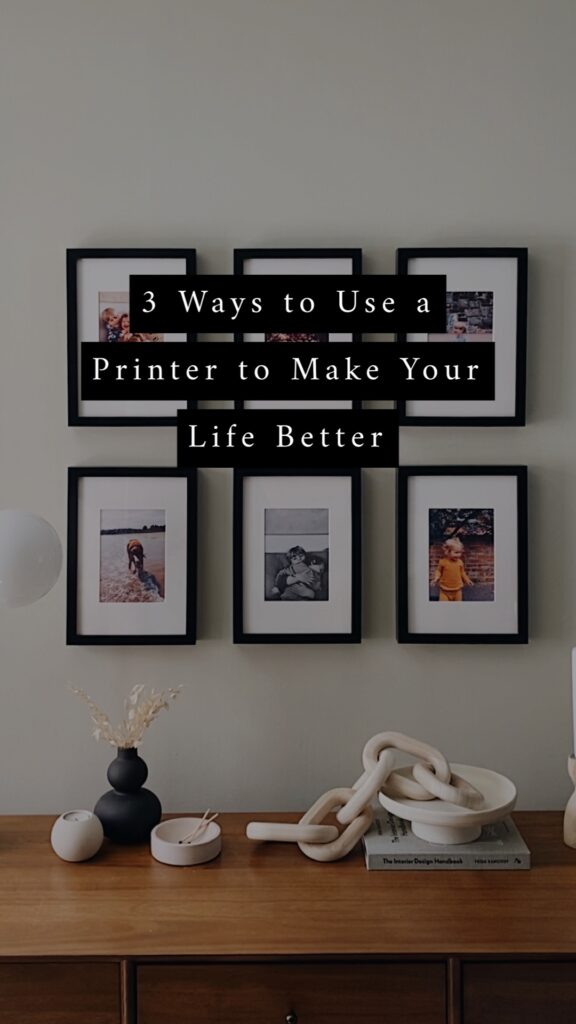
First of all the printer quality on my Canon printer from Very.co.uk means I can print out photos to frame and honestly, to me they look just as good in a frame as professionally printed photos. I can’t tell the difference. If you want to quickly and easily take those photos off the never ending camera roll and actually enjoy them in your home, having your own printer is a must. I’ve already swapped over a couple of these photos for newer ones I’ve taken (you can play spot the difference with the photos below) because it’s just so easy to print out your latest favourites and pop them into the frame. What do you do with your leftover photos? I’ll be making scrapbooking them into a family album really soon.. There’s another reason you need a printer at home!
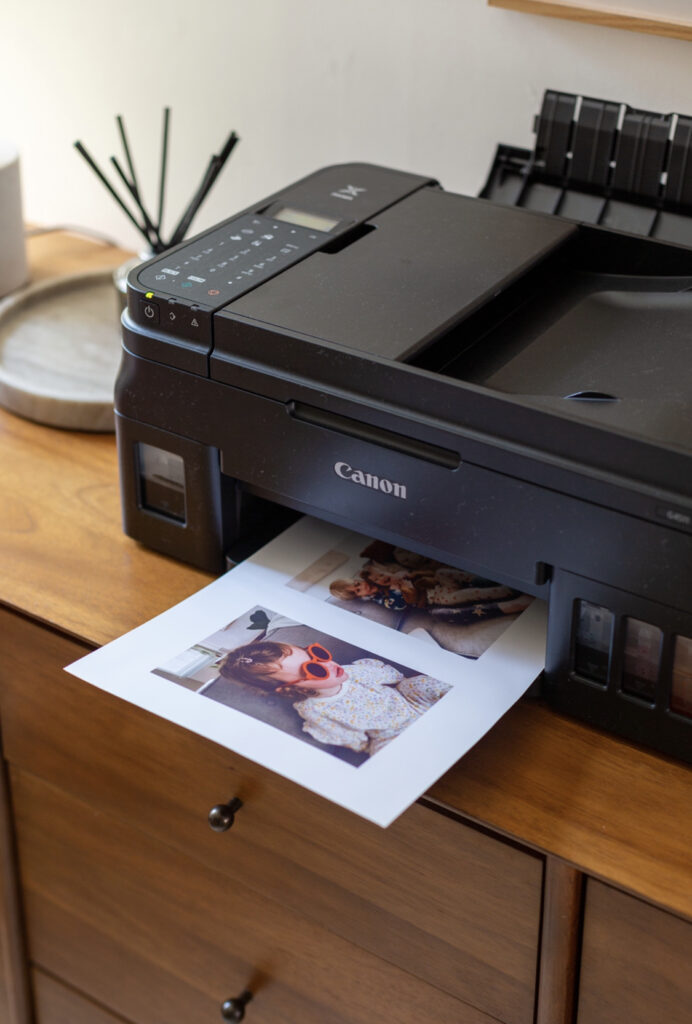
To make my photo wall I used the Canon Easy PhotoPrint app. In photo layouts I chose Borderless x2 for A4. After choosing two images from my favourites folder I resized the images to create photos that were slightly larger than the mat size in the frame. Then I sent to print.
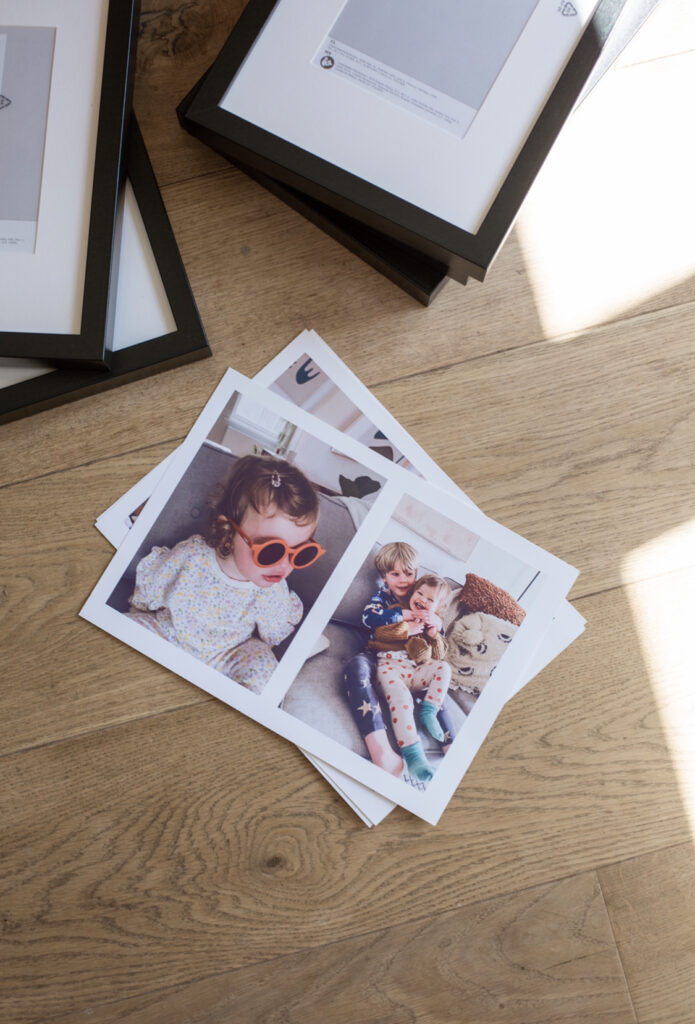
30 seconds later I cut the paper into two down the middle to create two separate photos, taped these to the back of the mat to hold them in place with washi/masking tape and put the mat back into the frame. Now your pictures are ready to hang.
I feel so much joy walking past these every day and all of our visitors have gravitated towards them. It’s so lovely to see others enjoying the pictures as much as I do!
2. Spice Jar Labels
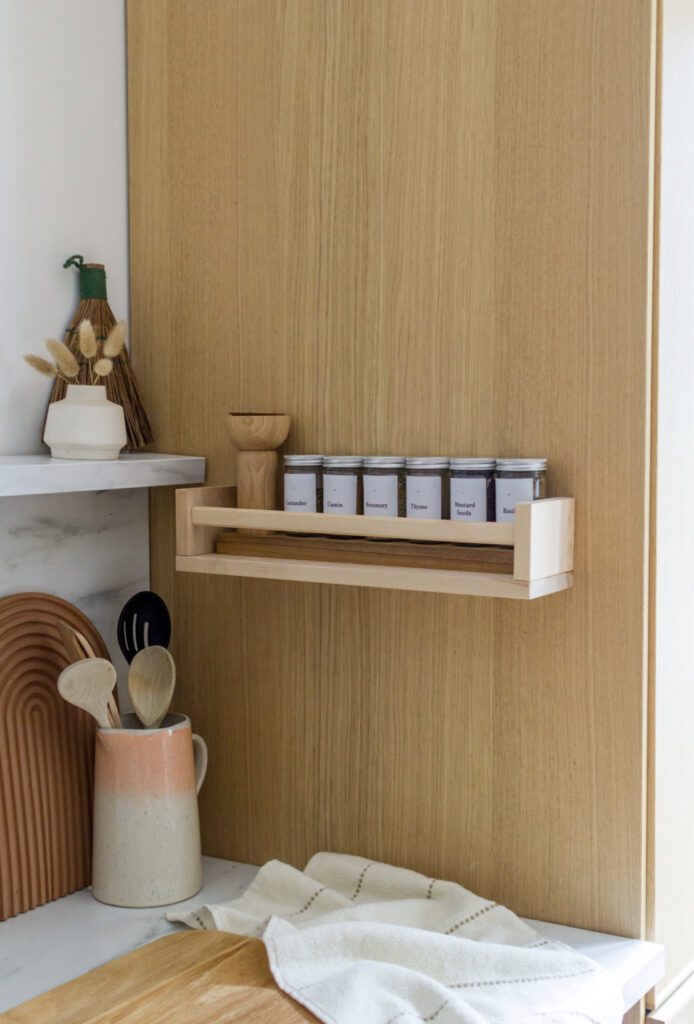
Full disclosure, we have two drawers of spices that are an absolute mess! Organising them all is on my to do list, but to get the ball rolling I’ve made labels for some of our most used herbs and spices. It’s such an easy upgrade and once all the spices are labelled you can keep them out if the drawer of doom and actually keep them in an easy to reach spot. All while keeping your kitchen looking beautiful!
I’ve used my printer and the Cricut Maker to create these labels. You could just print and cut if you don’t have access to the Cricut.
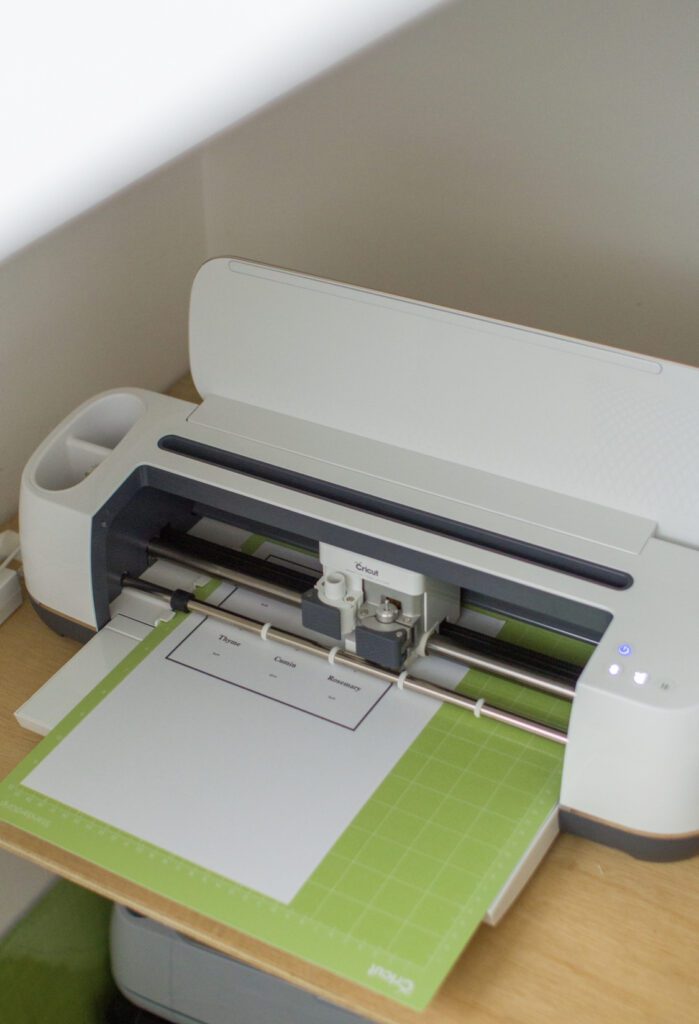
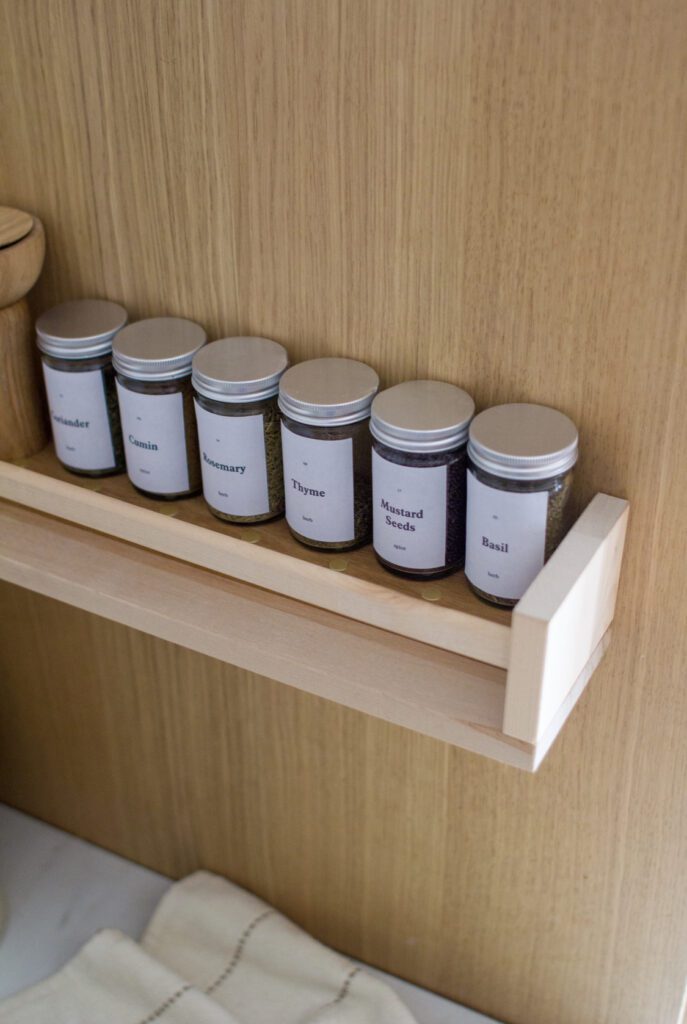
After designing your first label, copy and paste before changing the text for each of your herbs and spices. Make sure the size and positioning is the same for each label to give them a uniform look. Print the labels onto an A4 piece of sticker paper and either use your Cricut machine to cut out or cut by hand. Clean and fill your empty jars and stick the corresponding label onto each one.
3. Easy Matisse Inspired Paint by Numbers
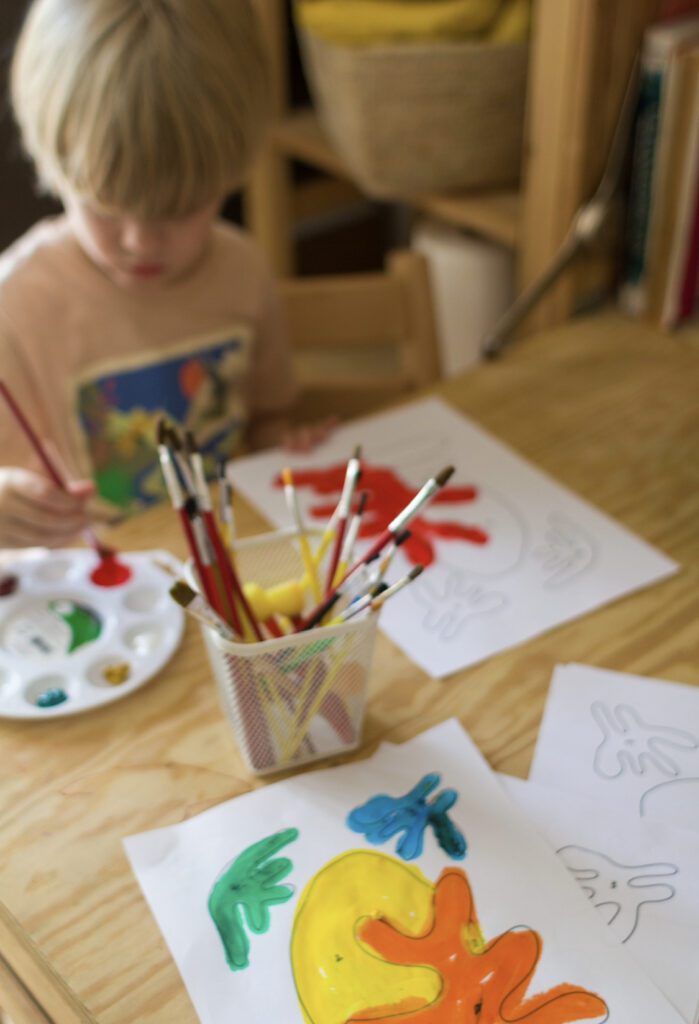
My older kid has never enjoyed painting or colouring in. Our craft activities need to be more adult directed and much more collaborative. Something he seems to have always struggled with is the pressure to get things ‘right’, so intricate colouring images are often quite challenging for him and he tends to give up easily when it doesn’t all go as planned.
I have been trying to find ways to help him become more confident in his own creativity so I thought a very simple, Matisse inspired paint by numbers would help him focus on his fine motor skills as well as giving him the chance to explore colour and creating without the need for perfection. I couldn’t find anything that already existed that looked easy and low pressure so I decided to design something myself. I drew a very simple image with those fun Matisse style cut outs and printed a few of them out for our next crafting session.
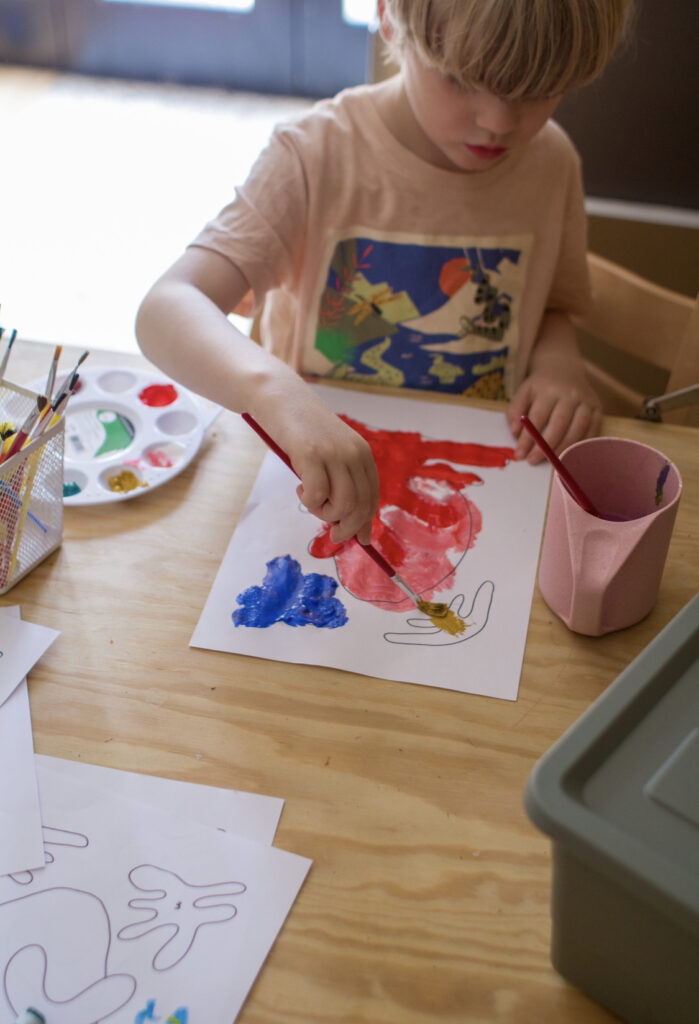
I actually can’t believe how well it worked! He loved the random blobby shapes that could be messy and fun. He sat and painted two pictures which is so unlike him. For now I’ve left the paint by numbers bit up to him (he loves reading and recognising the numbers themselves and assigning his own colours to them) but in the future I might add some boxes as colour instructions to keep it interesting for him.
These are so easy to design in a simple paint program and you can keep them in a folder on your phone and print out at a minutes notice when you need an engaging craft activity for a rainy day!


[…] Source link […]