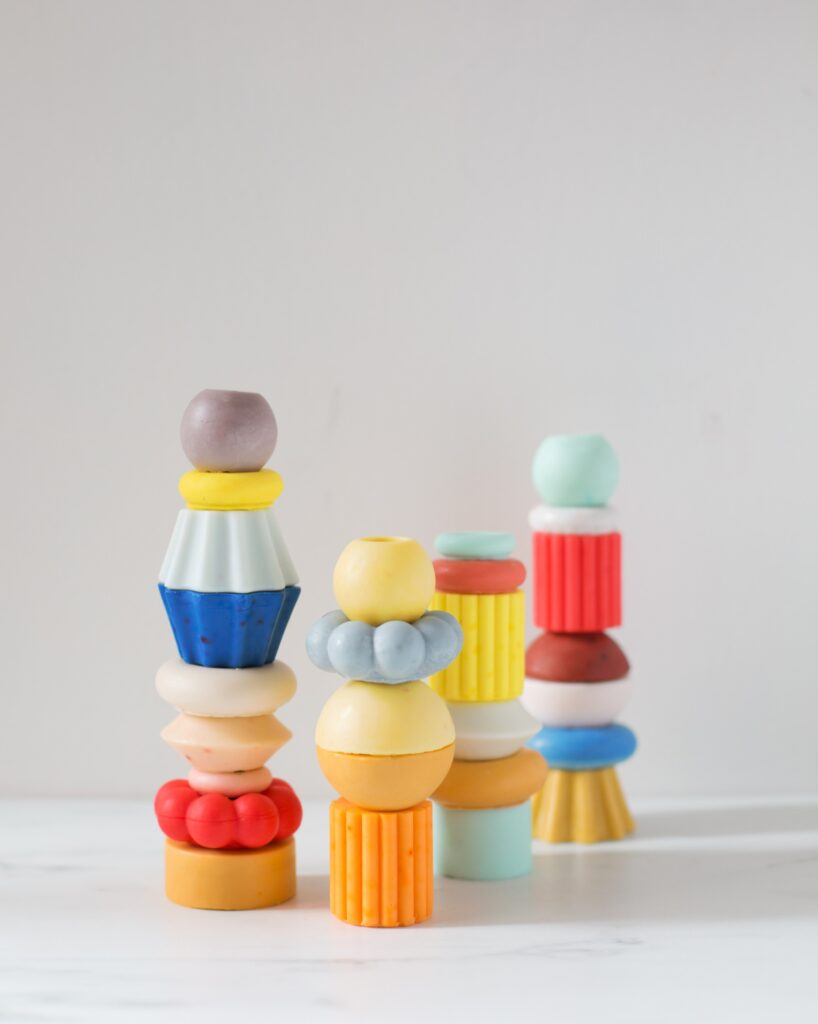
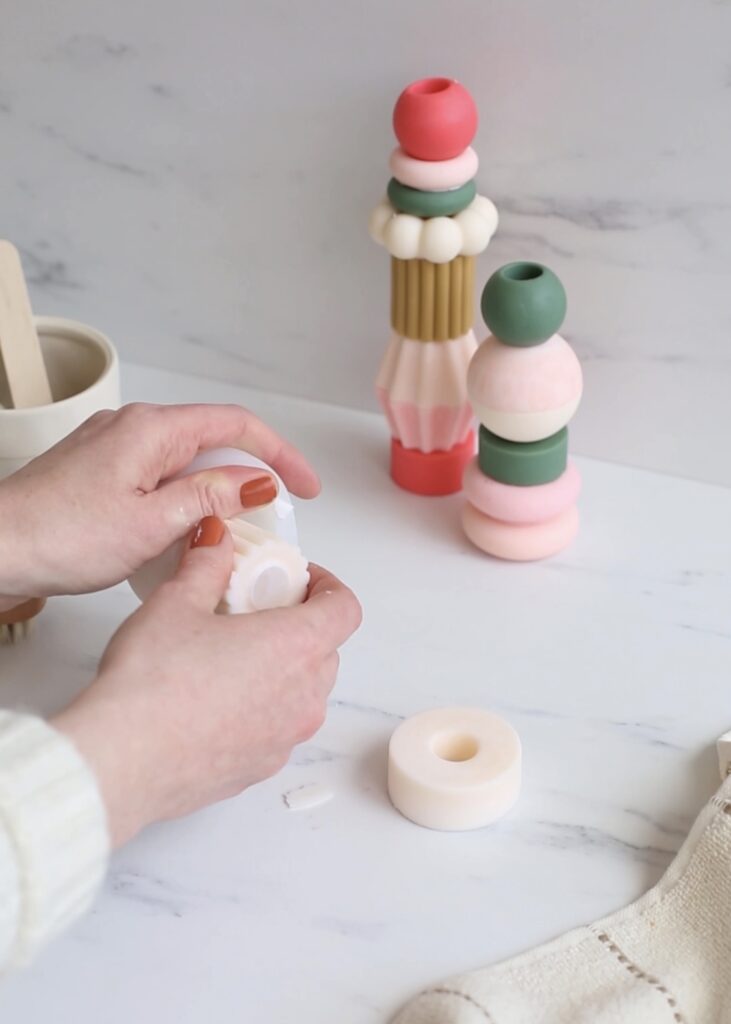
It’s been such a long time since I’ve had the chance to play with the awesome products from Stephenson. But since they’ve launched a completely new, never seen before product I had to give it a go. So I decided to try it out with a range of moulds and create these stunning towers which would look incredible in any bathroom! And it really gave me the chance to see how this new formula works in a range of different shapes and colours.
This incredibly innovative product has been setting the handmade beauty world on fire! There’s a lot of excitement and with good reason. This product is a little bit different to the usual melt and pour bases Stephenson offer. This particular base, Syndopour 200-MB is a syndet and not a soap base. I It has a lower pH which means it is gentler to our skin unlike soap bases which can sometimes have a drying feeling. It also means it can be used to create shampoo bars which are the latest must have beauty product for the eco conscious.
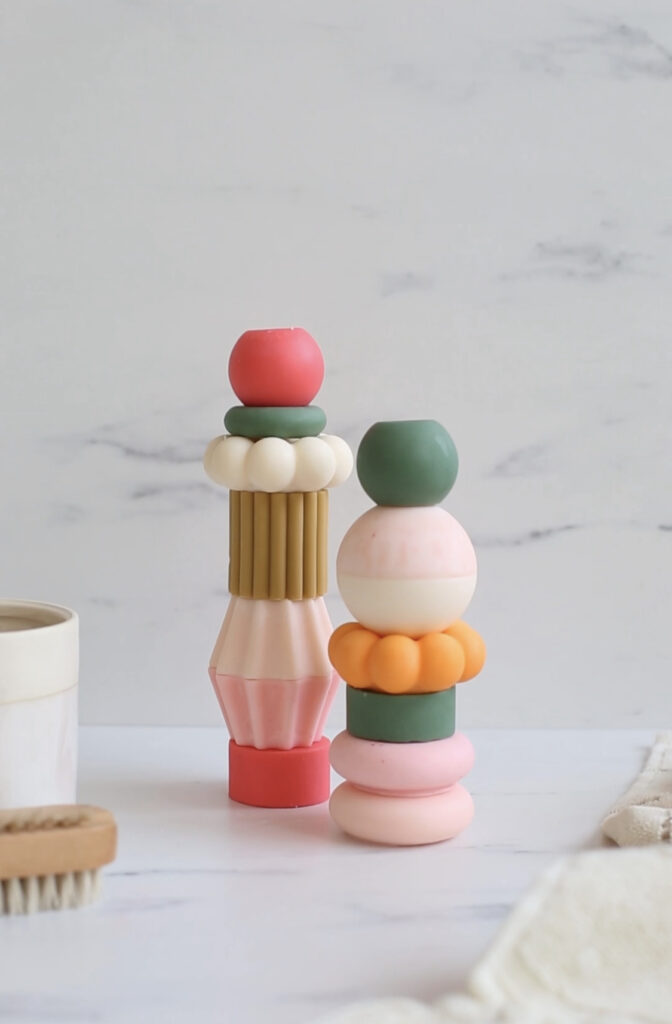
The texture is slightly softer than melt and pour soaps I have worked with but I found this is no problem when it comes to demolding the finished product. I also left the finished products to set a little longer out of the moulds before use as they become firmer with time.
I’ve spent a couple of months testing Syndopour 200-MB and I’m a fan! Not just of the crafting potential, but the end product as well. I’ve been using my test pieces to wash with and replacing our hand soaps with them as well. I love adding my own favourite scents to create the perfect mood in my morning shower! Anything that makes mornings feel a bit more enjoyable gets a big yes from me! Below I have a tutorial on how to use the base to create your bars in the moulds. I’ll also be sharing more of my oil blends and colouring tips in a blog post soon!
Materials:
Syndopour 200-MB
Soap colouring – Zenicolor
Tower Moulds
Tutorial:
- After removing the melt and pour base from the packaging, cut into small pieces and place in a microwave safe container. Place in the microwave for 30 second intervals until the base is a liquid. You can also melt in a pyrex dish on a pan of hot water, but I’ve found the microwave quicker and the base stays as a liquid for longer when heating this way.
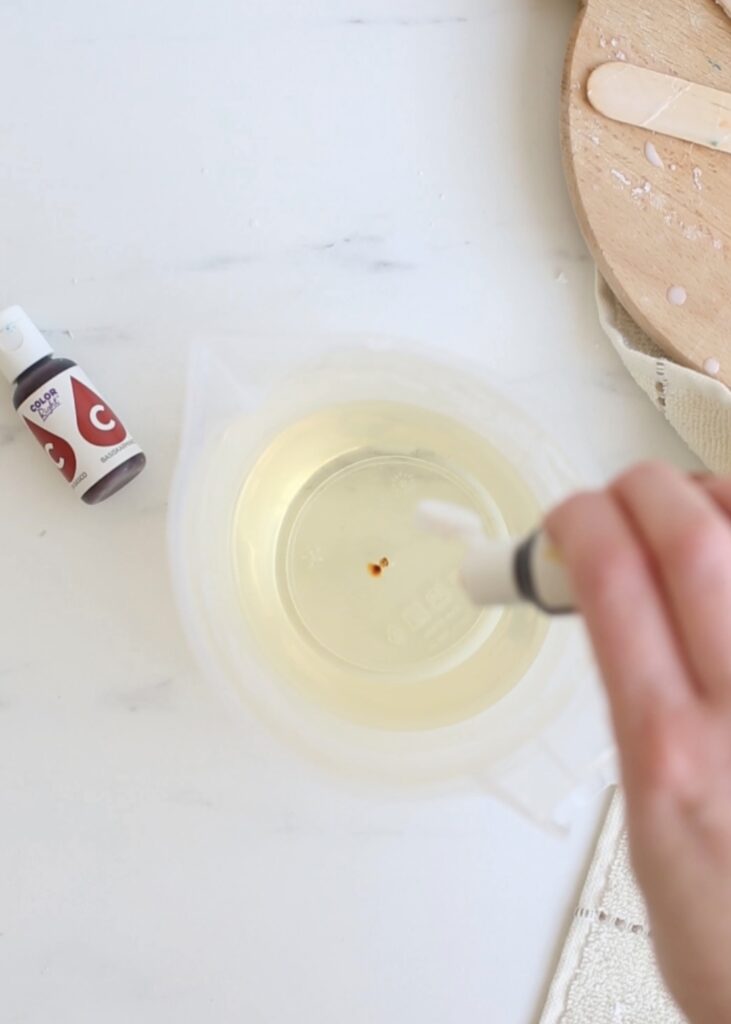
2. Add colouring and essential oils to the mixture. I start with the light colours and add to them as I go. This gives me a range of hues and stops any waste. (I’m working on a colour chart with recipes for my favourite colour mixes. Make sure you follow me on Instagram for updates on that!)
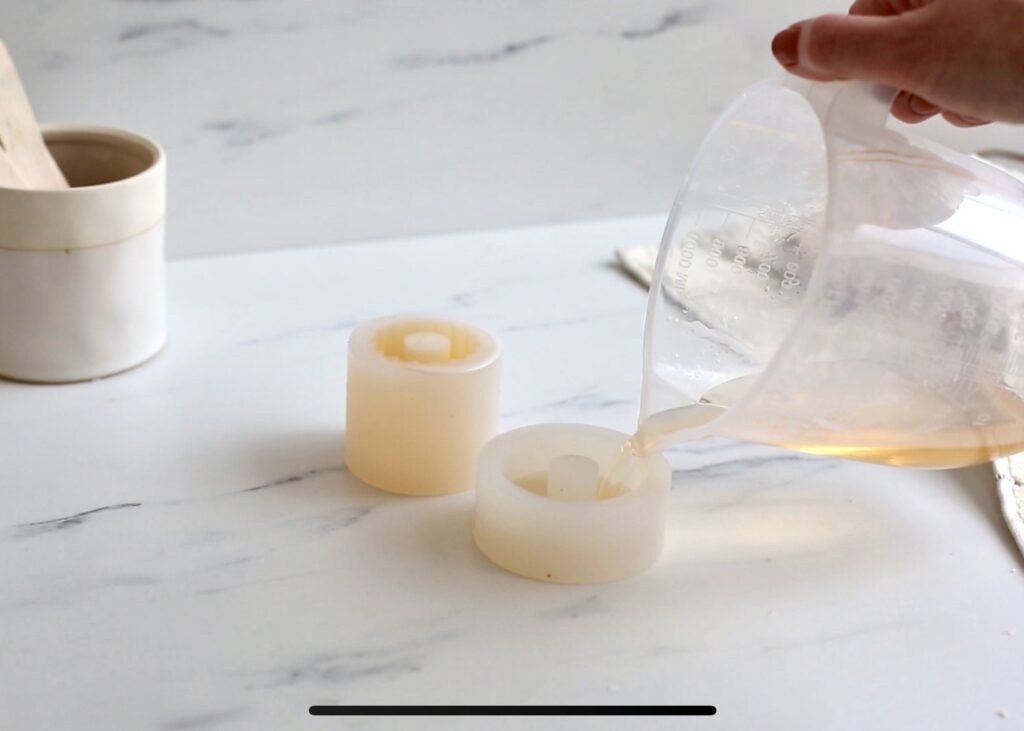
3. Pour the base into the moulds. Silicone moulds are a great choice with melt and pour. The moulds are flexible and non-stick making the finished products easy to remove.
4. I like to mix together all the leftover base and pour into the inner tube mould. This runs through the centre of the finished pieces and gives the tower more stability.
5. Leave the melt and pour base to cool and set. The longer you leave it the harder it will become. I like to leave mine for a minimum of 12 hours to ensure I don’t damage the bars as I remove them from the mould.
6. Once they’re ready to remove gently peel back the sides of the mould and firmly pull from the centre of the bar.
You can find out more about Syndopour 200-MB and where you can purchase the base here.


[…] Source link […]