I’m still a little in disbelief. It’s not really September right? Just a trick. We’ve still get some summer left… please? Although the seasons might be starting to change I’m holding onto the last of the summer and making the most of any good weather we get!
But that isn’t actually the reason why I’ve made this cool bag. If you read Sunday’s post you’ll know that when me and Alex travel we like to/are sometimes forced to prepare food while we’re away. I find supermarkets and market stalls in different countries endlessly fascinating (Oh wow… did I just say I find supermarkets interesting) with all the different ingredients and specialities. We’ve got really good at packing picnics but really bad at remembering to take cutlery, cool bag, etc, and so I thought it was about time we got a little more prepared.
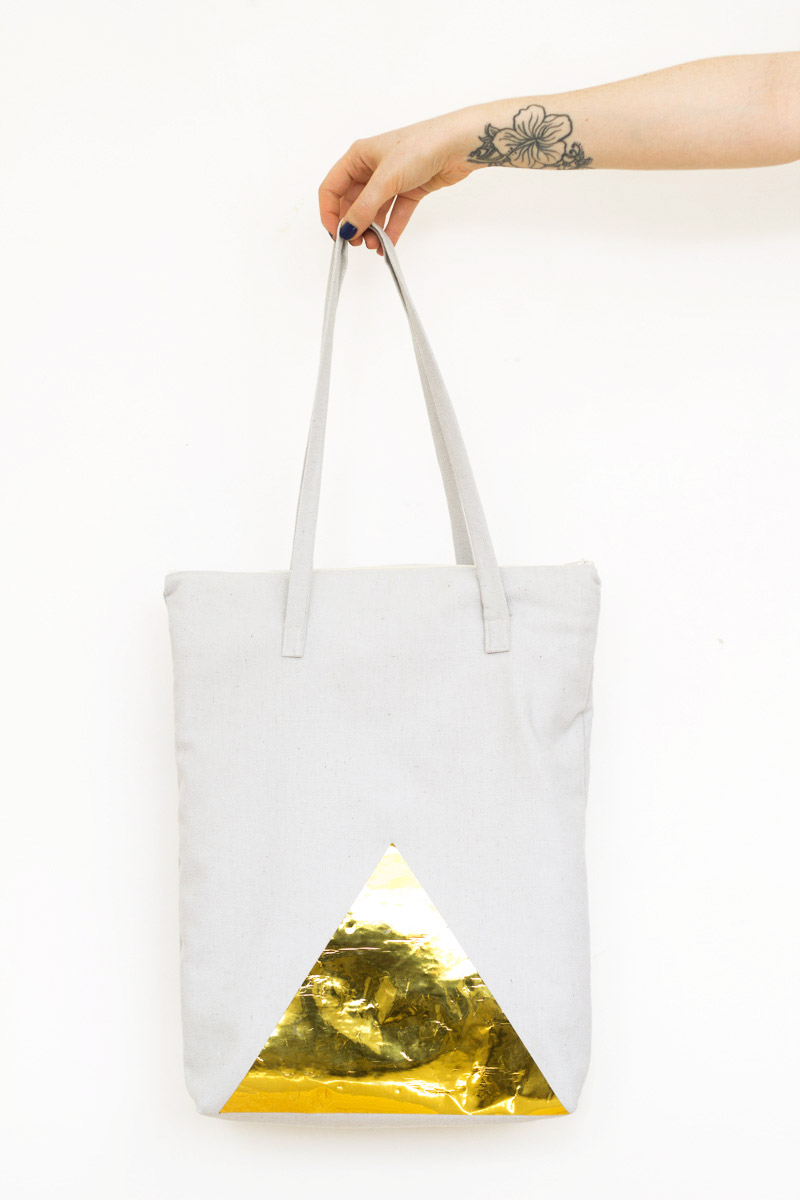
So before we head off to Berlin I wanted to make this cool bag for a number of reasons. One, it would be great to have a easy to carry, actual nice looking bag for a change and two, to help me get organised so we don’t end up eating our cous cous salad with carrot stick spoons for yet another holiday!
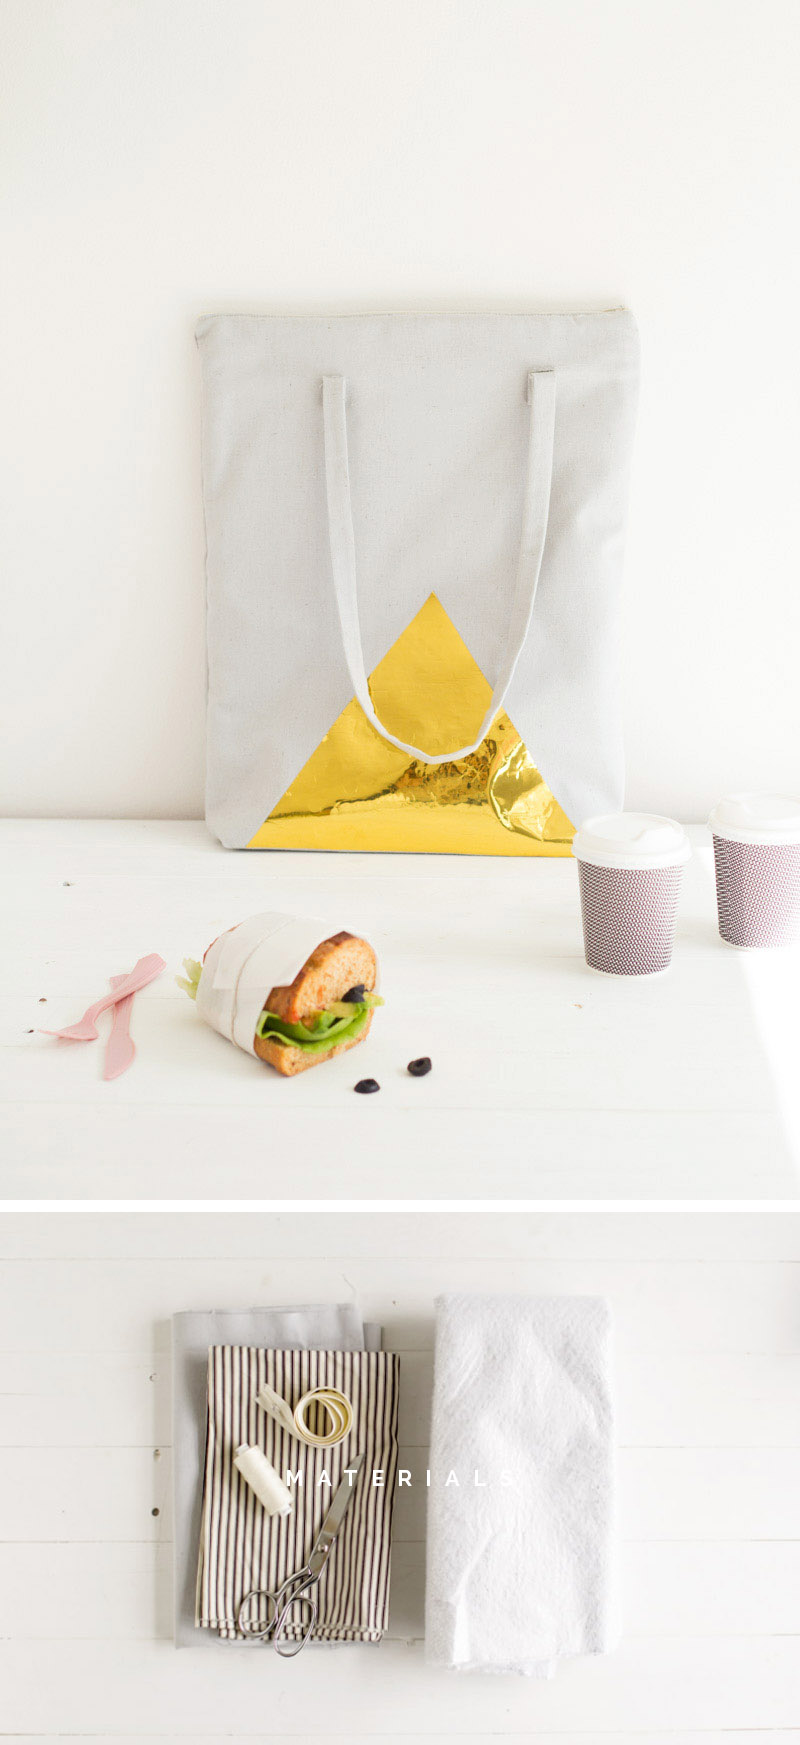
Materials
Natural cotton | lining fabric | Insulating fabric | Zip | Thread | Scissors | Sewing machine
Instructions
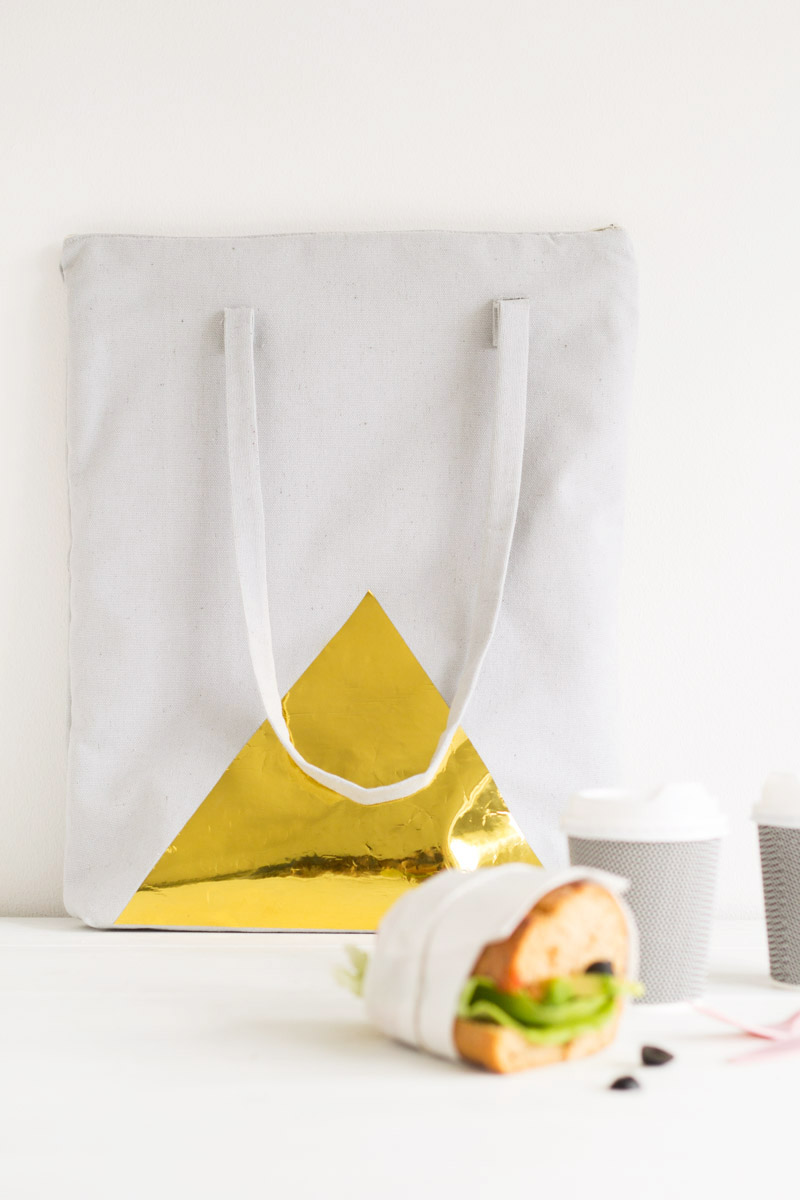
Cut the outer cotton fabric into two pieces about 2″ larger than the size you want the bag to be. Decorate these pieces first before sewing anything. I’ve used Iron-on Foil Sheets to add the triangle detail.
Cut two pieces of the lining fabric and the insulating fabric the same size as the outer fabric.
Cut two more pieces of outer fabric – 2″ x 30″ for the handles. Fold in half and sew along the longest length. Turn inside out and press flat. Sew these onto the outer fabric close to the top. Remember to measure equal distances for the edges of the fabric to ensure they are evenly placed.
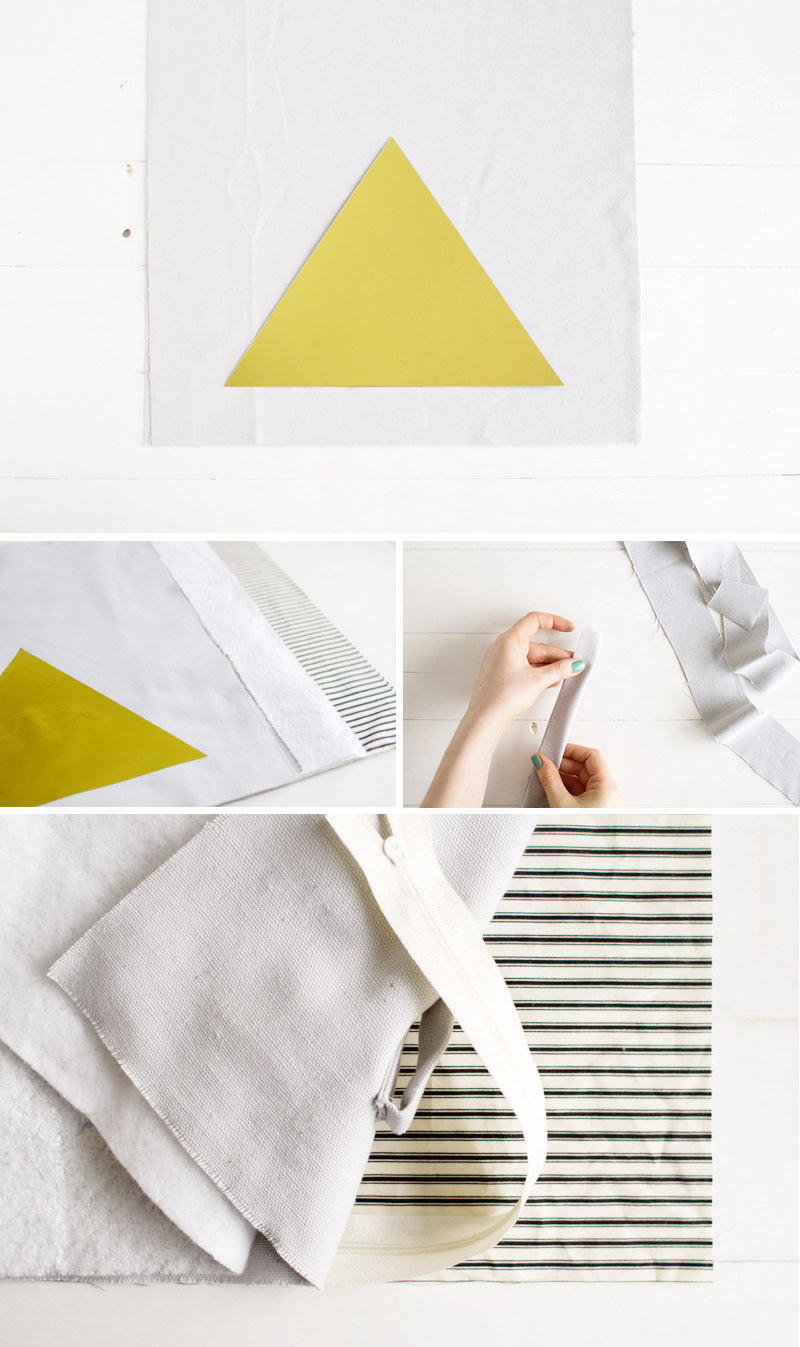
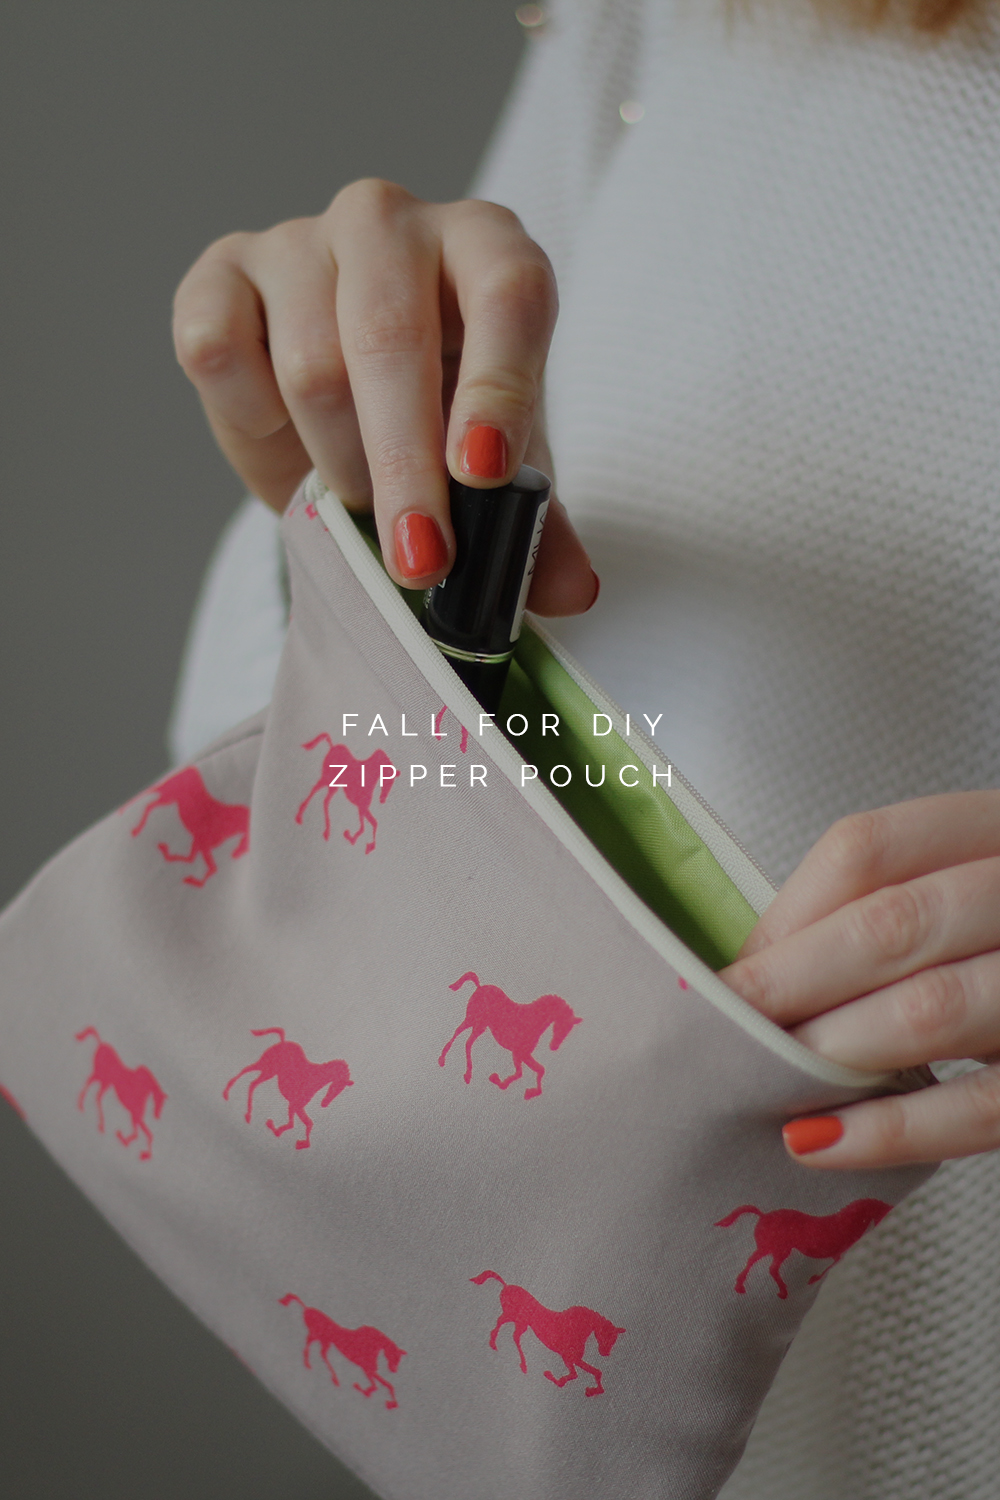
From here on in just follow the tutorial in my zipper pouches post. It is essentially exactly the same except for adding the insulating fabric which is easy to do. Your layers will basically look like the image above:
Insulating fabric – facing up (top)
Outer cotton fabric – facing down
Zipper – facing up
Lining fabric facing up (bottom)
Line them all up at the edge (yes, even the zip!) and then follow the instructions from step 4.
If you want to give the bag a gusset do so after step 11. (Step 5 in this tutorial)
And you’re done. So long sweaty sandwiches!


Time goes way too fast, right?! This is such a lovely idea! I love the gold/grey combination!
I love the iron on foil detail. I’ve added this tote to my weekend to-do list!
This is truly a cool bag!
What a pretty bag!
Now, you will worry a lot less about losing a little of your cosmetics to bring out on hot days!
I always try to go to the markets and local supermarkets in the new city I travel to. Also, I always rent a car when I fly to another city. Even if it is not a business trip, but just a vacation. I like to travel to new cities by car. I usually use this service, because there are good cars and rental points in every city. https://rental24h.com/usa/san-diego-airport/under-25
Thanks for such a pleasant post. This post is loaded with lots of useful information.